
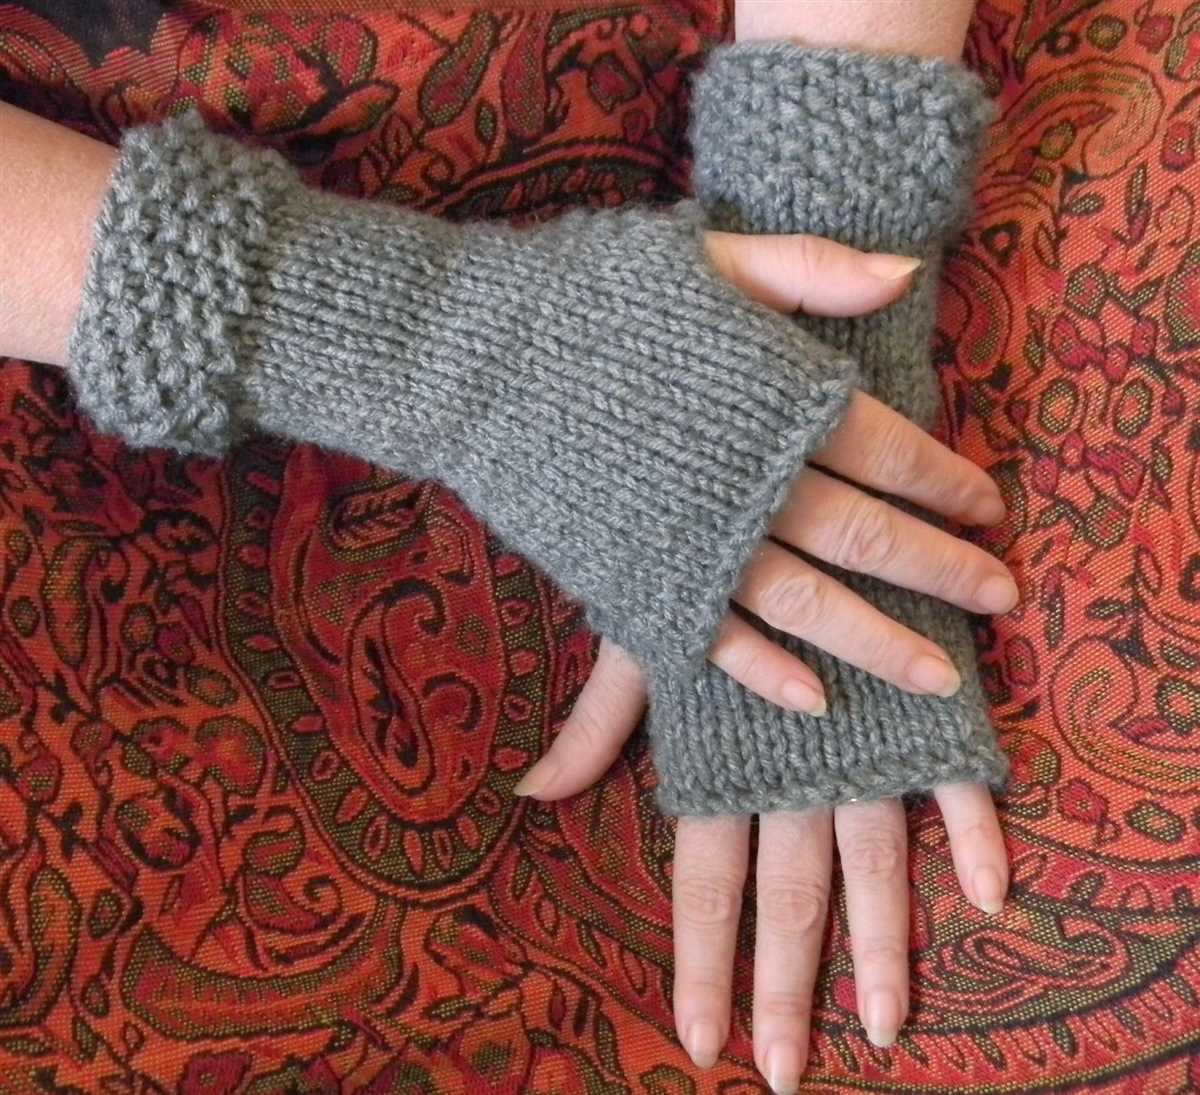
Knit pattern fingerless gloves are a trendy and practical accessory that can keep your hands warm and stylish during the colder months. Fingerless gloves are a versatile option for those who want to keep their fingers free for texting, typing or using touchscreens, while still keeping their hands cozy.
With a wide variety of knit patterns available, you can find a style that suits your personal taste and skill level. Whether you’re a beginner knitter or an experienced one, there’s a fingerless glove pattern that you can easily follow. Knitting your own fingerless gloves allows you to customize the color, pattern, and size to perfectly match your wardrobe and individual style.
One of the benefits of knitting fingerless gloves is that they are a relatively quick and portable project. You can knit them while on the go, making them an ideal project for commuting or traveling. Knit pattern fingerless gloves are also a great way to use up leftover yarn from other projects, making them a cost-effective choice. Plus, they make for thoughtful and personalized gifts for friends and family.
Knit Pattern Fingerless Gloves
Fingerless gloves are versatile accessories that can add style and warmth to any outfit. Whether you’re a beginner or an experienced knitter, knitting your own fingerless gloves is a fun and rewarding project. With a wide range of knit patterns available, you can customize the design and colors to suit your personal taste.
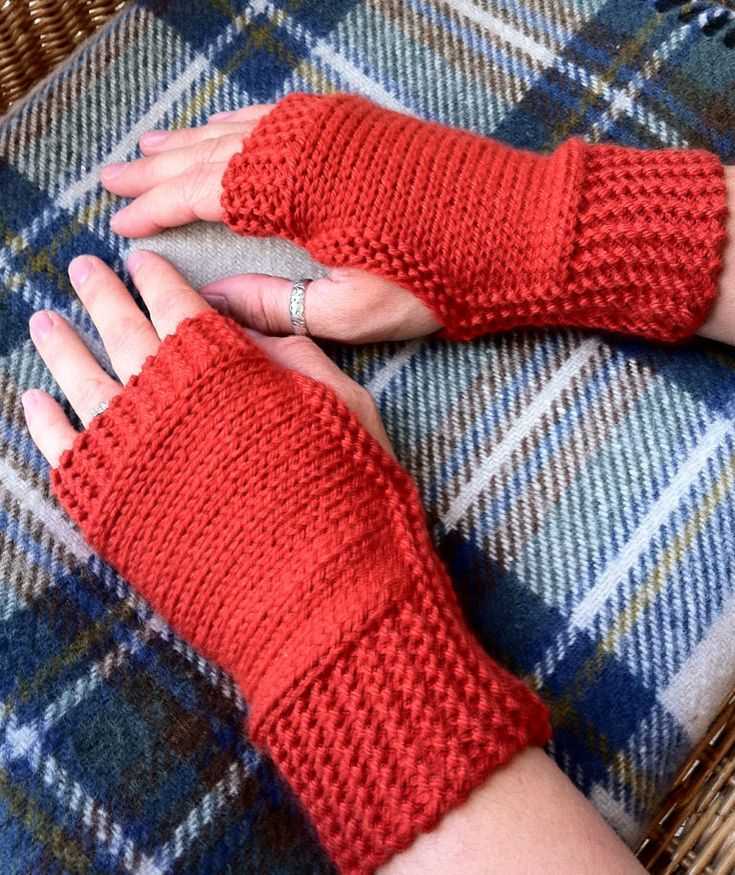
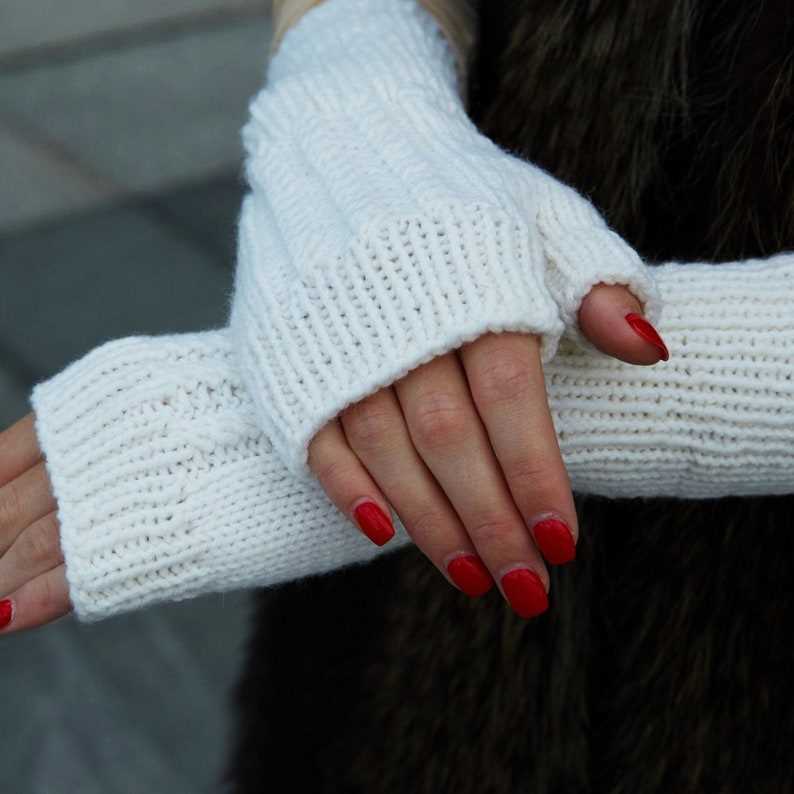
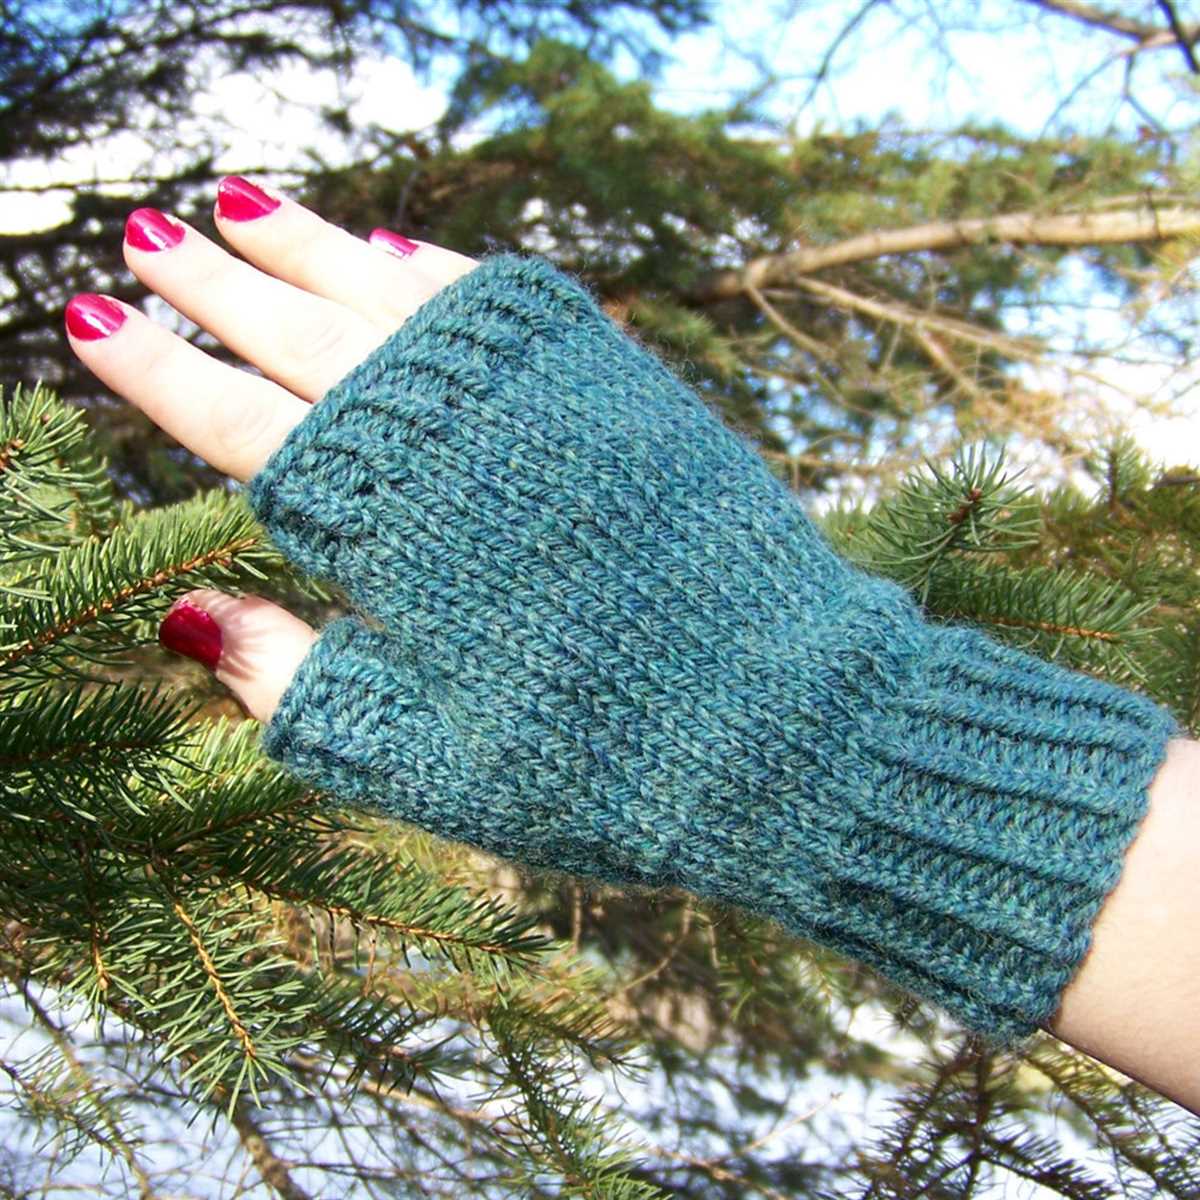
One popular knit pattern for fingerless gloves is the ribbed cuff design. This pattern features a stretchy ribbed cuff that hugs your wrist and ensures a snug fit. The body of the glove can be knit in plain stockinette stitch or with a simple cable pattern for added texture. The fingerless design allows for easy movement and dexterity, making them perfect for activities like texting, typing, or driving.
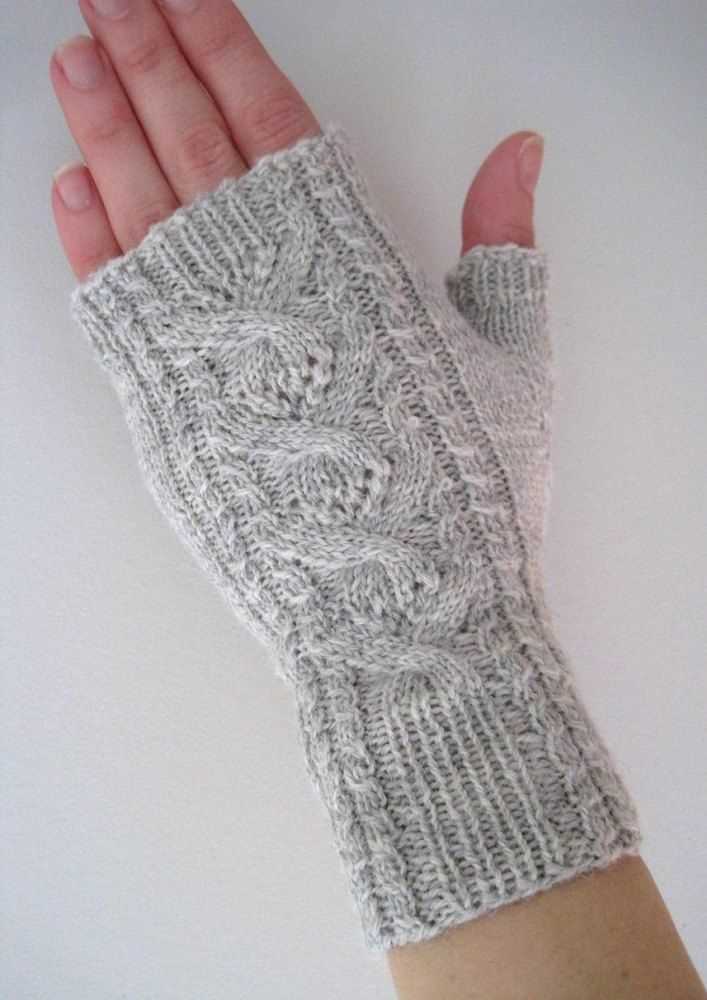
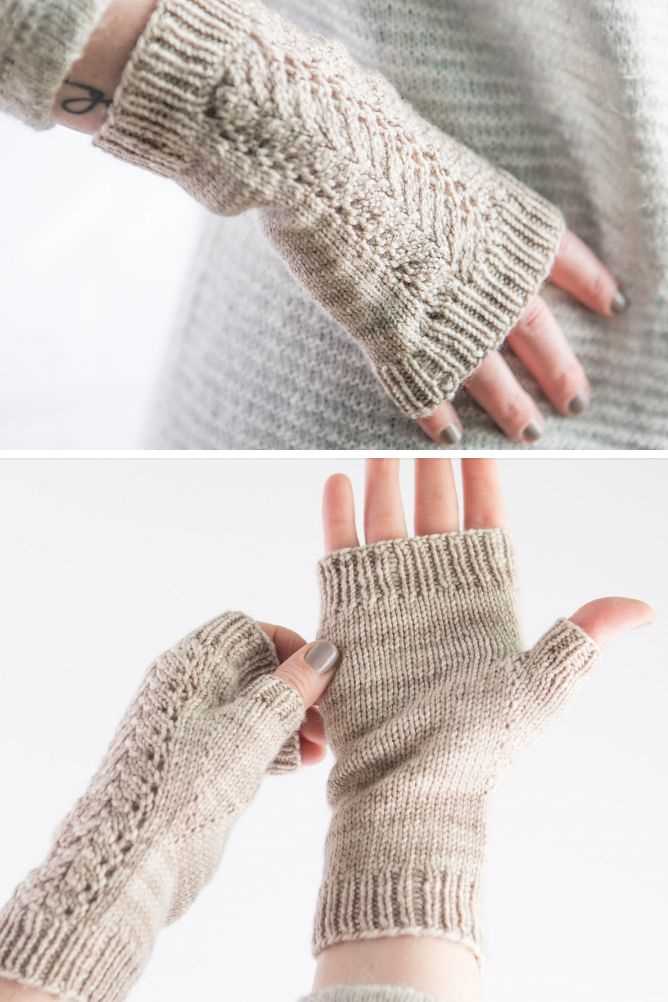
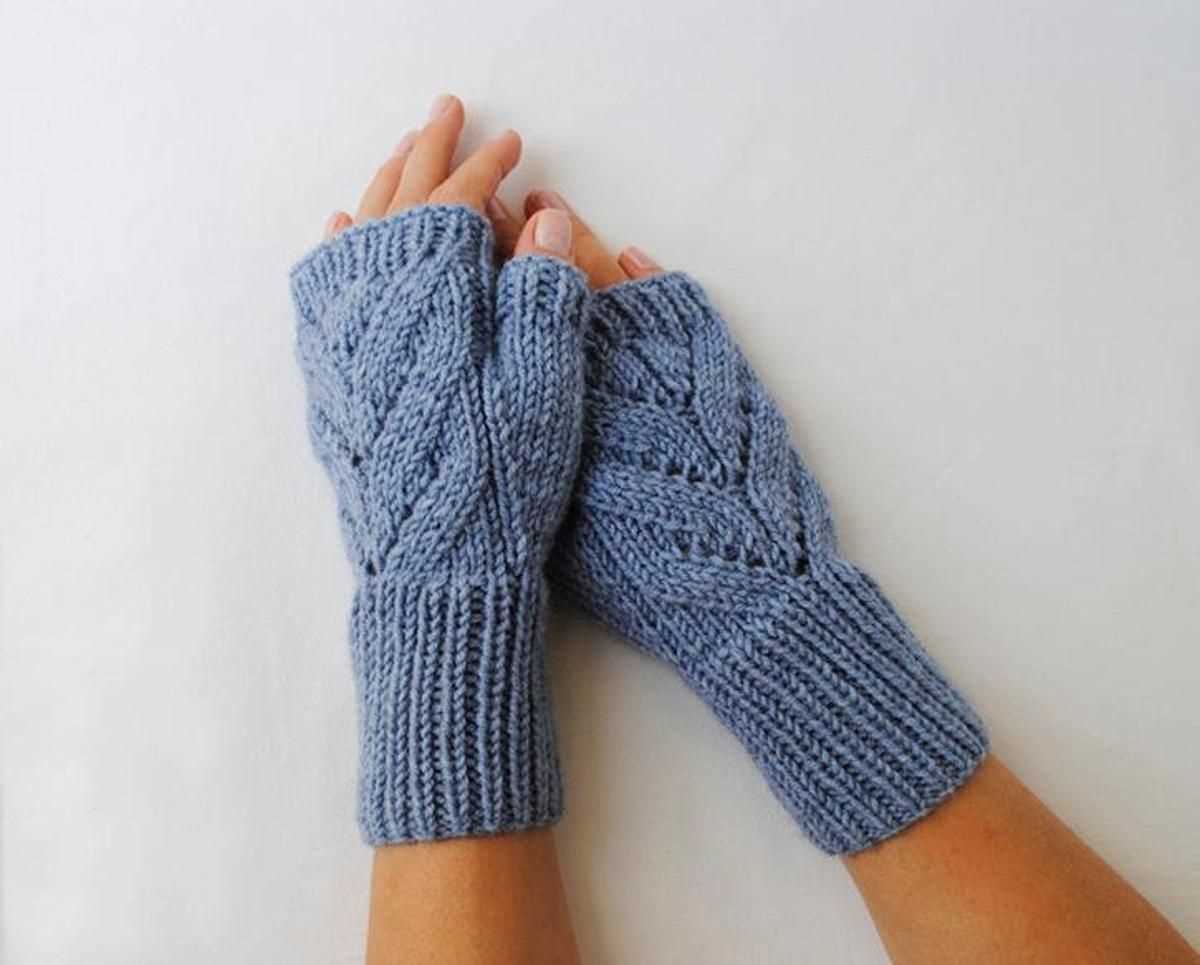
If you’re looking for a more intricate design, you can try a lace or lace-inspired pattern for your fingerless gloves. Lace patterns add elegance and femininity to the gloves, making them a stylish accessory for any occasion. From delicate floral motifs to intricate geometric designs, there are countless lace patterns available to suit your preferences.
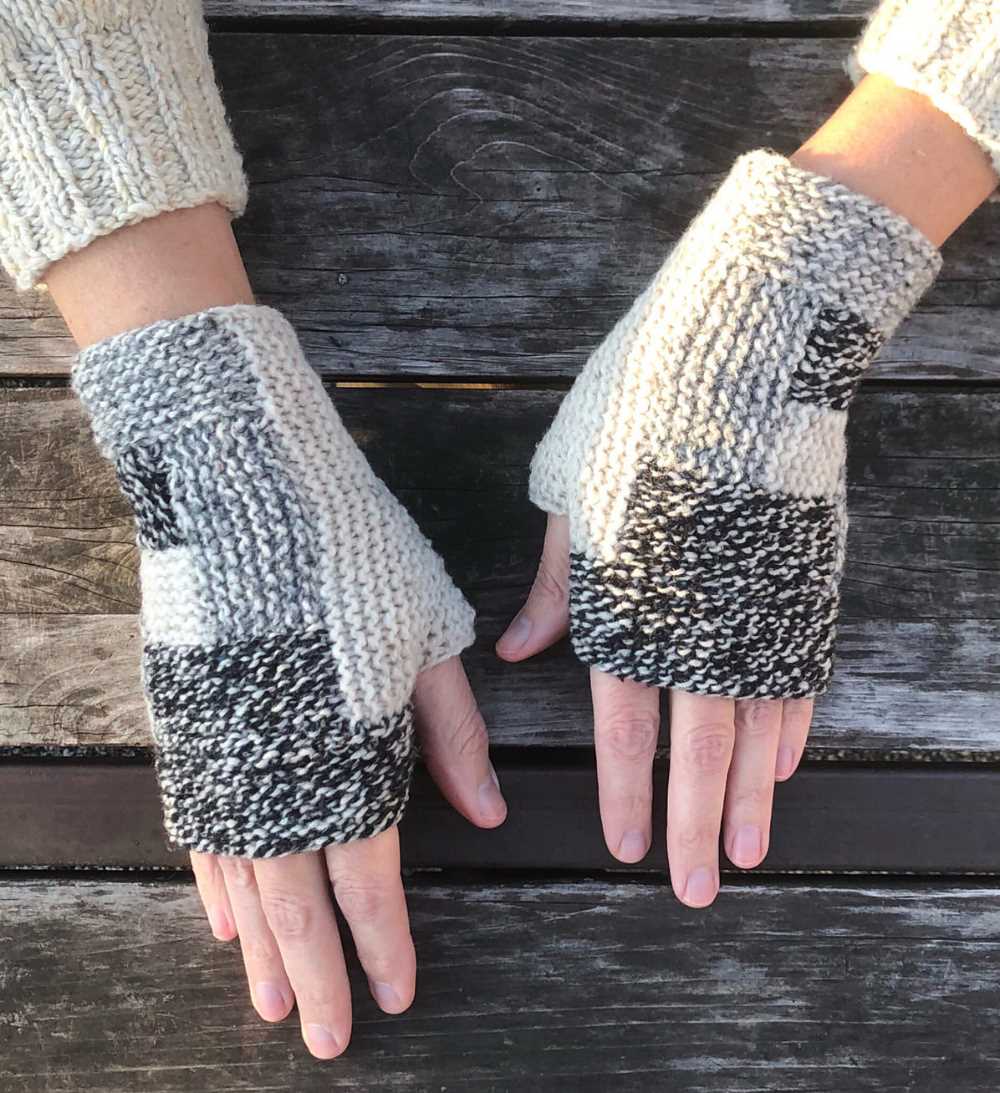
Another popular choice for fingerless gloves is the Fair Isle pattern. This pattern incorporates multiple colors and creates a beautiful, traditional look. With the Fair Isle technique, you can create intricate patterns and designs using two or more colors of yarn. This adds visual interest and allows you to customize the gloves to match your favorite colors or outfit.
No matter which knit pattern you choose, fingerless gloves are a practical and fashionable accessory. They can be worn for warmth during colder months or as a stylish accessory year-round. Knitting your own fingerless gloves allows you to personalize the design and create a unique accessory that reflects your style and creativity.
Benefits of Fingerless Gloves
Fingerless gloves are a versatile accessory that offer a range of benefits for those who wear them. While traditional gloves cover the entire hand, fingerless gloves leave the fingers exposed, providing a unique combination of warmth, dexterity, and style.
1. Enhanced dexterity: One of the major advantages of fingerless gloves is that they allow for greater dexterity and tactile feedback compared to traditional gloves. With your fingertips exposed, you can easily handle small items, use touchscreens, type on a keyboard, or perform intricate tasks without any hindrance.
2. Warmth without sacrificing mobility: Fingerless gloves provide warmth to the hands and wrists while still allowing you full use of your fingers. This is particularly useful in cold weather when you need to keep your hands warm but also need the flexibility to use your phone, drive, or perform any activity that requires precise finger movements.
3. Versatility in fashion: Fingerless gloves come in a wide variety of styles, colors, and materials, making them a fashionable accessory that can complement any outfit. Whether you prefer a classic woolen design, a trendy knitted pattern, or a sleek leather option, fingerless gloves can add a touch of style to your overall look.
4. Comfort and breathability: Unlike traditional gloves, fingerless gloves allow for better ventilation, preventing your hands from getting sweaty or uncomfortable. This makes them an excellent choice for outdoor activities, sports, or any situation where you want to keep your hands protected without feeling overheated.
5. Therapeutic benefits: Fingerless gloves can also have therapeutic benefits for individuals with certain conditions. For example, people with arthritis or hand pain may find relief by wearing fingerless gloves, as they provide compression and warmth to the joints without restricting movement.
In conclusion, fingerless gloves offer a range of benefits that make them a practical and stylish accessory. With their enhanced dexterity, warmth, versatility, comfort, and even therapeutic benefits, fingerless gloves are a great addition to any wardrobe, especially during the colder months.
Choosing the Right Yarn and Needles
When knitting fingerless gloves, it is important to choose the right yarn and needles in order to achieve the desired results. The choice of yarn will determine the warmth, durability, and overall appearance of the gloves. Additionally, the size and type of needles used will affect the gauge and tension of the stitches.
Yarn

When selecting yarn for fingerless gloves, consider the desired warmth and comfort. Natural fibers such as wool or alpaca offer excellent insulation and breathability, making them ideal choices for colder climates. Acrylic and blended yarns, on the other hand, may provide a softer and more affordable option. It is also important to consider the weight of the yarn, as it will affect the drape and fit of the gloves.
- Fingering weight yarn: This lightweight yarn is perfect for delicate and breathable gloves. It is suitable for transitional seasons or for individuals who prefer a less bulky fit.
- Sport weight yarn: Slightly heavier than fingering weight yarn, sport weight yarn provides a good balance between warmth and dexterity. It is often used for everyday gloves.
- Worsted weight yarn: This medium-weight yarn is popular for its versatility and is suitable for a wide range of climates. Worsted weight gloves are often more durable and provide better insulation.
Needles
The choice of needles will depend on the yarn weight and personal preference. Circular needles are recommended for knitting fingerless gloves, as they can accommodate a larger number of stitches and provide a more comfortable knitting experience.
- Size: The size of the needles will affect the tension and gauge of the stitches. Smaller needle sizes produce tighter stitches, while larger sizes create looser ones. It is important to match the needle size to the recommended gauge in the pattern to ensure the correct fit of the gloves.
- Material: Needles can be made from various materials, including wood, metal, and plastic. Each material has its own characteristics that can affect the knitting process. Wooden needles provide warmth and a natural feel, while metal needles offer speed and durability.
Overall, the choice of yarn and needles for knitting fingerless gloves should be based on the desired warmth, comfort, and appearance. Experimentation with different combinations can help find the perfect match for each individual project.
Basic Knitting Techniques
Knitting is a versatile craft that allows you to create a wide range of garments and accessories. Whether you’re a beginner or an experienced knitter, it’s important to have a solid grasp of the basic knitting techniques. Understanding these techniques will not only help you follow patterns more easily but also allow you to modify and create your own designs.
Casting On: Casting on is the first step in starting any knitting project. It involves creating the foundation row of stitches. There are several methods for casting on, including the long-tail cast on, the knitted cast on, and the cable cast on. Each method creates a slightly different edge, so it’s important to choose the one that best suits your project.
Knit Stitch: The knit stitch is the most fundamental stitch in knitting. It forms the familiar “v” pattern of loops that create the fabric. To knit, insert the right-hand needle into the first stitch on the left-hand needle from left to right. Wrap the yarn around the right-hand needle, and pull it through the stitch, slipping the old stitch off the left-hand needle. Repeat this process for each stitch across the row.
- Purl Stitch: The purl stitch is the opposite of the knit stitch and is used to create a different texture in the fabric. To purl, insert the right-hand needle into the first stitch on the left-hand needle from right to left. Wrap the yarn around the right-hand needle, and pull it through the stitch, slipping the old stitch off the left-hand needle. Repeat this process for each stitch across the row.
- Increasing Stitches: Increasing stitches is necessary when you want to add width or shape to your knitting. There are several techniques for increasing stitches, including knitting into the front and back of a stitch, yarn overs, and make one stitches. Each technique creates a different effect and can be used depending on the desired outcome.
- Decreasing Stitches: Decreasing stitches is the opposite of increasing and is used to shape the fabric by removing stitches. Common techniques for decreasing stitches include knitting two stitches together (k2tog), slipping one stitch knitwise and knitting the next stitch, and passing the slipped stitch over (ssk). These techniques create different decreases and can be used to shape the fabric as desired.
These are just a few of the basic knitting techniques that every knitter should know. Practice these techniques and experiment with different patterns and projects to expand your knitting skills and create beautiful and unique garments and accessories.
Common Stitches for Fingerless Gloves
Fingerless gloves are a trendy and practical accessory that keeps your hands warm while allowing for dexterity. Knitting your own pair of fingerless gloves allows you to customize them to your preferences and showcase your knitting skills. To create a beautiful and functional pair of fingerless gloves, it’s essential to master some common stitches.
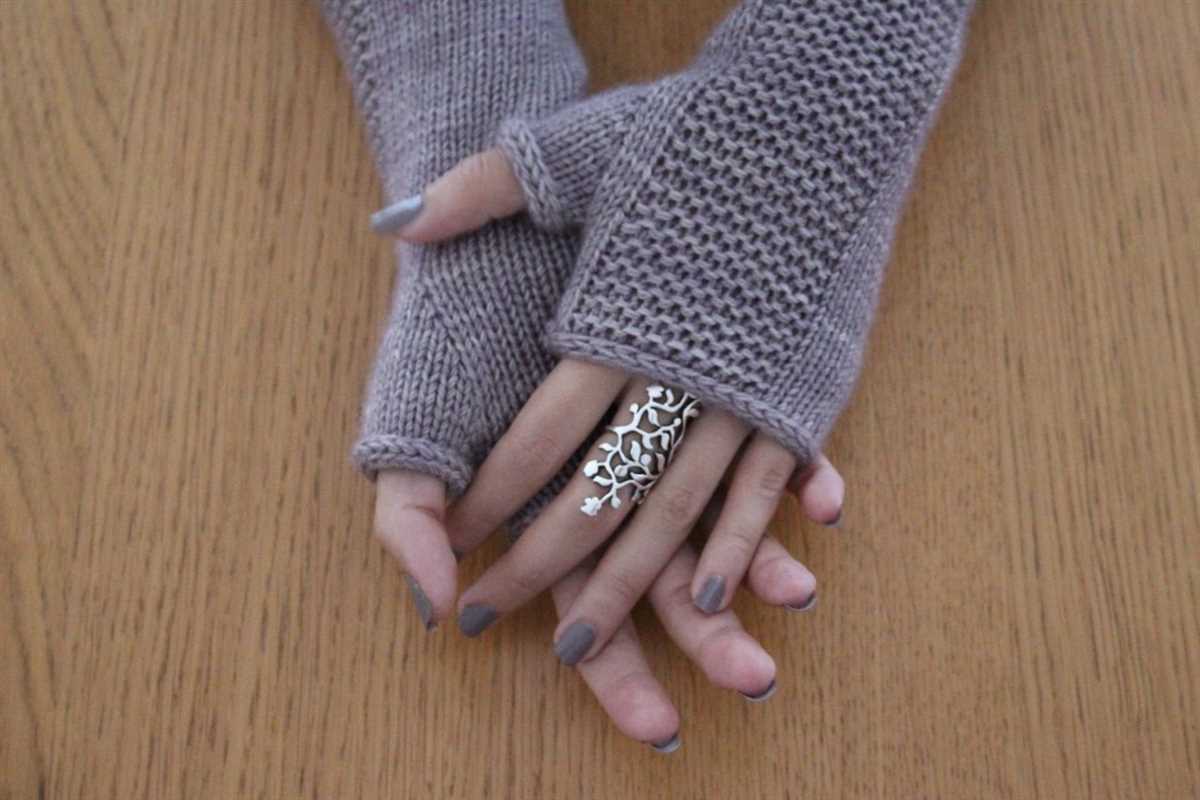
Garter Stitch: The garter stitch is one of the simplest and most commonly used stitches in knitting. It is created by knitting every row. When used in fingerless gloves, the garter stitch adds texture and elasticity to the fabric, making the gloves comfortable to wear.
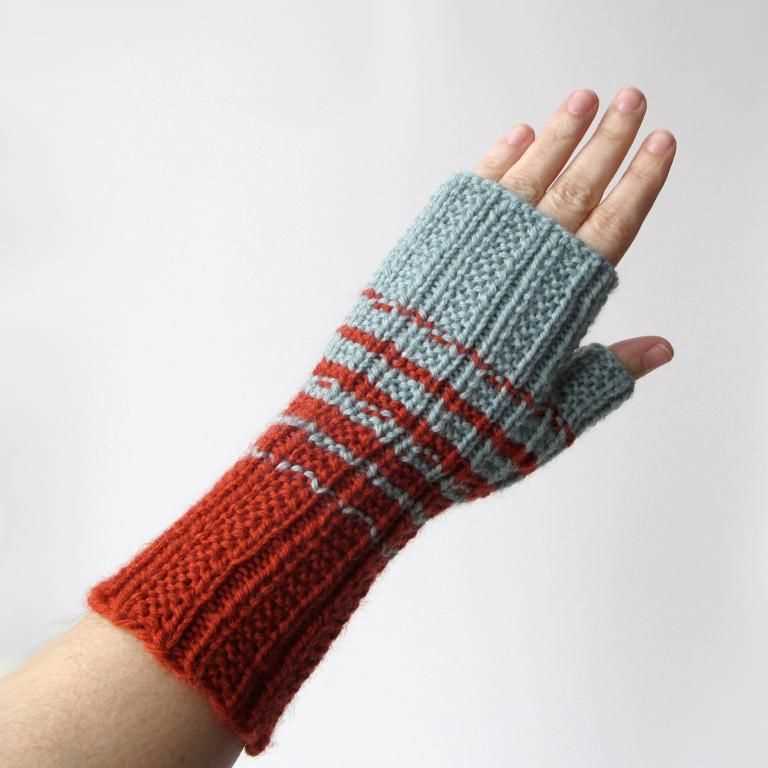
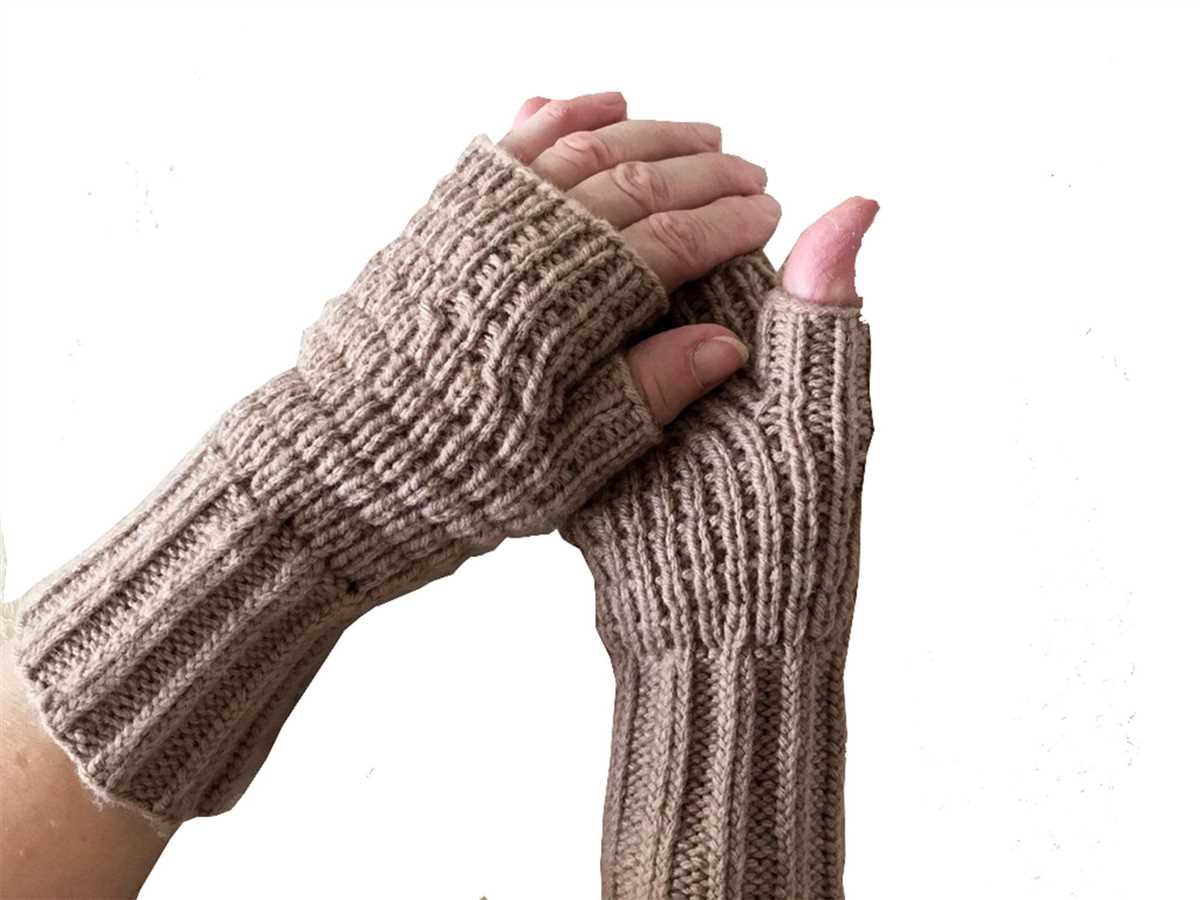
Rib Stitch: The rib stitch is another versatile stitch pattern perfect for fingerless gloves. It is created by alternating knit and purl stitches in a specific pattern. The most common rib stitch pattern is the 1×1 rib, where one knit stitch is followed by one purl stitch. The rib stitch creates a stretchy fabric that molds to the hands and provides a snug fit.
Seed Stitch: The seed stitch is a textured stitch pattern that adds visual interest to fingerless gloves. It is created by alternating knit and purl stitches in a seed-like pattern. The seed stitch creates a bumpy and reversible fabric, making it an excellent choice for fingerless gloves if you want a textured look.
Stockinette Stitch: The stockinette stitch is a classic stitch pattern that creates a smooth and even fabric. It is achieved by knitting one row and purling the next row. The stockinette stitch is often used in fingerless gloves to showcase yarn color changes or stitch patterns, as it creates a clean canvas.
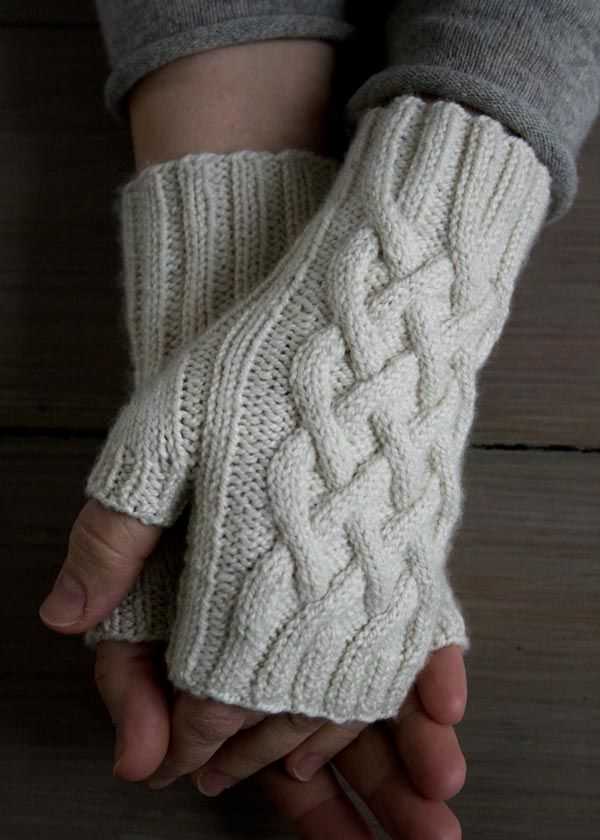
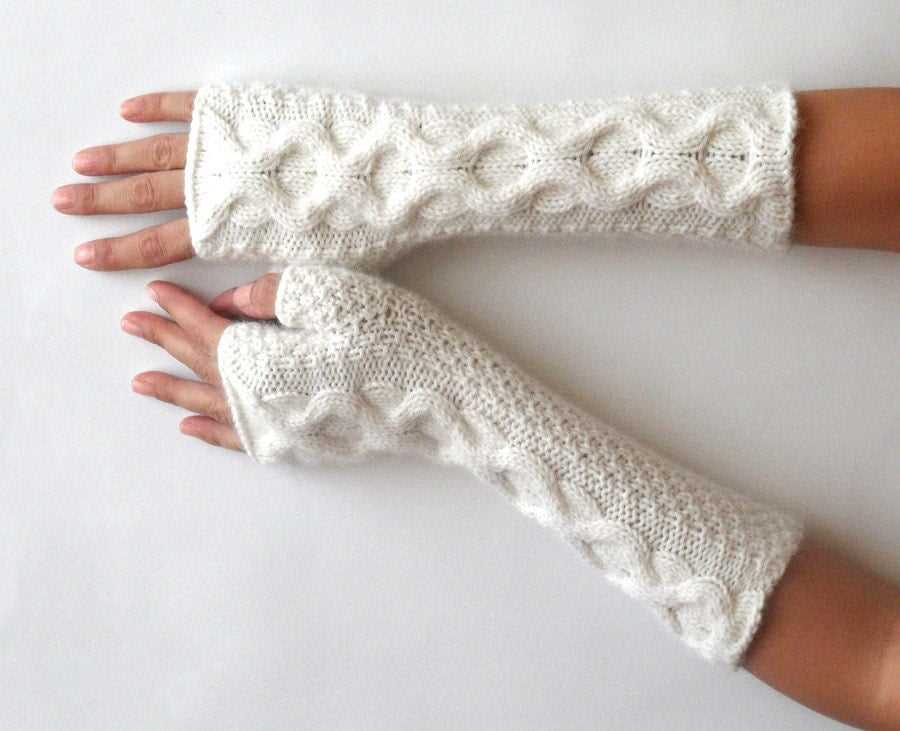
Cable Stitch: The cable stitch is a more advanced stitch pattern that adds a beautiful and intricate design element to fingerless gloves. It involves crossing stitches over each other to create a twisted or braided effect. Cable stitches are often incorporated into the back of fingerless gloves, adding a touch of sophistication to the overall design.
By mastering these common stitches, you’ll have the foundation to create a variety of fingerless gloves with different textures, styles, and levels of complexity. Experiment with combining these stitches or incorporating other stitch patterns to make your fingerless gloves truly unique.
Creating the Thumb Hole
To create the thumb hole for your fingerless gloves, you will need to work a few rounds differently than the rest of the pattern. This is where you will be creating an opening for your thumb to fit through.
To begin, you will need to place several stitches on hold. This can be done using stitch holders or by simply slipping the stitches onto a spare piece of yarn. The number of stitches on hold will depend on the size of your thumb and the width of the thumb hole you desire.
Once the stitches are on hold, continue knitting the remaining stitches in the round as instructed in the pattern. When you reach the row where the thumb hole begins, you will need to create an opening by casting off a certain number of stitches. This will vary depending on your pattern, so be sure to follow the instructions carefully.
After casting off the required number of stitches, you will continue knitting the remaining stitches in the round. It is important to keep in mind that the area where the thumb hole begins may require additional stitches to be added in subsequent rows to maintain the integrity of the pattern.
Once you have completed all the rounds for the thumb hole, you can then transfer the stitches from the spare yarn or stitch holders back onto your knitting needles. This will allow you to continue working the rest of the pattern and complete your fingerless gloves.
Remember to always consult your specific pattern for detailed instructions on creating the thumb hole, as techniques may vary. By following the instructions carefully, you will be able to create a functional and stylish thumb hole that fits comfortably and adds a unique touch to your fingerless gloves.
Knitting the Hand section
The Hand section of the fingerless gloves is where you create the individual finger openings. This section is crucial for allowing freedom of movement for your fingers while keeping the rest of your hand warm.
To begin knitting the Hand section, you will need to have completed the Cuff and Thumb sections of the gloves. Once you have reached the desired length for the Thumb section, it is time to start knitting the Hand section.
Step 1: Transfer the stitches from the Thumb section back onto your working needle. Make sure to distribute the stitches evenly on the needle.
Step 2: Continue knitting the Hand section in the desired stitch pattern. This can be a simple stockinette stitch, ribbing, or any other pattern of your choice. Remember to follow the instructions provided in the knit pattern for the desired stitch pattern.
Step 3: Work the Hand section until it reaches the desired length, typically measuring from the base of the thumb opening to the base of the fingers. Keep in mind that fingerless gloves are meant to fit snugly, so ensure that the Hand section is not too loose or too tight.
Step 4: Once the Hand section is the desired length, you can choose to add any additional finishing touches, such as ribbing or a decorative border, according to the knit pattern. This will help give your fingerless gloves a polished and professional look.
Step 5: Finally, bind off the stitches to secure the Hand section. Use a stretchy bind-off method to ensure that the opening is comfortable and does not restrict movement.
With the completion of the Hand section, your fingerless gloves are now ready for wearing! The Hand section allows your fingers to be free while keeping the rest of your hand warm, making them perfect for activities that require dexterity, such as typing, handling small objects, or playing musical instruments.
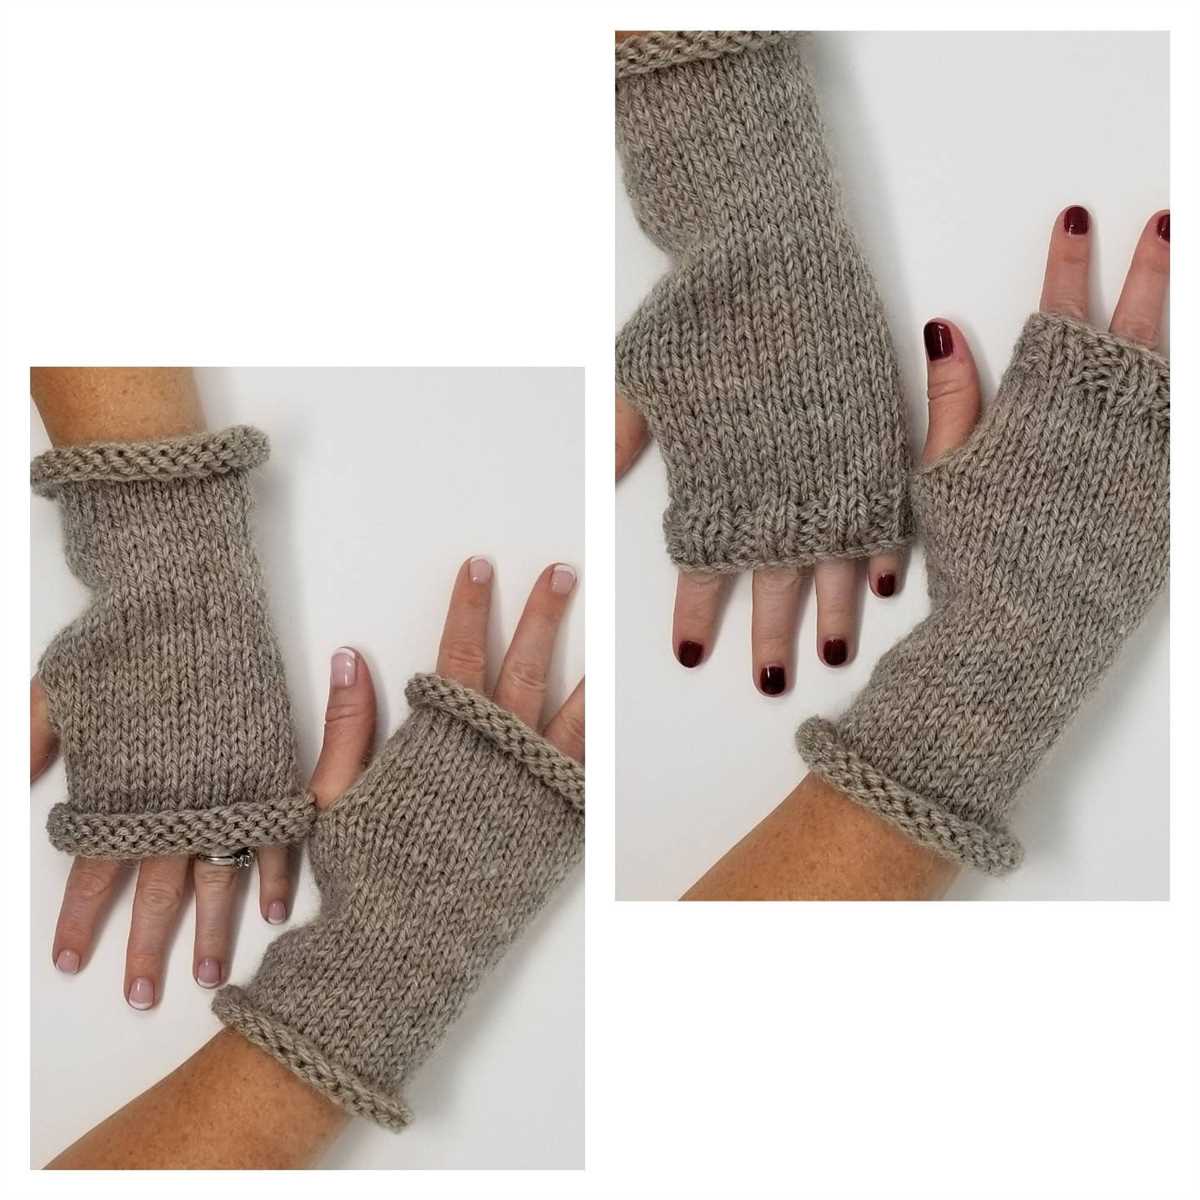
Adding Ribbing for a Snug Fit
Fingerless gloves are a popular accessory for those who want to keep their hands warm while still having the freedom to use their fingers. To ensure a snug fit and to prevent the gloves from slipping off, adding ribbing to the cuffs is a great option.
Ribbing is achieved by alternating knit and purl stitches, creating a stretchy and flexible fabric that can comfortably wrap around the wrist. To add ribbing to your fingerless gloves, you can start by casting on the desired number of stitches. For a standard ribbing pattern, you can use a 2×2 rib, which means knitting two stitches, then purling two stitches, and repeat this pattern across the row.
Materials needed:
- Worsted weight yarn
- Circular or double-pointed knitting needles
- Tapestry needle
- Scissors
Instructions:
- Begin by casting on the desired number of stitches using your preferred method.
- Once the desired length of ribbing is achieved, you can continue with the main pattern of the fingerless gloves. This can include various stitch patterns, such as cables or lace, depending on your preference.
- When reaching the end of the gloves, you can then repeat the ribbing pattern to create a matching cuff.
- Finally, bind off the stitches and weave in any loose ends to finish the fingerless gloves.
Adding ribbing to your fingerless gloves not only provides a snug fit but also adds a touch of style to the overall design. Experiment with different ribbing patterns or even add decorative buttons or embroidery to personalize your gloves. With a little bit of creativity, you can create unique fingerless gloves that are both functional and fashionable.
Joining the Thumb
Once you have completed knitting the main body of the fingerless glove, it’s time to join the thumb. This step is crucial to ensure a comfortable fit and full range of motion for your hand.
To join the thumb, you will need to pick up the stitches that were put on hold earlier. This is done by inserting the needle into the first stitch of the thumb opening and knitting the stitch. Repeat this process for each stitch in the thumb opening until you have successfully picked up all the stitches.
Securing the Thumb Stitches
Once you have picked up all the thumb stitches, you can secure them by knitting a few rounds in the round. This will create a seamless transition between the thumb and the main body of the glove.
You can choose to knit the thumb stitches in a different color or continue with the same color as the main body of the glove, depending on your preference. Either way, make sure to pay attention to the pattern and continue knitting according to the instructions provided.
After securing the thumb stitches, you can continue knitting the rest of the fingerless glove according to the pattern. Be sure to follow the instructions carefully to ensure the best result.
Once you have completed knitting the entire glove, you can finish off by binding off the stitches and weaving in any loose ends. With the thumb properly joined, you can now enjoy your new pair of fingerless gloves!
Finishing Touches and Blocking
Once you have completed knitting your fingerless gloves, it’s time to add the finishing touches to make them look polished and professional. One of the first steps is to weave in any loose ends of yarn that may be sticking out. Using a tapestry needle, thread the loose end through the stitches in the back of the work, working it in a zigzag pattern to ensure it stays secure. Trim any excess yarn once it is woven in.
After weaving in the ends, it’s important to block your gloves to give them their final shape and size. Blocking helps to even out the stitches and ensure that your gloves fit properly. To block your gloves, you can either wet block or steam block them. For wet blocking, soak your gloves in lukewarm water with a gentle detergent for 15-30 minutes, then squeeze out the excess water and shape them on a towel. Allow them to dry completely before wearing. Steam blocking involves using a steamer or iron to gently steam the gloves, then shaping them and allowing them to dry.
To achieve a professional finish, you can also consider adding some additional details to your fingerless gloves. This could include adding a decorative edge, such as a picot or scalloped border, or incorporating buttons or beads for some extra embellishment. These finishing touches can elevate your gloves and make them truly unique.
Once your gloves are finished, be sure to try them on and make any adjustments if needed. Fingerless gloves should fit snugly but still allow for movement and flexibility. If your gloves are too tight, you can stretch them slightly while blocking to ensure a comfortable fit. If they are too loose, you may need to adjust your knitting tension or consider adding a ribbed cuff for a more secure fit.
In conclusion, taking the time to add the finishing touches and properly block your fingerless gloves can make a significant difference in their appearance and fit. With these final steps, you can create a pair of gloves that are not only functional but also stylish and well-crafted.
Fancy Stitch Patterns for Fingerless Gloves
Knitting fingerless gloves is a fun and practical project for any knitter. Not only do fingerless gloves keep your hands warm while allowing you to freely use your fingers, but they also provide an opportunity to get creative with different stitch patterns. Adding fancy stitch patterns to fingerless gloves can give them a unique and stylish look.
One popular stitch pattern for fingerless gloves is the cable stitch. Cables create a beautiful and intricate design that adds texture and depth to the gloves. You can incorporate small cable twists or larger cable panels into your gloves to create a variety of looks. The cable stitch pattern is not only visually appealing, but it also provides extra warmth and insulation for your hands.
Another fancy stitch pattern to consider for fingerless gloves is the lace stitch. Lace stitches create delicate and intricate patterns that are perfect for adding a touch of elegance to your gloves. The openwork created by lace stitches allows for breathability while still providing some warmth. You can experiment with different lace patterns, such as leaf motifs or floral designs, to create a unique and feminine look.
In addition to cable and lace stitches, there are various other fancy stitch patterns you can explore for fingerless gloves. Some options include seed stitch, basketweave stitch, bobbles, and twisted stitches. These patterns can add texture and visual interest to your gloves, making them stand out from the crowd.
When selecting a stitch pattern for fingerless gloves, it’s important to consider the yarn weight and fiber content. Lighter weight yarns are generally better suited for intricate stitch patterns, while heavier weight yarns can create a more textured and chunky look. Additionally, certain fibers, such as wool or alpaca, may be better suited for stitch patterns that require more stitch definition.
Overall, incorporating fancy stitch patterns into your fingerless gloves allows you to showcase your knitting skills and add a personal touch to your handmade accessories. Whether you choose cables, lace, or other fancy stitch patterns, the end result will be a pair of unique and stylish gloves that keep your hands warm and look great.
Tips for a Perfect Fit
If you want your fingerless gloves to fit perfectly, here are some tips to keep in mind:
- Measure your hand: Before starting your project, it’s important to measure your hand to ensure a good fit. Measure the circumference of your palm and the length of your hand from the base of your palm to your knuckles. Use these measurements to adjust the pattern accordingly.
- Choose the right yarn: The type of yarn you use can greatly affect the fit of your fingerless gloves. Opt for a yarn that has some stretch to it, such as wool or a wool blend. This will allow the gloves to mold to your hand and provide a snug fit.
- Pay attention to gauge: Make sure to check your gauge before starting the project. The gauge refers to the number of stitches and rows per inch. By matching the gauge specified in the pattern, you can ensure that your gloves will fit as intended.
- Consider finger length: Depending on your personal preference, you may want shorter or longer finger sections in your gloves. Keep in mind that longer fingers can provide additional warmth, while shorter fingers allow for more mobility.
- Try them on as you go: To ensure a perfect fit, try on your fingerless gloves as you work on them. This will allow you to make any necessary adjustments to the length or width to ensure a snug fit.
By following these tips, you can create fingerless gloves that fit perfectly and provide both style and comfort.