
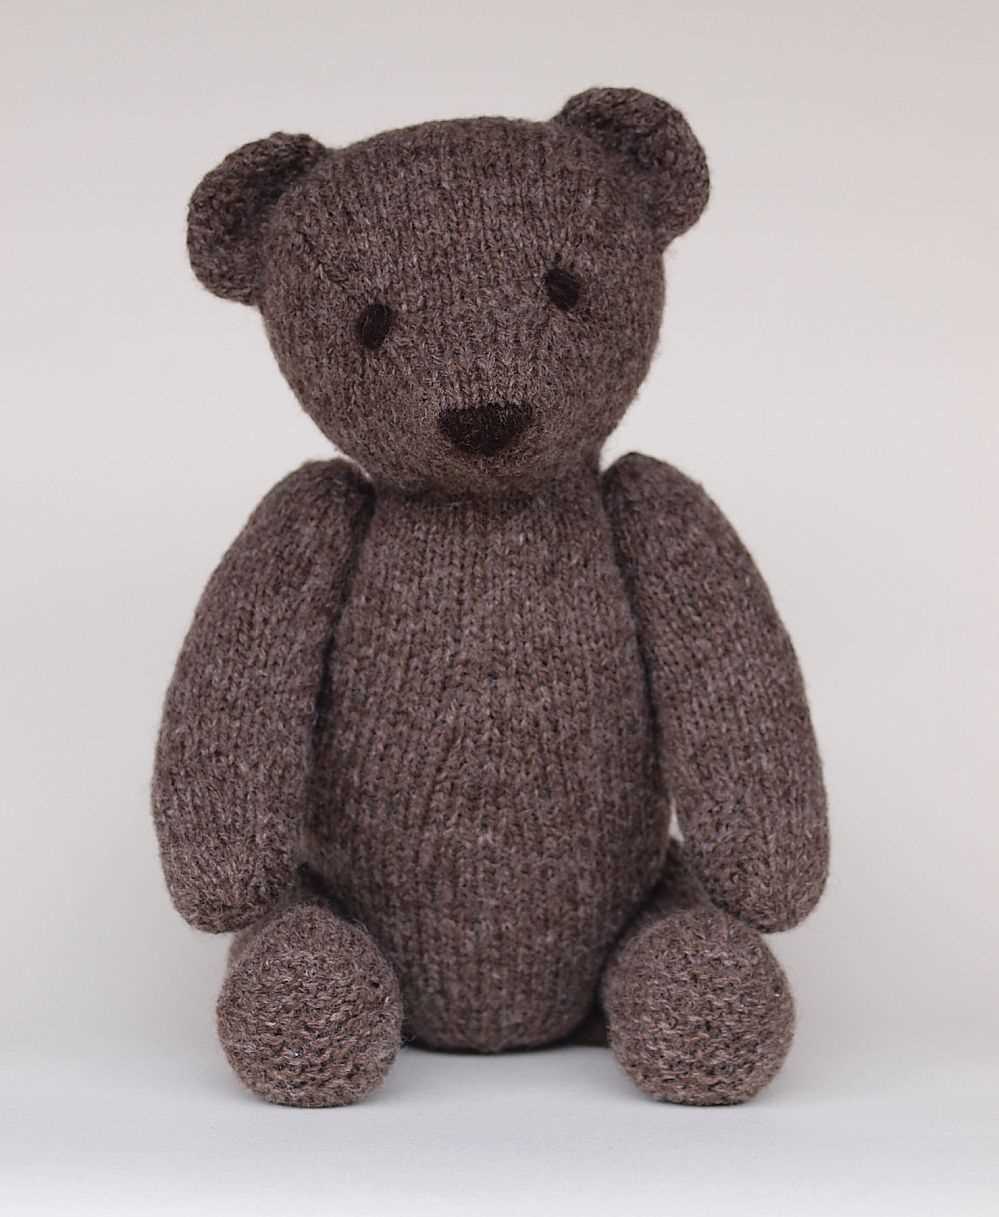
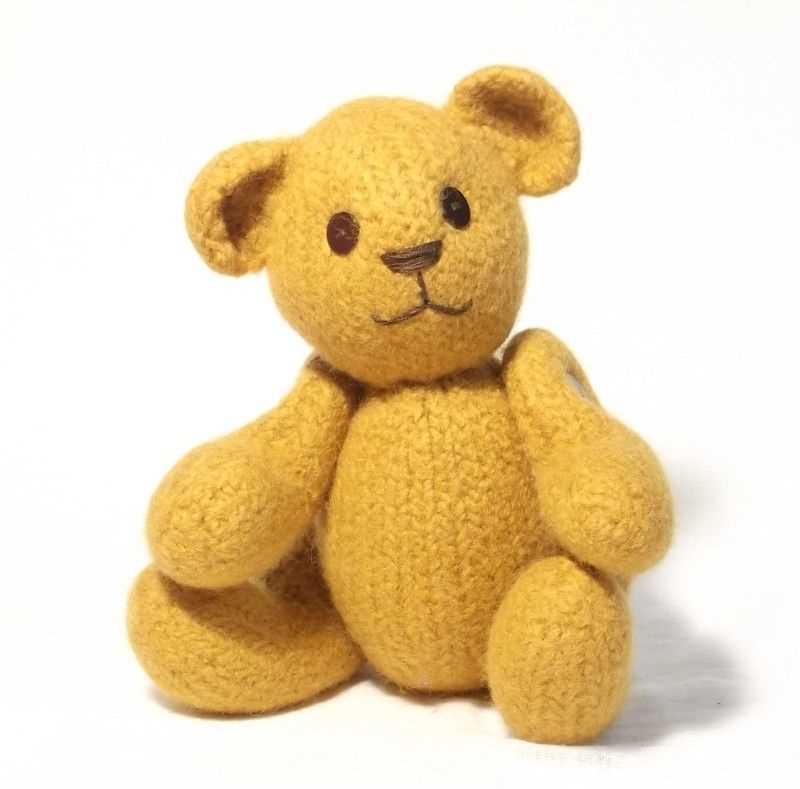
Looking for a fun and cuddly project to knit? Look no further than the knit teddy bear pattern. Whether you’re a beginner or an experienced knitter, this pattern allows you to create a timeless classic that will be cherished for years to come.
The knit teddy bear pattern offers endless possibilities for customization. You can choose the colors, the size, and even the stitch pattern to make each teddy bear unique. Plus, with the ability to create outfits and accessories, you can personalize your bear even further.
Knitting a teddy bear is not only a rewarding project, but it also allows you to develop and practice skills such as shaping, seaming, and working with different yarn weights. It’s a fantastic way to expand your knitting repertoire and challenge yourself with new techniques.
The history of teddy bears
The teddy bear is a beloved stuffed toy that has been comforting children for over a century. Its origins can be traced back to the early 20th century, when two individuals played significant roles in its creation: President Theodore Roosevelt and a German toymaker named Richard Steiff.
In 1902, President Theodore Roosevelt went on a hunting trip to Mississippi. After a long day without any success, his hunting companions captured a bear cub and suggested that Roosevelt shoot it. However, Roosevelt refused, deeming it unsportsmanlike. This incident was illustrated in a newspaper cartoon, catching the attention of a German toymaker named Richard Steiff.
Steiff, who had founded a toy company in 1880, was inspired by the story and decided to create a toy bear modeled after the bear cub Roosevelt spared. He designed a bear with jointed limbs and a movable head, using mohair fabric and soft stuffing to make it cuddly. The bear was named Teddy’s Bear, in honor of President Roosevelt, and it quickly gained popularity.
To capitalize on the teddy bear craze, many other toymakers began producing their own versions of the toy. These early teddy bears were often made with high-quality materials and craftsmanship, making them treasured keepsakes. The popularity of teddy bears grew even further when they became associated with children’s literature and cartoons, becoming iconic symbols of comfort and companionship.
The teddy bear continues to be a cherished companion for children around the world, providing comfort, companionship, and endless hours of imaginative play. From humble beginnings to global fame, the teddy bear’s history is a testament to the enduring appeal of a simple, huggable toy.
Choosing the right yarn and needles

When knitting a teddy bear, choosing the right yarn and needles is essential to ensure the finished product turns out as desired. The type of yarn selected will impact the texture, durability, and overall appearance of the teddy bear. Additionally, the proper needles will help achieve the desired gauge and ensure a smooth knitting process.
Selecting the yarn
There are various types of yarn that can be used to knit a teddy bear. It is important to consider the desired characteristics of the finished bear when choosing the yarn. If a soft and cuddly bear is desired, a yarn with a high percentage of natural fibers, such as cotton or alpaca, would be a good choice. Alternatively, if durability is a priority, a synthetic blend or acrylic yarn may be more suitable.
Weight is another important consideration when selecting yarn. Thicker yarns, such as chunky or bulky weight, will result in a larger teddy bear, while thinner yarns, such as fingering or sport weight, will create a smaller bear. It is important to check the pattern for any specific recommendations regarding yarn weight to ensure the finished bear matches the intended size.
Choosing the needles
The size and type of needles used can greatly impact the knitting process and the overall look of the teddy bear. The size of the needles will determine the gauge and tension of the stitches. It is important to match the needle size to the recommended gauge in the pattern to ensure the correct size and proportions are achieved.
In terms of needle material, there are various options available, including metal, bamboo, and plastic. Each material offers different characteristics, such as weight, flexibility, and grip. Choosing the right needle material will depend on personal preference and comfort during knitting.
In conclusion, selecting the right yarn and needles is crucial for knitting a successful teddy bear. Considering factors such as fiber content, weight, and needle size and material will help ensure the finished bear meets the desired aesthetic and functional requirements.
Getting started with your knit teddy bear
Knitting a teddy bear can be a fun and rewarding project for both beginners and experienced knitters. Whether you are making it as a gift or for yourself, this step-by-step guide will help you get started on creating your very own cuddly companion.
Materials you’ll need:
- Yarn: Choose a soft and cuddly yarn in your preferred color. You can use any weight of yarn, but it’s recommended to use a thicker yarn for faster results.
- Knitting needles: The size of the needles will depend on the yarn weight you choose. Check the yarn label for recommended needle size.
- Stuffing: You’ll need a soft and hypoallergenic stuffing material to give your teddy bear its shape and make it huggable.
- Tapestry needle: This large-eyed needle will be used to sew the different parts of the teddy bear together.
- Scissors: Make sure to have a good pair of scissors for cutting the yarn and trimming any excess.
- Safety eyes and nose: If you want to add a cute and realistic touch to your teddy bear, you can purchase safety eyes and a plastic nose from a craft store.
Before you start knitting, it’s important to familiarize yourself with the pattern you’re using. Read through the instructions carefully and make sure you understand the abbreviations and techniques used. Take note of any special stitches or techniques that might be required.
Once you’re ready to begin, cast on the required number of stitches and start knitting your teddy bear’s body or head, depending on the pattern. Follow the instructions row by row, making sure to keep track of your progress and count stitches as you go along.
When you finish knitting all the parts, it’s time to assemble them together. Use the tapestry needle to sew the body, arms, legs, and head of the teddy bear following the pattern’s instructions. Make sure to stuff the bear firmly as you sew, and shape it as desired.
Finally, add the finishing touches to your teddy bear by sewing on the safety eyes, nose, and any additional features such as a mouth or embroidery. Take your time to work carefully and create a face that brings your teddy bear to life.
Once your knit teddy bear is complete, give it a hug and enjoy the satisfaction of creating a handmade toy. It can also make a thoughtful gift for a loved one, or a cherished keepsake for yourself.
Creating the body of the teddy bear
When knitting a teddy bear, the body is one of the most important parts to get right. It is the central piece that gives the bear its shape and character. To start creating the body, you will need to gather the necessary materials, including yarn, knitting needles, stuffing, and any additional accessories you want to add to the bear.
Begin by casting on the required number of stitches, as specified in the pattern. This will determine the width of the bear’s body. Once the stitches are cast on, you can start knitting in the desired stitch pattern. You can choose from a variety of knitting stitches, such as stockinette stitch, garter stitch, or a combination of different stitches to add texture to the bear’s body.
As you work your way through the pattern, follow the instructions for increasing or decreasing stitches to shape the body. These instructions will help create the curves and contours that give the bear its cuddly shape. Pay attention to the pattern’s guidance on stitch markers, as they can help you keep track of your progress and ensure that your increases and decreases are in the correct places.
Once you have reached the desired length for the body, make sure to bind off the stitches according to the pattern instructions. This will secure the stitches and prevent them from unraveling. At this point, you can start stuffing the body with stuffing material. Make sure to stuff it evenly and firmly to give the teddy bear a nice, plump shape.
After the body is stuffed, you can sew up any remaining openings and trim any excess yarn. Depending on the pattern, you may also need to attach limbs or other accessories to the body at this stage. Take your time and follow the pattern instructions carefully to ensure that all the pieces come together seamlessly.
Knitting the arms and legs
When knitting a teddy bear, one important aspect is creating the arms and legs. These parts are what give the bear its character and allow it to be posed in different positions. Knitting the arms and legs requires attention to detail and precision.
Start by casting on the required number of stitches for each limb. The pattern will usually specify the number of stitches needed. Using double-pointed knitting needles will make the process easier, as they allow for knitting in the round. Work the required number of rounds in the specified stitch pattern, which could be ribbing or stockinette stitch, depending on the design.
When the desired length for the arms or legs is reached, it’s time to shape them. Decrease stitches gradually to create a tapered effect. This is usually done by knitting two stitches together at regular intervals, or by using other decrease techniques like slip, slip, knit. Follow the pattern’s instructions for the specific decrease method and placement of decreases.
After shaping the arms and legs, bind off the remaining stitches and cut the yarn, leaving a long tail for sewing. Repeat the process for each limb, ensuring that both arms and both legs are created in the same way so that they match. Once all the limbs are knitted, they can be sewn onto the body of the teddy bear in the desired position.
Here is a step-by-step guide to knitting the arms and legs:
- Cast on the required number of stitches for the limb.
- Work the specified number of rounds in the stitch pattern.
- Shape the limb by decreasing stitches gradually.
- Bind off the remaining stitches and cut the yarn, leaving a long tail.
- Repeat the process for all the limbs, ensuring they match.
- Sew the limbs onto the body in the desired position.
By following these steps and paying attention to the pattern instructions, you’ll be able to knit the arms and legs of your teddy bear with confidence. This will give your bear the ability to be posed and make it even more enjoyable to play with or display.
Adding facial features
When it comes to knitting a teddy bear, adding facial features is an important step to bring your creation to life. The eyes, nose, and mouth are key elements that give the teddy bear its characteristic expression and personality.
Eyes: There are various options for adding eyes to your knitted teddy bear. You can use plastic safety eyes, which are easy to attach and come in different sizes and colors. Alternatively, you can embroider the eyes using yarn or embroidery thread. For a more realistic look, you can also use glass eyes specifically made for teddy bears.
Nose: The nose is another important feature that can add a lot of personality to your knitted teddy bear. You can use a small piece of felt or fabric to create a simple nose shape and stitch it onto the bear’s head. Alternatively, you can knit a small triangle shape and attach it as the bear’s nose. Another option is to use a plastic or embroidered nose, which can be easily attached using a needle and thread.
Mouth: The mouth is an optional feature that can give your teddy bear a happy, sad, or neutral expression. You can embroider a simple smile or frown using yarn or embroidery thread. To create a more detailed mouth, you can use small pieces of felt or fabric to sew on a mouth shape. Experiment with different shapes and sizes to find the one that best suits the expression you want to create.
Remember, adding facial features to your knitted teddy bear is a creative process, and you can customize the expression and personality according to your preferences. Take your time and enjoy this step of the knitting process, as it is where your teddy bear truly comes to life.
Putting it all together
Now that you have your materials ready and you’ve familiarized yourself with the knitting techniques, it’s time to put it all together and start creating your very own knit teddy bear! Follow these step-by-step instructions to bring your teddy bear to life.
1. Start with the legs
Begin by knitting the two legs of the teddy bear. Follow the pattern instructions and use the double-pointed needles to create the circular shape needed for the legs. Remember to stuff the legs lightly as you go along to give them some shape.
2. Move on to the body
Once both legs are complete, join them together by knitting across the stitches of one leg and then picking up stitches from the second leg. This will create the seamless transition between the legs and form the body of the bear. Continue knitting in the round until you reach the desired height for the body.
3. Shape the head and ears
Once the body is finished, it’s time to shape the head and ears. Knit a few rows to create the neck, then decrease stitches gradually to shape the head. Follow the pattern instructions to create the ears, which are usually knitted separately and then sewn onto the head.
4. Complete the arms and finish off
Finish off your teddy bear by knitting the arms separately and attaching them to the body. Stuff the arms lightly and sew them securely to the sides of the body. Finally, sew any remaining seams, weave in any loose ends, and add any desired finishing touches, such as embroidered facial features or a ribbon around the neck.
Once you’ve completed all the steps, you’ll have a beautifully crafted knit teddy bear to cherish or gift to someone special. Enjoy the process of bringing your creation to life and don’t be afraid to add your own personal touches along the way!
Finishing touches and personalization
Once you have completed knitting your teddy bear, it’s time to add the finishing touches and personalize it to make it truly unique. There are several ways you can do this.
Embroidery: You can use embroidery to add facial features such as eyes, nose, and mouth to your teddy bear. Using a contrasting color yarn or embroidery thread, carefully stitch on the eyes and nose using the satin stitch or French knots. You can also add a smile or other facial details to give your bear even more personality.
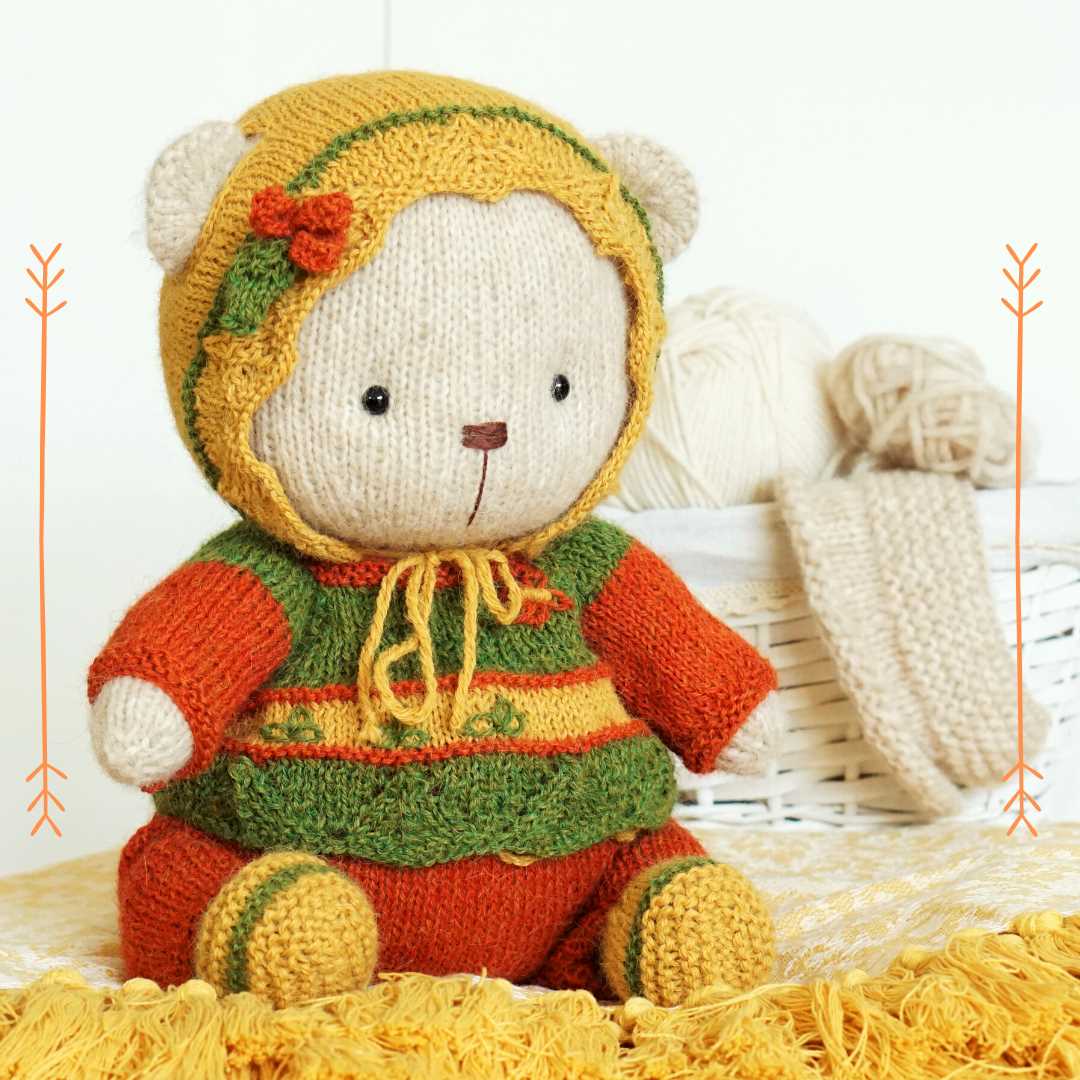
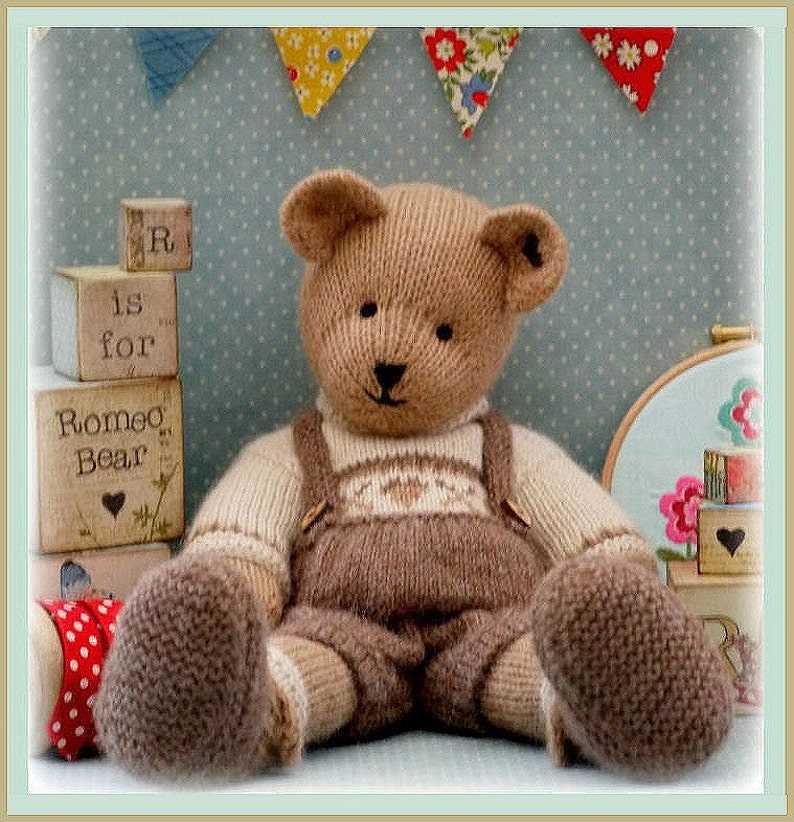
Accessories: To further personalize your teddy bear, consider adding accessories such as a bow tie, scarf, or even a small knitted hat. These can be made from leftover yarn or a complementary color. Simply knit or crochet the accessories and attach them securely to your bear using a yarn needle.
Name tag: If you’re making this teddy bear as a gift, you could add a small personalized name tag to make it extra special. You can create a name tag using cardstock or fabric, and then handwrite or print the recipient’s name on it. Attach the name tag to your bear using a small safety pin or sewing it on with a needle and thread.
Additional details: If you want to take your personalization to the next level, consider adding additional details to your teddy bear. This could include knitting or crocheting small patches on the bear’s body, adding buttons or beads for embellishment, or even incorporating different stitches or patterns into the design.
Remember, the finishing touches and personalization are what make your teddy bear truly unique. Have fun experimenting with different techniques and materials to create a teddy bear that is truly one of a kind!
Tips and Tricks for Successful Knitting
Knitting is a craft that requires patience, precision, and practice. Whether you are a beginner or an experienced knitter, here are some tips and tricks that can help you improve your knitting skills and create beautiful, professional-looking projects.
1. Choose the Right Yarn and Needles
Choosing the right yarn and needles for your project is crucial. Be sure to check the yarn label for the recommended needle size and gauge. Using the wrong size needles can result in a finished project that is too loose or too tight. Additionally, different types of yarn (such as wool, cotton, or acrylic) have different properties and will produce different results. Experiment with different yarns and needles to find the perfect combination for your project.
2. Practice Proper Tension
Consistent tension is essential for producing uniform stitches. To ensure proper tension, try to keep your yarn at a consistent tension throughout your knitting. Avoid pulling the yarn too tight or allowing it to be too loose. It may take some time to develop a steady tension, but practicing and being mindful of your tension will improve the overall look of your knitting.
3. Count Your Stitches and Rows
Counting your stitches and rows regularly is important to ensure that your project is progressing correctly. Counting helps you avoid mistakes and provides a way to check your progress against the pattern. Use stitch markers to mark important sections or pattern repeats to make counting easier.
4. Learn and Use Proper Techniques
Learning and using proper knitting techniques will make your knitting experience more enjoyable and your finished projects more polished. Take the time to learn and practice techniques such as casting on, knitting, purling, increasing, decreasing, and binding off. There are many online tutorials and instructional videos available to help you master these techniques.
5. Block Your Finished Projects
Blocking is the process of shaping and smoothing your knitted project to give it a professional finish. Depending on the yarn and project, you can block your knitting by wetting it and laying it flat to dry, or by using steam or heat. Blocking helps even out stitches, improve drape, and give the finished piece a polished look. Follow the blocking instructions specific to your project to achieve the best results.
6. Be Patient and Persistent
Knitting can be challenging at times, especially when learning new techniques or tackling complex patterns. It’s important to be patient with yourself, take breaks when needed, and practice regularly. Remember that knitting is a skill that improves with time and experience. Don’t get discouraged by mistakes or setbacks – they are a natural part of the learning process. Stay persistent and enjoy the journey of creating beautiful knitted projects.
Knitting resources and further inspiration
If you’re interested in continuing your knitting journey with more projects like the knit teddy bear, there are plenty of resources available to help you. Here are a few suggestions to get you started:
- Online knitting communities: Joining an online community of knitters can provide you with a wealth of inspiration and support. Websites like Ravelry and Knitting Paradise allow you to connect with other knitters, share your projects, and ask for advice.
- Knitting blogs and websites: There are many knitting blogs and websites that offer free patterns, tutorials, and tips. Some popular ones include Knitty, Purl Soho, and Tin Can Knits. These resources can help you expand your knitting skills and discover new projects.
- Knitting magazines and books: There are also a variety of knitting magazines and books available that feature patterns, techniques, and stories from the knitting community. Subscribing to a knitting magazine or purchasing a knitting book can provide you with a regular source of inspiration and instruction.
Remember, knitting is a versatile and creative craft, and there are endless possibilities for what you can create. Whether you choose to explore different knitting techniques, try new types of projects, or customize patterns to make them your own, the world of knitting is yours to explore. Have fun and happy knitting!