
Looking for a fun and adorable knitting project? Look no further than the knit turtle hat pattern. This pattern combines the warmth and comfort of a hat with the cuteness of a turtle, making it a perfect accessory for kids and adults alike.
The knit turtle hat pattern is suitable for knitters of all skill levels. Whether you’re a beginner looking to take on a new challenge or an experienced knitter looking for a quick and satisfying project, this pattern has something for everyone.
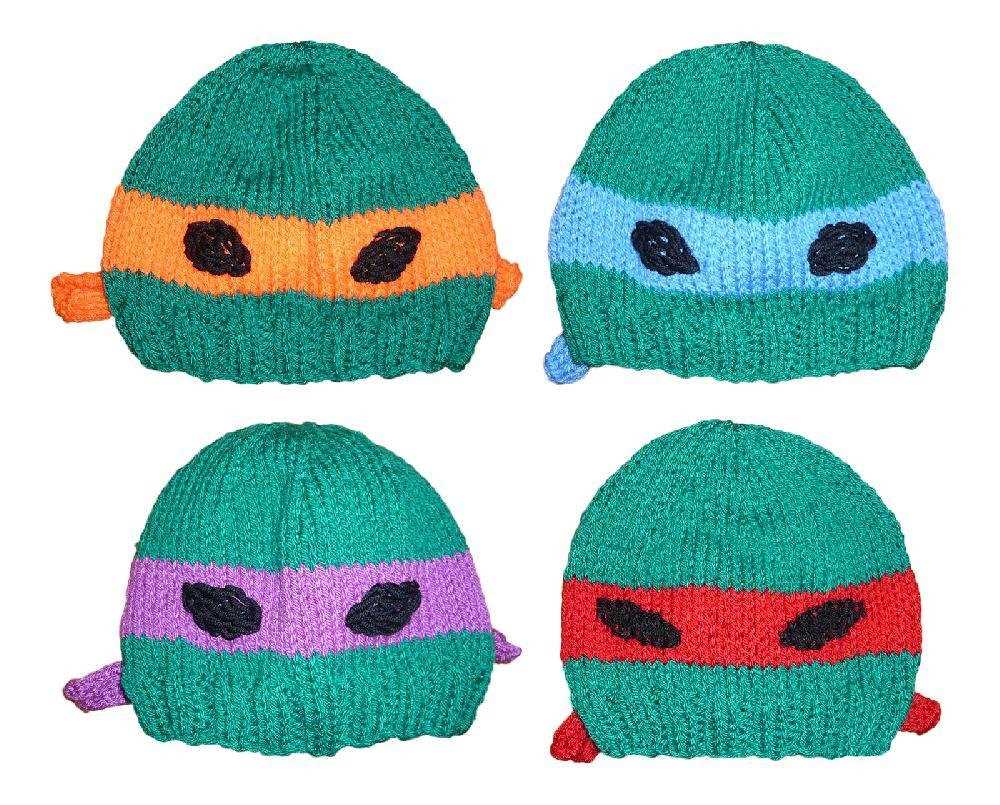
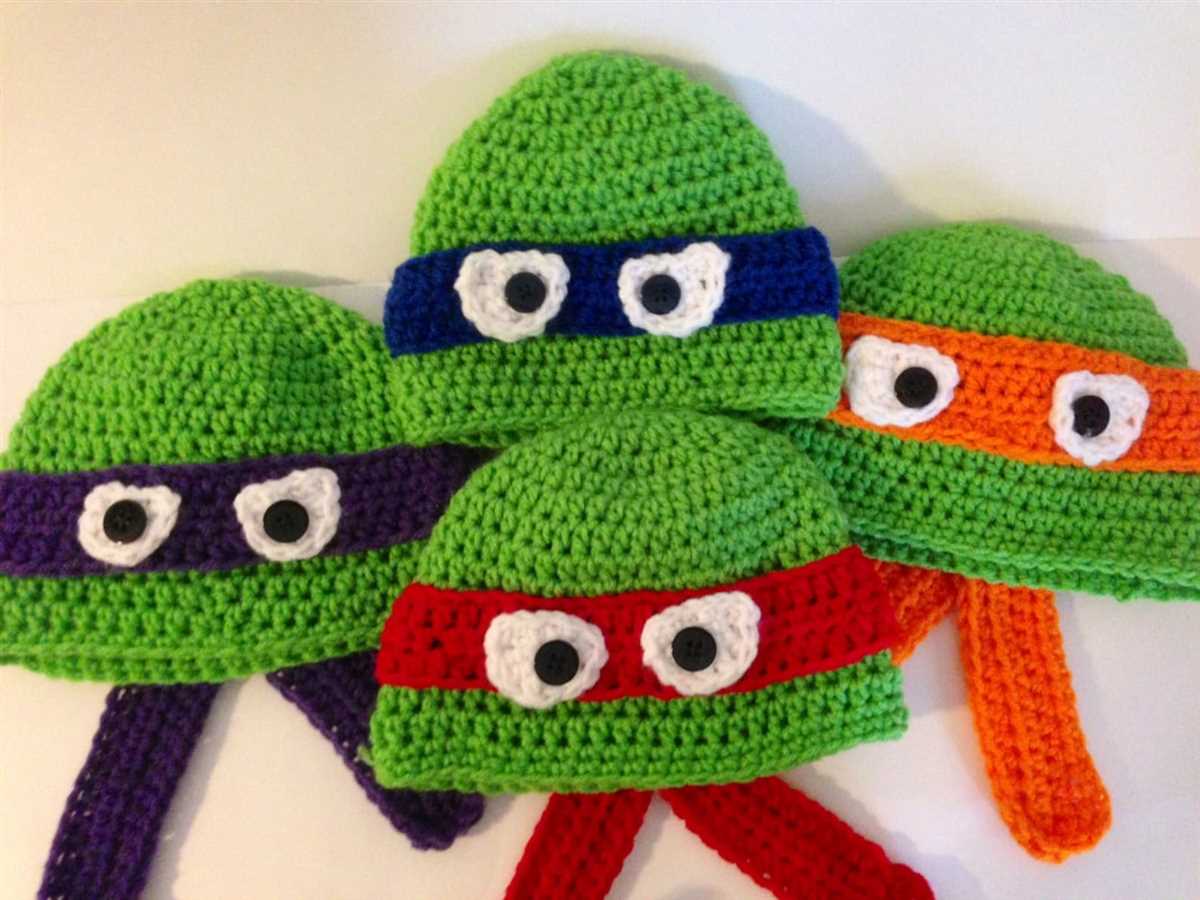
One of the best things about this pattern is that it allows for creativity and personalization. With a variety of color options and the ability to add unique details like eyes and a shell, you can make each turtle hat truly one-of-a-kind.
So grab your knitting needles and get ready to create an adorable and cozy turtle hat with this knit turtle hat pattern. Whether you’re making it as a gift or for yourself, it’s sure to be a hit!
What is a knit turtle hat?
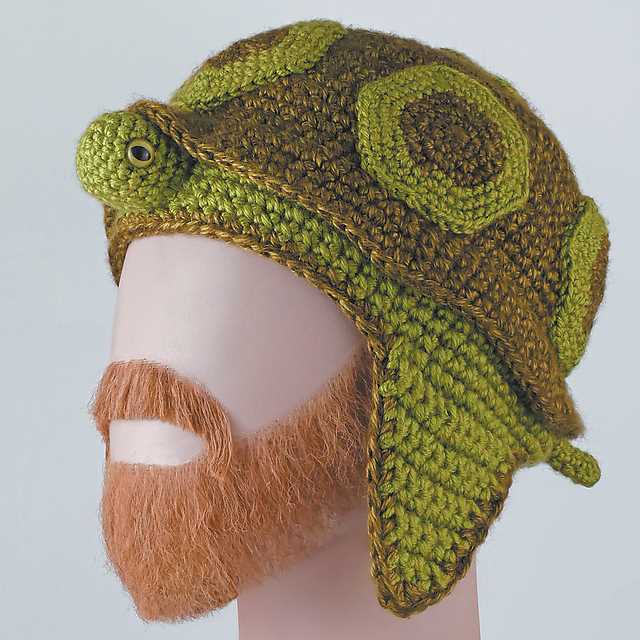
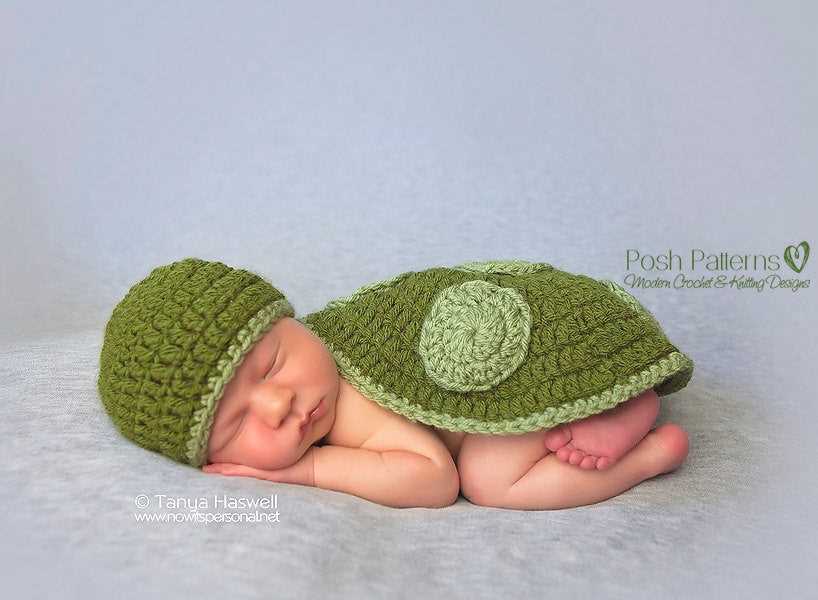
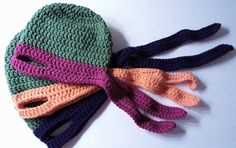
A knit turtle hat is a type of hat that resembles a turtle’s head and neck. It is a popular accessory for babies, children, and even adults who want to add a fun and cute touch to their winter outfits.
This unique hat design typically features a round crown that sits snugly on the wearer’s head, and a long, tubular extension that extends downward to cover the neck and partially wrap around it. The extension is often ribbed or textured to mimic the appearance of a turtle’s shell.
The knit turtle hat pattern
Knitting a turtle hat requires following a specific pattern that outlines the necessary stitches and steps to create the unique shape and details. The pattern usually includes instructions for casting on, knitting in the round, increasing and decreasing stitches, creating ribbing or texture, and finishing off the hat.
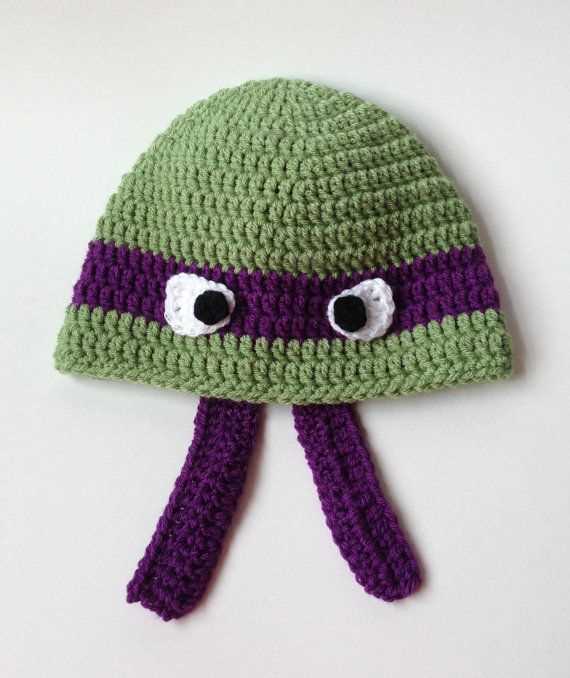
There are a variety of knit turtle hat patterns available, ranging from simple patterns suitable for beginners to more intricate designs for experienced knitters. Some patterns incorporate additional details like eyes, mouth, and even small limbs to enhance the turtle-like appearance of the hat.
Overall, a knit turtle hat is a charming and playful accessory that adds a touch of whimsy to winter outfits. Whether you choose to make one yourself using a pattern or purchase a handmade hat, it is sure to bring a smile to the wearer’s face.
Why choose a knit turtle hat pattern?
Knitting is a popular craft that allows people to create unique and customizable clothing items. The knit turtle hat pattern is a great choice for those who want to add a fun and playful touch to their winter wardrobe. This pattern features a cute turtle design on the hat, making it a perfect accessory for both children and adults.
One of the reasons to choose a knit turtle hat pattern is its versatility. This pattern can be adapted to different sizes, allowing you to create hats for people of all ages. Whether you want to make a hat for a baby, a child, or an adult, this pattern can be adjusted to fit their head perfectly.
Another reason to choose this pattern is its ability to keep you warm during the colder months. The turtle design adds an extra layer of insulation, helping to trap heat and keep your head and ears cozy. This makes the turtle hat pattern a practical and stylish choice for those who live in colder climates or enjoy outdoor activities during the winter.
Moreover, knitting is a relaxing and enjoyable activity that can be done alone or in a group. Choosing a knit turtle hat pattern gives you an opportunity to spend some quality time creating something beautiful with your hands. It can be a great way to unwind after a long day and express your creativity.
In conclusion, the knit turtle hat pattern offers several benefits, including its versatility, warmth, and the joy of knitting itself. Whether you want to make a unique gift for someone special or simply want to add a fun and playful touch to your winter wardrobe, this pattern is a great choice.
Materials needed for knitting a turtle hat
Knitting a turtle hat is a fun and creative project that can be enjoyed by knitters of all skill levels. To get started, you will need a few essential materials. Here is a list of the items you will need:
- Yarn: Choose a soft and warm yarn in the desired color for your turtle hat. You can select a solid color or experiment with different shades for a unique look.
- Knitting needles: Depending on the size and type of yarn you choose, you will need knitting needles in an appropriate size. Check the label on your yarn for the recommended needle size.
- Tapestry needle: A tapestry needle with a large eye is essential for weaving in loose ends and sewing any necessary seams.
- Stitch markers: Stitch markers are helpful for keeping track of certain stitches or pattern repeats. They can be small plastic rings or safety pins.
- Scissors: A pair of sharp scissors is necessary for cutting the yarn and trimming any excess once the project is complete.
- Measuring tape or ruler: A measuring tape or ruler will come in handy for checking gauge and measuring the length of your turtle hat.
- Pattern and instructions: Make sure to have a copy of the turtle hat pattern you will be following, along with any accompanying instructions or charts.
Gathering these materials before starting your knitting project will ensure that you have everything you need on hand. Once you have all the necessary supplies, you’ll be ready to embark on your turtle hat knitting adventure! Happy knitting!
Step-by-step tutorial for knitting a turtle hat
Knitting a turtle hat is a fun and creative project that can be both enjoyable to make and practical to wear. This step-by-step tutorial will guide you through the process of knitting your own turtle hat, from selecting the materials to finishing the final touches.
Materials
- Worsted weight yarn in green, brown, and beige
- Circular knitting needles in size 7 (4.5mm)
- Double-pointed knitting needles in size 7 (4.5mm)
- Tapestry needle
- Stitch markers
- Scissors
Step 1: Cast on
Start by casting on 80 stitches onto your circular knitting needles using the green yarn. Make sure to leave a long tail for later use when sewing up the hat.
Step 2: Ribbing
Work in a 2×2 rib pattern (knit 2 stitches, purl 2 stitches) for the first 1.5 inches of the hat. This will create a stretchy and snug fit around the brim of the hat.
Step 3: Body of the hat
Switch to the brown yarn and continue knitting in stockinette stitch (knit on the right side, purl on the wrong side) until the hat measures approximately 7 inches from the cast-on edge.
Step 4: Decrease rounds
To shape the crown of the hat, begin the decrease rounds. Switch to double-pointed needles when necessary. Start by *knitting 8 stitches, knitting 2 stitches together* and repeat from * to * until the end of the round. Continue with this decrease pattern for the next few rounds until you have 8 stitches left.
Step 5: Finishing
Cut the yarn, leaving a long tail. Thread the tail through a tapestry needle and slide it through the remaining stitches, pulling tight to close the top of the hat. Weave in any loose ends and trim excess yarn.
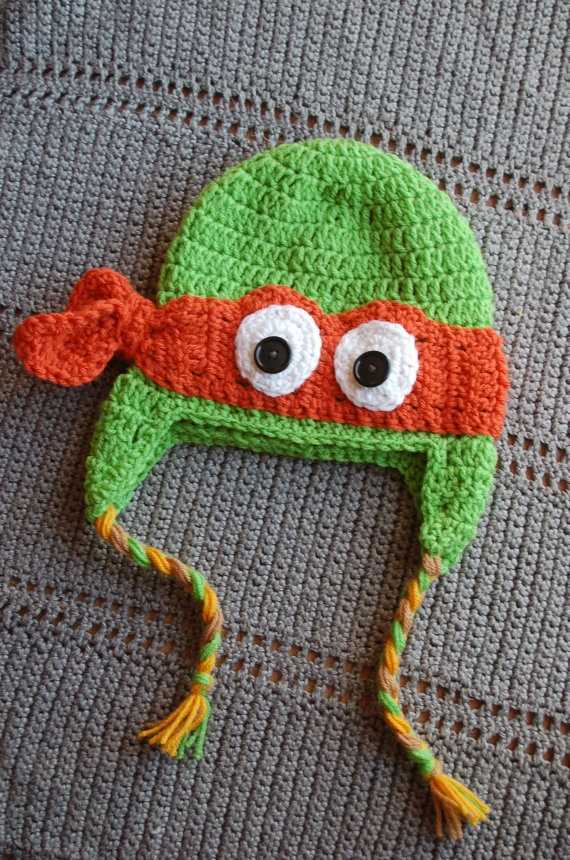
Your turtle hat is now complete! Feel free to personalize it by adding eyes, a beak, or even some texture to resemble a turtle shell. This unique and adorable hat will surely keep you warm and stylish during the colder months.
Tips and tricks for knitting a perfect turtle hat
Knitting a turtle hat can be a fun and rewarding project, but it can also be challenging. Here are some tips and tricks to help you create the perfect turtle hat:
1. Choose the right yarn
When knitting a turtle hat, it’s important to select the right yarn. Opt for a soft, chunky yarn that will provide warmth and comfort. Additionally, choose a yarn that is machine washable to ensure easy care.
2. Use circular knitting needles

Circular knitting needles are great for knitting in the round and can make knitting a turtle hat a lot easier. They eliminate the need for seaming and allow you to easily knit in a continuous spiral.
3. Start with a gauge swatch
Before diving into your turtle hat, make sure to knit a gauge swatch. This will help you determine the correct needle size and ensure that your hat will fit properly. Take the time to measure and block your swatch to get accurate results.
4. Follow the pattern closely
When knitting a turtle hat, it’s important to carefully follow the pattern instructions. Pay attention to stitch counts, decreases, and any shaping instructions. Taking the time to read and understand the pattern will help you achieve the desired look.
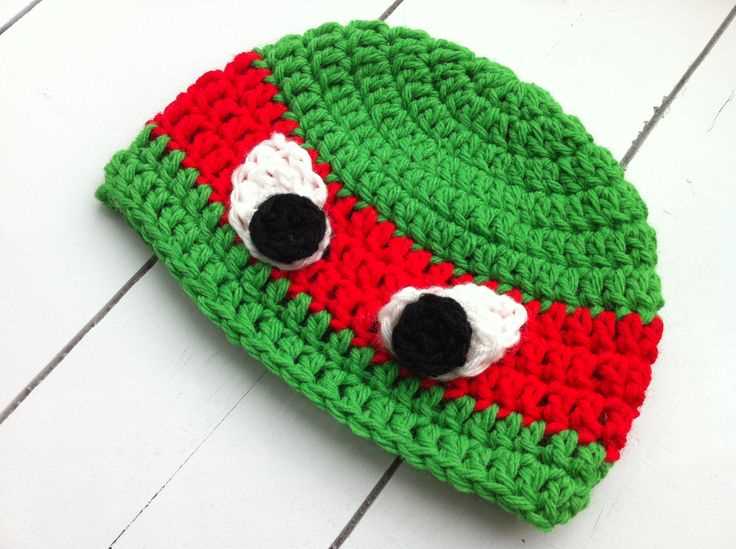
5. Add embellishments
To add some extra charm to your turtle hat, consider adding embellishments. You can sew on buttons for eyes or create a cute turtle shell pattern using intarsia or stranded colorwork techniques. Get creative and make your turtle hat truly unique!
With these tips and tricks in mind, you’ll be well-equipped to knit a perfect turtle hat. Remember to take your time, enjoy the process, and have fun creating a cozy accessory for yourself or a loved one.
Frequently Asked Questions About Knit Turtle Hats
Here are some commonly asked questions about knit turtle hats:
1. What materials do I need to knit a turtle hat?
To knit a turtle hat, you will need:
- Yarn: Choose a soft and warm yarn in the desired colors for the hat.
- Knitting needles: Use the appropriate size needles for your chosen yarn.
- Stitch markers: These will come in handy for keeping track of your stitches.
- Yarn needle: You will need this for weaving in ends and sewing up the hat.
- Pom pom maker (optional): If you want to add a fluffy pom pom to the top of your hat, a pom pom maker can make the process easier.
2. What skill level is required to knit a turtle hat?
A turtle hat pattern can vary in complexity, but most patterns for knit turtle hats are suitable for intermediate or advanced beginner knitters. It’s usually helpful to have some experience with basic knitting stitches and techniques, such as knitting in the round and increasing and decreasing stitches.
3. Can I resize the turtle hat pattern?
Yes, it is possible to resize a turtle hat pattern to fit different head sizes. You can adjust the number of stitches cast on and make modifications to the crown shaping as needed. Keep in mind that altering the stitch count may affect the overall design and appearance of the hat.
4. How long does it take to knit a turtle hat?
The time it takes to knit a turtle hat can vary depending on your knitting speed, the complexity of the pattern, and the size of the hat. On average, it may take a few hours to a couple of days to complete a turtle hat.
5. Can I customize the design of my turtle hat?
Yes, you can definitely customize the design of your turtle hat according to your preferences. You can experiment with different colors, textures, and stitch patterns to create a unique and personalized hat. Additionally, you can add embellishments like buttons, bows, or pom poms to make your hat even more special.
6. How do I care for a knit turtle hat?
Most knit turtle hats can be gently hand washed or machine washed on a delicate cycle using cold water. It is recommended to lay the hat flat to dry to maintain its shape. Avoid wringing or twisting the hat, as this can stretch or misshape the fabric. Follow the care instructions provided with your yarn for best results.
How to Customize Your Knit Turtle Hat
When it comes to knitting, there is nothing more satisfying than creating a unique and personalized item. If you have a basic knit turtle hat pattern, you can easily customize it to add your own personal touch. Here are a few ideas to get you started:
1. Color Choices
One of the simplest ways to customize your knit turtle hat is by choosing your own colors. You can experiment with different shades and combinations to create a hat that matches your personal style or favorite outfit. Whether you prefer bold and vibrant colors or subtle and muted tones, the choice is entirely up to you.
2. Embellishments
Add some flair to your knit turtle hat by incorporating embellishments. You can use buttons, beads, or even fabric patches to make your hat truly unique. For a whimsical touch, consider adding sequins or embroidery. Be creative and let your imagination run wild!
3. Pattern Variations
If you’re feeling adventurous, you can modify the basic knit turtle hat pattern to create different designs. For example, you can add cables or lacework to add texture and visual interest. Alternatively, you can experiment with different stitch patterns, such as ribbing or seed stitch, to create a hat with a unique look and feel.
4. Sizing
Not all heads are created equal, so why should your knit turtle hat be any different? Customize the size of your hat to ensure a perfect fit. You can adjust the number of stitches or rows to make the hat larger or smaller. Don’t forget to take measurements and try on the hat as you work to ensure a comfortable and snug fit.
5. Personalization
Add a personal touch to your knit turtle hat by incorporating initials, names, or special symbols. You can do this by using duplicate stitch or embroidery to add these details. This will make the hat truly one-of-a-kind and perfect for gifting to friends or family.
Remember, knitting is all about creativity and self-expression, so don’t be afraid to think outside the box and experiment with different customizations. Let your personality shine through in every stitch!
Caring for your knit turtle hat
Thank you for purchasing our knit turtle hat pattern! With proper care, your hat will last for years and continue to keep you warm and stylish.
To ensure the longevity of your hat, follow these care instructions:
- Handwash only: We recommend handwashing your hat using mild detergent and lukewarm water. Gently squeeze out any excess water and reshape the hat while wet.
- Avoid machine washing: Machine washing can cause the hat to lose its shape or become damaged. It’s best to wash it by hand to maintain its quality.
- Lay flat to dry: After washing, reshape the hat and lay it flat on a clean towel to dry. Avoid hanging it, as this can stretch out the hat.
- Avoid direct sunlight: Prolonged exposure to direct sunlight can cause the colors to fade. When not in use, store your hat in a cool, dry place away from sunlight.
- Avoid sharp objects: Be careful when wearing your hat around sharp objects, as they can snag or tear the knit fabric. Keep it away from jewelry or other accessories that may cause damage.
By following these care instructions, you can ensure that your knit turtle hat remains in excellent condition. Enjoy the warmth and style it provides, and don’t hesitate to reach out if you have any further questions or concerns.
Ways to Style a Knit Turtle Hat
Now that you have learned how to knit a turtle hat and have one of your own, it’s time to explore different ways to style it. Whether you’re going for a casual look or dressing up for a special occasion, the knit turtle hat can be a versatile accessory that adds both warmth and style to your outfit.
Here are some ideas on how to style a knit turtle hat:
- Casual and Cozy: Pair your knit turtle hat with a comfy sweater, jeans, and ankle boots for a cozy and casual look. This outfit is perfect for running errands or meeting up with friends for a casual lunch.
- Winter Chic: For a more polished and put-together look, wear your knit turtle hat with a tailored coat, a turtleneck sweater, slim-fit pants, and knee-high boots. This stylish and winter-ready outfit is great for a day at the office or a lunch date.
- Sporty Style: If you’re into sports or enjoy a more athleisure look, pair your knit turtle hat with a puffer jacket, leggings, and sneakers. This sporty and comfortable outfit is perfect for outdoor activities or running errands on a chilly day.
- Casual Elegance: For a touch of elegance, wear your knit turtle hat with a long coat, a sweater dress, tights, and ankle boots. This effortlessly chic outfit is great for a dinner date or a night out with friends.
- Accessorize with Scarves: To add extra warmth and style, accessorize your knit turtle hat with a cozy scarf. You can choose a scarf in a contrasting color or opt for a matching one to create a cohesive look.
Remember, the knit turtle hat is a versatile accessory that can be styled in various ways to suit your personal style and the occasion. Experiment with different looks and have fun expressing your creativity!