
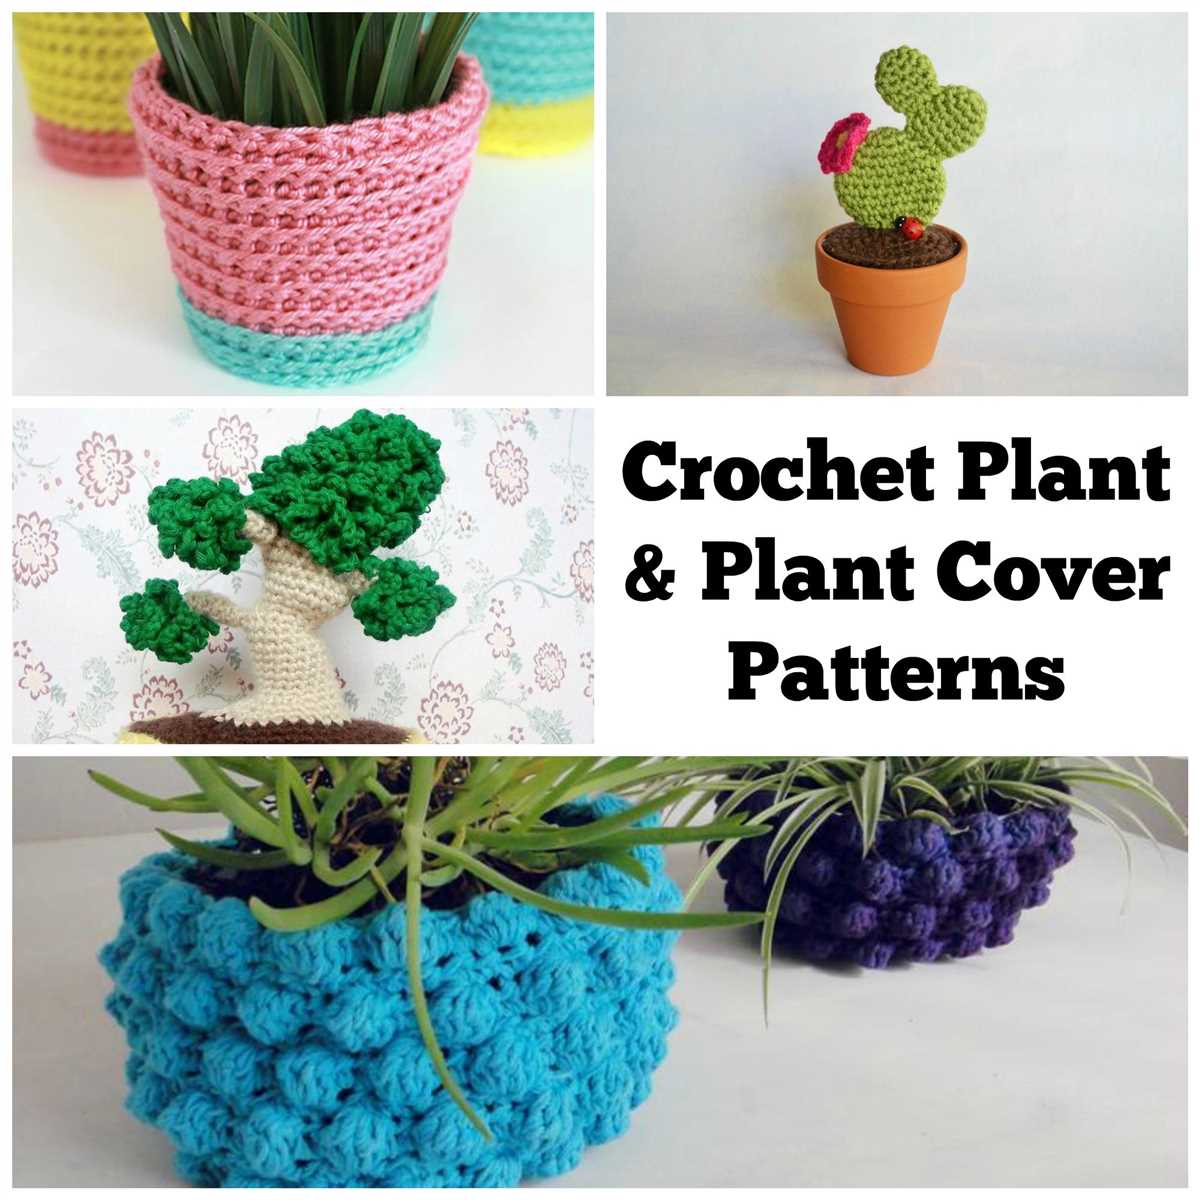
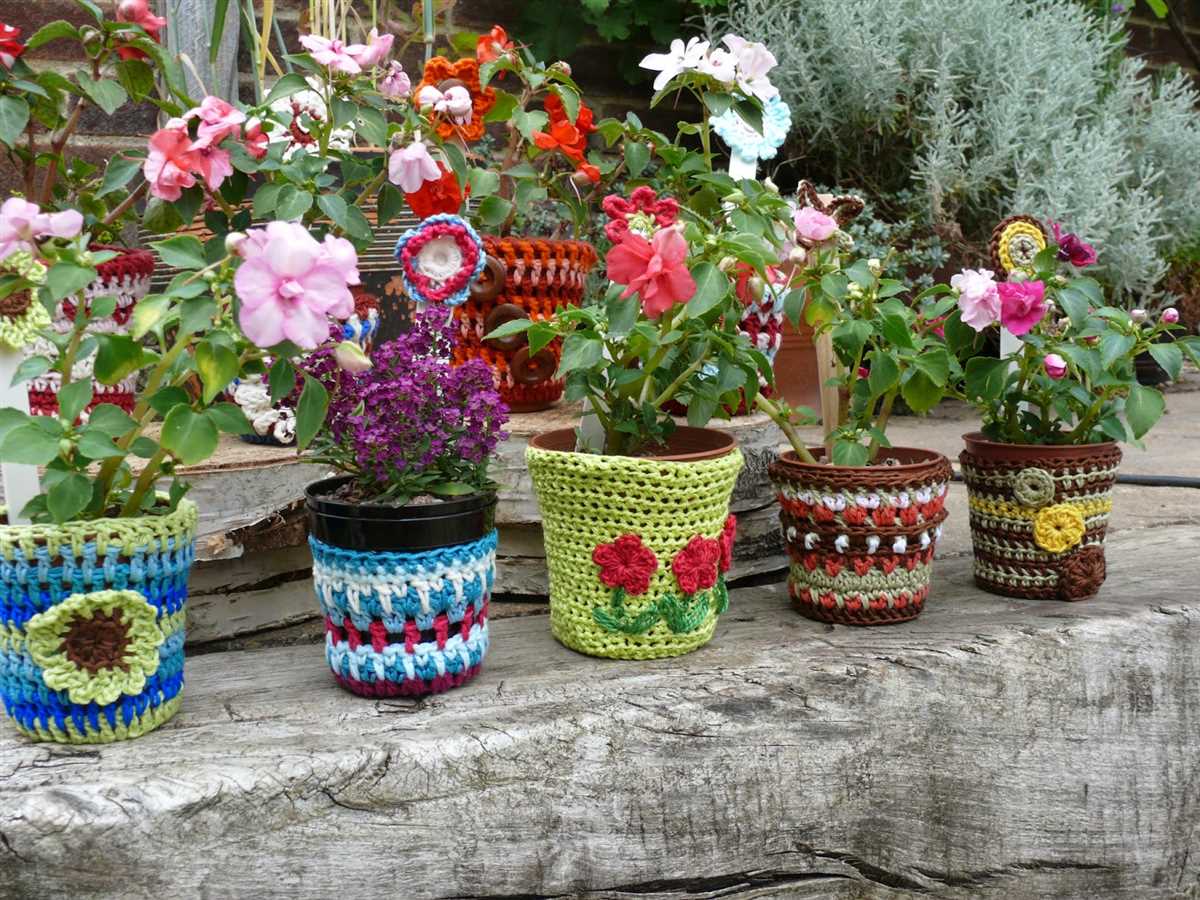
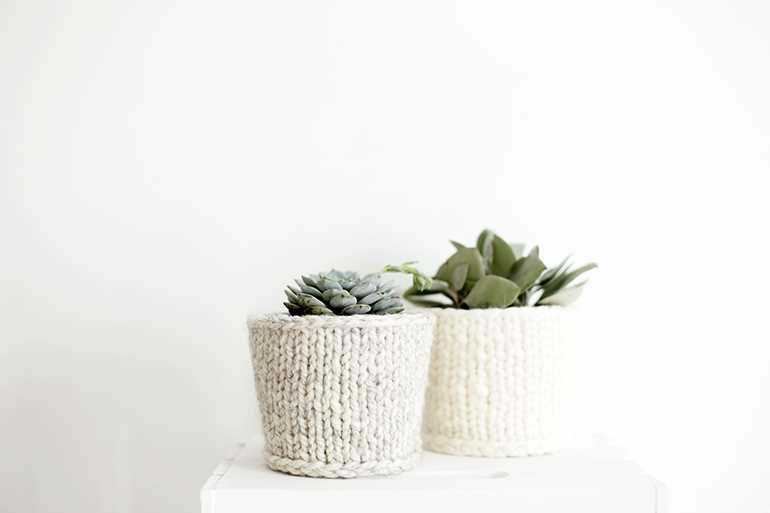
If you’re looking for a way to add a touch of coziness and charm to your indoor plant collection, then a knitted flower pot cover could be the perfect solution. Not only do these covers provide extra insulation for your plants, but they also add a stylish and personal touch to your home decor.
This article will provide you with a knitting pattern for a simple yet elegant flower pot cover that can be customized to suit your individual taste. Whether you prefer a classic striped design or a more intricate lace pattern, this pattern can be easily adapted to create the look you desire.
Before you get started, make sure you have the necessary materials on hand. You will need a set of knitting needles, yarn in the color and weight of your choice, and a measuring tape to ensure the cover fits your pot perfectly. Once you have everything you need, you’re ready to begin knitting!
Materials needed for knitted flower pot cover pattern

The following materials are needed to complete a knitted flower pot cover pattern:
- Yarn: Choose a yarn that is suitable for knitting and appropriate for the size of the flower pot you want to cover. The yarn should be soft and not too bulky, so that the cover has a nice drape. Depending on the size of the flower pot, you will need approximately 1-2 skeins of yarn.
- Knitting Needles: Use the knitting needles that are recommended for the yarn you have chosen. The size of the needles will vary depending on the yarn and the desired gauge of your knitting. Make sure to use the appropriate size to achieve the desired texture and tension.
- Tapestry Needle: A tapestry needle with a large eye is used to weave in the ends of the yarn. This ensures that the ends are securely fastened and do not unravel over time.
- Stitch Markers: Stitch markers are useful for marking specific points in your knitting, such as the beginning of a round or a specific stitch pattern. They help you keep track of your progress and ensure that you are knitting the pattern correctly.
- Scissors: A pair of sharp scissors is necessary for cutting the yarn and trimming any excess ends.
- Measuring Tape: A measuring tape is essential for taking accurate measurements of the flower pot and determining the size of the cover you need to knit.
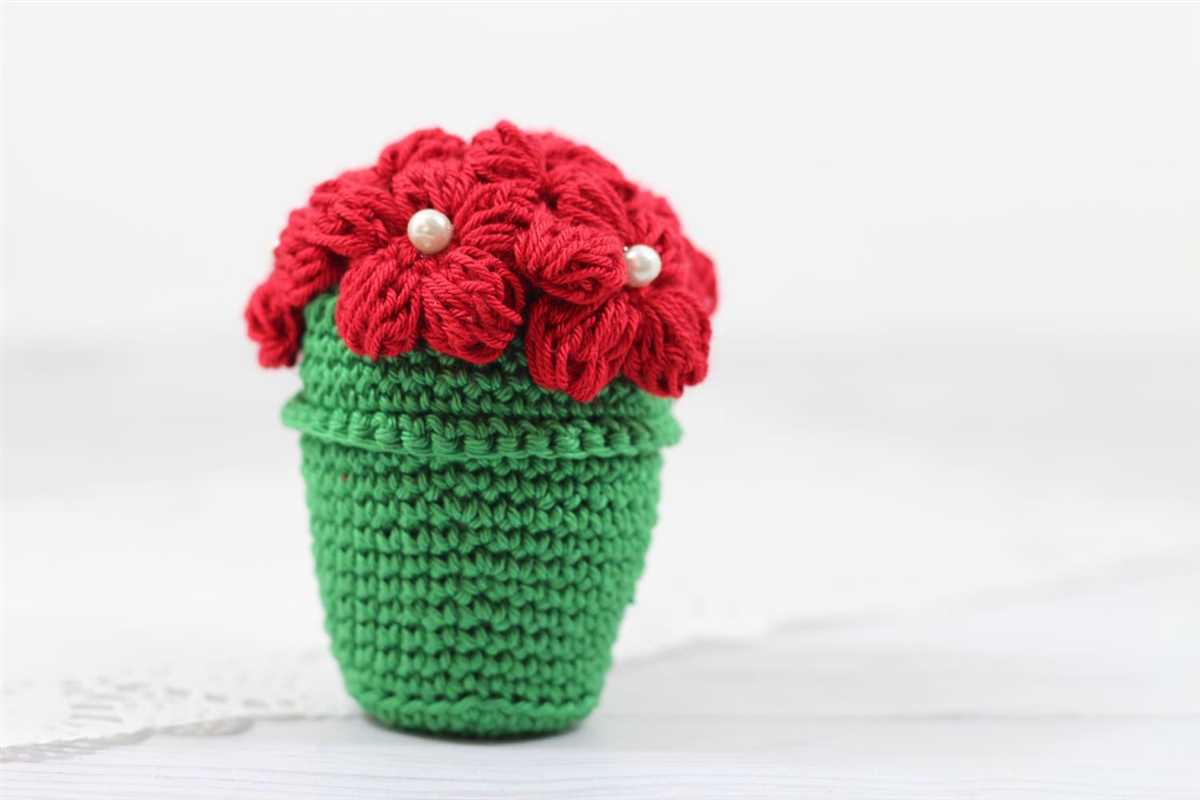
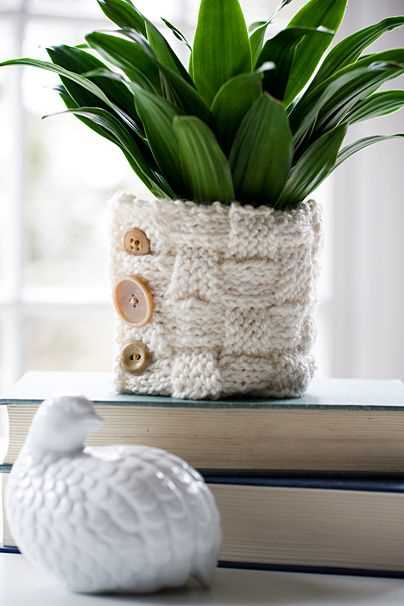
- Buttons, Ribbons, or Embellishments (optional): If desired, you can add buttons, ribbons, or other embellishments to the knitted flower pot cover to decorate it and personalize it. This is a great way to add a touch of creativity to your project.
Once you have gathered all the necessary materials, you will be ready to start knitting your flower pot cover pattern. Make sure to read the instructions carefully and follow the steps correctly to achieve the desired result.
Choosing the right yarn for your knitted flower pot cover
When choosing a yarn for your knitted flower pot cover, there are a few factors to consider. The first is the weight or thickness of the yarn. For a flower pot cover, you will want to choose a yarn that is not too bulky or heavy, as this can make the cover too tight and difficult to fit over the pot. Instead, opt for a light or medium weight yarn that will provide enough coverage without adding unnecessary bulk.
Another important factor to consider is the fiber content of the yarn. Natural fibers such as cotton or bamboo are great options for flower pot covers as they are breathable and moisture-wicking, which is important for the health of your plants. These fibers also tend to have a soft and smooth texture, making them pleasant to work with and enhancing the overall aesthetic of the cover.
It’s also worth considering the durability of the yarn. Flower pot covers are often exposed to sunlight and moisture, so choosing a yarn that can withstand these conditions is important. Look for yarns that are labeled as “washable” or “easy care” as they will be more resistant to fading and shrinking. Additionally, yarns that have a bit of stretch or give to them can be beneficial, as they will accommodate the shape of the pot and make it easier to fit the cover snugly.
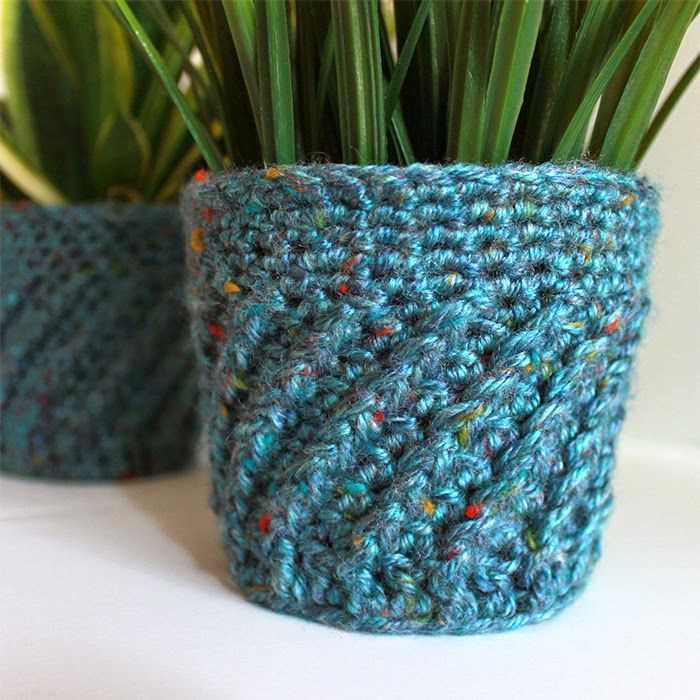
Lastly, don’t be afraid to experiment with different colors and textures of yarn. Knitted flower pot covers are a great way to add a pop of color and personality to your indoor or outdoor space. Consider using variegated or self-striping yarns for a unique and eye-catching effect. And remember, the most important thing is to choose a yarn that you love and enjoy working with, as this will make the process of knitting your flower pot cover even more enjoyable.
Getting started: Knitting the base of the flower pot cover

Before you begin knitting the flower pot cover, gather all the necessary materials. You will need a set of double-pointed knitting needles, a skein of yarn in your desired color, a tapestry needle, and a pair of scissors. Make sure to choose a yarn that is suitable for this project and matches the size of your flower pot.
Start by casting on the required number of stitches onto one of your double-pointed needles. The number of stitches will depend on the size of your flower pot, so be sure to measure the circumference before you begin. It’s a good idea to add a few extra stitches to ensure a snug fit.
Step 1: Arrange the stitches onto three double-pointed needles, making sure to distribute them evenly.
Step 2: Join the round by knitting the first stitch on the first needle with the last stitch on the third needle.
Step 3: Place a marker to indicate the beginning of the round.
Step 4: Knit every stitch of the first round to create the foundation of the base.
Continue knitting in the round until the base reaches the desired size. Depending on the stitch pattern you choose, you can experiment with different textures and designs. Remember to keep checking the size of the base against your flower pot to ensure a proper fit. Once the base is complete, you can move on to knitting the sides of the flower pot cover.
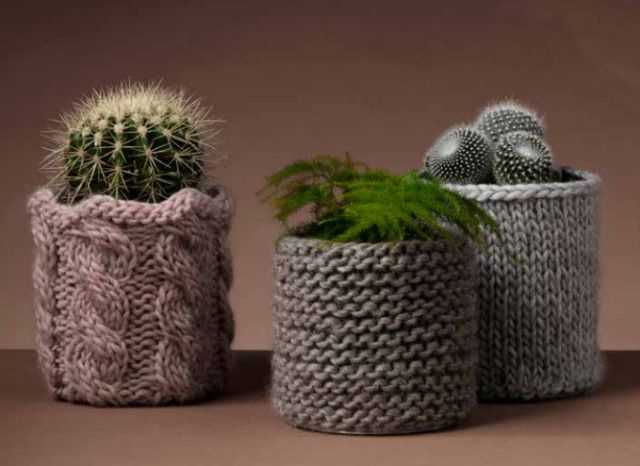
Adding decorative stitches to your knitted flower pot cover

A knitted flower pot cover adds a touch of warmth and beauty to any indoor or outdoor space. To make your flower pot cover even more unique and eye-catching, you can add decorative stitches to the design. These stitches not only enhance the overall look of the cover but also provide an opportunity for creativity and personalization.
Cables: One of the most popular decorative stitches for knitted flower pot covers is the cable stitch. This technique creates intricate twisted patterns that add depth and texture to the cover. You can choose from different cable patterns, such as honeycomb cables or rope cables, to create the desired effect. Adding cables to your flower pot cover will make it stand out and showcase your knitting skills.
- Seed Stitch: Another versatile stitch that can be used to decorate your flower pot cover is the seed stitch. This stitch creates a bumpy surface, which adds an interesting texture to the cover. You can use the seed stitch to create a border, stripes, or even a central panel on the cover. It is a simple yet effective way to add visual interest and make your flower pot cover more appealing.
- Lace: If you want to give your flower pot cover a delicate and elegant look, consider incorporating lace stitches into the design. Lace stitches create beautiful openwork patterns that can resemble flowers, leaves, or other intricate designs. By using lace stitches for your flower pot cover, you can achieve a romantic and feminine aesthetic that will enhance the overall appearance of your plants.
- Colorwork: Adding colorwork to your knitted flower pot cover is another way to make it more visually appealing. You can use stranded knitting or intarsia techniques to create intricate and colorful patterns. Whether you want to create a floral motif or a geometric design, incorporating different colors will make your flower pot cover a vibrant and eye-catching addition to your home or garden.
By adding decorative stitches to your knitted flower pot cover, you can elevate its appearance and make it a statement piece in any space. Whether you choose cables, seed stitch, lace, or colorwork, these techniques will allow you to personalize your cover and showcase your knitting skills. Get creative and experiment with different stitch patterns to create a truly unique and beautiful flower pot cover.
Shaping the flower pot cover for a perfect fit

When knitting a flower pot cover, it is important to shape it properly in order to achieve a perfect fit. This ensures that the cover will snugly and securely fit around the pot, enhancing the overall appearance of the plant display.
One key step in shaping the flower pot cover is to measure the pot accurately. This will allow you to determine the dimensions of the cover and ensure that it is neither too loose nor too tight. Measure the pot’s height and diameter, and use these measurements as a guide for creating the cover pattern.
When knitting the cover, it is essential to include decreases and increases strategically to create the desired shape. Decreases, such as knit-two-together (k2tog), can be used to narrow the top of the cover and create a tapered effect. This helps the cover to fit snugly around the pot without any excess fabric.
Additionally, increases, such as yarn overs (yo), can be used to create a wider bottom for the cover, allowing it to comfortably accommodate the pot’s diameter. By increasing the number of stitches gradually, you can achieve a gradual widening effect that ensures the cover will fit smoothly around the pot.
Furthermore, it is important to consider the type of yarn being used when shaping the flower pot cover. Different yarns have varying levels of elasticity, so it is crucial to choose a yarn that will retain its shape and provide the desired fit. Using a yarn with a bit of stretch can help ensure a snug fit and prevent the cover from becoming loose or saggy over time.
By taking these steps to shape the flower pot cover, you can create a beautiful and tailored piece that will enhance the aesthetic appeal of your plant display. Whether you choose to knit a simple lacy cover or a more intricate design, shaping it properly will ensure a perfect fit for your flower pot.
Creating a handle or strap for your knitted flower pot cover

Adding a handle or strap to your knitted flower pot cover can make it easier to transport and move your plants. It also adds a decorative touch to your cover, allowing you to personalize it to your liking. Here are a few ideas for creating a handle or strap:
1. Knitted Handle:
Create a handle by knitting a long strip of fabric and attaching it to the sides of the flower pot cover. You can use a basic knitting stitch, such as garter stitch or rib stitch, to create the handle. Make sure to measure the length and width of your flower pot to ensure the handle fits properly. You can also add buttons or embellishments to the handle for extra flair.
2. Crocheted Strap:
If you prefer crocheting over knitting, you can create a strap for your flower pot cover using crochet techniques. Start by crocheting a chain stitch of the desired length for the strap. You can then use single crochet, double crochet, or any other crochet stitch to create the strap. Attach the strap to the sides of the cover, making sure it is secure and can support the weight of the flower pot.
3. Macrame Handle:
If you want to add a bohemian touch to your flower pot cover, consider creating a macrame handle. Macrame involves tying knots to create intricate patterns. You can use different types of knots, such as square knots or half hitch knots, to create a sturdy and decorative handle. There are many online tutorials and patterns available to help you get started with macrame.
Remember to always consider the size and weight of your flower pot when creating a handle or strap. You want to ensure that it is strong enough to support the pot and plants. Additionally, choose materials that are durable and easy to clean, as flower pots can get dirty over time. With a well-designed handle or strap, your knitted flower pot cover will not only protect your plants but also become a stylish accessory for your home or garden.
Finishing touches: Blocking and seaming your knitted flower pot cover

Once you have finished knitting your flower pot cover, the next step is to give it a professional look by blocking and seaming it. Blocking is the process of shaping your knitted piece and allowing it to relax into its final form. Seaming, on the other hand, involves joining the edges of your knitted pieces together to create a seamless finish.
To block your knitted flower pot cover, you will need to wet it and lay it flat on a clean, dry towel. Gently stretch and shape the cover to the desired size, making sure that the stitches are even and the fabric lies flat. Pin the edges of the cover to the towel using rust-proof pins, and leave it to dry completely. This process will help to even out any uneven stitches and give your flower pot cover a polished look.
Once your flower pot cover is dry and blocked, it’s time to seam it together. Start by folding the knitted piece in half, aligning the cast-on edge with the bind-off edge. Use a tapestry needle and matching yarn to sew the sides together using a mattress stitch, making sure to maintain the correct tension as you go. Repeat the same process for the other side, and your flower pot cover will be neatly seamed.
If you prefer a cleaner finish, you can also consider adding a crocheted edging to your flower pot cover. This can be done by single crocheting around the top opening of the cover, or by adding a decorative border such as picot or scallop. This will not only add a decorative touch, but also help to reinforce the edges of your cover.
Summary:
- Block your knitted flower pot cover by wetting it, shaping it, and pinning it to a towel to dry.
- Seam the sides of the cover together using a mattress stitch.
- Consider adding a crocheted edging for a decorative touch and extra reinforcement.
Optional embellishments: Adding buttons, beads, or embroidery
Once you have completed knitting your flower pot cover, you may want to add some optional embellishments to enhance its appearance. There are several ways to do this, including adding buttons, beads, or embroidery.
Buttons: If you want to give your flower pot cover a unique touch, you can sew buttons onto it. Choose buttons that complement the color scheme of your cover and sew them evenly spaced along the edges or in a pattern of your choice. This will add a bit of texture and visual interest to your knitted creation.
Beads: Another option is to add beads to your flower pot cover. You can thread them onto the yarn before knitting or sew them on afterwards. Beads can create a beautiful accent and add a touch of sparkle to the cover. Experiment with different colors and sizes to achieve the desired effect.
Embroidery: If you enjoy embroidery, you can use it to decorate your flower pot cover. You can embroider flowers, leaves, or any other design you like onto the cover using colorful yarn or embroidery floss. This adds a personal and artistic touch to your knitted creation.
Remember to consider the size and style of your flower pot cover when choosing embellishments. Keep in mind that adding buttons, beads, or embroidery may require additional materials and time, but the end result will be a unique and customized flower pot cover that you can be proud of.
Care instructions for your knitted flower pot cover
To keep your knitted flower pot cover looking its best, follow these care instructions:
1. Hand washing
Hand washing is the recommended method for cleaning your knitted flower pot cover. Fill a basin or sink with lukewarm water and a gentle detergent suitable for hand washing delicate items. Gently immerse the cover in the water, swishing it around gently to remove any dirt or stains. Avoid rubbing or scrubbing the cover, as this can cause it to stretch or lose its shape. Rinse the cover thoroughly with cool water and gently squeeze out excess water. Lay flat to dry on a clean towel, reshaping it as necessary.
2. Spot cleaning
For small stains or spills, spot cleaning is a quick and effective method. Dampen a clean cloth or sponge with cool water and a mild detergent. Gently blot the stain, being careful not to rub or scrub. Rinse the area with cool water and blot dry with a clean cloth. Repeat if necessary until the stain is removed. Allow the cover to air dry completely before placing it back on the flower pot.
3. Storage
When not in use, store your knitted flower pot cover in a clean, dry place away from direct sunlight. This will help preserve its color and prevent any potential damage. If necessary, fold the cover gently without creasing or store it flat to maintain its shape.
Summary
By following these care instructions, you can ensure that your knitted flower pot cover stays beautiful and in good condition for a long time. Remember to hand wash gently, spot clean as needed, and store properly when not in use. Enjoy your lovely knitted flower pot cover and keep your plants cozy!