
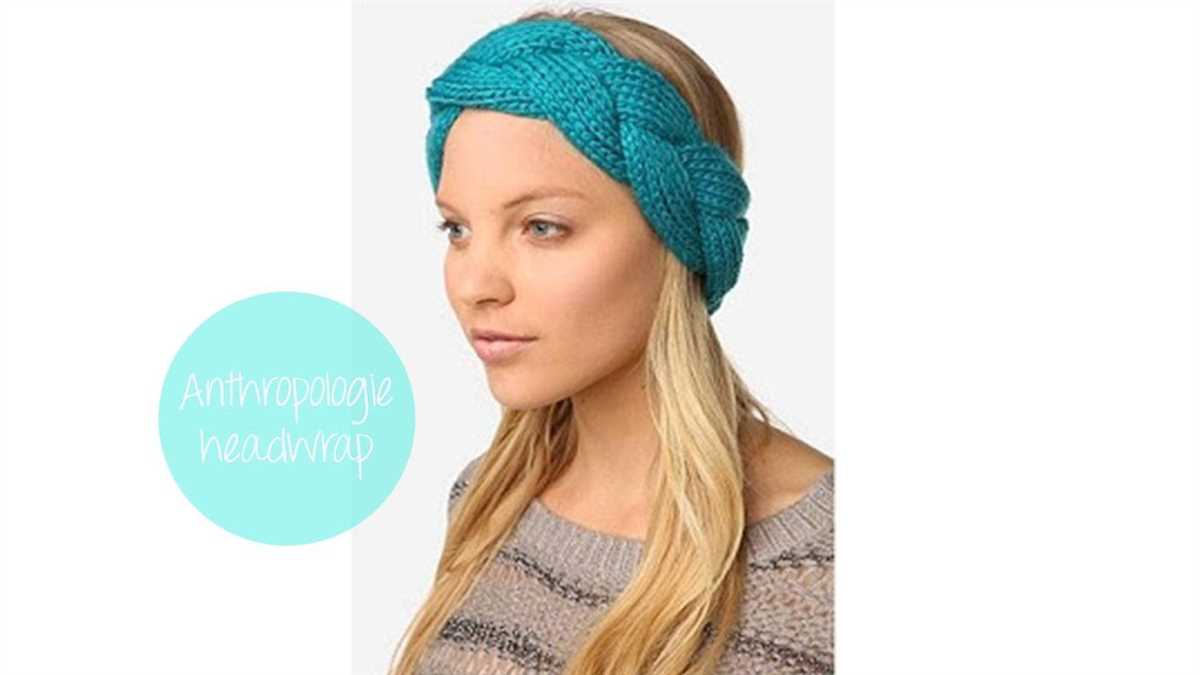
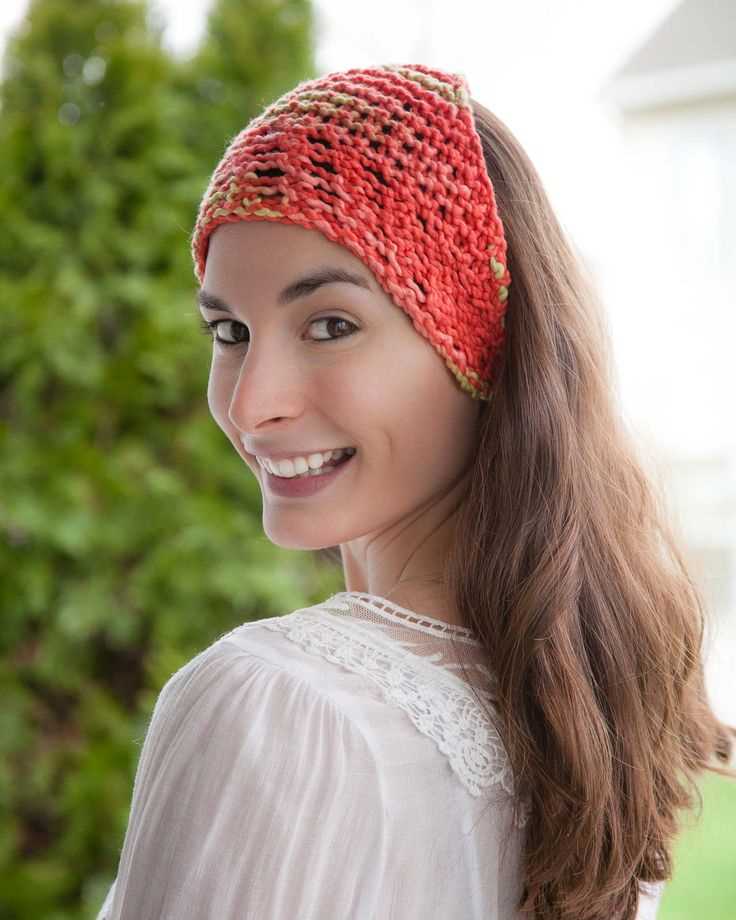
Do you love to knit and are looking for a new project to show off your skills? Look no further than a knitted head wrap! A knitted head wrap is a stylish accessory that not only keeps your ears warm in the colder months, but also adds a touch of fashion to any outfit. Whether you are a beginner knitter or have been knitting for years, this free pattern is perfect for all skill levels.
One of the great things about knitting a head wrap is that it is a quick and easy project. With just a few skeins of yarn and a pair of knitting needles, you will have a beautiful accessory in no time. Plus, you can customize the pattern to fit your style by choosing your favorite colors and adding embellishments like buttons or flowers.
Not only is knitting a head wrap a fun and rewarding project, but it also makes for a great gift. Imagine the joy on your loved one’s face when they receive a handmade head wrap that you spent time and effort creating just for them. They will be amazed at your knitting skills and will cherish the thoughtful gift for years to come.
So why not give knitting a head wrap a try? With this free pattern, you will have all the instructions you need to create your own stylish accessory. Get your knitting needles ready and let your creativity shine!
Materials needed
In order to make the knitted head wrap, you will need the following materials:
- Yarn: Choose a soft and lightweight yarn in your desired color. The recommended yarn weight is worsted or DK.
- Knitting needles: Select a pair of knitting needles in the appropriate size for your yarn. The recommended needle size is US 6 or 4mm.
- Tapestry needle: This needle will be used for weaving in ends and sewing the head wrap together.
- Scissors: You will need a pair of scissors to cut the yarn.
- Measuring tape: A measuring tape will help you ensure that the head wrap is the correct size.
Note: The specific materials and sizes may vary depending on your personal preferences and the pattern instructions. Be sure to check the pattern for any additional materials or tools that may be required.
Choosing the right yarn
When it comes to knitting a head wrap, it is important to choose the right type of yarn to achieve the desired results. The texture, weight, and color of the yarn will all play a role in the final look and feel of the head wrap.
Texture: For a head wrap, it is best to choose a yarn with a soft and comfortable texture. Wool or acrylic yarns are popular choices as they provide warmth and coziness. If you prefer a more lightweight and breathable option, you can also consider cotton or bamboo yarns.
Weight: The weight of the yarn will determine the thickness and warmth of the head wrap. For a chunky and cozy look, opt for a bulky or super bulky yarn. If you prefer a more lightweight and dainty style, choose a fingering or sport weight yarn.
Color: The color of the yarn will depend on your personal preference and the overall look you want to achieve. Neutral colors such as black, gray, or cream are versatile options that can match with various outfits. For a pop of color, you can choose vibrant hues or go for a variegated yarn for a more playful and unique look.
Before starting your head wrap project, it is recommended to swatch and test different yarns to ensure you are happy with the texture, weight, and color. This will help you achieve the perfect head wrap that not only looks great but also feels comfortable to wear.
Knitting Needle Size

Choosing the right knitting needle size is crucial for creating a knitted head wrap that fits well and has the desired look. The needle size determines the gauge and the overall size of the stitches, so it’s important to pay attention to the recommended needle size in the pattern.
The knitting needle size is usually indicated in millimeters (mm) or US sizes. The size of the needle affects the tension and drape of the fabric. A smaller needle size creates tighter and more dense stitches, while a larger needle size produces looser and more open stitches. The pattern will typically specify the needle size needed to achieve the desired stitch gauge.
When selecting knitting needles, it’s important to consider the yarn weight and the desired outcome of the project. Thicker yarns often require larger needle sizes to create a balanced fabric, while finer yarns may need smaller needle sizes to achieve the desired tension. It’s also useful to have a range of needle sizes on hand, as different patterns may call for different needle sizes.
It’s important to take the time to swatch and check your gauge before starting the project, especially if you’re using a different yarn or modifying the pattern. By knitting a small sample, you can measure your stitches per inch and adjust your needle size if needed to match the recommended gauge. This will ensure that your knitted head wrap turns out the right size and fits well.
Gauge swatch
Before you start knitting the head wrap, it is important to make a gauge swatch to ensure that your finished project will have the correct size and fit. A gauge swatch is a small sample of knitting that allows you to check how many stitches and rows you are getting per inch. This is important because everyone’s tension is different, and using the same yarn and needles as the pattern may not yield the exact intended size.
To make a gauge swatch, cast on the number of stitches indicated in the pattern. Knit a few rows in the pattern stitch and continue to knit until your swatch measures at least 4 inches in width. Then, measure the number of stitches per inch and the number of rows per inch. Compare these measurements to the gauge stated in the pattern.
If your gauge swatch does not match the pattern’s gauge, you may need to adjust your needle size. If you have too many stitches per inch, try using a larger needle. If you have too few stitches per inch, try using a smaller needle. It’s important to note that changing the needle size will also affect the drape and feel of the fabric, so it’s a good idea to make another swatch with the new needle size to ensure that you are happy with the result.
Once you have achieved the correct gauge, you can confidently knit the head wrap, knowing that it will fit as expected. Remember to always take the time to make a gauge swatch before starting a new knitting project to avoid any disappointments and ensure a successful outcome.
Pattern Instructions
In order to make this knitted head wrap, follow the pattern instructions provided below:
Materials Needed:

- Worsted weight yarn
- Size 8 (5 mm) knitting needles
- Tapestry needle
- Scissors
Gauge:
18 stitches x 24 rows = 4 inches in stockinette stitch
Instructions:
- Cast on 18 stitches.
- Row 1: Knit all stitches.
- Row 2: Purl all stitches.
- Repeat rows 1 and 2 until the head wrap measures approximately 20 inches, or desired length.
- Row 3: Knit all stitches.
- Row 4: Purl all stitches.
- Bind off all stitches.
- Using the tapestry needle, weave in any loose ends.
Now that you have finished knitting the head wrap, you can wear it and enjoy its cozy warmth during the colder months. Feel free to experiment with different yarn colors and patterns to customize your head wrap to your liking!
Cast on
When starting a knitted head wrap project, the first step is to cast on. Casting on is the process of creating the foundation row of stitches on the knitting needle. It is important to cast on the correct number of stitches to achieve the desired width for your head wrap.
There are various methods to cast on stitches, and the choice depends on personal preference and the specific pattern’s instructions. The most common cast on method is the long tail cast on, which creates a neat and flexible edge. To perform the long tail cast on, you will need to estimate the amount of yarn needed for your desired number of stitches and leave a long tail before starting.
- First, make a slipknot by creating a loop with the yarn.
- Insert the knitting needle through the loop and tighten it.
- Hold the yarn in your dominant hand, with the tail end over your thumb and the working end over your index finger.
- Using the needle, reach under the loop on your thumb, grab the yarn from below, and pull it through the loop.
- Slide the new stitch onto the needle, and repeat the process for the desired number of stitches.
An alternative cast on method is the knitted cast on, where each stitch is created by knitting into the previous stitch. This cast on method is stretchy and can be easily undone if mistakes are made. Whichever cast on method you choose, make sure to cast on the correct number of stitches as specified in the pattern to ensure the proper size and fit for your knitted head wrap.
Knitting the main body

Once you have cast on the desired number of stitches, you will begin knitting the main body of your head wrap. This is where the bulk of the work will take place.
Using the pattern’s specific instructions for stitch patterns and gauge, you will knit row after row to create the desired length of your head wrap. Make sure to check your gauge periodically to ensure that your head wrap is coming out the correct size.
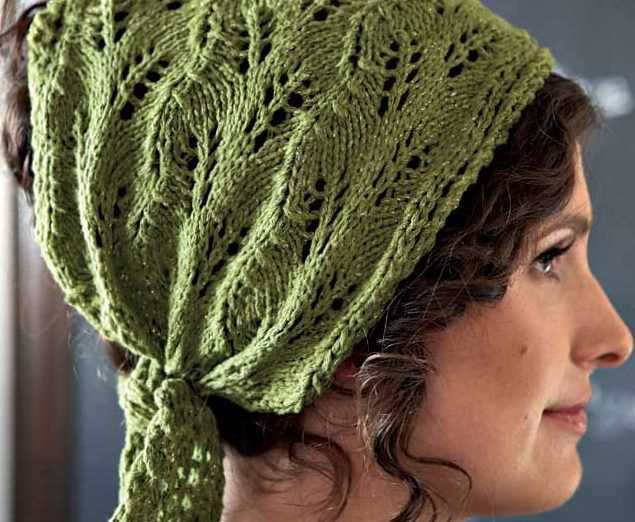
Stitch patterns

The pattern may call for specific stitch patterns to create the desired look for your head wrap. It could be something as simple as a stockinette stitch, or it could involve more intricate lace or cable patterns.
Make sure to carefully read and follow the pattern’s instructions for each stitch pattern. This may involve knitting or purling certain rows or working specific increases or decreases to create the desired texture or pattern.
Checking your gauge

Checking your gauge is important to ensure that your head wrap will fit properly. To do this, knit a swatch using the recommended needle size and stitch pattern indicated in the pattern.
Measure the dimensions of your swatch and compare it to the gauge specified in the pattern. If your gauge is too loose, you may need to switch to a smaller needle size. Conversely, if your gauge is too tight, you may need to switch to a larger needle size.
Increasing stitches
When knitting a head wrap, increasing stitches can be necessary to achieve the desired size and shape. There are several methods for increasing stitches, depending on the pattern and the desired outcome. Here are a few common techniques:
1. Yarn Over (YO)

The yarn over is a simple and commonly used method to increase stitches. To yarn over, simply bring the working yarn from the back to the front of the work, creating a new loop on the right-hand needle. On the next row, this new loop will be knitted or purled as a regular stitch, creating an additional stitch.
2. Knit Front and Back (KFB)
The knit front and back (KFB) increase is another popular method. To perform KFB, insert the right-hand needle into the front of the next stitch as if to knit, but do not drop the stitch off the left-hand needle. Instead, bring the yarn to the back of the work and knit into the back loop of the same stitch. This creates two new stitches from a single stitch.
3. Make One (M1)
The make one (M1) increase is a method that creates a new stitch without leaving a hole. There are several variations of the M1 increase, such as M1L (make one left) and M1R (make one right), which result in slightly different stitches. These increases are achieved by picking up the horizontal strand between two stitches and knitting into it.
It is important to read and follow the specific instructions of the head wrap pattern you are working on to determine the appropriate method of increasing stitches. Test swatches can also be helpful to practice and ensure the desired size and fit of the head wrap. Happy knitting!
Decreasing Stitches
When knitting a head wrap, decreasing stitches is an important technique to create the desired shape. Decreasing stitches involves reducing the number of stitches on the knitting needle in order to shape the fabric. There are several ways to decrease stitches, and the method used will depend on the specific pattern and desired outcome.
1. Knit Two Stitches Together
One common method of decreasing stitches is to knit two stitches together. To do this, insert the right needle into the next two stitches on the left needle as if to knit, and then knit them together as one stitch. This creates a single stitch out of two, reducing the stitch count by one. Knitting two stitches together is often used to create a tapered effect, such as decreasing the width of a head wrap towards the crown.
2. Slip, Slip, Knit

Another common decrease method is the slip, slip, knit (SSK). This decrease is commonly used to create a smoother edge and is often used in lace patterns. To perform the SSK decrease, slip the next two stitches one at a time as if to knit onto the right needle. Then insert the left needle into the front loops of both slipped stitches and knit them together. This creates a single stitch and decreases the stitch count.
3. Central Double Decrease
A central double decrease is used to decrease three stitches into one and is often used to create symmetrical decreases. To perform this decrease, insert the right needle from the front into the second stitch on the left needle and slip it off the needle, then insert the right needle from the front into the first stitch on the left needle and slip it off as well. Lastly, insert the left needle into the front loop of the slipped stitches and knit them together, creating one stitch and decreasing the stitch count by two.
These are just a few examples of the various methods for decreasing stitches in knitting. Depending on the pattern and desired outcome, other techniques, such as left-leaning or right-leaning decreases, may be used. Decreasing stitches allows for shaping and creating the desired fit and look of a knitted head wrap.
Finishing the head wrap
Once you have completed knitting the head wrap according to the free pattern, there are a few finishing touches you can add to make it look polished and professional.
Weaving in the ends: Start by weaving in all the loose ends of yarn left from casting on, changing colors, and binding off. Use a tapestry or yarn needle to carefully thread the ends through the stitches on the wrong side of the head wrap. This will ensure that the ends are securely hidden and won’t unravel over time.
Blocking: Blocking is an important step in giving your knitted head wrap its final shape. Depending on the yarn you used, blocking may involve either wetting the head wrap and laying it flat to dry or steaming it lightly to relax the yarn fibers. Follow the instructions specific to your yarn to ensure the best results.
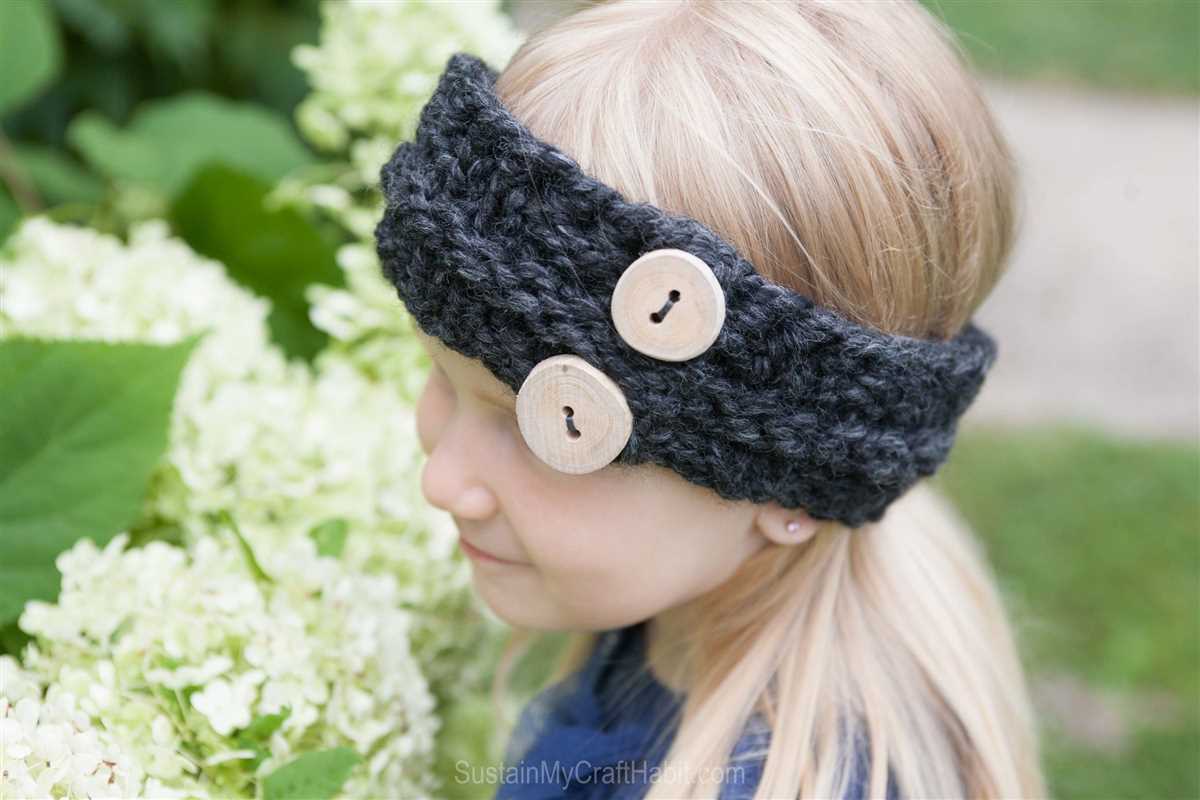
Adding a decorative element: If you want to personalize your head wrap, you can consider adding a decorative element such as a button, a bow, or a fabric flower. Sewing the chosen element onto the head wrap in a strategic location can add a pop of color or texture. Be sure to securely attach it so that it doesn’t come off during wear.
Care instructions: Finally, it’s important to include care instructions for the head wrap. If you are giving it as a gift or selling it, include a tag or note with information on how to launder and store the head wrap to keep it in good condition for years to come.
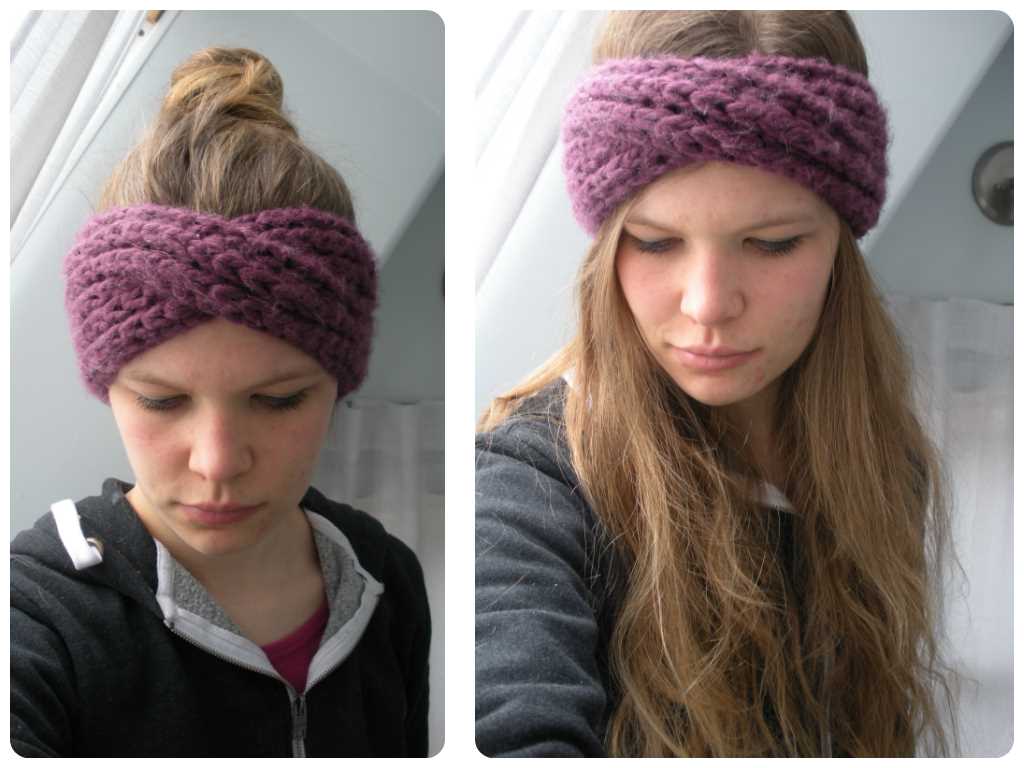
Adding Embellishments

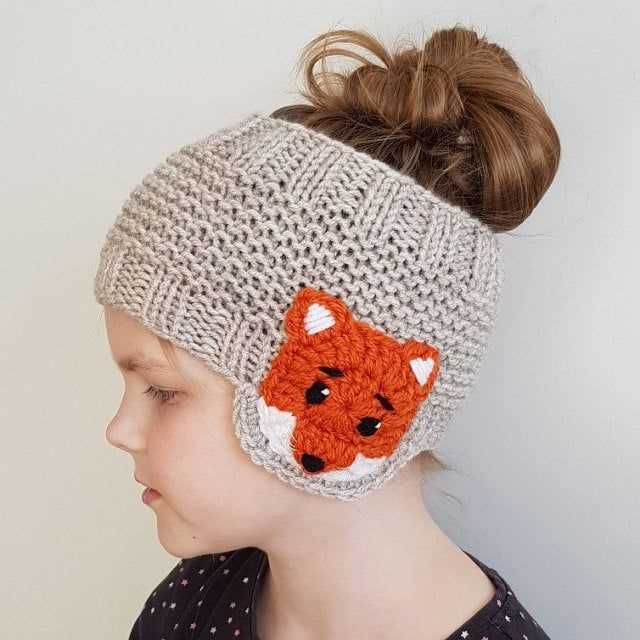
The knitted head wrap is a versatile accessory that can be customized with various embellishments to add a personal touch and make it unique. Adding embellishments can be a fun and creative way to enhance the look of the head wrap.
Ribbon: One simple way to add embellishments to the knitted head wrap is by attaching ribbons. Choose a ribbon that complements the color and style of the head wrap. You can either sew the ribbon directly onto the head wrap or use a safety pin to attach it. Ribbons can be used to create bows, bows, or other decorative accents.
Buttons: Another popular choice for adding embellishments is buttons. Buttons come in various shapes, sizes, and designs, allowing you to add an element of visual interest to your head wrap. Sewing buttons onto the head wrap can create a unique and stylish look. Consider using buttons in contrasting colors or with interesting designs to create a focal point.
Flowers: Flowers are a feminine and charming embellishment option for a knitted head wrap. You can either buy pre-made fabric or crochet flowers, or you can make your own using leftover yarn from the head wrap. Sew the flowers onto the head wrap using a yarn needle and secure them tightly. You can add a single flower or create a cluster for a more dramatic effect.
Beads: Adding beads to the head wrap can give it an elegant and sophisticated look. Consider using beads in complementary or contrasting colors to create a unique pattern or design. You can either sew the beads directly onto the head wrap or string them onto a thin thread and attach the thread to the head wrap.
Braided trim: Another option to embellish the knitted head wrap is by incorporating braided trim. You can make your own braided trim using the same yarn as the head wrap or use store-bought braided trim. Sew the trim onto the edges of the head wrap, or create a pattern by sewing it in a specific design. Braided trim adds texture and depth to the head wrap and can make it stand out.
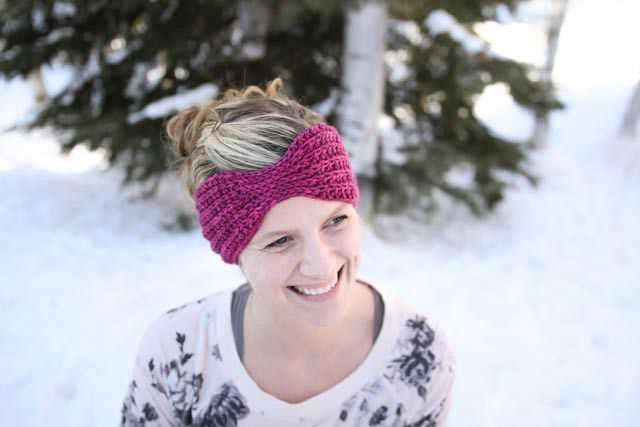
Tips and Variations
Here are some tips and variations to consider when making your knitted head wrap:
1. Experiment with different yarns: While the pattern suggests using a specific yarn weight and fiber content, don’t be afraid to try different yarns to achieve different effects. You could use a bulky yarn for a chunkier look or a variegated yarn for a more colorful design.
2. Customize the width: If you prefer a wider or narrower head wrap, you can easily adjust the number of stitches cast on. Just make sure to adjust the number of rows accordingly to maintain the desired length.
3. Add embellishments: Once you’ve completed the basic head wrap, consider adding some embellishments to personalize your accessory. You could sew on a decorative button, attach a fabric flower, or even add some beads or sequins for a touch of sparkle.
4. Make it reversible: If you want a head wrap that can be worn on either side, you can knit it in a reversible stitch pattern. Look for patterns that feature stitches that look the same on both sides, such as garter stitch or seed stitch.
5. Adjust the length: If the head wrap feels too short or too long for your preference, you can easily modify the length by adding or reducing the number of rows. Just make sure to measure as you go to ensure it fits comfortably around your head.
With these tips and variations in mind, you can create a unique and stylish knitted head wrap that perfectly suits your style and needs. Enjoy the process of knitting and have fun experimenting with different yarns and customization options!
Q&A:
What is a knitted head wrap?
A knitted head wrap is a head accessory that is made by knitting yarn into a narrow strip. It is usually worn to keep the head warm and to hold the hair in place.
Where can I find a free pattern for a knitted head wrap?
You can find free patterns for knitted head wraps on various websites and blogs that specialize in knitting and crochet patterns. Some popular websites for free knitting patterns include Ravelry, Lion Brand Yarn, and AllFreeKnitting.
How do I make a knitted head wrap?
To make a knitted head wrap, you will need a set of knitting needles, a ball of yarn, and a knitting pattern. Start by casting on the required number of stitches from the pattern and follow the instructions for knitting the desired length and width of the head wrap. Once you reach the end of the pattern, bind off the stitches and sew the ends together to create a loop. You can then wear the head wrap by placing it around your head and securing it in place.
What are some popular knitting patterns for head wraps?
Some popular knitting patterns for head wraps include cable knit head wraps, lace pattern head wraps, and seed stitch head wraps. These patterns often incorporate various knitting techniques to create interesting textures and designs.
Can I customize a knitted head wrap pattern?
Yes, you can customize a knitted head wrap pattern to suit your preferences. You can adjust the length and width of the head wrap, change the stitch pattern, or add embellishments like buttons or flowers. Knitting patterns are a great starting point, but feel free to get creative and make it your own.
Where can I find a free pattern for a knitted head wrap?
You can find a free pattern for a knitted head wrap on various websites and online platforms such as Ravelry, KnittingPatternCentral, and LoveCrafts. There are also many knitting blogs and forums where users share their own patterns for free.
What materials do I need to knit a head wrap?
To knit a head wrap, you will need a set of knitting needles, yarn, a tapestry needle for weaving in ends, and any additional embellishments or accessories you wish to add to your head wrap.