
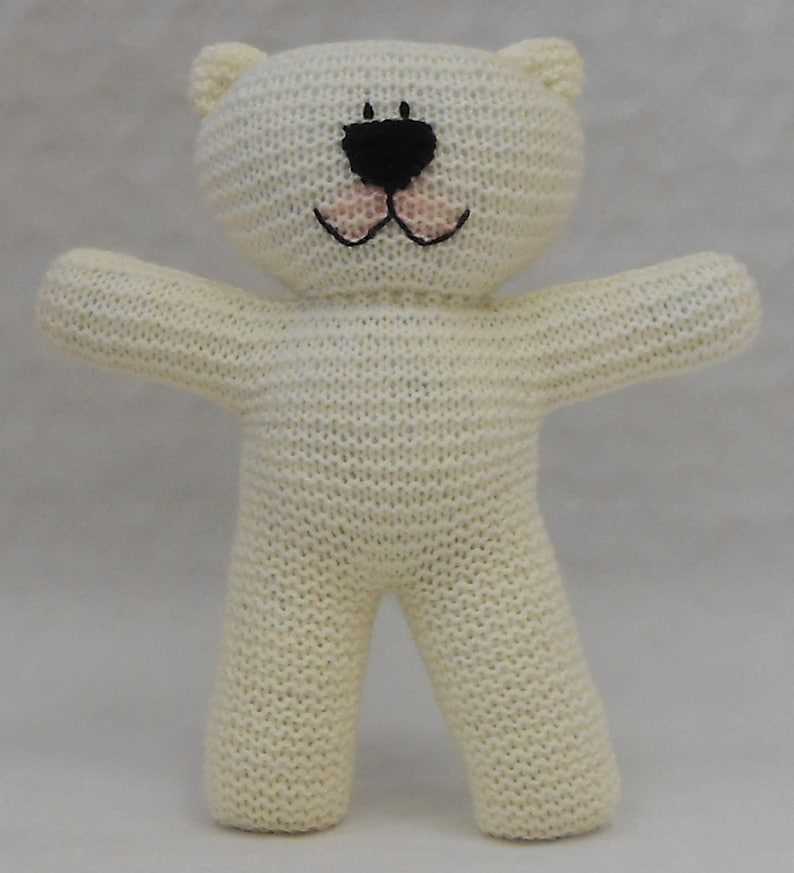
Are you a knitting enthusiast looking for a new project? Look no further! In this article, we will guide you through an easy-to-follow pattern for knitting a cute teddy bear. Whether you are a beginner or an experienced knitter, this pattern is perfect for anyone looking to create a lovable toy.
This knitted teddy bear pattern is designed with simplicity in mind, making it accessible for knitters of all skill levels. The basic design allows for customization and creativity, giving you the opportunity to add your own personal touch to each bear. Whether you prefer a traditional teddy with a simple color scheme, or want to experiment with different yarns and patterns, this project is incredibly versatile.
By following our step-by-step instructions, you will be able to create a cuddly teddy bear in no time. With just a few skeins of yarn, some knitting needles, and a bit of patience, you will have a soft and huggable toy to gift to a loved one, or simply keep for yourself as a cherished keepsake. So, grab your knitting supplies and let’s get started on this delightful project!
How to Knit a Teddy Bear: Easy and Free Pattern
Knitting a teddy bear can be a fun and rewarding project for both beginners and experienced knitters. With this easy-to-follow pattern, you can create your own adorable teddy bear. The pattern is free, so you can enjoy knitting without worrying about additional costs.
To get started, gather your materials – a pair of knitting needles, a skein of yarn in your preferred color, stuffing for the bear, and a few basic knitting tools. Once you have everything you need, you can begin knitting your teddy bear.
1. Cast on and Knit the Body
Start by casting on the required number of stitches to create the body of the teddy bear. Follow the pattern instructions for the size you want to make. Then, using your knitting needles, begin knitting the body in your chosen stitch pattern. Continue knitting until you reach the desired length for the body.
2. Shape the Head
Next, you will shape the head of the teddy bear. Follow the pattern instructions to decrease the stitches gradually, creating a round shape for the head. Continue knitting until the head is complete, and then cast off the stitches.
3. Knit the Arms and Legs
Now it’s time to knit the arms and legs of the teddy bear. Using your knitting needles, cast on the required number of stitches for each arm and leg. Follow the pattern instructions to knit in your chosen stitch pattern and shape the limbs. Once complete, cast off the stitches for each arm and leg.
4. Sew the Pieces Together

Once all the pieces are knitted, it’s time to sew them together. Using a yarn needle and the yarn in your chosen color, carefully stitch the body, head, arms, and legs together until your teddy bear starts to take shape. Leave a small opening to insert the stuffing.
5. Stuff and Finish
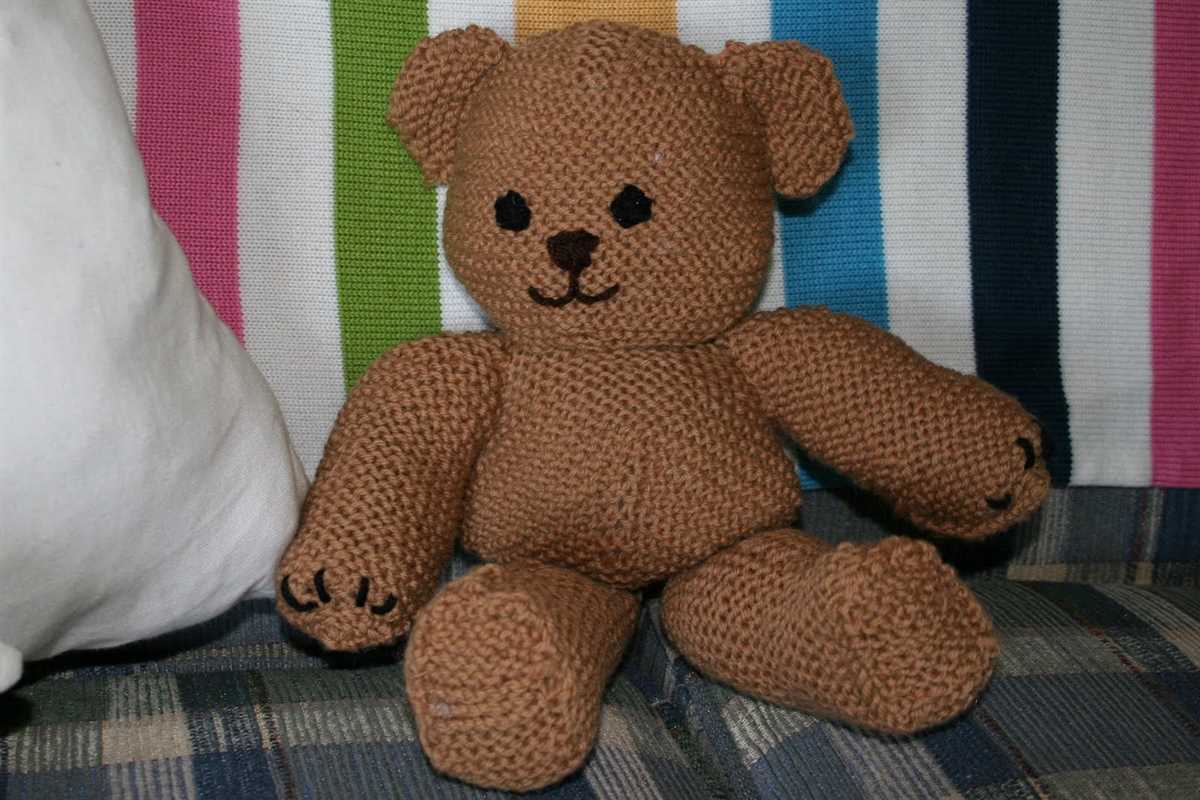
Finally, stuff the teddy bear with filling until it is plush and cuddly. Once you’re satisfied with the amount of stuffing, carefully sew up the opening to secure it. Trim any excess yarn and give your teddy bear a final inspection. Congratulations, you have successfully knitted your own adorable teddy bear!
This easy and free pattern allows you to create a personalized teddy bear that can be treasured for years to come. With a little time and effort, you can enjoy the satisfaction of making something by hand and create a special gift for yourself or someone you love.
Materials Needed for Knitting a Teddy Bear

Are you ready to embark on a wonderful knitting project and create your very own teddy bear? To get started, you will need a few essential materials.
Yarn:
Choosing the right yarn is crucial for achieving the desired look and feel of your teddy bear. Opt for a soft, durable yarn that will hold its shape well. Worsted weight yarn is a popular choice for knitting toys as it provides the perfect thickness and texture. Additionally, consider the color of the yarn and how it will complement your desired teddy bear design.
Knitting Needles:
A pair of knitting needles is essential for knitting your teddy bear. The size of the needles will depend on the thickness of the yarn you’ve chosen. Refer to the yarn label for the recommended needle size. Circular or straight needles can be used, depending on your personal preference and the knitting method you are comfortable with.
Stuffing:
To give your teddy bear its cuddly shape, you will need stuffing material. Polyester fiberfill is a popular option as it is lightweight and washable. It is important to ensure that the stuffing is evenly distributed throughout the bear to achieve a well-proportioned and huggable toy.
Embroidery Thread:
For adding details and facial features to your teddy bear, embroidery thread is necessary. Choose thread colors that will enhance the bear’s character and expression. This thread will be used for sewing on the bear’s eyes, nose, and mouth.
Knitting Pattern:
Lastly, you will need a knitting pattern specifically designed for a teddy bear. This pattern will guide you through the necessary stitches and techniques to create your bear. You can find a variety of knitting patterns online or in knitting books.
With these materials on hand, you are ready to start knitting your very own teddy bear. Enjoy the process and let your creativity shine!
Step-by-Step Instructions for Knitting a Teddy Bear

Knitting a teddy bear can be a fun and rewarding project. With these step-by-step instructions, you will be able to create your own adorable teddy bear. Let’s get started!
Gather Your Materials
Before you begin knitting, make sure you have all the necessary materials. You will need:
- Yarn in your desired color
- Knitting needles
- A yarn needle
- Stuffing
- Scissors
Start Knitting
Begin by casting on the desired number of stitches to the knitting needle. The number of stitches will depend on the size of the teddy bear you want to create. If you need guidance, you can find knitting patterns online or in knitting books.
Once you have cast on, start knitting using the desired stitch pattern. Popular stitch patterns for teddy bears include garter stitch and stockinette stitch. Follow the pattern and continue knitting until you have the desired length for the bear’s body.
Shape the Head and Limbs
After completing the body, it’s time to shape the head and limbs. To shape the head, you will need to decrease stitches gradually. Follow the pattern instructions to learn how to decrease stitches properly.
To create the limbs, you will need to cast on additional stitches and work in a smaller section. The number of stitches and rows will depend on the size and shape you want for the limbs. Be sure to follow the pattern instructions to get the desired results.
Assemble the Bear

Once all the pieces are knitted, it’s time to assemble the teddy bear. Use the yarn needle to sew the pieces together. Start by attaching the limbs to the body and then sew the head onto the body. Leave an opening for stuffing.
Fill the teddy bear with stuffing until it’s firm but still cuddly. Make sure to distribute the stuffing evenly to create a symmetrical shape. Once the bear is stuffed, sew up the opening using the yarn needle and secure the end.
And voila! You’ve successfully knitted your very own teddy bear. Give it a face by embroidering a nose and eyes, or add any additional embellishments you desire. Enjoy your new cuddly friend!
Tips and Tricks for Knitting a Teddy Bear
Knitting a teddy bear can be a fun and rewarding project, but it requires some special techniques and attention to detail. Whether you are an experienced knitter or a beginner, these tips and tricks will help you create a beautiful and cuddly teddy bear.
1. Choose the right yarn:
When knitting a teddy bear, it’s important to choose a yarn that is soft and durable. Look for yarns that are specifically designed for toys or baby projects, as they are often made with high-quality materials that will withstand lots of love and play. Pay attention to the recommended gauge on the yarn label to ensure that your stitches are even and the finished bear is the correct size.
2. Use safety eyes and nose:
Safety eyes and noses are essential for giving your teddy bear a professional and child-safe finish. These plastic or metal components can be attached securely to the bear’s face, eliminating the need for embroidery or buttons that could pose a choking hazard. Follow the instructions provided with the safety eyes and nose to ensure they are attached securely and won’t come loose with play.
3. Stuff your bear properly:
Proper stuffing is important for giving your teddy bear the right shape and firmness. Use polyester fiberfill or another stuffing material that is soft, lightweight, and hypoallergenic. Stuff the bear firmly, but not too tightly, to prevent the seams from stretching or tearing. Pay extra attention to stuffing the limbs and head to give your bear a cuddly and realistic feel.
4. Pay attention to details:
Adding small details can really bring your knitted teddy bear to life. Consider adding a bow tie, a small scarf, or even embroidering a mouth or paw pads. These extra touches can make your bear unique and add personality. Take your time and experiment with different techniques to achieve the look you desire.
5. Have fun and be patient:
Knitting a teddy bear can be a time-consuming project, especially if you are new to knitting or working with small pieces. Remember to take breaks, enjoy the process, and be patient with yourself. If you make a mistake, don’t be afraid to unravel and start again. The end result will be worth the effort!
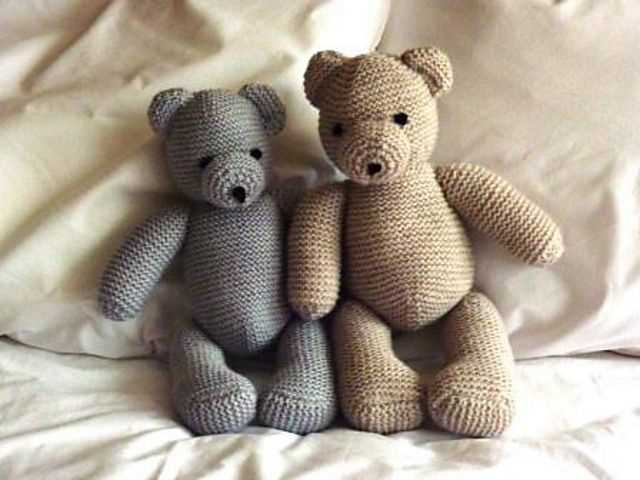
Choosing the Right Yarn for Your Knitted Teddy Bear
When it comes to knitting a teddy bear, choosing the right yarn is essential to ensure the best results. The right yarn can make all the difference in how your teddy bear turns out, from its appearance to its texture. Here are some factors to consider when selecting yarn for your knitted teddy bear.
1. Weight:
The weight of the yarn refers to its thickness or thinness. For a knitted teddy bear, you’ll want to choose a medium or bulky weight yarn. These weights will provide enough coverage to create a plush and cuddly bear. The thickness of the yarn will also determine the size of the finished bear, so keep that in mind when selecting your yarn.
2. Fiber:
The fiber content of the yarn will affect the look and feel of your teddy bear. Traditional choices for teddy bears include acrylic and wool blends, as these fibers are soft and durable. Acrylic yarns are often more affordable and easy to care for, making them a popular choice for teddy bears that may endure a lot of playtime. However, if you prefer a more natural and luxurious option, you can opt for yarns made from alpaca or mohair.
3. Color:

When it comes to color, the choice is entirely up to you and your imagination. You can go for classic teddy bear colors like brown, beige, or gray for a traditional look. Or, you can get creative and choose bright and vibrant colors to make your teddy bear stand out. Additionally, variegated or self-striping yarns can add unique patterns and visual interest to your teddy bear.
In conclusion, selecting the right yarn for your knitted teddy bear is crucial for achieving the desired outcome. Consider the weight, fiber, and color of the yarn to ensure that your teddy bear is soft, durable, and visually appealing. With the right yarn, you’ll be able to create a lovable and huggable companion that both children and adults will cherish.
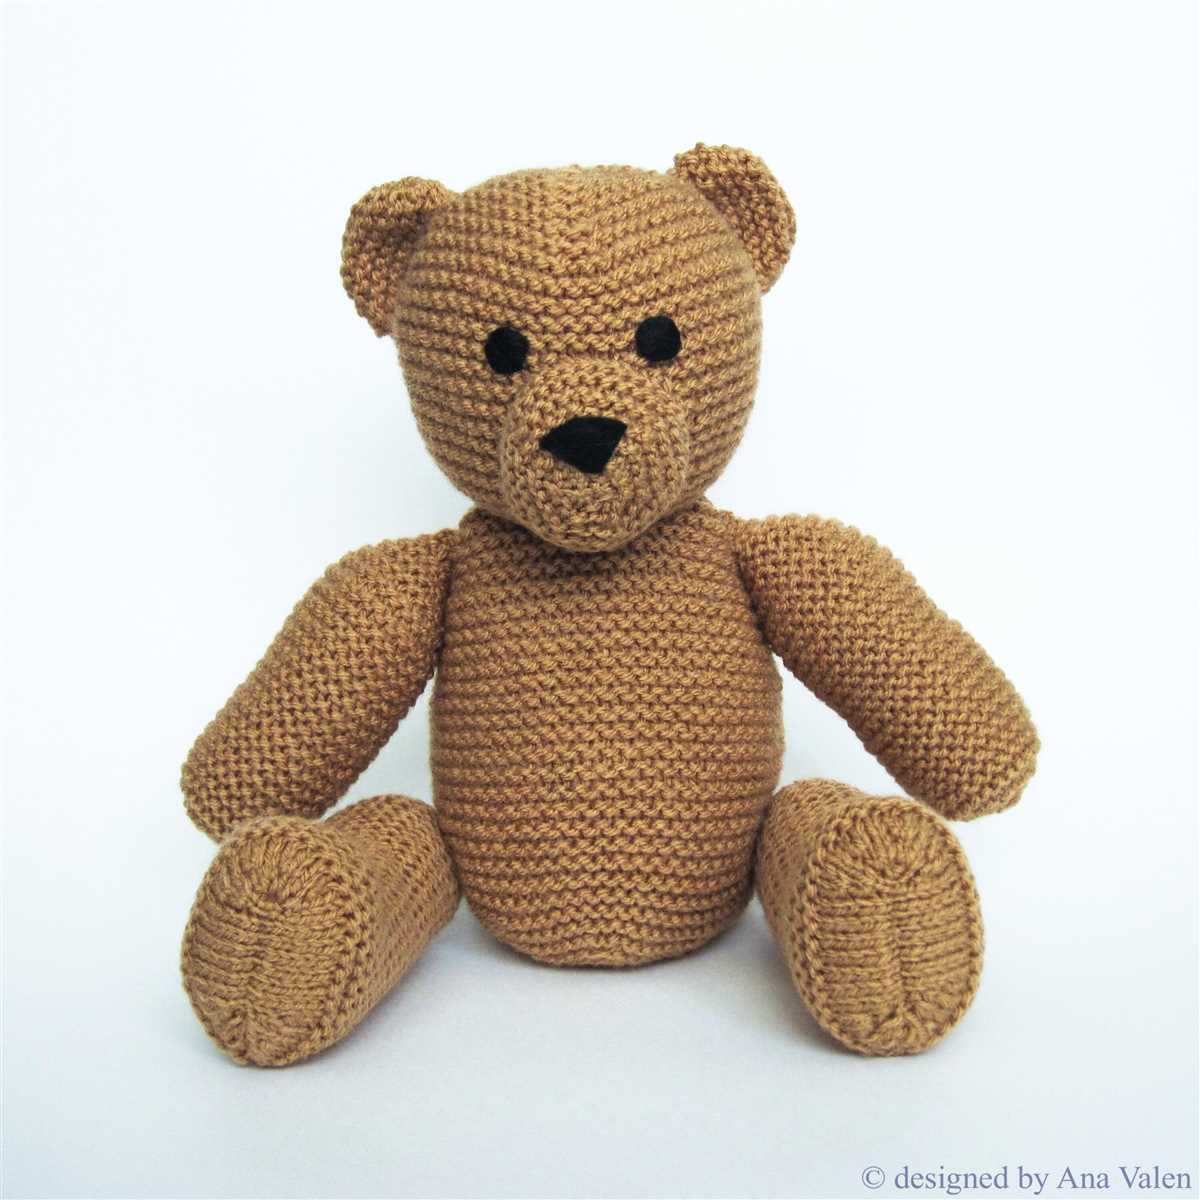
How to Stuff and Assemble Your Knitted Teddy Bear
Once you have finished knitted all the pieces of your teddy bear, it’s time to stuff and assemble it. This process is crucial to give your bear its final shape and make it cuddly and lovable.
Stuffing: Start by preparing the stuffing material. Use polyester fiberfill or wool stuffing, which is soft and hypoallergenic. Take small amounts of stuffing at a time and gently push it into the limbs and body of the bear, making sure to fill all the corners and curves. Avoid overstuffing, as it can distort the shape of the bear. Use your fingers or a knitting needle to distribute the stuffing evenly and achieve the desired firmness.
Assembling: Begin the assembly by attaching the limbs to the body. Place the legs and arms in position and use a yarn needle to sew them securely to the body. Make sure to align the pieces correctly and maintain consistent tension while sewing. For added strength, you can double-stitch or use a whip stitch to attach the pieces. Once the limbs are attached, sew the head onto the body using the same technique.
After the main parts are securely attached, you can add the finishing touches, such as embroidered facial features or a bow. For the eyes and nose, you can use small buttons or safety eyes, ensuring they are securely attached. If you prefer, you can also embroider the features using a yarn needle and contrasting yarn. Lastly, tie a bow around the bear’s neck using a coordinating ribbon or yarn to add a cute and playful touch.
With the stuffing complete and all the pieces assembled, your knitted teddy bear is now ready to be cherished and loved. Enjoy the process of creating your own handmade bear, and give it as a thoughtful gift or keep it as a cherished keepsake.
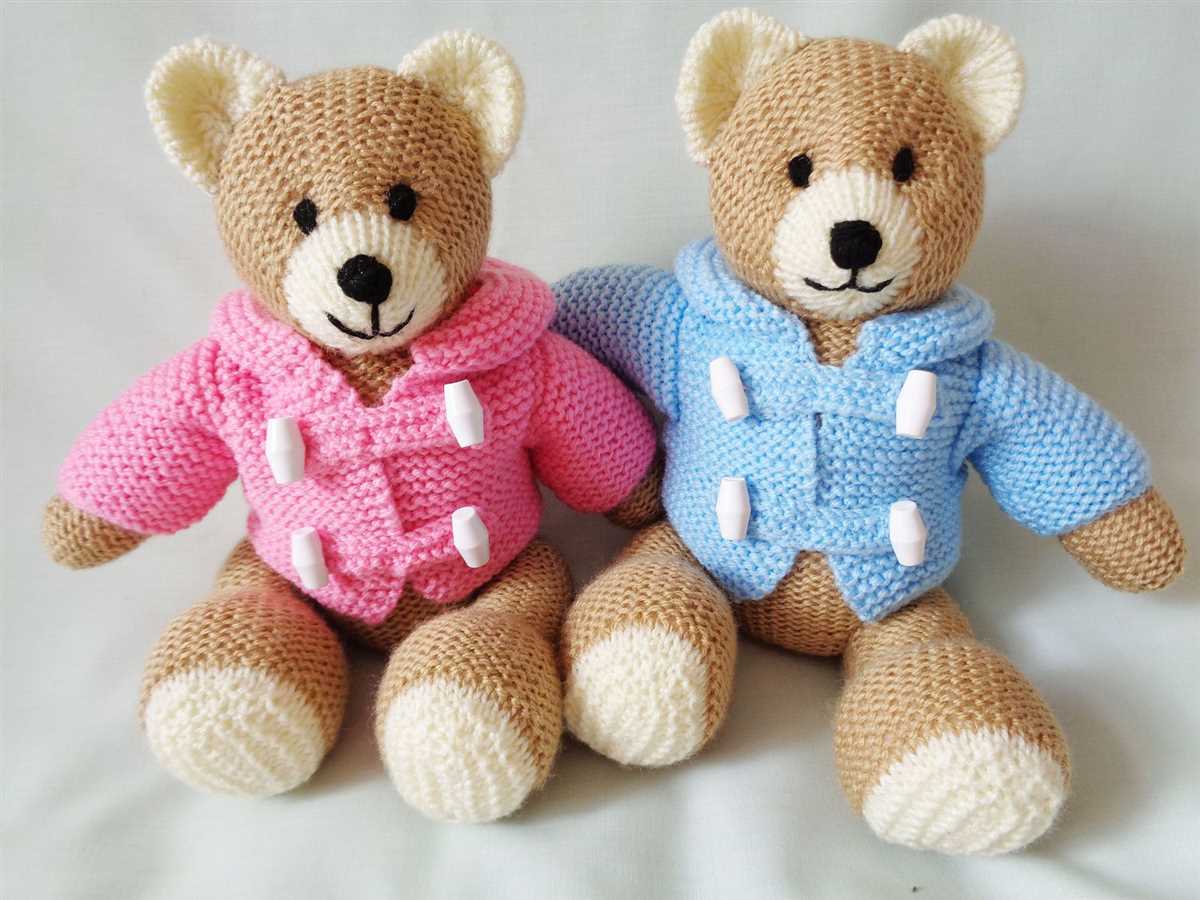
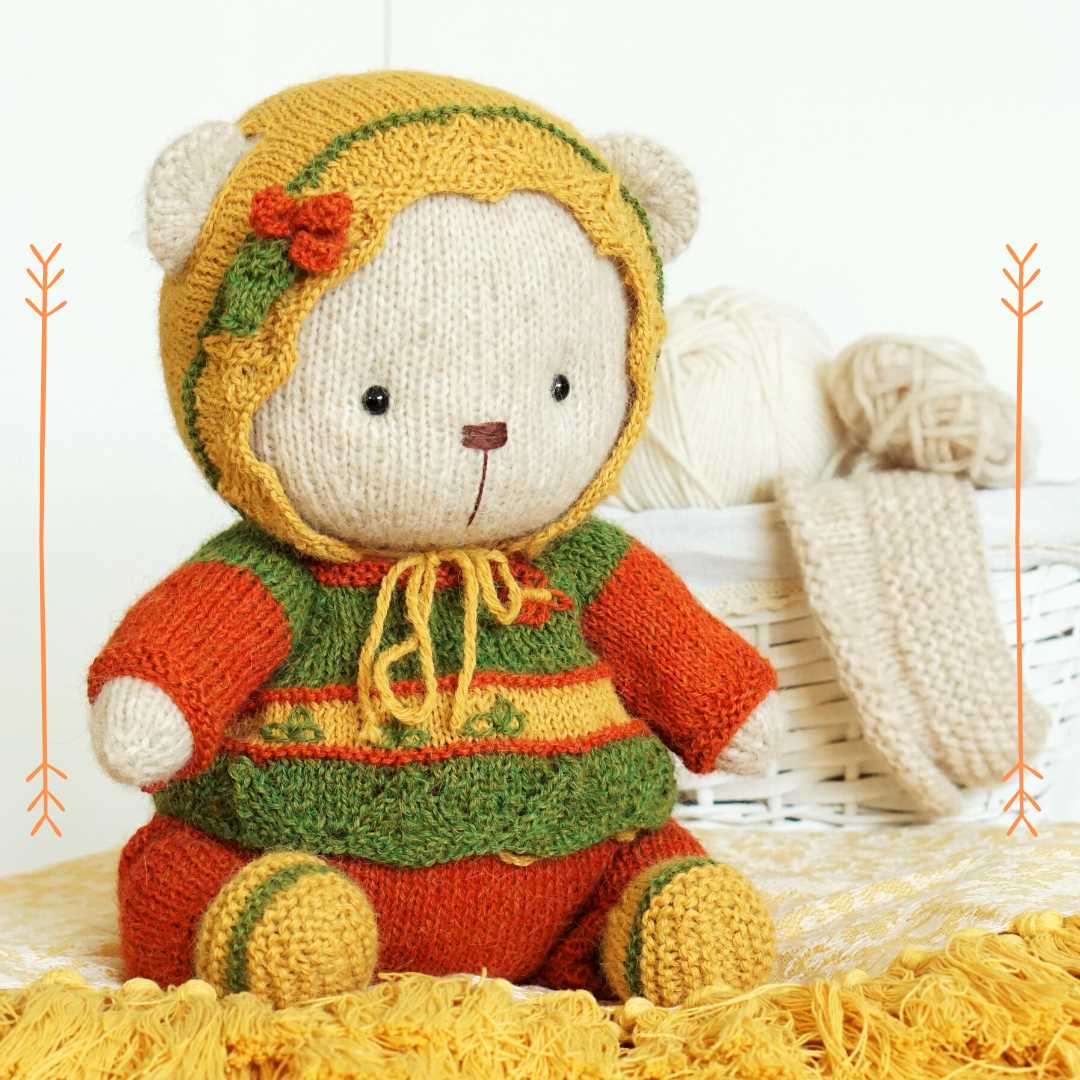
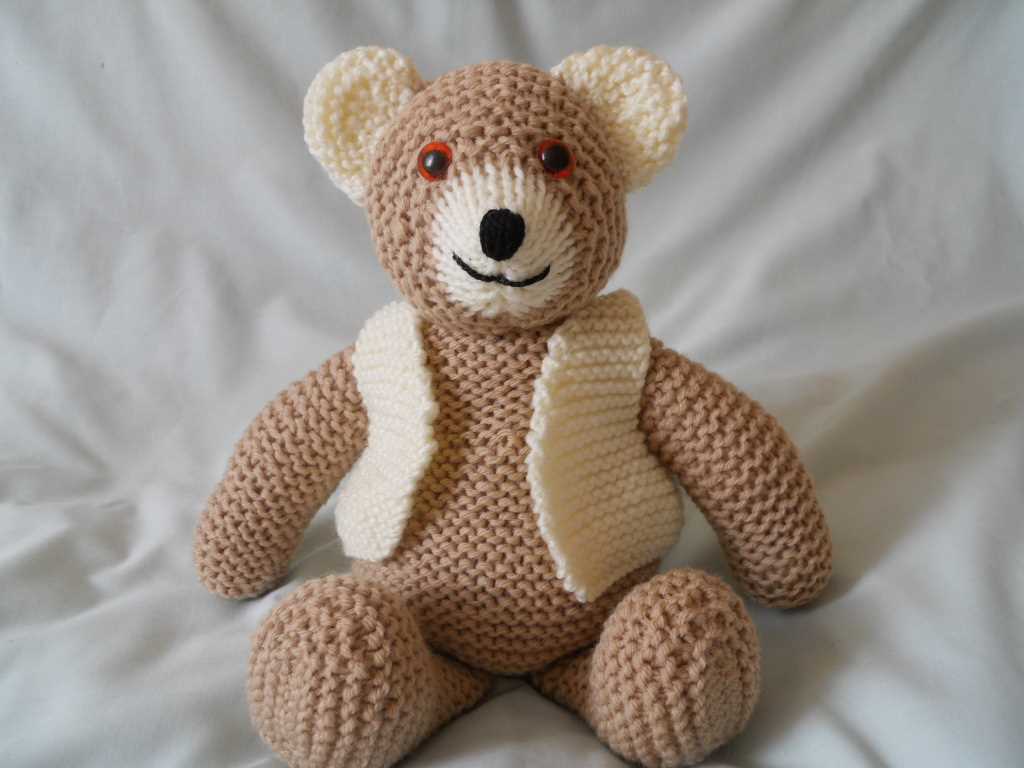
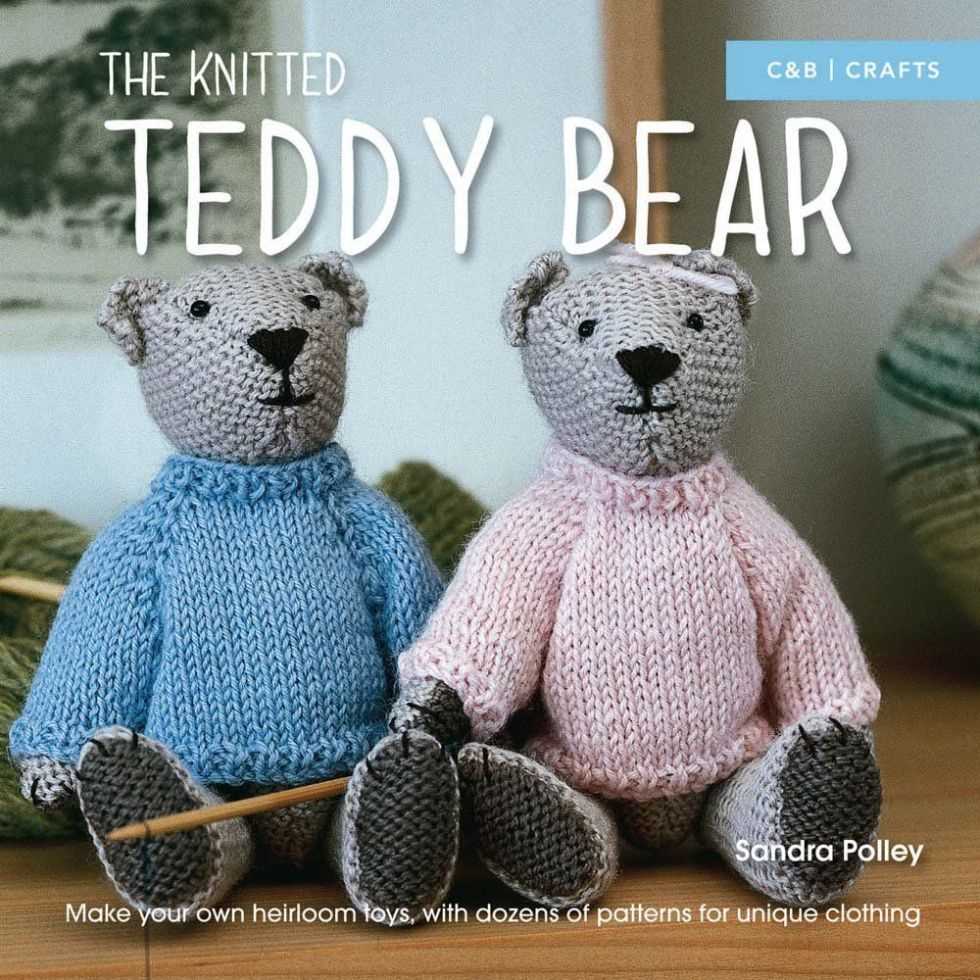
Adding Personal Touches: Embroidery and Accessories
When it comes to creating a unique and personalized knitted teddy bear, adding embroidery and accessories can make all the difference. Embroidery allows you to add intricate details and patterns, while accessories such as bows, hats, and scarves can give your teddy bear a whimsical and fun touch.
Embroidery: Embroidering your knitted teddy bear gives you the opportunity to add personality and character to its face, paws, and clothing. You can use different colored threads to create various facial expressions, such as a smiling or surprised face. You can also add details to the paws, like tiny claws or paw prints. When it comes to clothing, embroidery offers endless possibilities. You can embroider a heart on a sweater, or create a pattern on a dress.
Accessories: Accessories can transform your knitted teddy bear into a unique and lovable companion. A simple bow tied around its neck instantly adds a touch of charm. You can knit or crochet hats and scarves in coordinating colors to keep your teddy bear warm and stylish. For a more playful look, you can even make tiny sunglasses or miniature backpacks. The possibilities are endless when it comes to accessorizing your teddy bear!
By adding embroidery and accessories to your knitted teddy bear, you can truly make it one-of-a-kind. Whether you choose to embroider intricate details or add fun accessories, these personal touches will make your teddy bear a cherished companion for years to come.
Frequently Asked Questions about Knitting Teddy Bears
Knitting teddy bears is a popular hobby for many craft enthusiasts. Whether you’re a beginner or an experienced knitter, you may have some questions about this adorable project. Here are some frequently asked questions about knitting teddy bears:
1. How do I choose the right yarn for knitting a teddy bear?
When it comes to choosing yarn for your teddy bear, there are a few factors to consider. First, you’ll want to choose a yarn that is soft and cuddly, as this will give your bear a friendly and huggable feel. Additionally, make sure the yarn is durable and able to withstand some wear and tear. Lastly, consider the color and texture of the yarn, as this will add character to your bear.
2. What size knitting needles should I use?
The size of knitting needles you use will depend on the size of your desired teddy bear. Generally, a medium-sized teddy bear pattern will require US size 7 or 8 knitting needles. However, if you’d like to make a smaller or larger bear, you can adjust the needle size accordingly. Keep in mind that using larger needles will result in a looser knit, while smaller needles will create a tighter knit.
3. Can I use different colors to make my teddy bear unique?
Absolutely! One of the benefits of knitting teddy bears is that you can customize them however you like. You can use different colors for different parts of the bear, such as a contrasting color for the muzzle or paws. This allows you to create a unique and personalized bear that reflects your own style and creativity.
4. Do I need to know advanced knitting techniques to make a teddy bear?
While some teddy bear patterns may require more advanced techniques, there are many patterns available that are suitable for beginners. If you’re new to knitting, you can start with a simple pattern that uses basic stitches such as knit and purl. As you gain more experience and confidence, you can gradually try more complex patterns that incorporate different techniques, such as shaping and increasing stitches.
5. How do I stuff and assemble my knitted teddy bear?
Once you’ve finished knitting all the parts of your teddy bear, it’s time to stuff and assemble them. First, make sure to securely attach any necessary joints, such as the limbs and head, using yarn or thread. Then, stuff the bear’s body and limbs firmly with polyester fiberfill or another suitable stuffing material, making sure to distribute it evenly. Finally, sew the openings closed using a yarn needle and appropriate stitch, ensuring that the seams are tight and secure.
Knitting teddy bears can be a delightful and rewarding project. By following patterns and guidelines, you can create your own lovable and cuddly companions. So grab your knitting needles and start making adorable teddy bears today!
More Knitted Toy Patterns to Try
After successfully knitting your teddy bear, you may be eager to try other toy patterns. Here are a few more options to consider:
1. Knitted Bunny Pattern
For those who love rabbits, a knitted bunny pattern is a perfect choice. You can create a soft and cuddly bunny toy that will make a great gift for children or a charming addition to your own collection. The pattern typically includes instructions for knitting the body, arms, legs, and ears, as well as details for embroidering the face.
2. Knitted Cat Pattern
If you’re a cat lover, a knitted cat pattern can be a fun project to tackle. You can knit a cute and playful cat toy that will bring joy to any cat enthusiast. The pattern usually includes instructions for knitting the body, tail, ears, and even a tiny collar. You can get creative with the color and pattern of the cat’s fur to make it truly unique.
3. Knitted Dinosaur Pattern
Dinosaurs have always been a popular theme for toys, and a knitted dinosaur pattern allows you to create your own dinosaur plushie. You can knit different types of dinosaurs, such as a T-Rex or a Stegosaurus, and experiment with different colors and textures to make them look as realistic or as whimsical as you like. These knitted dinosaurs can be great gifts for dinosaur enthusiasts of all ages.
4. Knitted Doll Pattern
If you enjoy knitting dolls, there are endless possibilities when it comes to knitted doll patterns. You can knit traditional dolls with different hairstyles and outfits or get creative and design your own unique characters. Knitted dolls can be treasured keepsakes or play companions for children, and they offer a great opportunity to showcase your knitting skills and creativity.
With these additional toy patterns, you can continue to expand your knitting repertoire and create a variety of adorable and personalized toys. Whether you choose to knit a bunny, a cat, a dinosaur, or a doll, each toy will be a labor of love and a testament to your knitting talent.
Share Your Knitted Teddy Bear Creations
If you have followed this easy knitted teddy bear pattern and created your own adorable teddy bear, we would love to see it! Feel free to share your creations with us and the knitting community. Whether you decided to change the colors, add accessories, or create multiple bears in different sizes, each unique creation is a testament to your creativity and knitting skills.
Share a photo of your knitted teddy bear on social media using the hashtag #KnittedTeddyBearCreations. This will allow us and others to easily find your post and admire your work. You can also leave a comment below with a description of your teddy bear and any special details you would like to share.
By sharing your knitted teddy bear creations, you not only inspire and encourage other knitters to try their hand at this pattern, but you also become a part of a supportive and creative community. It’s amazing to see the different interpretations and personal touches that each knitter brings to their teddy bear.
Summary:
Creating a knitted teddy bear is a fun and rewarding project. With this easy pattern, even beginners can create a cute and cuddly teddy bear. By following the steps and using your creativity, you can customize your bear to make it truly unique. Whether you gift it to a loved one or keep it as a cherished memento, your knitted teddy bear will bring joy for years to come.
Don’t forget to share your knitted teddy bear creations with the knitting community. Use the hashtag #KnittedTeddyBearCreations on social media or leave a comment below to show off your work. We can’t wait to see all the amazing teddy bears you create!