
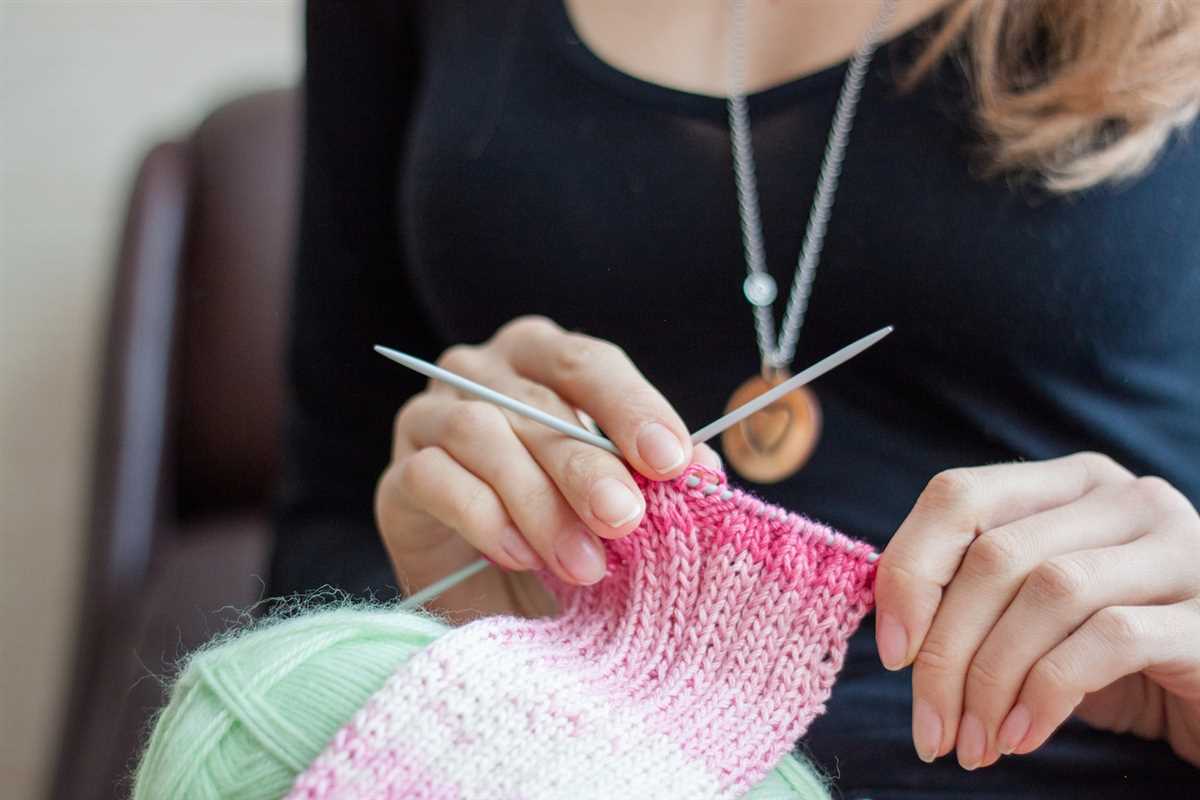
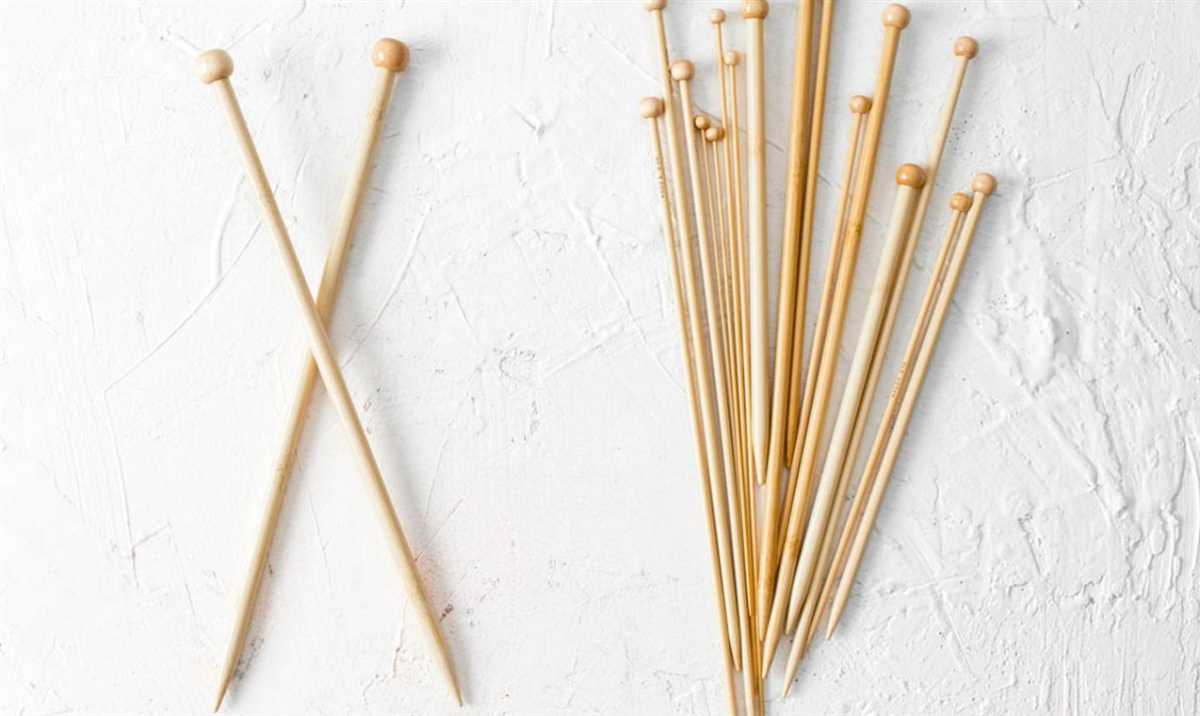
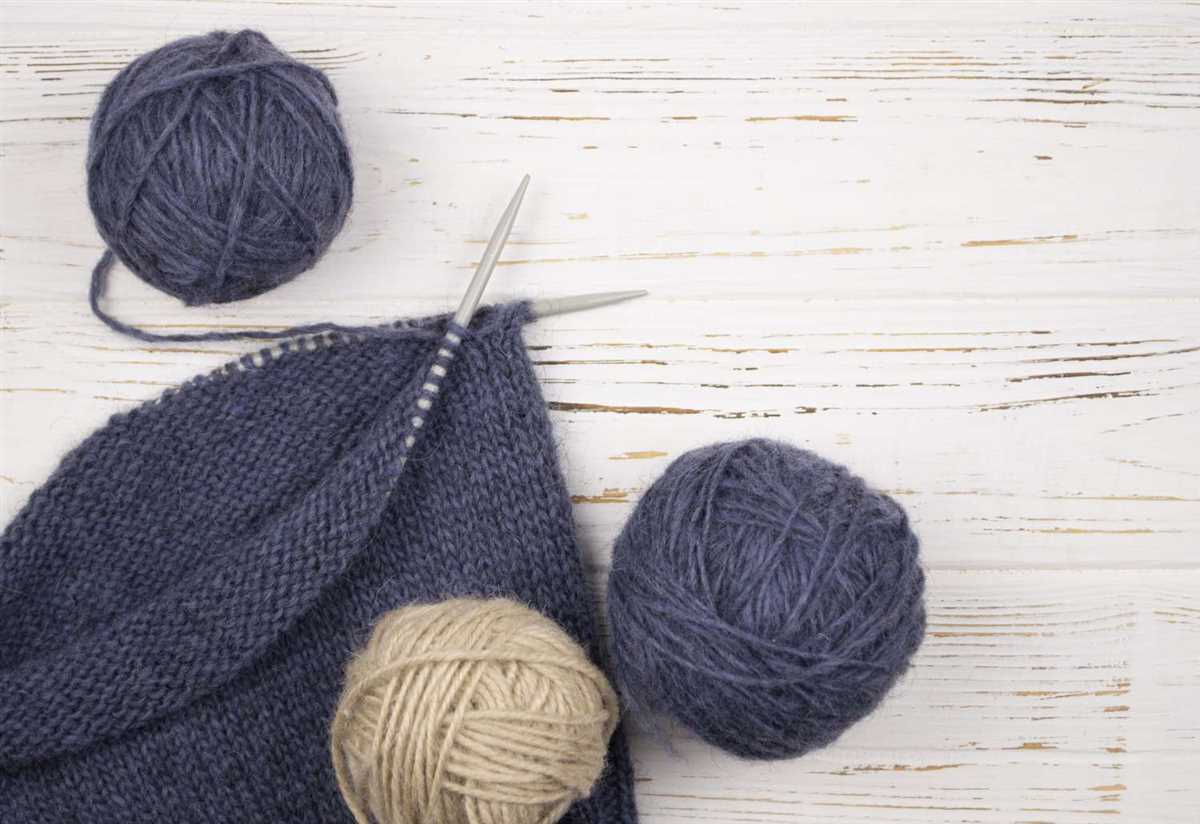
Knitting is a popular hobby that allows you to create beautiful and functional items. While many people associate knitting with circular needles, there are plenty of patterns available for those who prefer working with straight needles. Straight needles have two separate needles with a point on one end and a stopper on the other. They are ideal for knitting flat pieces such as scarves, blankets, and dishcloths.
One of the advantages of knitting with straight needles is that you don’t need to worry about joining stitches in the round, which can be confusing for beginners. This makes straight needles a great choice for those who are new to knitting or prefer a simpler technique. Additionally, straight needles allow you to easily follow stitch patterns that require specific stitch counts, as they are straightforward to read and follow.
There are countless knitting patterns available for straight needles, ranging from beginner-friendly to more advanced projects. Whether you’re looking to knit a cozy sweater, a delicate lace shawl, or a chunky blanket, you can find a pattern that suits your skill level and preferences. Many patterns even include video tutorials and step-by-step instructions to help you along the way.
Knitting with Straight Needles Patterns
If you enjoy knitting and prefer working with straight needles, there are plenty of patterns available to keep you busy. Whether you’re a beginner or an experienced knitter, there are designs suited for every skill level.
1. Scarves: Scarves are a classic knitting project and are perfect for practicing basic stitches. You can create a simple garter stitch or explore more advanced patterns like cables or lace. With straight needles, you can easily knit a long and cozy scarf to keep you warm during the colder months.
2. Baby blankets: Knitting a baby blanket is a popular project for many knitters. You can choose from various stitch patterns to create a unique and cozy blanket for a little one. With straight needles, you can easily manage the larger size of a baby blanket compared to circular needles.
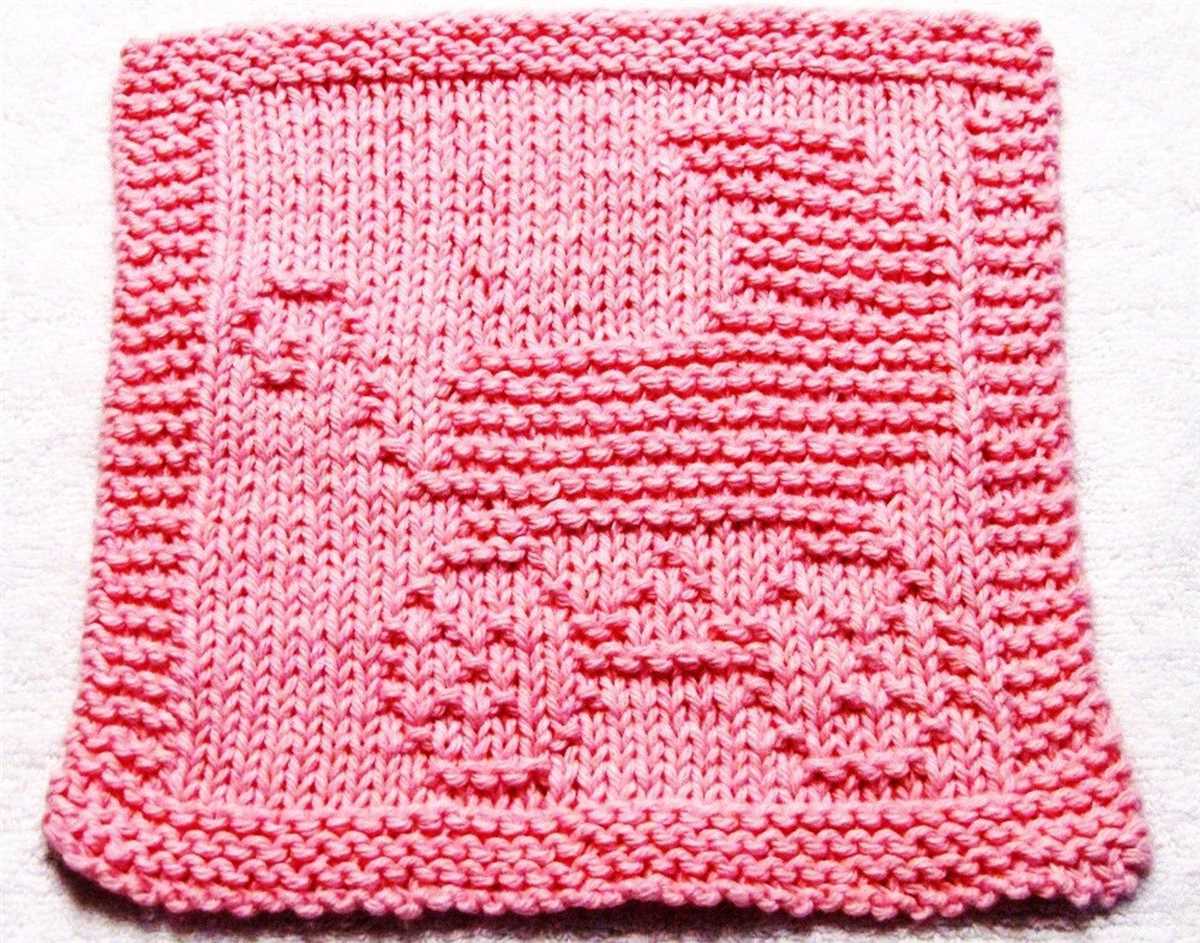
3. Dishcloths: Dishcloths are quick and practical projects that make great gifts. They are perfect for practicing different stitch patterns or trying out new techniques. Knitting dishcloths with straight needles is straightforward and allows you to focus on the pattern without worrying about joining in the round.
4. Headbands: Headbands are trendy accessories that can be knit with straight needles. You can experiment with various stitch patterns or add embellishments like buttons or bows to make them unique. Knitting headbands is a quick and satisfying project, perfect for using up small amounts of yarn.
5. Boot cuffs: Boot cuffs are a stylish and practical addition to any outfit. They can be knit with straight needles using a simple rib stitch or more intricate cable patterns. With straight needles, you have precise control over the size and fit of the boot cuffs.
These are just a few examples of knitting projects that can be done with straight needles. Whether you’re looking for something simple or challenging, there is a wide range of patterns available to suit your preferences and skill level. Grab your straight needles and get ready to create beautiful and functional knitted items!
Basic Knitting Techniques
Casting On
When starting a knitting project, the first step is to cast on. There are many different ways to cast on stitches, but the most common method is the long tail cast on. This involves creating a slipknot, placing it on one needle, and then using a second needle to create a loop around the first needle. This loop is then transferred to the first needle, and the process is repeated until the desired number of stitches has been cast on.
Knit Stitch
The knit stitch is the basic stitch used in knitting. It is created by inserting the right-hand needle into the front of the first stitch on the left-hand needle, then wrapping the yarn around the right-hand needle and pulling it through the stitch. The new stitch is then transferred to the right-hand needle, and the process is repeated across the row. The knit stitch creates a V-shape on the right side of the fabric, and a horizontal bar on the wrong side.
Purl Stitch
The purl stitch is the reverse of the knit stitch. It is created by inserting the right-hand needle into the back of the first stitch on the left-hand needle, then wrapping the yarn around the right-hand needle and pulling it through the stitch. The new stitch is then transferred to the right-hand needle, and the process is repeated across the row. The purl stitch creates a horizontal bar on the right side of the fabric, and a smooth V-shape on the wrong side.
Increasing
Increasing stitches is an essential skill in knitting. There are several methods for increasing, including knitting into the front and back of a stitch, making a yarn over, or using a make one stitch. Each method creates an additional stitch on the right-hand needle, which can then be worked in subsequent rows. Increasing is often used to shape the fabric or to create decorative patterns.
Decreasing
In contrast to increasing, decreasing stitches involves reducing the number of stitches on the needles. There are various ways to decrease, such as knitting two stitches together, slipping a stitch and passing it over, or using a central double decrease. Each method results in one stitch being removed from the right-hand needle. Decreasing is commonly used to shape the fabric or to create a tapered edge.
Choosing the Right Yarn and Needles
When it comes to knitting with straight needles, choosing the right yarn and needles is crucial for a successful project. The yarn you choose will not only affect the final look and feel of your creation, but also how easy or difficult it is to work with. The needles you use should complement your chosen yarn and help you achieve the desired stitch pattern and tension.
Yarn Selection: The right yarn for your project will depend on several factors, including the type of garment or accessory you are making, the desired drape and texture, as well as your personal preferences. For beginners, it is generally recommended to start with a smooth, medium-weight yarn in a solid color, as this will make it easier to see your stitches and correct any mistakes. It is also important to consider the fiber content of the yarn, as different fibers have unique properties and care instructions. Wool yarn, for example, is warm and resilient, while cotton yarn is cool and breathable.
Needle Size: The size of your needles will depend on the weight and thickness of your chosen yarn, as well as the desired tension and drape of the finished project. The needle size indicated on the yarn label is usually a good starting point, but you may need to adjust the size based on your knitting style and personal preference. Generally, larger needles are used for heavier and bulkier yarns, while smaller needles are used for lighter and thinner yarns. It is important to check your tension and make a gauge swatch before starting your project to ensure that you are using the correct needle size.
Stitch Patterns: Certain stitch patterns or techniques may require specific types of yarn or needles. For example, lace patterns usually look best when knit with a lightweight yarn and smaller needles, while cable patterns may require a slightly thicker yarn and larger needles to accommodate the cable crossings. It is important to consider the stitch pattern and desired outcome when choosing your yarn and needles.
In conclusion, choosing the right yarn and needles for your knitting project is essential for achieving the desired results. Take into account factors such as the fiber content, weight, and thickness of the yarn, as well as the desired stitch pattern and tension. Remember to make a gauge swatch and adjust your needle size if needed. With the right materials, you’ll be on your way to creating beautiful and functional knitted pieces.
How to Cast On Stitches
Casting on stitches is the first step in starting any knitting project. It creates the foundation row of your project and allows you to begin working with the needles. There are several different methods for casting on stitches, but one of the most common and simple methods is the long tail cast on.
The long tail cast on:
- Start by leaving a long tail of yarn, approximately three times the width of your finished project.
- Make a slipknot by creating a loop with the tail end of the yarn and pulling the working yarn through the loop.
- Insert one needle into the slipknot and hold it in your right hand.
- With your left hand, hold the tail end of the yarn and the working yarn together, creating a V shape with the yarn over your thumb.
- Using the needle in your right hand, reach through the V shape and grab the working yarn with the needle.
- Pull the working yarn through the V shape to create a new stitch on your needle.
- Repeat steps 4-6 until you have cast on the desired number of stitches.
This method creates a neat and flexible edge for your knitting project. Once you have mastered the long tail cast on, you can experiment with other casting on methods to achieve different effects and finishes.
Knitting the Garter Stitch
The garter stitch is one of the first patterns that beginners learn when starting to knit with straight needles. It is a simple yet versatile stitch that creates a beautiful texture and is perfect for a wide range of projects. The garter stitch is formed by knitting every row, resulting in a squishy, reversible fabric that lies flat and stretches well. It is also a great stitch for practicing tension and getting comfortable with basic knitting techniques.
To knit the garter stitch, you will need a pair of straight knitting needles and a ball of yarn. Start by casting on the desired number of stitches onto your needle. Hold the needle with the cast-on stitches in your right hand and the other needle in your left hand. Insert the left needle into the first stitch on the right needle, from front to back, and wrap the yarn around the right needle, bringing it to the front. With the right needle, pull the yarn through the stitch, creating a new stitch on the right needle. Slip the original stitch off the left needle.
Continue this process of knitting every stitch on every row until you have reached the desired length. Remember to always keep your tension consistent by pulling the yarn tight enough to create a firm fabric, but not so tight that it becomes difficult to knit the stitches. Once you have completed your project, you can bind off the stitches by knitting the first two stitches, then passing the first stitch over the second stitch and off the needle. Repeat this process until only one stitch remains, then cut the yarn and pull it through the last stitch to secure it.
The garter stitch can be used to create a variety of items, such as scarves, blankets, dishcloths, and even garments. You can experiment with different yarns, needle sizes, and stitch counts to achieve different textures and effects. It is also a great stitch to combine with other stitch patterns, such as seed stitch or ribbing, to add interest and depth to your knitting projects. So grab your needles and yarn, and start knitting the garter stitch today!
Knitting the Stockinette Stitch
The stockinette stitch is one of the most basic and versatile stitches in knitting. It is created by alternating rows of knit stitches and purl stitches. This stitch pattern produces a smooth, flat fabric with a distinct right side (knit side) and wrong side (purl side).
To knit the stockinette stitch, you will need straight needles and a ball of yarn. Begin by casting on the desired number of stitches onto your needles. Then, work the first row by knitting every stitch. For the second row, purl every stitch. Continue alternating knit and purl rows until your project reaches the desired length.
The stockinette stitch is commonly used for a variety of knitting projects, including sweaters, scarves, and blankets. It creates a classic, smooth texture that showcases the beauty of the yarn. However, it is important to note that the stockinette stitch tends to curl at the edges, so you may need to add a border or block your finished piece to prevent this.
To add variation to your stockinette stitch project, you can incorporate other stitches or patterns. For example, you can create ribbing by alternating knit and purl stitches in a specific pattern. You can also add decorative borders or stripes by introducing different colors of yarn. The stockinette stitch is a great foundation for experimenting and getting creative with your knitting projects.
Making Simple Scarves

Knitting a scarf is a great project for beginners and experienced knitters alike. It is a versatile and fashionable accessory that can be worn all year round. With a pair of straight needles and some yarn, you can create a simple scarf in no time.
To begin, choose a soft and cozy yarn in a color of your choice. Thicker yarns like chunky or bulky weight will create a warmer and more textured scarf, while thinner yarns like fingering or sport weight will result in a lighter and more delicate scarf. Consider the recipient’s preferences and the intended use of the scarf when selecting your yarn.
To start knitting the scarf, cast on the desired number of stitches. Typically, a scarf is between 6 and 8 inches wide, but you can adjust the width to your preference. A good starting point is to cast on about 30 to 40 stitches, depending on the thickness of your yarn.
Next, simply knit every row until you reach the desired length of the scarf. This is known as the garter stitch, which creates a bumpy texture. You can also experiment with different stitch patterns, such as the seed stitch or the rib stitch, to add more interest to your scarf.
Once you have reached the desired length, bind off your stitches and weave in any loose ends. You can also add fringe or tassels to your scarf for some extra flair. Don’t be afraid to get creative and add your own personal touch to the scarf.
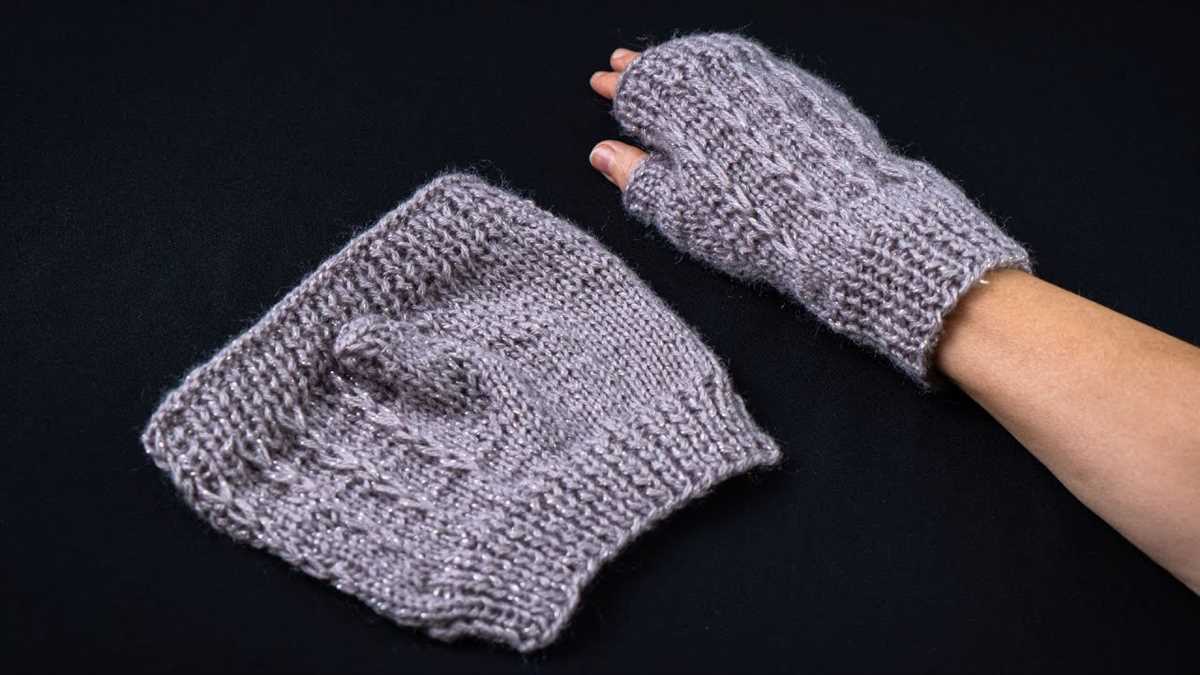
Creating Cozy Hats

Knitting cozy hats with straight needles is a fun and rewarding project for knitters of all skill levels. Whether you are a beginner or an experienced knitter, there are plenty of patterns available to help you create stylish and comfortable hats for yourself or your loved ones. With just a few basic stitches and techniques, you can create unique and cozy hats that will keep you warm during the colder months.
One popular knitting pattern for cozy hats is the ribbed hat. This pattern uses a combination of knit and purl stitches to create a stretchy and comfortable ribbed texture. You can choose to knit the hat with a single color or get creative by using multiple colors to create stripes or patterns. The ribbed hat is not only cozy but also versatile, making it a great choice for both casual and formal outfits.
If you prefer a more textured hat, the cable hat pattern is a great option. This pattern incorporates intricate cable stitches that create a beautiful and cozy design. The cable hat is perfect for those who want to add a touch of elegance to their winter accessories. You can experiment with different cable patterns and combinations to create unique designs that will impress everyone.
When knitting hats with straight needles, it’s important to choose the right yarn for your project. Opt for a yarn that is soft and warm, such as merino wool or cashmere. These yarns will not only keep you cozy but also add a luxurious feel to your hats. Additionally, consider using circular needles for larger projects or switching to double-pointed needles for the crown of the hat.
In conclusion, knitting cozy hats with straight needles is a fun and creative way to stay warm during the colder months. With a variety of patterns and yarn choices available, you can create unique and stylish hats that will keep you cozy and comfortable. Whether you choose a ribbed hat or a cable hat pattern, your handmade hats will be cherished by yourself or your loved ones.
Knitting Lovely Baby Blankets
Knitting baby blankets is a wonderful way to create a special and meaningful gift for a new arrival. Whether you’re a beginner or an experienced knitter, there are a variety of patterns that can be made using straight needles. From simple garter stitch designs to more intricate lace patterns, you can find a pattern that suits your skill level and preferences.
One popular pattern for baby blankets is the seed stitch. This pattern creates a textured fabric that is both soft and warm. By alternating knit and purl stitches, you can achieve the seed stitch pattern. The simplicity of the design makes it perfect for beginners. You can use different colors of yarn to create a striped effect or stick to one color for a classic look.
If you’re looking for a more challenging project, you can try knitting a baby blanket with a lace pattern. Lace patterns can be created with a combination of knit and purl stitches, as well as yarn overs and decreases. The delicate and intricate design of a lace baby blanket is sure to impress. Just make sure to use a finer yarn and smaller needles to achieve the desired drape and effect.
In addition to the seed stitch and lace patterns, you can also experiment with different stitch patterns like cable or basketweave. These patterns can add depth and texture to your baby blanket, creating a unique and eye-catching design. The options are endless, and you can customize your blanket to fit your style and the needs of the recipient.
When knitting baby blankets, it’s important to choose a soft and machine-washable yarn. Babies have delicate skin, and you want to ensure that the blanket is gentle and easy to care for. Be sure to check the gauge and follow the pattern instructions carefully to create a blanket with the desired dimensions.
Overall, knitting baby blankets with straight needles allows you to create beautiful and functional pieces that will be treasured for years to come. Whether you choose a simple or intricate pattern, the love and care you put into your knitting will shine through in the finished product.
Embellishing with Ribbing and Cables
Ribbing and cables are two popular techniques used in knitting to create texture and visual interest in projects. Ribbing is a pattern of alternating knit and purl stitches, often used at the edges of garments or to create a stretchy fabric. It can be used to create cuffs, collars, and waistbands on sweaters, or to add a decorative element to hats and scarves.
Cables, on the other hand, are created by crossing stitches over each other to form a twisted pattern. This technique can be used to create intricate designs that resemble braids or ropes. Cables can be added to the body or sleeves of a sweater, or used as a focal point on a hat or scarf.
To create ribbing: Start by casting on an even number of stitches. The most common ribbing pattern is a 1×1 rib, which means alternating knit and purl stitches. Work in the pattern for the desired length, and then bind off.
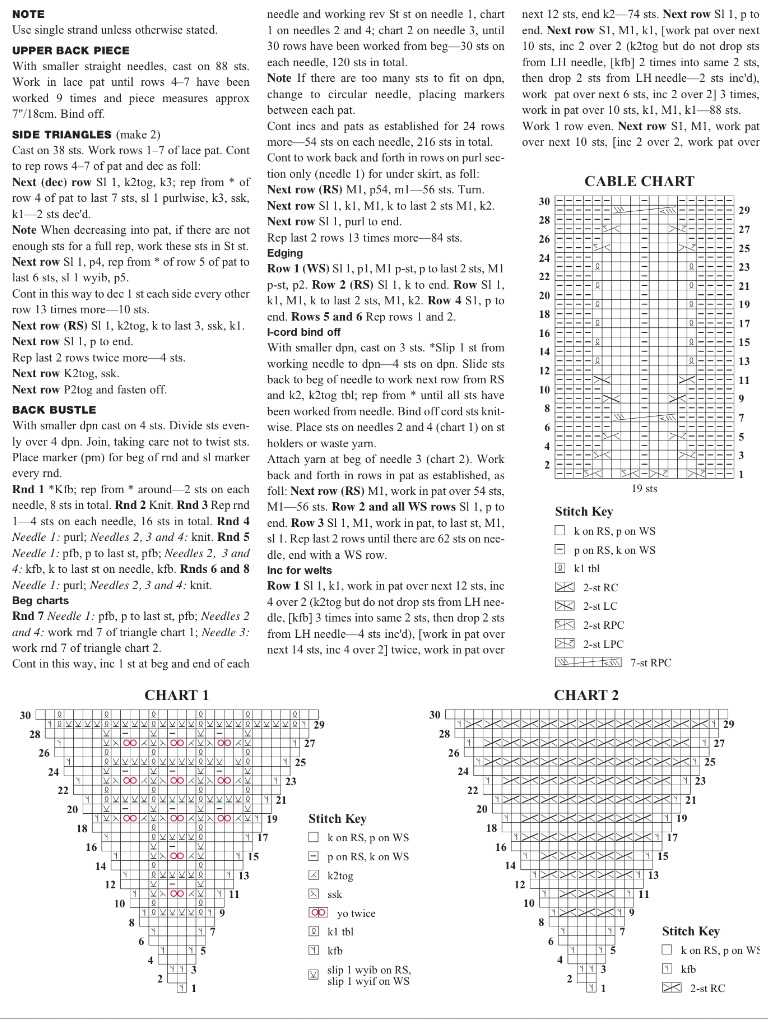
To create cables: Begin by setting up a foundation row of knit and purl stitches, called the “cable base.” On the following rows, work the stitches as they appear, and then when you reach the cable section, follow the cable chart or instructions to cross the stitches over each other. This may involve using a cable needle or a technique called “cabling without a cable needle.” Continue working the rest of the row as usual.
Ribbing and cables can be combined to create even more intricate patterns and textures. For example, you could create a cable panel surrounded by ribbing, or incorporate ribbing into the edges of a cable sweater. The possibilities are endless, and experimenting with different combinations and designs is part of the fun of knitting!
Knitting Textured Patterns
If you’re looking to add some dimension and visual interest to your knitting projects, textured patterns are a great option. These patterns incorporate a combination of stitches like cables, bobbles, and seed stitch to create a tactile and visually stunning fabric. Whether you’re a beginner or an experienced knitter, there are plenty of patterns available to suit your skill level.
Cables are a classic textured pattern that are created by crossing stitches over each other. They can be simple, with just a few cables scattered throughout a project, or more intricate with complex cable designs running across the entire fabric. Cables can be used to create visually striking sweaters, scarves, and hats.
Bobbles are another popular textured pattern that add a bit of fun and whimsy to your knitting. Bobbles are created by knitting a group of stitches into one stitch, then knitting them again on the next row. This creates a raised, rounded shape that adds a tactile element to your knitting. Bobbles can be used as embellishments on hats, socks, and even blankets.
Seed stitch is a simple textured pattern that is perfect for beginner knitters. It is created by alternating knit and purl stitches across a row, and then alternating the stitches on the next row. This creates a bumpy, textured fabric that is great for scarves, dishcloths, and baby blankets. Seed stitch is also a great pattern to use when you want to add a bit of texture to a larger project without it overwhelming the overall design.
When working with textured patterns, it’s important to pay attention to your tension and gauge. These patterns often require manipulating the stitches in unusual ways, and if your tension is too loose or too tight, it can impact the final texture of your fabric. Additionally, textured patterns can sometimes be more time consuming to knit, so be sure to set aside enough time to complete your project.
Whether you’re a beginner or an experienced knitter, experimenting with textured patterns can take your knitting to the next level. From cables to bobbles to seed stitch, there are endless possibilities for creating stunning, tactile knitted fabrics with just a pair of straight needles. So grab your yarn and needles and get ready to add some texture to your next project!
Finishing and Binding Off

After completing your knitting project, it’s important to finish and bind off your work to secure the stitches and prevent them from unraveling. Here are some steps you can follow to finish your knitting project:
1. Cut the yarn: Leave a long tail of yarn, about 6 inches, before cutting it from the skein. This will allow you to secure the stitches and weave in the ends later.
2. Bind off: To bind off your stitches, work the first two stitches as usual. Then, using the left-hand needle, lift the first stitch over the second stitch and off the right-hand needle. Continue this process, working one stitch at a time and lifting the previous stitch over the current stitch, until only one stitch remains on the right-hand needle. Finally, cut the yarn, leaving a long tail.
3. Weave in the ends: Thread the tail of yarn onto a yarn needle and weave it back and forth through the stitches on the wrong side of your project to secure the yarn and prevent it from unraveling. Trim any excess yarn.
4. Block your project: Blocking is the process of shaping and sizing your knitted item to ensure it looks its best. It involves wetting the item and then pinning it into the desired shape and size. Allow the item to dry completely before unpinning it.
Now that you have finished and bound off your knitting project, you can enjoy your completed creation or start planning your next knitting adventure!
Summary:
In this article, we discussed the basics of knitting with straight needles, including how to choose the right needles and yarn, how to cast on and knit stitches, and how to finish and bind off your knitting project. Knitting with straight needles offers a versatile and portable way to create beautiful knitted items. With practice and patience, you can create unique and personalized pieces that are sure to impress. Happy knitting!