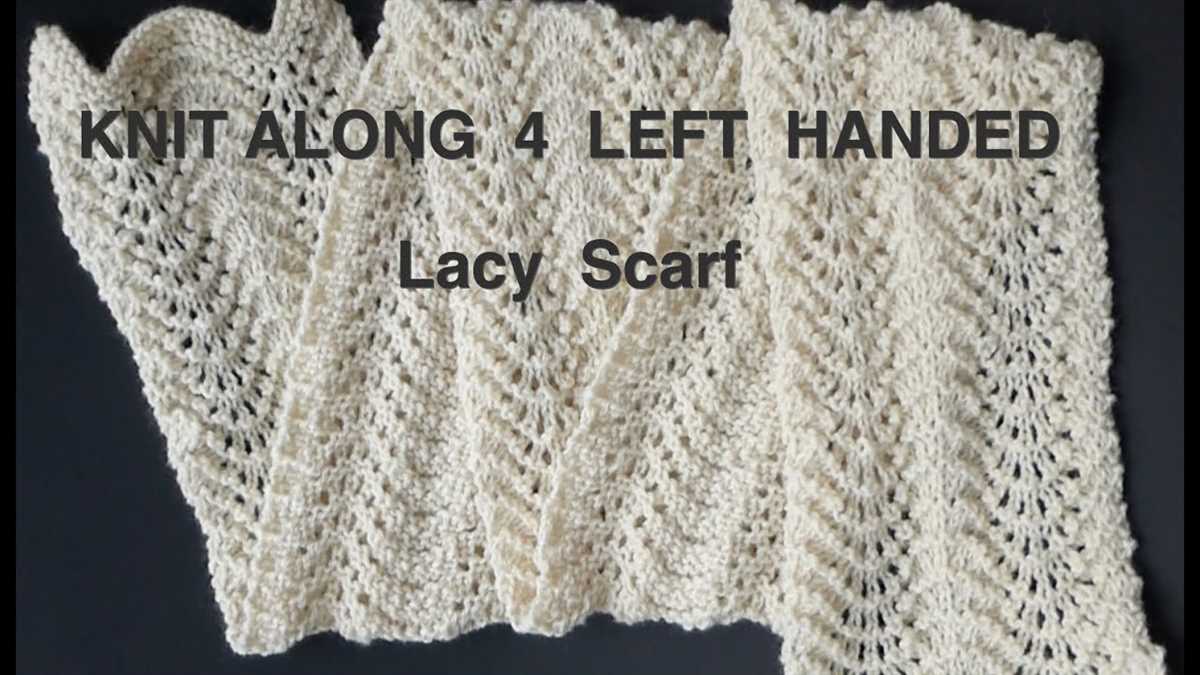
If you’re looking for a beautiful and delicate scarf to knit, you’ve come to the right place. In this article, we’ll introduce you to a lacy scarf knitting pattern that is available for free. This pattern is perfect for both beginners and experienced knitters who are looking for a stylish and elegant accessory to add to their wardrobe.
The lacy scarf knitting pattern features a delicate lace design that adds a touch of sophistication to any outfit. The intricate pattern creates a lightweight and airy scarf that can be worn year-round. Whether you’re dressing up for a special occasion or looking for the perfect accessory to add a bit of elegance to your everyday look, this scarf is sure to impress.
The best part is that this pattern is completely free. You don’t have to spend a fortune on yarn or a complicated pattern to create a stunning accessory. With just a few basic knitting stitches and a little bit of time, you can create a beautiful scarf that will make a statement. So why wait? Gather your needles and yarn and get ready to knit your new favorite accessory!
Lacy Scarf Knitting Pattern Free
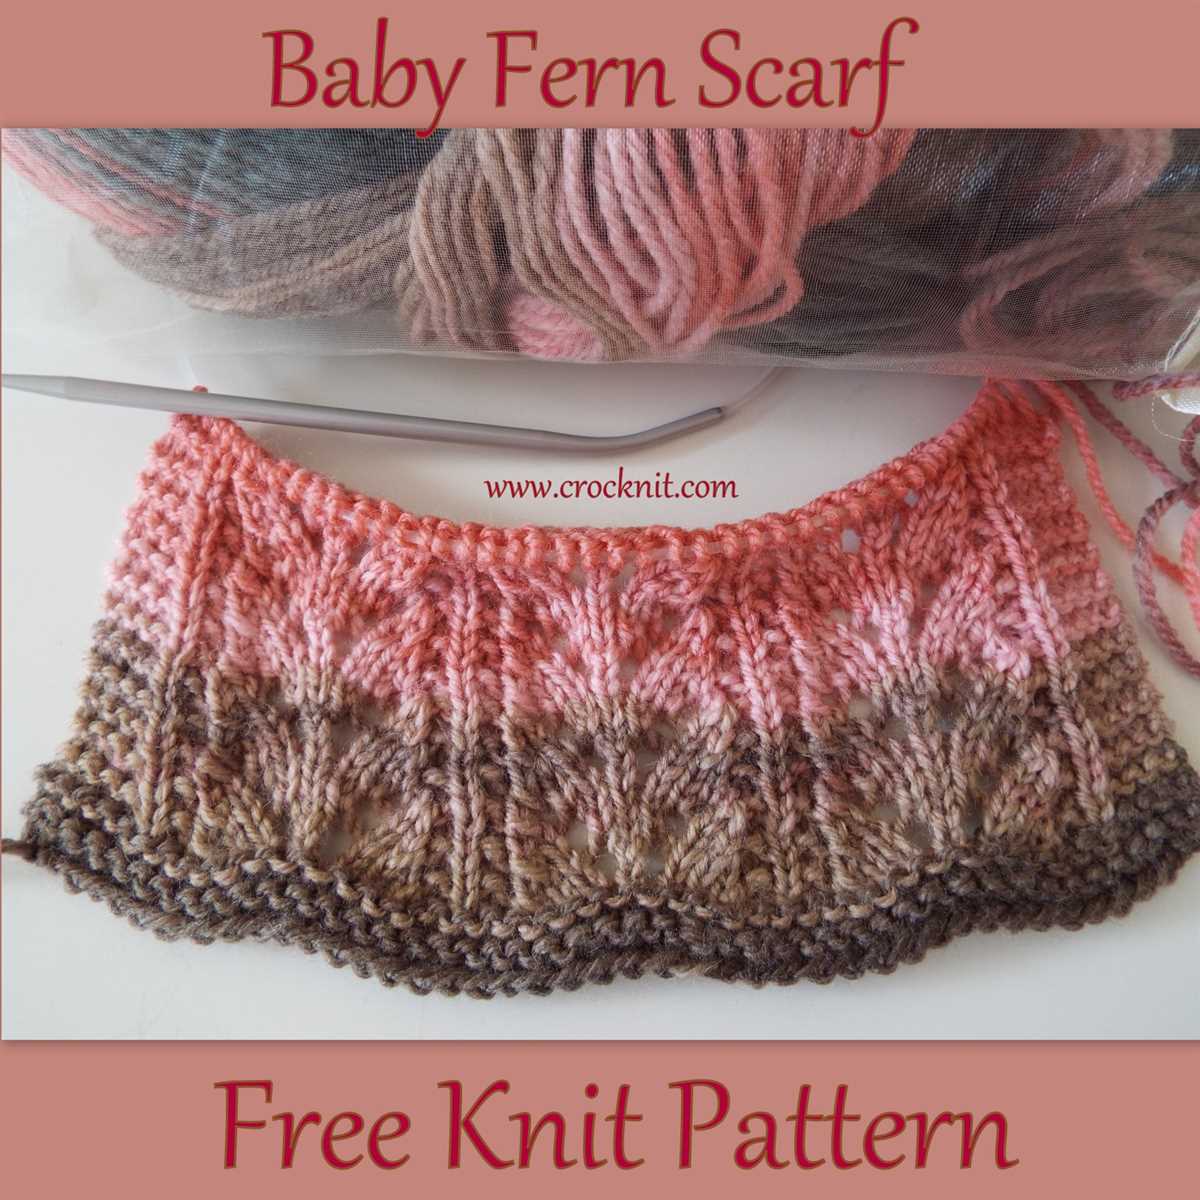
Looking for a beautiful and delicate scarf to knit? Look no further! We have a lacy scarf knitting pattern that is not only stunning but also free! This pattern is perfect for those who want to try their hand at lace knitting or for experienced knitters looking for a quick and easy project.
The key to this lacy scarf pattern is the combination of yarn and needle size. To achieve the delicate and airy look, we recommend using a lightweight and soft yarn such as silk or mohair. Pairing it with larger needles will create larger eyelets and a looser, more open texture.
Materials:
- Fingering weight yarn, approximately 400 yards
- US size 8 (5mm) knitting needles
- Tapestry needle
Pattern:
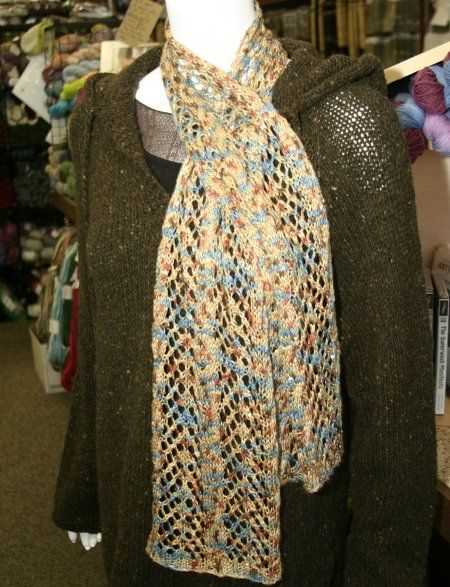
- Cast on 32 stitches.
- Rows 1-4: Knit across.
- Row 5: K2, *yo, k2tog, repeat from * to last 2 stitches, k2.
- Rows 6-10: Knit across.
- Repeat rows 5-10 until desired length is reached, ending with rows 5-6.
- Rows 11-14: Knit across.
- Bind off all stitches.
This lacy scarf knitting pattern is versatile and can be customized to your preferences. Feel free to make it wider or longer by adjusting the number of cast-on stitches and the number of pattern repeats. Add a fringe to the ends for an extra touch of flair. Happy knitting!
Overview
Lacy scarf knitting patterns are a popular choice for knitters of all skill levels. They offer an opportunity to create a beautiful, delicate accessory that can be worn year-round. Whether you are a beginner or an experienced knitter, there are many free patterns available that will help you create the perfect lacy scarf.
When choosing a lacy scarf knitting pattern, it is important to consider the type of yarn you will be using. Lace weight or fingering weight yarn is typically the best choice, as it allows for the intricate stitch patterns to stand out. However, you can also use a heavier yarn if you prefer a more substantial scarf. Just keep in mind that the finished scarf may have a different drape and texture.
Pattern Selection
There are a wide variety of lacy scarf knitting patterns available for free online. Some patterns are simple and easy to follow, while others may be more complex and require advanced knitting techniques. It is important to choose a pattern that matches your skill level and interests. If you are a beginner, look for patterns that use basic stitches and have clear instructions. For more experienced knitters, there are patterns that incorporate more intricate lacework and stitch combinations.
- Consideration of Stitch Patterns: When selecting a lacy scarf knitting pattern, it is important to consider the different stitch patterns that are used. Some patterns may use a combination of knit and purl stitches, while others may incorporate yarn overs and decreases to create the lace effect. Choose a pattern that incorporates stitches you are familiar with, or be prepared to learn new techniques.
- Yarn Choice: The type of yarn you choose will greatly impact the finished look and feel of your lacy scarf. You can use a variety of different yarns, such as silk, cotton, or wool, depending on your personal preference. Consider the weight, texture, and drape of the yarn when making your selection.
- Size and Length: Lacy scarf patterns often come in a variety of sizes and lengths. Consider how you plan to wear the scarf and choose a pattern that meets your desired specifications. Some patterns may provide instructions for adjusting the size and length to fit your preferences.
With so many lacy scarf knitting patterns available for free, you are sure to find the perfect one to suit your needs. The delicate, airy nature of lace stitches makes them an ideal choice for creating beautiful scarves that can be worn throughout the year. Whether you are knitting for yourself or someone else, these patterns offer endless possibilities for creating unique and stylish accessories.
Materials Needed
Before you start knitting your lacy scarf, make sure you have all the necessary materials. Gathering these materials beforehand will ensure that you have everything you need to complete the project without interruption. Here is a list of the materials you will need:
- Yarn: Choose a yarn of your preference, preferably a lightweight and soft yarn for a delicate and comfortable lacy scarf.
- Knitting Needles: You will need a pair of knitting needles of the appropriate size for your chosen yarn. Check the recommended needle size on the yarn label or use the needle size mentioned in the pattern you are following.
- Scissors: A pair of sharp scissors will be essential for cutting the yarn and trimming any excess.
- Tapestry Needle: A tapestry needle with a large eye will be needed for weaving in the loose ends and sewing any necessary stitches.
- Stitch Markers: These small decorative rings will help you keep track of your stitches and markers, if required, during the knitting process.
- Measuring Tape: A measuring tape or ruler can be handy for measuring your progress and ensuring consistent stitch dimensions.
Now that you have gathered all the necessary materials, you are ready to start knitting your lacy scarf and create a beautiful and stylish accessory.
Choosing the right yarn
When it comes to knitting a lacy scarf, choosing the right yarn is essential. The type and quality of yarn you use can greatly affect the final result of your project.
1. Fiber: The first thing to consider is the fiber of the yarn. Different fibers have different properties and characteristics. For a lacy scarf, you’ll want to choose a lightweight and breathable fiber such as cotton or silk. These fibers will drape beautifully and ensure that your scarf is comfortable to wear.
2. Weight: The weight of the yarn is another important factor to consider. For a lacy scarf, you’ll want to choose a lightweight yarn so that the stitches can open up and create the desired lacy effect. Lace weight or fingering weight yarns are typically the best choice for this type of project.
3. Texture: The texture of the yarn can also play a role in the final look and feel of your scarf. Smooth and tightly spun yarns will create a crisp and defined lace pattern, while yarns with more texture or a halo effect will give your scarf a softer and more romantic look. Consider the type of stitch pattern you’ll be using and choose a yarn that complements it.
4. Color: Lastly, think about the color of the yarn. A lacy scarf can look stunning in a solid color, allowing the intricate stitch pattern to shine. Alternatively, you can choose a variegated or self-striping yarn to add some visual interest to your scarf. Just make sure that the color doesn’t distract from the lace pattern.
By considering these factors and taking the time to choose the right yarn, you’ll be able to create a beautiful and delicate lacy scarf that you’ll be proud to wear or give as a gift. So, take your time, explore different options, and select a yarn that suits both your knitting skills and personal style.
Getting Started
Before you begin knitting your lacy scarf, make sure you have all the necessary materials and tools. You will need a pair of knitting needles, preferably size US 7 or 8, and a ball of lace weight or fingering weight yarn. Choose a yarn color that complements your personal style or the outfit you plan to wear the scarf with.
To start, you will need to cast on your stitches. The number of stitches will depend on how wide you want your scarf to be, but a good starting point is typically around 30-40 stitches. Use the long-tail cast-on method for a neat and stretchy edge.
Pro Tip: It’s a good idea to make a gauge swatch before you begin the main scarf to ensure that your stitches are the proper size. This will help you achieve the correct dimensions and avoid any surprises with the finished product.
Once you have cast on your stitches, you can begin knitting the first row. Follow the lacy scarf knitting pattern you have chosen, making sure to pay attention to any special stitches or stitch combinations. Don’t be intimidated by the lace pattern – with practice, you’ll become more comfortable and confident in your knitting abilities.
Pro Tip: Place stitch markers at the beginning and end of each pattern repeat to help you keep track of your progress and ensure you don’t make any mistakes. It can also be helpful to use a row counter to keep track of the number of rows you have knitted.
Continue knitting row by row, following the pattern instructions, until your lacy scarf reaches the desired length. Remember to take breaks and stretch your hands and wrists periodically to avoid fatigue or strain.
Pro Tip: If you make a mistake or need to fix a dropped stitch, don’t panic! There are plenty of resources available online, such as tutorial videos and knitting forums, that can guide you through the process of repairing your work.
Once you have finished knitting your lacy scarf, it’s time to bind off your stitches. Use a stretchy bind-off method, such as the Jenny’s Surprisingly Stretchy Bind Off, to ensure that your scarf has a nice drape and doesn’t feel tight around your neck.
After binding off, weave in any loose ends and give your scarf a gentle block to even out the stitches and open up the lace pattern. This can be done by lightly misting the scarf with water and laying it flat to dry, gently shaping it as needed.
Pro Tip: Don’t forget to take a moment to admire your finished lacy scarf and show it off with pride! It’s a beautiful accessory that you have created with your own hands – a true testament to your knitting skills and creativity.
Creating the Lace Pattern
When it comes to knitting a lacy scarf, the pattern is crucial. It is the lace pattern that gives the scarf its delicate and airy appearance. There are many different lace patterns to choose from, but it’s important to select one that is suitable for a scarf. A pattern that has a lot of texture and detail might be better suited for a shawl or a blanket, while a simpler pattern with larger eyelet holes can create a beautiful and lightweight scarf.
One popular lace pattern that is often used for scarves is the “Feather and Fan” pattern. This pattern creates a wavy edge with alternating sections of yarn overs and decreases. It is a relatively easy pattern to follow and can be adapted to different widths and lengths. Another popular pattern is the “Openwork Diamonds” pattern, which consists of a repeating diamond motif. This pattern creates a delicate and elegant look that is perfect for a scarf.
To create a lace pattern for a scarf, you will need to choose the appropriate yarn and needles. Lace patterns usually require finer yarn and smaller needles to achieve the desired effect. You will also need to pay attention to tension and gauge to ensure that the finished scarf has the right drape and texture. Once you have chosen the pattern and gathered your materials, you can begin working on creating the lace pattern.
Step 1: Casting On
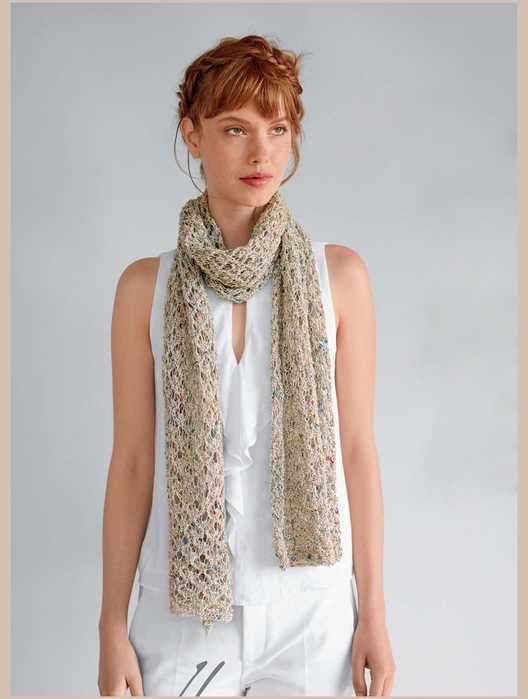
Start by casting on the desired number of stitches for your scarf. For a narrower scarf, you may want to cast on fewer stitches, while a wider scarf will require more stitches. Make sure to use a provisional cast-on method so that you can easily join the ends of the scarf later.
Step 2: Knitting the First Row
After casting on, begin working the lace pattern on the first row. Follow the pattern instructions carefully, making sure to yarn over, knit, and purl as indicated. This first row will set the foundation for the lace pattern.
Step 3: Repeating the Pattern
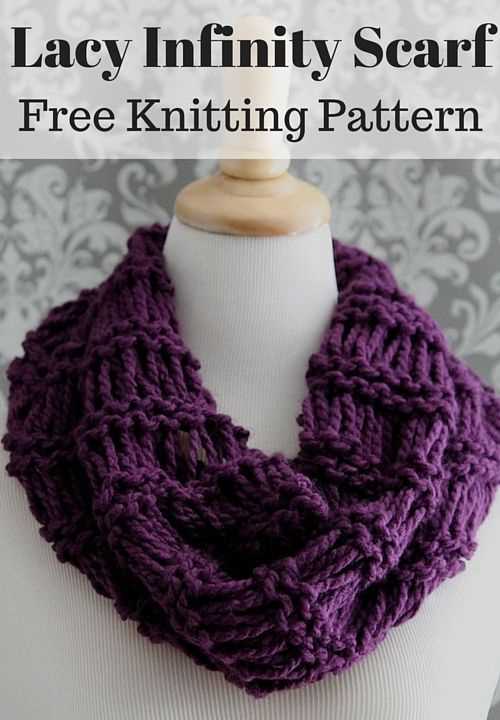
Continue working the lace pattern by repeating the designated rows or rounds until the scarf reaches the desired length. Take your time and pay attention to the pattern, making sure to maintain the correct stitch count and yarn overs. It’s a good idea to use stitch markers to help you keep track of the pattern repeats.
Step 4: Blocking the Finished Scarf
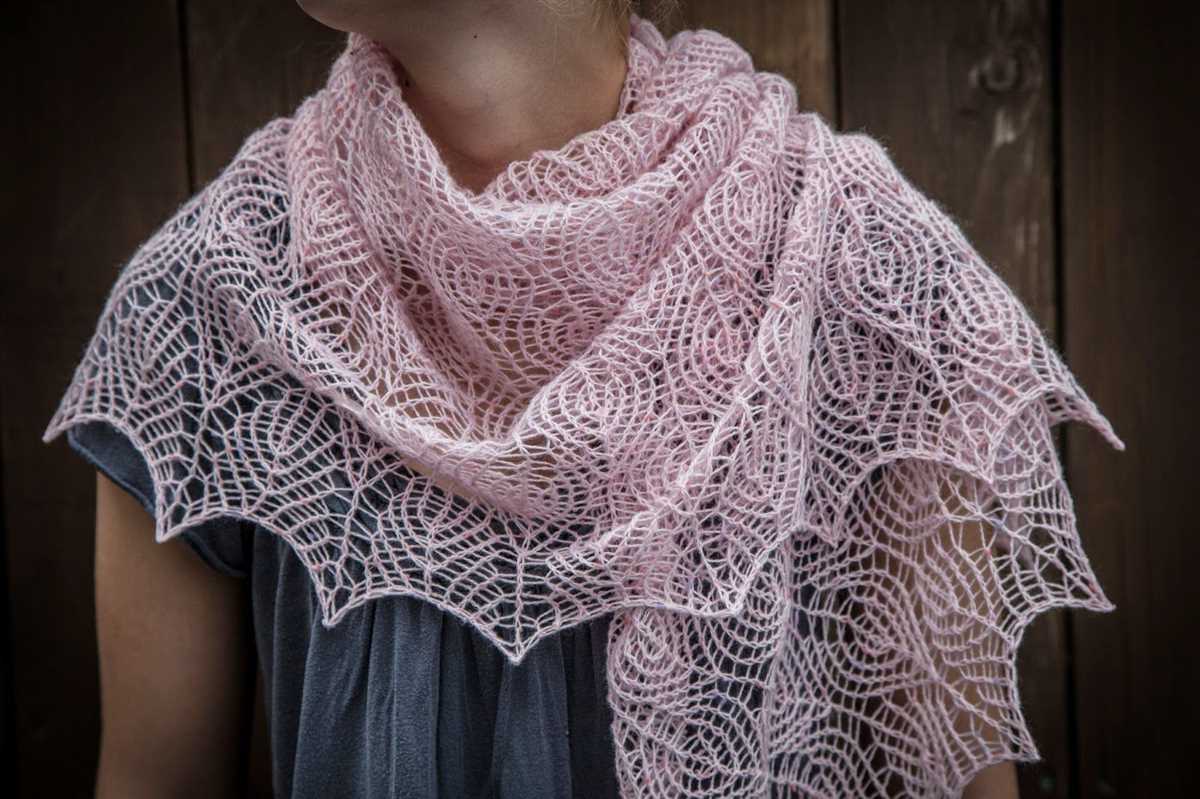
Once you have completed the lace pattern, it’s important to block the finished scarf. Blocking helps to even out the stitches and open up the lace pattern, giving the scarf its final shape and drape. Follow the blocking instructions for your chosen yarn, whether it involves wet blocking or steam blocking.
When knitting a lacy scarf, the lace pattern is essential in creating a beautiful and delicate accessory. By choosing the right pattern, yarn, and needles, and carefully following the instructions, you can create a stunning lacy scarf that will be a stylish addition to any outfit.
Adding Stitches
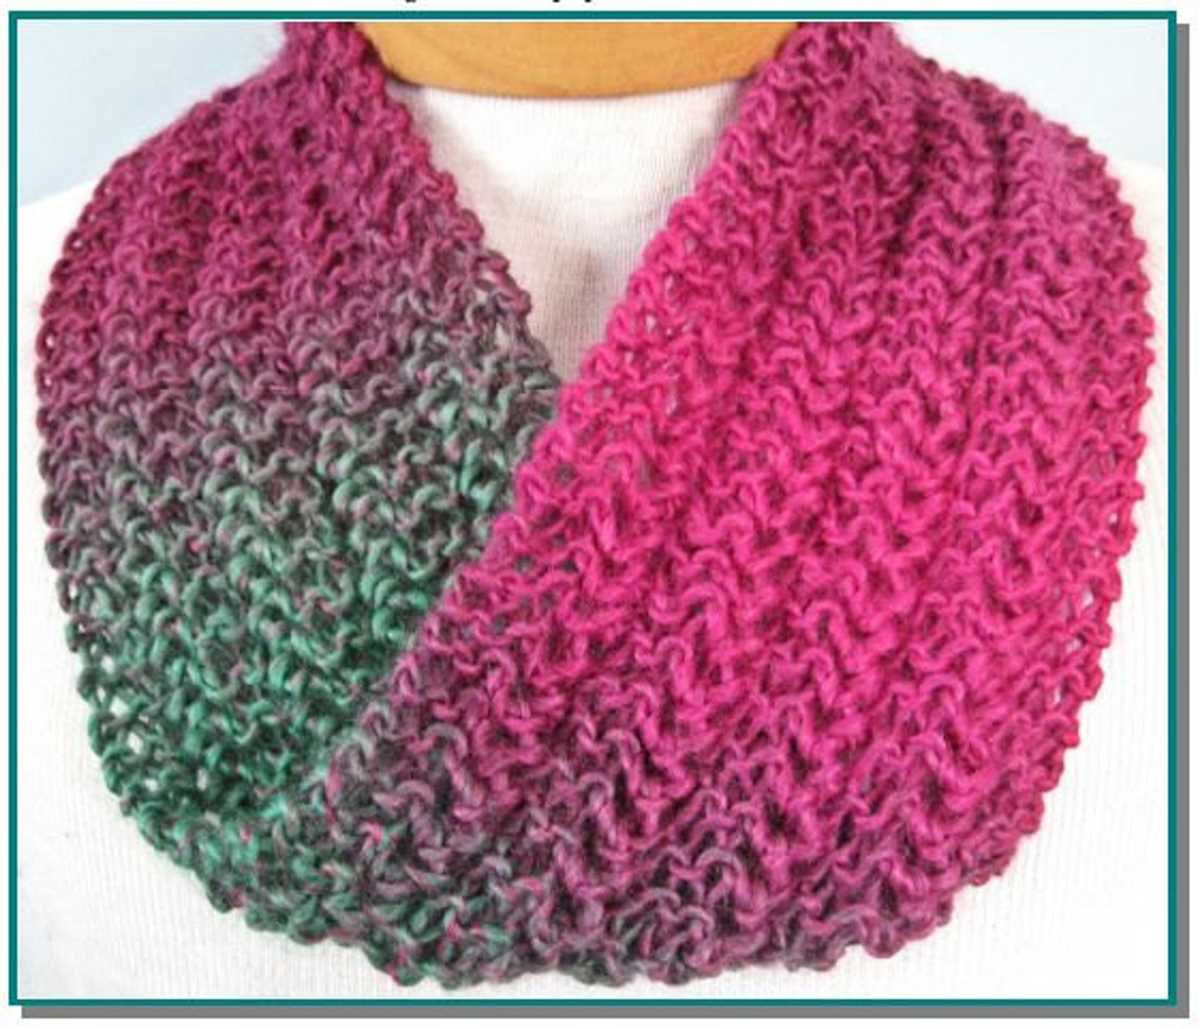
When working on a lacy scarf knitting pattern, you may come across the need to add stitches to your project. Adding stitches can help increase the width of your scarf and create a more intricate lace pattern. There are several methods you can use to add stitches, depending on the desired effect and the type of stitch pattern you are using.
If you want to add stitches in the middle of your row, you can use the make one (M1) increase method. To make a M1 increase, you can either make a new stitch by picking up the horizontal strand between two stitches and knitting into it, or you can use the yarn over (YO) method where you simply bring the working yarn to the front of the work, then knit the next stitch.
Make One (M1) Increase
- Insert the left needle from front to back under the horizontal strand between the stitches on the right and left needles.
- Knit into the back of the strand, twisting it to prevent a hole.
Alternatively, you can add stitches at the beginning or end of a row using the yarn over (YO) method. To create a YO increase, simply bring the working yarn to the front of the work, then knit or purl the next stitch as instructed. The YO creates a new stitch and a decorative hole in your knitting.
Yarn Over (YO) Increase
- Bring the yarn to the front of the work.
- Knit or purl the next stitch as instructed.
- Continue following the pattern instructions.
Adding stitches to your lacy scarf can be a fun way to customize your knitting pattern and create a unique design. Experiment with different increase methods to achieve the desired effect and enhance the beauty of your scarf. Remember to always carefully read and follow the pattern instructions for any specific increases or stitch patterns.
Increasing and Decreasing
When knitting a lacy scarf, it is important to know how to increase and decrease stitches in order to create the desired shape and pattern. There are several techniques that can be used to achieve these effects.
Increasing: One common method of increasing stitches in knitting is to make a yarn over. To do this, simply bring the working yarn to the front of the work, as if to purl, and then continue knitting the next stitch as normal. This creates an extra stitch and a small hole in the fabric, which is often a desired effect in lace knitting.
Decreasing: To decrease stitches, there are a few different techniques that can be used. One common method is the k2tog (knit two stitches together) decrease. To do this, simply insert the right needle into the next two stitches on the left needle as if to knit, and then knit them together as one stitch. This decreases the stitch count by one and creates a slight slant to the right.
- Another decrease technique is the ssk (slip slip knit) decrease. To do this, slip the next two stitches, one at a time, knitwise onto the right needle. Then insert the left needle into the front loops of these two slipped stitches from left to right and knit them together through the back loops.
- The third decrease technique is the k3tog (knit three stitches together) decrease. To do this, simply insert the right needle into the next three stitches on the left needle as if to knit, and then knit them together as one stitch. This decreases the stitch count by two and creates a more pronounced slant to the right.
- Lastly, the double decrease technique is often used in lace knitting to create a more dramatic shaping effect. One common double decrease is the s2kp (slip two stitches, knit one stitch, pass slipped stitches over) decrease. To do this, slip two stitches knitwise onto the right needle, then knit the next stitch. Pass the two slipped stitches over the knit stitch and off the right needle, creating a decrease.
With these techniques, you can easily increase and decrease stitches to create the desired shape and pattern in your lacy scarf knitting project. Experiment with different combinations and placements of these stitches to create unique and beautiful designs.
Transitioning Between Stitches
Transitioning between stitches is an important technique in knitting, as it allows you to create various patterns and textures in your knitted projects. Whether you’re working on a lacy scarf or another intricate design, learning how to seamlessly switch between different stitches can elevate the look of your finished piece.
One common way to transition between stitches is by using a slip stitch. This technique involves passing the working yarn from the back of the needle to the front without knitting or purling it. Slip stitches are often used to create decorative edging or stitch patterns, and they can add a touch of elegance to your knitting.
Another method for transitioning between stitches is by using a yarn over. This technique involves wrapping the yarn around the needle as if you were going to knit a stitch, but without actually knitting anything. Yarn overs are commonly used in lace knitting and can create eyelets or holes in your fabric, giving it an airy and delicate look.
In more complex patterns, you may need to switch between different stitch combinations or stitch patterns. This can be achieved by following the pattern instructions carefully and paying attention to stitch counts and stitch markers. By properly transitioning between stitches, you can create intricate lace designs, cable motifs, or any other pattern the knitting world has to offer.
Tips for transitioning between stitches:
- Ensure your tension remains consistent throughout the transitions to maintain an even fabric.
- Practice the selected transition techniques before incorporating them into your project.
- Use stitch markers to help you keep track of the stitches and transitions.
- Count your stitches regularly to avoid any mistakes.
- Don’t be afraid to experiment with different transition techniques to achieve your desired look.
With practice and patience, transitioning between stitches will become second nature to you. It’s a skill that opens up a world of possibilities in your knitting projects, allowing you to create beautiful and unique designs.
Blocking the Scarf
Blocking is an important step in the knitting process, especially when it comes to lacy scarves. It involves shaping and stretching the finished piece to achieve a desired size and shape. In the case of a lacy scarf, blocking helps open up and define the lace pattern, giving it a more polished and professional look.
To start the blocking process, you will need to gather some materials. You will need blocking mats or towels, rustproof pins, and a spray bottle filled with water. Lay out your mats or towels in a spacious area and make sure they are clean and dry.
1. Soak the scarf: Fill a basin or sink with lukewarm water and add a small amount of gentle detergent. Gently immerse the scarf in the water and let it soak for about 15-20 minutes. This will help relax the fibers and remove any dirt or oils.
2. Remove excess water: After soaking, carefully lift the scarf out of the water and squeeze out any excess water without twisting or wringing the fabric. You can gently roll the scarf in a towel to absorb more water.
3. Pin the scarf to the mats: Lay the damp scarf on the blocking mats or towels, making sure it is in the desired shape and size. Use rustproof pins to secure the edges and any specific points or curves you want to define. Make sure the pins are evenly spaced and won’t damage the fabric.
4. Shape and stretch: Gently pull and shape the scarf while it is pinned to achieve the desired dimensions and to open up the lace pattern. Pay special attention to the edges and any intricate details in the pattern. Keep in mind that the fabric will stretch slightly as it dries, so don’t overstretch.
5. Mist or steam: Once the scarf is pinned and shaped, you can lightly mist it with water using a spray bottle or use a steam iron held a few inches above the fabric. This will help set the shape and flatten any wrinkles or creases. Be careful not to saturate the fabric or apply too much heat.
6. Let it dry: Allow the scarf to dry completely before removing the pins. This can take several hours or even overnight, depending on the humidity and thickness of the fabric. Once dry, carefully remove the pins and admire your beautifully blocked lacy scarf!
Blocking is a rewarding final step in the knitting process that can make a world of difference in the appearance and drape of your finished scarf. It may seem time-consuming, but the results are well worth it. So take the time to block your scarf and enjoy the satisfaction of a truly finished piece!
Adding Fringe
Adding fringe to your lacy scarf can give it a beautiful finishing touch and add some extra flair to your accessory. Fringe can be made from the same yarn you used for your scarf or you can even use a contrasting color for a more vibrant look.
To add fringe to your scarf, you will need to cut several strands of yarn to your desired length. Typically, fringe strands are around 6-8 inches long. The number of strands you cut will depend on the width of your scarf and how thick or sparse you want the fringe to be. You can use a ruler or a piece of cardboard to help you cut the strands to the same length.
Once you have cut your fringe strands, you will need to attach them to the edges of your scarf. One way to do this is to fold a strand in half, creating a loop at one end. Insert the loop through a stitch at the edge of your scarf and pull the ends through the loop, forming a knot. Repeat this process along the entire length of the edge of your scarf, spacing the knots evenly.
If you prefer a neater, more finished look, you can also attach your fringe using a crochet hook. Insert the hook through a stitch at the edge of your scarf and pull a loop of yarn through. Then, pull the ends of the fringe strand through the loop and tighten to secure. Repeat this process along the entire length of the edge of your scarf.
Once you have attached all of your fringe strands, you can trim them to your desired length. You can leave them all the same length for a uniform look, or you can stagger them for a more playful, bohemian look. Use a pair of sharp scissors to trim the fringe to your desired length, making sure to cut all strands evenly.
Adding fringe to your lacy scarf can be a fun and creative way to personalize your accessory and make it truly unique. Whether you choose to match your fringe to your scarf or use a contrasting color, it will add a stylish touch to your finished piece.
Finishing Touches
After completing your lacy scarf knitting pattern, there are several finishing touches you can add to enhance the overall look of your creation. These final touches will not only add beauty to your scarf but also give it a professional finish.
Blocking
One of the most important finishing steps for any knitting project is blocking. Blocking helps even out the stitches, relax the fabric, and set the shape of the scarf. To block your lacy scarf, start by gently washing it in lukewarm water with a mild detergent. Rinse it thoroughly and then roll it in a towel to remove excess water. Lay the scarf flat on a clean towel or blocking mat, and pin it into shape using rustproof pins. Allow it to dry completely before unpinning and wearing.
Edging
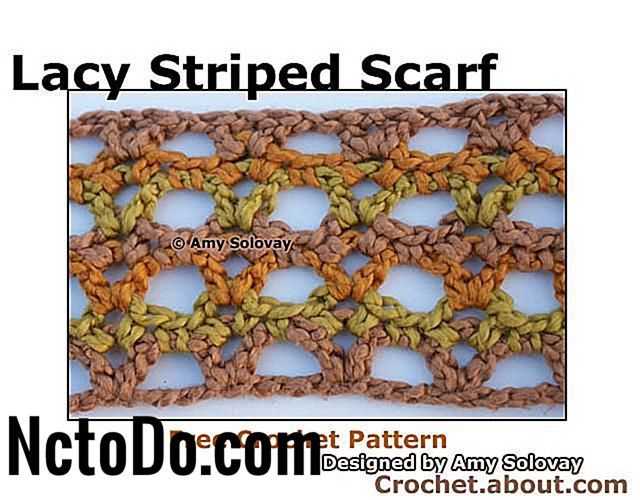
Add a beautiful edging to your lacy scarf to give it a polished look. You can choose from various edging techniques, such as crochet edging or picot bind-off. Crochet edging involves using a crochet hook to create loops or scallops along the edges of the scarf. Picot bind-off, on the other hand, creates a picot edge by binding off stitches while simultaneously creating small loops. These edging techniques will add an elegant touch to your scarf and make it stand out.
Embellishments
If you’re looking to add some extra charm to your lacy scarf, consider adding embellishments. You can attach beads, buttons, or even small charms to your scarf using a needle and thread in a complementary color. Place the embellishments strategically along the scarf’s edges or incorporate them into the lace pattern for a unique and personalized touch. Just make sure to secure the embellishments properly to prevent them from falling off.
Finishing Details
Lastly, pay attention to the small finishing details that can make a big difference in the final look of your lacy scarf. Weave in any loose ends using a tapestry needle to ensure they are hidden and won’t unravel. Use a fabric steamer or iron with a steam setting to smooth out any wrinkles or creases. Give your scarf a final gentle blocking by lightly spritzing it with water and patting it into shape. These finishing details will elevate your lacy scarf from homemade to professional-looking.
Variations and Customizations
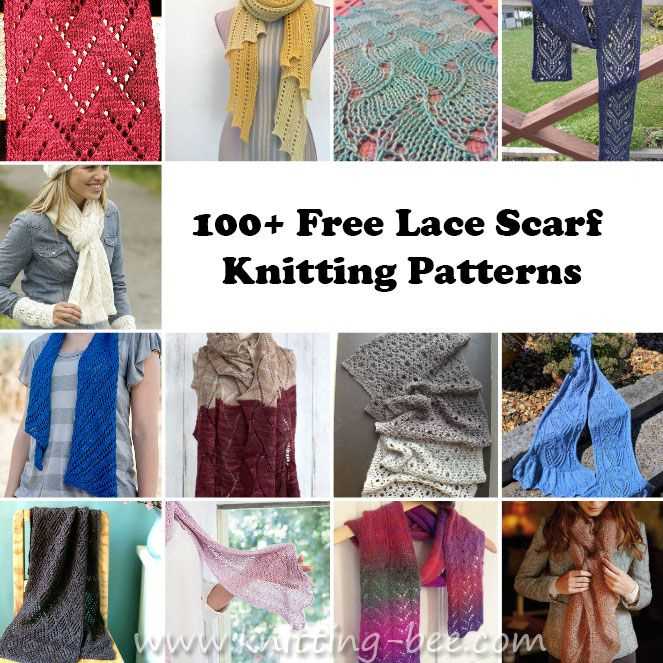
The lacy scarf pattern can be easily customized to suit your personal preferences and style. Here are a few variations you can try:
- Yarn choices: Instead of using a standard worsted weight yarn, you can experiment with different yarn weights and textures. Try a bulky or chunky yarn for a cozy winter scarf, or opt for a lightweight lace weight yarn for a delicate and ethereal look.
- Color combinations: Don’t be afraid to play with colors! You can create a striped scarf by alternating different colors for each row, or use variegated yarn for a unique and vibrant look.
- Adding embellishments: To add some extra flair to your scarf, consider adding some embellishments such as beads, sequins, or tassels. You can sew them onto the edges or create small loops to attach them.
- Adjusting the width and length: If you prefer a wider or narrower scarf, simply adjust the number of stitches you cast on. Similarly, you can make your scarf shorter or longer by increasing or decreasing the number of pattern repeats.
- Adding a border: To give your scarf a finished look, you can add a border around the edges. This can be a simple garter stitch or a more intricate lace pattern.
Remember, knitting is all about creativity and personalization. Feel free to experiment with different techniques, stitches, and patterns to make your lacy scarf truly unique!
Happy knitting!