
Knitting is not just for women. Men also enjoy the therapeutic and artistic process of working with yarn. One popular item that men love to knit is half finger gloves. These gloves are perfect for those who need a little extra warmth on their hands while still being able to use their fingers freely.
Knitting your own men’s half finger gloves allows you to customize the size, color, and style to suit your individual taste. Plus, it’s a great way to save money compared to buying a pair from a store. With a few basic knitting techniques, you can create a pair of gloves that are not only functional but also stylish.
This article will provide you with a step-by-step knitting pattern for men’s half finger gloves. Whether you are an experienced knitter or a beginner, this pattern is suitable for all skill levels. So grab your knitting needles and let’s get started on your next knitting project!
Men’s Half Finger Gloves Knitting Pattern
Knitting your own men’s half finger gloves can be a rewarding and practical project. Whether you’re an experienced knitter or just starting out, this pattern is beginner-friendly and customizable to suit your style and preferences.
Materials needed for this pattern include:
- Worsted weight yarn
- Size 6 (4 mm) knitting needles
- Tapestry needle
- Stitch markers
- Scissors
To begin, cast on the desired number of stitches, keeping in mind that the gloves should fit snugly without being too tight. Divide the stitches evenly onto double-pointed needles or use the magic loop method if you prefer.
Continue knitting in the round using a rib stitch pattern for the wristband. This will provide stretchiness and help the gloves stay in place. Once the desired length for the wristband is reached, switch to a stockinette stitch or any other stitch pattern you prefer for the hand section. Remember to place stitch markers to indicate the position of the thumb gusset.
As you work on the hand section, periodically measure your progress by trying on the gloves. This will ensure a good fit and allow you to make any necessary adjustments along the way. When it’s time to start the fingers, divide the stitches onto separate needles and work each finger individually.
Finally, finish off the gloves by weaving in any loose ends. If desired, add embellishments such as buttons or embroidery to personalize the gloves.
This men’s half finger gloves knitting pattern is versatile and can be modified to create gloves of different lengths and styles. Have fun experimenting with various yarns and stitch patterns to make the perfect pair of gloves for yourself or as a thoughtful gift.
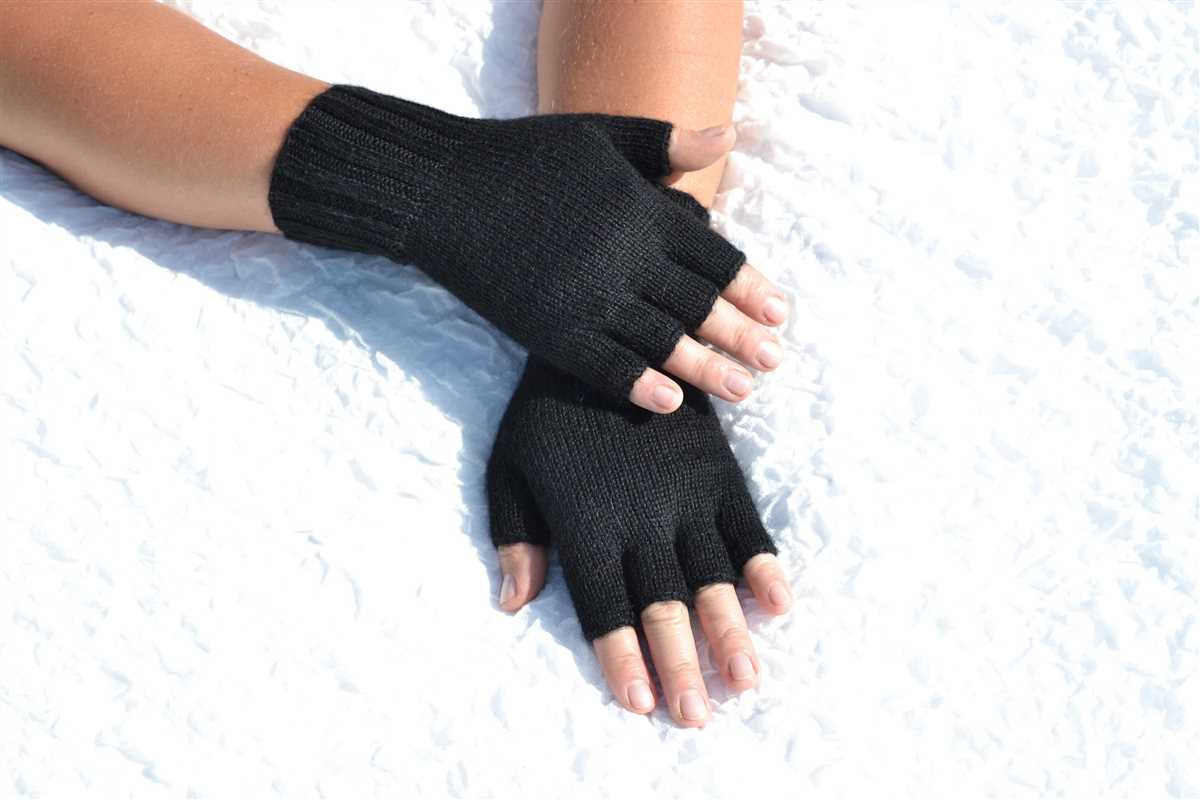
Importance of Having Half Finger Gloves
Half finger gloves are an essential accessory for men in various situations. Whether you are engaged in outdoor activities, working in a cold environment, or simply need extra dexterity for certain tasks, these gloves offer the perfect balance of protection and functionality.
Protection: Half finger gloves provide adequate protection for your hands while still allowing you to maintain the flexibility of your fingers. The exposed fingertips give you tactile sensitivity, enabling you to perform intricate tasks with ease. They also protect your hands from cold temperatures, wind, and abrasions, making them ideal for outdoor activities such as hiking, biking, and fishing.
Functionality: The half finger design allows you to have a better grip on objects, making it easier to perform tasks that require precision. Whether you are handling tools, using touchscreen devices, or typing on a keyboard, these gloves provide the necessary grip without sacrificing comfort. They also allow for greater dexterity, enabling you to perform tasks more efficiently and effectively.
Versatility: Half finger gloves are versatile accessories that can be worn in various settings. They are suitable for both casual and professional environments, making them a practical choice for everyday activities. Additionally, their lightweight and compact design make them easy to carry in your bag or pocket, allowing you to have them on hand whenever you need them.
Style: Apart from their practical benefits, half finger gloves also add a touch of style to your outfit. Whether you opt for classic woolen gloves or modern designs with unique patterns, they can complement your overall look and add a fashionable element to your attire.
In conclusion, having a pair of half finger gloves is essential for any man. They offer protection, functionality, versatility, and style, making them a valuable accessory in various situations. So invest in a high-quality pair of half finger gloves and experience the benefits they bring.
Choosing the Right Yarn and Needles for Knitting Half Finger Gloves
Introduction
When knitting half finger gloves, it is important to choose the right yarn and needles to ensure a comfortable and well-fitting final product. The yarn and needle selection can greatly impact the overall look, feel, and durability of the gloves. In this article, we will discuss the factors to consider when choosing yarn and needles for knitting half finger gloves.
Yarn
When it comes to selecting the yarn for knitting half finger gloves, it is essential to choose a yarn that is durable, soft, and suitable for the desired level of warmth. Natural fibers such as wool, alpaca, or cashmere are popular choices for their warmth and softness. Acrylic yarns, on the other hand, offer durability and affordability. It is important to consider the recipient’s preferences and any potential allergies when selecting the yarn.
If you prefer a more stretchy and form-fitting glove, a yarn with a blend of elastic fibers or spandex can be a good option. These yarns provide stretch and flexibility, allowing the gloves to mold to the shape of the hand comfortably. Additionally, considering the weight of the yarn is crucial–lighter weight yarns are suitable for gloves that will be worn in mild or transitional seasons, while heavier weight yarns provide extra warmth for colder climates.
Needles
The right needle size can greatly affect the gauge and fit of the gloves. For half finger gloves, it is recommended to use a set of double-pointed needles (DPNs) or a circular needle with a short cable to accommodate the small circumference of the glove. The needle size will depend on the yarn weight and gauge specified in the knitting pattern.
When selecting the needle size, it is important to make a gauge swatch. The gauge swatch helps determine if the needle size corresponds to the desired tension and fit of the gloves. If the gauge is too loose, try using a smaller needle size, and if it is too tight, consider switching to a larger needle size.
In conclusion, choosing the right yarn and needles is essential for knitting comfortable and well-fitting half finger gloves. Consider factors such as the desired warmth, stretchiness, and durability when selecting the yarn, and make sure to use the appropriate needle size to achieve the desired gauge and fit. With the right materials, you can create beautiful and functional gloves that will be a joy to wear.
Getting Started: Casting On Stitches

Before you can start knitting your men’s half finger gloves, you need to cast on stitches onto your knitting needles. This is the first step in any knitting project and sets the foundation for your work.
There are several methods for casting on stitches, but one of the most common techniques is the long-tail cast on. To begin, first, create a slipknot on one needle by making a loop with the yarn and slipping one end through. Then, hold the needle with the slipknot in your right hand and the other needle in your left hand.
Step 1: Wrap the working yarn around your thumb and hold it in place with your fingers.
Step 2: Insert the right needle into the loop on your left thumb from front to back, with the working yarn behind the right needle.
Step 3: Bring the right needle over the working yarn, creating a loop around the needle.
Step 4: Pull the loop through the thumb loop, creating a new stitch on the right needle.
Step 5: Repeat steps 1-4 until you have cast on the desired number of stitches.
Once you have cast on all your stitches, you can begin knitting the next row according to the pattern instructions. Casting on is an important skill to master, as it determines the size and stretch of your finished gloves. Take your time and practice this technique until you are comfortable with it.
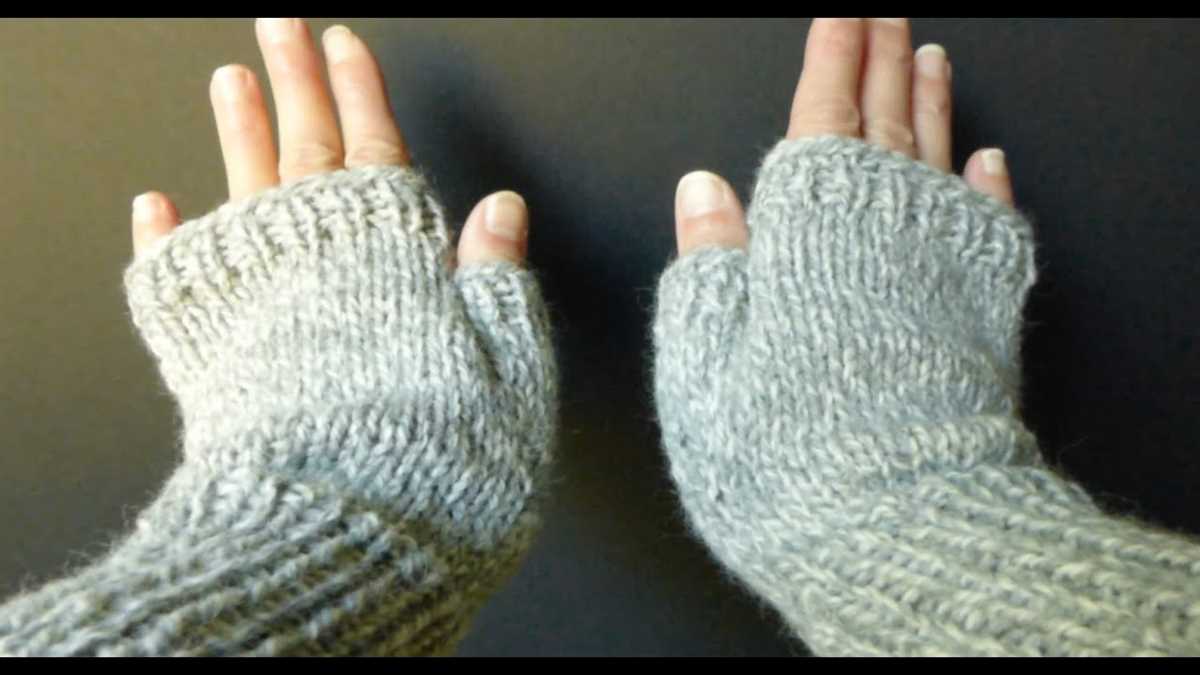
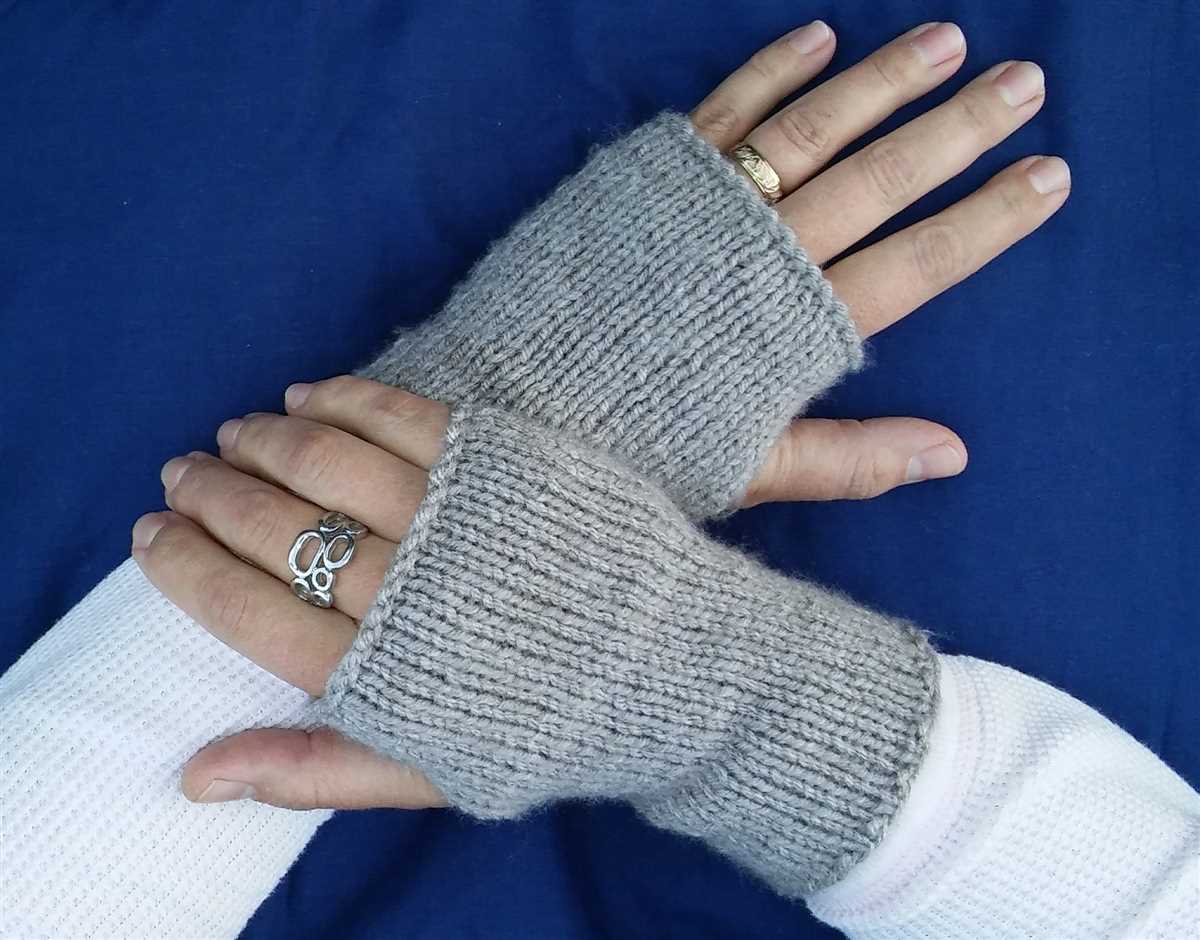
Knitting the Ribbed Cuff

When knitting the ribbed cuff for men’s half finger gloves, it’s important to start with a stretchy and snug fit. The ribbing provides elasticity, allowing the gloves to fit comfortably around the wrist while still maintaining a close fit. To achieve this, use a smaller needle size than what you’ll be using for the rest of the glove. This will help to create a tighter fabric and prevent the cuff from becoming loose over time.
Begin by casting on the desired number of stitches, usually around 40 to 50 stitches, depending on the desired size and gauge. You can use a regular cast on method or a stretchy cast on, such as the long tail cast on or the tubular cast on. The stretchy cast on methods provide extra give to the cuff and ensure a more comfortable fit.
Once the stitches are cast on, begin working the ribbing pattern. The most common ribbing pattern used for cuffs is the 2×2 rib, which consists of alternating two knit stitches and two purl stitches. This creates a stretchy and textured fabric. Knit the knit stitches and purl the purl stitches, repeating this pattern until the desired length is reached.
It’s recommended to knit the ribbed cuff for a few inches, usually around 2 to 3 inches, to ensure a secure fit around the wrist. This length can be adjusted based on personal preference. To finish off the cuff, bind off the stitches using a stretchy bind off method, such as the tubular bind off or the suspended bind off. This will maintain the elasticity of the cuff and prevent it from becoming too tight or restrictive.
Remember to always check your gauge before starting the cuff to ensure the proper fit. Adjust the needle size if necessary to achieve the desired gauge. Knitting the ribbed cuff is the first step in creating a comfortable and functional pair of men’s half finger gloves, providing warmth and flexibility for various activities.
Creating the Thumb Opening

When knitting men’s half finger gloves, it’s important to create an opening for the thumb. The thumb opening allows for greater dexterity and flexibility when wearing the gloves. Here are some steps to follow in creating the thumb opening:
1. Marking the Thumb Placement
To begin creating the thumb opening, first, you will need to mark the placement of the thumb on your knitting. This can be done by placing a stitch marker or a contrasting piece of yarn on the stitches where the thumb should go. Make sure to evenly distribute the stitches for the thumb opening.
2. Working the Thumb Stitches
Once the thumb placement is marked, you will need to work the thumb stitches. This can be done by either separating the thumb stitches onto a separate piece of yarn or by using a stitch holder. You can also choose to use waste yarn for this step, which can be easily removed later.
Begin by knitting the stitches up to the thumb marker. Then, transfer the thumb stitches to a separate piece of yarn or a stitch holder, leaving them on hold until later in the pattern.
3. Continuing with the Glove Pattern
After working the thumb stitches, you can continue knitting the rest of the glove as per the pattern instructions. This may involve shaping the fingers, creating ribbing or other stitch patterns, and working the palm and back of the hand. Make sure to follow the pattern carefully to ensure a proper fit.
Once the glove is completed, you can then go back to the thumb stitches that were placed on hold. Follow the pattern instructions for working the thumb, which may involve picking up stitches from the held stitches, decreasing or increasing stitches, and shaping the thumb to fit the hand comfortably.
By carefully following these steps, you can create a thumb opening in your men’s half finger gloves knitting pattern, providing both comfort and functionality in the finished gloves.
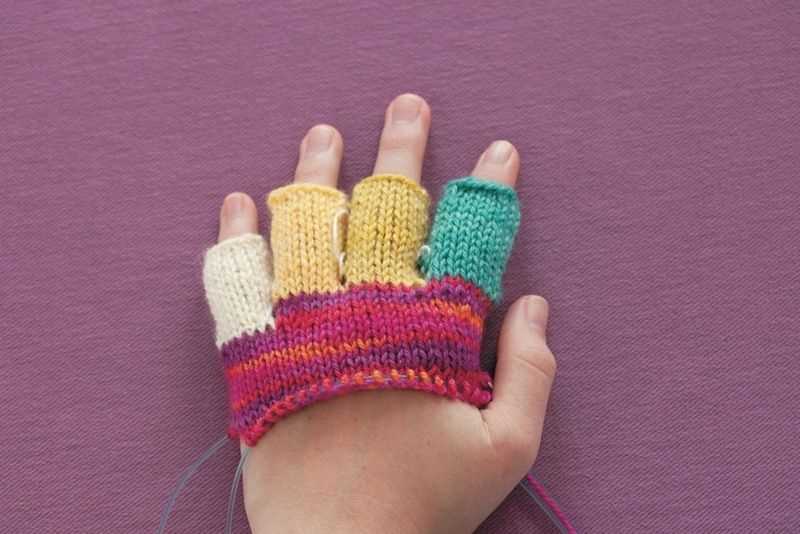
Knitting the Fingerless Hand Section

When knitting the fingerless hand section of your men’s half finger gloves, you’ll need to pay attention to the specific pattern instructions in order to achieve the desired fit and style. It’s important to follow the pattern closely to ensure that your gloves turn out the way you want them to.
Start by placing the stitches for the hand section onto your double-pointed needles or circular needles, depending on your preferred knitting method. Make sure the stitches are evenly distributed across the needles to maintain symmetry in your gloves.
Next, you’ll want to knit the desired length for the hand section, keeping in mind that fingerless gloves typically cover the hand up to the base of the fingers. Follow the pattern instructions for the recommended number of rows or inches to knit.
If the pattern includes any shaping or stitch details for the hand section, such as cables or ribbing, be sure to incorporate those into your knitting. These details can add extra visual interest and dimension to your gloves.
Once you’ve completed the hand section according to the pattern instructions, you can proceed to the next step in knitting your men’s half finger gloves, which typically involves knitting the finger sections. Depending on the pattern, this may involve knitting each finger separately or using a fingerless glove design that leaves openings for the fingers.
Shaping the Fingers
When knitting men’s half finger gloves, shaping the fingers is an important step to ensure a snug and comfortable fit. The pattern usually begins with the hand portion of the glove, and once that is complete, you will move on to shaping the individual fingers.
To start shaping the fingers, you will divide the stitches of the hand portion evenly among four double-pointed needles. Each needle will hold a different finger. You may also use stitch markers to clearly mark the boundaries between the fingers.
Index Finger: Once the stitches are divided, you will begin knitting the index finger. Typically, you will start by decreasing a certain number of stitches at the base of the finger to create a tapered shape. This can be done by simply knitting two stitches together at regular intervals until the desired number of stitches remain. Then, you will continue knitting the finger until it reaches the desired length.
- Carefully follow the pattern instructions for the number of decreases and length of the finger.
- Remember to try on the glove as you go to ensure it fits comfortably.
- If desired, you can add extra length to the finger by knitting additional rounds.
Middle, Ring, and Pinky Fingers: Once the index finger is complete, you will repeat the same process for the middle, ring, and pinky fingers. Just like with the index finger, you will decrease stitches at the base of each finger to create a tapered shape. Follow the pattern instructions for the number of decreases and length of each finger, and try on the glove as you go to ensure a proper fit.
After shaping all the fingers, you can finish off the glove by binding off the remaining stitches, weaving in any loose ends, and making any necessary adjustments for a perfect fit. With these easy steps, you’ll have a pair of men’s half finger gloves that are not only stylish but also fit comfortably!
Knitting the Half Finger Glove Thumb
When knitting men’s half finger gloves, one of the important parts to pay attention to is the thumb. The thumb is a key feature of the glove, providing mobility and flexibility for the wearer. To knit the thumb of the half finger glove, follow these steps:
1. Cast on Stitches
Begin by casting on stitches for the thumb. The number of stitches will depend on the size of the glove and the desired fit. Typically, around 10-15 stitches are cast on for the thumb.
2. Knit in the Round
Once the thumb stitches are cast on, join the round and continue knitting in the round. This creates a seamless thumb that matches the rest of the glove. Use double-pointed needles or a magic loop technique to accommodate the smaller circumference of the thumb.
3. Shape the Thumb

To shape the thumb, decrease stitches gradually. This can be done by knitting two stitches together at regular intervals. The frequency of decreases will depend on the desired shape of the thumb. Continue decreasing until the desired number of stitches remains.
4. Finish the Thumb
Once the decreases are complete, knit the remaining thumb stitches for a few rounds to create the desired length. Then, bind off the stitches and secure the yarn. The thumb should fit comfortably and provide flexibility for the wearer.
By following these steps, you can successfully knit the thumb of a men’s half finger glove. Remember to adjust the number of stitches and decreases based on the size and fit of the glove. With practice and attention to detail, you can create a comfortable and functional thumb for your knitted gloves.
Finishing Touches: Binding Off, Weaving in Ends, and Blocking
Completing a knitting project involves more than just knitting the final row. To give your men’s half finger gloves a polished look, there are a few finishing touches you’ll need to do: binding off, weaving in ends, and blocking.
Binding Off
Binding off is the process of creating a neat edge on your knitting project. To bind off, you’ll knit the first two stitches as normal, then pass the first stitch over the second stitch and off the needle. Knit the next stitch and repeat the process until there’s only one stitch left. Cut the yarn, leaving a long tail, and pull it through the remaining stitch to secure.
Weaving in Ends
After binding off, you’ll have a few loose ends of yarn hanging from your project. To give your gloves a professional look, these loose ends need to be woven in. Thread a yarn needle with one of the loose ends and carefully weave it through the surrounding stitches, going back and forth in different directions to secure it. Do the same for the other loose ends, making sure they’re all woven in securely.
Blocking
Blocking is the final step to give your men’s half finger gloves their desired shape and size. Fill a sink or basin with lukewarm water and add a small amount of gentle soap. Place your gloves in the water, pressing them gently to remove any air bubbles. Let them soak for about 10-15 minutes, then carefully remove them and squeeze out the excess water. Lay the gloves flat on a clean towel and reshape them to the desired size, smoothing out any wrinkles. Leave them to dry completely before wearing.
By following these finishing touches, your men’s half finger gloves will be ready to keep hands warm and stylish. Remember to take your time and pay attention to detail to achieve the best results.
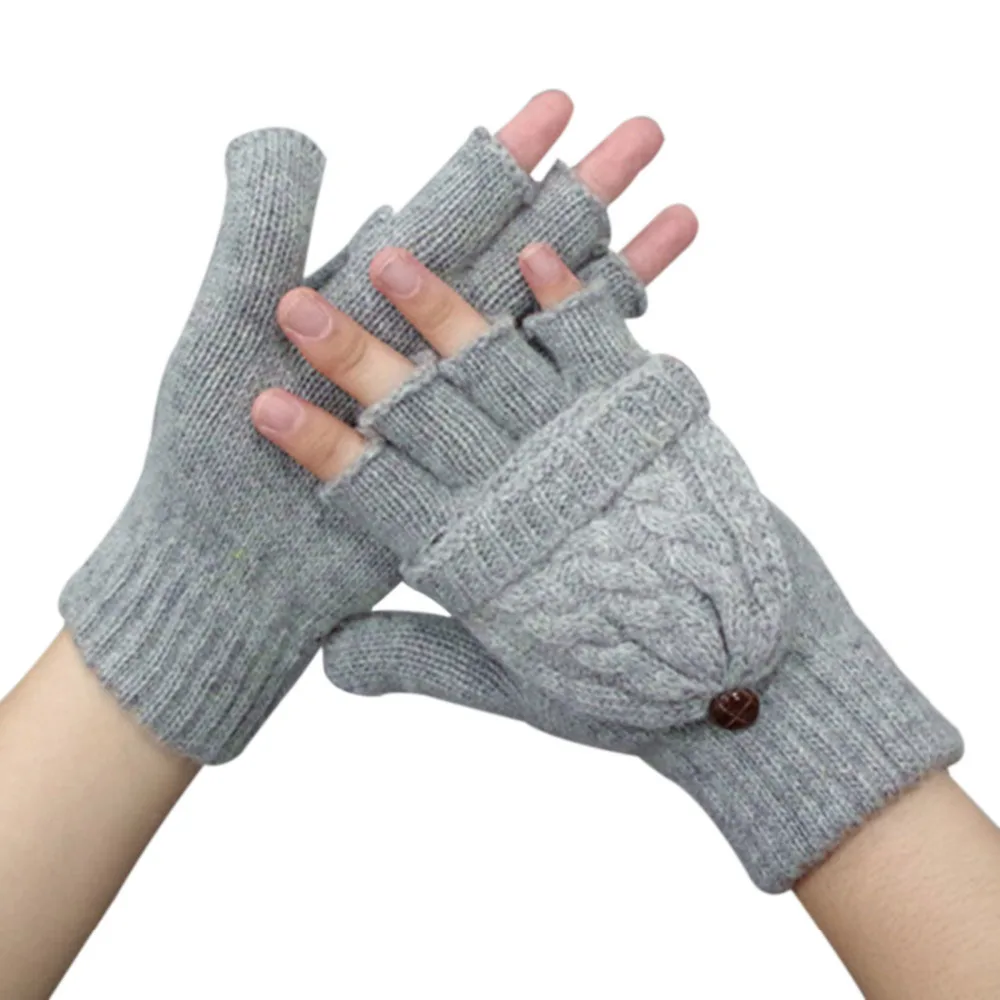
Variations and Customizations for Men’s Half Finger Gloves
When it comes to knitting men’s half finger gloves, there are endless possibilities for variations and customizations. Here are some ideas to inspire you:
- Color variations: Experiment with different color combinations to create unique and personalized gloves. You can use contrasting colors for the cuffs, fingers, and palm, or opt for a gradient effect by using different shades of the same color.
- Stripes: Add stripes to your gloves by simply changing colors every few rows. You can create thin or thick stripes, or even incorporate multiple colors for a more vibrant look.
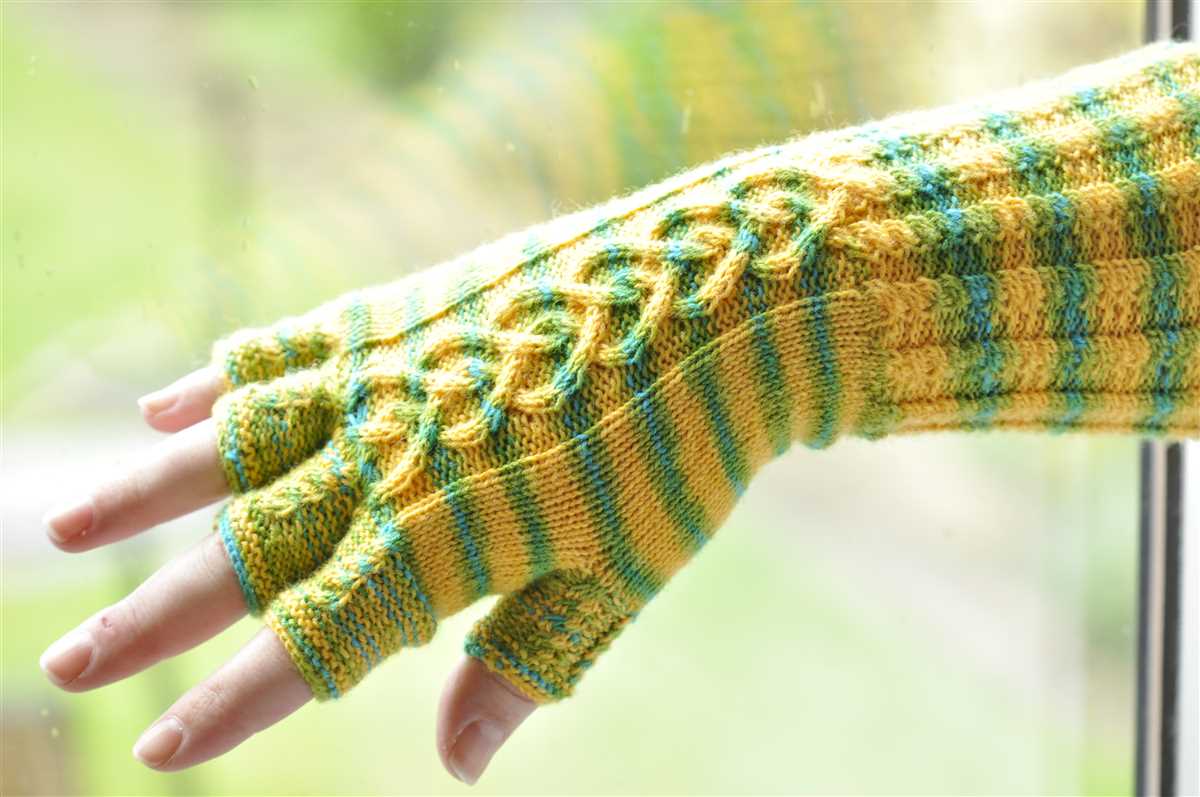
- Texture: Play around with different stitch patterns to add texture to your gloves. Try using ribbing, cables, or even lace for an interesting and unique design.
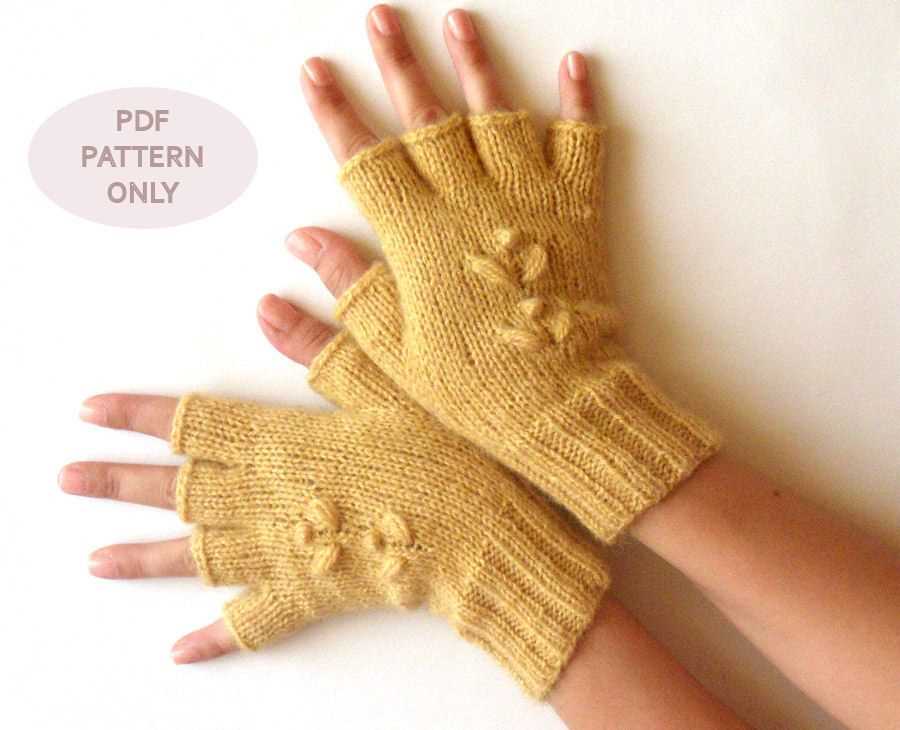
- Embroidery: Customize your gloves by adding embroidery. You can embroider initials, patterns, or even small motifs to make your gloves truly one-of-a-kind.
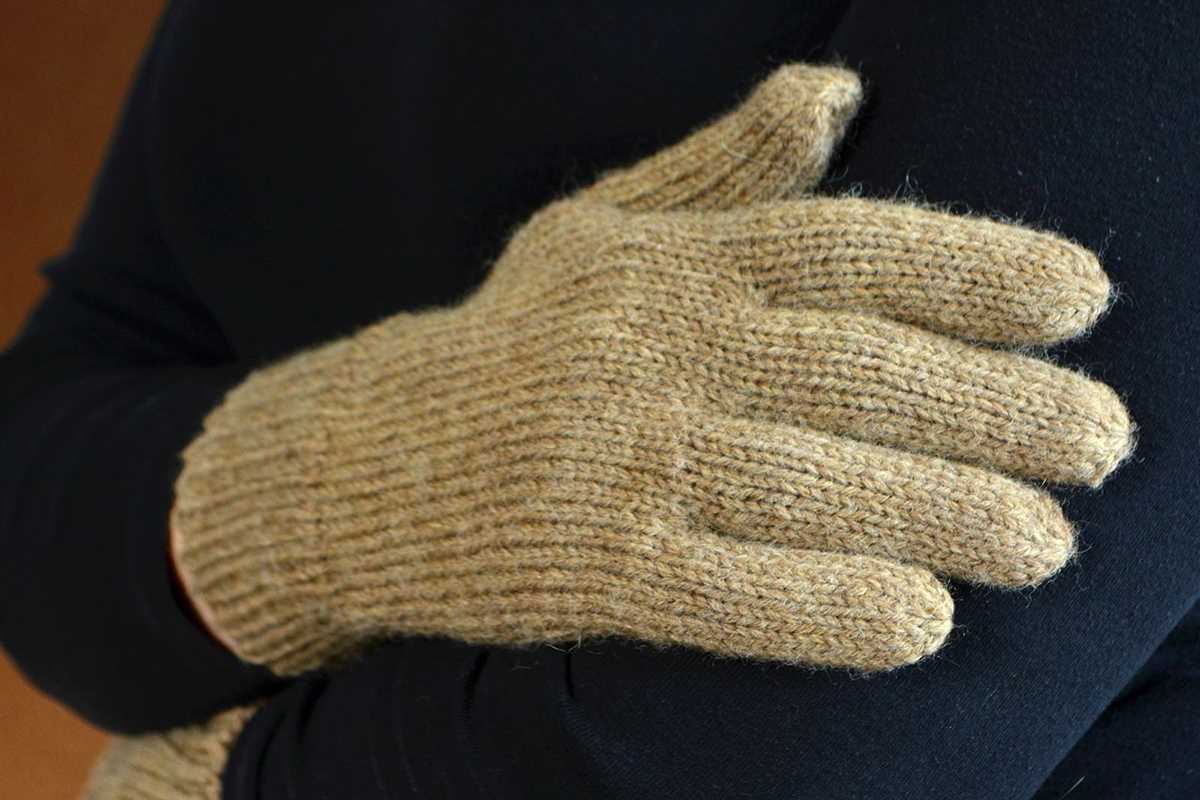
- Fingerless mittens: If you prefer a warmer option, you can easily modify the pattern to include full fingers instead of half. This will give you fingerless mittens that provide more coverage and warmth.
Remember, these are just a few ideas to get you started. Feel free to experiment and make the pattern your own. The beauty of knitting is that you can adapt and customize it to your own preferences and style.
Happy knitting!
