
As the winter chill sets in, it’s time to bundle up and keep warm. One essential accessory for any man’s winter wardrobe is a pair of cozy mittens. Knitting your own mittens not only allows you to customize the size and style, but it also gives you the satisfaction of creating something with your own hands. If you’re looking for a free knitting pattern for men’s mittens, you’re in luck! We’ve rounded up some of the best patterns available, so you can get started on your knitting project right away.
When choosing a knitting pattern for men’s mittens, there are a few things to consider. Firstly, you’ll want to find a pattern that is suitable for your skill level. If you’re new to knitting, look for a pattern that uses basic stitches and techniques. On the other hand, if you’re an experienced knitter looking for a challenge, there are patterns available that feature more complex stitch patterns and shaping.
Another important factor to consider is the size of the mittens. Everyone’s hands are different, so it’s essential to find a pattern that includes instructions for customizing the size. Look for patterns that provide measurements and guidance on how to adjust the number of stitches and rows to fit your hand perfectly. This way, you can make a pair of mittens that are not only stylish but also comfortable to wear.
Mens Mittens Knitting Pattern Free
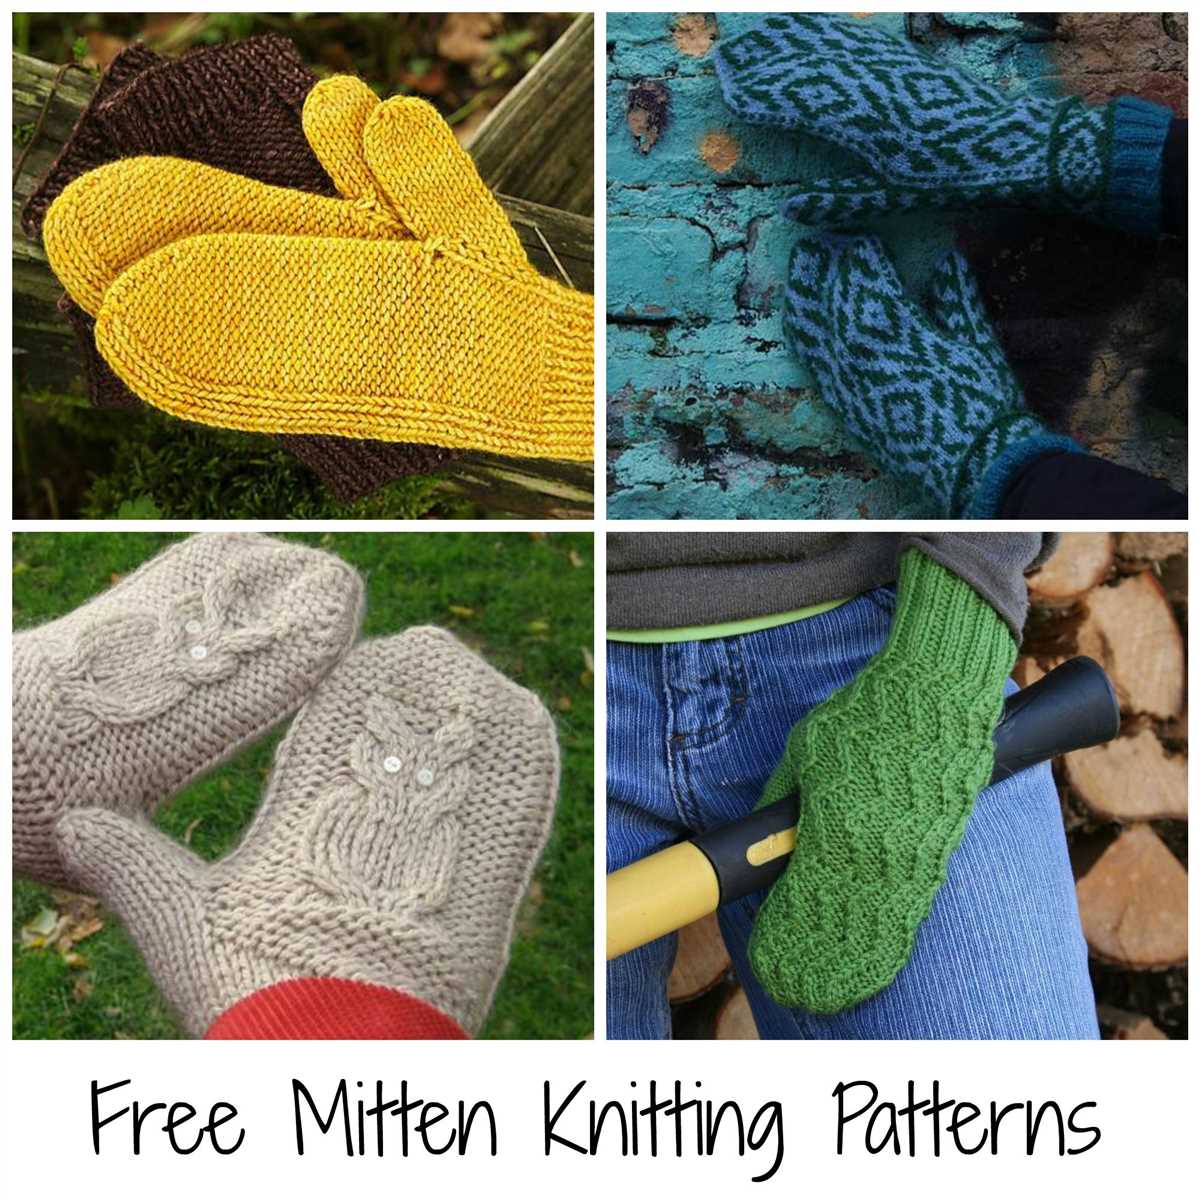
If you’re looking for a free knitting pattern for mens mittens, you’ve come to the right place. Knitting your own mittens can be a rewarding project and a great way to keep warm during the winter months. With a range of patterns available, you can find the perfect design to suit your style.
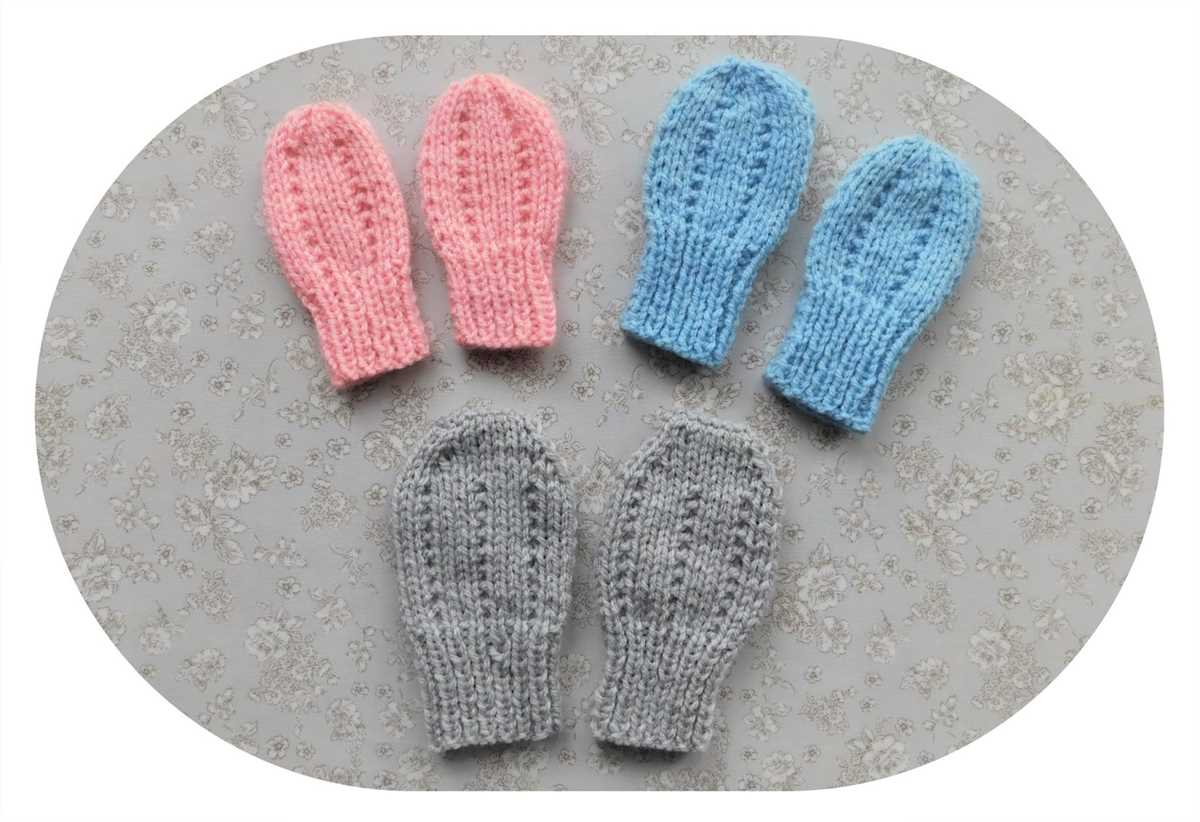
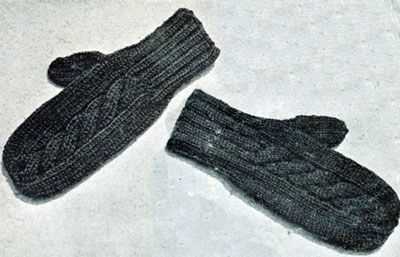
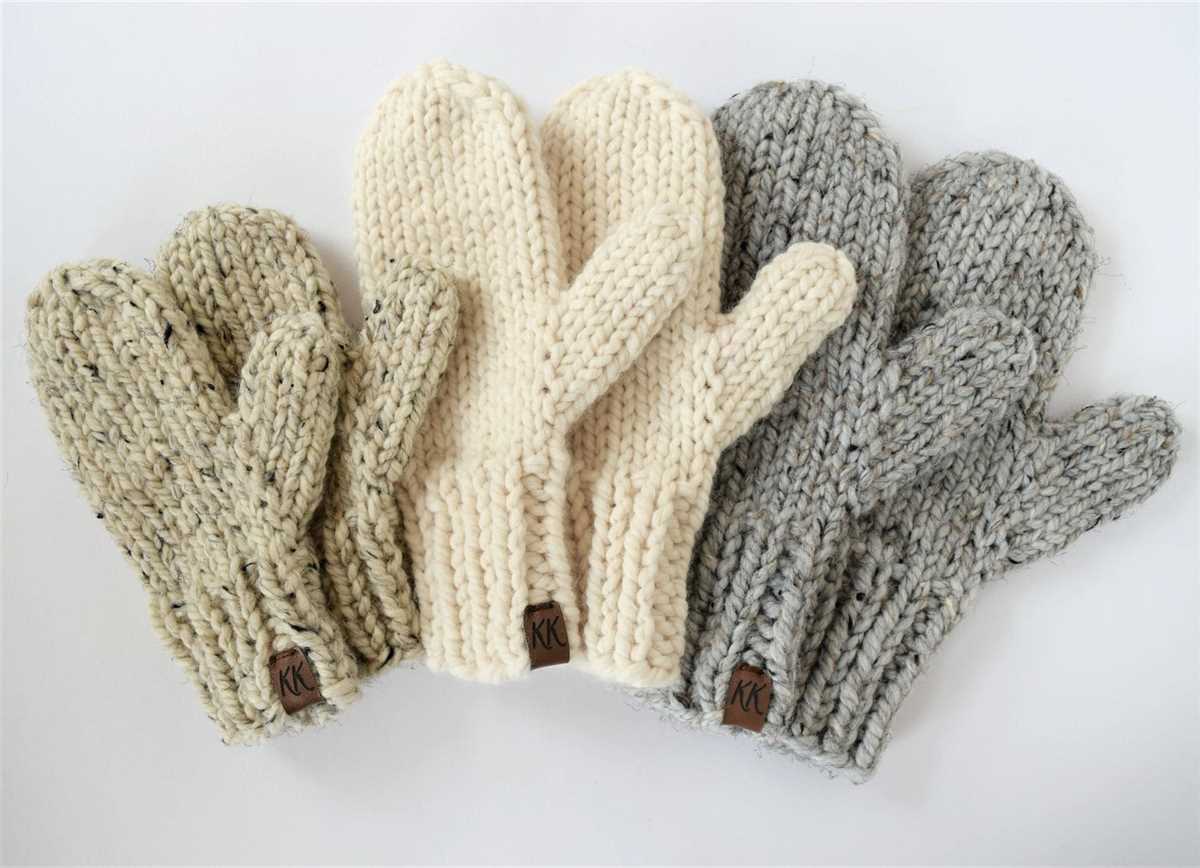
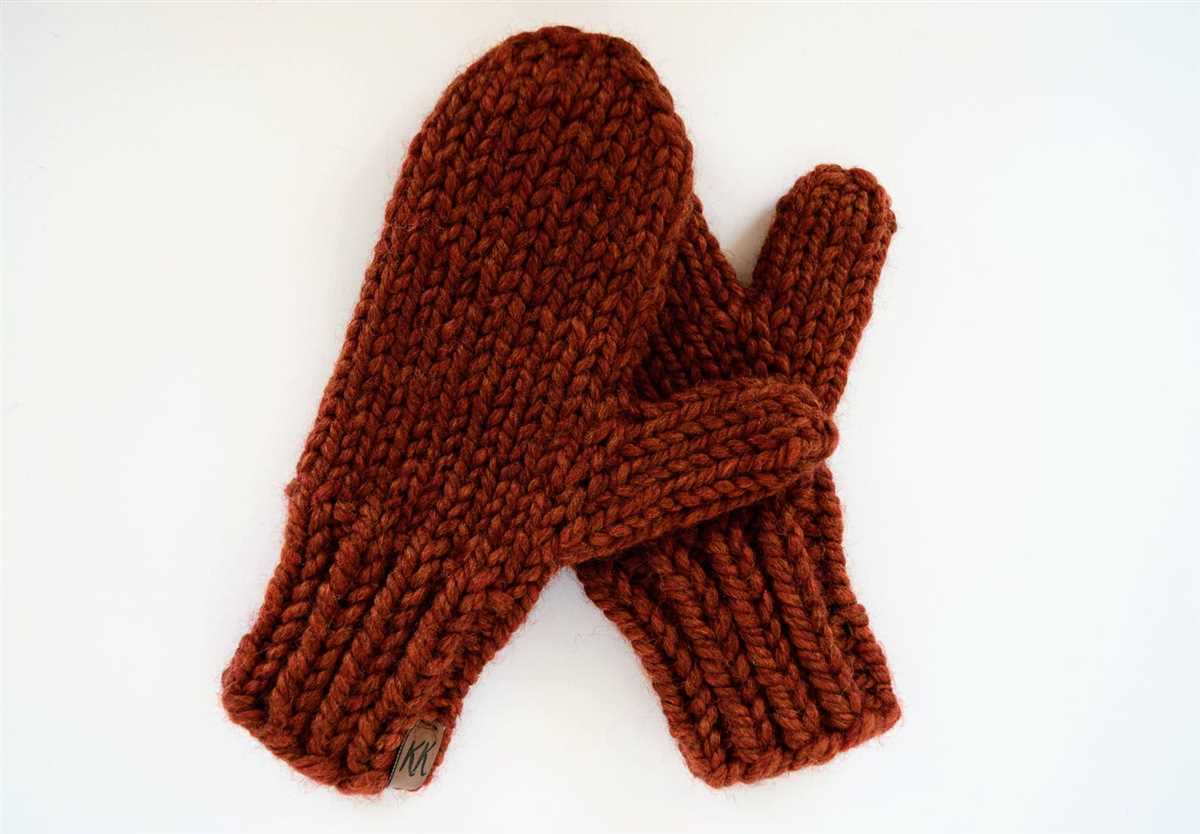
One popular mens mittens knitting pattern is a classic ribbed design. This pattern uses a simple rib stitch to create a textured, stretchy fabric that fits snugly around the hand. The ribbing also provides added warmth and insulation. You can choose to knit these mittens in a solid color or experiment with stripes or other colorwork to add a pop of personality.
Materials Needed:
- Double-pointed knitting needles in the recommended size for your yarn
- Yarn in the recommended weight and color
- Stitch markers
- Yarn needle for finishing
Instructions:

- Begin by casting on the required number of stitches for your desired size. The ribbed pattern usually requires a multiple of 4 stitches.
- Join in the round, being careful not to twist your stitches.
- Knit the rib pattern for the desired length, usually around 2 inches or until the ribbing reaches your desired cuff length.
- Switch to stockinette stitch for the body of the mitten.
- Continue knitting in stockinette stitch until the mitten reaches your desired length.
- Begin the decreases for the top of the mitten, following the pattern instructions. This usually involves knitting 2 stitches together at regular intervals to shape the mitten.
- Once all the decreases have been completed, cut the yarn, leaving a long tail. Thread the tail through the remaining stitches and pull tight to close the top of the mitten.
- Repeat the above steps to create the second mitten.
- Weave in any loose ends and block your mittens if desired.
These are just basic instructions for a classic ribbed mens mittens knitting pattern. You can find more detailed patterns online or in knitting books. Remember to choose a pattern that matches your skill level and take your time to ensure a perfect fit. Happy knitting!
Why choose knitting mittens for men?
Knitting mittens for men is a great choice for several reasons. Firstly, knitted mittens are incredibly warm and cozy, making them perfect for protecting hands during cold winter months. The unique properties of knitted fabric, such as its insulation and breathability, help to retain heat and keep hands comfortable in even the coldest weather.
Secondly, knitting mittens allows for a high level of customization and personalization. With a wide range of knitting patterns available, you can choose the perfect design that suits your individual style and preferences. Whether you prefer a classic and timeless design or something more modern and unique, you can find a knitting pattern that matches your taste.
Additionally, knitting mittens can be a rewarding and fulfilling hobby. It provides a sense of accomplishment and satisfaction to create something with your own hands. Knitting also allows for relaxation and stress relief, making it a great way to unwind after a long day.
- Warm and cozy
- Customizable and personalized
- Rewarding and fulfilling hobby
In conclusion, knitting mittens for men is an excellent choice due to their warmth, customization options, and the enjoyment and relaxation they bring. Whether you are knitting mittens for yourself or as a gift for someone else, this craft offers a wide range of benefits and a finished product that is both functional and stylish.
Best yarns for men’s mittens knitting patterns
When it comes to knitting patterns for men’s mittens, choosing the right yarn is crucial. The yarn you choose will determine the look, feel, and durability of the finished mittens. Here are some of the best yarns to consider for your next project:
1. Wool:
Wool is a popular choice for mittens as it is warm, soft, and durable. Look for yarns that are specifically labeled as “wool” or “wool blend” to ensure you are getting the best quality. Wool also has natural moisture-wicking properties, making it perfect for keeping hands warm and dry.
2. Alpaca:
Alpaca yarn is known for its softness and warmth. It is a great choice for men’s mittens as it provides excellent insulation without being too bulky. Alpaca fibers are also hypoallergenic, making it suitable for those with sensitive skin or allergies.
3. Cashmere:
If you want to go for a luxurious option, cashmere yarn is a great choice. Cashmere is incredibly soft and provides exceptional warmth. However, it is important to note that cashmere can be more delicate and may require more care when washing and handling.
4. Merino:
Merino wool is renowned for its softness, warmth, and breathability. It is a versatile yarn that is suitable for a wide range of projects, including men’s mittens. Merino wool is often blended with other fibers to enhance its durability and make it easier to care for.
5. Acrylic:
Acrylic yarn is an affordable and easy-care option for men’s mittens. While it may not have the same luxurious feel as natural fibers, acrylic yarn is durable, machine washable, and comes in a wide range of colors. It is a great choice for beginners or those on a budget.
When choosing yarn for men’s mittens, consider the recipient’s preferences as well as the pattern requirements. Whether you opt for the warmth of wool or the luxury of cashmere, selecting the right yarn will ensure that the finished mittens are comfortable and stylish.
Essential knitting techniques for men’s mittens
Knitting is a popular craft that allows you to create warm and cozy items such as mittens. When it comes to knitting men’s mittens, there are a few essential techniques that you should be familiar with. These techniques will help you create a comfortable and stylish pair of mittens that will keep your hands warm during the colder months.
1. Casting on: The first step in knitting men’s mittens is to cast on. This is the process of creating the first row of stitches on your knitting needle. There are several methods to cast on, including the long-tail cast on and the knitted cast on. Choose the method that you are most comfortable with.
2. Ribbing: Ribbing is a common technique used to create the cuffs of mittens. It involves alternating knit and purl stitches to create a stretchy and flexible fabric. Ribbing not only adds a decorative element to your mittens but also helps to keep them snug on your hands.
- To create a ribbed cuff:
- Cast on the desired number of stitches.
- Work in a *k1, p1* pattern for the desired length.
- Repeat the pattern until you reach the desired amount of ribbing.
3. Shaping: Shaping is an important technique when it comes to creating a well-fitting pair of men’s mittens. To shape your mittens, you will need to increase and decrease stitches in specific areas. This will ensure that the mittens fit comfortably and allow for ease of movement.
4. Thumb gusset: Men’s mittens often feature a thumb gusset, which is a triangular section of stitches created to accommodate the thumb. This technique involves increasing stitches on either side of a designated marker, gradually creating the shape of the thumb. This allows for better range of motion and a comfortable fit.
5. Bind off: Finally, when you have completed your mitten, you will need to bind off. This is the process of securing the final row of stitches and creating a finished edge. Choose a bind-off method that matches the elasticity of your ribbing, ensuring a professional and comfortable finish.
By mastering these essential knitting techniques, you will be well-equipped to create a pair of men’s mittens that are not only stylish but also warm and comfortable. Knitting your own mittens allows for customization and the opportunity to add personal touches. Have fun experimenting with different patterns and designs to create unique mittens that are perfect for you or as a gift for someone special.
Choosing the right needle size
When knitting mittens, it is important to choose the right needle size to achieve the desired gauge and fit. The needle size you select will determine the size and tension of the stitches, which in turn will affect the overall size and shape of the finished mittens.
The first factor to consider when choosing a needle size is the yarn weight. Thicker yarns, such as bulky or chunky, require larger needles to create a looser fabric. On the other hand, thinner yarns, like fingering or lace weight, need smaller needles to produce a tighter, denser fabric.
Another consideration is the desired drape and texture of the mittens. If you want a more fluid and supple fabric, you may opt for larger needles. Conversely, if you prefer a stiffer and more structured fabric, smaller needles would be a better choice.
To ensure a proper fit, it is important to knit a swatch before starting your project. The recommended needle size for the pattern is usually stated in the instructions, but it may vary depending on your tension and personal knitting style. By knitting a swatch and measuring your gauge, you can adjust your needle size accordingly to achieve the correct number of stitches and rows per inch.
In conclusion, choosing the right needle size for your mittens is crucial for achieving the desired results. By considering factors such as yarn weight, desired fabric drape, and knitting tension, you can select the appropriate needle size and create a pair of mittens that fit well and look fabulous.
Creating the thumb gusset
When knitting mittens, one of the key features to consider is the thumb gusset. The thumb gusset is an extra section of stitches that allows for the thumb to fit comfortably within the mitten. It is usually created by increasing stitches on either side of a marker to create a triangular shape.
To create the thumb gusset, begin by knitting to the point where you want the thumb to be located. Place a marker to indicate where the gusset will begin. Then, on the next round, increase one stitch before and after the marker using a preferred method, such as knitting into the front and back of the stitch. Repeat this increase every other round until the desired number of gusset stitches is reached.
Example:
- Round 1: Knit to marker, place marker, increase 1 stitch, knit 1, increase 1 stitch, continue knitting to end of round.
- Round 2: Knit to marker, slip marker, knit to end of round.
- Repeat rounds 1 and 2 until desired number of gusset stitches is reached.
The number of gusset stitches will depend on the size of the mitten and the individual’s hand size. It is recommended to refer to a mitten sizing chart or pattern for guidance on the number of stitches to increase.
The thumb gusset is an important element in ensuring a comfortable and well-fitting mitten. By increasing stitches in a triangular shape, it allows for extra room and flexibility for the thumb. Following the pattern instructions and creating the thumb gusset accurately will result in a well-constructed mitten with a comfortable thumb section.
Knitting the body of the mitten

After completing the cuff, it’s time to move on to knitting the body of the mitten. Using the main color yarn, continue knitting in the round, following the stitch pattern specified in the pattern. This will usually involve knitting a few rows in stockinette stitch or a combination of stitches to create a textured design.
As you knit the body, make sure to check your gauge and adjust your needle size if necessary. It’s important to maintain an even tension to ensure that the mittens fit properly. Keep knitting until the body reaches the desired length, typically ranging from 4 to 6 inches, depending on the size of the mitten.
When you reach the point where the thumb will be located, you will need to separate the stitches for the thumb gusset. This is done by placing a certain number of stitches on a stitch holder or piece of scrap yarn, which will create a gap for the thumb opening. These stitches will be picked up later to knit the thumb.
Continue knitting the remaining stitches in the round, following the stitch pattern, until you reach the desired length for the mitten. Once you reach the desired length, it’s time to start decreasing for the top of the mitten. This is usually done by knitting two stitches together at regular intervals.
When you have decreased enough stitches, you can close the top of the mitten by threading the yarn through the remaining stitches and pulling tight. Weave in any loose ends, and your mitten is complete!
Adding colorwork to men’s mittens
Colorwork is a great way to add visual interest and complexity to men’s mittens. By incorporating different colors into the knitting pattern, you can create unique designs and patterns that make your mittens stand out.
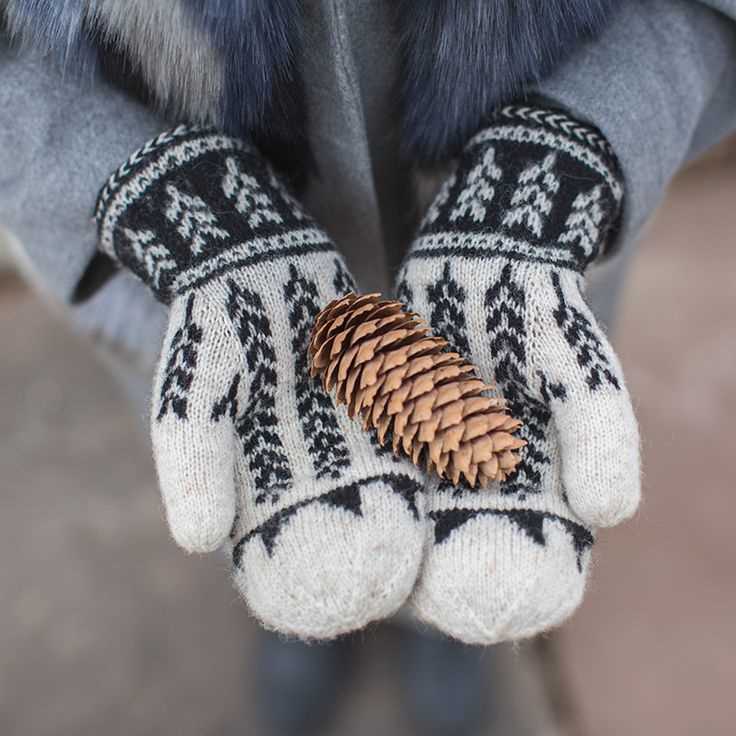
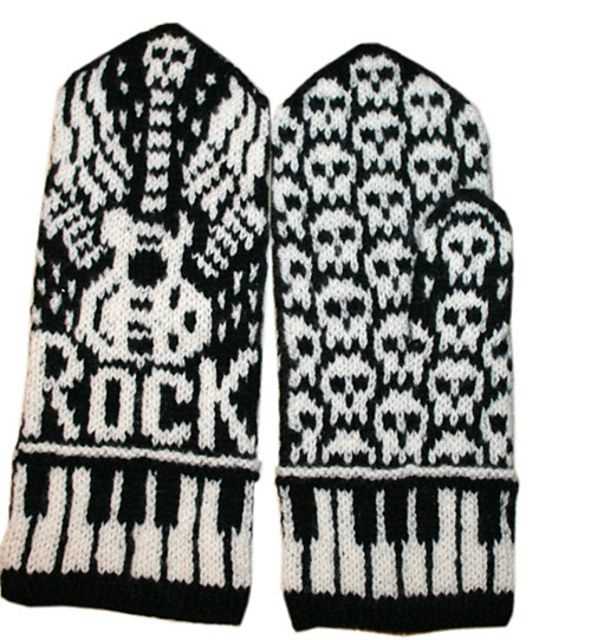
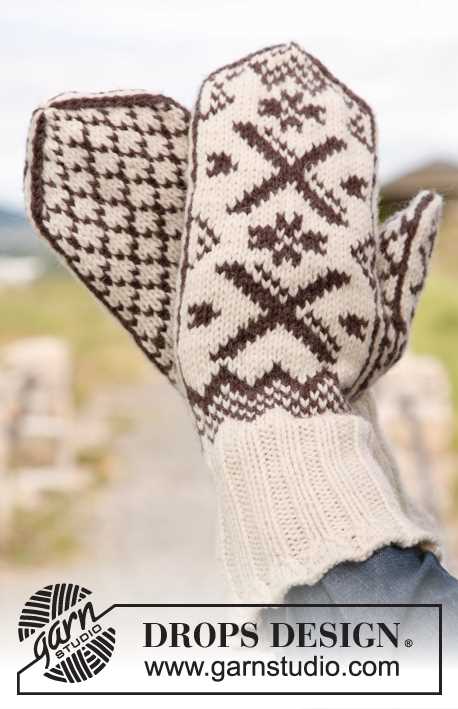
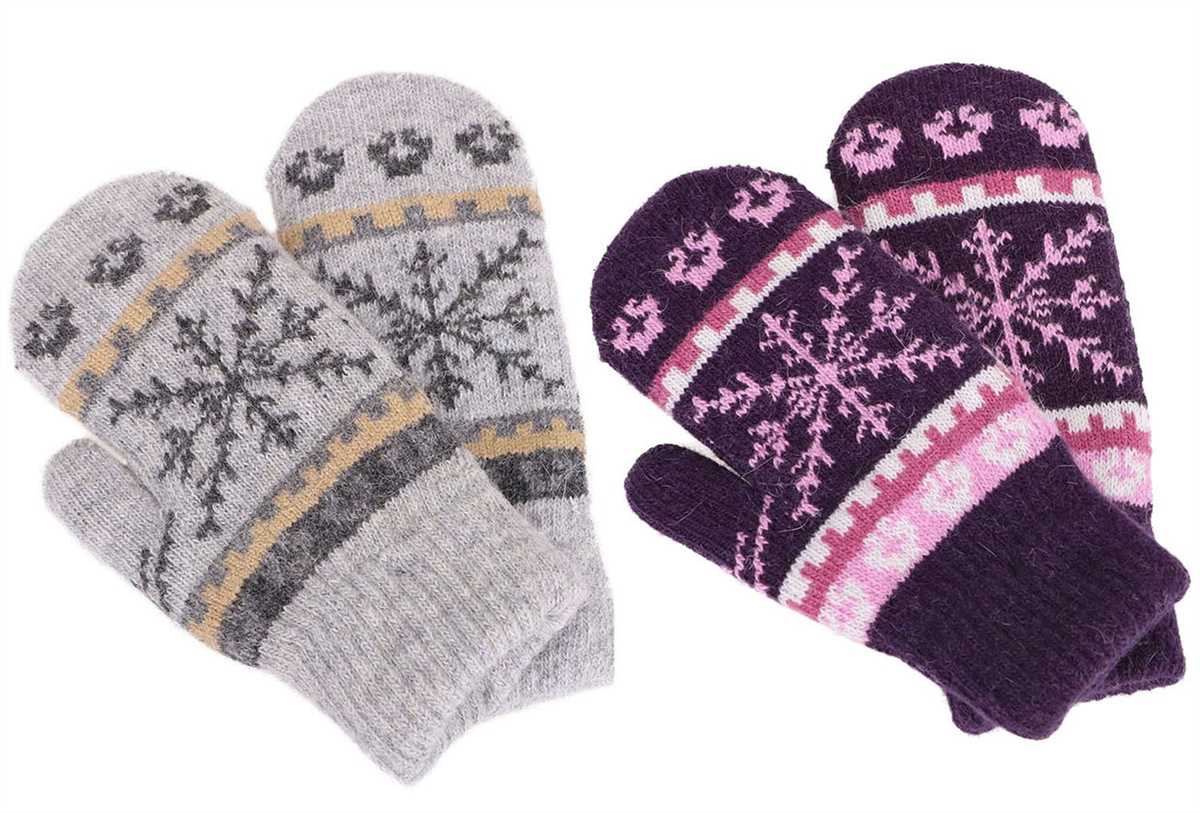
One popular technique for adding colorwork is stranded knitting, also known as Fair Isle knitting. This technique involves working with two or more colors at the same time, carrying the unused colors along the back of the work. By using this technique, you can create intricate patterns such as stripes, geometric shapes, or even images of animals or symbols.
Choosing colors
When adding colorwork to men’s mittens, it’s important to consider the color palette. Opt for colors that complement each other and create a harmonious design. Earthy tones, such as browns, grays, or greens, are often a good choice for men’s mittens as they create a more masculine and rustic look. Alternatively, you can also use bold and contrasting colors to make a statement.
One option to consider is using a main color for the majority of the mitten and adding pops of contrasting colors for the colorwork. This can create a visually stunning effect and draw attention to the intricate patterns. Experiment with different color combinations and swatch before starting the project to ensure that the chosen colors work well together.
Creating patterns
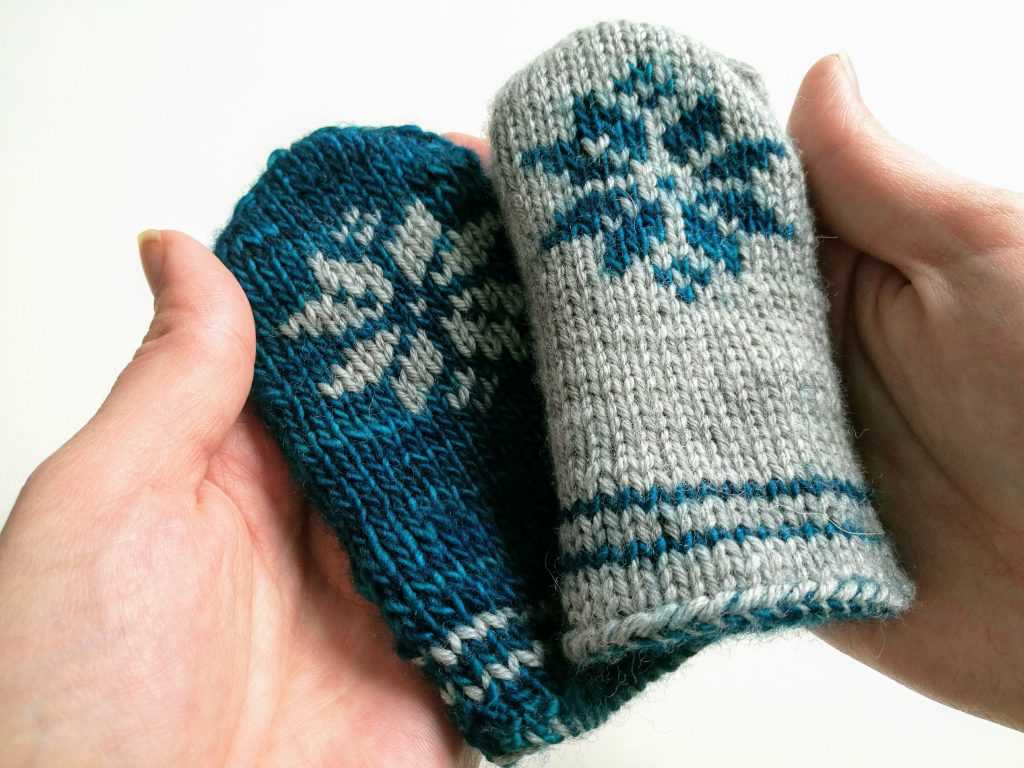
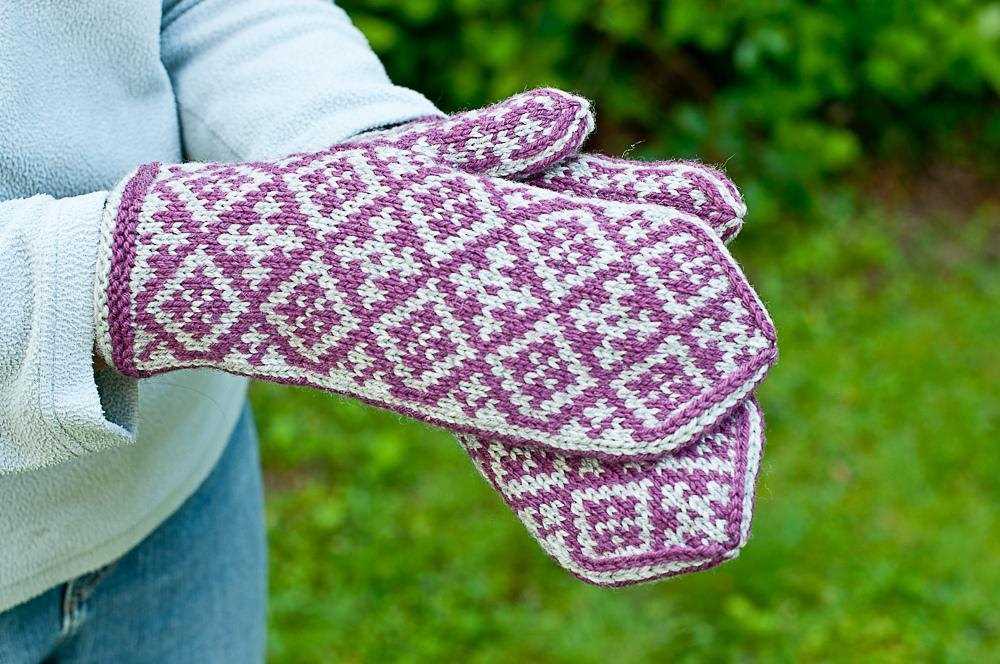
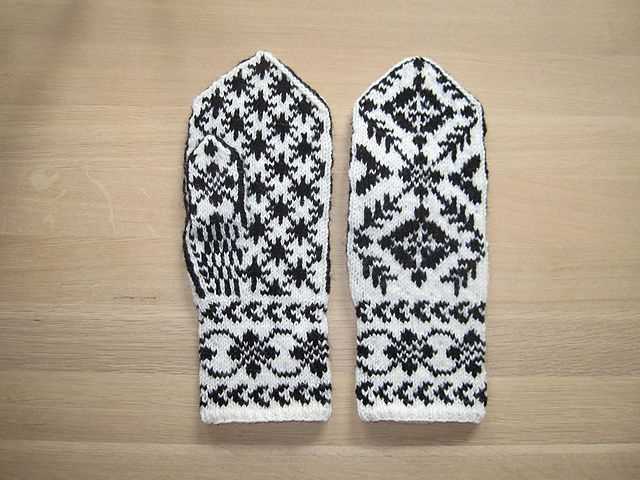
When designing colorwork patterns for men’s mittens, simplicity often works best. Consider using geometric shapes such as stripes, chevrons, or diamonds. Alternatively, you could incorporate traditional Nordic or folk motifs for a more rustic and traditional look.
It’s important to keep in mind the size and scale of the patterns when adding colorwork to men’s mittens. Large, bold patterns may be more suitable for mittens with larger cuffs, while smaller and more intricate patterns may work well for mittens with narrower cuffs.
Overall, adding colorwork to men’s mittens is a fun and creative way to personalize your knitting projects. With the right color palette and pattern choice, you can create unique and eye-catching designs that will not only keep hands warm but also make a fashion statement.
Finishing touches: blocking and seaming
Once you have finished knitting your men’s mittens, it’s important to give them the finishing touches to ensure they look their best and have a polished finish. The two main steps in this process are blocking and seaming.
Blocking: Blocking is the process of shaping and stretching your knitted pieces to the desired dimensions. To block your men’s mittens, you will need to fill a basin with lukewarm water and soak the mittens for about 15 minutes. Gently squeeze out the excess water and then lay the mittens flat on a clean towel. Use another towel to gently pat the mittens to remove more moisture. Next, reshape the mittens to your desired dimensions by gently stretching them and smoothing out any wrinkles. Leave the mittens to dry flat, making sure they are not in direct sunlight or near a heat source.
Seaming: Seaming is the process of joining the different parts of the mittens together. It is important to use a seaming technique that is suitable for the type of stitch pattern you have used and provides a strong, invisible seam. Some common seaming techniques include mattress stitch, whipstitch, and grafting. Follow the instructions provided in the knitting pattern and use a tapestry needle and matching yarn to seam the mittens. Take your time and ensure that the seams are neat and secure.
Once you have completed the blocking and seaming process, you can give your men’s mittens a final inspection to make sure everything is in place. Trim any loose ends of yarn and gently press the mittens with a steam iron on a low setting, if needed. Your men’s mittens are now ready to be worn and enjoyed!
Men’s Mittens Knitting Pattern Variations
Once you have mastered the basic men’s mittens knitting pattern, you can start experimenting with various variations to create unique designs. Here are some ideas for variations you can try:
1. Colorwork
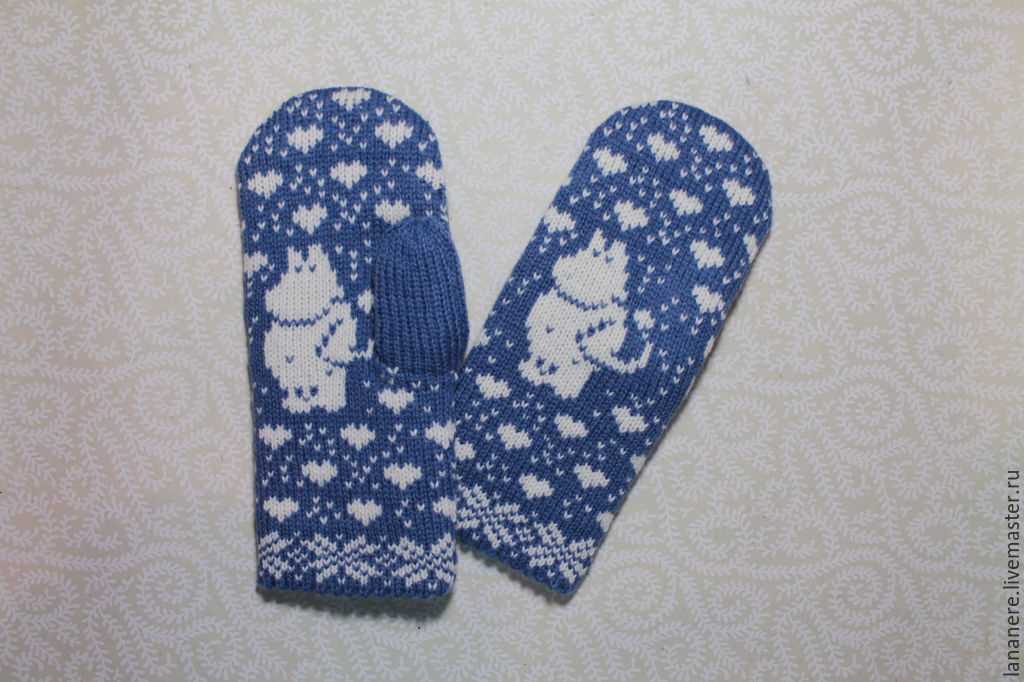
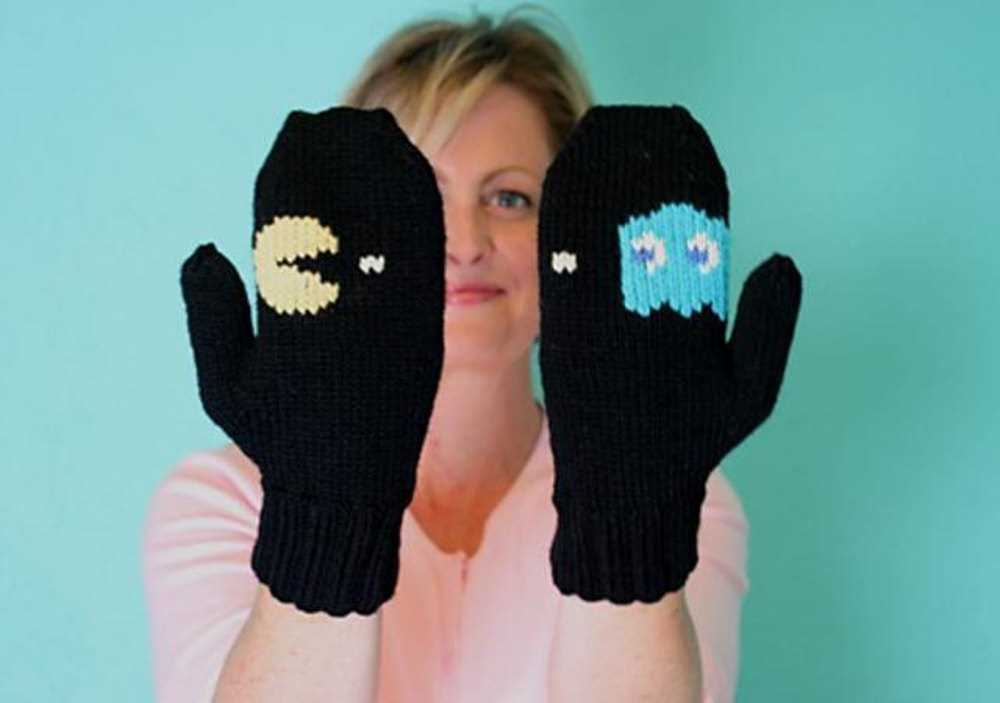
Add some color to your men’s mittens by incorporating stranded colorwork or fair isle techniques. You can create geometric patterns, stripes, or even pictorial designs using different colored yarns. This is a great way to personalize the mittens and make them more visually interesting.
2. Textured Stitches
Instead of using a plain stockinette stitch for the entire mitten, consider adding some texture to the fabric. You can try different stitch patterns like cables, ribs, or lace to create a more intricate and decorative look. Textured stitches not only add visual interest but also provide extra warmth and insulation.
3. Embellishments
Add some extra flair to your men’s mittens by incorporating embellishments like buttons, beads, or embroidery. You can sew on a button to the cuff or add a row of beads to the edge for a touch of sparkle. Embroidery can be used to create decorative motifs or initials, adding a personal touch to the mittens.
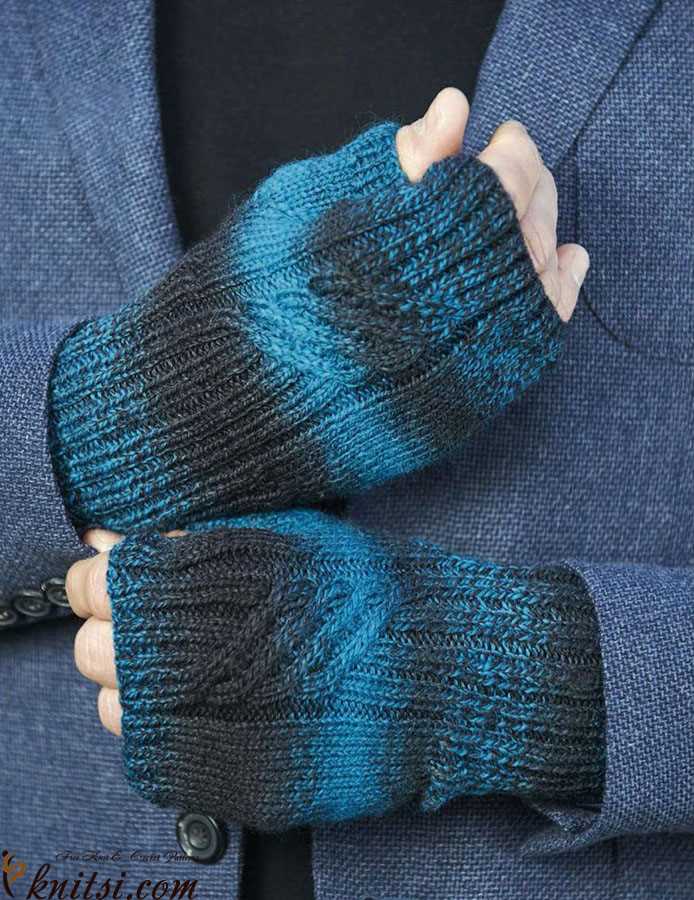
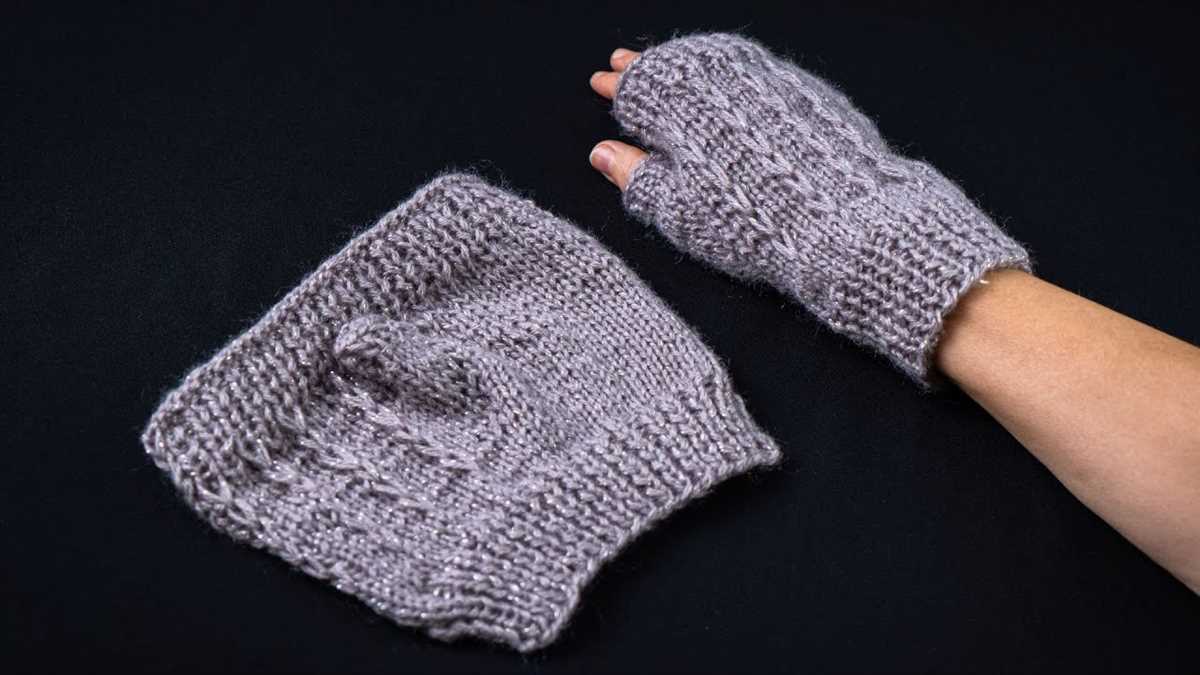
4. Convertible Mittens
If you want mittens that can easily convert into fingerless gloves, try knitting a pair of convertible mittens. This style typically has a flap or opening at the top that can be folded back to expose the fingertips. This allows for more dexterity while keeping the hands warm. You can add buttons or snaps to secure the flap in place.
With these variations, you can create a variety of men’s mittens to suit different preferences and styles. Whether you prefer a classic design or want to experiment with different patterns and techniques, knitting your own men’s mittens allows you to customize them to your liking. So get creative and start knitting!