
Christmas stockings are an integral part of the holiday season, and many families have their own traditions of hanging stockings by the fireplace. Knitting your own stockings can be a fun and rewarding project, and creating mini versions can be a great way to practice your skills and add a unique touch to your holiday decor.
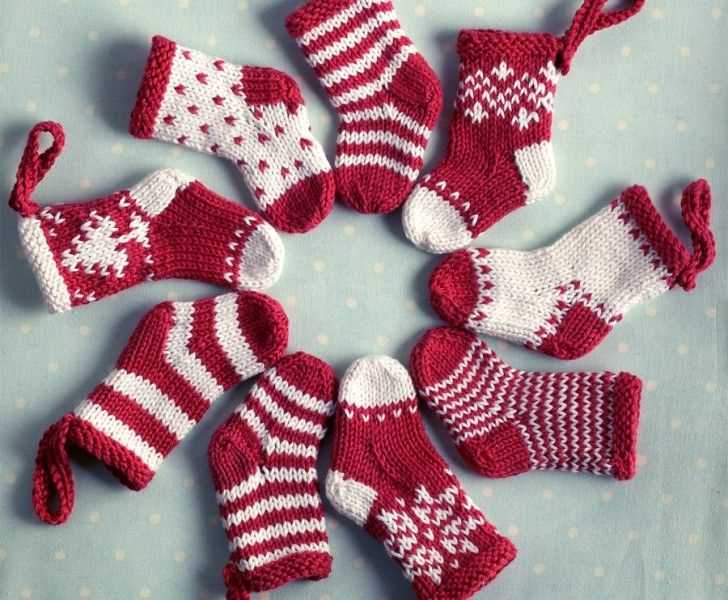
This miniature Christmas stocking knitting pattern is perfect for beginners and experienced knitters alike. The small size makes it quick and easy to knit, and you can experiment with different colors and patterns to create a collection of adorable stockings that will impress your family and friends.
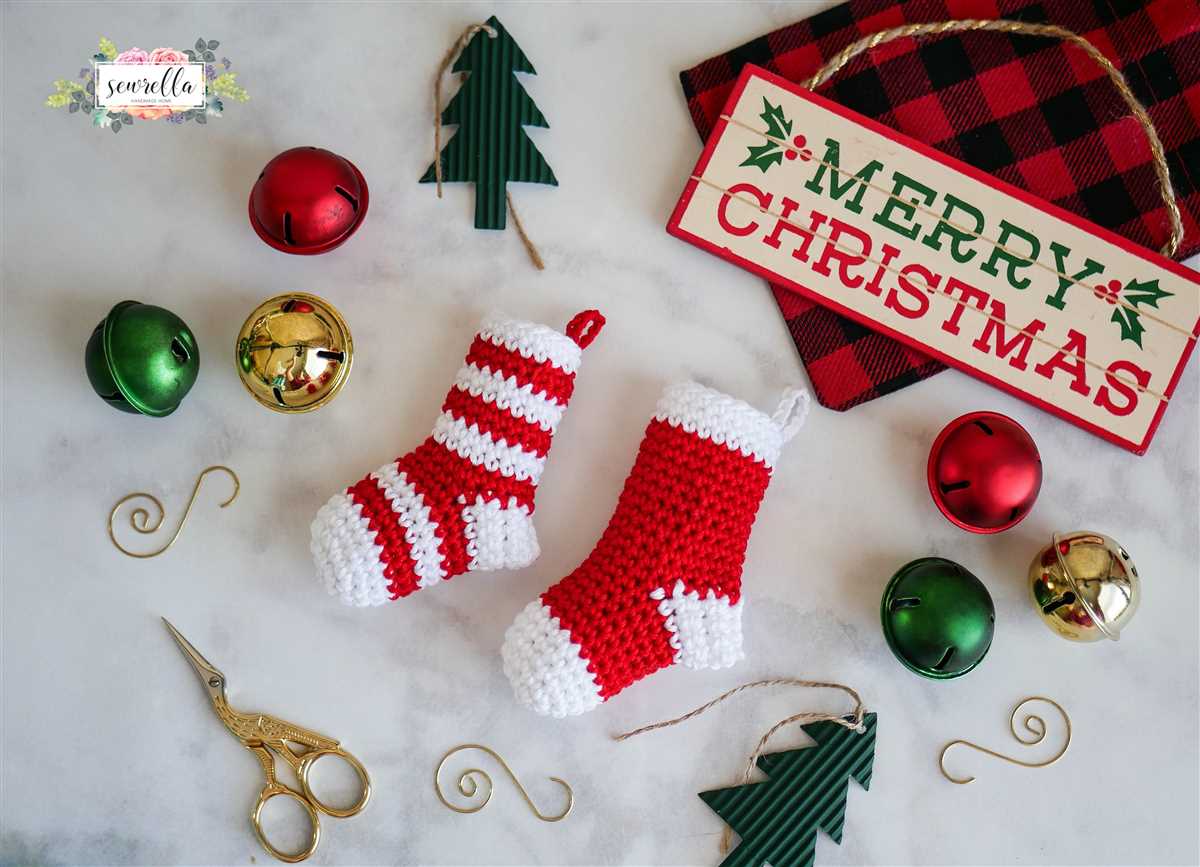
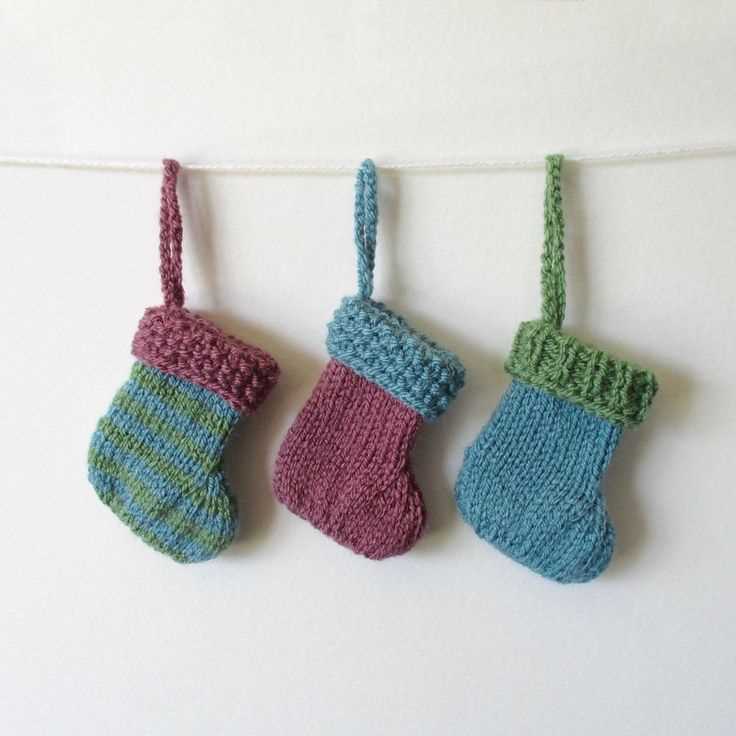
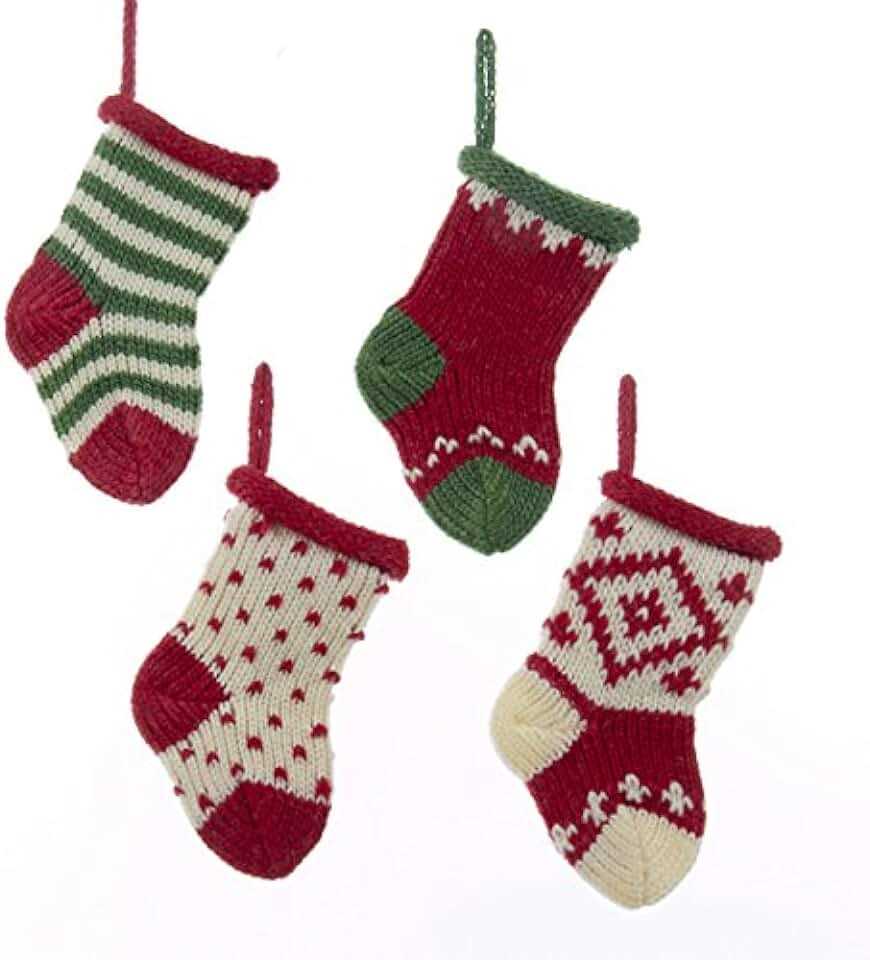
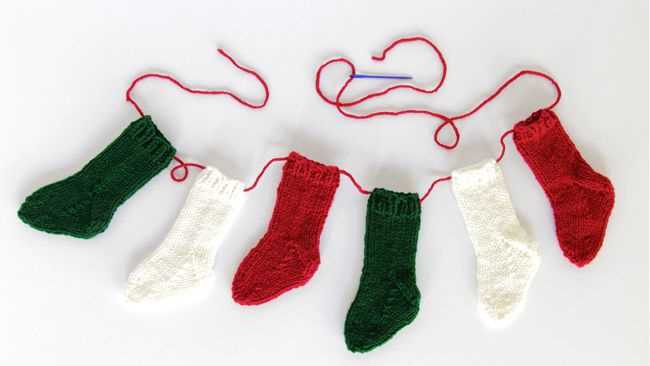
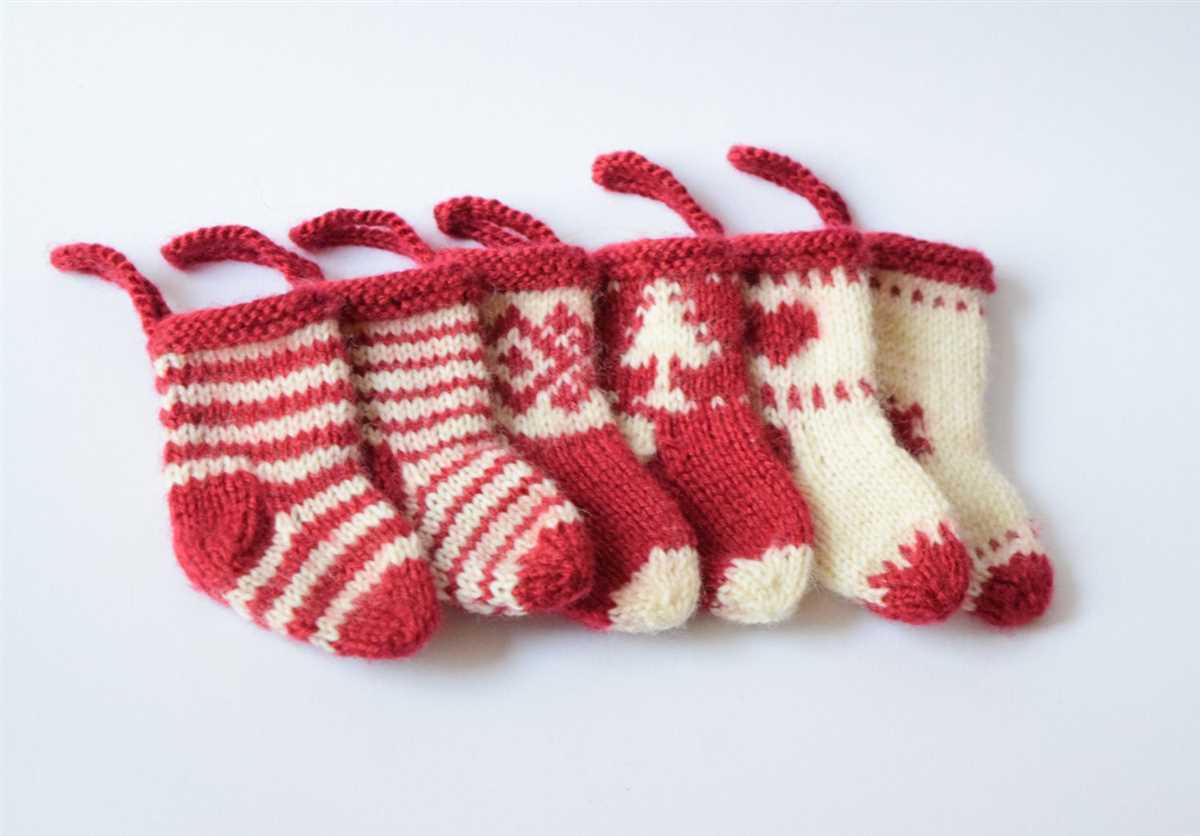
Whether you hang them on your tree, use them as gift toppers, or create an entire garland of mini stockings, these tiny knitted treasures are sure to bring joy and holiday cheer to your home. So grab your needles, choose your favorite yarn, and let’s get started on this fun and festive knitting project!
Miniature Christmas Stocking Knitting Pattern

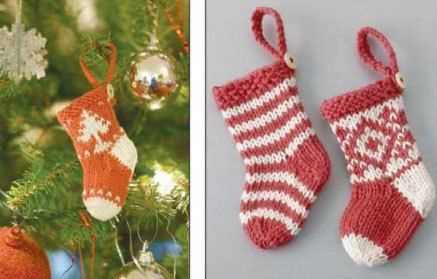
If you are looking to add some festive cheer to your holiday decorations, why not try knitting a miniature Christmas stocking? Not only is it a fun and quick project, but it also makes for a cute and unique addition to your Christmas tree or fireplace mantel.
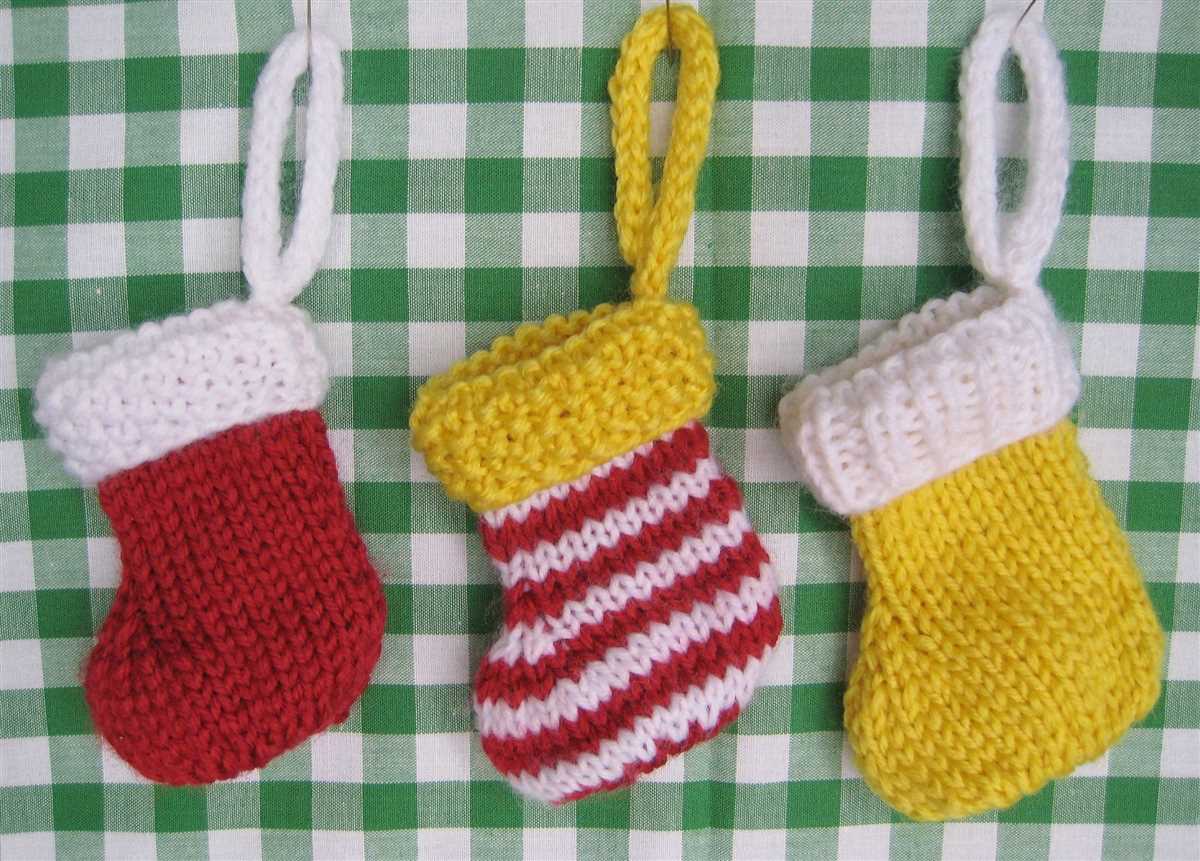
To get started, you will need some yarn in your desired festive colors, such as red, green, white, or gold. You will also need a pair of knitting needles appropriate for the chosen yarn weight, as well as a small crochet hook for adding any decorative elements.
Begin by casting on a small number of stitches, around 20-30, to create the toe of the stocking. Knit in the round using the desired stitch pattern until the toe measures around 2 inches in length. From there, you can start shaping the heel and leg of the stocking by increasing or decreasing stitches as needed.
To create the cuff, you can use a simple ribbing pattern, such as knit 2, purl 2, or knit 1, purl 1, for a stretchy and decorative finish. Alternatively, you can experiment with different stitch patterns or add some festive embellishments, such as small pom poms or a row of mini jingle bells.
Overview

In this pattern, you will learn how to knit a miniature Christmas stocking. This adorable and versatile accessory can be used as a decoration, a gift, or even a unique way to present small treats or gifts. With just a few basic knitting techniques, you can create these charming stockings in no time.
The pattern provides step-by-step instructions, along with a list of materials and abbreviations used. It is suitable for knitters of all skill levels, from beginners to advanced. Whether you are new to knitting or a seasoned pro, this pattern is a great way to practice your skills and create something festive for the holiday season.
Materials:
- Yarn in desired colors
- Knitting needles in appropriate size
- Darning needle
- Scissors
Abbreviations:
- k – knit
- p – purl
- k2tog – knit two stitches together
- yo – yarn over
The pattern is divided into sections, including the cuff, leg, heel, and toe. Each section is clearly explained, with detailed instructions and helpful tips. There are also charts and diagrams to assist with understanding the pattern and visualizing the finished stocking.
So grab your knitting needles, some festive yarn, and get ready to create your own miniature Christmas stockings. This pattern is a fun and rewarding project that will add a touch of festive charm to your holiday celebrations.
Materials Needed
To complete this miniature Christmas stocking knitting pattern, you will need the following materials:
- Yarn: Choose a soft, acrylic yarn in your desired color. It is recommended to use a worsted weight yarn for this project.
- Knitting Needles: You will need a pair of size 6 (4mm) knitting needles.
- Tapestry Needle: To weave in the ends and sew the stocking together, you will need a tapestry needle.
- Scissors: A pair of scissors will be needed to cut the yarn.
- Stitch Markers: Stitch markers can be helpful to keep track of your stitches and rows.
Optional materials include:
- Pom-pom Maker: To add a fun and festive touch, you can use a pom-pom maker to create a pom-pom for the top of the stocking.
- Embroidery Thread: If you would like to add any additional embellishments or embroidery to the stocking, you may need embroidery thread in various colors.
Be sure to gather all of your materials before starting the knitting pattern to ensure a smooth and enjoyable knitting experience.
Choosing the Right Yarn

When it comes to knitting a miniature Christmas stocking, choosing the right yarn is essential to achieve the desired results. The yarn selected should not only be suitable for the project at hand but also be able to create a festive and cozy look to the stocking.
Type of Yarn: One of the first considerations when choosing yarn for a miniature Christmas stocking is the type of yarn. Some popular options include wool, acrylic, and cotton. Each type of yarn has its own unique characteristics and properties, so it is important to consider factors such as warmth, durability, and softness when making a decision. Wool yarn is known for its warmth and insulating properties, while acrylic and cotton yarns offer a lighter and softer feel.
Weight of Yarn: The weight of the yarn is another important factor to consider. Miniature Christmas stockings often require a fine or fingering weight yarn to achieve the desired level of detail and delicacy. These lighter weight yarns allow for intricate stitch patterns and finer stitches, resulting in a more refined and delicate finished product.
Color and Texture: The color and texture of the yarn chosen can greatly impact the overall look of the miniature Christmas stocking. Bright and vibrant colors such as red, green, and gold are popular choices for festive stockings. Additionally, yarns with a textured or self-striping effect can add visual interest and depth to the stocking’s appearance.
Availability and Cost: Finally, availability and cost are practical considerations when choosing the right yarn for a miniature Christmas stocking. It is important to select yarn that is readily available in the desired colors and quantities needed for the project. Additionally, considering the cost of the yarn can help ensure that the project remains within budget.
By carefully considering the type of yarn, weight, color, texture, and availability, knitters can choose the right yarn to create beautiful and festive miniature Christmas stockings.
Choosing the Right Needles
When it comes to knitting a miniature Christmas stocking, choosing the right needles is crucial. The right needles can make the knitting process smoother and ensure that your stocking turns out just the way you want it.
Size: The size of the needles you choose will depend on the thickness of the yarn you’re using for your miniature stocking. Generally, a smaller needle size, such as US size 1 (2.25mm), is recommended for finer yarns, while a larger needle size, such as US size 5 (3.75mm), is better for thicker yarns. The size of the needles will also affect the size of the stitches, so keep that in mind when selecting your needles.
Material: The material of the needles can also make a difference in your knitting experience. There are different types of needles available, including metal, plastic, and bamboo. The material you choose can affect the texture of your knitting and how the stitches glide on the needles. Metal needles are known for their smoothness and durability, while bamboo needles are lightweight and have a nice grip. Plastic needles are often less expensive and can be a good option for beginners.
- Circular Needles: Circular needles are a great option for knitting miniature stockings, as they allow you to easily knit in the round without the need for seams. They come in various lengths, so choose one that is comfortable for you to work with.
- Double-Pointed Needles: Double-pointed needles are another option for knitting mini stockings, especially if you prefer traditional needle knitting. They come in sets of four or five and are used to knit in the round. They can take a bit of practice to master, but once you get the hang of them, they can be a fun way to knit small projects like stockings.
So, when choosing the right needles for your miniature Christmas stocking, consider the size of the needles and the thickness of the yarn, as well as the material and type of needles that suit your knitting style. By carefully selecting the right needles, you’ll be on your way to knitting a beautiful and festive stocking for the holiday season.
Instructions
In order to knit a miniature Christmas stocking, you will need the following materials:
- Size 3 knitting needles
- Worsted weight yarn in various colors
- Tapestry needle
- Scissors
Now that you have gathered all the necessary materials, you can begin knitting the miniature Christmas stocking using the following steps:
- Start by casting on 30 stitches with the color of your choice.
- Knit 20 rows in the stockinette stitch pattern, which means knitting one row and purling the next.
- Next, switch to a contrasting color and knit 2 rows in the garter stitch pattern, which means knitting every row.
- Switch back to the original color and knit 10 more rows in the stockinette stitch pattern.
- On the next row, knit 12 stitches, then bind off the next 6 stitches. Knit the remaining 12 stitches.
- Continue knitting on the remaining 12 stitches for 6 more rows.
- Next, decrease 1 stitch at the beginning and end of every row until you have 4 stitches left.
- Once you have 4 stitches left, bind off and cut the yarn, leaving a long tail.
- Fold the stocking in half and use the tapestry needle to sew up the back seam.
- Attach a loop of yarn to the top of the stocking to serve as a hanger.
- Your miniature Christmas stocking is now complete and ready to be hung on the tree or used as a decoration!
Casting On
When starting a knitting project, one of the first steps is casting on. This is the process of creating the initial row of stitches on the needle. There are several methods of casting on, but for the miniature Christmas stocking pattern, the long tail cast on method works well.
The long tail cast on method requires a measured length of yarn to create the foundation row of stitches. To begin, make a slipknot at the end of the yarn and place it on the needle. Hold the needle in your right hand (if you’re right-handed), and use your left thumb and index finger to hold the tail end of the yarn.
To cast on:
- With your left hand, take the working yarn (the end attached to the ball of yarn) and place it over the needle, forming a loop.
- With your right hand, insert the needle through the loop from front to back.
- Move the needle under the yarn tail and then back over the working yarn.
- Pull the working yarn through the loop, creating a new stitch on the needle.
- Repeat steps 1-4 until the desired number of stitches is cast on.
Keep in mind that the number of stitches you cast on will depend on the size of the miniature Christmas stocking you want to create. The pattern will specify the exact number of stitches required. Once you have cast on the stitches, you can begin working the rest of the pattern, following the instructions for each row.
Now that you know how to cast on, you can confidently start knitting your miniature Christmas stocking. Enjoy the process and have fun creating a festive and unique decoration for the holiday season!
Knitting the Leg

Once you have completed the cuff of the miniature Christmas stocking, it’s time to move on to the leg. This is the section of the stocking that will cover most of the foot and provide room for gifts and treats.
To knit the leg, you will continue working in the round with your chosen yarn and needles. Start by joining a new ball of yarn or the same one if you prefer, and continue knitting in the established pattern. With each round, the leg will gradually grow longer and wider, shaping the perfect stocking for your holiday decorations.
Remember to follow your knitting pattern and pay attention to any changes in stitch pattern or colorwork as you work your way up the leg. If the pattern calls for any special stitches or techniques, make sure you understand them before proceeding. Take your time and enjoy the process of creating the miniature stocking.
An important thing to keep in mind while knitting the leg is maintaining an even tension. This will ensure that the stocking has a consistent texture and appearance. You can use a stitch marker to keep track of the beginning of each round, which will make it easier to stay on track and avoid mistakes. If you notice any tension issues, you can adjust your needle size to achieve the desired result.
As you near the end of the leg, you may need to decrease stitches to shape the toe. This will depend on your specific pattern and its instructions. Make sure to carefully follow the pattern’s guidance to create a stocking with a well-shaped toe.
- Tip: If you are unsure about the length of the leg, you can try the stocking on your hand or a small item to get an idea of the final fit.
- Remember to weave in any loose ends and block your finished stocking for a polished look.
Decreasing for the Heel
Once you have knitted the desired length for the leg part of the miniature Christmas stocking, it is time to start decreasing for the heel. This is an important step in shaping the stocking and giving it a comfortable fit.
To decrease for the heel, you will need to divide your stitches into three sections: the front, the back, and the sole. The front and back sections will form the sides of the heel, while the sole section will form the bottom of the foot.
Begin by knitting the designated number of stitches for the front section. Then, using a stitch marker or a different color yarn, mark the center of your work. This will be the start of the sole section. Knit to the end of the row, creating the back section.
Next, you will start decreasing stitches to shape the heel. This can be done using various decrease techniques such as knit two together (k2tog) or slip slip knit (ssk). The exact decrease pattern will depend on the specific knitting pattern you are following.
Continue decreasing stitches on the front and back sections of the stocking, while maintaining the same number of stitches in the sole section. This will create a tapered shape for the heel. Work the decrease pattern until you have reached the desired number of stitches for the heel.
Once the heel is shaped, you can continue knitting the foot of the stocking according to your pattern. The decreased stitches will ensure a snug fit around the heel, while still providing enough room for the foot.
Tips for Decreasing for the Heel:
- Pay attention to the gauge of the pattern to ensure the correct fit for your miniature Christmas stocking.
- Use stitch markers or different color yarn to mark the different sections of the heel for easier reference.
- Read the pattern carefully and follow the specific decrease instructions provided.
- Count your stitches regularly to ensure accuracy.
Knitting the Foot
After completing the cuff of the miniature Christmas stocking, it’s time to move on to knitting the foot. This is where the body of the stocking begins to take shape and the pattern really starts to come to life.
Step 1: Start by continuing with the main color yarn, knitting in the round without any decreases. This will create a cylindrical shape for the foot of the stocking.
Step 2: As you knit, you can add in any additional design elements or patterns that you desire. This is where you can get creative and make each stocking unique. For example, you could create a stripe pattern, add in snowflake motifs, or incorporate festive symbols like reindeer or candy canes.
TIP: If you’re a beginner, it can be helpful to use stitch markers to keep track of any pattern changes or repeats. This will make it easier to maintain consistency throughout the foot of the stocking.
Step 3: Continue knitting until the foot of the stocking reaches the desired length. Remember to allow for some extra length, as the toe of the stocking will be shaped later on.
Step 4: Once you’re satisfied with the length of the foot, you can prepare to shape the toe. This is typically done using a technique called “decreasing”. It involves decreasing the number of stitches gradually to create a tapered shape.
TIP: The specific decreasing pattern will depend on the design of the stocking and your personal preference. Some common decreasing methods include knitting 2 stitches together, slipping stitches, or using a kitchener stitch for a seamless finish.
Step 5: After shaping the toe, you can bind off the remaining stitches and weave in any loose ends. It’s always a good idea to give your stocking a quick block to ensure that it retains its shape and looks neat and polished.
Completing the foot of the miniature Christmas stocking is a significant milestone in the knitting process. It brings the stocking one step closer to being a finished, festive accessory that can be hung, displayed, or gifted during the holiday season.
Shaping the Toe
The toe of the miniature Christmas stocking is the part where it narrows down to create the shape of a sock. This is an important step in knitting the stocking as it gives it a more realistic look and ensures that it fits properly when hung on a fireplace or a Christmas tree.
To shape the toe, you will need to decrease the number of stitches gradually. This can be done using various techniques such as knit two stitches together (k2tog), slip slip knit (ssk), or centered double decrease (cdd). The specific technique used will depend on the knitting pattern you are following.
One common way to shape the toe is by using the k2tog decrease. To do this, knit the first two stitches together, then continue knitting the rest of the row as instructed in the pattern. Repeat this decrease on every other row until the desired number of stitches is reached. This will create a tapered shape at the end of the stocking.
Another technique that can be used is the ssk decrease. This involves slipping two stitches knitwise onto the right-hand needle, then knitting them together through the back loop. This technique creates a slightly different look and can be used interchangeably with the k2tog decrease.
Once the toe is shaped, you can continue knitting the rest of the stocking using the stitches that remain. Keep in mind that the shaping of the toe may affect the overall size and fit of the stocking, so it’s important to follow the pattern instructions carefully and make any necessary adjustments along the way.
Finishing the Stocking
Now that you have completed knitting the miniature Christmas stocking, it’s time to finish it off and add any additional embellishments.
Before finishing, make sure to weave in any loose ends of yarn to ensure a neat and polished appearance.
Here are some possible finishing touches:
- Add a decorative ribbon or bow: Attach a festive ribbon or bow to the top of the stocking to add an extra touch of holiday cheer.
- Sew on buttons or beads: Embellish the stocking by sewing on buttons or beads in a pattern or design of your choice.
- Embroidery or cross-stitch: If you have embroidery or cross-stitch skills, you can personalize the stocking with names, initials, or holiday-themed designs.
- Attach a hanging loop: Sew a small loop of ribbon or yarn to the top corner of the stocking to allow for easy hanging on a Christmas tree or mantle.
Remember to customize your stocking to your liking and have fun with the finishing touches. Once you’re satisfied with the final result, your miniature Christmas stocking will be ready to add a festive touch to your holiday décor or to give as a special handmade gift.