
Knitting is not just a hobby, it’s a form of art. And what better way to show off your skills than by making a trendy and stylish accessory like a ponytail beanie? This knitting pattern is perfect for those who love to wear their hair in a ponytail but still want to keep warm during the winter months.
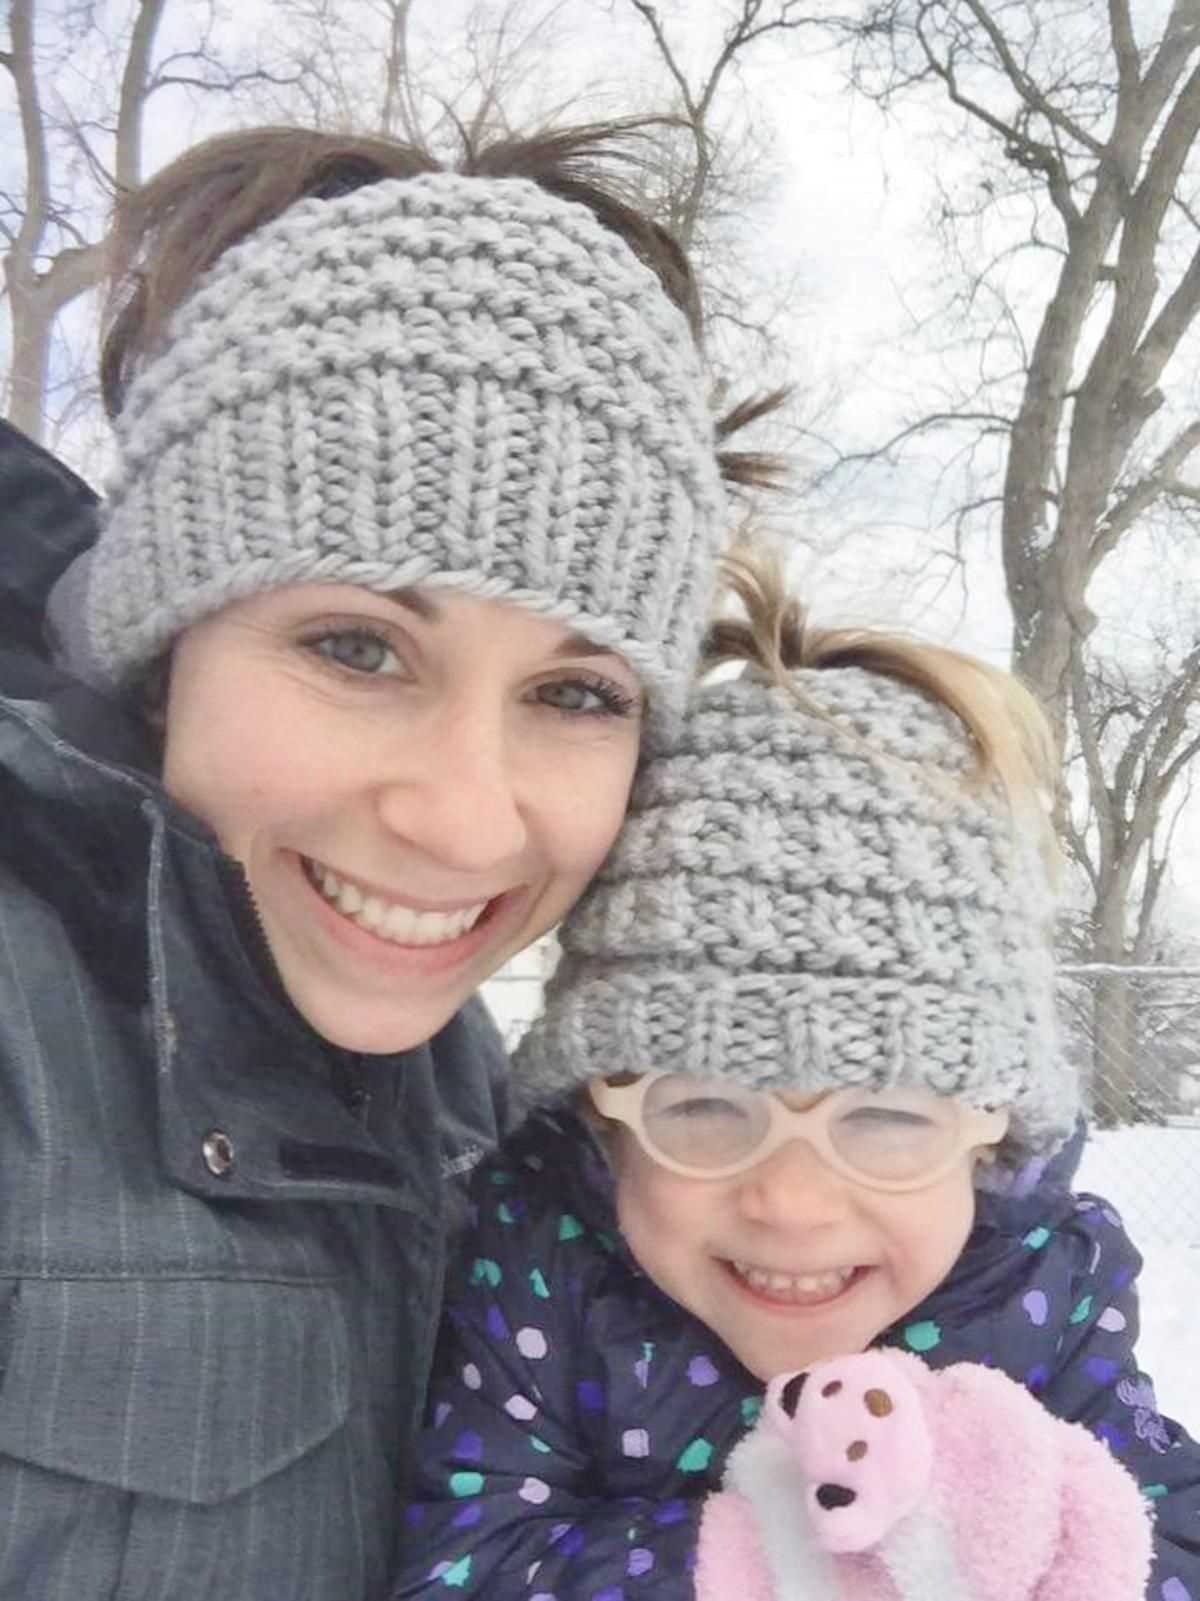
The ponytail beanie is a versatile accessory that combines fashion and functionality. It features a hole at the top to accommodate a ponytail or bun, allowing you to keep your hair up while still keeping your head warm. This hat is perfect for outdoor activities like skiing, snowboarding, or simply taking a walk in the park on a cold winter day.
With this knitting pattern, you can create your very own personalized ponytail beanie. Whether you want a solid color or a fun pattern, the possibilities are endless. You can choose from a variety of yarns, from soft and cozy wool to lightweight and breathable acrylic, depending on your preference and the climate you live in.
So grab your knitting needles and get ready to create a fashionable and functional accessory that will keep you warm all winter long. Follow the step-by-step instructions in this knitting pattern and soon you’ll have a stylish ponytail beanie that will make heads turn wherever you go.
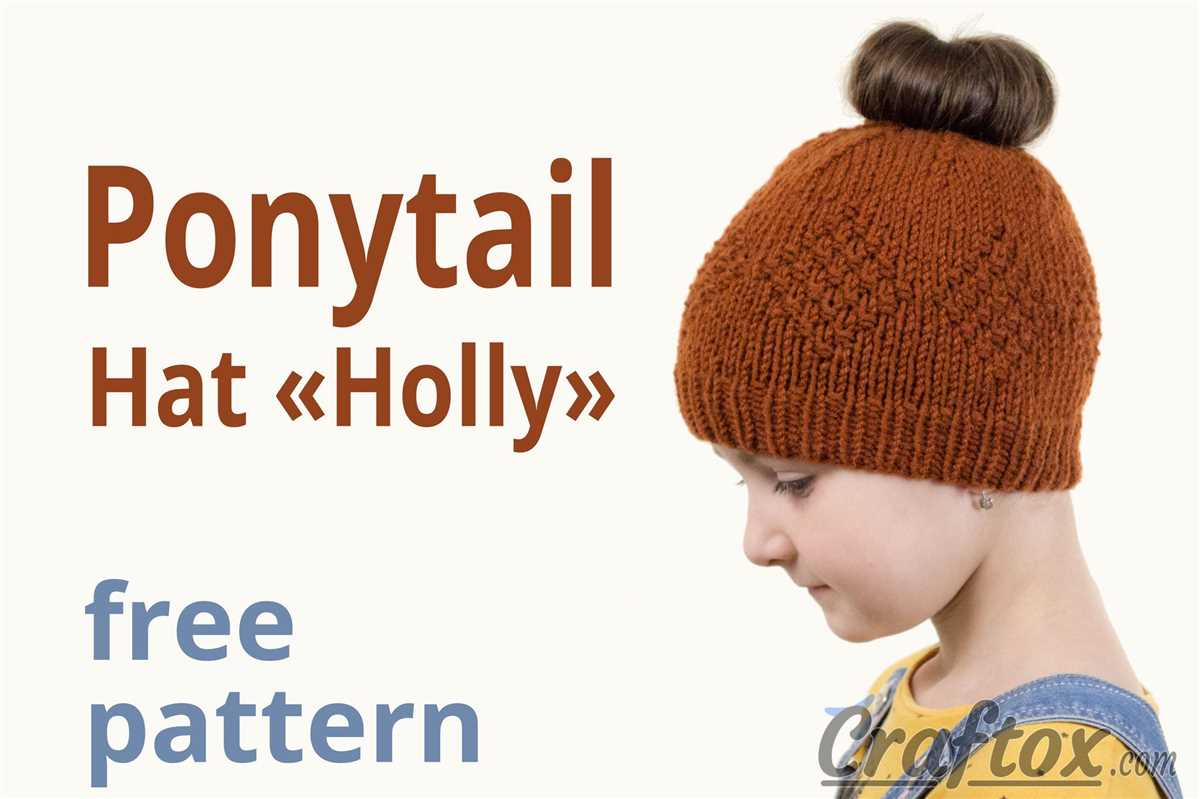
Ponytail Beanie Knitting Pattern
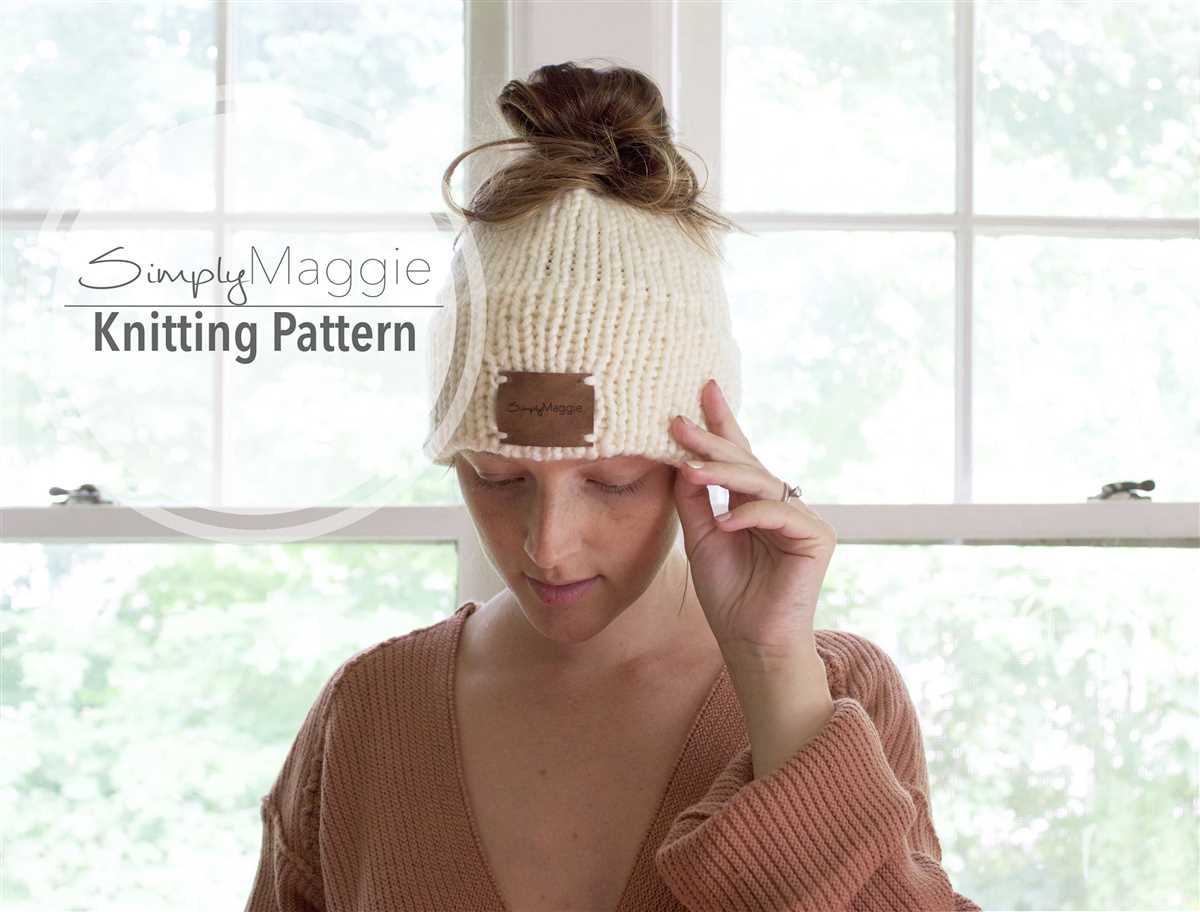
If you want to keep your head warm during the cold winter months, but still want to be able to wear your hair in a ponytail or bun, a ponytail beanie is the perfect accessory for you. With its unique design, this beanie has a hole in the top that allows your ponytail or bun to poke through while still keeping your head cozy and warm. And the best part is, you can easily knit one yourself with a simple pattern.
To create a ponytail beanie, you will need a set of knitting needles, a ball of yarn, and a crochet hook. Start by casting on the desired number of stitches, which will depend on the size of your head. Then, simply follow the pattern instructions, which usually involve knitting in the round for a certain number of rows and then adding the hole for the ponytail. You can customize your beanie by adding ribbing or other decorative stitches.
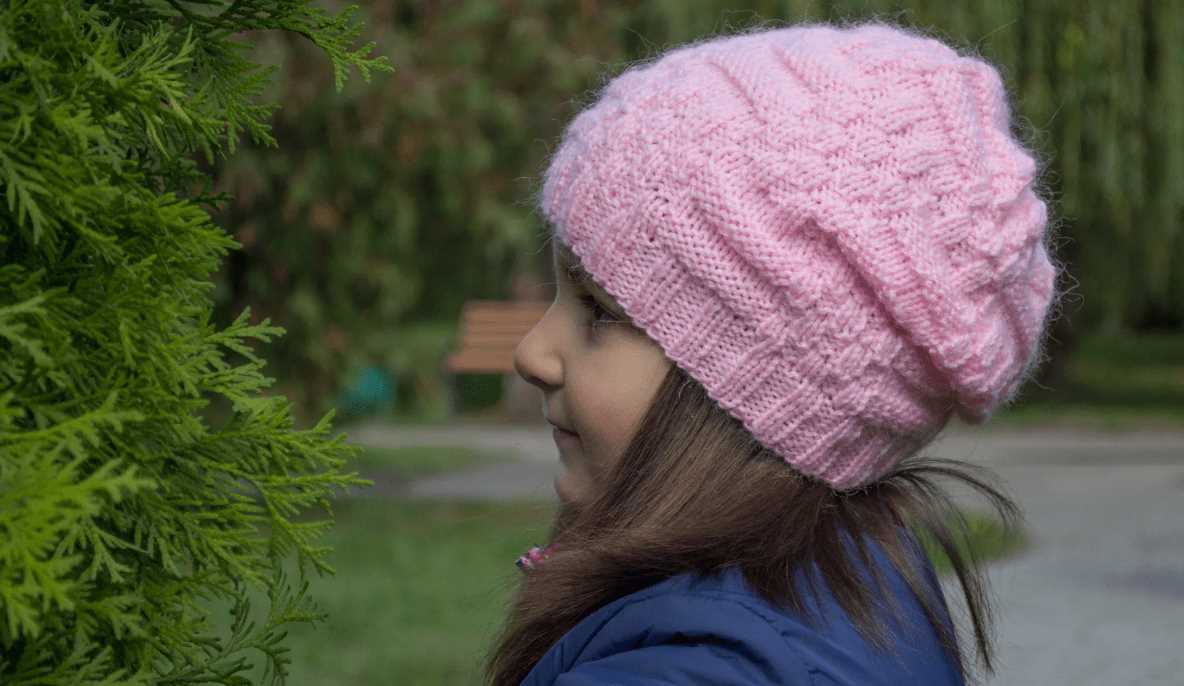
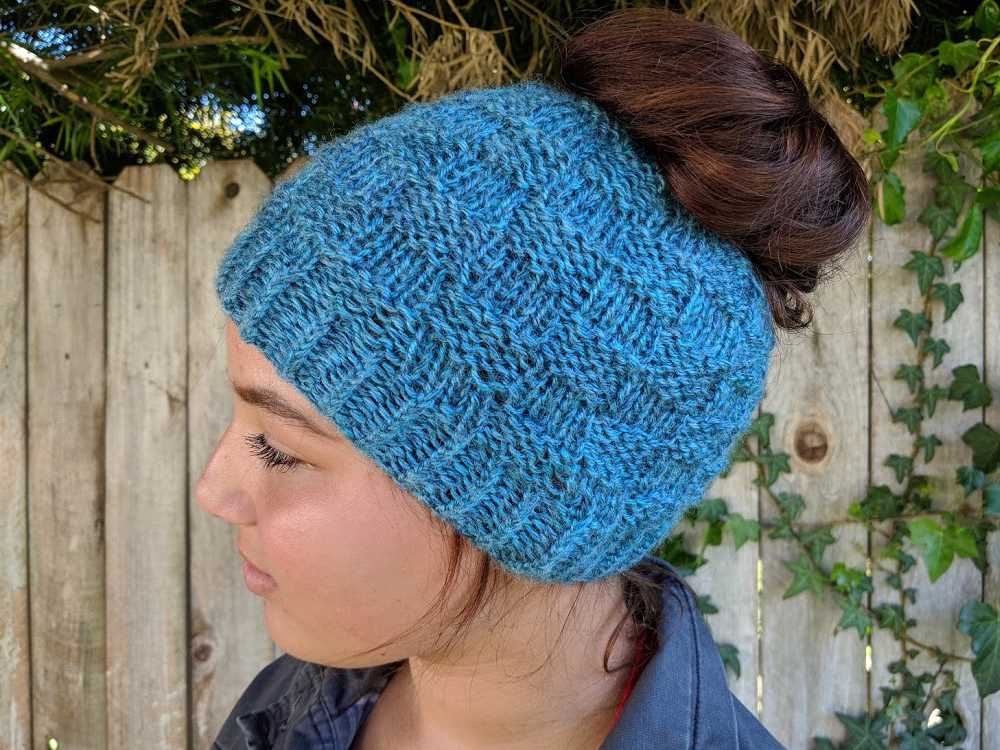
One popular ponytail beanie knitting pattern is the ribbed ponytail beanie. This pattern creates a stretchy and comfortable beanie with a ribbed texture that looks stylish and sophisticated. To knit this pattern, you will need to know how to knit, purl, and create ribbing. The ribbed ponytail beanie is a versatile accessory that can be worn with any outfit and is perfect for both casual and formal occasions.
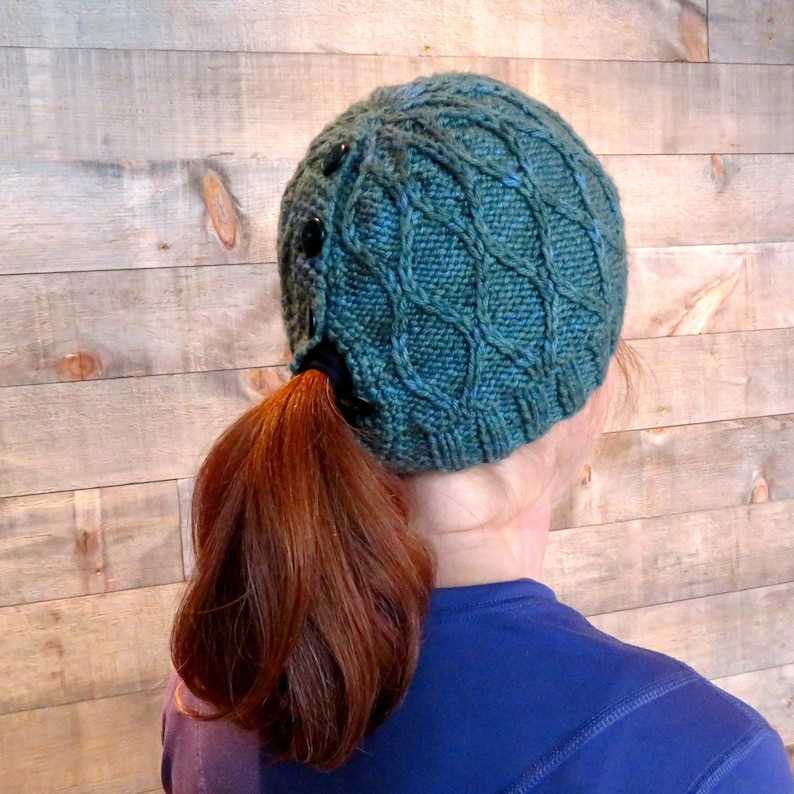
Another popular option is the cabled ponytail beanie. This pattern incorporates cables, which are created by crossing stitches over each other, to create a textured and intricate design. The cabled ponytail beanie is a more advanced knitting pattern, but the end result is well worth the effort. This beanie is perfect for those who want a more unique and eye-catching accessory.
Tips for Knitting a Ponytail Beanie

- Choose a soft and warm yarn to ensure maximum comfort.
- Make sure to check your gauge before starting the pattern to ensure the correct fit.
- If you’re new to knitting in the round, practice on a smaller project first to familiarize yourself with the technique.
- Don’t be afraid to experiment with different stitches and patterns to create a unique design.
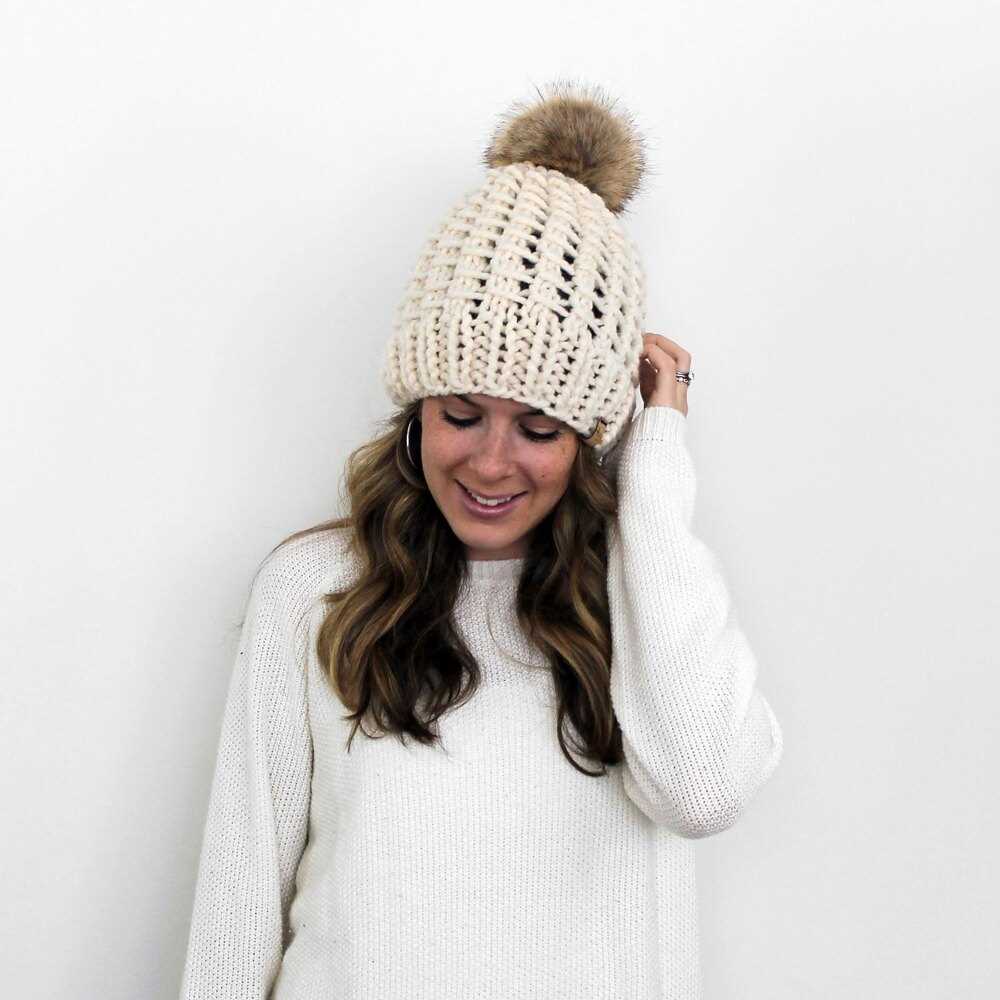
- Consider adding a pom-pom or other embellishments to personalize your ponytail beanie.
Why choose a ponytail beanie?
A ponytail beanie is a type of hat that has a hole or an opening at the top to accommodate a ponytail or a bun. It is a popular choice for people with long hair who want to keep their heads warm in cold weather while still being able to wear their hair up. There are several reasons why choosing a ponytail beanie can be a great option.
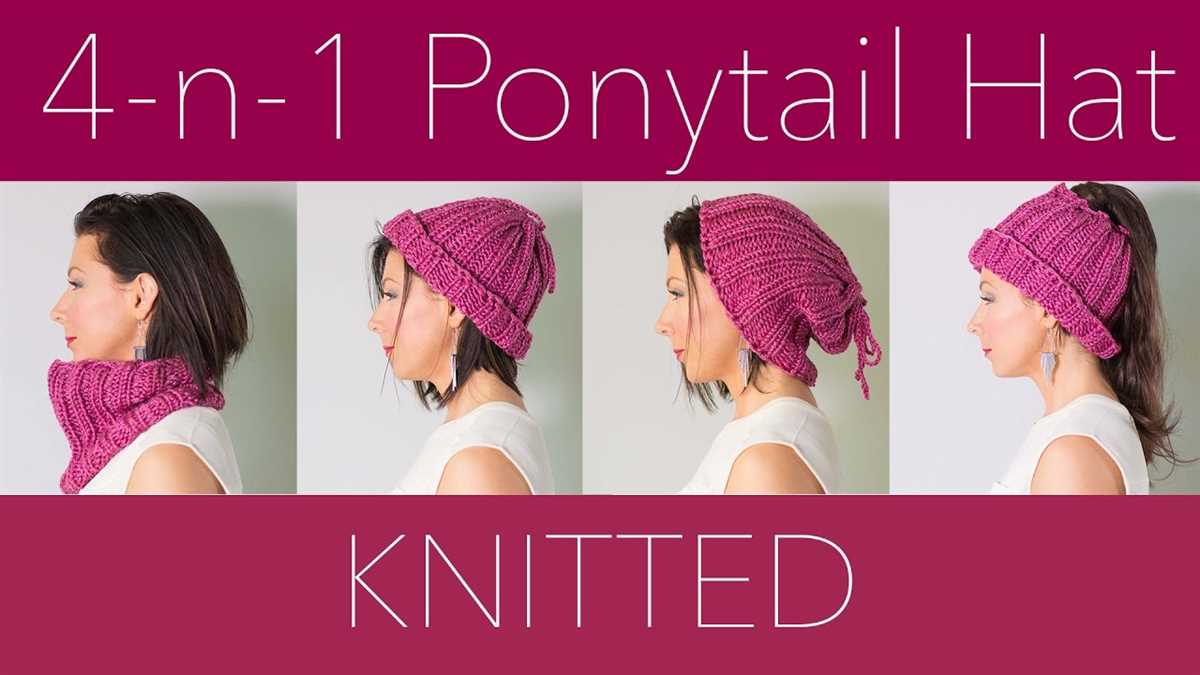
Versatility: One of the main advantages of a ponytail beanie is its versatility. It allows you to keep your head warm and stylishly accessorized while still being able to wear your hair in a ponytail or bun. Whether you’re going for a jog, running errands, or just lounging at home, a ponytail beanie offers the convenience of keeping your hair up while keeping your head warm.
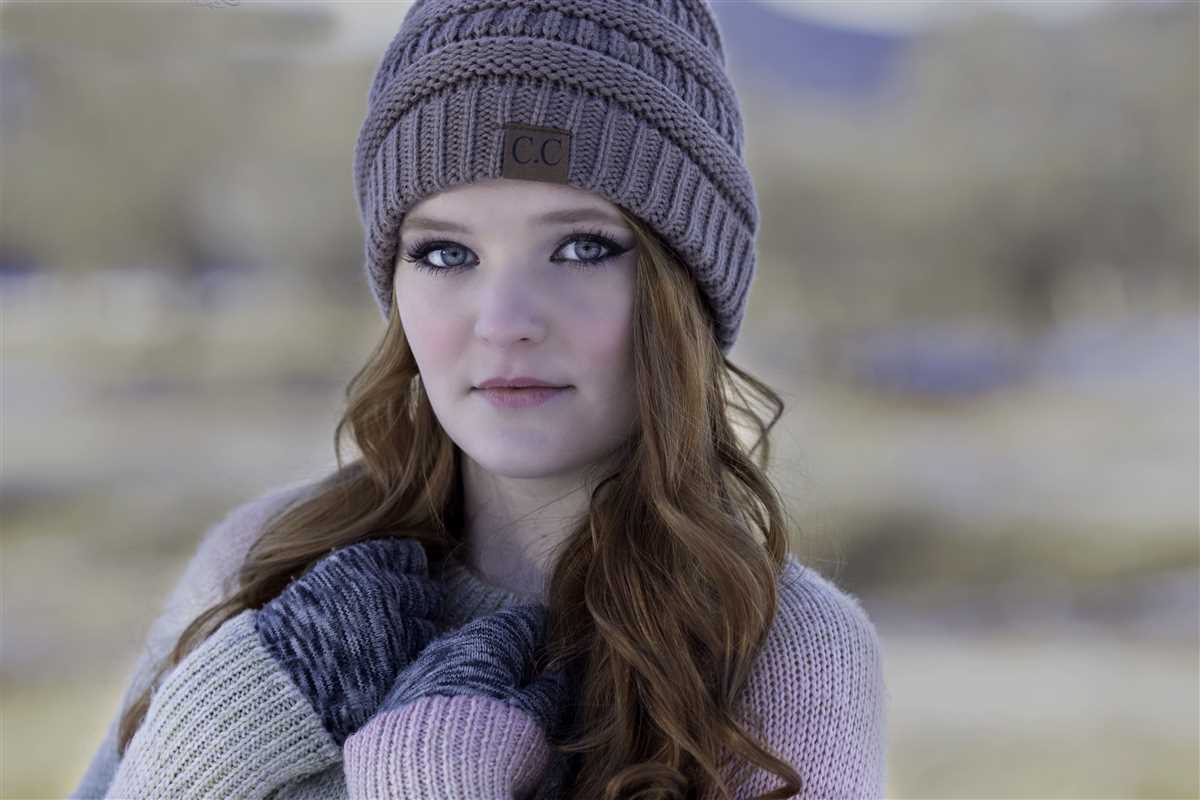
Comfort: Ponytail beanies are designed to be comfortable and practical. The opening at the top allows you to pull your hair through without getting tangled or causing discomfort. The hat itself is usually made of soft and warm materials like acrylic or wool, providing a cozy feel during colder months.
Functionality: In addition to keeping your head warm and your hair up, ponytail beanies also offer functionality. The opening at the top can double as a ventilation system, allowing air to flow through and preventing excessive sweating. Some ponytail beanies also come with built-in ear flaps or a fleece lining to provide extra protection and warmth.
Style: Ponytail beanies come in a variety of styles, colors, and patterns, allowing you to express your personal style while staying warm. From classic cable knits to trendy pom-pom beanies, there is a ponytail beanie for every taste and occasion. Whether you prefer a simple and understated design or a bold and vibrant look, you can find a ponytail beanie that suits your style.
In conclusion, choosing a ponytail beanie allows you to enjoy the best of both worlds – keeping your head warm and your hair up. With their versatility, comfort, functionality, and style options, ponytail beanies are an excellent choice for anyone with long hair who wants to stay fashionable and cozy during the colder seasons.
Materials needed
To create a ponytail beanie using the knitting pattern, you will need the following materials:
- Yarn: Choose a yarn that is suitable for the desired size and style of the beanie. Worsted weight yarn is a popular choice for this project.
- Knitting needles: Select knitting needles that are appropriate for the yarn chosen. The size of the needles will depend on the tension and desired gauge.
- Tapestry needle: A tapestry needle is necessary for weaving in loose ends and finishing off the beanie.
- Stitch markers: Stitch markers are helpful for keeping track of specific stitches or sections in the knitting pattern.
- Crochet hook: A crochet hook may be needed for creating the ponytail opening in the beanie, depending on the specific pattern being used.
- Scissors: Scissors are essential for cutting yarn and for trimming any excess thread as needed.
With these materials on hand, you will be ready to start knitting your own ponytail beanie and enjoy the warmth and style it brings to your cold-weather wardrobe.
Choosing the right yarn
When knitting a ponytail beanie, it is important to choose the right yarn for the project. The type and weight of the yarn will determine the look, feel, and drape of the final product. It is important to consider factors such as the season, the recipient’s preferences, and the desired warmth and texture of the beanie.
Type of Yarn: There are various types of yarn available in the market, including acrylic, wool, cotton, and blends. The choice of yarn should be based on the desired characteristics of the beanie. Acrylic yarn is a good choice for beginners as it is inexpensive, easy to care for, and comes in a wide range of colors. Wool yarn is great for colder seasons as it provides warmth and insulation. Cotton yarn is lightweight and breathable, making it perfect for warmer climates.
Yarn Weight: The weight of the yarn refers to its thickness and is usually categorized as lace, fingering, sport, DK, worsted, bulky, and super bulky. The weight of the yarn will affect the drape and texture of the beanie. For a ponytail beanie, it is recommended to use worsted weight yarn as it provides a good balance between warmth and thickness.
Color and Texture: The choice of color and texture of the yarn is a personal preference and can vary depending on the desired style of the beanie. Solid colors can give a classic and versatile look, while variegated or self-striping yarn can add visual interest and uniqueness to the beanie. The texture of the yarn, such as smooth, fluffy, or textured, will also affect the overall appearance of the beanie.
In summary, when choosing the right yarn for a ponytail beanie, it is important to consider the type of yarn, its weight, and the desired color and texture. Taking these factors into account will help ensure that the final product meets the desired style, comfort, and functionality.
Getting Started
In order to create a ponytail beanie using a knitting pattern, you will need to gather a few essential supplies. Be sure to have the following items on hand before starting your project:
- Yarn: Choose a yarn that is suitable for the level of warmth and comfort you desire. Consider the texture and color of the yarn to achieve the desired look for your beanie.
- Knitting Needles: Select the appropriate size knitting needles based on the yarn weight and gauge specified in the pattern. It is important to use the correct needle size to ensure accurate measurements and a proper fit.
- Tape measure: This will be used to measure your gauge and to ensure your beanie is the correct size as you progress with your knitting.
- Stitch markers: These are useful for marking specific sections or stitches in the pattern to help you keep track of your progress.
- Tapestry needle: This type of needle is used for weaving in loose ends and finishing touches on your completed beanie.
Once you have gathered all of your supplies, carefully read through the knitting pattern to familiarize yourself with the instructions and any special techniques that may be required. It is important to understand the pattern before beginning to ensure a smooth knitting process. Additionally, make sure you have a clear understanding of the size and fit you are aiming to achieve with your beanie.
Creating the ribbing
Before we start knitting the ponytail beanie, we need to create the ribbing, which will give the hat its stretchy and fitted look. The ribbing is usually made using a combination of knit and purl stitches, and it is worked at the beginning of the pattern.
To create the ribbing, you will need to cast on the desired number of stitches using the long-tail cast on method. This will provide a neat and elastic edge. Make sure to leave a long enough tail for later weaving in.
Once you have cast on the stitches, you will begin working the ribbing pattern. This can vary depending on the desired look and stretchiness of the beanie. One common ribbing pattern is the 1×1 rib, where you alternate between knitting one stitch and purling one stitch. This creates a subtle rib texture.
Another option is the 2×2 rib, where you knit two stitches and purl two stitches in a repeating pattern. This ribbing pattern gives the beanie more texture and stretch. You can also experiment with different ribbing patterns to achieve a unique look.
Continue working the ribbing pattern for the desired length, usually around 1-2 inches, or according to your preference. Remember to keep the tension even throughout the ribbing to maintain its elasticity. Once you have completed the ribbing, you can proceed to the main body of the beanie pattern.
Knitting the body of the beanie
Once you have cast on the desired number of stitches for your beanie, it’s time to start knitting the body of the hat. The body is where you will create the length of the beanie before decreasing for the crown.
To begin, you will continue knitting in the round, using the specified stitch pattern or design. This can be a simple stockinette stitch, ribbing, or even a more intricate fair isle or cable pattern. Follow the pattern instructions carefully, making sure to keep track of any stitch repeats or changes.
If you are using a stitch pattern, it’s important to keep a consistent tension throughout the body of the beanie to ensure an even and professional finish. This may require practicing the stitch pattern before starting the beanie or adjusting your tension as you go along.
To add length to the beanie, continue knitting in the specified stitch pattern until the hat measures the desired length from the cast-on edge to the top of the ear. This length will vary depending on the desired fit and style of the beanie.
Once the body of the beanie is the desired length, you can move on to decreasing for the crown. This will create the tapered shape of the beanie and ensure a snug fit around the head. The decreasing pattern will vary depending on the design, so be sure to follow the pattern instructions closely.
Overall, knitting the body of the beanie is a crucial step in creating a well-fitting and fashionable hat. Pay attention to the stitch pattern and tension, and enjoy the process of seeing your beanie take shape as you knit.
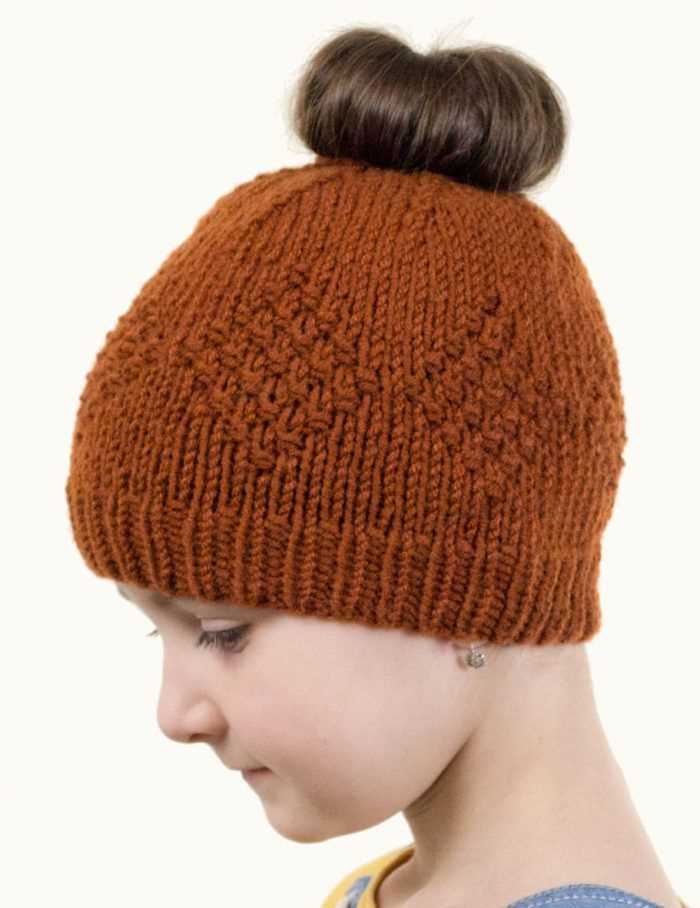
Shaping the crown

In order to create the ponytail opening on the top of the beanie, the crown must be shaped in a specific way. This shaping typically involves decreasing the number of stitches as you work towards the top of the beanie. The pattern will usually provide instructions on how many stitches to decrease and at what intervals.
One common method for shaping the crown is to work a series of decrease rounds. This typically involves knitting or purling two stitches together at regular intervals. By reducing the number of stitches in each round, the crown gradually narrows and creates the desired shape for the ponytail opening. It’s important to keep track of the number of stitches you have remaining in each round to ensure accuracy in the shaping process.
Another technique for shaping the crown is to work short rows. Short rows are partial rows of knitting that create shaping without decreasing stitches. This technique can be used to create a rounded shape at the top of the beanie, allowing for sufficient room for the ponytail. Short rows are often worked by knitting or purling a certain number of stitches, then turning the work and knitting or purling back in the opposite direction.
Creating the opening for the ponytail
One of the key features of a ponytail beanie is the opening at the top that allows the wearer to pull their ponytail or bun through. Creating this opening requires careful consideration and precision in the knitting pattern.
To start, you will need to identify the location on the beanie where the opening will be placed. This can be towards the back or slightly off-center, depending on personal preference. Once you have determined the location, you can begin the process of creating the opening.
The most common method for creating the opening is to use a technique called “dropped stitches.” This involves intentionally dropping a certain number of stitches in a specific pattern to create an elongated opening. To do this, you will need to carefully unravel the stitches in the desired area, making sure to keep track of which stitches you are dropping.
Once the desired number of stitches have been dropped, you can then begin re-knitting the stitches, but this time with a larger needle size. This will create a looser, more flexible fabric that will allow for easy insertion of the ponytail or bun.
After re-knitting the stitches, it is important to ensure that the opening is the correct size and shape. You can do this by trying the beanie on or using a measuring tape to check the dimensions. If any adjustments are needed, you can easily unravel and re-knit the stitches until the opening is perfect.
Creating the opening for the ponytail in a beanie requires careful attention to detail and a good understanding of knitting techniques. With some practice and patience, you can create a functional and stylish ponytail beanie that is perfect for colder weather.
Adding Finishing Touches
Once you have completed knitting your ponytail beanie, it’s time to add the finishing touches to make it a polished and professional-looking accessory. There are several steps you can take to achieve this, including:
- Weaving in the ends: Use a yarn needle to weave in any loose ends from your knitting. This will give your beanie a clean and tidy appearance.
- Blocking: Blocking is the process of shaping and stretching your knitted piece to give it the desired size and shape. You can use steam or wet blocking techniques, depending on the fiber content of your yarn. This step can help even out any uneven stitches and ensure that your beanie maintains its shape and fit.
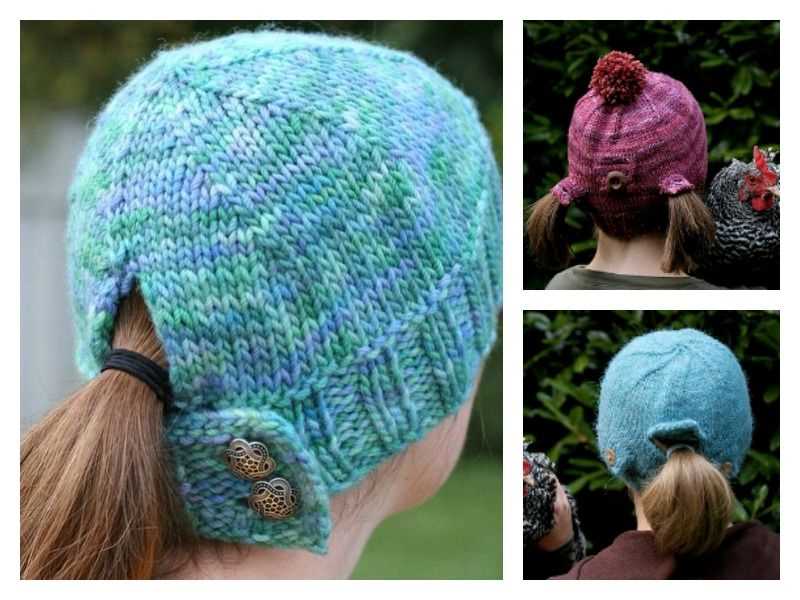
- Adding a ribbed edge: To give your beanie a structured and professional finish, you can add a ribbed edge. This can be done by picking up stitches along the bottom edge of the hat and knitting a ribbed pattern, such as k2, p2 or k1, p1.
- Embellishments: To add a personal touch to your ponytail beanie, you can consider adding embellishments, such as buttons, pom-poms, or a decorative knitted pattern. These can be sewn or attached to the hat using a yarn needle.
By following these steps, you can elevate your ponytail beanie from a simple knitted item to a stylish and well-finished accessory. Don’t be afraid to get creative and experiment with different techniques and embellishments to make your beanie truly unique!
Optional Variations

If you want to add some personal touch to your ponytail beanie, there are several optional variations that you can try. These variations will allow you to customize the beanie according to your preferences and style.
1. Different Colors
One way to add an interesting twist to your ponytail beanie is by using different colors of yarn. You can choose contrasting colors for the band and the body of the beanie, or you can even create a striped pattern by alternating between two or more colors.
2. Embellishments
If you want to make your ponytail beanie more glamorous, you can consider adding embellishments such as buttons, beads, or sequins. These small details can add a touch of elegance and make your beanie stand out.
3. Cable Knit Texture
If you want to take your knitting skills to the next level, you can try incorporating a cable knit pattern into your ponytail beanie. The texture created by the cables will give your beanie a unique and stylish look.
4. Pom-Pom

A pom-pom is a classic addition to any beanie. You can easily attach a pom-pom to the top of your ponytail beanie to give it a fun and playful look.
These optional variations allow you to get creative and make your ponytail beanie truly one-of-a-kind. Don’t be afraid to experiment and try different techniques to make your beanie uniquely yours!
Caring for your ponytail beanie
Caring for your ponytail beanie is important to ensure its longevity and to keep it in the best condition possible. Below are some tips on how to care for your ponytail beanie:
- Hand wash: It is recommended to hand wash your ponytail beanie using mild soap or detergent. Avoid using harsh cleaners or bleach as they can damage the fabric or color.
- Dry flat: After washing, gently squeeze out excess water from the beanie and reshape it. It is best to lay it flat to dry to maintain its shape and prevent stretching.
- Avoid direct heat: Do not expose your ponytail beanie to direct heat, such as sunlight, radiators, or hair dryers. Heat can cause the yarn to shrink or lose its shape.
- Store properly: When not in use, store your ponytail beanie in a clean and dry place. Avoid hanging it to prevent stretching and misshaping.
- Avoid contact with sharp objects: Be careful when wearing your ponytail beanie around sharp objects, as they can snag or tear the yarn. Take extra caution when handling or storing it.
By following these simple care instructions, you can prolong the lifespan of your ponytail beanie and enjoy it for many seasons to come.