
Roll neck jumpers, also known as turtleneck sweaters or polo necks, are classic wardrobe staples that never go out of style. These versatile garments are not only fashionable, but also provide warmth and comfort during cooler seasons. If you have a knack for knitting or are looking for a new project to hone your skills, the roll neck jumper is a perfect choice.
Knitting a roll neck jumper allows you to customize the fit, style, and color to your liking. With a wide range of knitting patterns available, you can create a jumper that reflects your personal taste and fashion sense. Whether you prefer a chunky oversized look or a fitted silhouette, there is a pattern out there for you.
One of the great things about roll neck jumper knitting patterns is that they are suitable for knitters of all skill levels. If you are new to knitting, there are beginner-friendly patterns that will guide you through the process step by step. For more experienced knitters, intricate stitch patterns and design details can add an extra level of interest to your project.
So why not pick up your knitting needles and embark on a roll neck jumper knitting adventure? Whether you’re knitting for yourself or as a gift for a loved one, the end result will be a unique and stylish garment that you can be proud of. Start exploring different patterns and get ready to cozy up in your very own hand-knitted roll neck jumper!
The History of Roll Neck Jumpers
The roll neck jumper, also known as the turtleneck or polo neck, has a rich history that dates back several centuries. Its origins can be traced back to medieval times, when it was worn by knights as part of their armor to protect their necks from sword slashes. This functional design was later adopted by other European military groups, such as the Russian navy, who wore roll neck jumpers as part of their uniform.
However, it wasn’t until the early 20th century that the roll neck jumper became a popular fashion item. In the 1920s, it was embraced by avant-garde artists and intellectuals, who saw it as a symbol of individualism and rebellion against traditional fashion norms. Artists like Pablo Picasso and Frida Kahlo were often seen wearing roll neck jumpers, further solidifying its status as a fashion statement.
During the mid-20th century, the roll neck jumper gained even more popularity, thanks to influential figures like Audrey Hepburn and Steve McQueen. Hepburn famously wore a black roll neck jumper in the film “Funny Face,” cementing its status as a chic and timeless wardrobe staple. McQueen, on the other hand, popularized the roll neck jumper in a more rugged and masculine way, often pairing it with jeans and boots.
Today, the roll neck jumper continues to be a beloved fashion item. It has evolved to include various silhouettes, colors, and materials, making it suitable for both casual and formal occasions. Whether it’s a classic black roll neck jumper or a cozy chunky knit, this versatile garment remains a fashionable choice for both men and women.
Why Knitting Your Own Roll Neck Jumper is a Great Idea
Knitting your own roll neck jumper can be a fantastic project to undertake for a variety of reasons. Not only does it allow you to create a unique and personalized garment, but it also offers numerous benefits for both experienced knitters and beginners alike.
One of the key advantages of knitting your own roll neck jumper is the ability to customize it to your exact specifications. You can choose the perfect yarn, color, and pattern to match your personal style and preferences. Whether you prefer a chunky cable knit or a finer ribbed design, knitting your own allows you to create a jumper that reflects your individual taste.
Knitting is also an incredibly rewarding and relaxing hobby. The repetitive motions of knitting can have a calming and therapeutic effect, providing a sense of accomplishment and mindfulness. Creating a roll neck jumper from scratch allows you to immerse yourself in the process and enjoy the satisfaction of seeing your project come to life.
Additionally, knitting your own roll neck jumper can be a more sustainable and eco-friendly choice. By making your own clothing, you can reduce your reliance on fast fashion and disposable garments, which often contribute to environmental issues. Opting for natural, organic or locally sourced yarns can further minimize your carbon footprint and support sustainable practices.
Moreover, knitting your own roll neck jumper enables you to develop new skills and expand your knitting repertoire. Whether you’re a seasoned knitter or a complete beginner, the process of creating a roll neck jumper allows you to improve your techniques, learn new stitch patterns, and gain a deeper understanding of garment construction.
In summary, knitting your own roll neck jumper is a fantastic idea for those seeking a creative and personal project. From the ability to customize the design to the therapeutic qualities of the craft, knitting offers a wide range of benefits. So why not pick up your needles, choose your favorite yarn, and embark on the journey of creating your own roll neck jumper?
Essential Supplies for Knitting a Roll Neck Jumper
Knitting a roll neck jumper requires a few essential supplies to ensure a successful and enjoyable knitting experience. These supplies play a crucial role in achieving the desired outcome of a warm and stylish jumper that fits well.
1. Yarn: Choosing the right yarn is essential for a roll neck jumper. Opt for a medium to bulky weight yarn, such as a wool or wool-blend yarn, that will provide warmth and structure to the garment. Consider the desired color and texture when selecting the yarn.
2. Knitting Needles: Depending on the gauge and tension specified in the knitting pattern, you will need appropriate knitting needles. Circular needles are commonly used for knitting roll neck jumpers as they allow for easy switching between working on the body and the sleeves.
3. Stitch Markers: Stitch markers are useful tools for marking specific sections in your knitting. They help to keep track of increases, decreases, and pattern repeats, ensuring accuracy and consistency in your work.
4. Row Counter: A row counter is a handy gadget that helps you keep track of the number of rows you have knitted. It eliminates the need for manual counting and reduces the chances of making mistakes or losing track of your progress.
5. Tape Measure: Accurate measurements are crucial for knitting a well-fitted roll neck jumper. A tape measure is essential for measuring your own body, as well as checking the dimensions of your knitting as you progress.
6. Darning Needle: A darning needle is used for weaving in loose ends and sewing up seams. It is important to have a darning needle that is suitable for the thickness of the yarn you are working with.
7. Scissors: A pair of sharp scissors is essential for trimming yarn ends and cutting through any knots or tangles that may occur during the knitting process.
8. Knitting Pattern: Lastly, don’t forget to have the knitting pattern for the roll neck jumper you intend to knit. The pattern will guide you through the construction, stitch patterns, and shaping required to create your desired jumper.
By having these essential supplies on hand, you will be well-prepared to embark on your roll neck jumper knitting project. Enjoy the process of creating a cozy and fashionable piece of knitwear!
Choosing the Perfect Yarn for Your Roll Neck Jumper
When it comes to knitting a roll neck jumper, one of the most important decisions you’ll make is selecting the right yarn. The yarn you choose will determine the overall look, feel, and durability of your finished garment. With so many options available, it can be overwhelming to find the perfect yarn for your project. Here are a few factors to consider when making your choice.
Fiber Type: The first thing to consider is the type of fiber you want to use. Common options for roll neck jumpers include wool, alpaca, cotton, and acrylic. Each fiber has its own unique characteristics, so think about the qualities you want in your finished jumper. For example, wool is known for its warmth and elasticity, while cotton is lightweight and breathable.
- Weight: The weight of the yarn will also affect the final look and feel of your roll neck jumper. Bulky yarns will create a chunky and cozy sweater, while finer yarns will result in a more delicate and lightweight garment. Consider the season in which you plan to wear your jumper and choose a yarn weight accordingly.
- Color: The color of your yarn can also make a big impact on the final appearance of your roll neck jumper. Think about your personal style and the colors that flatter your complexion. Neutral tones like black, gray, and cream are versatile and timeless, while bold, vibrant hues can add a pop of color to your wardrobe.
- Texture: The texture of the yarn will affect the look and drape of your jumper. Smooth yarns will result in a clean and polished finish, while yarns with more texture can add visual interest and depth to your knit. Consider the design of your pattern and choose a yarn with a texture that complements it.
- Price: Finally, consider your budget when choosing yarn for your roll neck jumper. Yarn prices can vary widely depending on the fiber type, brand, and quality. Set a budget and look for yarns that fit within your price range. Remember, investing in a higher quality yarn can result in a more durable and luxurious sweater.
By considering these factors and choosing the perfect yarn for your roll neck jumper, you can ensure that your finished garment is not only beautiful but also a joy to wear. Experiment with different yarns and have fun exploring the endless possibilities of knitting!
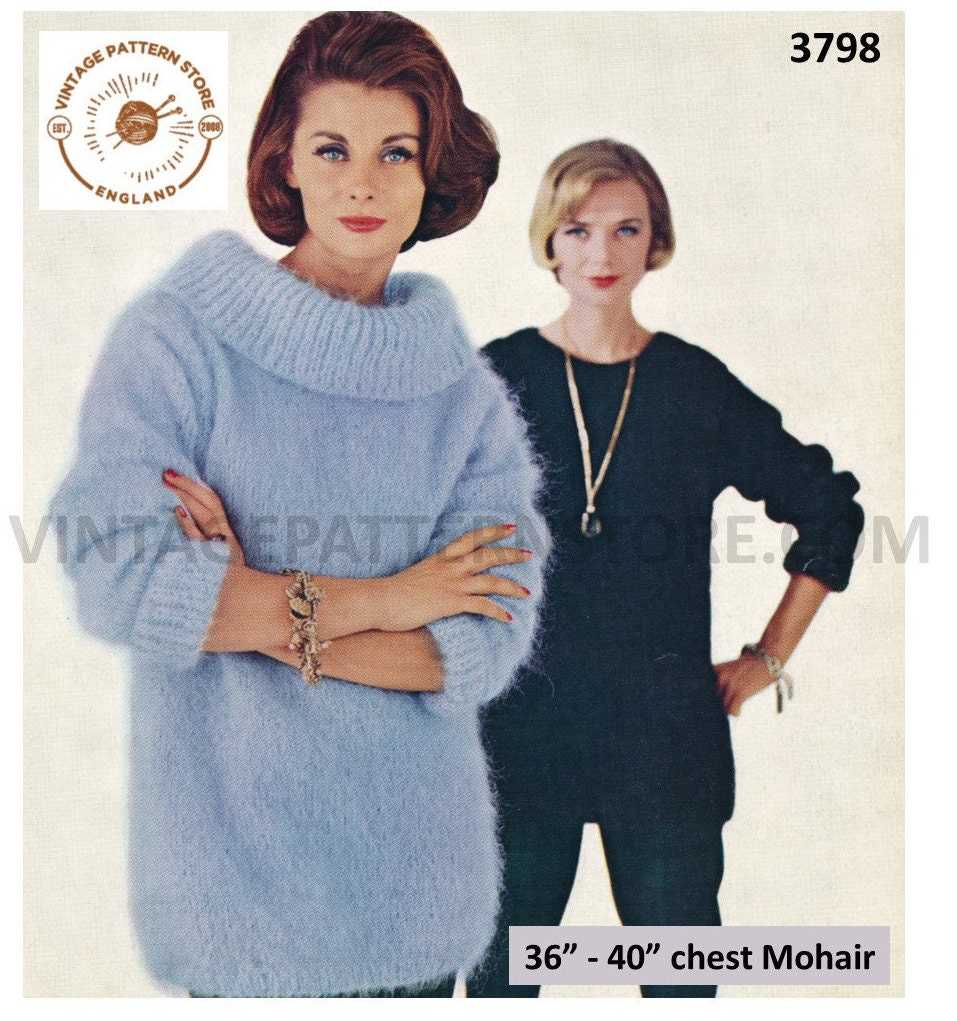
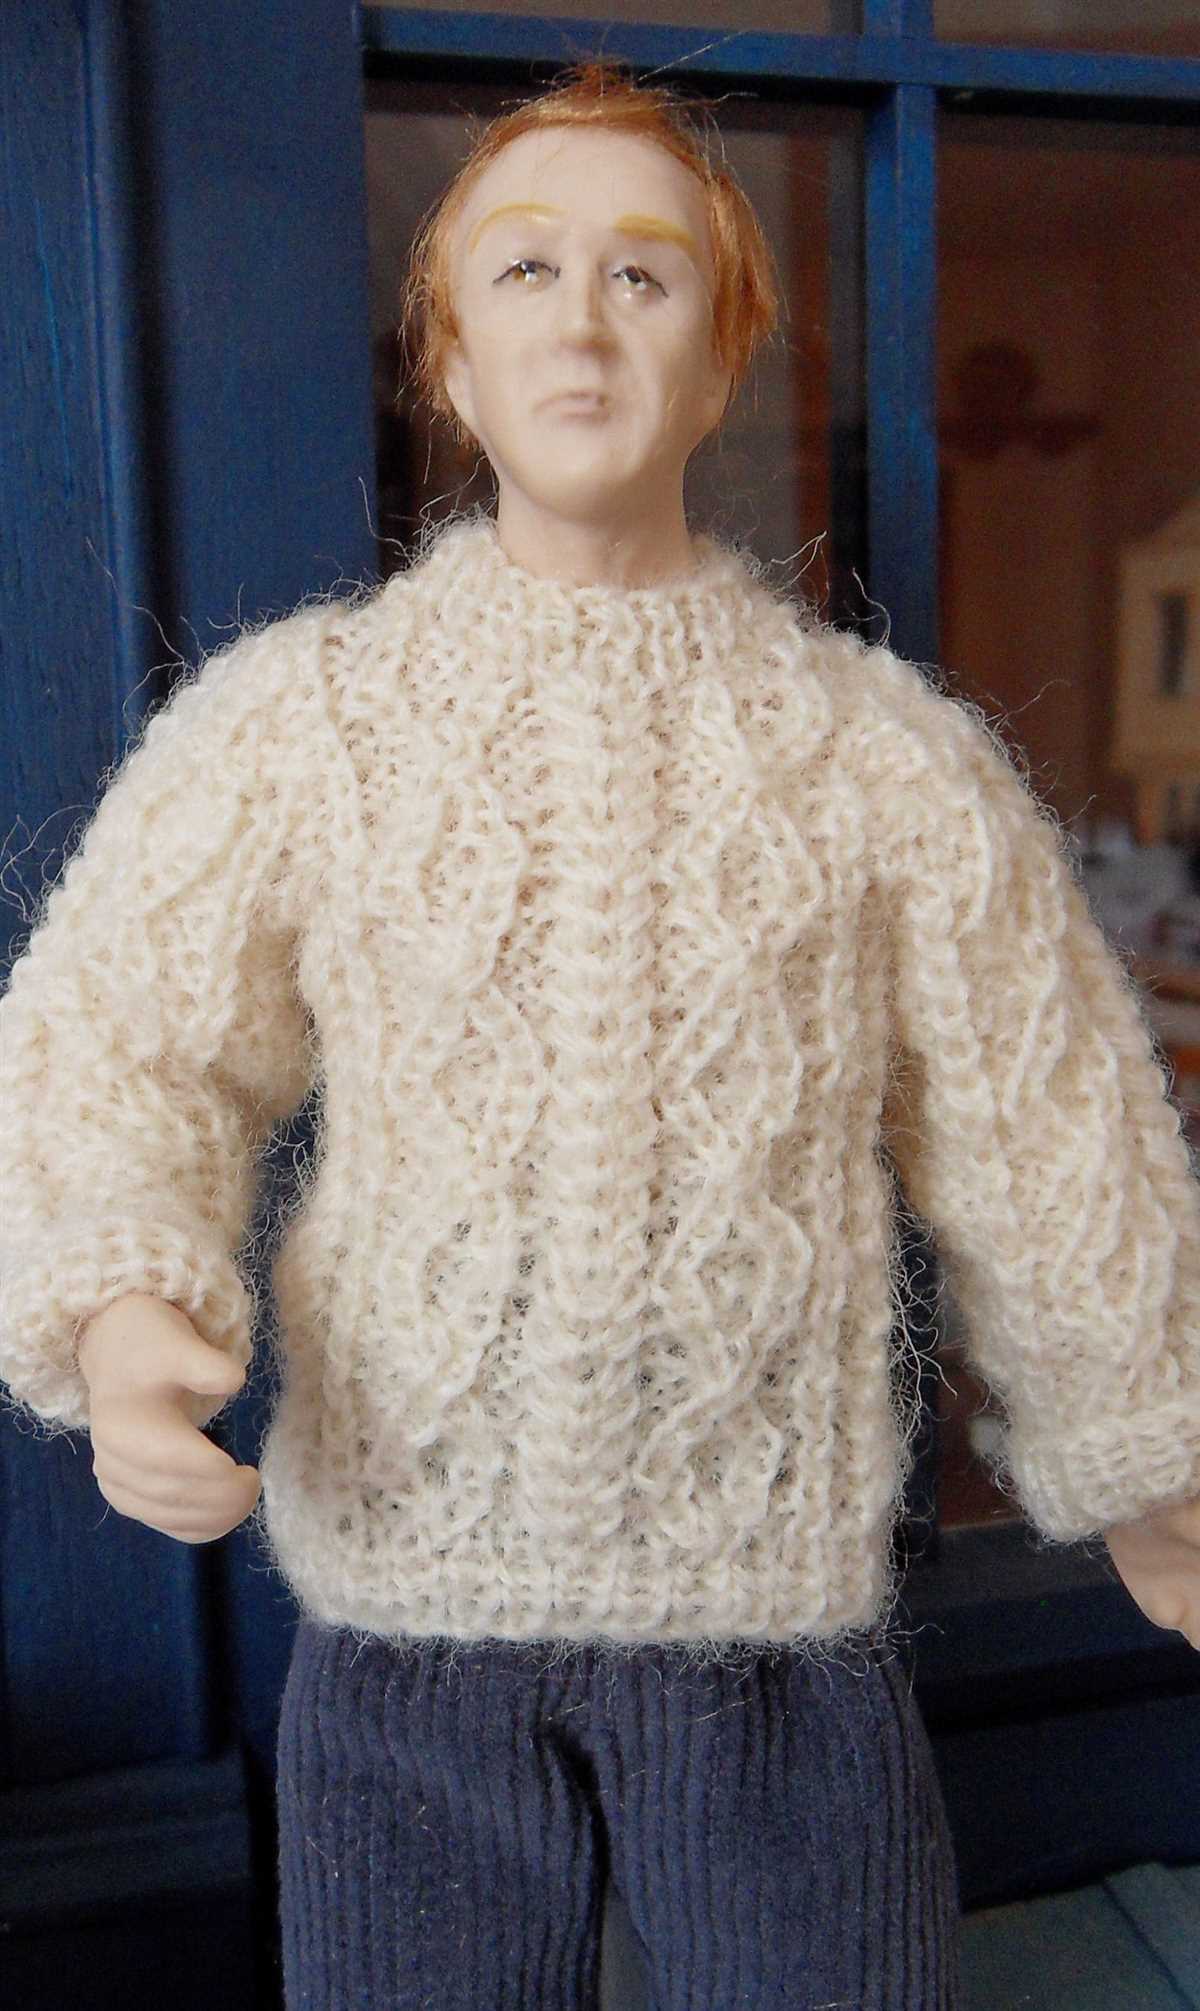
Different Styles of Roll Neck Jumpers
Roll neck jumpers are a versatile and stylish addition to anyone’s wardrobe. They can be worn casually with jeans or dressed up with a skirt or trousers. There are several different styles of roll neck jumpers, each offering a unique look and feel.
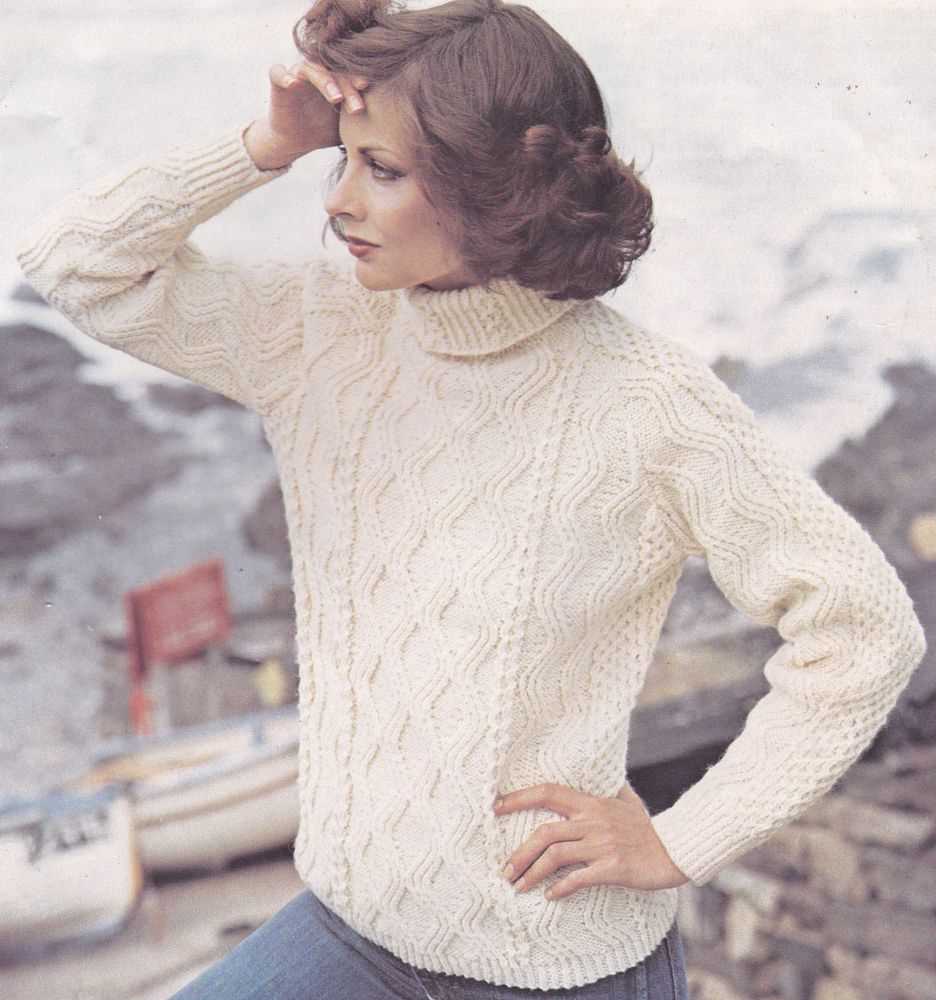
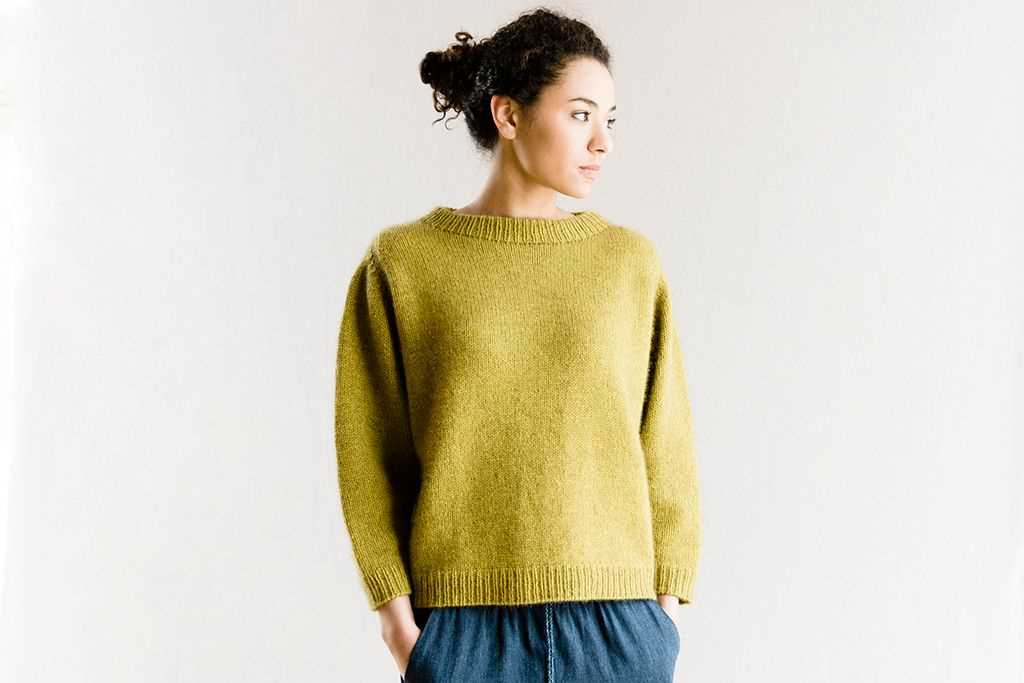
Classic Roll Neck: The classic roll neck jumper is a timeless piece that never goes out of style. With a high neckline that rolls over, this jumper is perfect for keeping warm in colder weather. It can be paired with jeans for a casual look or worn under a blazer for a more professional outfit.
Cropped Roll Neck: For a more modern and trendy look, the cropped roll neck jumper is a great choice. This shorter style hits at or above the waist, making it a flattering option for high-waisted bottoms. It can be paired with a skirt or trousers for a chic and fashionable outfit.
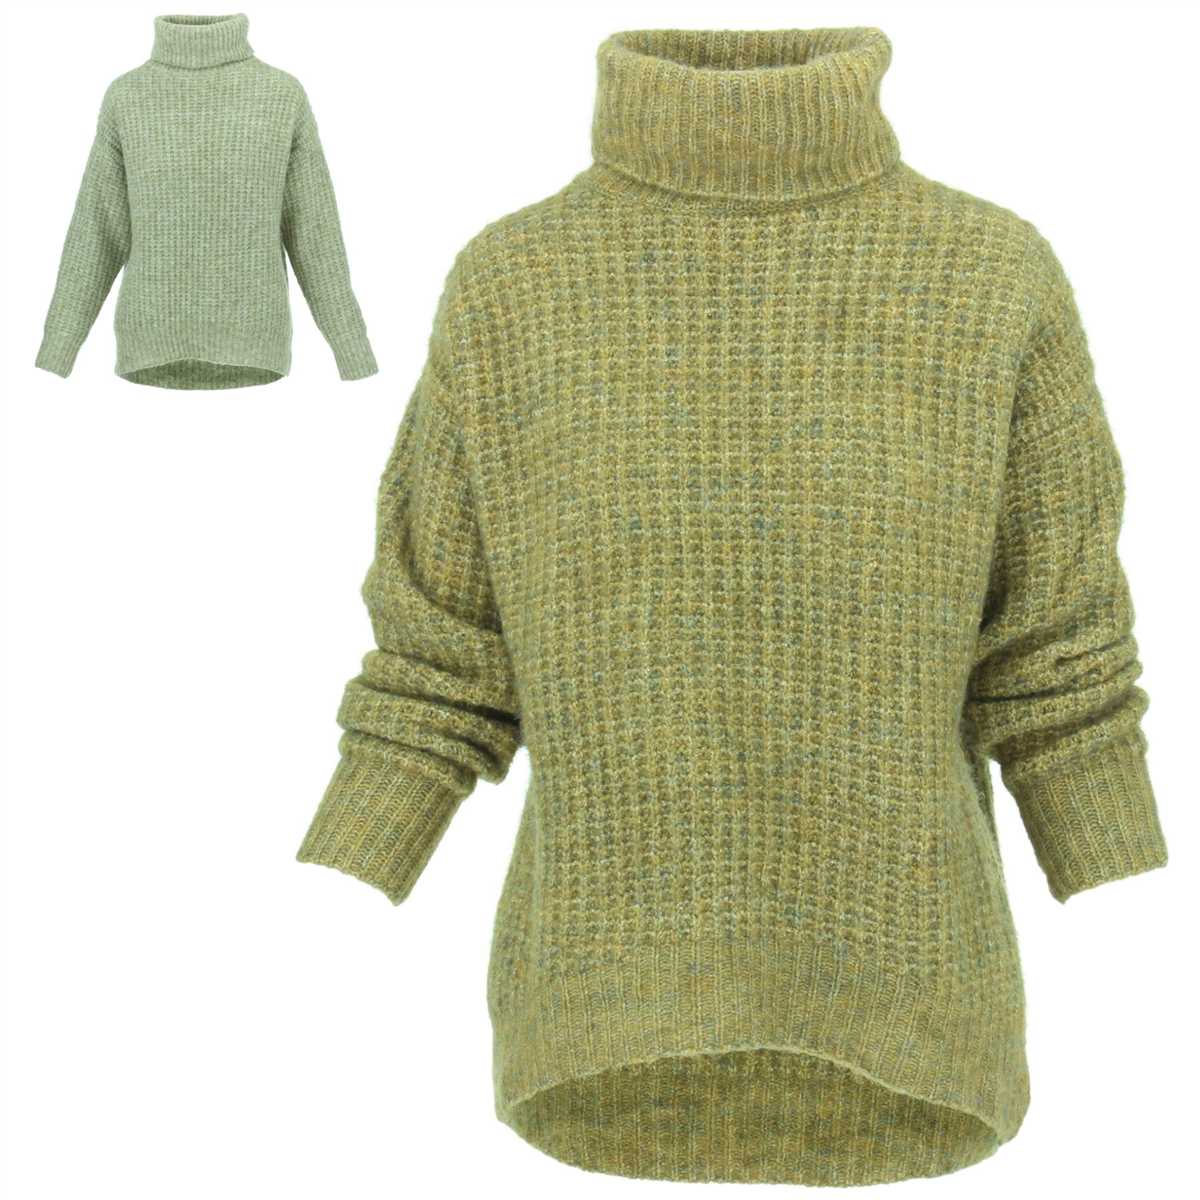
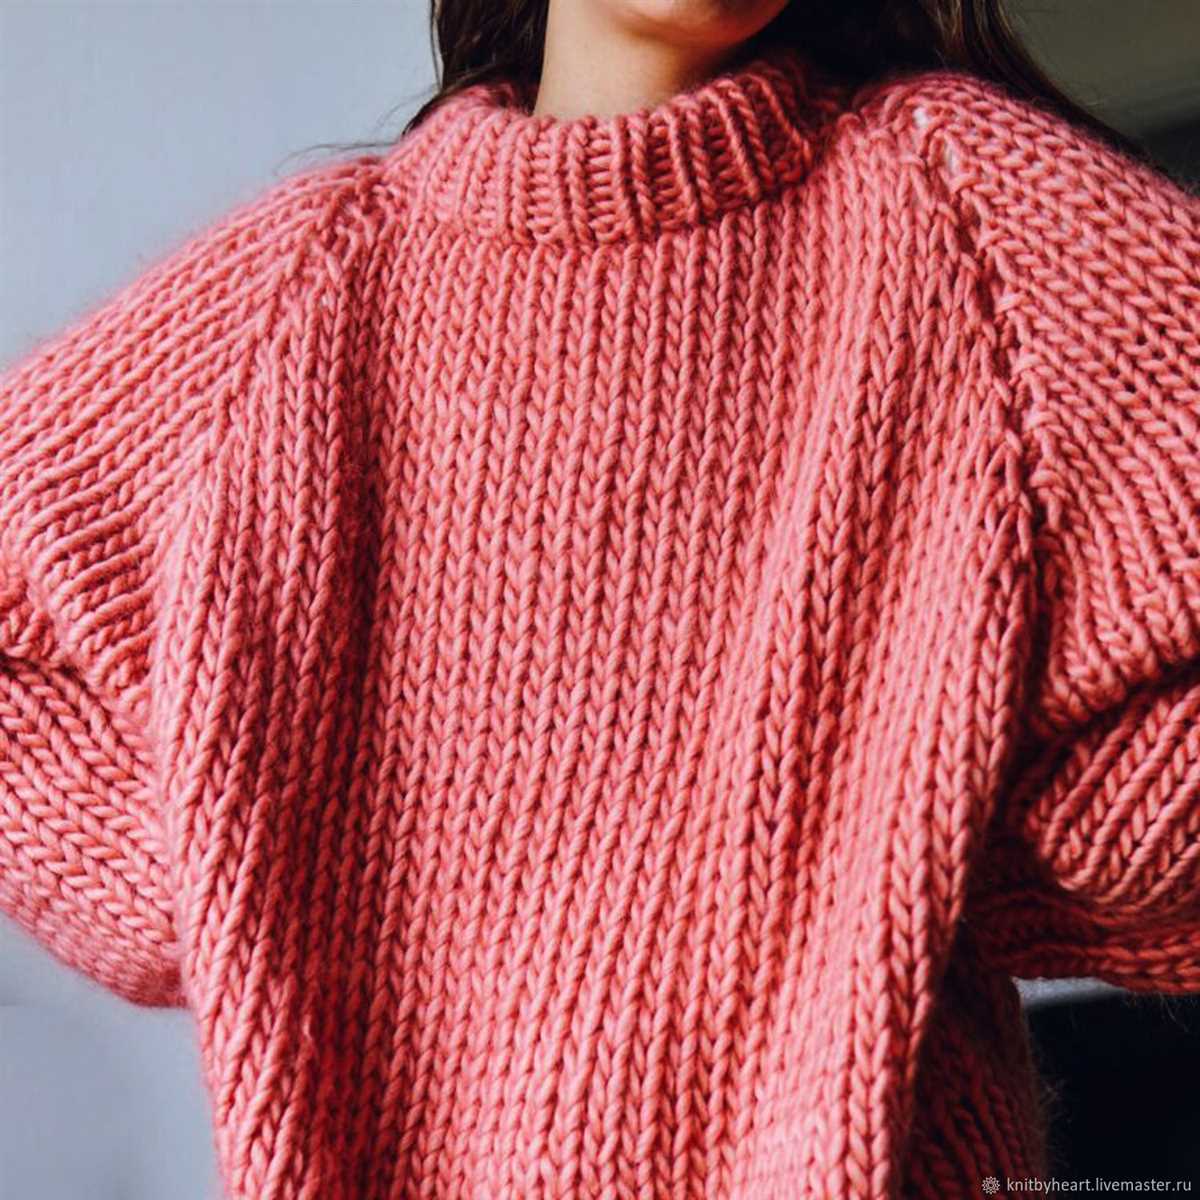
Oversized Roll Neck: If you’re looking for a cozy and comfortable option, the oversized roll neck jumper is the way to go. This style features a larger fit, with a loose and relaxed silhouette. It can be paired with leggings or jeans for a casual and effortless look.
Ribbed Roll Neck: The ribbed roll neck jumper adds texture and dimension to any outfit. The ribbing creates a flattering and slimming effect, making it a great choice for those who want to accentuate their figure. This style can be worn with jeans or a skirt for a chic and stylish look.
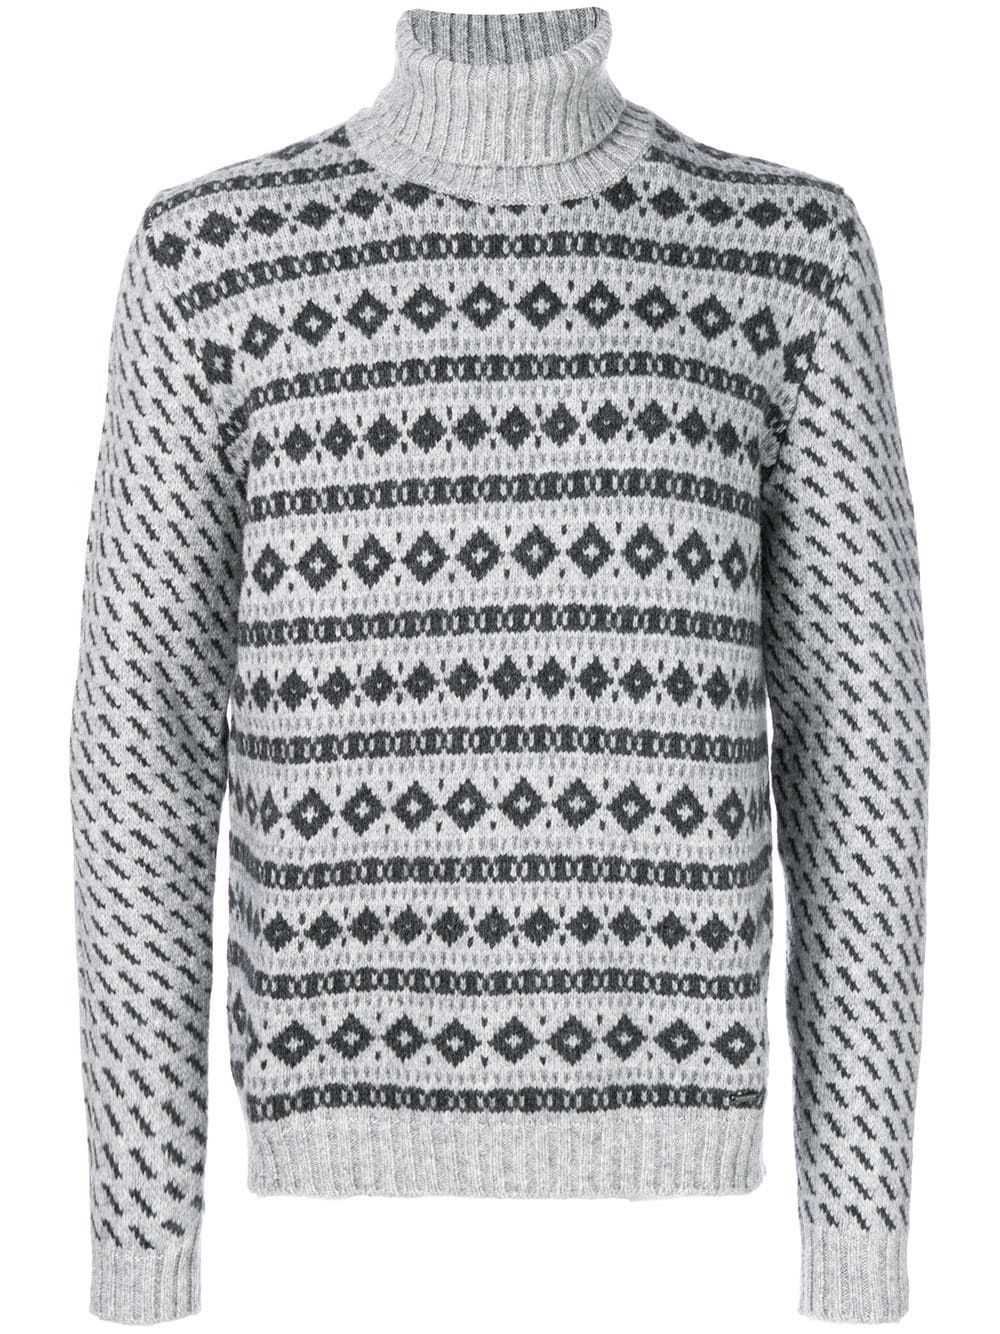
Patterned Roll Neck: If you’re looking to make a statement, a patterned roll neck jumper is a fun and bold choice. Whether it’s stripes, polka dots, or a unique design, a patterned roll neck jumper can add a pop of personality to any outfit. Pair it with simple bottoms to let the jumper be the focal point.
In conclusion, roll neck jumpers come in a variety of styles to suit different tastes and occasions. From the classic and timeless to the trendy and bold, there is a roll neck jumper for everyone. Whether you prefer a fitted and sleek look or a cozy and oversized feel, the options are endless. So why not add a roll neck jumper to your wardrobe and elevate your style?
How to Measure Yourself for a Roll Neck Jumper
Making a roll neck jumper that fits you perfectly starts with accurate measurements. Here are the steps to measure yourself correctly:
- Take your chest measurement: Stand up straight and wrap the tape measure around the fullest part of your chest. Make sure the tape measure is parallel to the floor and snug, but not too tight. This measurement will determine the width of the jumper.
- Measure your neck: Use a flexible tape measure to measure the circumference of your neck. Place the tape measure around the base of your neck where a roll neck jumper would sit. This measurement will determine the height and fit of the roll neck.
- Get your sleeve length: Extend your arm out to the side and bend it at a 90-degree angle. Start measuring from the center back of your neck, over the shoulder, and down to the wrist. This measurement will determine the length of the sleeves.
- Take your waist measurement: Wrap the tape measure around your natural waistline, which is typically located above your belly button and below your rib cage. Make sure the tape measure is snug but not too tight. This measurement will determine the fit of the jumper around your waist.
- Measure your back length: Start measuring from the base of your neck, where the roll neck would end, and continue down to your waistline. This measurement will determine the length of the jumper.
Once you have these measurements, you can use them to select the appropriate size or adjust a knitting pattern to fit your specific measurements. Remember to measure yourself when wearing the undergarments and layers you plan to wear with the roll neck jumper for accurate sizing.
Basic Knitting Techniques for Roll Neck Jumpers
When it comes to knitting roll neck jumpers, there are a few basic techniques that you should familiarize yourself with. These techniques will help you create a cozy and stylish jumper that will keep you warm all winter long.
Casting on: The first step in knitting a roll neck jumper is to cast on the required number of stitches. This can be done using the long tail cast on method, which is commonly used for roll neck jumpers. This method creates a neat and stretchy edge that will allow the jumper to fit comfortably around your neck.
Knitting in the round: Roll neck jumpers are typically knit in the round, which means that you will be working in a continuous spiral rather than knitting back and forth in rows. To do this, you will need to use circular knitting needles or double-pointed needles, depending on your preference. Knitting in the round creates a seamless and professional-looking finish for your jumper.
Ribbing: The ribbing is an important element of a roll neck jumper. It adds stretch and helps the jumper to retain its shape. The most common ribbing pattern used for roll neck jumpers is the 2×2 rib, which alternates between knit and purl stitches. Knitting the ribbing at the beginning and end of your jumper will give it a comfortable and snug fit.
Increasing and decreasing: To shape your roll neck jumper, you will need to know how to increase and decrease stitches. Increases are used to add width to the jumper, while decreases are used to create shaping, such as waist shaping. Common increase and decrease methods include knit front and back (kfb), knit two together (k2tog), and slip, knit, pass (skp).
Finishing techniques: Once you have completed the main body of your roll neck jumper, you will need to finish it off with some additional techniques. This may include attaching the sleeves, knitting and attaching the neckband, and weaving in any loose ends. Taking the time to properly finish your jumper will ensure that it has a polished and professional look.
By mastering these basic knitting techniques, you will be well on your way to creating your own stylish and cozy roll neck jumper. Experiment with different patterns and yarns to make each jumper uniquely yours, and enjoy the satisfaction of wearing a handmade garment.
Step-by-Step Knitting Instructions for a Classic Roll Neck Jumper
If you’re looking to add a timeless and versatile piece to your winter wardrobe, a roll neck jumper is a perfect choice. Knitting your own roll neck jumper allows you to customize the color, size, and style to suit your personal taste and preferences. Whether you’re an experienced knitter or a beginner looking for a challenging project, follow these step-by-step instructions to create your very own classic roll neck jumper.
Materials Needed:
- A suitable yarn of your choice. Opt for a medium-weight yarn that is both warm and soft.
- Knitting needles in the appropriate size for your chosen yarn.
- A set of double-pointed needles for knitting the roll neck.
- A stitch holder or scrap yarn.
- A tape measure and yarn needle.
- A knitting pattern for a roll neck jumper.
Step 1: Gauge and Measurements
Begin by knitting a gauge swatch to determine the number of stitches and rows per inch using your chosen yarn and needles. This will ensure that your finished jumper fits correctly. Take accurate measurements of your bust, waist, and hip circumference, as well as your desired sweater length, arm length, and shoulder width.
Step 2: Casting on and Knitting the Body
Using the long tail cast-on method, cast on the required number of stitches for the body of your jumper. Follow the knitting pattern for the specific design and knit the body in the desired stitch pattern until you reach the desired length, making any necessary increases or decreases as instructed. Use stitch markers to keep track of any pattern repeats or shaping.
Step 3: Separating the Sleeves
Once you’ve reached the desired length for the body, it’s time to separate the sleeves. Place the designated number of stitches for each sleeve onto separate scrap yarn or a stitch holder. Continue knitting the remaining stitches for the front and back panels until they reach the desired length.
Step 4: Knitting the Sleeves
Transfer the stitches for one sleeve onto double-pointed needles and knit in the round until the sleeve reaches the desired length. Repeat for the other sleeve. If necessary, follow any shaping instructions for the sleeves to create a comfortable fit.
Step 5: Knitting the Roll Neck
Once the body and sleeves are completed, it’s time to start knitting the roll neck. Pick up the required number of stitches around the neck opening and knit in the desired stitch pattern until the roll neck measures the desired height. Use ribbing or a stretchy stitch pattern to ensure a snug but comfortable fit.
Step 6: Finishing
Once the jumper is complete, it’s time to finish off any loose ends and block the garment to give it a polished look. Use a yarn needle to weave in any remaining yarn tails. Soak the jumper in lukewarm water, gently squeeze out the excess water, and lay it flat to dry. This will give your roll neck jumper a professional finish and help the stitches relax and even out.
By following these step-by-step instructions, you’ll be able to create a classic and stylish roll neck jumper that is perfect for staying cozy and fashionable during the winter months.
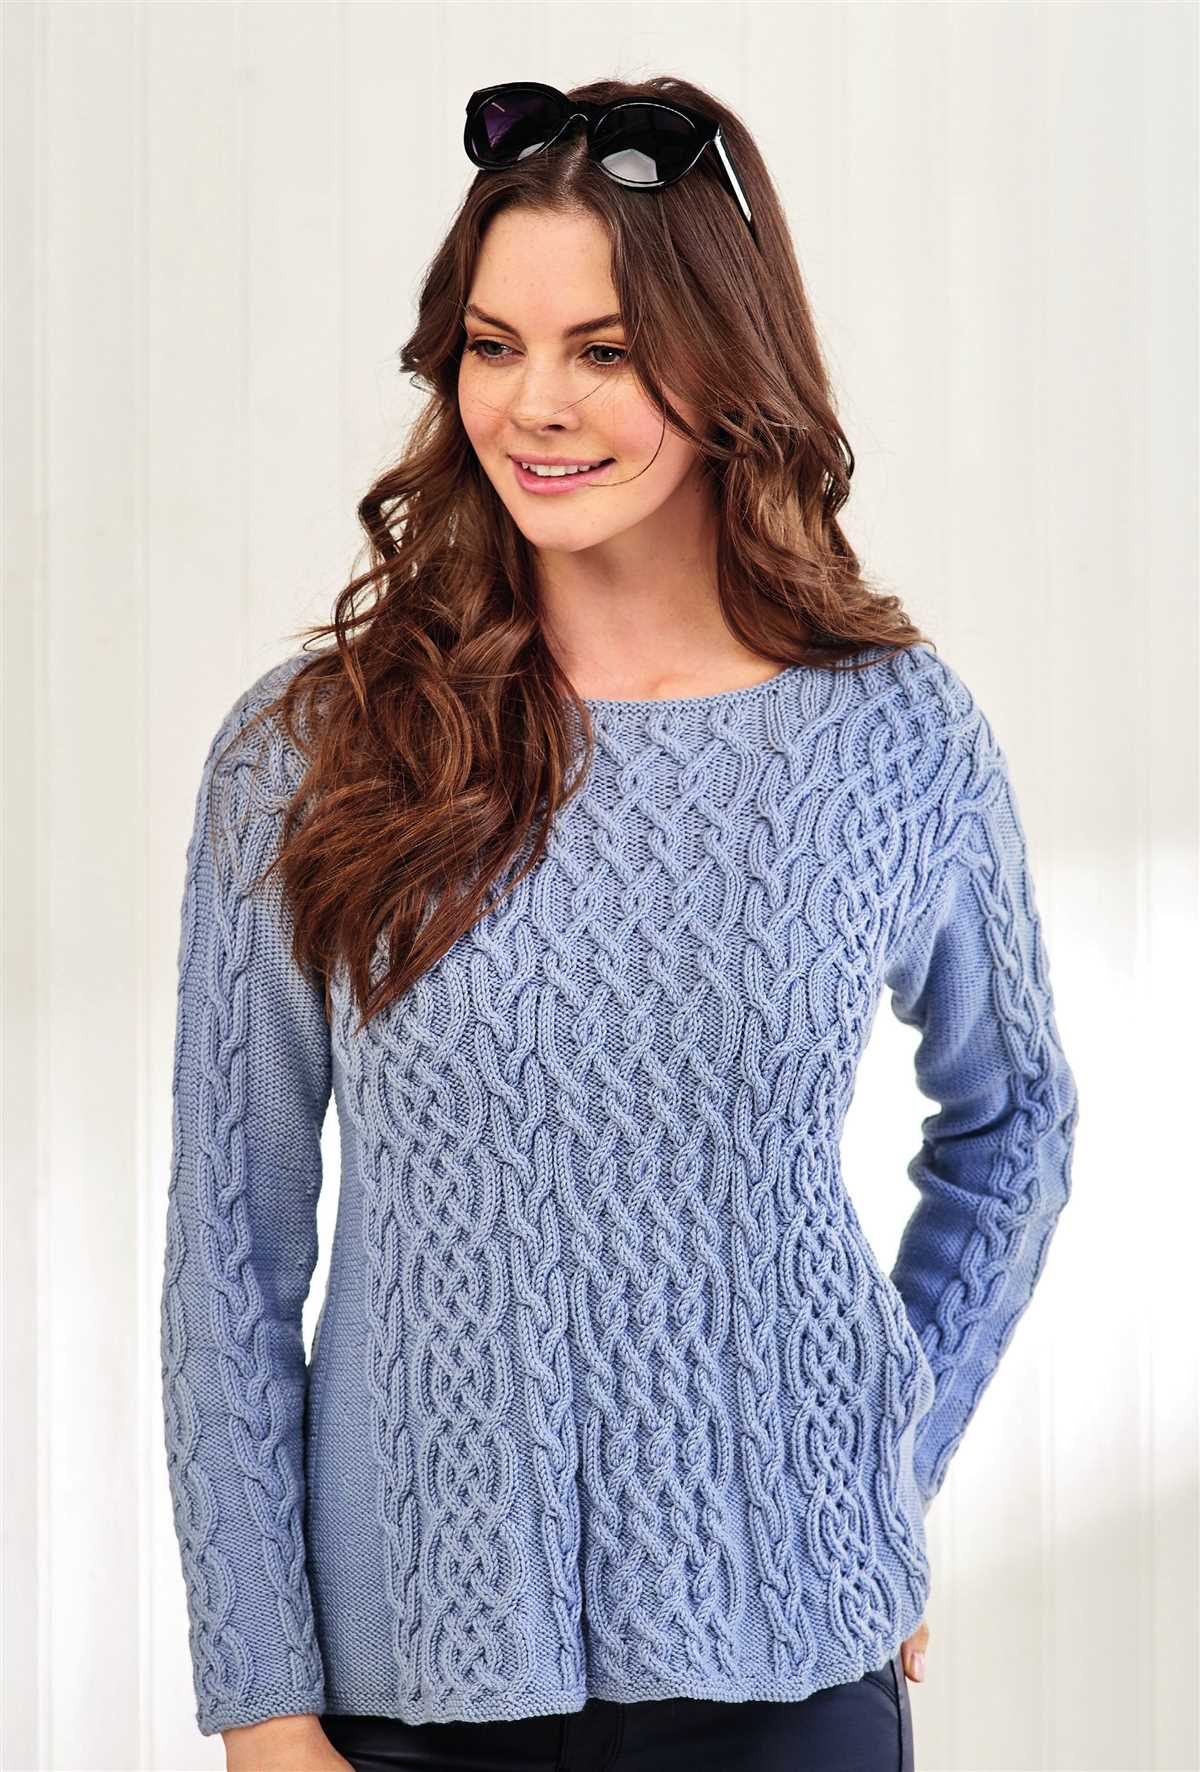
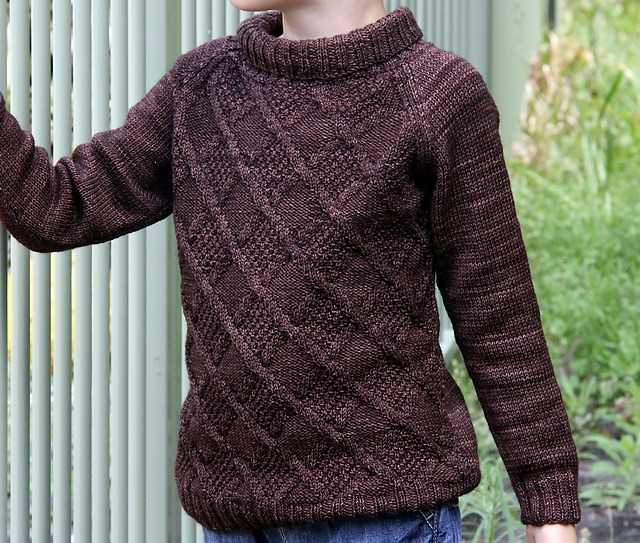
Tips for Knitting a Roll Neck Jumper with Cable Patterns
Knitting a roll neck jumper with cable patterns requires skill and attention to detail. It is a project that can be both challenging and rewarding. Here are some tips to help you successfully complete your roll neck jumper:
1. Choose the right yarn:
When knitting a roll neck jumper with cable patterns, it is important to choose a yarn that will showcase the cable designs. Look for a yarn that has good stitch definition and shows off the cables well. A yarn with a high wool content will generally work best for this type of project.
2. Use the right size knitting needles:
Using the right size knitting needles is crucial for achieving the correct tension and ensuring that your cables stand out. Check the tension requirements specified in the pattern and use the recommended needle size to achieve the desired effect.
3. Pay attention to the cable charts:
Cable patterns can be complex, so it is important to carefully follow the cable charts provided in the pattern. Take your time to study the charts before you start knitting and make sure you understand how each cable is formed. Using stitch markers to highlight key points in the charts can be helpful.
4. Check your gauge:
Before you start knitting the main body of the jumper, it is important to check your gauge. Knit a swatch using the recommended needle size and yarn, and measure it against the gauge specified in the pattern. Adjust your needle size if necessary to ensure your jumper will fit properly.
5. Block your finished jumper:
Once you have completed knitting your roll neck jumper, blocking it is essential to give it a professional finish. Wet blocking or steam blocking can help even out the stitches, open up the cables, and give the jumper its final shape. Follow the blocking instructions provided in the pattern or consult a blocking tutorial if you are unsure how to proceed.
By following these tips, you can create a beautiful roll neck jumper with cable patterns that you will be proud to wear. Enjoy the process and happy knitting!
Knitting a Roll Neck Jumper with Colorwork Patterns
Knitting a roll neck jumper with colorwork patterns is a great way to create a unique and stylish garment that will keep you warm and cozy during the colder months. The roll neck adds an extra layer of warmth and comfort, while the colorwork patterns allow you to get creative and add visual interest to your knitting project.
When knitting a roll neck jumper with colorwork patterns, it’s important to choose the right yarn and needles. A medium weight yarn, such as worsted or aran, is recommended for a thicker and warmer jumper. As for the needles, use a size that gives you the appropriate gauge for the pattern you’re working with.
Designing the colorwork patterns
Creating colorwork patterns for your roll neck jumper can be a fun and rewarding process. You can choose from various techniques such as fair isle, intarsia, or stranded knitting to achieve different effects. Experiment with different color combinations and chart out your design before you start knitting.
Some key tips for designing colorwork patterns are to use contrasting colors that will make the pattern stand out, consider the placement of the pattern on the jumper, and keep the overall design balanced and visually appealing. It’s also important to swatch your colorwork to ensure the tension and gauge are consistent throughout the project.
Knitting the roll neck jumper
Once you have your colorwork pattern and yarn ready, you can start knitting the roll neck jumper. Begin with the ribbing for the neck and then continue with the body and sleeves using the colorwork pattern you designed. Make sure to follow the pattern instructions carefully, and don’t forget to check your gauge regularly to ensure the fit is correct.
Finishing touches, such as adding the roll neck and blocking the jumper, are essential to give your knitted garment a polished look. Blocking will help even out any uneven stitches and give the jumper its final shape. With the right techniques and attention to detail, you’ll have a beautiful roll neck jumper with colorwork patterns that you can proudly wear and showcase your knitting skills.
Troubleshooting Common Issues while Knitting a Roll Neck Jumper
Knitting a roll neck jumper can be a fun and rewarding project, but it is not without its challenges. Whether you are an experienced knitter or a beginner, it is common to encounter some issues along the way. Here are a few common problems that you may face while knitting a roll neck jumper and tips on how to troubleshoot them:
1. Uneven tension
One of the most common issues knitters face is achieving an uneven tension while working on a roll neck jumper. Uneven tension can result in the jumper looking lumpy or distorted. To avoid this problem, make sure to consistently check your tension as you knit. If you find that your tension is uneven, try adjusting your knitting needles or using a different knitting technique to achieve a more uniform tension.
2. Dropped stitches
Another common problem when knitting a roll neck jumper is dropping stitches. This can be frustrating, especially if you only notice the dropped stitch several rows later. To fix dropped stitches, use a crochet hook or knitting needle to gently pick up the dropped stitch and place it back on the needle in the correct position. Be careful not to pull too tightly, as this can lead to a tight and noticeable stitch.
3. Incorrect sizing
Incorrect sizing is a common issue in knitting projects, including roll neck jumpers. To ensure that your jumper fits properly, it is important to check your gauge before starting the project and make any necessary adjustments. If you find that your jumper is turning out too small or too large, you may need to adjust your needle size or choose a different size pattern. Remember, blocking the finished jumper can also help to adjust the sizing.
4. Twisted stitches
Twisted stitches can create an undesired effect on your roll neck jumper. It is important to keep an eye on your stitches as you knit and make sure they are not twisting. If you notice any twisted stitches, simply drop the stitch down to the mistake, untwist it, and then work it back up to the needle. You can also use a crochet hook to help fix twisted stitches.
Knitting a roll neck jumper can be a fulfilling and enjoyable project, but it is natural to encounter some issues along the way. By being aware of these common problems and knowing how to troubleshoot them, you can ensure a smoother knitting experience and create a beautiful roll neck jumper that you can be proud of.
Styling Options for Your Finished Roll Neck Jumper
Now that you have completed knitting your roll neck jumper, it’s time to think about how to style it for different occasions. Whether you prefer a casual or dressy look, there are plenty of options to showcase your new creation.
To create a relaxed and cozy outfit, pair your roll neck jumper with some high-waisted jeans and ankle boots. This combination is perfect for a day out with friends or a casual dinner date. Add a statement belt and some chunky accessories to complete the look.
If you want to dress up your roll neck jumper, try pairing it with a midi skirt and heels. This combination is great for a stylish office look or a more formal gathering. Choose a skirt in a complementary color and add a belt to define your waist. Accessorize with delicate jewelry for a feminine touch.
For a trendy and edgy look, layer your roll neck jumper under a leather jacket and pair it with some black skinny jeans and combat boots. This outfit is perfect for a night out or a concert. Add some statement earrings and a bold lipstick to complete the look.
Don’t forget to experiment with different textures and colors to create unique outfits. Mix and match your roll neck jumper with different bottoms, including skirts, pants, and even shorts. You can also play with layering by adding a blazer or a cardigan on top.
Summary:
- Pair your roll neck jumper with high-waisted jeans and ankle boots for a casual look
- Dress up your roll neck jumper with a midi skirt and heels for a more formal look
- Create a trendy and edgy look by layering your roll neck jumper under a leather jacket and pairing it with black skinny jeans and combat boots
- Experiment with different textures, colors, and layering options to create unique outfits
With these styling options, you can confidently show off your finished roll neck jumper and showcase your knitting skills in style.