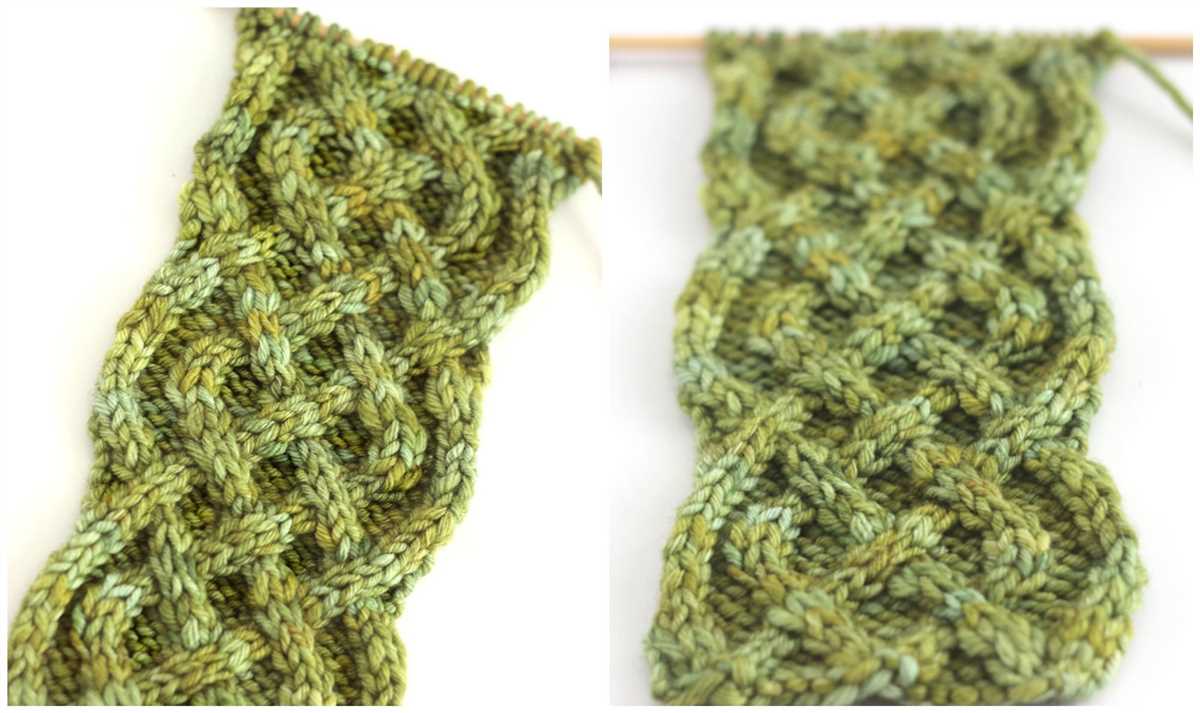
If you’re new to knitting or just want to try out some simple and quick projects, then this article is for you! Knitting is a relaxing and creative hobby that allows you to make beautiful and functional items with just a few basic materials. Whether you’re looking to make a cozy scarf, a warm hat, or a cute baby blanket, we have step-by-step knitting patterns that are perfect for beginners.
One of the great things about knitting is that it can be enjoyed by people of all ages and skill levels. Even if you have never picked up a pair of knitting needles before, you can still create something amazing with the right instructions. Our easy knitting patterns will walk you through each step, from casting on your first stitches to binding off and finishing your project. With a little practice, you’ll be able to create homemade gifts or stylish accessories for yourself in no time!
Not only is knitting a great way to relax and unwind, but it also provides a sense of accomplishment and satisfaction. There’s nothing quite like seeing your project come together, stitch by stitch, and then being able to wear or use the finished product. Knitting allows you to express your creativity and make something truly unique. And with our easy knitting patterns, you won’t have to spend hours deciphering complicated instructions or techniques.
Step by Step Easy Knitting Patterns

Knitting is a fun and rewarding hobby that allows you to create beautiful and cozy items. Whether you are a beginner or an experienced knitter, there are plenty of easy knitting patterns available to help you make something special.
One of the easiest knitting patterns for beginners is a simple scarf. To make a scarf, all you need is some soft yarn and a pair of knitting needles. Start by casting on a certain number of stitches, depending on how wide you want your scarf to be. Then, simply knit every row until your scarf reaches the desired length. Finish off by binding off your stitches and weaving in any loose ends. With just a few basic stitches, you can create a stylish accessory that is perfect for keeping warm during the colder months.
If you’re looking to branch out from scarves, another simple knitting pattern is a dishcloth. Dishcloths are practical projects that can be completed quickly. To make a dishcloth, choose a sturdy cotton yarn and the appropriate needle size. Cast on a small number of stitches and then continue knitting in a pattern of your choice, such as garter stitch or seed stitch. Keep knitting until your dishcloth is the size you desire, and then bind off your stitches. These small projects are a great way to practice new stitches and techniques.
Knitting a baby blanket is another easy project that can be completed step by step.

To create a baby blanket, choose a soft and washable yarn in baby-friendly colors. Cast on the desired number of stitches, typically around 100-120, depending on the size of your blanket. Then, choose a simple stitch pattern, such as stockinette or garter stitch, and continue knitting until your blanket is the desired length. Remember to always use a stitch marker to help you keep track of your progress. Once your blanket is complete, bind off your stitches and weave in any loose ends. A hand-knit baby blanket is not only a thoughtful gift but also a cherished heirloom that can be passed down through generations.
Overall, easy knitting patterns allow beginners to learn and practice new skills while creating beautiful items. Whether you choose to knit a scarf, dishcloth, or baby blanket, following step-by-step instructions will ensure that your project turns out just the way you want it. With time and practice, you’ll be able to tackle more complex patterns and create your own unique designs. So grab your knitting needles and let’s get started on your next project!
The Basics: Understanding Knitting Needles and Yarns
Knitting is a popular craft that has been enjoyed by people all over the world for many centuries. Whether you are a beginner or an experienced knitter, understanding knitting needles and yarns is essential to creating beautiful and successful projects.
Knitting needles: The first thing to consider when starting a knitting project is choosing the right needles. Knitting needles come in various materials, such as wood, metal, or plastic, and different sizes. The size of the needle determines the thickness of the stitches, so it is important to use the correct size recommended in the pattern. The needle size is usually indicated by a number or letter, with larger numbers indicating thicker needles.
Yarn: The yarn is another crucial component of knitting. Yarns come in different fibers, weights, and colors, allowing knitters to create a wide range of textures and designs. The weight of the yarn refers to its thickness, with thinner yarns being lighter weight and thicker yarns being heavier weight. It is important to match the recommended yarn weight in the pattern to ensure the correct gauge and size of the finished project. Additionally, different fibers can have different qualities, such as warmth or durability, so it is important to consider the intended use of the finished item when choosing the yarn.
When starting a knitting project, it is important to choose needles and yarn that are appropriate for the desired outcome. By understanding the basics of knitting needles and yarns, you can confidently move forward with your knitting journey and create beautiful, handcrafted items. Whether you are making a simple scarf or a complex sweater, the right needles and yarn will help you achieve the desired result.
Getting Started: Casting On
Before you can start knitting, you need to learn how to cast on, which is the process of creating the first row of stitches on your knitting needle. There are several different methods for casting on, but the most common one is called the backward loop cast on.
Step 1:
To begin, take the end of your yarn and create a slip knot. To do this, make a loop with the yarn and pull the end through the loop, tightening it around the yarn. This slip knot will serve as your first stitch.
Step 2:
Hold the slip knot in your right hand and insert your left-hand needle into the loop from the bottom to the top. This will create a new stitch on your left-hand needle.
Step 3:
With your right hand, take the working end of the yarn (the end that is still attached to the yarn ball) and bring it over the top of the left-hand needle, creating a loop.
Step 4:
Insert your right-hand needle through the loop from left to right, catching the working yarn. Pull the loop through the first stitch on your left-hand needle, creating a new stitch on your right-hand needle.
Step 5:
Repeat steps 2-4 until you have cast on the desired number of stitches. Keep in mind that some knitting patterns may specify a specific number of cast-on stitches, so it’s important to pay attention to the pattern instructions.
- Tip: If you find the backward loop cast on too loose or difficult to work with, there are other casting on methods you can try, such as the long-tail cast on or the knitted cast on.
- Note: As you practice casting on, it’s normal to have uneven tension or loose stitches. With time and experience, your tension will improve.
Once you have successfully cast on your stitches, you are ready to move on to the next step in your knitting project, whether it’s knitting the first row or following a specific pattern stitch. Happy knitting!
Knit Stitch: Learning the Foundation of Knitting
Knitting is a versatile and creative craft that allows you to create beautiful and functional items using just a pair of needles and some yarn. The knit stitch is the foundation of knitting, and once you master this basic stitch, you’ll be well on your way to creating stunning projects.
What is the knit stitch?
The knit stitch is the most basic stitch in knitting. It creates a smooth and textured fabric by interlocking loops of yarn. The stitches are formed by inserting the right needle into the front of the loop on the left needle, wrapping the yarn around the right needle, and pulling it through to create a new loop.
How to knit:
- Hold the needle with the cast-on stitches in your left hand and the empty needle in your right hand
- Insert the right needle from left to right through the first stitch on the left needle
- With your right hand, wrap the yarn counterclockwise around the right needle, making sure the working yarn is in the back of the needles
- Use your right hand to pull the right needle and yarn through the stitch on the left needle, creating a new stitch on the right needle
- Slide the old stitch off the left needle and onto the right needle
- Repeat steps 2-5 until all stitches have been transferred from the left needle to the right needle
Tips for learning the knit stitch:
- Start with larger needles and thicker yarn to make it easier to see your stitches
- Hold the needles and yarn loosely to avoid tight, stiff stitches
- Practice regularly to build muscle memory and improve your technique
- Experiment with different types of yarn and needle sizes to see how they affect the look and feel of your knitting
- Don’t be discouraged if your first few attempts don’t turn out perfectly – knitting takes time and practice to master
Purl Stitch: Adding Texture to Your Projects
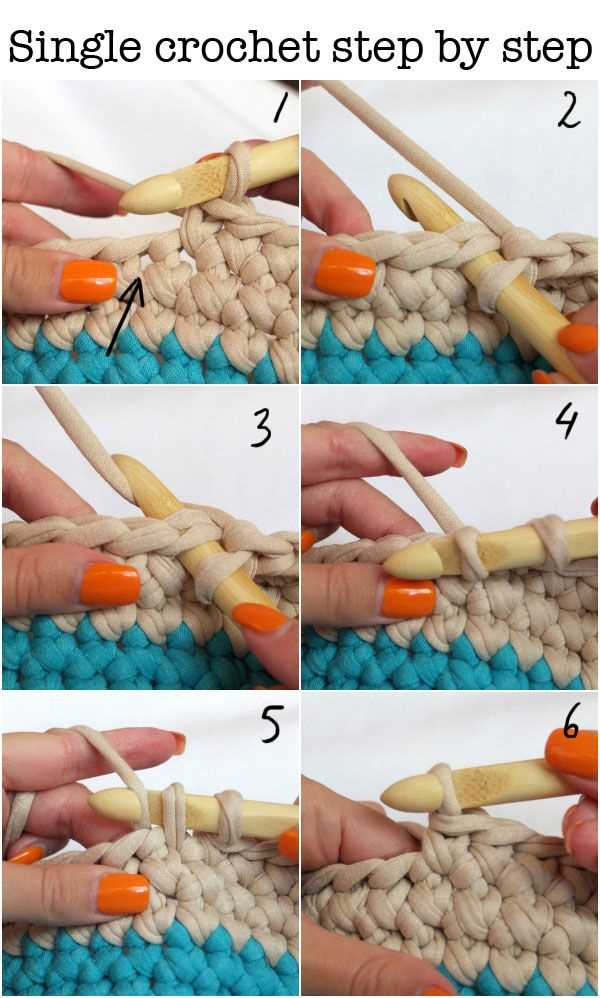
The purl stitch is an essential knitting technique that creates a raised texture on your projects. It is commonly used alongside the knit stitch to create various patterns and designs. Whether you are a beginner or an experienced knitter, mastering the purl stitch can open up a whole new world of possibilities for your knitting projects.
The purl stitch is created by bringing the working yarn to the front of your work, inserting the right needle into the front of the stitch from right to left, and wrapping the yarn counterclockwise around the right needle. Then, pull the new stitch through and slip the old stitch off the left needle. The resulting stitch will have a bump on the front side of your work, creating a textured effect.
The purl stitch can be used in various ways to add texture to your knitting projects. You can use it to create ribbing, which is commonly seen on cuffs, collars, and hems. Knitting ribbing with alternating knit and purl stitches creates a stretchy and textured fabric. You can also use the purl stitch to create different stitch patterns, such as seed stitch, moss stitch, or basketweave stitch.
By combining the purl stitch with other knitting techniques, you can create intricate textures and patterns in your projects. For example, you can alternate rows of knit and purl stitches to create a classic stockinette stitch, with smooth and purl-textured sides. You can also experiment with different stitch combinations and knitting techniques to create unique designs that showcase the versatility of the purl stitch.
When following step-by-step easy knitting patterns, the purl stitch is often included to add texture and visual interest to the finished project. Whether you are knitting a scarf, hat, sweater, or blanket, incorporating the purl stitch can elevate the overall look and feel of your knitting project. With practice and experimentation, you can become proficient in using the purl stitch to create beautiful and textured knitted items.
Combining Stitches: Creating Patterns
Knitting patterns can be created by combining different stitches in a systematic way. By understanding the basic stitches and their variations, you can create beautiful and unique patterns to enhance your knitting projects. Here are some tips and techniques to help you get started:
1. Experiment with Stitch Combinations: Take the time to explore different stitch combinations to see how they work together. Start with simple stitches like the knit and purl, and then move on to more complex patterns like cables and lace. By mixing and matching these stitches, you can create endless possibilities for your knitting projects.
2. Use Basic Stitch Chart: Using a basic stitch chart can help you visualize and plan your pattern. This chart will show you the combinations of stitches you need to create the desired design. You can find stitch charts online or create your own using graph paper. This will provide you with a blueprint to follow as you knit your pattern.
The Steps to Creating a Pattern:
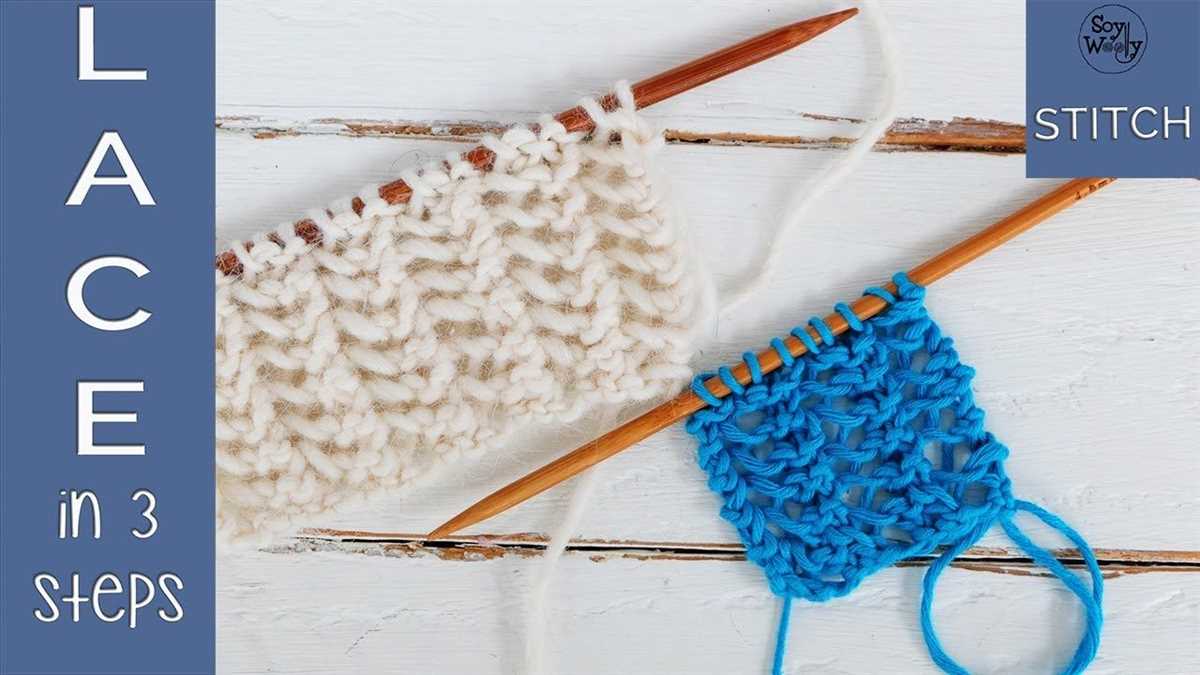
- Select Your Stitches: Decide on the stitches you want to use in your pattern. Consider the texture, thickness, and complexity of the stitches to achieve the desired effect.
- Create a Stitch Chart: Map out the stitch combinations in a stitch chart. This will serve as your guide throughout the knitting process.
- Establish a Pattern Repeat: Determine the number of stitches required for each pattern repeat. This will help you evenly distribute the stitches throughout your project.
- Swatch and Test: Always swatch your pattern to ensure the desired gauge and to see how the stitch combinations look together. Make any necessary adjustments before starting your project.
- Follow the Chart: Knit according to the stitch chart, following the pattern repeat and any specific instructions provided in the chart. Pay attention to any symbols or special stitches indicated.
- Keep Notes: As you work on your pattern, keep notes of any modifications or changes you make. This will help you replicate the pattern in the future or adjust it to suit different projects.
- Finish and Block: Once you have completed your pattern, finish it off by binding off and weaving in ends. Then, block your project to even out the stitches and enhance the overall appearance.
By combining different stitches and following a systematic approach, you can create stunning patterns and add a personal touch to your knitting projects. Don’t be afraid to experiment and let your creativity shine through!
Increasing Stitches: Adding Width to Your Project

When knitting a project, whether it’s a scarf, a blanket, or a sweater, you may find yourself needing to increase the number of stitches to add width. Increasing stitches is an essential skill in knitting that allows you to customize the size of your project and achieve the desired dimensions.
There are several methods for increasing stitches, depending on the effect you want to achieve and the pattern you are working on. One of the most common methods is the yarn-over increase, which creates an eyelet and adds a decorative touch to your work. To perform a yarn-over increase, simply bring the yarn to the front of the work between the needles, then continue with the next stitch as usual. This creates an extra loop on the needle, which will be counted as an additional stitch.
An alternative method for increasing stitches is the make-one increase, which is a bit more discreet and virtually invisible in the finished project. To make one stitch, you’ll need to pick up the horizontal strand of yarn between the stitches, inserting the needle from front to back. Then, knit or purl this picked-up stitch as required by the pattern. This method creates a new stitch without leaving any noticeable gap or hole.
If you need to increase a larger number of stitches, you may opt for the lifted increase method. This method involves picking up the stitch below the next stitch on the left needle and knitting or purling it as required. This creates a new stitch without creating any gaps, making it an ideal choice for projects that require larger increases.
Summary:
- Increasing stitches is an essential skill in knitting that allows you to add width to your project.
- There are several methods for increasing stitches, including the yarn-over increase, make-one increase, and lifted increase.
- The yarn-over increase adds a decorative touch with an eyelet, while the make-one increase is virtually invisible.
- The lifted increase is best for larger increases, as it creates a new stitch without any noticeable gaps.
By mastering these techniques, you’ll be able to confidently increase stitches and create beautifully customized projects with the desired width. Happy knitting!
Decreasing Stitches: Shaping Your Project

Decreasing stitches is an important technique in knitting that allows you to shape your project and create interesting patterns. Whether you are knitting a sweater, hat, or any other item, knowing how to decrease stitches is essential for achieving the desired shape and fit.
There are several methods for decreasing stitches in knitting, each with its own effect on the final outcome of your project. The most commonly used methods include knit two stitches together (k2tog), slip slip knit (ssk), and slip slip purl (ssp). These techniques are relatively easy to learn and can be used in combination to create various patterns and shapes.
Knit two stitches together (k2tog) is a simple method where two stitches are knit together as one, resulting in a decrease. This technique is often used in patterns to shape the crown of a hat or create a tapered edge on a scarf or shawl.
Slip slip knit (ssk) is another common method for decreasing stitches. It involves slipping two stitches individually from the left needle to the right needle, and then knitting them together through the back loop. This technique creates a left-leaning decrease and is often used in shaping sleeves or creating diagonal patterns.
Slip slip purl (ssp) is similar to ssk but creates a right-leaning decrease. It is achieved by slipping two stitches individually as if to knit, then purling them together through the back loop. This technique is often used in lace knitting to create decorative decreases.
When shaping your project, it is important to follow the pattern instructions and use the appropriate decrease method for the desired effect. Additionally, make sure to count your stitches carefully and keep track of your decreases to maintain the correct stitch count and shape of your project.
By mastering the art of decreasing stitches, you can take your knitting skills to the next level and create beautifully shaped and well-fitted garments and accessories. Don’t be afraid to experiment with different decrease methods and incorporate them into your own unique designs!
Bind Off: Finishing Your Knitting
Once you have completed your knitting project, it’s time to bind off to finish it off neatly. Binding off is the process of securing the stitches and creating a finished edge. It’s an essential step in any knitting project, as it gives your work a polished look and prevents it from unraveling.
How to Bind Off: To bind off, start by knitting two stitches. Then, using your left needle, lift the first stitch over the second stitch and off the right needle. You have now bound off one stitch. Continue knitting one stitch and binding off the previous stitch until you reach the end of the row.
Note: The method described above is the basic bind off method, also known as the standard bind off. There are other bind off methods that create different effects, such as the stretchy bind off for ribbing or the picot bind off for a decorative edge. You can experiment with different bind off methods to achieve the desired result for your project.
Tips for a Neat Bind Off: To ensure a clean and even bind off, make sure to keep your tension consistent throughout the process. Avoid pulling the yarn too tightly, as this can cause the edge to pucker. It’s also helpful to use a larger needle size for binding off, as this will create a looser edge.
Finishing Touches: Once you have completed the bind off, cut the yarn, leaving a tail of about 6 inches. Thread the tail through the last stitch and weave it in using a yarn needle. Trim any excess yarn to create a neat and tidy finish. With the bind off complete, your knitting project is now ready to be enjoyed or gifted!
Simple Scarf Pattern: Your First Knitting Project
Are you a beginner knitter looking for an easy and satisfying project? Look no further than a simple scarf pattern! Knitting a scarf is a great way to practice basic knitting techniques and create a beautiful accessory that you can wear or gift to others.
Materials Needed:
- Size 8 knitting needles
- 1 skein of chunky yarn
- Scissors
- Tapestry needle
Step 1: Cast On
Begin by casting on 20 stitches. To cast on, hold the knitting needle with your dominant hand and leave a long tail of yarn. Create a slipknot and place it on the needle. Insert the other needle into the slipknot and tighten, creating your first stitch. Repeat this process until you have 20 stitches on your needle.
Step 2: Knit Rows
Once you have cast on, you will begin to knit. Hold the needle with the stitches in your left hand and the empty needle in your right hand. Insert the right needle into the first stitch on the left needle, from left to right. Wrap the yarn around the right needle counterclockwise. Use the right needle to pull the yarn through the stitch, creating a new stitch on the right needle. Slip the old stitch off the left needle. Repeat this process for each stitch across the row.
Step 3: Repeat
Continue knitting each row until your scarf reaches your desired length. This simple scarf pattern is perfect for beginners as it allows you to practice the basic knitting stitch without any complicated pattern instructions.
Step 4: Bind Off
Once your scarf is the desired length, it’s time to bind off. Knit the first two stitches as normal. Insert the left needle into the first stitch on the right needle and lift it over the second stitch and off the needle. You will now have one stitch on your right needle. Knit another stitch and repeat the process of lifting the first stitch over the second stitch. Continue this process until you have one stitch left on your right needle. Cut the yarn, leaving a long tail, and thread it through the last stitch to secure it.
Step 5: Finishing Touches
Weave in any loose ends using a tapestry needle. Trim any excess yarn, and gently block your scarf by laying it flat and pressing it with a damp cloth or steam iron. This will help even out your stitches and give your scarf a polished look.
Once you have completed this simple scarf pattern, you can experiment with different stitch patterns, colors, and yarns to create unique scarves to suit your personal style. Happy knitting!
Easy Hat Pattern: Leveling Up Your Skills
Learning a new skill can be both exciting and challenging. When it comes to knitting, it’s important to start with easy patterns that allow you to gradually build your skills. One great project for beginners is an easy hat pattern. Not only is it a practical item that you can wear or gift to others, but it also provides an opportunity to practice different knitting techniques.
Before diving into the easy hat pattern, it’s important to familiarize yourself with some basic knitting skills. This includes casting on, knitting stitches, purling stitches, and binding off. Once you feel comfortable with these techniques, you’re ready to take on the easy hat pattern.
Step 1: Casting On

The first step in knitting a hat is to cast on the desired number of stitches. This will determine the size of your hat. For beginners, it’s recommended to start with a smaller number of stitches, such as 60-80, to make the project more manageable. Use the long-tail cast-on method for a clean and stretchy edge.
Step 2: Knitting and Purling
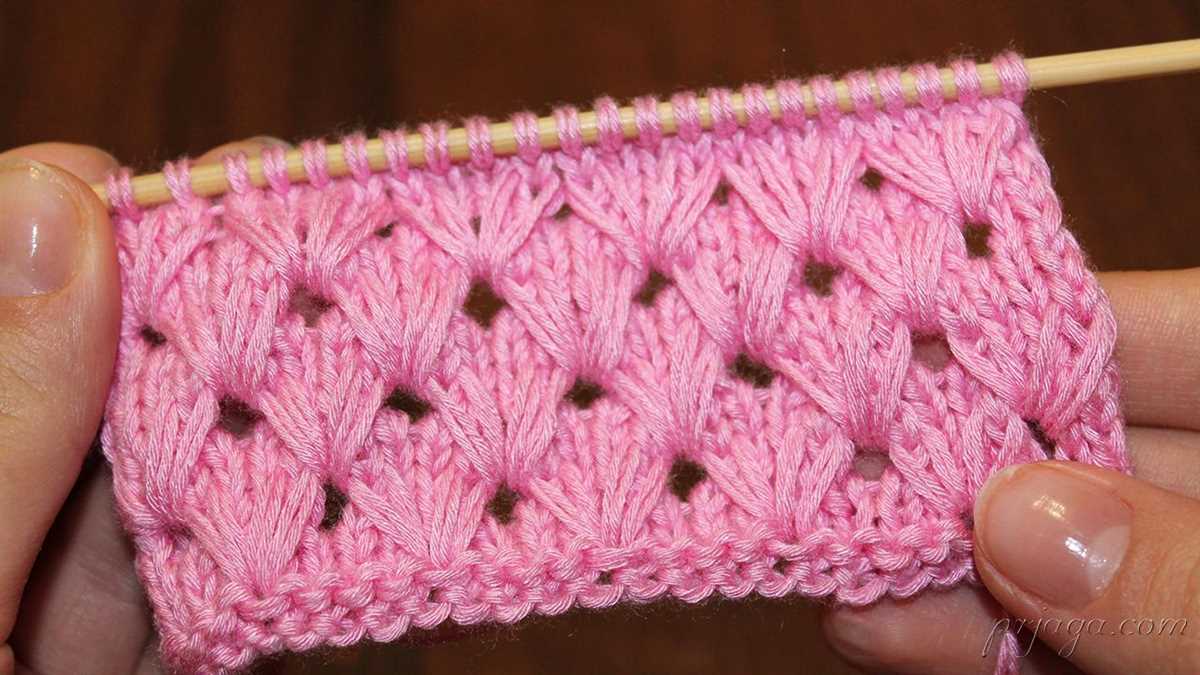
Once you have cast on your stitches, it’s time to start knitting. The easy hat pattern usually involves a combination of knit and purl stitches to create different textures and patterns. This is a great opportunity to practice your knitting and purling skills and get comfortable with the basic stitches.
Step 3: Shaping the Hat
After knitting a few rounds of the pattern, it’s time to shape the hat. This involves decreasing the number of stitches gradually to create a tapered crown. Use techniques like knit two together (k2tog) or slip slip knit (ssk) to achieve the desired shaping. This step may require some concentration and focus, but it’s a great way to challenge yourself and advance your knitting skills.
By following this easy hat pattern, you’ll not only create a cozy accessory but also level up your knitting skills. Take your time, be patient, and enjoy the process. With practice, you’ll become more comfortable with different techniques and be able to tackle more complex knitting projects in the future.
Cozy Blanket Pattern: Creating a Warm and Snuggly Throw

Are you looking to create a cozy blanket that will keep you warm and snuggled up during those chilly evenings? Look no further! With this easy step-by-step knitting pattern, you’ll be able to create a beautiful throw that is perfect for adding warmth and comfort to your home.
To start, gather your materials. You’ll need a chunky yarn in your preferred color, knitting needles in the appropriate size, and a pair of scissors. Once you have all your supplies ready, you can begin casting on.
Step 1: Cast On
Using the long-tail cast on method, cast on the desired number of stitches for your blanket. If you’re unsure how many stitches to cast on, measure the width of your chosen yarn and multiply it by the desired width of your blanket in inches. This will give you an estimate of the number of stitches needed. Don’t worry about being exact, as long as it’s close enough for your liking.
Step 2: Knit the First Row
Once you have cast on, it’s time to start knitting. Begin by knitting the first row. This will create the foundation row for your blanket.
Step 3: Repeat the Pattern
Now that you have your foundation row, it’s time to start repeating the pattern. In this pattern, we’ll be using a simple knit stitch throughout. Continue knitting each row until your blanket has reached the desired length.
Step 4: Bind Off
Once your blanket has reached the desired length, it’s time to bind off. To bind off, knit the first two stitches. Then, using your left-hand needle, lift the first stitch over the second stitch and off the needle. Continue this process until you have bound off all stitches except for one. Cut the yarn, leaving a long tail, and pull it through the last stitch to secure.
Step 5: Weave in Ends
Finally, weave in any loose ends using a tapestry needle. This will ensure that your blanket looks neat and tidy.
Once you’re done, you’ll have a beautiful, warm, and snuggly throw that is perfect for curling up with on cold winter nights. Whether you keep it for yourself or give it as a gift, this cozy blanket will surely bring warmth and comfort to anyone who uses it.
Finishing Touches: Adding Fringes and Tassels
After completing your knitted project, you may want to add some extra flair and texture to it. One popular way to do this is by adding fringes or tassels. These simple additions can really elevate the look of your piece and make it stand out.
Adding Fringes:
To add fringes, you will need some extra yarn in a contrasting color. Here’s how you can do it:
- Cut several strands of yarn to your desired length. Make them twice as long as you want the fringes to be, as you will fold them in half.
- Take one strand of yarn and fold it in half.
- Insert your crochet hook from back to front into the edge stitch of your knitted project.
- Place the folded yarn over the crochet hook and pull it through the stitch, forming a loop.
- With the crochet hook, pull the ends of the yarn through the loop, creating a knot.
- Repeat these steps along the edge of your project, spacing the fringes evenly or as desired.
- Trim the fringes to your desired length, making sure they are all even.
Adding Tassels:
Tassels can add a fun and playful touch to your knitted project. Here’s how you can make them:
- Cut a piece of cardboard or a book to the desired length of your tassel.
- Wrap your yarn around the cardboard or book multiple times, until you achieve the desired thickness.
- Cut the yarn, leaving a long tail.
- Slide the yarn off the cardboard or book, holding it together.
- Tie the long tail of yarn tightly around the top of the tassel, about 1/4 inch from the top.
- Trim the bottom of the tassel to your desired length, making sure it is even.
- Attach the tassels to your knitted project by sewing the top of the tassel onto the edge of the project.
Summary:
By adding fringes or tassels to your knitted project, you can give it a unique and personalized touch. Whether you choose to go for fringes or tassels, both options are relatively simple to make and can greatly enhance the overall look of your piece. Get creative and experiment with different colors and lengths to achieve the desired effect!
Q&A:
What are some beginner-friendly knitting patterns?
Some beginner-friendly knitting patterns include a basic knit scarf, a simple hat, a cozy blanket, a dishcloth, and a baby blanket.
How can I learn to knit step by step?
You can learn to knit step by step by following online tutorials or taking a knitting class. Start with learning the basic knit stitch, then practice by making a simple project such as a scarf or a dishcloth.
What materials do I need to start knitting?
To start knitting, you will need knitting needles (size depends on the pattern), yarn, a pair of scissors, and a yarn needle for finishing off your project.
Where can I find easy knitting patterns online?
You can find easy knitting patterns online on various websites such as Ravelry, Knitting Pattern Central, and LoveKnitting. These websites offer a wide range of free and paid patterns for all skill levels.
Can I knit without using knitting needles?
Yes, you can knit without using knitting needles by using your fingers or a knitting loom. Finger knitting allows you to create simple projects such as scarves and accessories, while a knitting loom can be used to make hats, socks, and blankets.
What are some step-by-step easy knitting patterns for beginners?
Some easy knitting patterns for beginners include knitting a basic scarf, knitting a dishcloth, knitting a simple hat, or knitting a baby blanket. These patterns typically involve basic stitches and techniques and can be completed in a few hours or over a couple of days.
What materials do I need for easy knitting patterns?
To get started with easy knitting patterns, you will need knitting needles and yarn. The size of the knitting needles will depend on the project and the thickness of the yarn you are using. You will also need a pair of scissors, a tapestry needle for weaving in ends, and stitch markers, if necessary. Some patterns may require additional materials, such as buttons or pom-poms.