
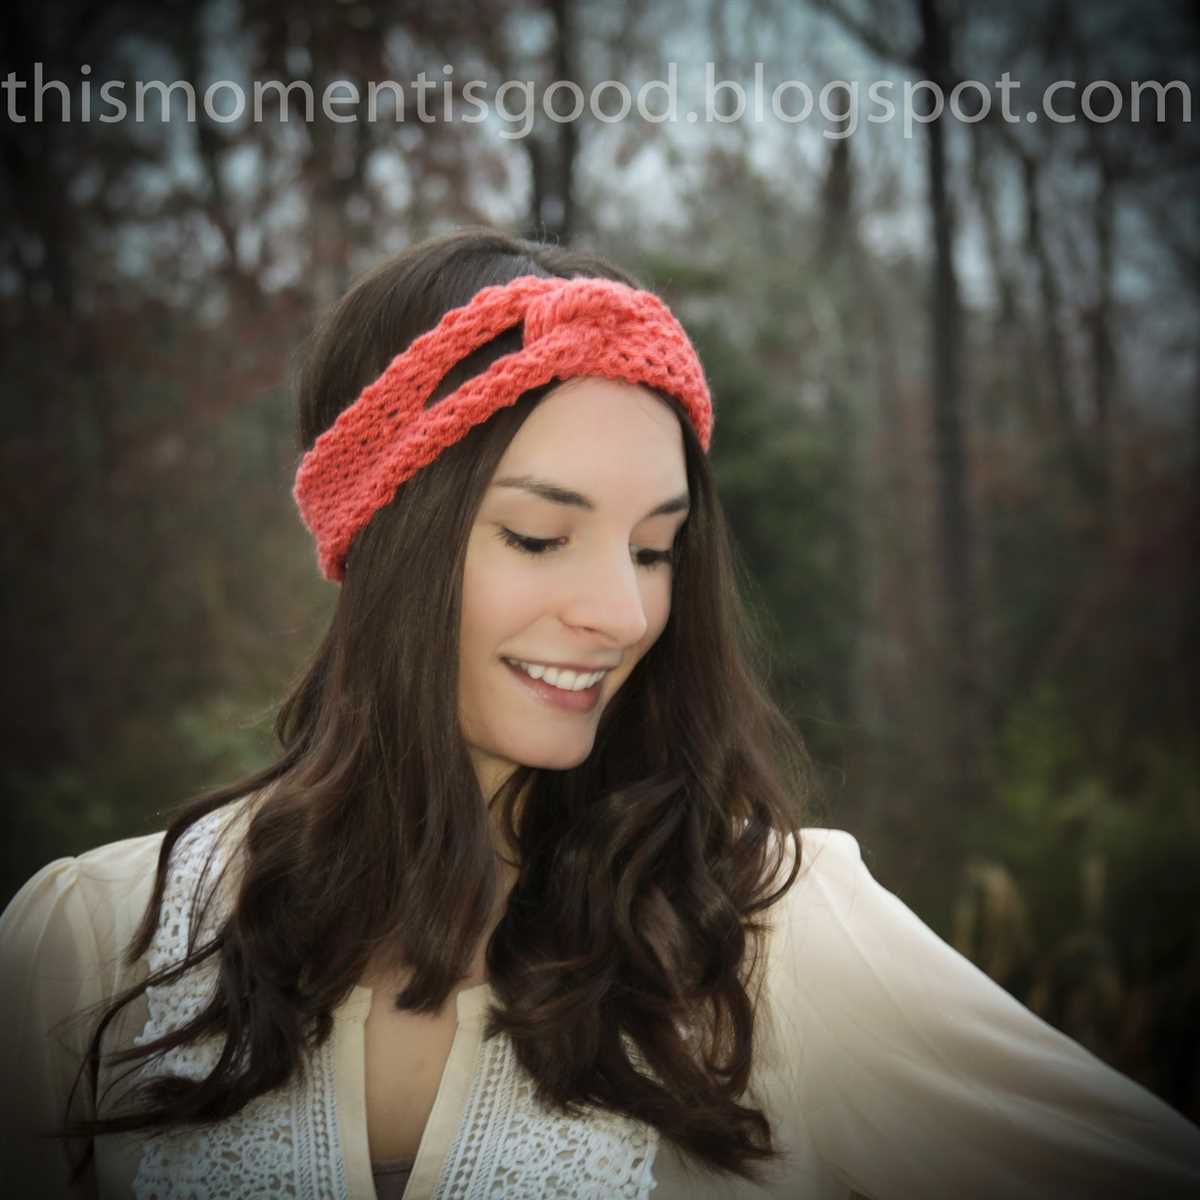
If you’re looking for a stylish and practical accessory to add to your winter wardrobe, a twist headband might be just what you need. This versatile accessory is not only fashionable but also keeps your ears warm and your hair out of your face. Plus, it’s a great knitting project for beginners and experienced knitters alike.
Knitting a twist headband is a fun and satisfying project. The pattern can be easily customized to match your style and the yarn you choose. Whether you prefer a chunky cable knit or a delicate lace pattern, there’s a twist headband pattern out there for everyone.
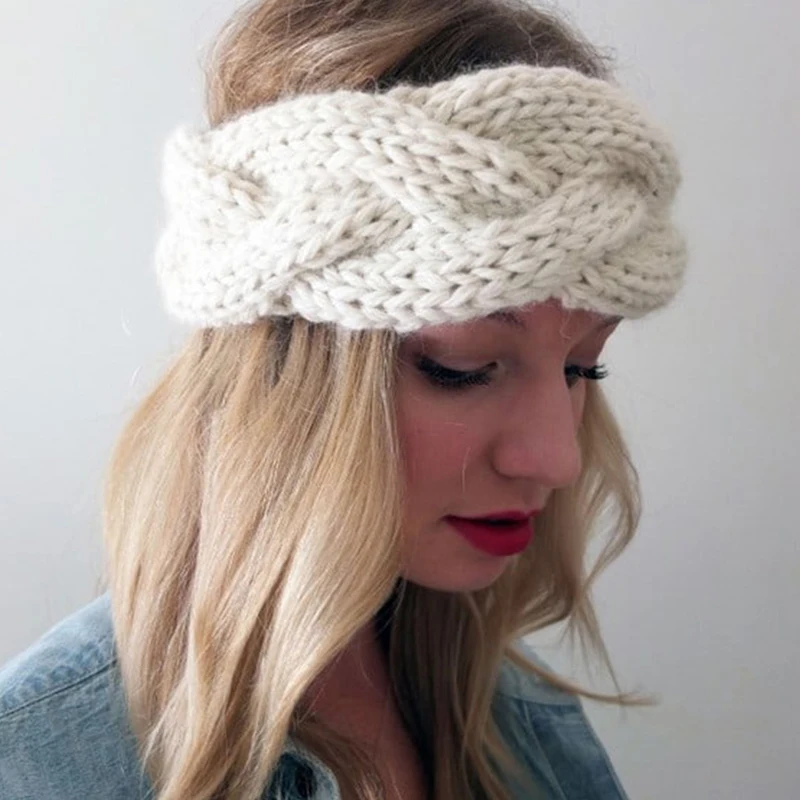
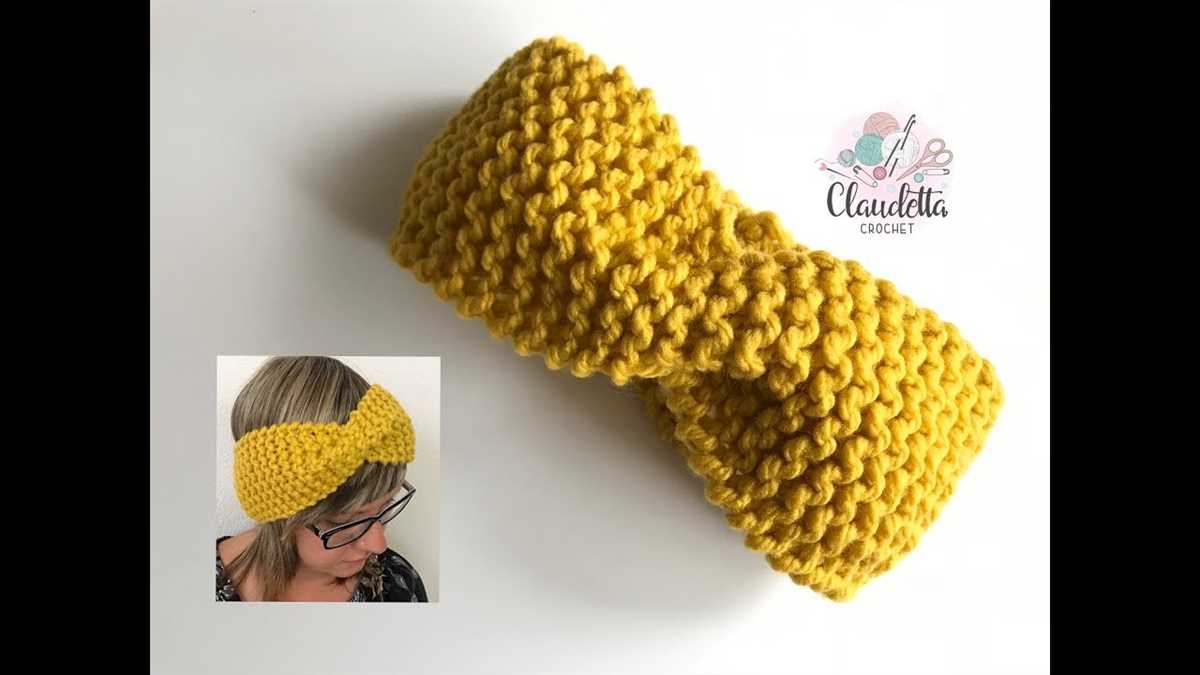
One popular twist headband pattern is the simple two-strand twist. To make this headband, you’ll need basic knitting skills such as casting on, knitting, and purling. The two strands of stitches are then twisted together in the front, creating an eye-catching twist effect. The headband is finished off with a stretchy bind off to ensure a comfortable fit.
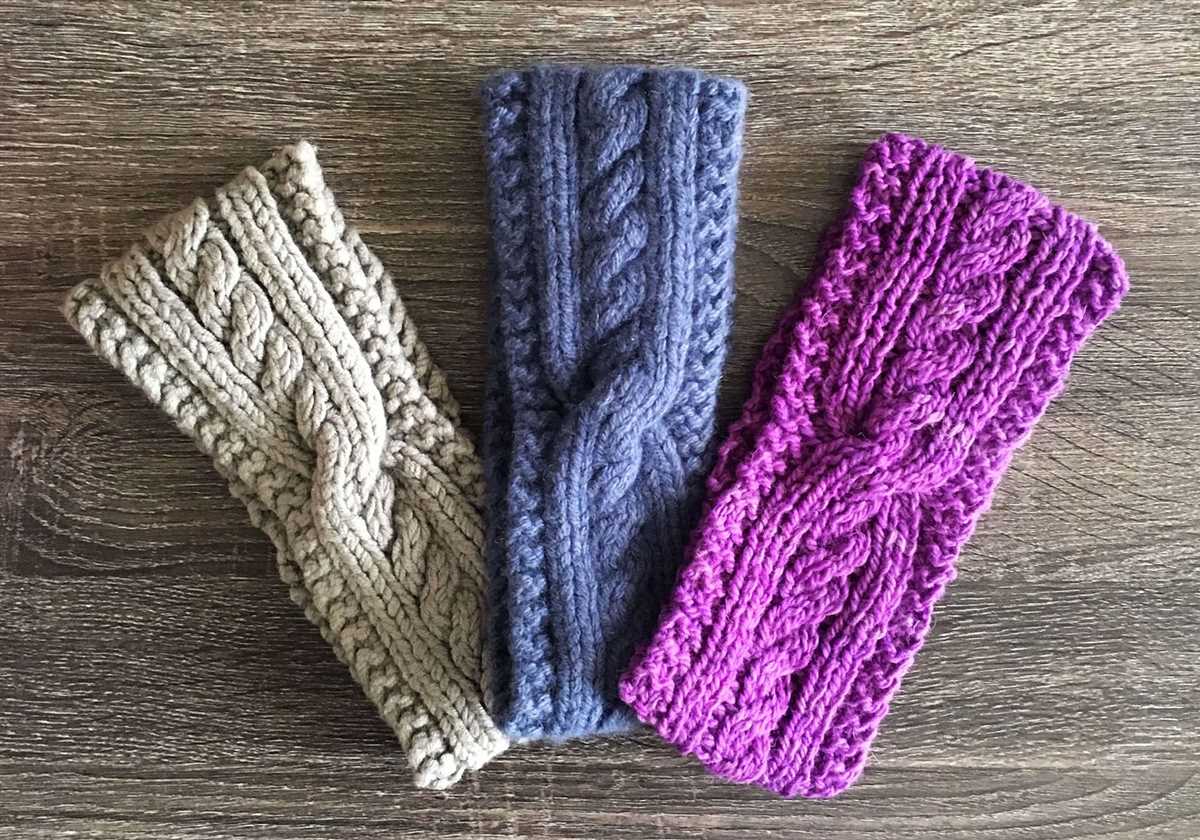
Another popular twist headband pattern is the braided cable twist. This pattern is slightly more advanced and requires knowledge of cable knitting techniques. The headband features a beautiful braided cable design that gives it a textured and sophisticated look. It’s perfect for adding a touch of elegance to any winter outfit.
So why not give knitting a twist headband a try? It’s a rewarding project that allows you to express your creativity and stay warm at the same time. With so many different patterns and styles to choose from, you’re sure to find a twist headband that suits your taste. Happy knitting!
How to Knit a Twist Headband Pattern

Knitting a twist headband pattern is a fun and simple project that can add a stylish touch to your winter wardrobe. Whether you’re a beginner or an experienced knitter, this pattern is easy to follow and can be completed in just a few hours.
To start, you’ll need a pair of knitting needles and a ball of yarn in your desired color. Choose a yarn that is thick enough to keep your head warm, but not too bulky. You’ll also need a tape measure and a pair of scissors.
Step 1: Cast On
Begin by casting on the desired number of stitches, depending on the width you want for your headband. You can use any cast-on method you prefer, such as the long-tail cast on or the cable cast on.
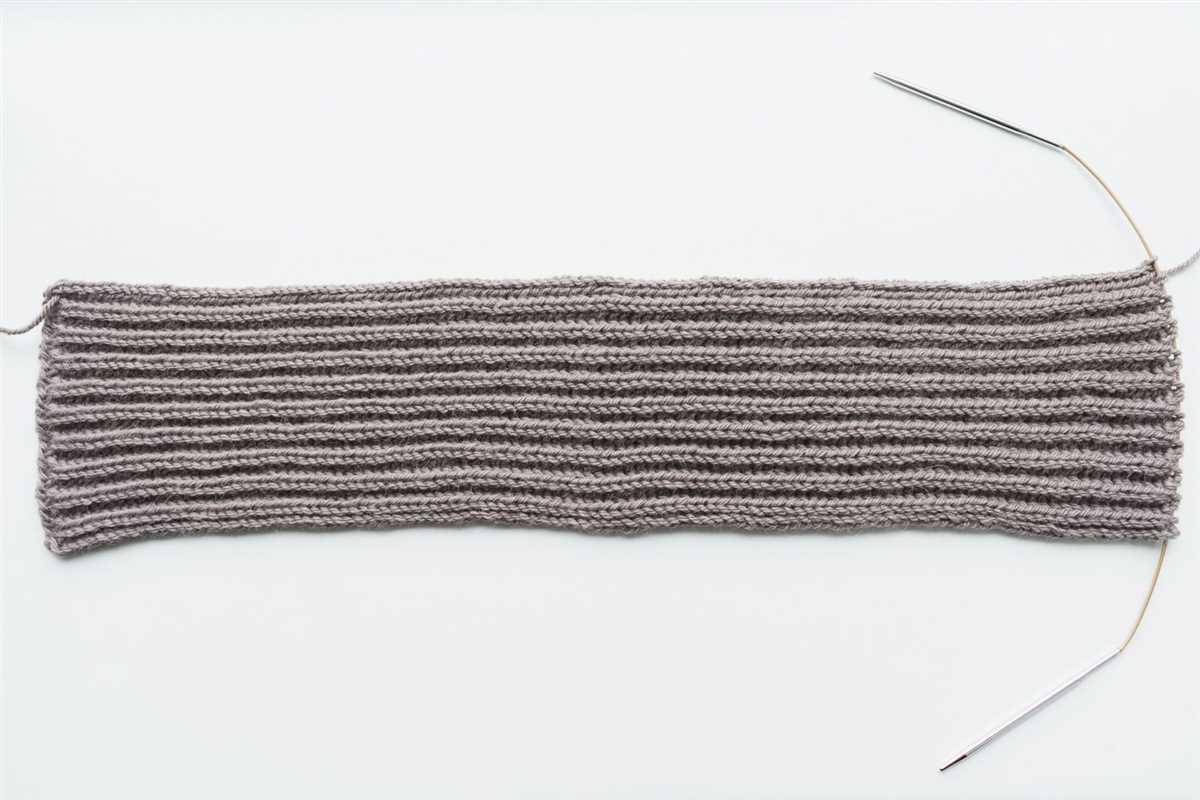
Step 2: Knit the Rows
Once you’ve cast on, begin knitting the rows in your chosen stitch pattern. You can use a simple stitch pattern, such as the garter stitch or the stockinette stitch, or get creative with a more intricate pattern, such as cables or lace.
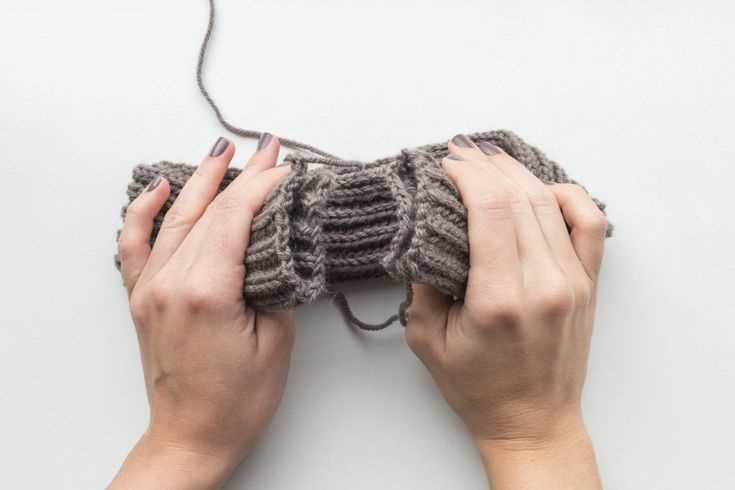
Step 3: Create the Twist
To create the twist in your headband, you’ll need to twist the stitches of your knitting. This is done by knitting two stitches together, but instead of sliding them off the needle, you’ll leave them on the left needle. Then, insert your right needle into the first stitch on the left needle and knit it, sliding both stitches off the needle. Repeat this twist every few rows, depending on how often you want the twist to appear.
Step 4: Bind Off
Once you’ve completed the desired length for your headband, it’s time to bind off. You can use any bind-off method you prefer, such as the basic bind off or the stretchy bind off. Make sure to bind off loosely, so the headband is comfortable to wear.
Step 5: Finishing Touches
After binding off, weave in any loose ends of yarn and trim them with scissors. Then, use your tape measure to measure the circumference of your headband and sew the ends together to create a loop. Make sure to sew the ends securely, so the headband doesn’t come undone.
Now you have your own handmade twist headband! You can wear it with your hair up or down, and it will keep your ears warm and stylish during the colder months. Experiment with different yarn colors and stitch patterns to create a headband that matches your personal style.
Materials Needed for a Twist Headband Pattern
When it comes to knitting a twist headband, you will need a few key materials to get started. These materials will ensure that you have everything you need to create your own beautiful headband.
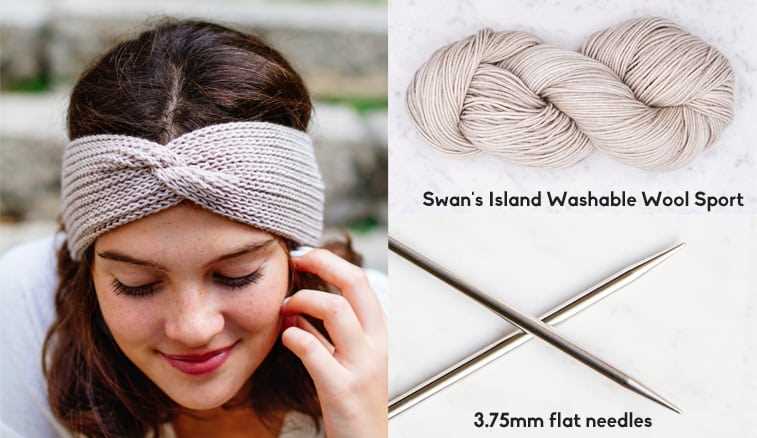
1. Yarn: To knit a twist headband, you will need a yarn that is suitable for the project. It is suggested to use a medium weight yarn that is soft and comfortable to wear. You can choose any color or pattern that you like, depending on your personal style and preferences.
2. Knitting Needles: You will also need a pair of knitting needles for your twist headband pattern. The size of the needles will depend on the gauge of the yarn you are using. It is recommended to use needles that are appropriate for the yarn weight and allow you to achieve the desired tension and stitch size.
3. Stitch Markers: Stitch markers can be useful when working on a twist headband pattern. They can help you keep track of your stitches and ensure that you are following the correct pattern. You can use different types of stitch markers, such as locking stitch markers or removable stitch markers, depending on your preference.
4. Scissors: Having a pair of scissors handy is always important when knitting. You may need to cut the yarn at various stages of the knitting process, and having scissors nearby will make this task much easier.
5. Tapestry Needle: A tapestry needle is essential for weaving in the loose ends of yarn after you finish knitting your twist headband. This will give your project a clean and finished look.
6. Pattern: Last but not least, you will need a twist headband pattern to follow. You can find free patterns online or purchase a pattern from a knitting store. Make sure to read and understand the pattern instructions before you begin knitting, as this will make the process smoother.
By gathering these materials, you will have everything you need to start knitting your own twist headband. Have fun and enjoy the knitting process!
Choosing the Right Yarn for a Twist Headband
When it comes to knitting a twist headband, selecting the right yarn is essential to achieve the desired look and level of comfort. The yarn you choose will determine the overall texture, stretchiness, and warmth of the headband. Here are some factors to consider when selecting the yarn for your project.
1. Fiber Content
The first thing to consider is the fiber content of the yarn. Different fibers have different characteristics, so you’ll want to choose one that aligns with your preferences and needs. Common fibers used for twist headbands include wool, acrylic, cotton, and blends.
Wool is a popular choice for its warmth and natural elasticity. It is an excellent option for colder climates or if you’re looking for a cozy and snug headband. Acrylic yarns, on the other hand, are often chosen for their affordability, durability, and wide range of colors. Cotton is a lightweight and breathable option suitable for warmer weather or if you prefer a more lightweight headband.
2. Weight
The weight of the yarn will determine the thickness and heaviness of the headband. Lighter weight yarns, such as fingering or sport weight, will create a more delicate and lightweight headband, while bulkier yarns, like chunky or super bulky, will produce a more substantial and warmer headband.
Consider the season and intended use of the headband when selecting the yarn weight. For colder weather, you might opt for a heavier weight yarn for added warmth, while a lighter weight yarn would be more suitable for spring or fall.
3. Texture
The texture of the yarn can add visual interest to your twist headband. Smooth yarns will create a clean and polished look, while textured or novelty yarns can add a unique and eye-catching element to your design. Consider the overall style or theme you want to achieve and choose a yarn with a corresponding texture.
It’s also important to consider the stitch pattern used in the twist headband pattern. Certain stitch patterns may look best with a smooth yarn to showcase the intricate details, while others may benefit from a textured yarn to enhance the overall design.
By taking into account the fiber content, weight, and texture of the yarn, you can ensure that your twist headband turns out just the way you envision it. Experiment with different yarns to find the perfect combination of comfort, style, and functionality for your project.
Knitting Needle Size for a Twist Headband
When knitting a twist headband, the size of the knitting needles you use can greatly affect the final result of your project. The needle size determines the gauge, or the number of stitches and rows per inch, which in turn affects the size and drape of the finished headband.
For a twist headband, it is generally recommended to use knitting needles in the range of US size 6 to 8 (4-5 mm). These sizes are suitable for most worsted weight or medium weight yarns, which are commonly used for twist headbands. However, the exact needle size may vary depending on your personal knitting tension and the desired outcome of your project.
If you prefer a tighter and more firm fabric, you may want to use smaller needles, such as US size 6 (4 mm). This will result in a denser stitch pattern with less stretch.
On the other hand, if you prefer a looser and more draping fabric, you can try using larger needles, such as US size 8 (5 mm). This will create a more open stitch pattern that has more stretch and fluidity.
It’s always a good idea to make a gauge swatch before starting your twist headband to determine the exact needle size that will give you the desired result. This involves knitting a small sample of fabric with the chosen needle size and measuring the number of stitches and rows per inch. Adjusting the needle size may be necessary to achieve the correct gauge and ensure that the headband fits properly.
In summary, the knitting needle size for a twist headband can vary depending on your personal preference and the yarn you choose. US size 6 to 8 (4-5 mm) needles are typically recommended, but adjusting the needle size based on your desired fabric density and drape is important to achieve the desired result.
Basic Knitting Stitches for a Twist Headband
Knitting a twist headband can be a fun and rewarding project for knitters of all skill levels. To get started, it’s important to familiarize yourself with some basic knitting stitches that will be used in the pattern. Here are a few stitches that are commonly used when knitting a twist headband:
1. Cast On
The cast on stitch is the first step in creating any knitted project. This stitch creates the foundation row of stitches on your knitting needle. When casting on for a twist headband, you can use either the long tail cast on or the knitted cast on method. Both methods result in a stretchy and sturdy edge for your headband.
2. Knit Stitch
The knit stitch is one of the most basic stitches in knitting. It involves inserting the right needle into the front of the stitch on the left needle, wrapping the yarn around the right needle, and pulling the loop through to create a new stitch. The knit stitch forms the smooth, v-shaped surface of the fabric and is typically used for the majority of the headband.
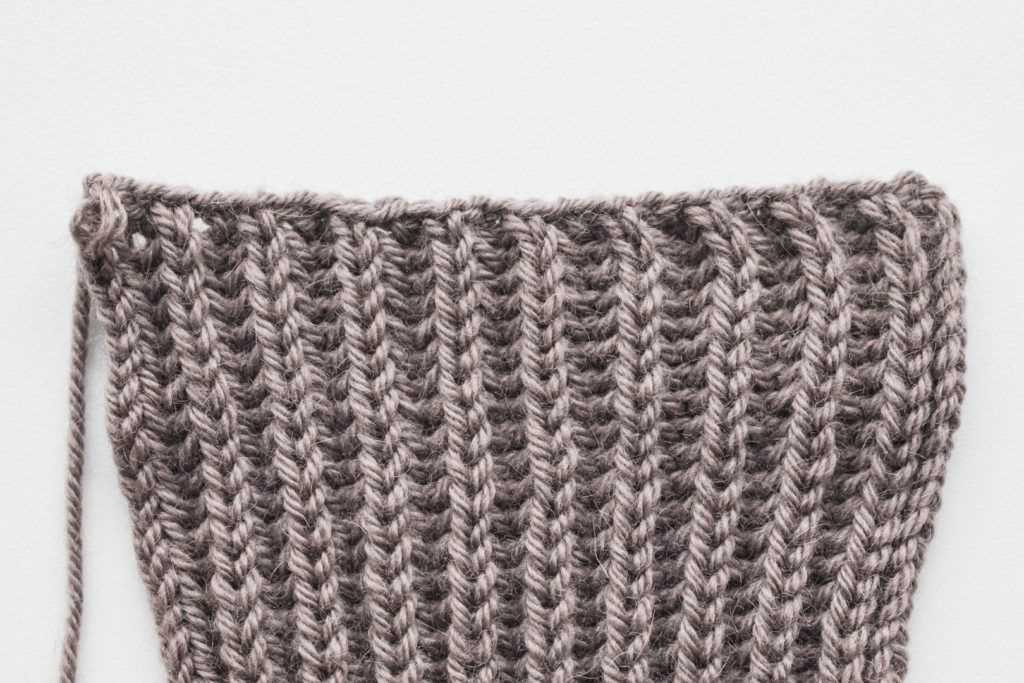
3. Purl Stitch
The purl stitch is another fundamental stitch in knitting. It is the reverse of the knit stitch and creates a bumpy, textured surface on the fabric. To purl, insert the right needle into the front of the stitch on the left needle, bring the yarn to the front of the work, and pull the loop through to create a new stitch. The purl stitch is often used to create ribbing or other decorative patterns on the headband.
4. Twist Stitch
The twist stitch is a slightly more advanced technique that adds dimension and interest to the twist headband. This stitch involves working the knit stitch in a specific way to create a twisted effect within a row of stitches. There are different methods for creating a twist stitch, so it’s important to follow the pattern instructions carefully.
By mastering these basic knitting stitches, you’ll be well-equipped to tackle a twist headband pattern. Remember to take your time and practice each stitch until you feel comfortable with the technique. Happy knitting!
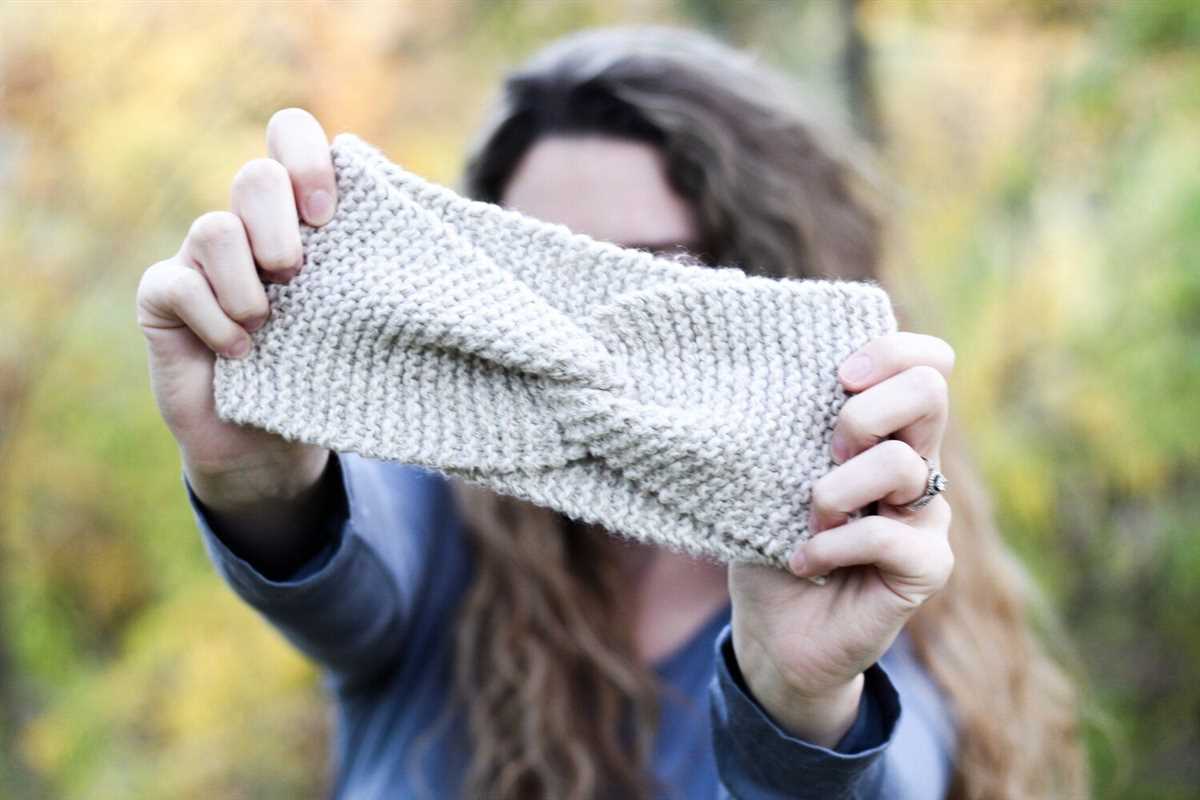
Step-by-Step Instructions for Knitting a Twist Headband
If you are looking to add a stylish and functional accessory to your winter wardrobe, knitting a twist headband is a perfect project. These headbands are not only fashionable but also keep your ears warm during the cold weather. With just a few basic knitting skills, you can easily create your own twist headband.
Materials Needed:
- Size 8 knitting needles
- Worsted weight yarn
- Tapestry needle
- Scissors
Instructions:
- Start by casting on 20 stitches using the long-tail cast-on method.
- Knit every row until your headband reaches the desired length. For an average adult head, knitting about 20 inches should be enough.
- Once you have reached the desired length, bind off your stitches. Cut the yarn, leaving a long tail for sewing.
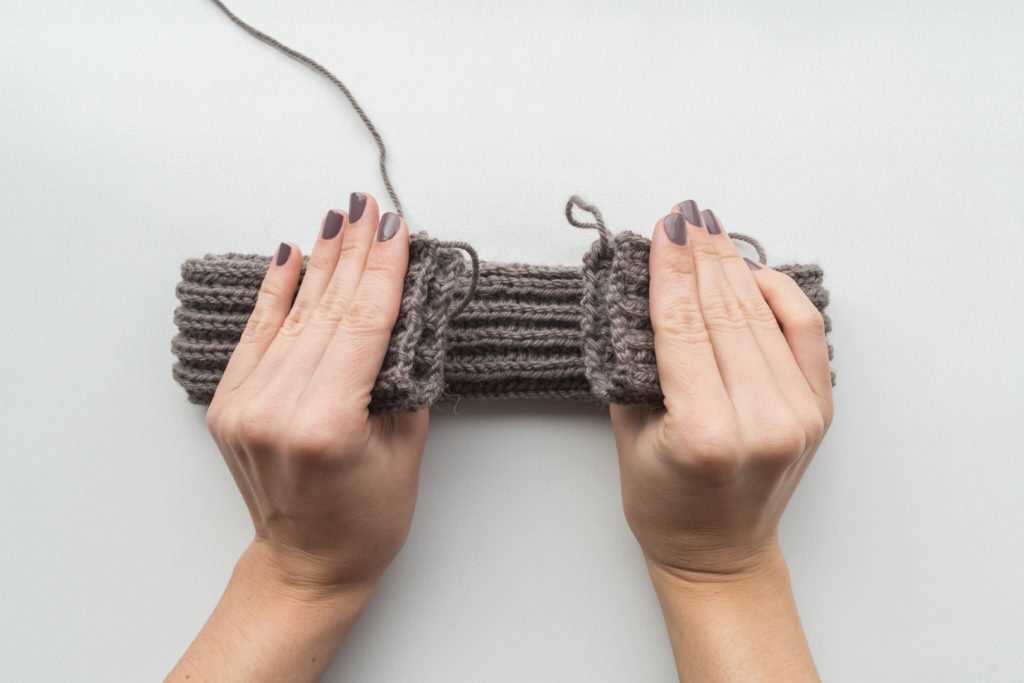
- To create the twist effect, hold one end of the headband and twist it twice.
- Next, bring the twisted end over to meet the other end of the headband, forming a loop.
- Using the long tail of yarn and a tapestry needle, sew the twisted end to the other end of the headband to secure the twist in place.
- Weave in any loose ends and trim off excess yarn.
Now you have a beautiful and cozy twist headband that you can wear with pride. Experiment with different yarn colors and textures to create unique and personalized headbands. These headbands also make great gifts for friends and family. Enjoy your new knitting project!
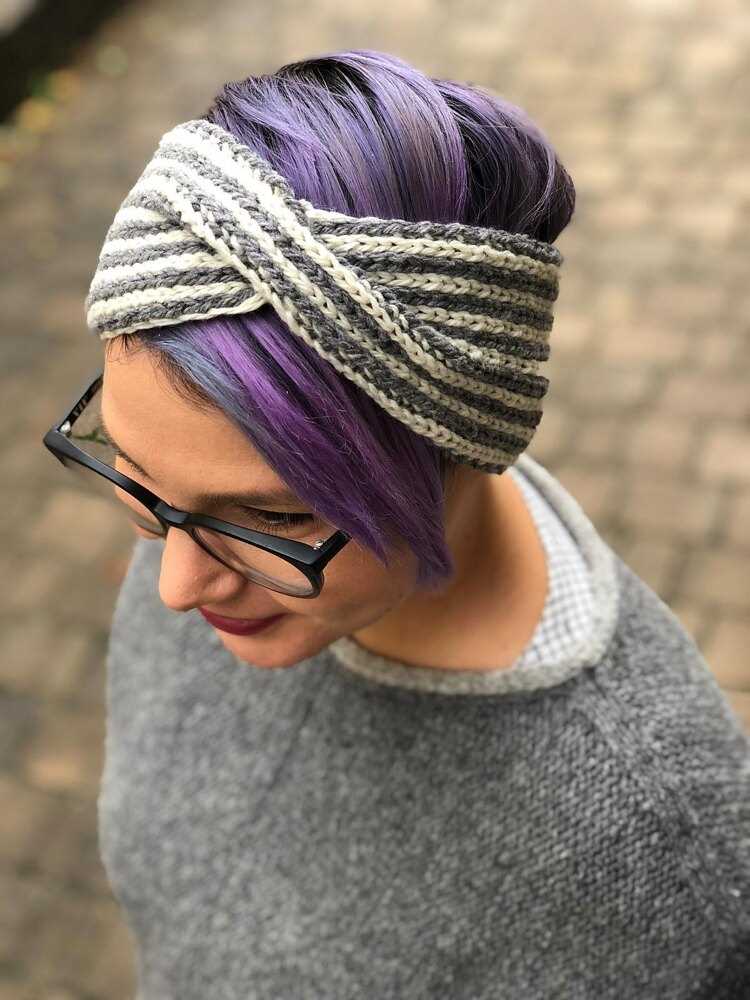
Adding Variation to a Twist Headband Pattern
A twist headband pattern is a popular choice for knitters who want to create a stylish and functional accessory. The basic pattern involves knitting a strip of fabric, twisting it in the middle, and sewing the ends together to create a headband. However, there are several ways to add variation to this simple pattern to make it your own.
One way to add variation is by changing the stitch pattern. Instead of knitting the entire headband in a basic knit stitch, you can incorporate different stitch patterns to create texture and interest. For example, you could alternate between knit and purl stitches to create a ribbed effect, or you could try a cable stitch pattern for a more intricate design. Experimenting with different stitch patterns can give your twist headband a unique look.
Another way to add variation is by using different yarns. The type of yarn you choose can greatly impact the look and feel of your headband. For a cozy winter accessory, you could use a thick, wooly yarn. For a more delicate and feminine look, you could choose a soft, lightweight yarn. You can also play with different colors and dyeing techniques to create a headband that matches your personal style.
Additionally, you can add variation by embellishing your twist headband. You can add buttons, beads, or other decorative elements to make your headband stand out. Sewing on a large decorative button at the twist can create a focal point, or you could attach small beads throughout the headband for a subtle touch of sparkle. Embellishing your headband is a fun way to customize it and make it truly unique.
In summary, there are many ways to add variation to a twist headband pattern. By experimenting with stitch patterns, yarn choices, and embellishments, you can create a headband that reflects your personal style and stands out from the crowd.
Finishing and Blocking a Twist Headband

Once you have completed knitting your twist headband pattern, it is important to properly finish and block it to create a polished final product. Finishing techniques help to tidy up any loose ends and ensure that the headband looks neat and professional.
First, you will want to weave in any loose yarn tails on the wrong side of the headband. Using a yarn needle, thread the tail through the stitches, going back and forth a few times to secure it. Trim any excess yarn, making sure to leave a small tail to prevent unraveling.
Next, it is time to block the headband. Blocking is the process of wetting the knitted fabric and shaping it to the desired dimensions. To do this, fill a basin or sink with lukewarm water and add a small amount of mild detergent. Submerge the headband in the water, gently squeezing it to remove any air bubbles. Leave it to soak for 15-20 minutes.
After soaking, carefully remove the headband from the water and gently squeeze out the excess moisture. Lay the headband flat on a clean towel and roll the towel up, pressing down to remove even more water. Unroll the towel and reshape the headband to the desired dimensions. You can use pins or blocking wires to hold the shape in place if necessary.
Leave the headband to dry completely, preferably on a flat surface. This may take a day or two, depending on the thickness of the yarn and the humidity in the air. Once dry, you can remove any pins or blocking wires and admire your beautifully blocked twist headband!
- Finish by weaving in any loose yarn tails.
- Block the headband by soaking it in lukewarm water with a mild detergent.
- Gently squeeze out excess moisture and reshape the headband.
- Leave the headband to dry completely on a flat surface.
- Remove any pins or blocking wires once the headband is dry.
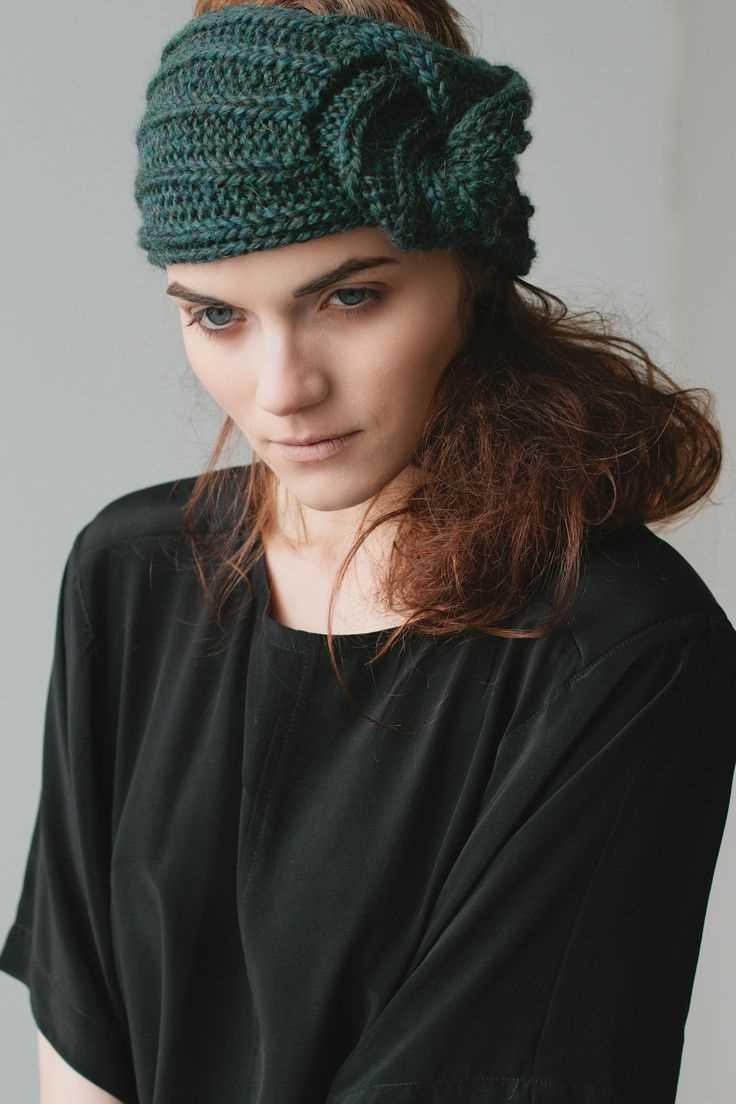
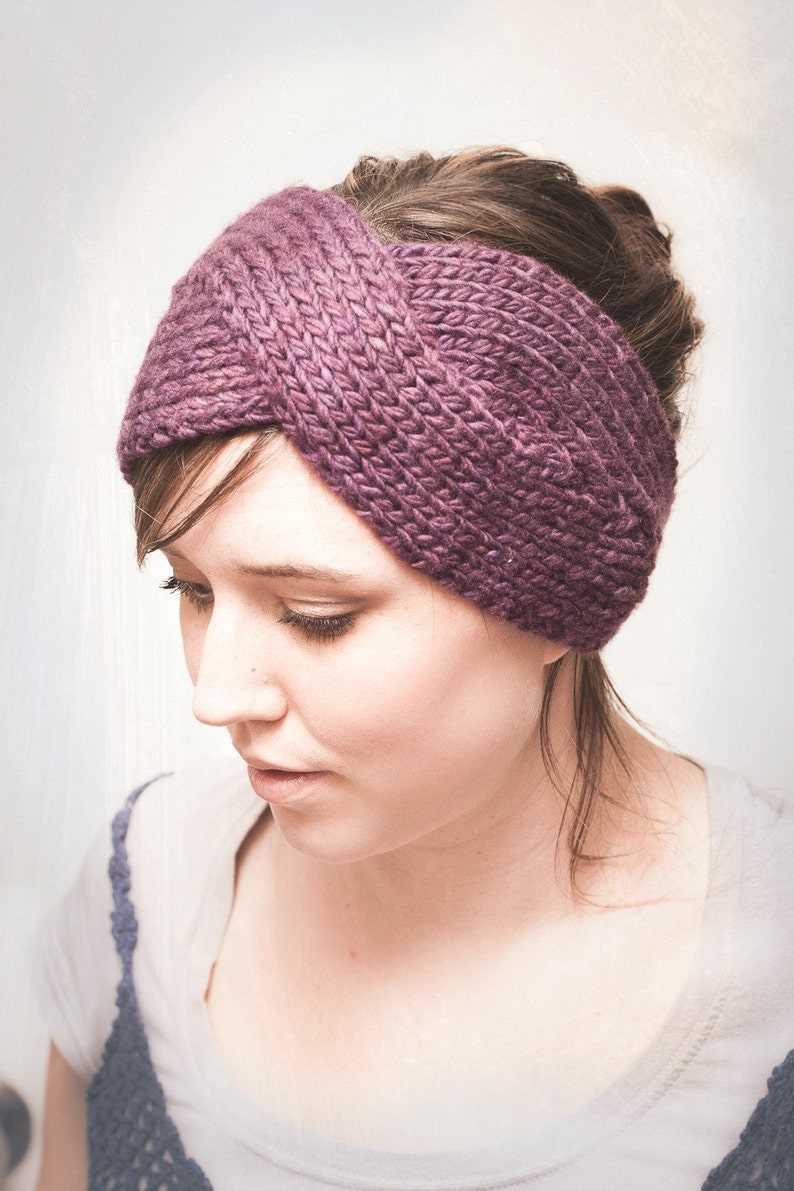
How to Wear a Twist Headband
Once you have completed knitting your twist headband, it’s time to style and wear it. Here are a few ways you can wear your twist headband:
- Classic Headband: Simply place the twist headband on your forehead and wrap it around the back of your head. Adjust the width and position to your liking.
- Knotted Headband: Twist the headband in the center to create a knot. Place the twisted section on the top of your head and wrap the ends around the back, tying them in a knot or a bow.
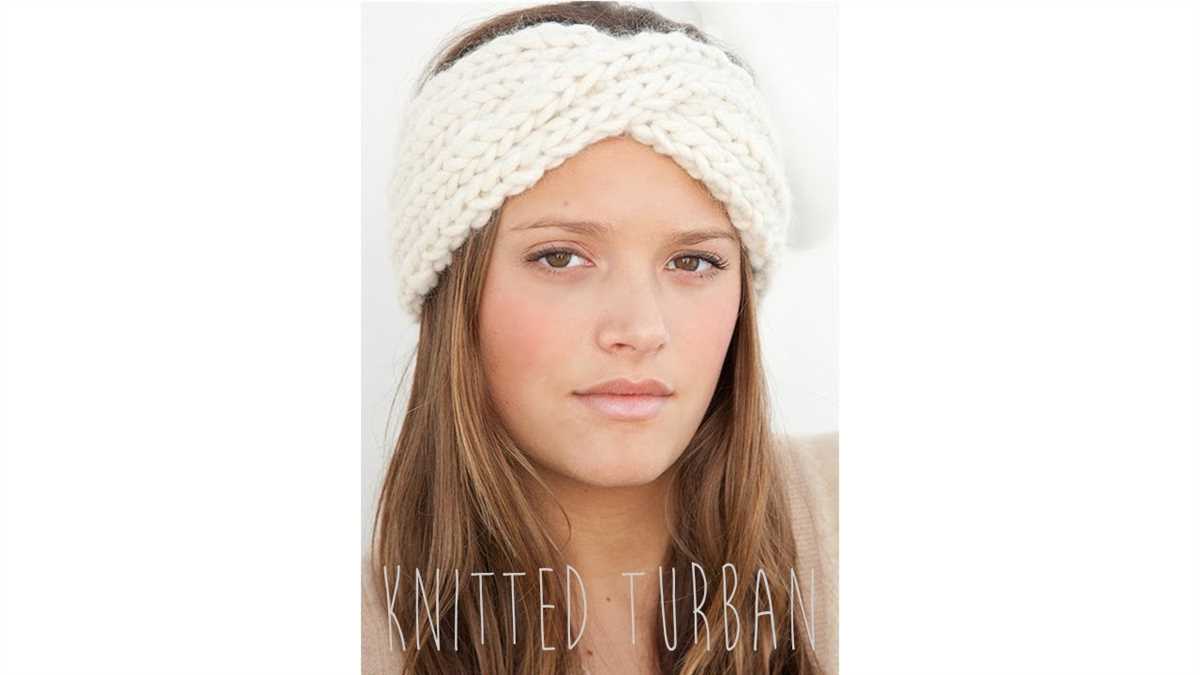
- Twisted Turban: Place the twist headband on your forehead and twist it once before bringing it to the back of your head. Cross the ends over each other and bring them back to the front. Continue twisting and crossing until you reach the desired look.
- Double Wrapped Headband: Wrap the headband around your head twice for a more secure fit. Position it on your forehead or further back to create different styles.
Experiment with different hairstyles and wear the twist headband in a way that complements your personal style. Whether you wear it with your hair down, in a ponytail, or in a bun, the twist headband adds a touch of elegance and warmth to any outfit.
With these simple styling options, you can effortlessly incorporate the twist headband into your everyday look and stay stylish throughout the winter season.