
Knitting is a timeless craft that allows us to create unique, handmade items that are both practical and beautiful. One popular knitting project is the woolen hat. A woolen hat is not only a great way to keep warm during the colder months, but it can also be a stylish accessory that adds a touch of personality to any outfit. In this article, we will explore a woolen hat knitting pattern that is suitable for knitters of all skill levels.
When it comes to knitting a woolen hat, the possibilities are endless. You can choose from a wide variety of yarns, from soft merino wool to chunky acrylic blends. Additionally, you can experiment with different stitch patterns and embellishments to create a hat that is truly one-of-a-kind.
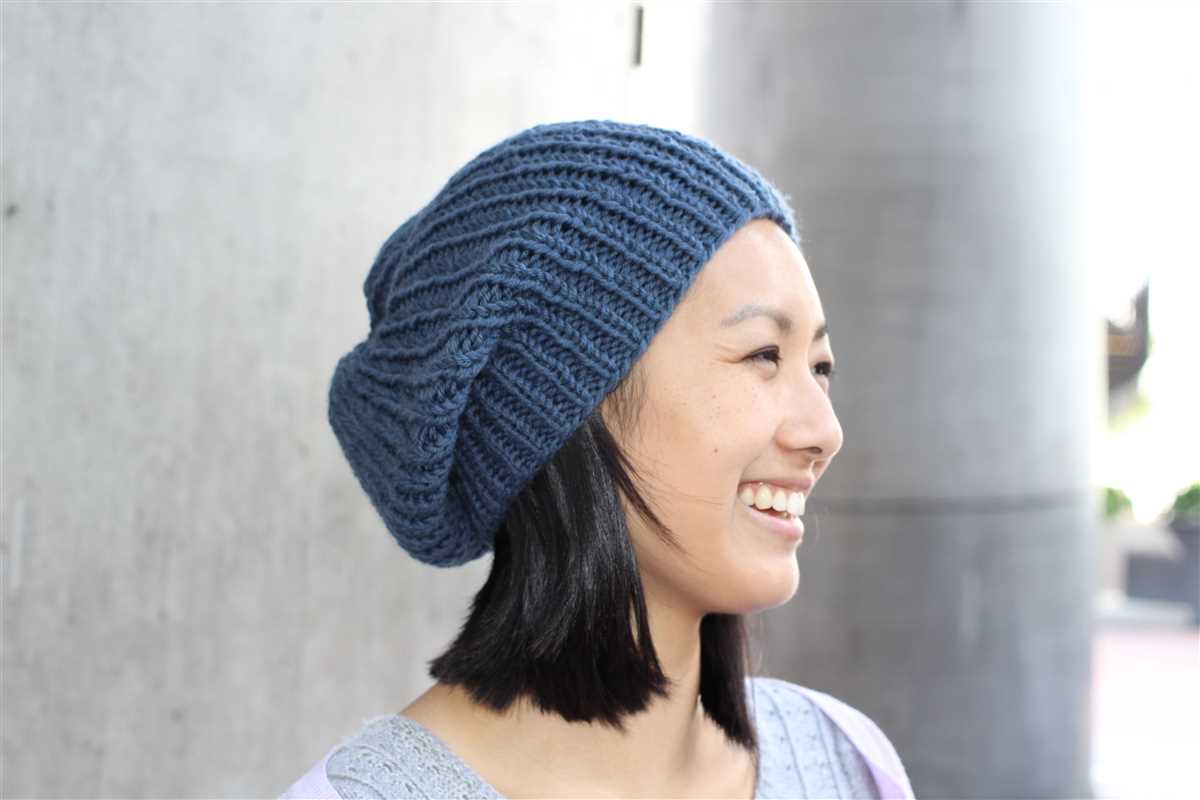
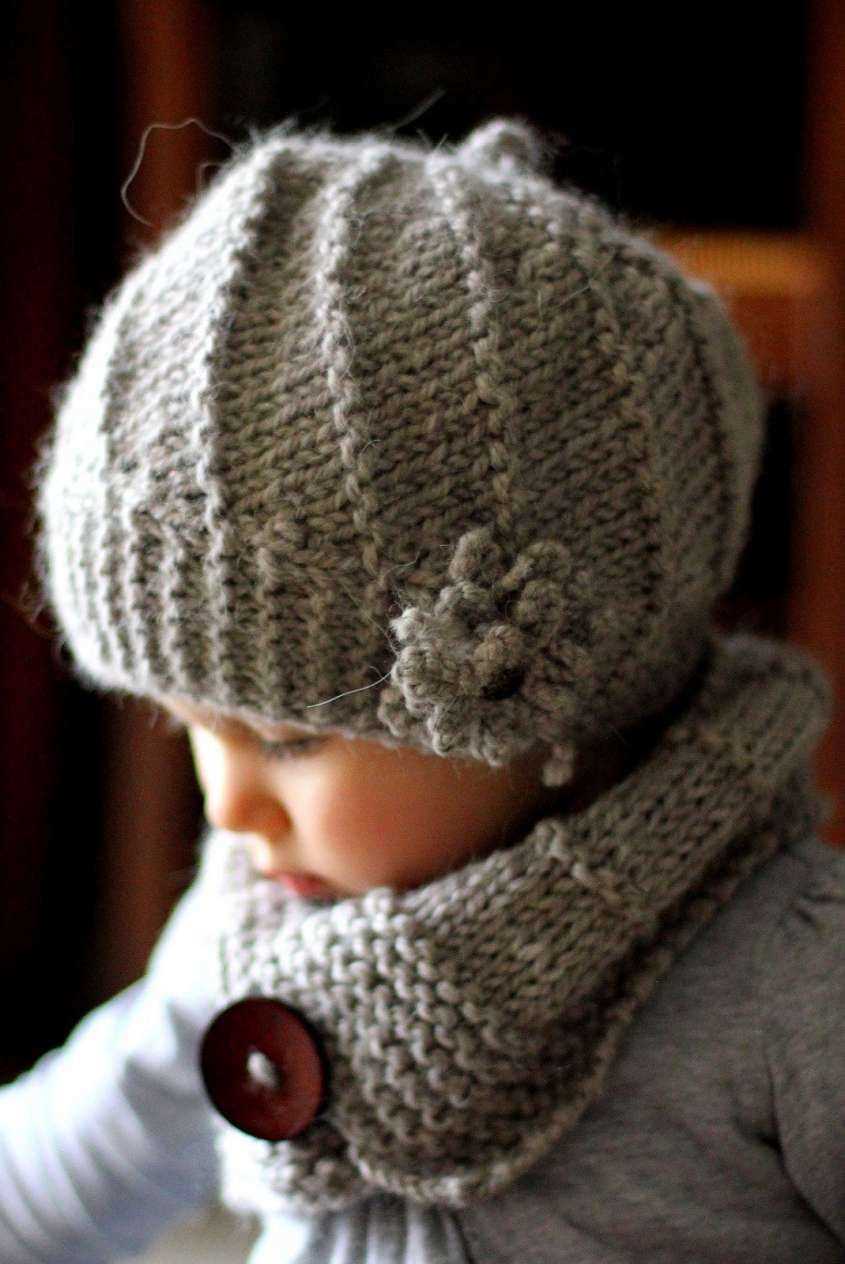
This woolen hat knitting pattern is a classic design that is perfect for beginners. It features a ribbed band for a snug fit and a simple stockinette stitch for the body of the hat. The pattern also includes instructions for shaping the crown, so you can create a hat that fits just right.
Woolen Hat Knitting Pattern
Knitting can be a relaxing and rewarding hobby, and one project that is perfect for beginners is knitting a woolen hat. With just a few simple steps, you can create a cozy and stylish accessory for the colder months. Here is a step-by-step guide to knitting your own woolen hat.
Materials:
- Wool yarn
- Knitting needles
- Tape measure
- Yarn needle
Step 1: Cast on
Start by casting on the desired number of stitches onto your knitting needles. This will depend on the size of the hat you want to make and the thickness of your yarn. A common number of stitches for an average-sized adult hat is around 80-100 stitches.
Step 2: Knit in the round
Once you have cast on your stitches, join them in a circle by knitting the first stitch onto the last stitch. This will allow you to knit in the round and create a seamless hat. Continue knitting in the round until the hat reaches your desired length, usually around 7-10 inches.
Step 3: Decrease
When the hat has reached the desired length, it’s time to decrease the number of stitches to close the top of the hat. This can be done by knitting together two stitches at a time, known as a knit two together (k2tog) decrease. Continue decreasing until you have a small number of stitches left, usually around 6-8.
Step 4: Finishing touches
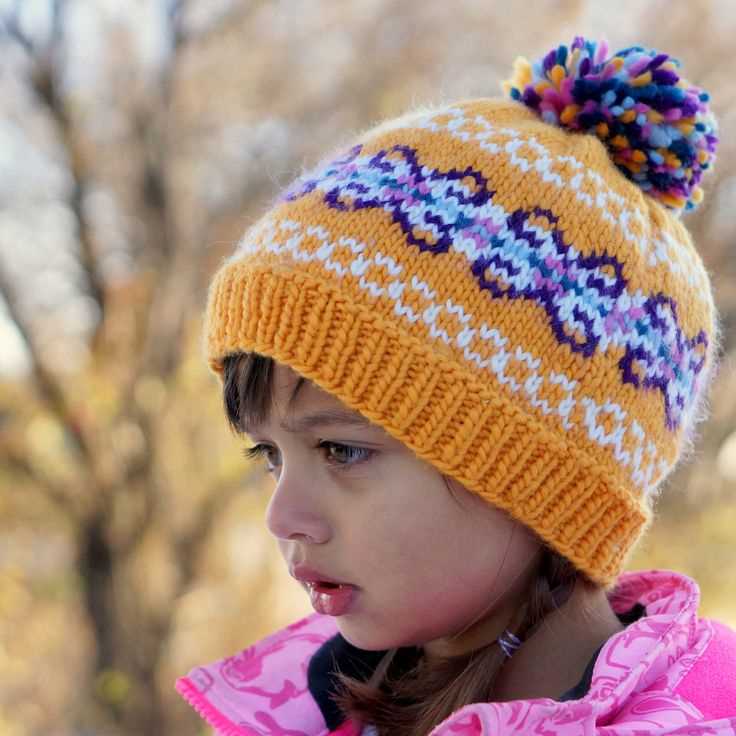
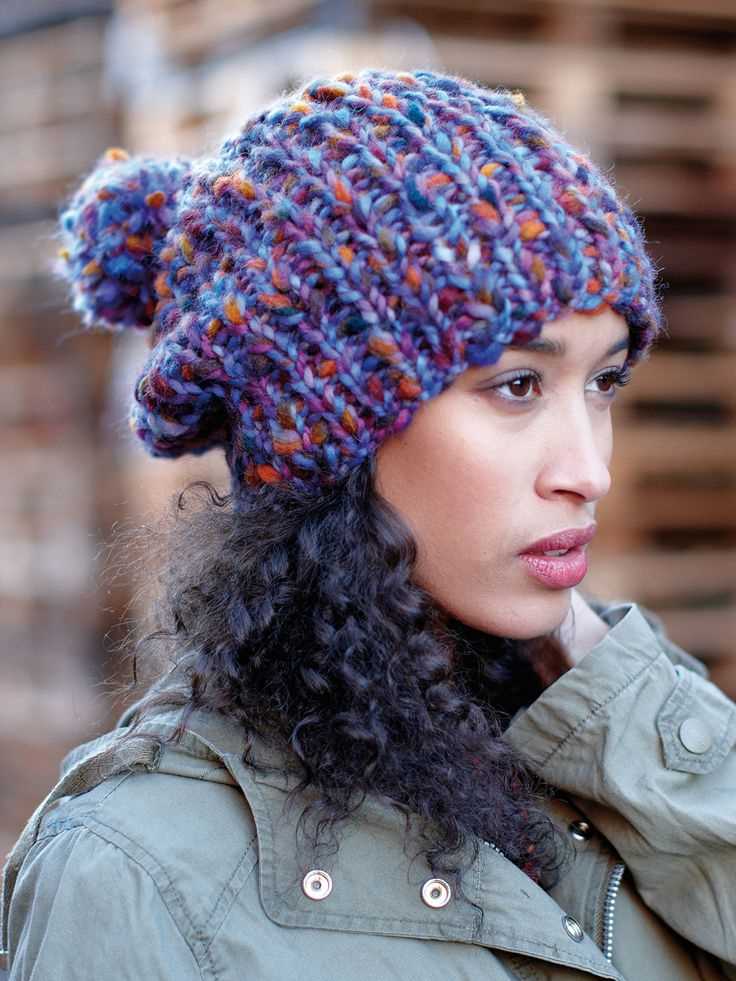
To finish the hat, cut the yarn leaving a long tail, thread it through a yarn needle, and slide the needle through the remaining stitches to close the top of the hat. Secure the yarn and weave in any loose ends. You can also add a pom-pom or other embellishments if desired.
Now that you have completed your woolen hat, you can enjoy the satisfaction of creating a handmade accessory that is both functional and stylish. Put it on, head out into the cold, and stay warm all winter long!
Choosing the Right Yarn and Needles
When it comes to knitting a woolen hat, choosing the right yarn and needles is crucial for achieving the desired outcome. The yarn you select will not only determine the overall look and feel of the hat, but it will also affect its warmth and durability. Similarly, the needles you use will determine the size and tension of your stitches, ultimately impacting the fit and structure of the hat.
Choosing the right yarn: There are various factors to consider when selecting yarn for your woolen hat. Firstly, the fiber content of the yarn will determine its warmth and longevity. Wool is a popular choice for hats due to its insulating properties, but blends with synthetic fibers or alpaca can also provide added softness and durability. Secondly, consider the weight or thickness of the yarn. Thicker yarns will result in a chunkier, warmer hat, while thinner yarns will create a lighter, more breathable hat. Lastly, consider the color and texture of the yarn, ensuring it complements your desired style and pattern.
Choosing the right needles: The size and type of needles you use will determine the tension and overall fit of your woolen hat. Generally, circular needles are preferred for hat knitting, as they allow you to effortlessly knit in the round and avoid seams. The size of the needles you choose will depend on the weight of your yarn and the desired gauge. Thicker yarns will require larger needles, while thinner yarns will require smaller needles. However, it is important to follow the pattern’s recommended needle size to ensure the correct tension and fit for your hat. Additionally, consider the material of the needles – metal or wood – and select the one that feels most comfortable in your hands.
Basic Cast On for the Brim
Before you can begin knitting your woolen hat, you need to cast on stitches to create the brim. The brim will serve as the base of the hat and provide a comfortable and snug fit. There are several methods for casting on stitches, but in this pattern, we will use the long-tail cast on method.
To start, you will need a pair of knitting needles and a ball of yarn. Begin by creating a slipknot at the end of the yarn, leaving a long tail for casting on. Place the slipknot on one of the knitting needles, ensuring that the tail end is on the right side.
Step 1: Hold the needle with the slipknot in your right hand and the empty needle in your left hand. Hold the yarn with your right thumb and forefinger, leaving a tail of approximately 2-3 inches.
Step 2: Insert the right needle into the slipknot from left to right, below the yarn tail. Hold the yarn tail with your left thumb and forefinger to prevent it from slipping out.
Step 3: With the right needle, catch the yarn that is behind the slipknot and bring it through the slipknot in a counter-clockwise motion. This will create a new loop on the right needle.
Step 4: Slide this new loop onto the left needle, keeping the loop snug but not too tight. This loop represents the first cast on stitch.
Step 5: Repeat steps 2-4 until you have cast on the desired number of stitches for the brim of your woolen hat. Make sure to leave a tail of yarn at the end for weaving in later.
Once you have completed the cast on, you can continue knitting the brim according to the pattern instructions. The basic cast on method creates a neat and stretchy edge, perfect for a cozy woolen hat.
Knitting the Brim
When knitting a woolen hat, one of the essential elements is the brim. The brim not only adds style to the hat but also helps to keep it securely in place on the wearer’s head. There are various ways to knit the brim, each with its own unique technique and pattern. Whether you prefer a simple ribbed brim or a more intricate cable design, choosing the right pattern can elevate your hat knitting project to the next level.
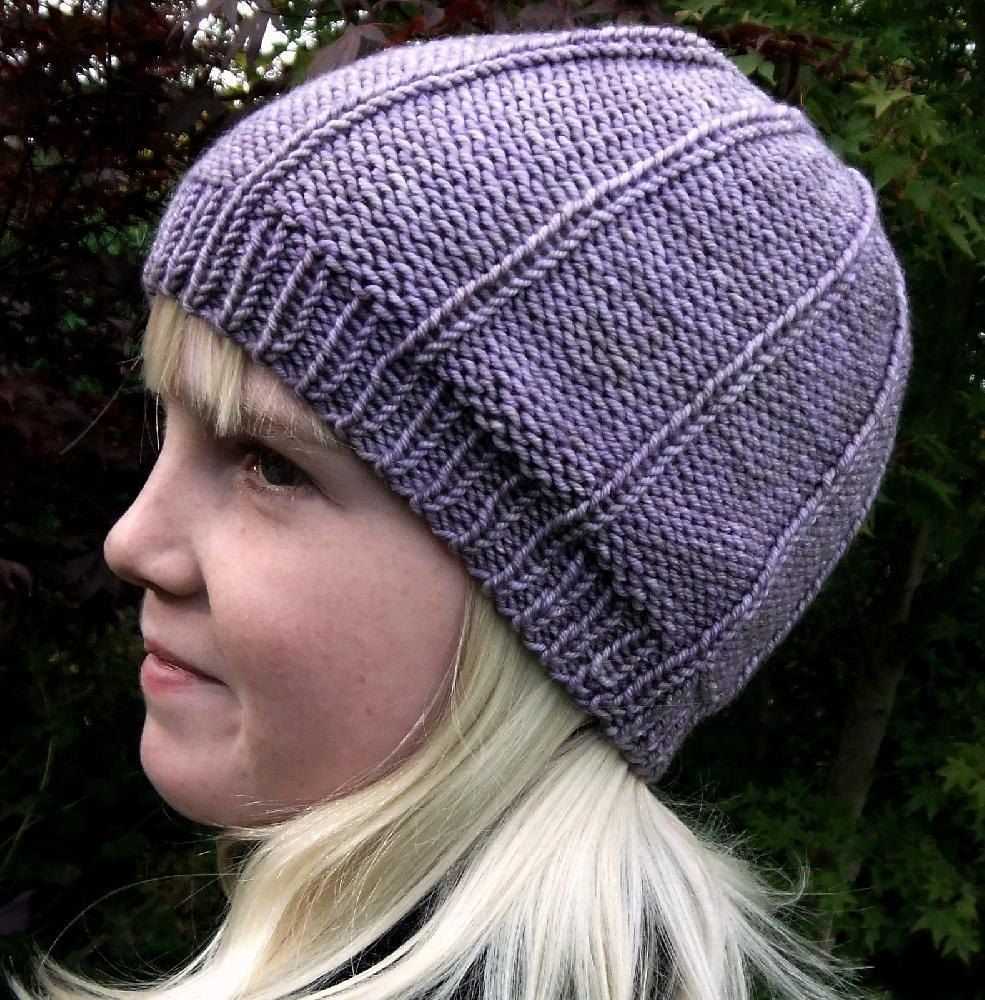
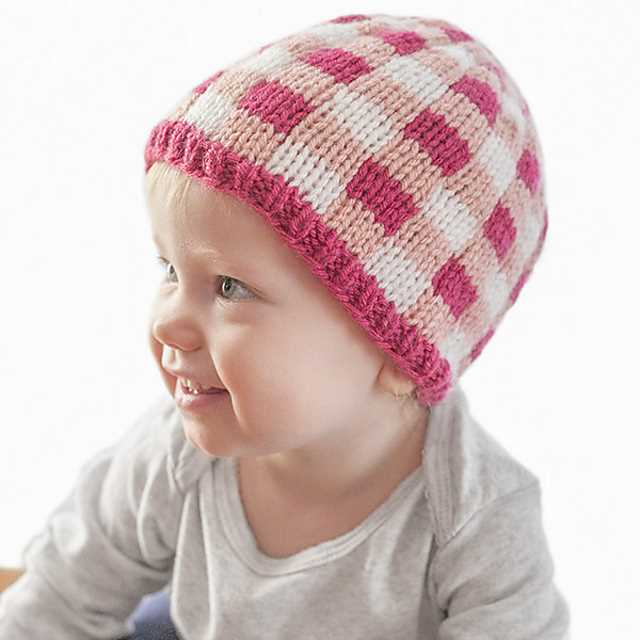
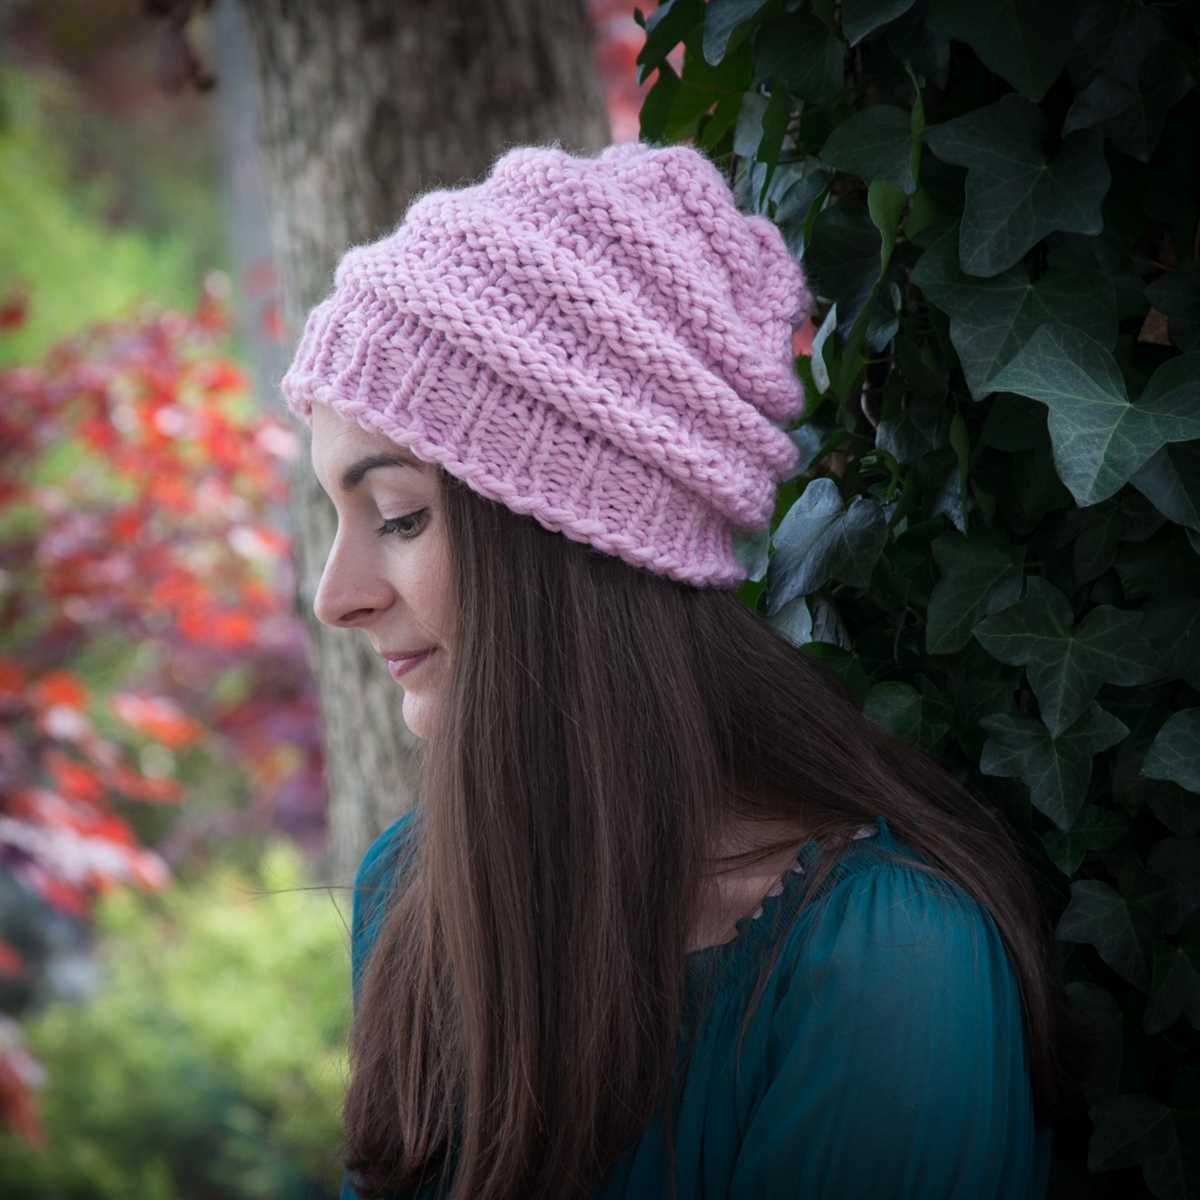
Ribbed Brim: The ribbed brim is a classic choice for woolen hats, and it provides a stretchy and snug fit. To knit a ribbed brim, you can use either a knit 1, purl 1 (K1, P1) ribbing or a knit 2, purl 2 (K2, P2) ribbing. The ribbing pattern creates vertical columns of knit and purl stitches, resulting in a textured and elastic brim. It’s a great option for beginners and works well with a variety of hat styles and yarn weights.
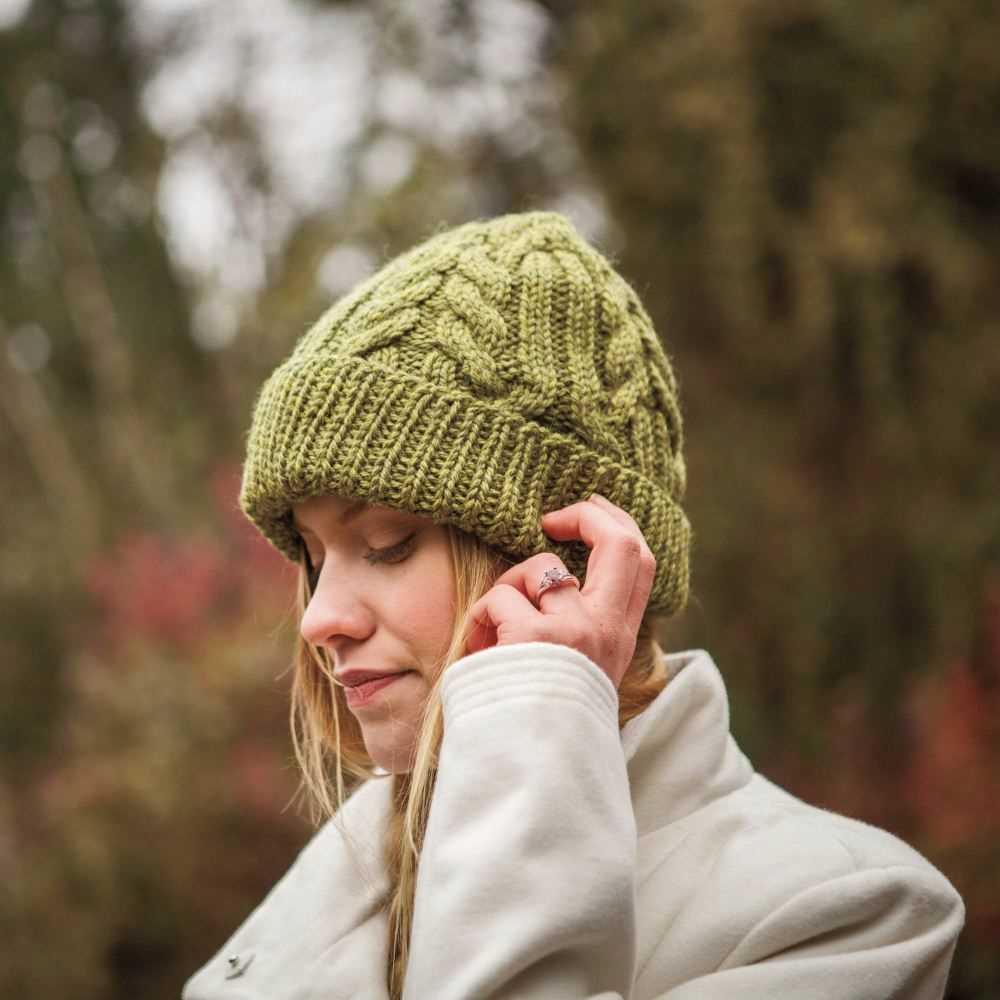
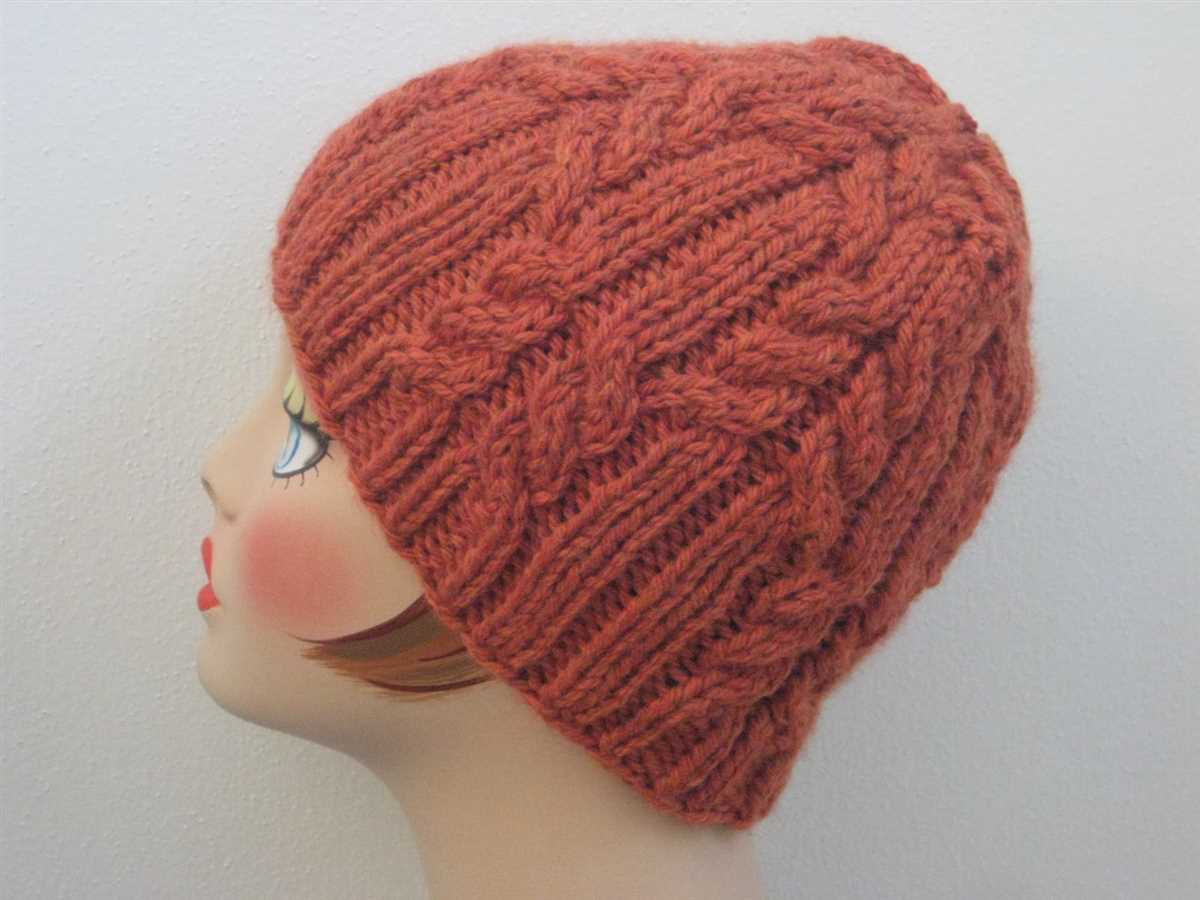
Cable Design: If you’re looking to add some visual interest and complexity to your hat’s brim, consider knitting a cable design. Cable knitting involves crossing stitches over one another to create twisting patterns. You can choose from various cable designs, ranging from simple twists to more intricate braided designs. Knitting a cable brim requires some experience with cable knitting techniques, but the end result is worth the effort. The cable pattern adds depth and texture to the brim, making it a real standout feature of the hat.
When knitting the brim of a woolen hat, it’s important to consider the desired fit and style. The ribbed brim offers flexibility and stretch, while the cable design provides a visually captivating look. Whichever pattern you choose, make sure to follow the instructions carefully and maintain an even tension throughout your knitting. The brim sets the tone for the entire hat, so take the time to choose a pattern that complements your style and showcases your knitting skills.
Creating the Ribbing Pattern
When knitting a woolen hat, one of the most important aspects is creating the ribbing pattern. The ribbing is the band of rows that sits at the bottom of the hat, providing a stretchy and snug fit. It is typically made using a combination of knit and purl stitches, creating a textured and elastic fabric.
To create the ribbing pattern, you will need to follow a specific sequence of knit and purl stitches. The most common ribbing pattern is the 1×1 rib, which alternates one knit stitch with one purl stitch. This pattern creates a neat and uniform look, while also ensuring a secure fit.
To start, cast on an even number of stitches to create the ribbing. Begin by knitting one stitch, then purling the next stitch. Repeat this sequence until you reach the end of the row. On the next row, you will knit the purl stitches and purl the knit stitches. This alternating pattern continues until you have achieved the desired length for the ribbing.
It is important to maintain a consistent tension while knitting the ribbing pattern to ensure an even and professional finish. Use a pair of knitting needles that are suitable for the weight of your yarn, and take care to avoid knitting too tightly or loosely. By following the ribbing pattern carefully and paying attention to your tension, you can create a beautifully textured and snug ribbed hat.
Knitting the Body of the Hat
Once you have completed the ribbing, it is time to start knitting the body of the hat. This is where you will create the main part of the hat that will cover your head.
To begin, you will need to switch to your main color yarn. This will be the color that you want the body of the hat to be. Take the main color yarn and make a slip knot. Insert your knitting needle into the first stitch of the ribbing and pull the yarn through to create your first stitch. This will now be the first stitch of the body of the hat.
Continue knitting in the round using the stockinette stitch for the body of the hat. This means that you will knit every round, without purling. Make sure to place a stitch marker at the beginning of the round so that you can keep track of your progress.
Continue knitting in this manner until the body of the hat measures the desired length from the ribbing. This will vary depending on the style and fit you prefer. You can try the hat on periodically to check the length and make any necessary adjustments.
Once you have reached the desired length, you can proceed to the next step of the knitting pattern, whether it is decreasing for the crown or adding any additional design elements. The body of the hat is complete and you are one step closer to finishing your beautiful woolen hat!
Shaping the Crown
When knitting a woolen hat, shaping the crown is an important step in creating the desired fit and style. The crown is the top portion of the hat where the stitches are gradually decreased to form a tapered shape. This not only gives the hat its characteristic look but also ensures a snug and comfortable fit.
To shape the crown, you will need to follow a specific pattern or set of instructions. This usually involves decreasing a certain number of stitches at regular intervals, typically every other row or every few rows. The exact decrease pattern will depend on the design of the hat and the desired shape.
There are various methods that can be used to decrease stitches when shaping the crown. The most common methods include knit two stitches together (k2tog), slip-slip-knit (ssk), and centered double decrease (cdd). These techniques create stitches that lean to the left or right, which gives the crown a symmetrical appearance.
It is important to carefully follow the instructions for shaping the crown to ensure that the decreases are done correctly. Mistakes in the decrease pattern can lead to an uneven or misshapen crown. Additionally, it is a good idea to regularly try the hat on as you work on shaping the crown to check the fit and make any necessary adjustments.
Once the crown has been shaped and all the required decreases have been made, the remaining stitches can be bound off to finish the hat. The crown should have a smooth, tapered shape that fits snugly on the head. With the crown complete, the woolen hat is ready to be worn and enjoyed!
Decreasing Stitches
Decreasing stitches is an essential technique in knitting patterns. It is used to create shaping in the fabric, whether it’s to form the crown of a woolen hat or to taper the sleeves of a sweater. Decreasing stitches can be done in various ways, but the most common methods are the knit two together (k2tog) and the slip slip knit (ssk) decreases.
The knit two together (k2tog) decrease is performed by inserting the right needle into the next two stitches on the left needle as if to knit, and then knitting them together. This creates a single stitch where there were previously two. The k2tog decrease slants to the right and is commonly used for shaping purposes, such as decreasing stitches evenly around a hat crown.
The slip slip knit (ssk) decrease is achieved by slipping the next two stitches individually as if to knit onto the right needle, then inserting the left needle into the front loops of these slipped stitches and knitting them together through the back loop. This also creates a single stitch where there were previously two, but it slants to the left. The ssk decrease is often used for shaping purposes, like decreasing stitches along the sides of a garment.
When following a woolen hat knitting pattern, it is important to pay attention to the specific decrease instructions provided. The pattern may specify which decrease method to use, such as k2tog or ssk, or it may provide a different decrease variation altogether. By carefully following the pattern’s instructions for decreasing stitches, you can achieve the desired shaping and create a beautifully knitted hat.
Switching to Double-Pointed Needles
When knitting a hat using a woolen hat knitting pattern, it is often necessary to switch to double-pointed needles during the decreasing rounds. Double-pointed needles are used to create a smaller circumference as the hat becomes smaller towards the crown.
To switch to double-pointed needles, it is important to ensure that the number of stitches on the needles is evenly divided among the needles. This will help in distributing the stitches evenly and prevent any gaps or ladders from forming in the knitting.
Here are the steps to switch to double-pointed needles:
- Begin by knitting the last few rounds using a circular needle until there are too few stitches to comfortably fit on the needle.
- Select a set of double-pointed needles that are the same size as the circular needle used for the previous rounds.
- Transfer the stitches from the circular needle onto the double-pointed needles, making sure to divide the stitches evenly.
- Once all stitches are transferred, arrange the needles so that the working yarn is on the right-hand side and the needle with the first stitch is in the middle.
- Continue knitting the hat using the double-pointed needles, working in the round as before.
Properly switching to double-pointed needles will ensure a smooth and seamless transition in your knitting project. Happy knitting!
Completing the Crown
After completing the body of your woolen hat, it’s time to move on to the crown. This final step will give your hat its finished look and provide the perfect fit for your head. Follow these simple instructions to complete the crown of your knitted hat.
Step 1: Decrease stitches
To shape the crown, you will need to decrease the number of stitches in your knitting. Begin by knitting two stitches together, repeating this decrease stitch pattern until you reach the desired number of stitches. This will create a tapered effect and ensure a snug fit for your hat.
Step 2: Switch to double-pointed needles
Once you have decreased the stitches, it may become too challenging to continue using the circular needles. Switch to double-pointed needles to accommodate the smaller number of stitches. Divide the remaining stitches evenly among the needles to make it easier to continue knitting the crown.
Step 3: Continue knitting in the round
With the decreased stitches now on double-pointed needles, continue knitting in the round. Follow the established stitch pattern or design of your hat until you reach the desired length for the crown. Be sure to check your gauge and make any adjustments necessary to ensure a proper fit.
Step 4: Bind off
Once you have reached the desired length, it’s time to bind off your stitches. Cut the yarn, leaving a tail long enough to weave in later. Thread the tail through a tapestry needle and slide it through each stitch, removing them from the needles as you go. Once all the stitches have been removed, pull the tail tight to secure the crown of your hat. Weave in any remaining ends and trim excess yarn.
Completing the crown of your knitted hat is an exciting moment, as it means your project is nearing its final stages. Follow these steps carefully to ensure a professional-looking finish and a hat that fits perfectly on your head. Once the crown is complete, you can proudly wear your handmade woolen hat and show off your knitting skills!
Weaving in Ends
One of the final steps in completing your woolen hat knitting project is weaving in the ends. This is an important step that ensures the durability and longevity of your hat. Weaving in ends involves securing and concealing the loose yarn tails that are left after you have finished knitting. This not only gives your hat a neat and finished appearance, but it also prevents the yarn from unraveling over time.
There are different methods for weaving in ends, but the most common one is the duplicate stitch method. To use this method, start by threading the yarn tail onto a tapestry needle. Insert the needle through the back of the fabric, following the path of the knitted stitches. Be sure to weave the yarn in different directions to create a secure hold. Once you have woven in the yarn for a few inches, trim off any excess and gently tug on the fabric to ensure the yarn is securely hidden.
Steps for Weaving in Ends:
- Thread the yarn tail onto a tapestry needle.
- Insert the needle through the back of the fabric, following the path of the knitted stitches.
- Weave the yarn in different directions to create a secure hold.
- Continue weaving the yarn for a few inches.
- Trim off any excess yarn.
- Gently tug on the fabric to ensure the yarn is securely hidden.
It’s important to take your time and be careful when weaving in ends to ensure a neat and professional finish. Additionally, make sure to weave in ends as you go rather than waiting until the end of your project. This will help prevent the yarn tails from getting tangled or lost during the knitting process.
Blocking the Hat
Blocking is an important step in finishing your knitted hat. It helps to shape the hat, open up the stitches, and give it a polished look. To block your hat, you will need a few materials:
- Pins: You will need pins to secure the hat to the blocking surface. Stainless steel or rustproof pins are recommended.
- Blocking surface: You can use a blocking mat, a towel, or any other flat surface that you don’t mind getting pinned into.
- Spray bottle: A spray bottle filled with water is useful for moistening the hat before blocking.
Once you have gathered your materials, follow these steps to block your hat:
- Wet the hat: Fill the spray bottle with water and lightly mist the hat. Make sure it is evenly damp, but not soaking wet.
- Shape the hat: Gently stretch the hat to the desired size and shape. You can use your hands to smooth out any wrinkles or uneven stitches.
- Pin the hat: Place the hat on the blocking surface and use the pins to secure it in place. Start at the brim and work your way up, pinning the hat along the edges to hold the shape.
- Let it dry: Leave the hat to dry completely. This can take anywhere from a few hours to overnight, depending on the humidity and thickness of the hat.
- Remove the pins: Once the hat is dry, carefully remove the pins. The hat should now hold its shape and have a clean, polished look.
Blocking is an essential step in the knitting process, as it can transform a hat from looking homemade to professional. It not only improves the appearance of the hat but also helps it to fit better and maintain its shape over time. So take the time to block your hat and enjoy the finished product!
Adding Embellishments
Once you have completed knitting your woolen hat, it’s time to add some embellishments to give it a personal touch. You can choose from a variety of options to make your hat unique and stylish.
Here are some ideas for adding embellishments to your woolen hat:
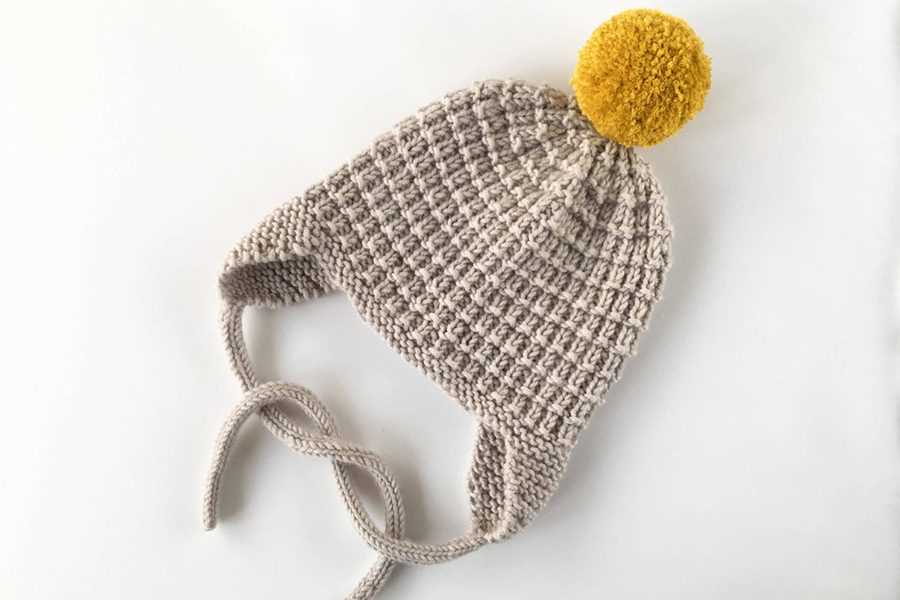
- Pom-poms: Attach a fluffy pom-pom to the top of your hat using a yarn needle and some matching yarn. You can make pom-poms using a pom-pom maker or by hand.
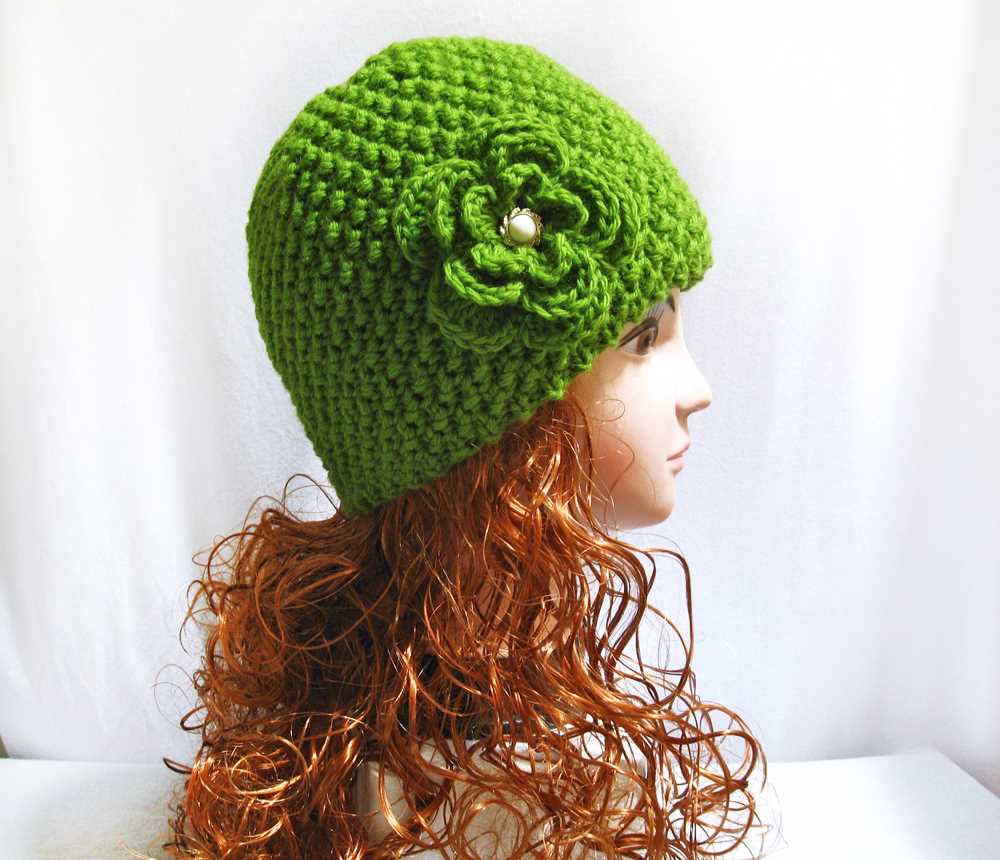
- Buttons: Sew on some buttons to add a decorative element to your hat. Choose buttons that match the color and style of your hat.
- Embroidery: Use embroidery thread to add colorful designs or patterns to your hat. You can embroider your initials, flowers, or any other design you like.
- Sequins: Sew on small, shiny sequins to give your hat a glamorous look. You can create patterns or just randomly scatter the sequins for a sparkling effect.
- Ribbons: Attach a ribbon around the base of your hat for an elegant touch. You can tie a bow or let the ribbon hang loose.
Remember to securely attach the embellishments to your hat to ensure they stay in place. Experiment with different combinations and techniques to find the perfect embellishments for your woolen hat.
Conclusion
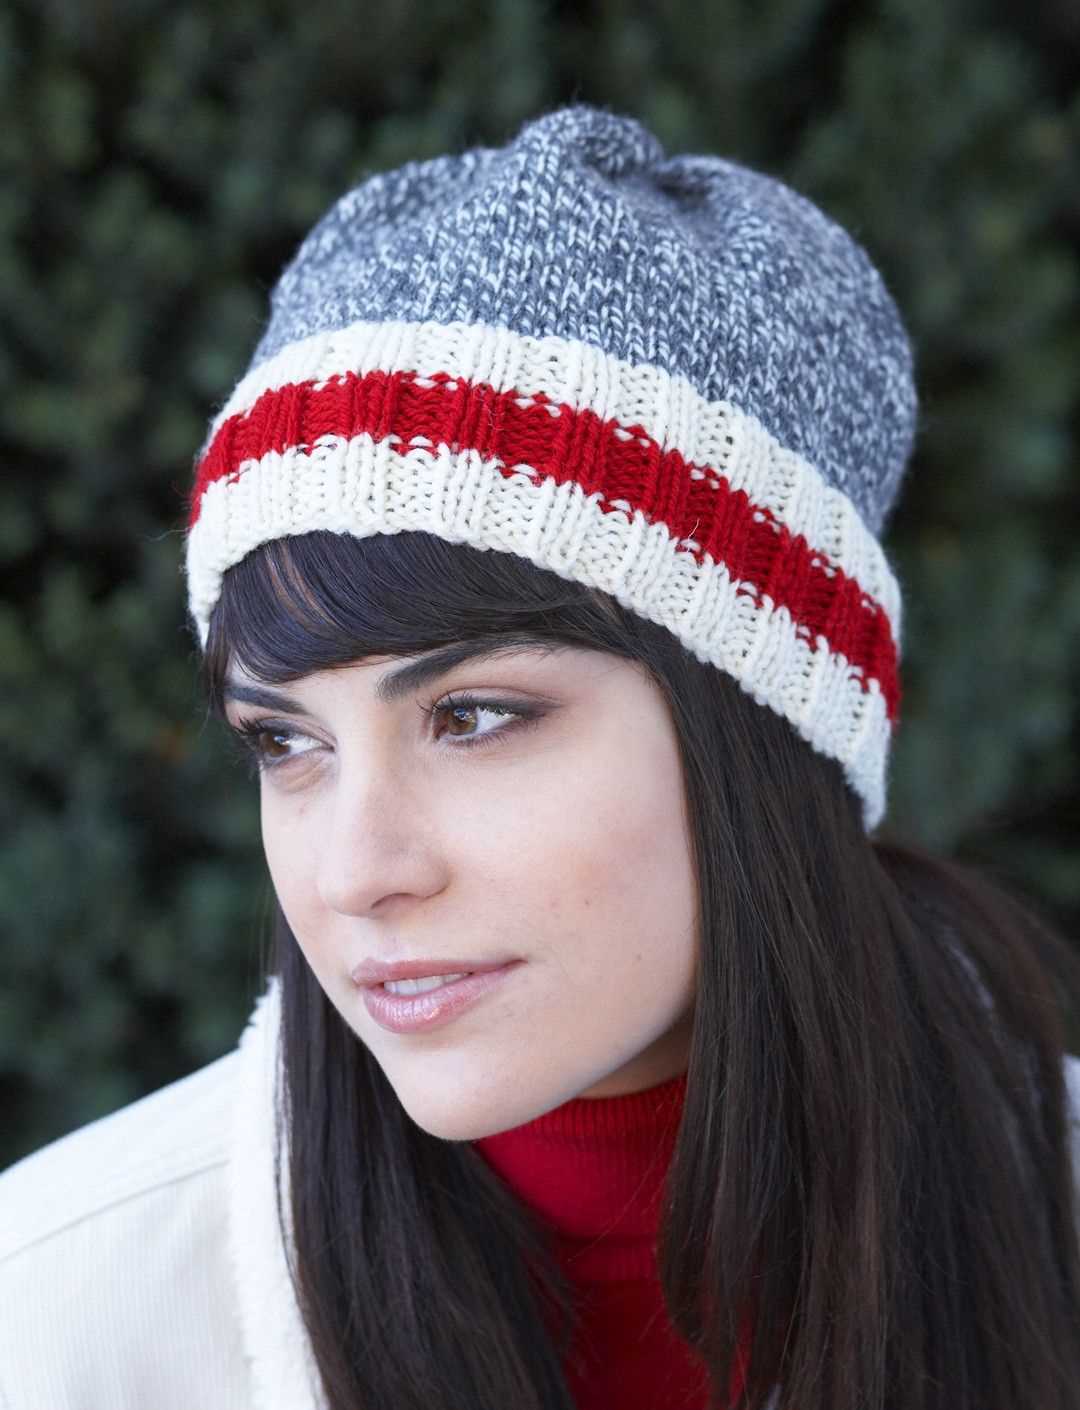
Knitting a woolen hat is a rewarding and enjoyable project that allows you to create a cozy and stylish accessory. By following a knitting pattern and adding your own personal touches, you can create a hat that is unique to you. Whether you choose to add cables, stripes, or embellishments, the final result will be a hat that you can be proud of and that will keep you warm during the cold winter months.
So grab your knitting needles, some soft and warm yarn, and get ready to create a woolen hat that will not only keep you cozy but also showcase your knitting skills and creativity.