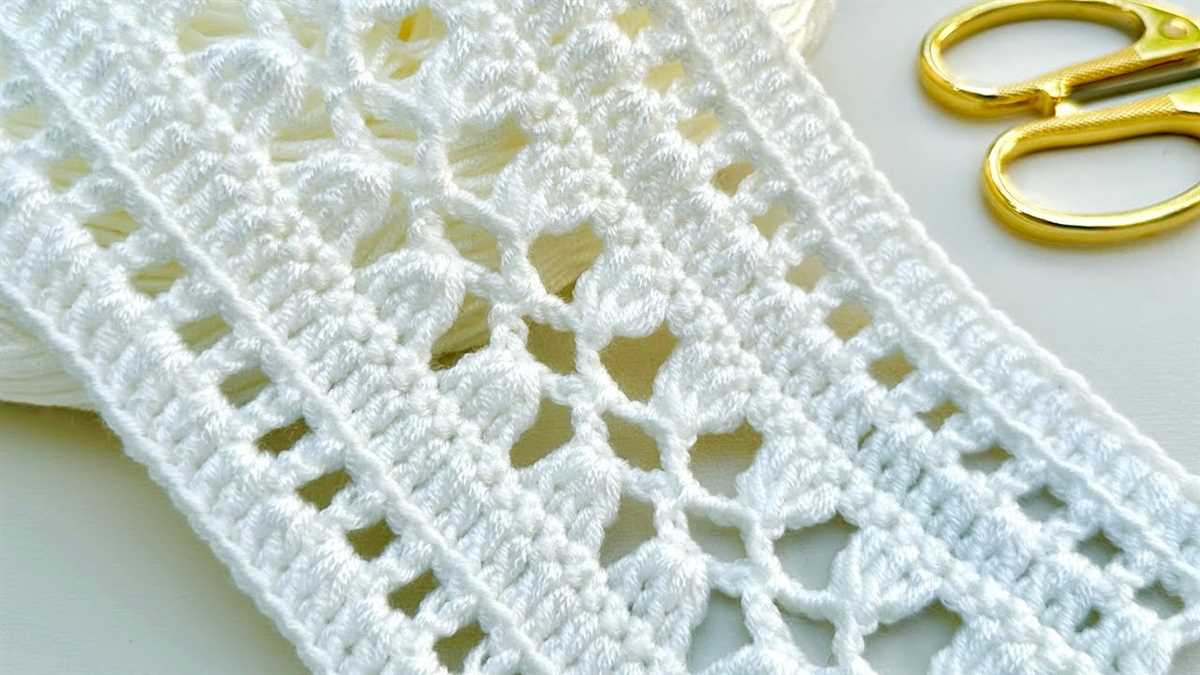
Knitting is not only a craft, but also a way to create something warm and cozy for yourself or your loved ones. If you are looking for a new knitting project, then a 3 color blanket may be just what you need. This pattern allows you to combine three different colors to create a beautiful and unique blanket.
One of the great things about this pattern is that it is suitable for knitters of all skill levels. Whether you are a beginner or an experienced knitter, you can easily follow the instructions and create a stunning blanket. The pattern involves using three different colors of yarn and alternating between them to create a beautiful striped effect.
The size of the blanket can be easily adjusted to suit your needs. You can make a small baby blanket or a large adult-sized blanket, depending on the amount of yarn you have and the desired finished size. The three-color combination offers endless possibilities for creativity, allowing you to experiment with different color combinations to create a unique and personalized blanket.
How to Knit a Three-Color Blanket: Beginner’s Guide
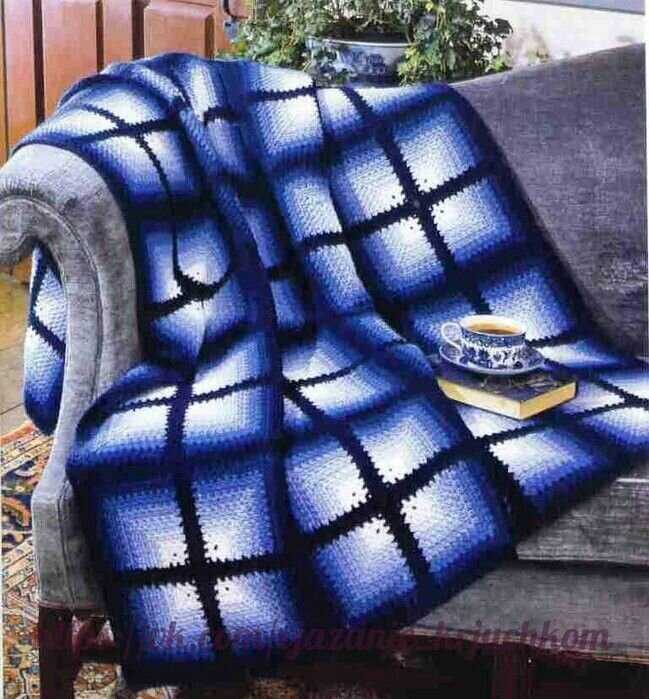
Knitting a three-color blanket can be a rewarding and enjoyable project for beginners. With a few basic knitting techniques and some patience, you can create a cozy and beautiful blanket to keep you warm during the colder months. Here is a step-by-step guide on how to knit a three-color blanket.
Gather Your Materials
Before you start knitting, make sure you have all the necessary materials. You will need three different colors of bulky weight yarn, knitting needles large enough to accommodate the yarn thickness, scissors, and a yarn needle for weaving in the loose ends. Choose colors that complement each other and create a harmonious color palette.
Choose Your Pattern
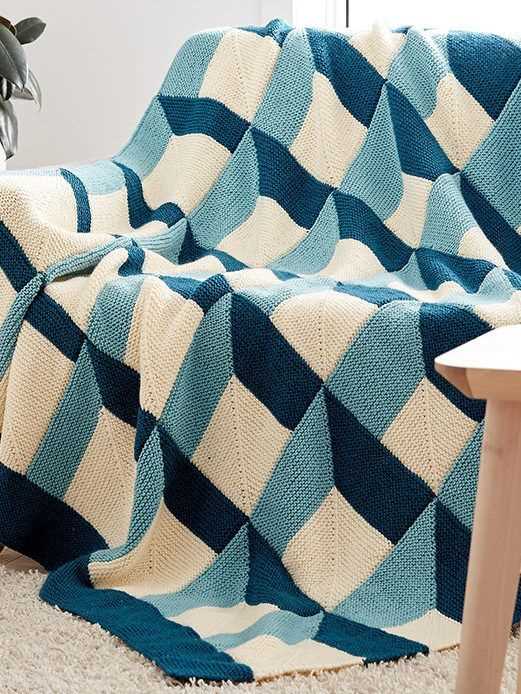
Next, decide on the pattern you want to use for your blanket. There are various patterns available, such as stripes, checkers, or even more intricate designs. If you are a beginner, it’s best to start with a simple pattern that uses basic stitches, such as garter stitch or stockinette stitch. This will help you get comfortable with the knitting process before attempting more complex patterns.
Start Knitting
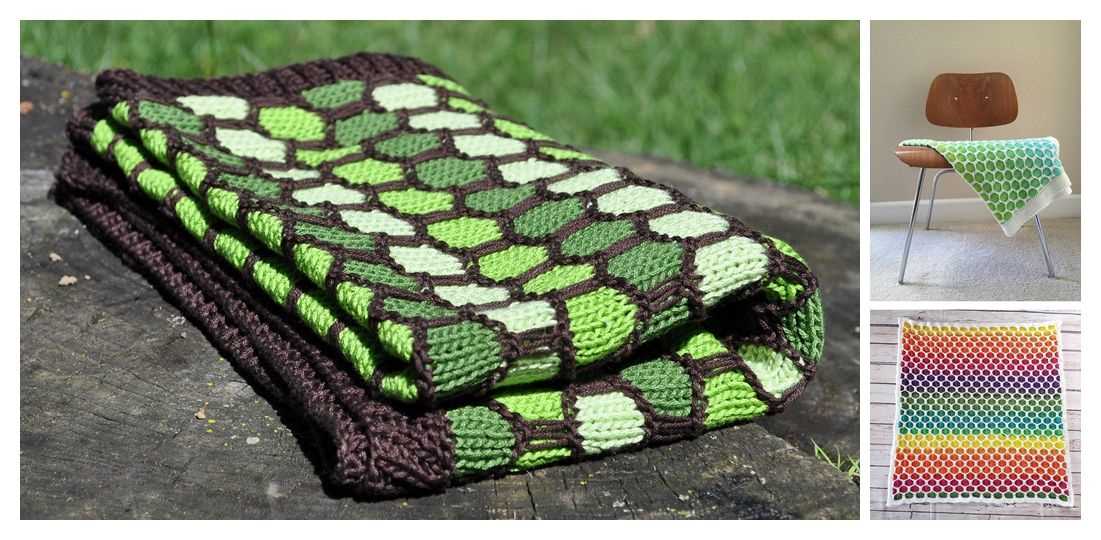
Once you have your materials and pattern ready, it’s time to start knitting your three-color blanket. Begin by casting on the desired number of stitches using the first color yarn. Remember to leave a long tail of yarn for weaving in later. Then, follow the pattern instructions to knit each row using the correct colors and stitches. It’s important to maintain an even tension throughout your knitting to ensure consistent results.
Change Colors
When it’s time to change colors, simply drop the current color yarn and pick up the new color yarn. Leave a short tail at the edge that can be woven in later. It’s best to change colors at the beginning of a row to create crisp color transitions. To prevent loose ends, carry the unused yarn up the side of your work, twisting it with the working yarn every few rows.
Finishing Touches
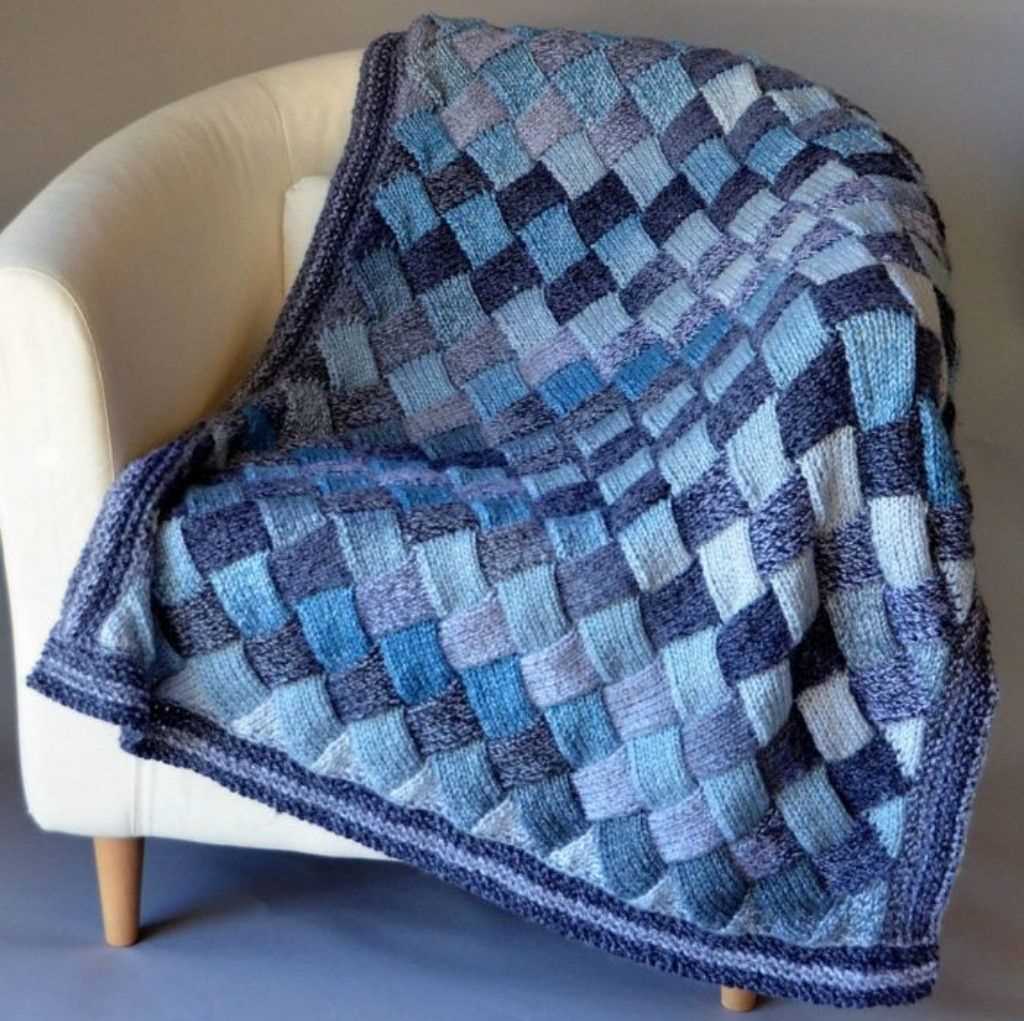
Once you have completed all the rows of your three-color blanket, it’s time for the finishing touches. Bind off the stitches using a stretchy bind-off method to ensure a neat and flexible edge. Weave in all the loose ends using a yarn needle, making sure to secure them tightly. Give your finished blanket a gentle blocking to even out the stitches and let it dry completely.
With these steps, you can successfully knit a three-color blanket as a beginner. Remember to take your time, practice your knitting techniques, and soon you will have a cozy and colorful blanket to cherish.
Choosing the Right Yarn for Your Blanket
When it comes to knitting a blanket, choosing the right yarn is crucial. The yarn you choose will determine the final look and feel of your blanket, as well as its durability and ease of care. Here are some factors to consider when selecting yarn for your 3 color blanket knitting pattern.
1. Fiber Content: The first thing to consider is the fiber content of the yarn. Different fibers have different characteristics and will produce different results. For example, wool is warm and cozy, while cotton is breathable and lightweight. Think about how you want your blanket to feel and choose a yarn that matches your desired texture.
2. Weight and Thickness: The weight and thickness of the yarn will also affect the look and feel of your blanket. If you want a chunky, cozy blanket, opt for a bulky weight yarn. For a lightweight, airy blanket, choose a fingering weight yarn. Consider the season and climate in which the blanket will be used to help you decide on the appropriate weight.
3. Color Selection: The color selection for your blanket is an important decision. Consider the overall aesthetic you want to achieve and how the colors will work together. For a 3 color blanket, you might choose a main color and then two complementary or contrasting colors. Experiment with different combinations to find the perfect color scheme for your project.
4. Yardage and Cost: Finally, consider the amount of yarn you will need and how much you are willing to spend. Determine the dimensions of your blanket and consult the yarn label to determine how much yarn you will need. Keep in mind that the cost of the yarn can vary depending on the fiber content and brand. Set a budget and find a yarn that fits within your price range.
By considering these factors and taking the time to choose the right yarn, you can ensure that your 3 color blanket knitting project turns out exactly as you envisioned. Whether you want a warm and cozy blanket for winter or a lightweight and breathable blanket for summer, there is a yarn out there that is perfect for your project.
Picking the Perfect Color Combination

Choosing the right color combination for your knitted blanket is essential in creating a visually appealing and harmonious design. The colors you select will set the overall tone and mood of the blanket, so it’s important to choose wisely. Here are some tips to help you pick the perfect color combination for your 3 color blanket.
1. Consider the color theory: Understanding the basics of color theory can greatly assist you in selecting complementary or contrasting colors for your blanket. Colors that are opposite each other on the color wheel, such as blue and orange or green and red, provide a vibrant and eye-catching contrast. On the other hand, colors that are adjacent to each other, such as blue and purple or yellow and orange, create a harmonious and calming effect.
2. Think about the theme or purpose of your blanket: If you have a particular theme or purpose in mind for your blanket, consider selecting colors that align with that theme. For example, if you’re knitting a blanket for a newborn baby, pastel shades of pink, blue, and yellow may be a suitable choice. Alternatively, if you’re aiming for a cozy and rustic look, earthy tones like brown, beige, and green can create a warm and inviting atmosphere.
- 3. Take inspiration from nature: Nature is often an abundant source of inspiration when it comes to color combinations. Consider observing the colors found in landscapes, flowers, or even the changing seasons. Drawing inspiration from nature can help you create a color palette that feels organic and harmonious.
- 4. Experiment with different shade variations: Don’t be afraid to play around with different shades and hues within the color family you’ve chosen. Adding a variety of light and dark tones can add depth and dimension to your blanket design.
- 5. Test your color combination: Before committing to your final color combination, it’s helpful to create small swatches or samples to see how the colors look together. This will give you a better idea of how they will translate in a larger project like a blanket.
Picking the perfect color combination for your 3 color blanket may require some experimentation and exploration. Don’t be afraid to trust your instincts and have fun with the process. Keep in mind the overall look and feel you want to achieve and let your creativity guide you.
Essential Tools and Supplies for Knitting a Blanket
When it comes to knitting a blanket, having the right tools and supplies is essential to ensure a successful and enjoyable knitting experience. Whether you are a beginner or an experienced knitter, here are some must-have items that you will need:
1. Knitting Needles
One of the most important tools for knitting a blanket is a set of knitting needles. The size of the needles will depend on the type of yarn and the desired gauge for your blanket. Circular or straight needles can be used, depending on your personal preference and the size of the project. It is recommended to have a set of interchangeable needles, as they allow you to easily adjust the length of your needles as needed.
2. Yarn

Choosing the right yarn is crucial for creating a comfortable and durable blanket. Opt for a soft and cozy yarn that is suitable for blankets, such as acrylic or wool blends. Consider the color scheme and thickness of the yarn to achieve the desired look and feel for your blanket. Make sure to buy enough yarn to ensure that you have plenty to complete your project.
3. Stitch Markers
Stitch markers are essential tools for keeping track of your stitches and patterns while knitting a blanket. They can be used to mark certain sections, increases, decreases, or any other important points in your pattern. Stitch markers come in various sizes and shapes, so choose the ones that work best for you.
4. Scissors
A good pair of scissors is necessary for cutting yarn and weaving in loose ends. Make sure to have a dedicated pair of scissors for your knitting projects to keep them sharp and prevent them from getting dull.
5. Tapestry Needle
A tapestry needle, also known as a yarn needle, is used for weaving in loose ends and seaming your blanket together. Choose a needle with a large eye that can easily accommodate your yarn, making it easier to sew and secure your stitches.
6. Measuring Tape
A measuring tape is an essential tool for checking the size and length of your blanket as you progress. It will help you ensure that your blanket is the desired length and width according to your pattern.
In addition to these basic tools and supplies, having a comfortable knitting environment, good lighting, and a clear pattern will also contribute to a successful knitting project. With the right tools and supplies, you will be well-equipped to start knitting your beautiful three-color blanket.
Casting On: Getting Started with Your Three-Color Blanket

When embarking on your knitting project, it’s important to start off right by casting on the stitches for your three-color blanket. This initial step sets the foundation for the entire project, so follow these instructions carefully to ensure a successful start.
Materials Needed:
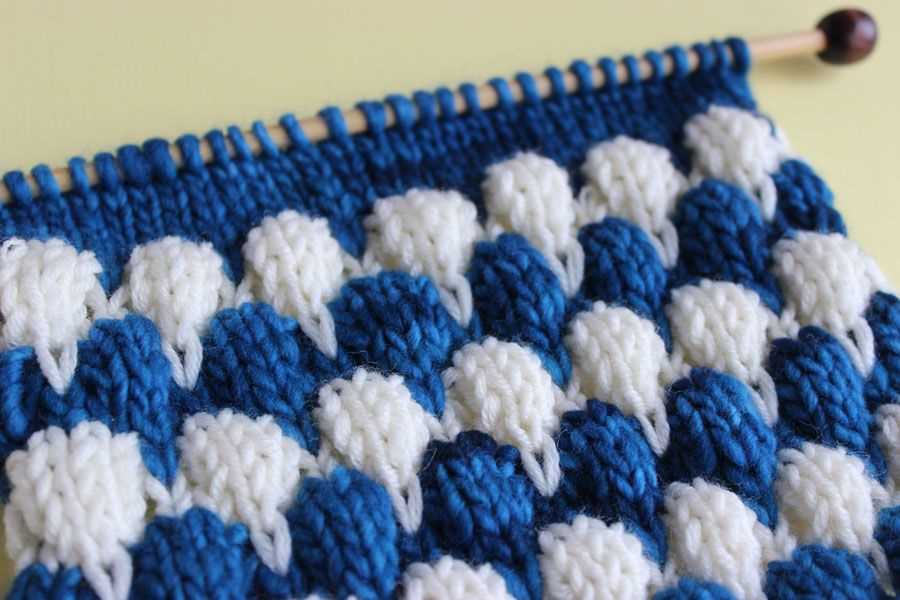
- Three different colors of yarn of your choice
- Knitting needles suitable for your yarn weight
- Tape measure or ruler
Step 1: Choosing Your Colors
The first step is selecting the three colors that will create the beautiful design of your blanket. Consider using contrasting colors for a bold and striking look or opt for softer shades for a more subtle effect. The choice is entirely up to you and your personal style.
Step 2: Determining Your Gauge
To ensure your blanket turns out the desired size, it’s important to check your gauge. Using the specified knitting needles, take a sample swatch and knit a square of approximately 4×4 inches. Measure the number of stitches and rows per inch to determine your gauge. This information will help you calculate the number of stitches needed for your blanket.
Step 3: Casting On
With your colors chosen and gauge determined, you are ready to cast on the stitches for your three-color blanket. Here’s how:
- Hold one of your chosen colors of yarn and make a slipknot.
- Insert one of your knitting needles into the slipknot and tighten the loop around the needle.
- Hold the needle with the slipknot in your right hand.
- With your left hand, bring the working yarn (the yarn connected to the yarn ball) over the needle from back to front.
- Using the right-hand needle, bring it under the left-hand needle from front to back.
- With your right hand, catch the working yarn, bring it through the loop on the left-hand needle, and slide the loop onto the right-hand needle. This is called making a knit stitch.
- Repeat steps 4-6 for the desired number of stitches, according to your gauge calculations.
Now that you’ve cast on your stitches, you’re ready to begin knitting your beautiful three-color blanket. Happy knitting!
Basic Knitting Stitches for Your Blanket
When it comes to knitting a blanket, it’s important to start with the basic stitches that will form the foundation of your project. Whether you’re a beginner or an experienced knitter, mastering these essential stitches will allow you to create a beautiful and cozy blanket that you can cherish for years to come.
Garter Stitch: The garter stitch is one of the most simple and versatile stitches that every knitter should know. It is created by knitting every stitch, both on the right side and wrong side of the fabric. The result is a bumpy texture that is perfect for a warm and cuddly blanket.
Stockinette Stitch: The stockinette stitch is another basic stitch that is commonly used in knitting projects. It is created by knitting one row and purling the next, repeating these two rows. This stitch creates a smooth and even fabric with distinct knit and purl sides. Consider using the stockinette stitch for a sleek and polished look for your blanket.
Ribbing: Ribbing is a stitch pattern that is commonly used for the edges of blankets or as a design element. It is created by alternating knit and purl stitches in a specific pattern, such as knitting two stitches and purling two stitches. Ribbing adds elasticity to your blanket and gives it a professional and finished appearance.
Seed Stitch: The seed stitch is a textured stitch pattern that is created by alternating knitting and purling stitches within each row. This stitch creates a bumpy, raised texture that adds visual interest to your blanket. Consider using the seed stitch for borders, accents, or even the entire blanket for a unique and eye-catching design.
With these basic stitches in your knitting repertoire, you’ll be well-equipped to create a beautiful and cozy blanket. Whether you choose to stick with one stitch pattern or mix and match them, the possibilities are endless. Happy knitting!
Creating Stripes: Adding the Second Color
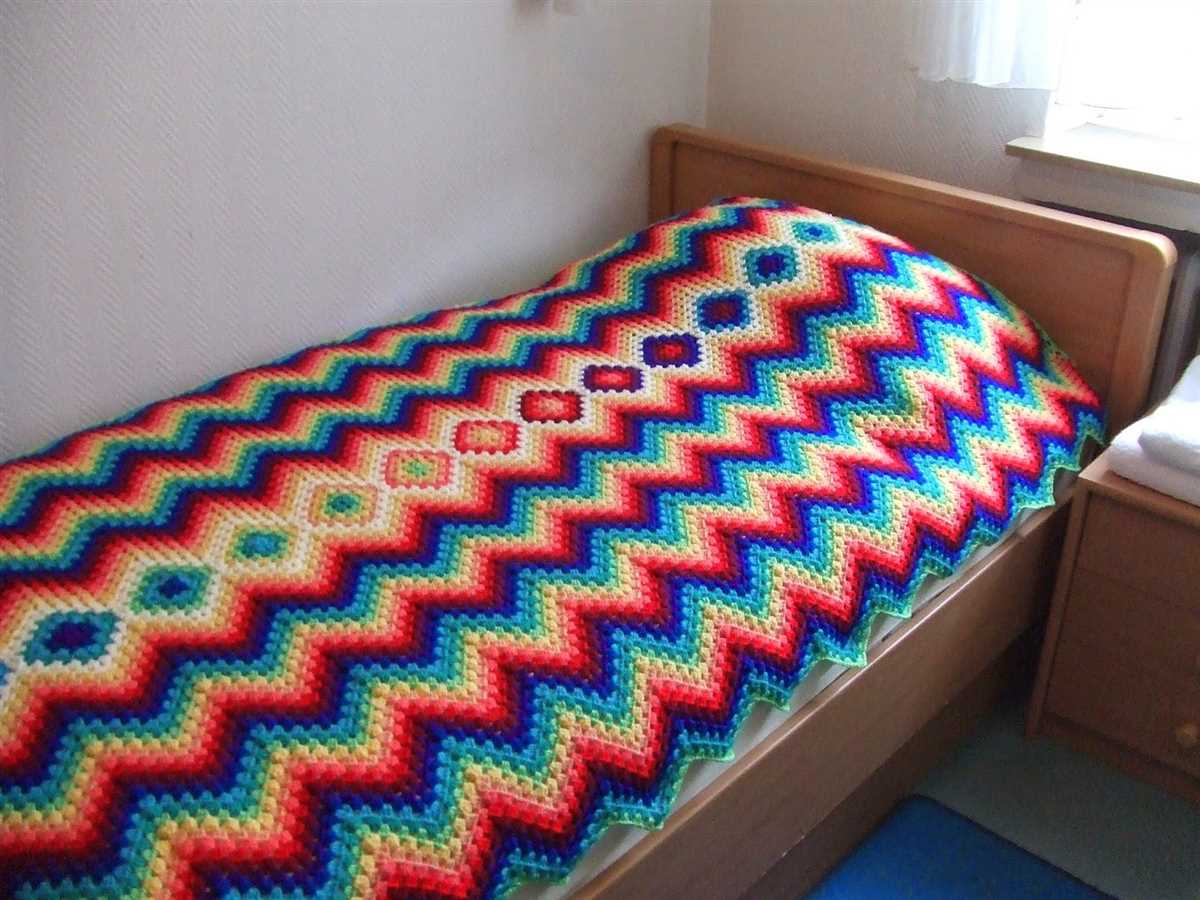
If you want to add some visual interest to your knitted blanket, creating stripes can be a great way to achieve that. Adding a second color can bring a whole new dimension to your project and make it more visually appealing. Here are some steps to follow when creating stripes with the second color in your knitting pattern.
1. Choose your second color
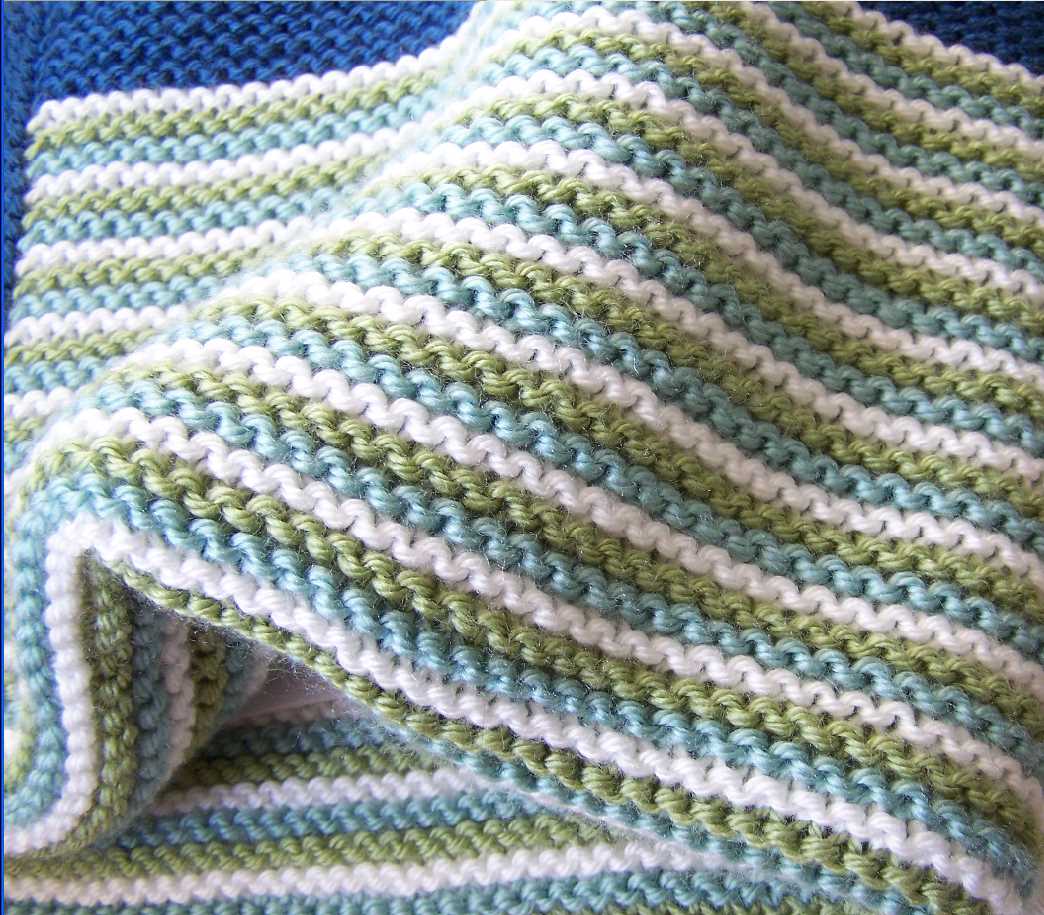
Before you start knitting the stripes, you need to select the color that you want to use as your second color. Consider the overall color scheme of your blanket and choose a color that complements or contrasts with the main color. It’s also important to choose a yarn weight and texture that will work well with your main color.
2. Plan the stripe pattern
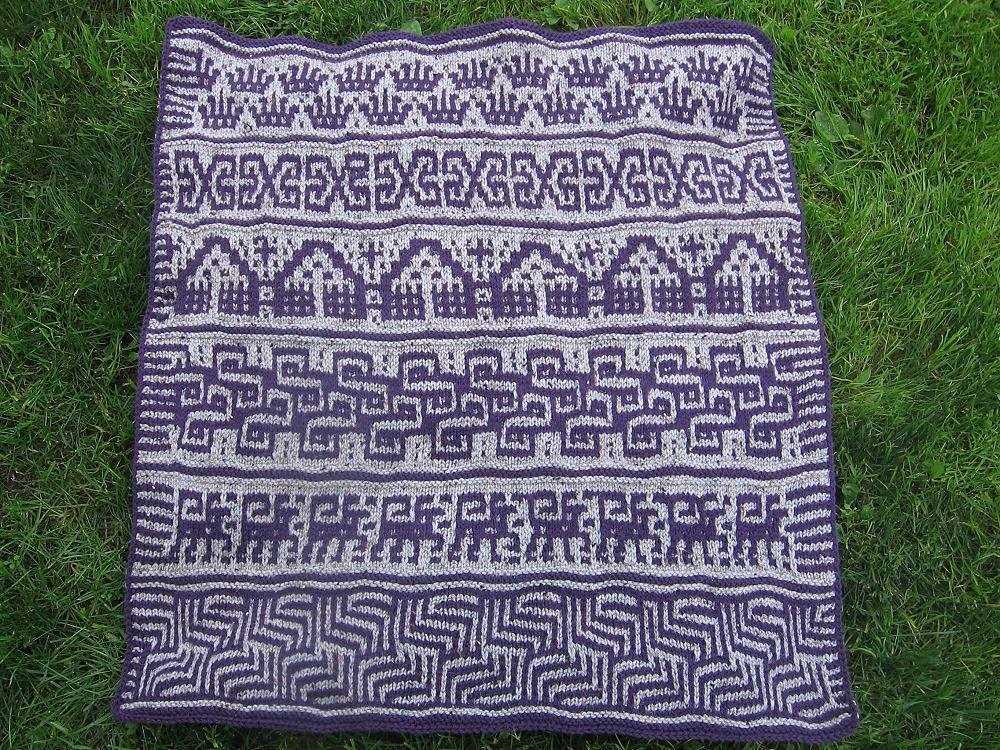
Decide on the width and placement of your stripes. You can create evenly spaced stripes of equal width or experiment with different widths for a more dynamic look. To plan out your stripe pattern, you can sketch it on paper or use a digital knitting design tool. This will help you visualize how the finished blanket will look.
3. Join the second color
Once you have your plan in place, it’s time to join the second color. To do this, simply pick up the new color yarn and start knitting with it, leaving a tail of yarn to weave in later. If you’re adding the second color in the middle of a row, you can start knitting with it at the desired stitch and continue with the new color for the specified number of rows.
4. Carry the yarn
If you’re adding multiple rows of the second color, you’ll need to carry the yarn not in use up the side of your work. To do this, gently twist the two yarns together on the wrong side of the blanket at the edge of the stripe. This will prevent any gaps or loose stitches between color changes.
5. Weave in the ends

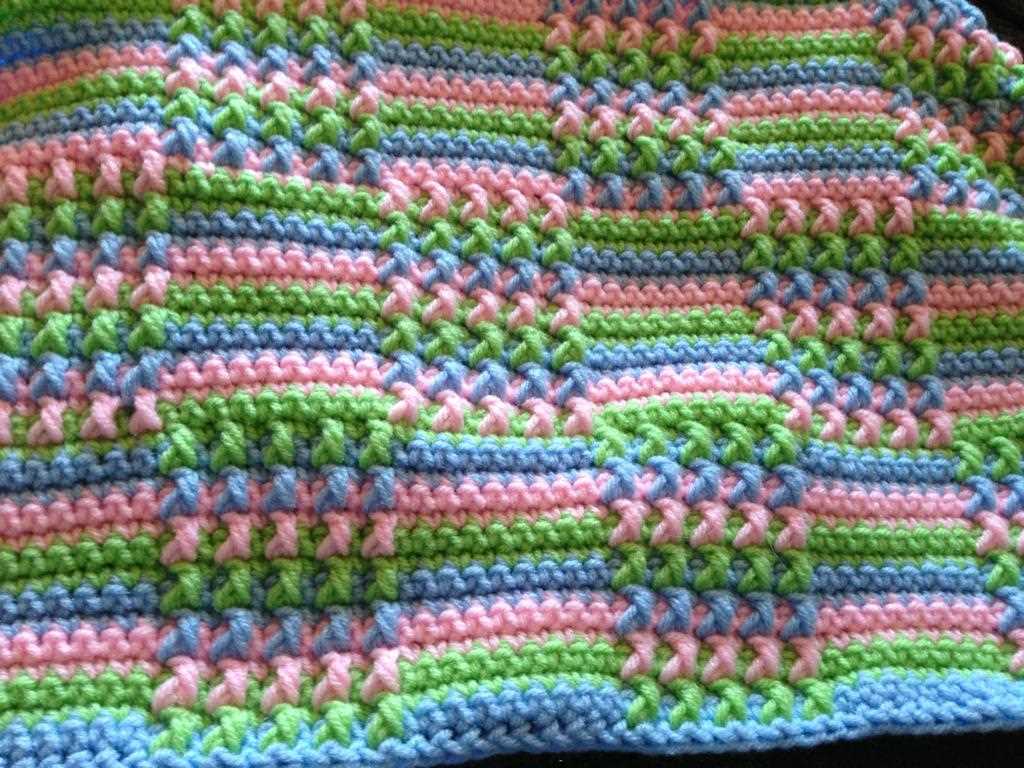
Once you’ve finished knitting the stripes, weave in the loose ends of the yarn to secure them. This will give your blanket a clean and finished look. You can use a tapestry needle to weave the ends through the stitches on the wrong side of the blanket, making sure they are secure and not visible from the right side.
By following these steps, you can easily add a second color and create beautiful stripes in your knitting pattern. Get creative with your color choices and stripe patterns to make your blanket truly unique!
Introducing the Third Color: Adding a Pop of Contrast
When it comes to knitting a blanket, choosing the right colors can make all the difference. While a classic two-color pattern can create a timeless and elegant look, adding a third color can add a pop of contrast and make your blanket truly stand out.
By introducing a third color into your blanket knitting pattern, you have the opportunity to create a unique and eye-catching design. This third color can be used in various ways, such as for stripes, borders, or even intricate colorwork patterns. The possibilities are endless!
- Stripes: One simple way to incorporate the third color is by knitting stripes. You can choose to have equal-sized stripes, or play with different widths to create a more dynamic look. The third color can be used as a bold accent or as a subtle contrast, depending on your preference.
- Borders: Another way to use the third color is by adding borders to your blanket. This can be done along the edges or as a frame for different sections of the blanket. The third color can be a contrasting color that complements the main colors of the blanket, or it can be a completely different shade to make a statement.
- Colorwork: For those who enjoy more intricate knitting patterns, incorporating the third color in colorwork can create a stunning effect. You can choose from various colorwork techniques, such as stranded knitting or intarsia, to create beautiful motifs or patterns on your blanket. This is a great way to showcase your knitting skills and add a touch of artistry to your project.
When selecting the third color for your blanket, consider the overall color scheme and the mood you want to convey. Do you want a vibrant and playful blanket, or a more subdued and sophisticated one? Play around with different color combinations and see what speaks to you.
By adding a pop of contrast with a third color, you can elevate your blanket knitting project to new heights. It’s an opportunity to express your creativity and make a statement with your knitting. So go ahead and experiment with different colors – you might be pleasantly surprised by the results!
Working with Multiple Colors: Tips and Tricks
Knitting with multiple colors can add a beautiful and vibrant touch to your projects, but it can also be a bit challenging if you’re not familiar with the techniques. Whether you’re working on a 3 color blanket knitting pattern or any other project, here are some tips and tricks to help you along the way.
1. Choose the right yarn: When working with multiple colors, it’s important to choose yarn that is suitable for colorwork. Look for yarns that have good stitch definition and are not too slippery, as this will help the colors pop and make it easier to work with.
2. Plan your colors: Before you begin your project, take some time to plan out your color scheme. Consider the overall look you want to achieve and how the colors will work together. You can create a sample swatch to see how the colors look together before committing to your final design.
3. Tangle-free yarn management: To avoid getting your yarns tangled when working with multiple colors, consider using bobbins or yarn holders. This will help keep your yarns organized and make it easier to switch between colors as needed.
4. Carry the yarn: When working with multiple colors in the same row or round, you’ll need to carry the yarn along the back of your work. To avoid long floats and a messy back, be sure to catch the unused yarn every few stitches by twisting it with the working yarn.
5. Keep your tension consistent: Maintaining consistent tension is crucial when working with multiple colors. Be mindful of not pulling too hard on the yarns as this can create uneven stitches. Practice and take breaks if needed to ensure your tension remains consistent throughout the project.
- 6. Practice with smaller projects: If you’re new to colorwork, it’s a good idea to practice with smaller projects before tackling a large project like a blanket. Start with simple patterns such as color block hats or mittens to build your confidence and perfect your technique.
- 7. Block your work: Blocking your finished project can help even out the stitches and make the colors pop. Follow the yarn manufacturer’s instructions for blocking or consult online resources for tips on blocking colorwork projects.
- 8. Enjoy the process: Working with multiple colors can be challenging, but it can also be incredibly rewarding. Embrace the journey and enjoy watching your project come to life with each color change.
By following these tips and tricks, you’ll be well-equipped to tackle any project that involves working with multiple colors. Don’t be afraid to experiment and have fun with your color choices, as knitting with multiple colors can truly create stunning and unique creations.
How to Change Colors Smoothly in Your Blanket
When knitting a blanket with three colors, it’s important to understand how to change colors smoothly to achieve a polished and cohesive look. Follow these steps to ensure seamless transitions between colors:
1. Choose the right pattern
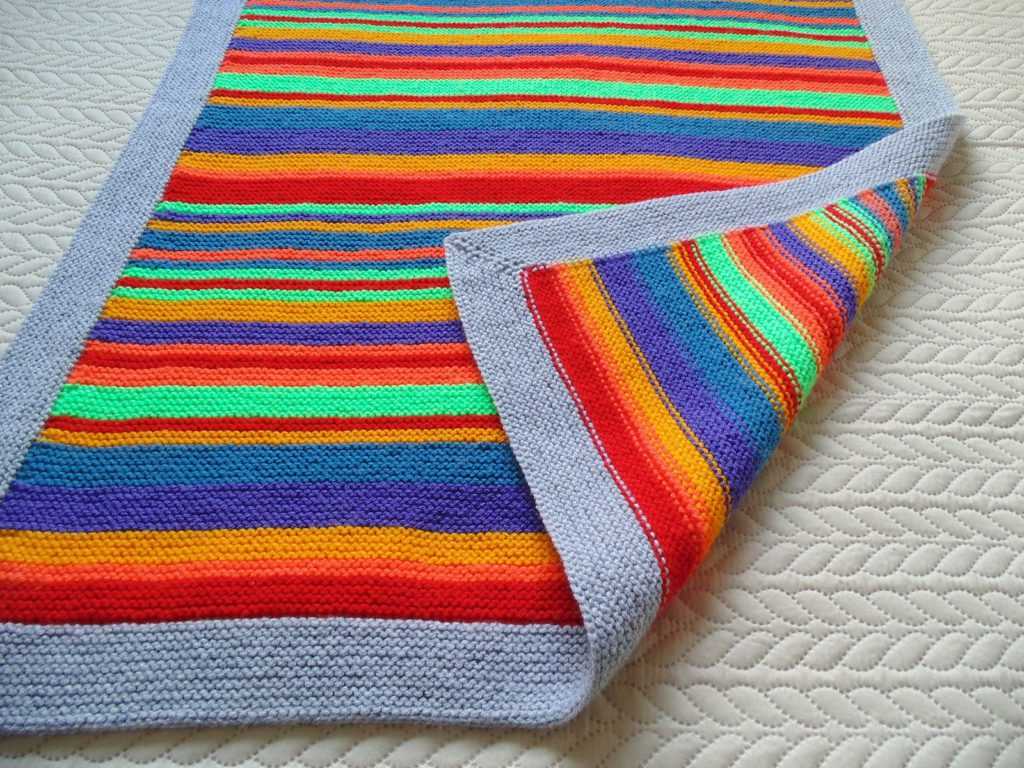
Before you start knitting your blanket, select a pattern that allows for smooth color changes. Look for patterns that incorporate stripes or color blocks, as these designs naturally lend themselves to color transitions. Additionally, consider the size of the color sections in the pattern, as smaller sections may require more frequent color changes.
2. Plan your color changes

Before you reach a point where you need to switch colors, take a moment to plan the transition. Look at your pattern and identify where each color change will occur. This way, you can prepare and have the new color ready to go when the time comes. Planning ahead will help prevent any abrupt changes in your knitting.
3. Use the “Russian join” or “spit splice” method
To create smooth color transitions, consider using either the “Russian join” or “spit splice” method. These techniques involve joining the new strand of yarn to the existing strand, effectively eliminating any visible knots or bumps in your knitting. Practice these methods before starting your blanket to ensure you are comfortable with the process.
4. Carry yarn up the side
When transitioning between colors within the same row or round, it’s important to carry the unused yarn up the side of your work. This will prevent loose loops and ensure a clean and tidy edge. As you switch colors, twist the two yarns around each other once to anchor the unused yarn.
5. Weave in the ends
Once you have completed your blanket, take the time to weave in all the loose ends. This step is crucial to achieve a professional finish and to secure your color changes. Use a tapestry needle to thread the ends through the stitches on the wrong side of your work, being careful to hide them within the fabric to maintain a seamless look.
By following these steps, you can achieve smooth and seamless color changes in your three-color blanket. With practice and attention to detail, your finished project will showcase beautifully blended colors.
Adding Patterns and Textures to Your Three-Color Blanket

Creating a three-color blanket is a great way to add variety and visual interest to your knitting project. However, you can further enhance your blanket by incorporating different patterns and textures. By combining different stitches and techniques, you can create a unique and personalized design.
1. Stripes: One of the simplest ways to add pattern to your three-color blanket is by knitting stripes. You can alternate between the three colors in a regular pattern, or mix them up for a more random effect. Stripes can be wide or narrow, creating different visual effects and adding dimension to your blanket.
2. Lace stitches: Lace stitches can add an elegant and delicate touch to your three-color blanket. By incorporating lace patterns, you can create a beautiful and intricate design. Some popular lace stitches include the feather and fan stitch, the leaf stitch, and the diamond lace stitch. These stitches can be knitted using one or more of the three colors, depending on the desired effect.
3. Texture stitches: Adding texture to your three-color blanket can give it a cozy and tactile feel. Cable stitches, popcorn stitches, and bobbled stitches are just a few examples of texture stitches that you can incorporate into your design. These stitches create raised patterns on the surface of the blanket, adding depth and interest.
4. Fair Isle or stranded colorwork: Fair Isle or stranded colorwork is another technique you can use to add patterns to your three-color blanket. This technique involves knitting with two or more colors in the same row, creating intricate and colorful designs. You can experiment with different motifs and patterns, such as geometric shapes or floral motifs, to create a unique and eye-catching blanket.
By incorporating different patterns and textures into your three-color blanket, you can transform a simple project into a visually stunning piece. Whether you choose to knit stripes, lace stitches, texture stitches, or explore stranded colorwork, the possibilities are endless. Let your creativity guide you and enjoy the process of bringing your vision to life through knitting.
Finishing Touches: Binding Off and Weaving in Ends
As you near the end of your knitting project, it’s important to properly finish off your work with a binding off technique and weaving in any loose ends. These final touches not only give your blanket a polished look but also ensure that it holds together securely.
Binding off: To bind off, also known as casting off, you will need a pair of knitting needles and a pair of scissors. Start by knitting the first two stitches as usual. Then, using your left needle, lift the first stitch over the second stitch and off the right needle. Repeat this step until you have one stitch left on the right needle. Cut the yarn, leaving around a 6-inch tail, and pull it through the last stitch to secure. This will create a neat edge and prevent your stitches from unraveling.
Weaving in ends: With the binding off complete, it’s time to deal with the loose ends of yarn that are left from changing colors or joining new yarn. Take a tapestry needle and thread one end of the yarn through the eye. Insert the needle under the stitches of the fabric, following the path of the yarn for about an inch. Then, change direction and weave the needle back through the stitches in the opposite direction. Repeat this process a few times, always changing direction, to ensure that the end is secure. Trim any excess yarn close to the fabric, taking care not to cut the stitches.
By following these steps to bind off and weave in ends, you can add the finishing touches to your 3 color blanket knitting pattern. These small but important details will help create a professional-looking finished product that will be cherished for years to come.
Caring for Your Hand-Knit Blanket
After spending hours knitting your beautiful three-color blanket, it’s important to take care of it properly to ensure its longevity and continued beauty. Here are some tips on how to care for your hand-knit blanket:
1. Hand Wash Only: To preserve the delicate fibers and avoid damaging your blanket, it’s recommended to hand wash it. Fill a basin or sink with cool water and a gentle wool wash detergent. Gently agitate the blanket in the soapy water, ensuring all areas are clean. Avoid wringing or stretching the blanket while washing.
2. Pat Dry: After washing, gently press out the excess water from the blanket. Avoid wringing or twisting the fabric, as this can cause stretching and damage. Finally, lay the blanket flat on a clean towel and roll it up to absorb more moisture. Unroll the blanket and reshape it to its original dimensions.
3. Avoid Machine Washing and Drying: Machine washing and drying can easily damage hand-knit blankets, causing them to shrink, stretch, or lose their shape. Avoid using machines and opt for hand-washing methods instead.
4. Store Carefully: When not in use, store your hand-knit blanket in a cool and dry place, away from direct sunlight. Folding the blanket neatly and placing it in a breathable fabric bag or container will help prevent dust and moth damage.
5. Repair as Needed: Regularly inspect your blanket for any loose threads, snags, or holes. Repair them promptly using matching yarn and a darning needle to prevent further damage and maintain the overall integrity of the blanket.
By following these care instructions, your hand-knit three-color blanket will stay in excellent condition for years to come. It will continue to provide warmth, comfort, and beauty to you and your loved ones, making it a cherished heirloom for the future.