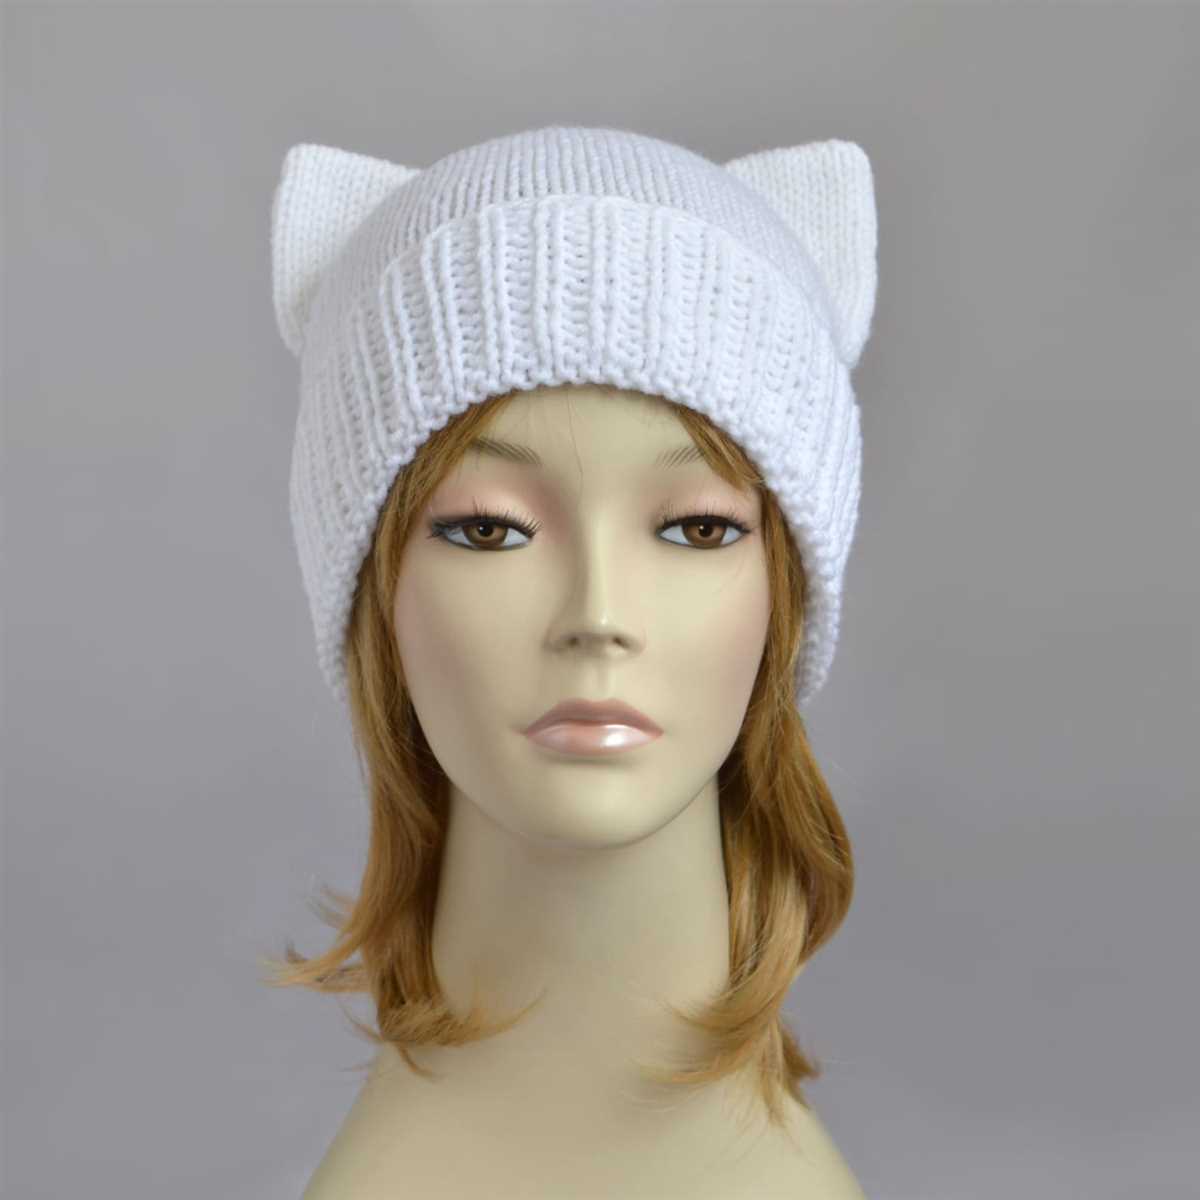
If you’re a cat lover and a knitting enthusiast, then this cat ear beanie knitting pattern is perfect for you. This cute and cozy beanie is a great way to show off your love for cats while keeping warm during the colder months. With its adorable cat ear design, it’s sure to be a hit among your feline-loving friends.
Whether you’re a beginner or an experienced knitter, this pattern is easy to follow and will result in a stylish and comfortable beanie. The pattern includes instructions for both child and adult sizes, so you can make one for yourself and one for the little ones in your life. You can also customize the beanie by choosing different colors or adding embellishments like bows or buttons.
To get started, all you need is some yarn, knitting needles, and a few basic knitting stitches. The pattern includes step-by-step instructions and a helpful video tutorial to guide you through each stage of the knitting process. So grab your knitting needles and let’s get started on making this adorable cat ear beanie!
Cat Ear Beanie Knitting Pattern
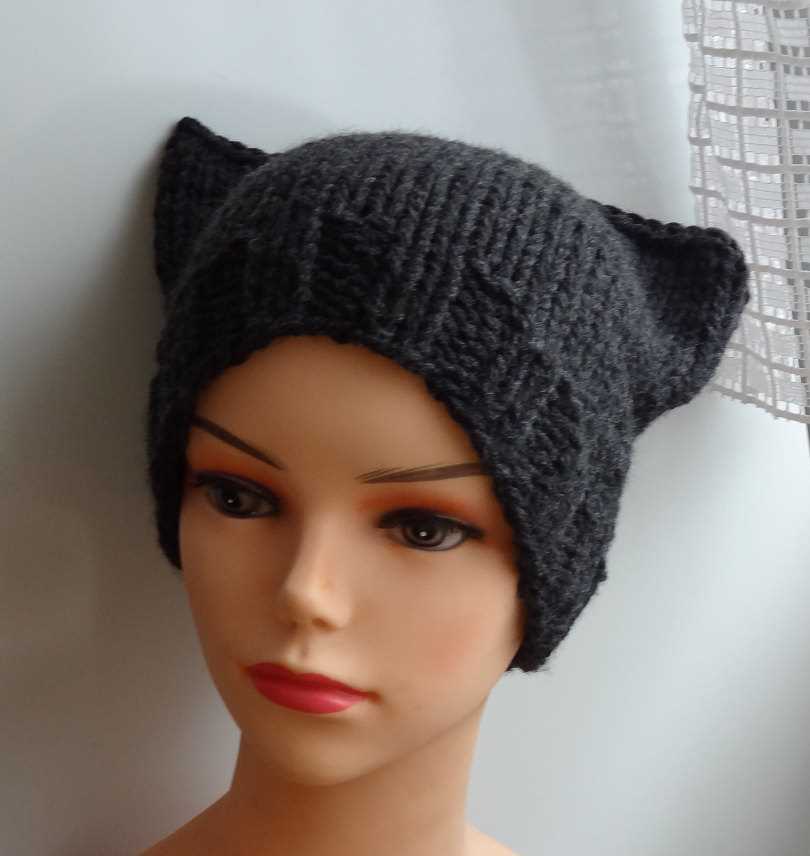
If you love cats and knitting, then this cat ear beanie knitting pattern is perfect for you! With this pattern, you can create your very own cozy and cute cat ear beanie that will keep you warm and stylish during the colder months.
Materials Needed:
- Medium weight yarn in your desired color(s)
- Knitting needles in size US 7 (4.5mm)
- Tapestry needle
- Stitch markers
- Scissors
Instructions:
- Cast on 80 stitches.
- Work in rib stitch (knit one, purl one) for 2 inches.
- Switch to stockinette stitch (knit one row, purl one row) and continue until the piece measures 6 inches in total.
- Begin shaping the cat ears:
- Row 1: Knit 8 stitches, place marker, knit 16 stitches, place marker, knit 8 stitches.
- Row 2: Purl all stitches.
- Row 3: Knit to marker, slip marker, increase 1 stitch by knitting into the front and back of the next stitch, knit to next marker, slip marker, increase 1 stitch, knit to end of row.
- Row 4: Purl all stitches.
- Repeat rows 3 and 4 three more times, then knit all rows until the piece measures 9 inches in total.
- Switch back to rib stitch and work for 2 inches.
- Bind off all stitches.
- Sew the sides of the beanie together using the tapestry needle.
- Weave in any loose ends.
And voila! You now have your very own cat ear beanie. Feel free to get creative with colors and embellishments to make it truly unique. This beanie also makes a great gift for any cat lover in your life. Happy knitting!
What is a Cat Ear Beanie?
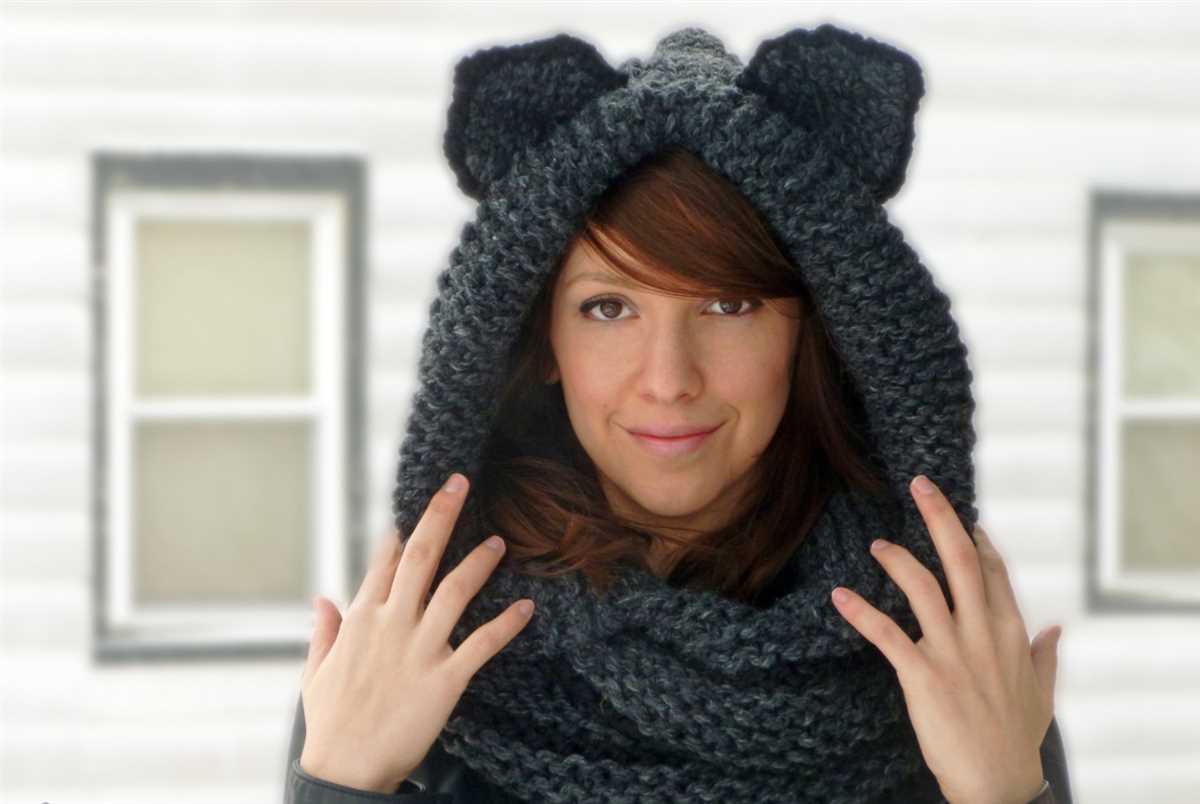
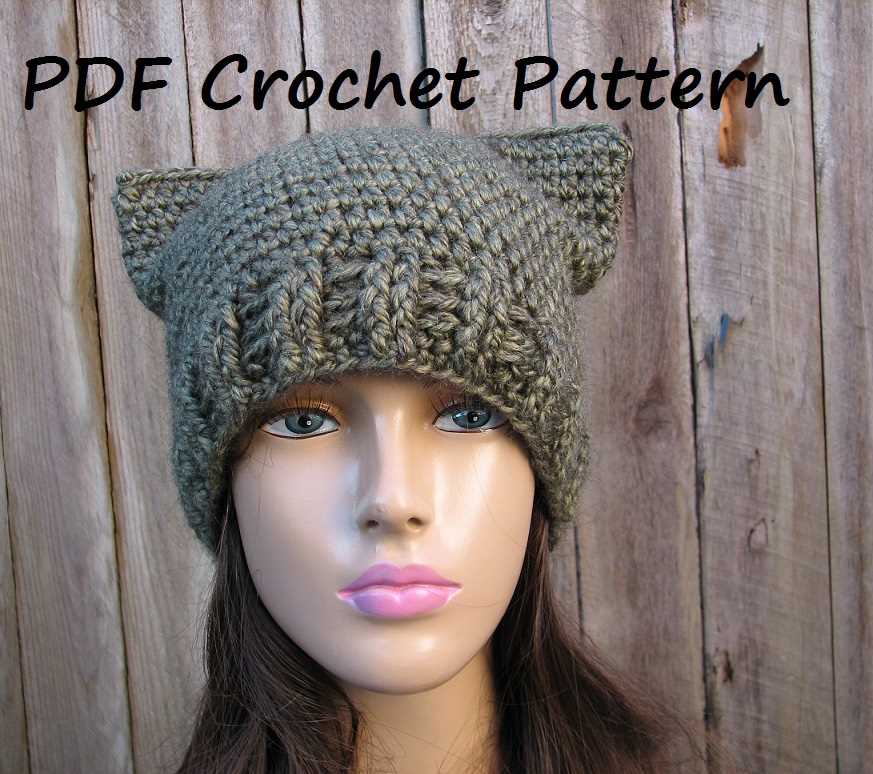
A cat ear beanie is a type of hat that is designed to resemble cat ears. It is a popular accessory among cat lovers and those who enjoy wearing cute and unique headwear. These beanies are typically knitted or crocheted and can be made in a variety of colors and styles. They are often worn during the colder months to keep the head warm while also adding a playful and whimsical touch to an outfit.
One of the key features of a cat ear beanie is the incorporation of ears that resemble those of a cat. These ears are usually positioned towards the top of the beanie, creating a fun and playful look. Some cat ear beanies may also have additional details such as whiskers or embroidered cat faces, further enhancing the feline-inspired design.
There are many different patterns available for creating cat ear beanies, making them a popular choice for knitting or crocheting enthusiasts. These patterns often include instructions for creating the cat ears and may provide different variations for the size and shape of the ears. Whether you prefer a subtle and understated cat ear beanie or one that features bold and vibrant colors, there is a pattern available to suit your style and skill level.
Cat ear beanies are not only a fashionable accessory but also a way to express your love for cats. They make great gifts for cat lovers and can be a fun and quirky addition to any winter wardrobe. Whether you wear one to show off your playful side or simply because you adore cats, a cat ear beanie is sure to turn heads and bring a smile to everyone who sees it.
Materials Needed for Knitting a Cat Ear Beanie
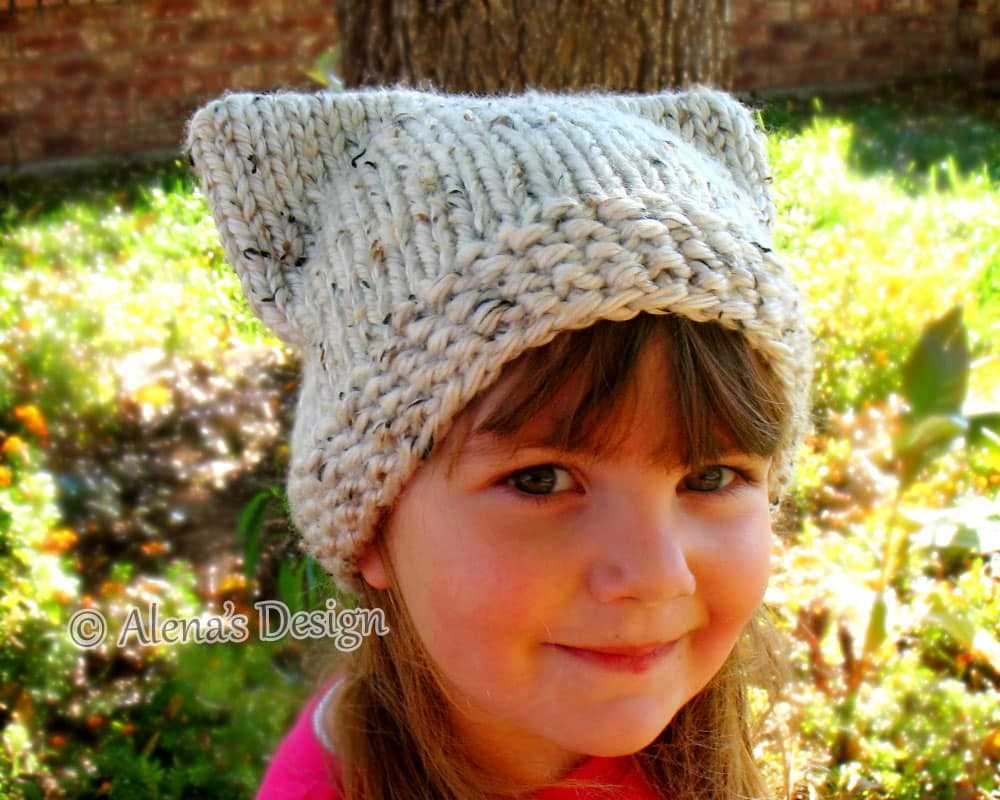
Knitting a cat ear beanie is a fun and creative project that requires a few specific materials. Whether you’re an experienced knitter or a beginner, having the right tools and supplies is essential to successfully create this adorable accessory. Here are the materials you’ll need:
1. Yarn: Choose a soft and warm yarn in the color of your choice. Acrylic or wool yarns are good options for this project. Make sure to select a yarn that is appropriate for the needle size you’ll be using.
2. Knitting Needles: You’ll need a pair of knitting needles in the appropriate size for your chosen yarn. The size of the needles will depend on the gauge you want for your beanie. Circular or double-pointed needles can also be used if you prefer.
- 3. Stitch markers: Stitch markers are helpful for marking important points in your knitting, such as the beginning of a round or where to place the cat ear stitches.
- 4. Tape measure: A tape measure or ruler is essential for measuring the gauge of your knitting and ensuring the proper fit of your beanie.
- 5. Yarn needle: A yarn needle is necessary for weaving in loose ends and finishing your beanie.
- 6. Scissors: A pair of scissors is essential for cutting the yarn and trimming any excess.
7. Cat ear pattern: You’ll need a cat ear knitting pattern to guide you through the creation of the ears. You can find patterns online or in knitting books.
With these materials on hand, you’ll be ready to embark on your cat ear beanie knitting adventure. Gather everything together and get started on this adorable and fashionable accessory!
Choosing the Right Yarn for your Cat Ear Beanie
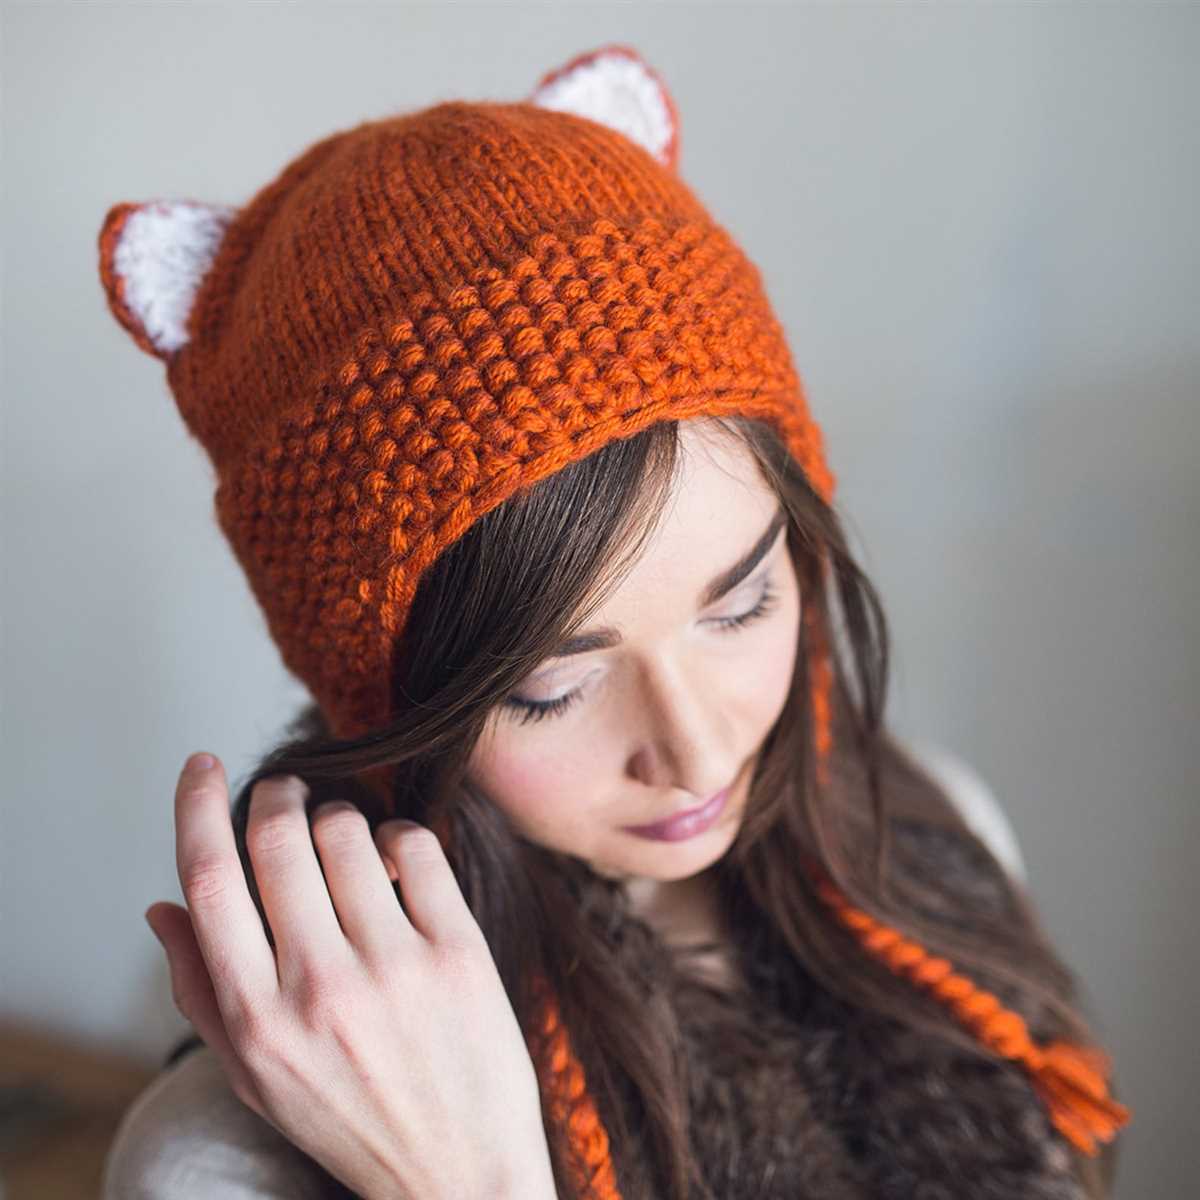
When knitting a cat ear beanie, one of the most important considerations is choosing the right yarn. The yarn you choose will affect the overall look and feel of the finished hat, as well as its durability and warmth. Here are some tips for selecting the perfect yarn for your cat ear beanie.
Fiber Content: The first thing to consider when selecting yarn for your cat ear beanie is the fiber content. Different fibers have different characteristics, such as softness, warmth, and durability. For a cozy and warm beanie, you might want to choose a yarn that contains wool or alpaca. If you prefer a softer and more lightweight hat, a yarn with silk or bamboo might be a better choice. Consider the comfort and durability you want in your hat and choose the fiber content accordingly.
Weight: The weight of the yarn is another important factor to consider. The weight of the yarn determines how thick or thin the beanie will be, as well as the difficulty level of the pattern. For a cat ear beanie, you will typically want to choose a medium to bulky weight yarn, as this will provide the desired structure and warmth for the cat ear details. However, if you prefer a more lightweight and slouchy beanie, you could choose a lighter weight yarn. Keep in mind that the weight of the yarn may affect the gauge and size of the finished beanie, so make sure to check the pattern for any recommendations.
Color: The color of the yarn is another important consideration when knitting a cat ear beanie. You might want to choose a color that complements your wardrobe or a fun and vibrant color that stands out. Alternatively, you could choose a neutral color that goes well with any outfit. Consider the overall aesthetic you want to achieve with your beanie and choose a color that matches your style.
Price: Finally, consider your budget when choosing yarn for your cat ear beanie. Yarn prices can vary greatly depending on the brand, quality, and fiber content. While it’s tempting to splurge on luxurious yarns, there are often more affordable options available that still provide great results. Look for discounts, sales, or bulk buying options to get the best value for your money.
Overall, choosing the right yarn for your cat ear beanie is a personal decision that depends on your preferences and budget. Consider the fiber content, weight, color, and price when making your selection, and don’t be afraid to experiment with different options to find the perfect yarn for your project.
Knitting Needles and Gauge for the Cat Ear Beanie
When it comes to knitting the perfect cat ear beanie, selecting the right knitting needles and achieving the correct gauge are essential. The right needles will ensure that you have the appropriate control and tension while knitting, while the gauge will determine the final size and fit of your beanie.
The cat ear beanie knitting pattern typically calls for a set of double-pointed knitting needles, usually in size US 8 (5mm) or US 9 (5.5mm). These needle sizes are ideal for creating a medium weight beanie that is not too loose or tight. However, you can adjust the needle size depending on your desired outcome. If you want a looser or chunkier beanie, you can use larger needles, while smaller needles will create a tighter and more fitted look.
To ensure that your cat ear beanie turns out the right size, it’s important to achieve the correct gauge. The gauge is the number of stitches and rows per inch in your knitting. To determine the gauge, you’ll need to knit a swatch using the recommended needle size and yarn. Measure your swatch using a ruler or tape measure, counting the number of stitches and rows within a 4-inch square.
For the cat ear beanie knitting pattern, the suggested gauge is usually around 18 stitches and 24 rows per 4 inches. If your gauge is larger, meaning you have fewer stitches and rows, your beanie will turn out bigger than intended. Conversely, if your gauge is smaller, with more stitches and rows, your beanie will be smaller. Adjusting your needle size can help you achieve the right gauge. If your gauge is off, try larger needles if your gauge is too small, or smaller needles if your gauge is too large.
By selecting the right knitting needles and achieving the correct gauge, you’ll be on your way to creating a purrfect cat ear beanie that fits just right.
Instructions for Casting On for the Cat Ear Beanie
When starting to knit the cat ear beanie, casting on correctly is essential to ensure a smooth and even beginning to the project. Follow these step-by-step instructions to successfully cast on for the cat ear beanie:
Materials Needed:
- Size 8 knitting needles
- Worsted weight yarn in a color of your choice
Step 1: Make a Slip Knot
To begin, make a slip knot by creating a loop with the yarn, pulling the end of the yarn through the loop, and tightening the knot around the knitting needle. This slip knot will serve as your first stitch.
Step 2: Insert the Needle Through the Slip Knot
Insert one of the knitting needles through the slip knot, ensuring the tail end of the yarn is on the right and the working yarn is on the left. Hold the knitting needle with the slip knot in your right hand.
Step 3: Create the First Stitch
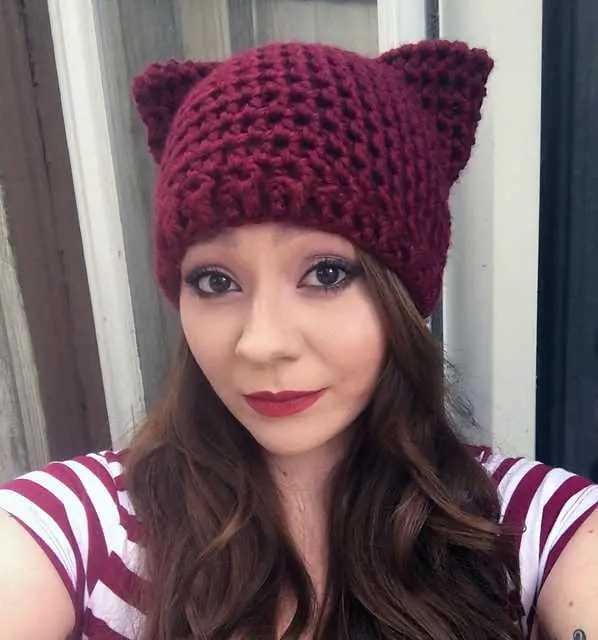
With your left hand, bring the working yarn over the right needle to the front, then under and over the tip of the right needle. This motion creates a loop around the right needle.
Step 4: Tighten the Stitch
Using your right hand, gently pull the right needle downwards to tighten the stitch. Make sure the stitch is snug but not too tight to allow for easy knitting.
Step 5: Repeat Steps 3 and 4
Repeat steps 3 and 4 to create the desired number of stitches for your cat ear beanie. Count the stitches as you go to ensure you have the correct number.
With these instructions, you are now ready to cast on the stitches for your cat ear beanie. Make sure to follow the pattern’s specific casting on requirements, and you will be on your way to creating a charming and cozy accessory!
Knit and Purl Stitch Instructions for the Cat Ear Beanie
In order to create the adorable cat ear beanie, you will need to know basic knitting stitches such as the knit stitch (K) and the purl stitch (P). These stitches form the foundation of the beanie’s texture and design, giving it a cozy and unique look.
To begin, cast on the desired number of stitches onto your knitting needle. The number of stitches will depend on the size of the beanie you want to create. Once you have cast on, you will start working the knit and purl stitches in a specific pattern to achieve the texture of the beanie.
The pattern for the cat ear beanie typically follows a repeat of knit (K) stitches and purl (P) stitches. For example, you might knit two stitches, then purl two stitches, and repeat this pattern until the end of the row. This creates a ribbed effect that gives the beanie some stretch and elasticity.
As you continue knitting, be sure to pay attention to the pattern and follow the instructions accordingly. If you encounter a knit stitch, insert your right needle through the front loop of the stitch on the left needle, bring the working yarn over the right needle and through the stitch, then slip the stitch off the left needle. If you encounter a purl stitch, insert your right needle through the front loop of the stitch on the left needle from right to left, bring the working yarn in front of the right needle, and then through the stitch, then slip the stitch off the left needle.
Continue working the knit and purl stitches in the designated pattern until you reach the desired length for the beanie. Once you are finished knitting, bind off the stitches, leaving a long tail of yarn for sewing the beanie together. With the cat ear beanie knitting pattern, you can create a fun and stylish accessory that will keep you warm and cozy during the colder months.
Shaping the Cat Ears for your Beanie
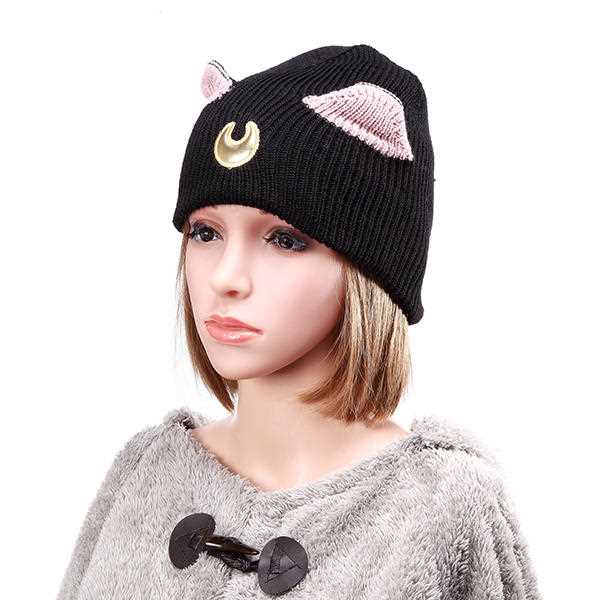
When knitting a cat ear beanie, one of the key elements that brings the whole design together are the cat ears themselves. Shaping the cat ears requires a bit of attention to detail and precision, but with the right instructions, it can be a fun and rewarding process.
Step 1: Start by identifying the location where you want the cat ears to sit on your beanie. This will vary depending on personal preference and the overall design of the beanie. Once you have decided on the placement, mark the stitches on either side of this location to act as a guide for shaping the cat ears.
Step 2: To create the basic shape of the cat ears, you will need to increase stitches on either side of the marked stitches. This can be done by knitting into the front and back of the stitch, or by making yarn overs. The number of stitches to increase will depend on the desired size of the cat ears, but typically 2-4 stitches per ear is a good starting point.
Step 3: After the initial increases, you can start shaping the cat ears by decreasing stitches in a triangular pattern. This will create the distinct ear shape. To do this, you can use techniques such as knit two together (k2tog) or slip slip knit (ssk) to decrease stitches. It is important to keep track of your stitches and follow the pattern to ensure symmetry between the two ears.
Step 4: Once you have achieved the desired shape for the cat ears, continue knitting the beanie according to the pattern. Make sure to secure the ends of the cat ears by weaving in the yarn tails to prevent them from unraveling.
Step 5: Finally, give your completed cat ear beanie a good blocking to help the cat ears stand up and maintain their shape. This can be done by gently wetting the beanie, shaping the ears with your hands, and allowing it to air dry flat.
- Remember, practice makes perfect when it comes to shaping the cat ears for your beanie. Don’t be afraid to try different techniques and styles to achieve the look you desire.
- Always refer to the knitting pattern for specific instructions and stitch counts to ensure accuracy.
- Have fun and embrace the creativity that comes with knitting your own cat ear beanie!
Creating the Brim for the Cat Ear Beanie
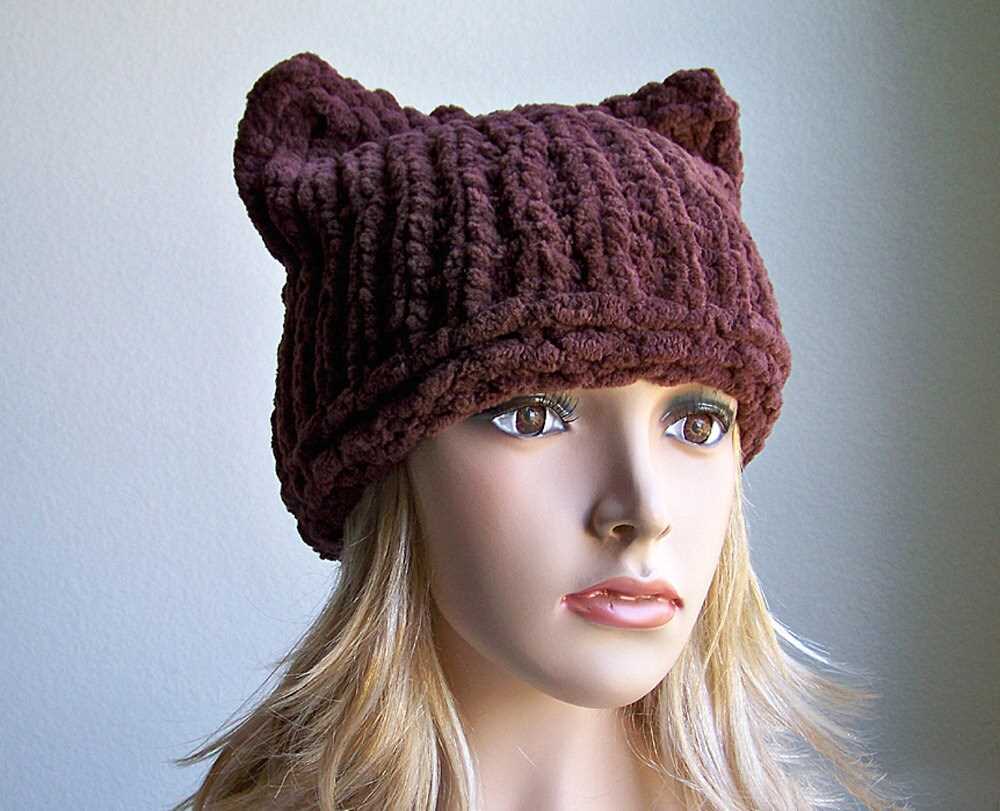
The brim of the cat ear beanie is an essential component that adds structure and style to the hat. It is created using a ribbing technique, which gives the brim a stretchy and snug fit. To start, cast on the desired number of stitches using a smaller size needle. This will create a tighter gauge for the brim. It is important to choose a yarn that is soft and flexible, ensuring comfort when wearing the beanie.
Once the stitches are cast on, begin working in a ribbing pattern. The most common ribbing pattern used for beanies is the knit 1, purl 1 rib. This is achieved by alternating between knitting one stitch and purling one stitch in each row. The ribbing pattern creates a stretchy fabric that hugs the head, providing a comfortable fit. Keep repeating the ribbing pattern until the desired length for the brim is reached.
As the brim is the foundation of the cat ear beanie, it is important to pay attention to the tension and stitch count. Maintaining an even tension throughout the knitting process will ensure a consistent and professional-looking brim. Additionally, regularly measuring the length of the brim will help prevent it from becoming too long or too short.
To add some variety and creativity to the brim, consider incorporating different ribbing patterns. For example, a knit 2, purl 2 ribbing pattern can be used for a wider and visually interesting brim. Experiment with different ribbing techniques to personalize the cat ear beanie and make it unique.
Overall, creating the brim for the cat ear beanie requires attention to detail and consistent knitting. By using the ribbing technique and selecting the right yarn, it is possible to achieve a comfortable and stylish brim that complements the overall design of the beanie.
Finishing Off and Blocking your Cat Ear Beanie
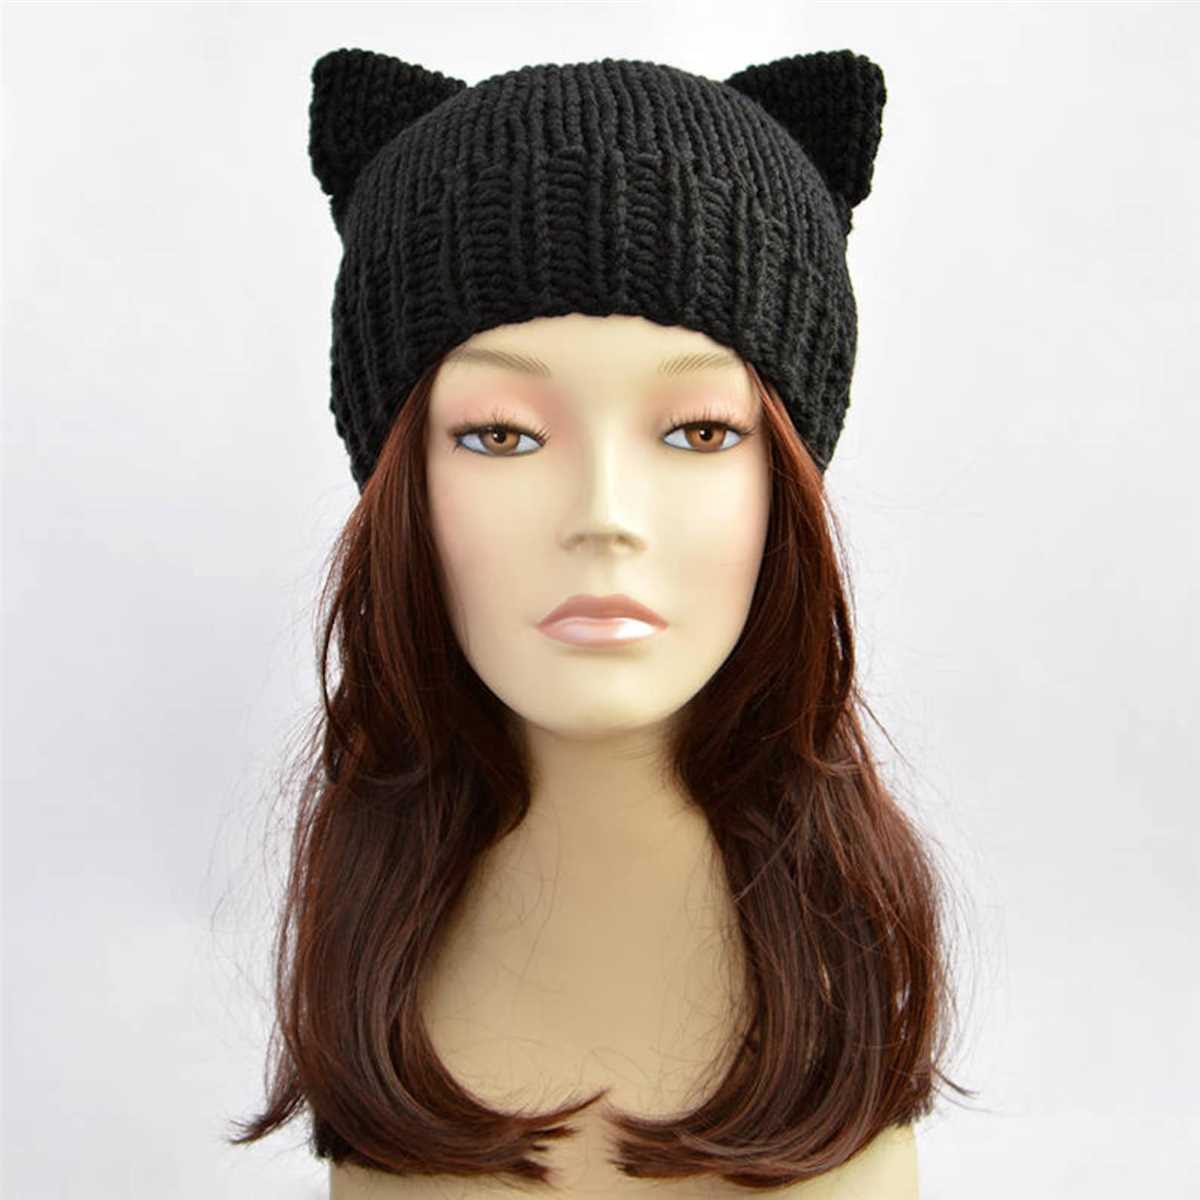
Once you have finished knitting your cat ear beanie, it is important to properly finish off the project and block it to ensure the hat retains its shape and looks its best. Here are some steps you can follow to finish off and block your cat ear beanie:
1. Weave in the ends: Start by weaving in all the loose ends of yarn that are left from changing colors or attaching new skeins. Use a yarn needle to carefully thread the ends of the yarn through the stitches on the wrong side of the beanie. This will help secure them and prevent them from unraveling.
2. Steam or wet block: Depending on the type of yarn you used for your cat ear beanie, you can either steam block or wet block the hat to shape it. If you used a natural fiber like wool or alpaca, wet blocking will work best. Fill a sink or basin with lukewarm water and immerse the hat, making sure it is fully saturated. Gently squeeze out excess water and then shape the hat by stretching it to the desired size. Lay the hat flat on a towel and let it air dry.
3. Shape the ears: Once the beanie is dry, shape the cat ears by folding them over and securing them with a few stitches. You can use a coordinating yarn color to sew the ears down, or you can use thread and a needle for a more invisible finish.
4. Add any finishing touches: If desired, you can add additional embellishments to your cat ear beanie, such as buttons, bows, or embroidery. Sew these on securely and ensure they are evenly spaced and symmetrical.
5. Enjoy your finished cat ear beanie: Once your beanie is fully dry and any embellishments are securely attached, it is ready to be worn and enjoyed! Your cat ear beanie will not only keep you warm, but also showcase your knitting skills and personal style.
Tips and Tricks for Knitting a Perfect Cat Ear Beanie
Knitting a cat ear beanie can be a fun and rewarding project for any knitting enthusiast. Whether you’re a beginner or an experienced knitter, here are some tips and tricks to help you create the perfect cat ear beanie.
Choose the Right Yarn:

When knitting a cat ear beanie, it’s important to choose the right yarn for the project. Opt for a soft and cozy yarn that will feel comfortable against the skin and will provide warmth. Consider using a yarn with a bit of stretch, as this will help the beanie fit snugly and securely. Additionally, consider the color of the yarn and choose one that complements your personal style and the intended recipient’s taste.
Master Basic Knitting Techniques:
Before embarking on your cat ear beanie project, make sure you have a good understanding of basic knitting techniques. This includes skills such as casting on, knitting, purling, and decreasing stitches. Practicing these techniques beforehand will make the process of knitting the beanie much easier and more enjoyable.
Use Stitch Markers:
When knitting the cat ears of the beanie, it can be helpful to use stitch markers to keep track of your progress. By placing a stitch marker at the beginning of each ear section, you can easily see when it’s time to increase or decrease stitches, ensuring the ears are symmetrical.
Follow a Clear Pattern:

To ensure that your cat ear beanie turns out perfectly, it’s essential to follow a clear knitting pattern. Look for a pattern that includes detailed instructions and clear diagrams or photos. Take the time to read through the pattern before starting, and make sure you understand all the steps involved. This will help prevent mistakes and ensure that your cat ear beanie turns out exactly as you envisioned.
Don’t Be Afraid to Customize:
While it’s important to follow a knitting pattern, don’t be afraid to put your own spin on the design. Consider adding embellishments such as buttons or bows for added cuteness, or experiment with different stitch patterns for a unique look. Knitting allows for creativity, so don’t be afraid to let your imagination run wild!
Final Thoughts on the Cat Ear Beanie Knitting Pattern
Knitting a cat ear beanie can be a fun and creative project for any knitting enthusiast. Whether you’re making it for yourself or as a gift, this pattern allows you to showcase your love for both cats and knitting. The finished product is not only cute but also functional, keeping your head warm during the colder months.
This pattern provides a great opportunity for knitters to practice their techniques, such as knitting in the round, increasing and decreasing stitches, and following a pattern. The cat ear details add a whimsical touch to the beanie, making it a unique and eye-catching accessory.
When choosing the materials for this project, it’s important to consider the yarn weight and needle size that will give you the desired gauge and fit. Experimenting with different color combinations or adding embellishments, such as buttons or pom-poms, can also personalize your beanie and make it even more special.
Overall, the cat ear beanie knitting pattern is a versatile and enjoyable project that allows knitters to showcase their skills and creativity. Whether you’re a beginner or an experienced knitter, this pattern can be adapted to suit your level of expertise and personal style. So grab your knitting needles, choose your favorite yarn, and start creating your own adorable cat ear beanies!