
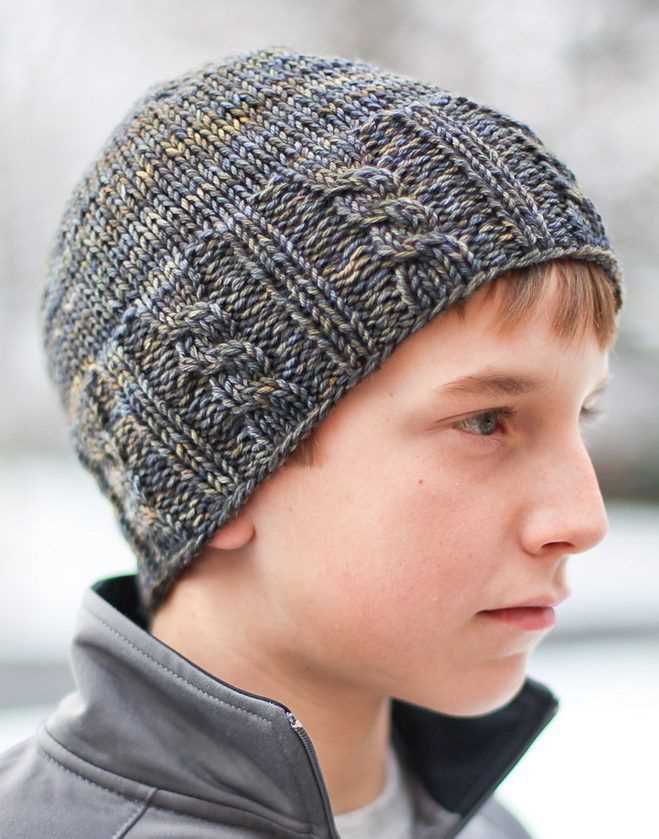
If you’re looking for a cozy and stylish winter accessory for the man in your life, look no further than this free knitting pattern for a men’s beanie hat. This versatile and classic design is perfect for staying warm on chilly days and can be customized to suit any style.
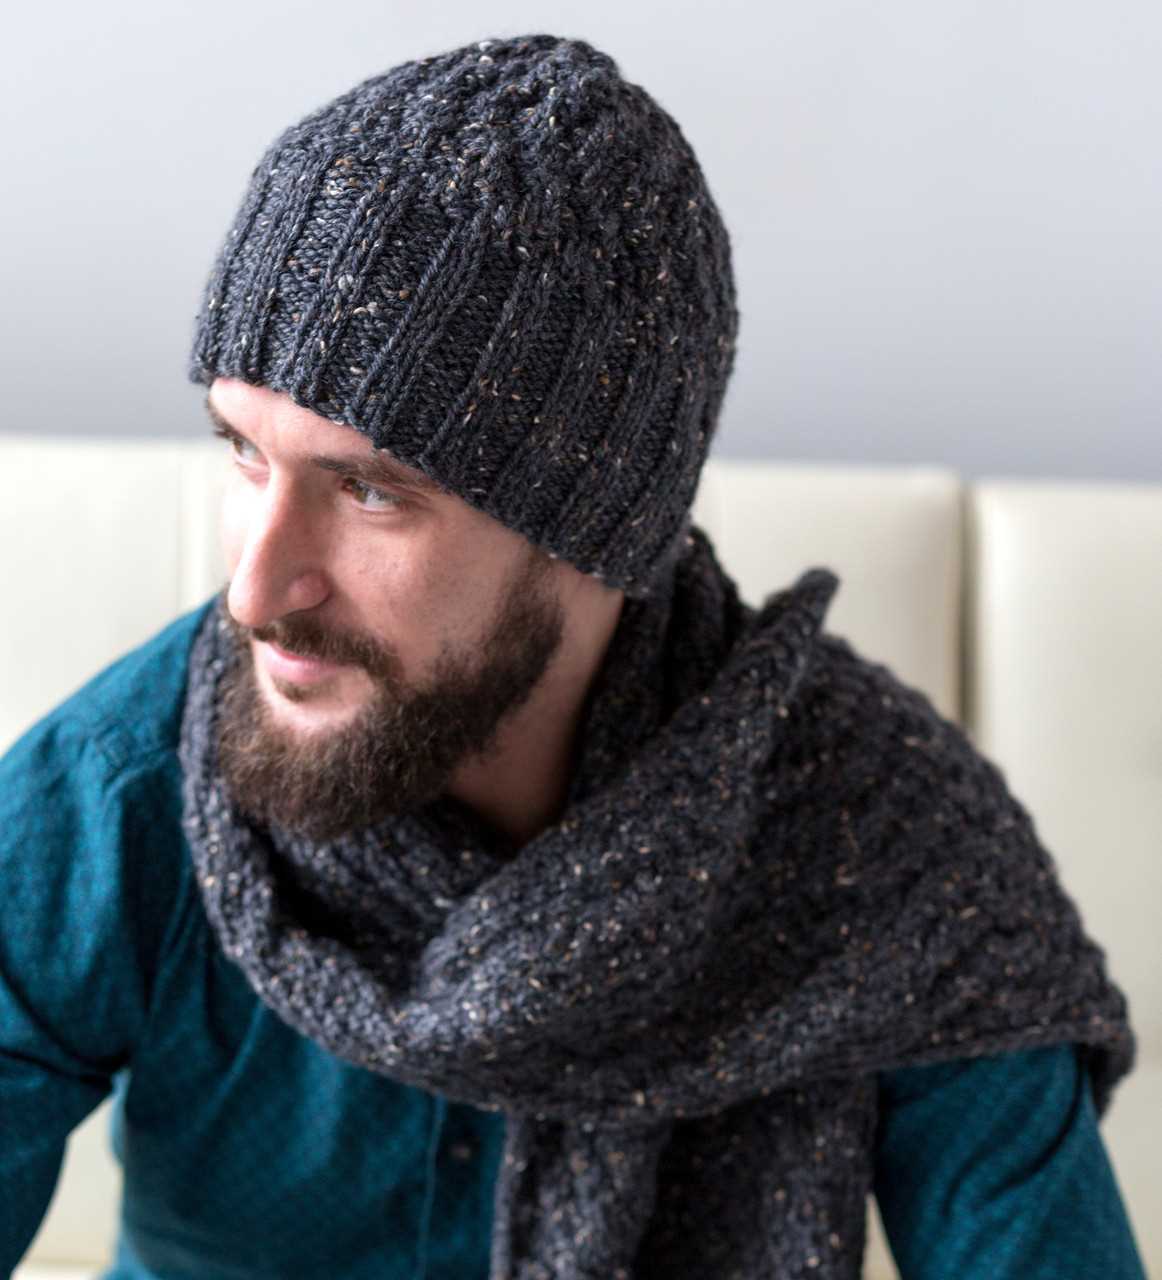
This knitting pattern is suitable for intermediate knitters, and features a simple ribbed pattern that adds both texture and stretch to the hat. With just a few basic stitches and some quality yarn, you’ll have a finished beanie hat in no time.
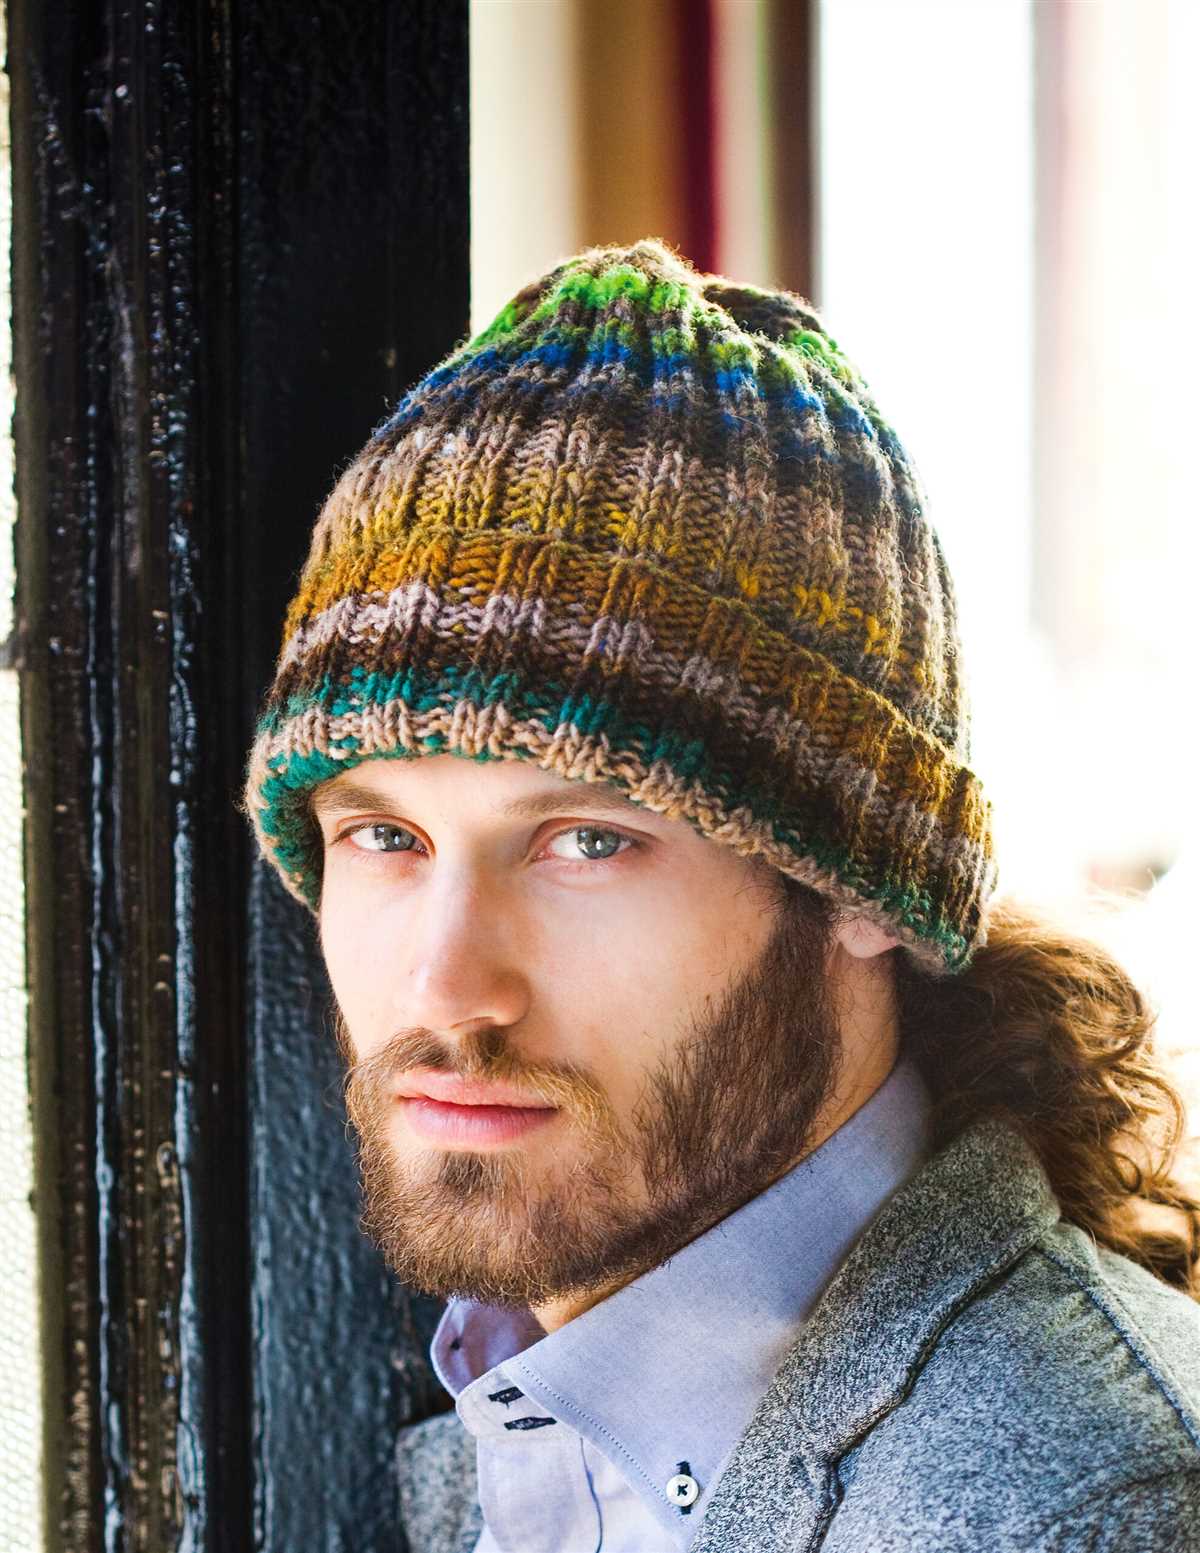
Whether you’re knitting for a friend, family member, or even yourself, this pattern provides endless possibilities for personalization. Choose a neutral color for a timeless look, or go bold with a vibrant shade. No matter what you choose, this hat is sure to become a staple in any winter wardrobe.
Choosing the right yarn
When it comes to knitting a beanie hat for men, choosing the right yarn is essential to create a high-quality and durable hat. There are several factors to consider when selecting the yarn for your project.
1. Fiber: The type of fiber you choose will greatly affect the look and feel of the hat. Common options include wool, acrylic, alpaca, and cotton. Wool is a popular choice as it is warm, breathable, and has great insulation properties. Acrylic yarns are affordable and come in a wide range of colors, but they may not be as warm as natural fibers. Alpaca yarn is known for its softness and warmth, while cotton is lightweight and breathable, making it suitable for warmer climates.
2. Weight: The weight of the yarn determines the thickness and warmth of the hat. Bulky or chunky yarns are quick to knit up and create a thick and warm hat, perfect for colder weather. Worsted or aran weight yarns are versatile and can be used for both warm and lightweight hats. Fine or sport weight yarns are lightweight and ideal for hats that can be worn in milder weather.
3. Durability: Consider the durability of the yarn, especially if the beanie hat will be worn frequently. Look for yarns that have good stitch definition and are less prone to pilling or fading. Wool yarns, in particular, are known for their durability and can withstand the test of time.
4. Color and texture: The color and texture of the yarn can greatly enhance the overall appearance of the hat. Choose a color that complements the wearer’s style and preferences. Texture can add interest to the hat, whether it is smooth, ribbed, or has a cable pattern.
By carefully considering the fiber, weight, durability, color, and texture of the yarn, you can ensure that your men’s beanie hat is not only stylish but also functional, comfortable, and built to last.
Tools needed

When it comes to knitting a men’s beanie hat, you will need a few essential tools to get started. These tools will ensure that you have everything you need to complete your project successfully.
1. Knitting needles:

First and foremost, you will need knitting needles to create your beanie hat. The size of the needles will depend on the pattern you are using. Make sure to check the pattern requirements before starting. If you don’t have the recommended size, you can always adjust your gauge by using larger or smaller needles.
2. Yarn:

Another crucial tool is yarn. Choose a yarn that is suitable for the beanie hat pattern you are using. The weight and fiber content of the yarn will affect the overall look and feel of the hat. Consider factors such as warmth, durability, and softness when selecting your yarn. It’s also a good idea to have extra yarn on hand in case you need to make any adjustments or repairs.
3. Stitch markers:
Stitch markers are handy tools that help mark specific stitches or sections in your knitting. They can be used to indicate the beginning of a round, identify pattern repeats, or mark specific stitch patterns. Having a set of stitch markers will make it easier to follow your knitting pattern and keep track of your progress.
4. Tapestry needle:
A tapestry needle is essential for weaving in ends and finishing your beanie hat. It’s used to sew in loose yarn tails and secure any loose stitches. Make sure to choose a tapestry needle with a large eye that can accommodate the yarn you are using.
5. Scissors:
You will need a pair of scissors to cut the yarn when needed. Choose a small, sharp pair of scissors that are comfortable to handle. Having scissors on hand will make it easier to trim any excess yarn or make adjustments to your project.
6. Measuring tape:
A measuring tape is useful for checking your gauge and measuring your progress. It can help ensure that your beanie hat is the correct size and fits properly. Keep a measuring tape nearby to take measurements and make adjustments as needed.
Having these essential tools on hand will set you up for success when knitting a men’s beanie hat. Make sure to gather all the necessary tools before starting your project, and you’ll be well-equipped to create a beautiful and cozy hat.
Gauge and Measurements
Making sure that your hat fits properly is important for both comfort and style. To achieve the right size, it is essential to check your gauge before starting your project. The gauge refers to how many stitches and rows are achieved over a certain measurement, usually 4 inches or 10 centimeters. This will determine the overall size of the finished hat, and whether you need to adjust your needle size to achieve the desired fit.
To check your gauge, use the recommended yarn and needle size stated in the knitting pattern. Knit a swatch using the specified stitch pattern and measure it using a ruler. Count the number of stitches and rows within the designated measurement area. If your gauge matches the suggested gauge in the pattern, you can proceed with confidence knowing that your hat will turn out the correct size.
Measurements:
- Circumference: To measure the circumference of your head, wrap a flexible measuring tape around the widest part of your head, slightly above the ears. Make sure the tape is snug but not too tight.
- Length: The length of the hat is measured from the brim to the top. You can choose to make the hat shorter or longer depending on your preference.
By checking your gauge and taking accurate measurements, you can ensure that your knitted beanie hat will fit perfectly and be a stylish addition to your winter wardrobe.
Reading the Pattern
Before starting to knit the men’s beanie hat, it’s important to carefully read and understand the pattern. This will ensure that you have all the necessary information and can follow the instructions accurately.
Materials:
- Yarn: Choose a soft and warm yarn in your preferred color. The pattern recommends a worsted weight yarn.
- Needles: Use size 8 (5mm) circular needles and size 8 (5mm) double pointed needles (DPNs), or sizes needed to obtain gauge.
- Stitch marker
- Tapestry needle
- Measuring tape
Gauge: It’s important to check your gauge before starting the project. The pattern provides the gauge information, which typically states how many stitches and rows make up a 4-inch square. Adjust your needle size if necessary to match the gauge.
Instructions:
- Cast on the required number of stitches using the circular needles.
- Join in the round, being careful not to twist the stitches.
- Work the specified ribbing pattern for the brim of the hat.
- Continue knitting in the specified stitch pattern until the hat measures the desired length.
- Shape the crown of the hat by decreasing stitches in specific rounds as indicated in the pattern.
- When only a few stitches remain, cut the yarn and thread it through the remaining stitches, pulling tight to close the top.
- Use the tapestry needle to weave in any loose ends.
Tips:
- Read the entire pattern before starting to make sure you understand all the steps.
- Take note of any special stitches or techniques mentioned in the pattern instructions, such as yarn overs or slip stitches.
- Keep track of your progress by using stitch markers to mark specific points in the pattern.
- Measure your work periodically to ensure it’s the correct length and adjust if needed.
- Don’t be afraid to ask for help or consult online tutorials if you encounter any difficulties while knitting the hat.
By carefully reading the pattern and following the instructions, you’ll be able to create a cozy and stylish beanie hat for men. Happy knitting!
Cast on and ribbing
In order to begin knitting the beanie hat, you first need to cast on the required number of stitches. The pattern should specify the exact number of stitches needed, typically around 80-100 stitches. To cast on, you can use the long tail cast-on method, which is a common and versatile method.
To start the long tail cast-on, measure a tail of yarn that is approximately three times the width of your finished ribbing. Make a slipknot by making a loop with the yarn and pulling the working end through. Place the slipknot onto one of the knitting needles, leaving a short tail.
Next, hold the knitting needle with the slipknot in your right hand, and the other knitting needle in your left hand. Insert the right-hand needle into the slipknot from left to right, going under the left-hand needle. With your dominant hand, wrap the working yarn and tail together over the right-hand needle, creating a loop.
Continue this process, inserting the right-hand needle into the loop on the left-hand needle, wrapping the yarn around, and pulling it through to create a new loop. Make sure to keep the tension even as you work, not too tight or too loose. Repeat this until you have cast on the required number of stitches.
Once you have cast on the stitches, it’s time to work the ribbing. Ribbing is a stretchy pattern often used at the beginning of hats and other garments to create a snug fit. The most common type of ribbing is the 1×1 rib, which alternates knit stitches with purl stitches.
To work the 1×1 rib, start by knitting the first stitch. Insert the right-hand needle into the first stitch on the left-hand needle from left to right, going through the front loop. Wrap the working yarn around the right-hand needle and pull it through the stitch, letting the old stitch slide off the left-hand needle. This is a knit stitch.
Next, purl the next stitch. Insert the right-hand needle into the next stitch on the left-hand needle from right to left, going through the back loop. Wrap the working yarn around the right-hand needle and pull it through the stitch, letting the old stitch slide off the left-hand needle. This is a purl stitch.
Continue alternating knit and purl stitches until you reach the end of the row. Knit the last stitch, and then turn your work to begin the next row. Repeat this process for the desired length of ribbing, typically around 1-2 inches.
By casting on and working the ribbing, you have created the foundation of the beanie hat. The ribbing provides a comfortable and snug fit around the wearer’s head, and sets the stage for the rest of the knitting pattern.
Knitting the main body

Once you have cast on the required number of stitches for your chosen size, it’s time to start knitting the main body of the beanie hat. The pattern recommends using circular needles for this part, but you can also use double-pointed needles if you prefer.
Begin by knitting in the round, making sure to follow the pattern instructions for the stitch pattern. This could be a simple knit stitch, ribbing, or any other design you choose. It’s important to maintain an even tension throughout your knitting to ensure a smooth and professional finish.
Continue knitting until you have reached the desired length for your hat. This will depend on personal preference and the fit you are looking to achieve. The pattern may specify a certain number of inches or centimeters, or it may give instructions to knit until the piece measures a certain length.
To check the fit as you go, try the hat on periodically or measure it against your head circumference. This will help you determine if you need to make any adjustments in terms of length or width.
Once you are satisfied with the length, you can proceed to the next step, which may involve shaping the crown of the hat or adding any additional design elements. Follow the pattern instructions carefully to achieve the desired outcome.
Decreasing for crown shaping
As you continue knitting your men’s beanie hat, you will reach a point where you need to start shaping the crown. This is done by decreasing the number of stitches in each round to create a tapered shape at the top of the hat.
To begin decreasing, you will need to follow the pattern’s instructions for the specific stitch pattern you are using. Typically, decreasing is achieved by knitting two stitches together (k2tog) or purling two stitches together (p2tog) to create a decrease stitch. The exact number of decreases and the frequency at which they are made will depend on the pattern you are following.
Example: If your pattern instructs you to decrease 8 stitches evenly across a round, you would evenly space out the decreases so that they are distributed evenly throughout the round. For instance, if you have 80 stitches on your needle, you would knit 9 stitches, then k2tog, knit 9 stitches, k2tog, and repeat this pattern until you have decreased a total of 8 stitches.
Continue following the pattern’s instructions for decreasing until you have reached the desired number of stitches for the crown of the beanie. At this point, you will typically cut the yarn, leaving a long tail, and thread it through the remaining stitches, pulling them tight to close the top of the hat.
Finishing and Weaving in Ends
Once you have completed knitting your men’s beanie hat, it’s time to finish the project and weave in any loose ends. This final step is essential to give your hat a polished look and ensure that it stays together for years to come. Here are some steps to help you finish and weave in ends.
1. Cut the yarn
First, cut the yarn, leaving a tail that is long enough to work with. Make sure to leave at least 6 inches (15 cm) of yarn to work with for easier handling.
2. Thread the tail
Thread the tail of the yarn onto a yarn needle or a large-eye sewing needle. This will make it easier to weave in the end securely and neatly.
3. Weave in the ends
Starting from the inside of the hat, insert the needle under a few stitches along the seam or edge. Pull the needle all the way through, leaving a small loop of yarn on the inside.
Next, bring the needle back through the loop, creating a small knot. This will anchor the yarn in place and prevent it from coming loose over time.
Continue to weave the yarn in a back-and-forth motion, going in different directions to secure the end. Be careful not to pull too tightly, as this can distort the shape of the hat or create puckering.
4. Trim excess yarn

Once you have finished weaving in the end, trim any excess yarn close to the fabric of the hat. Be careful not to cut the fabric or any other stitches.
Repeat this process for any other loose ends that may be present on your hat. Once all the ends are woven in and trimmed, your men’s beanie hat will be complete and ready to wear!
Blocking the beanie hat
Blocking is an essential step in finishing your beanie hat and giving it a professional look. It involves shaping and stretching the knitted fabric to the desired size and shape. In this tutorial, we will guide you through the blocking process, step by step.
Materials needed:
- Blocking mats or a flat surface
- T-pins or blocking wires
- Spray bottle with water
- Towel or blocking cloth
Step 1: Lay your beanie hat flat on the blocking mats or a clean, flat surface. Smooth out any wrinkles or creases gently with your hands.
Step 2: Place T-pins or blocking wires along the edges of the beanie hat, stretching it to the desired size. Start by pinning the brim and then continue around the circumference of the hat, evenly spacing the pins.
Step 3: Mist the beanie hat with water using a spray bottle. Be careful not to soak it completely, as this may affect the shape of the hat. The water will help the fibers relax and retain their shape during the drying process.
Step 4: Cover the beanie hat with a towel or blocking cloth. This will help absorb excess moisture and protect the fabric from stretching or warping.
Step 5: Allow the hat to dry completely, usually overnight or until it feels dry to the touch. Avoid moving or disturbing the hat while it is drying to maintain its shape and structure.
Step 6: Once the beanie hat is dry, remove the pins or blocking wires carefully. Your hat is now blocked and ready to wear or gift to someone special!
Remember, blocking is an important step to enhance the fit and appearance of your beanie hat. It helps to bring out the stitch definition and create a more polished finish. So take your time and enjoy the process of blocking your handknit beanie hat.
Variations and customization
When it comes to knitting a men’s beanie hat, there are countless possibilities for variations and customization. By making a few simple changes to the base pattern, you can create a hat that is unique and tailored to the recipient’s taste and style.
One way to customize a beanie hat is by experimenting with different stitch patterns. You can choose to incorporate cables, ribbing, or even colorwork to add visual interest and texture to the hat. Knitting a checkerboard pattern or stripes can create a bold and modern look, while a simple stockinette stitch can result in a clean and classic design.
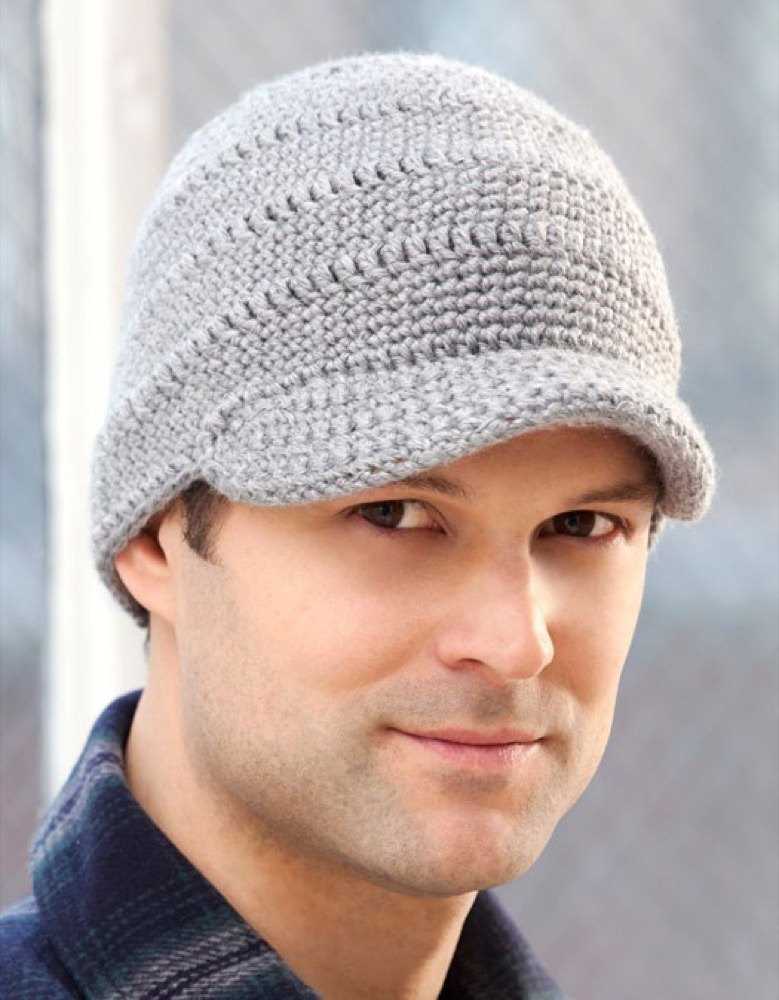
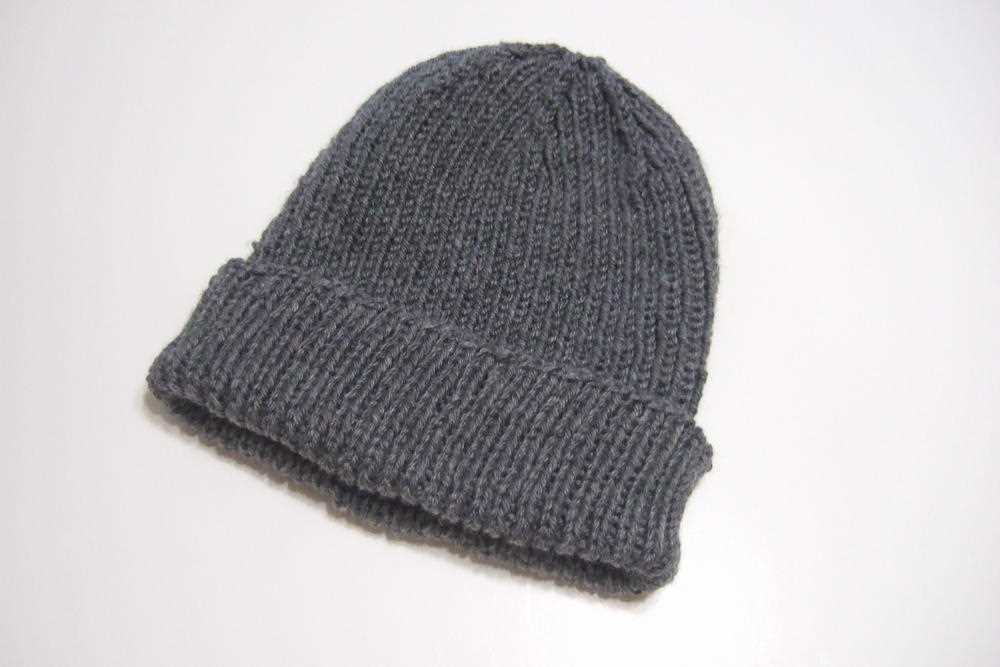
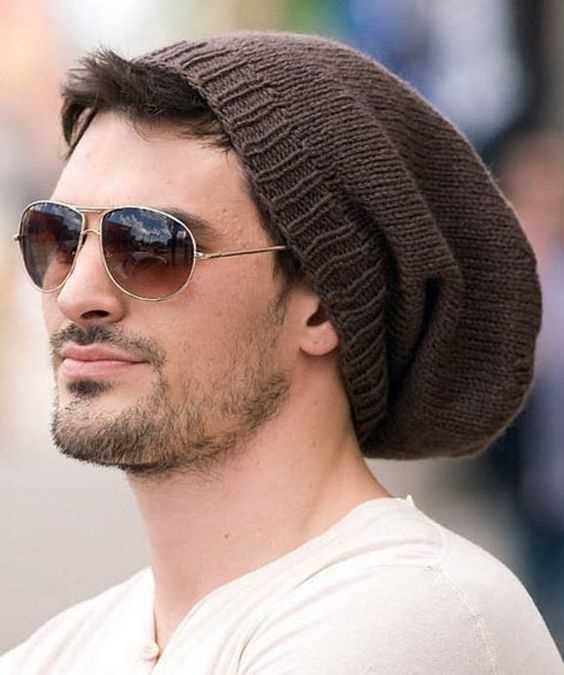
Another way to personalize a beanie hat is by adjusting the size and fit. Depending on the wearer’s preference, you can knit a slouchy beanie with extra length or a snug-fitting hat that hugs the head. The length of the ribbing can also be modified to create different fits – a longer ribbing can provide a foldable brim, while a shorter ribbing can give a more fitted look.
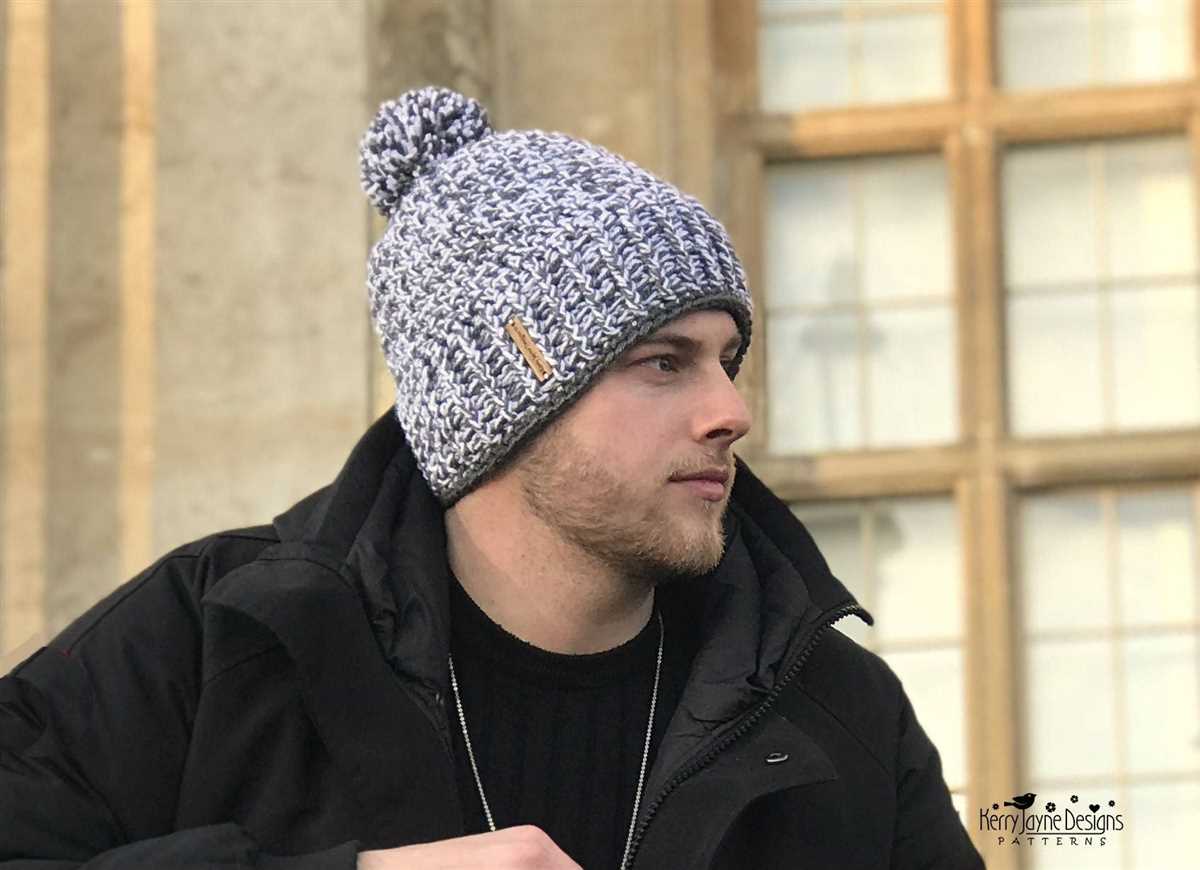
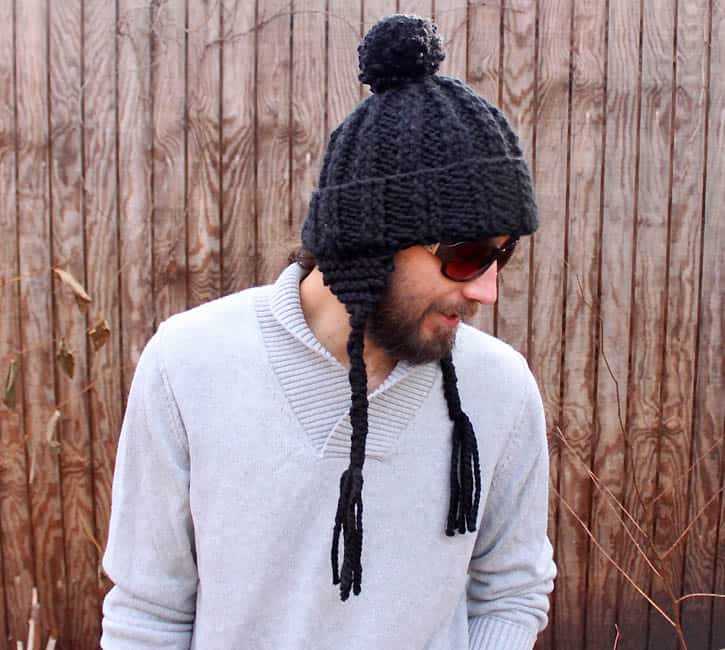
Furthermore, you can add embellishments and accessories to make the beanie hat truly unique. This could include adding a pompom on top, attaching a leather or fabric patch with the wearer’s initials, or incorporating decorative buttons or patches. These small details can elevate the overall look of the hat and make it stand out from the rest.
Sharing and Feedback
Thank you for taking the time to try out this free knitting pattern for a men’s beanie hat! We hope you enjoyed the process and are happy with the final product. We would love to hear about your experience and any feedback you may have.
If you have any questions, suggestions, or concerns, please feel free to reach out to us. We value your input and are always looking to improve our patterns and make them as user-friendly as possible. Your feedback will help us create better knitting resources for the community.
We also encourage you to share your finished men’s beanie hat on social media and tag us or use the hashtag #knitbeaniehat. It’s always inspiring to see how different knitters interpret and personalize patterns. Plus, your finished project might inspire others to try knitting their own beanie hat!
Lastly, if you enjoyed this free knitting pattern, we would be so grateful if you could leave us a review or rating on our website or platform where you found this pattern. Your review will not only help us assess our work but also assist other knitters in deciding if this pattern is right for them.
