
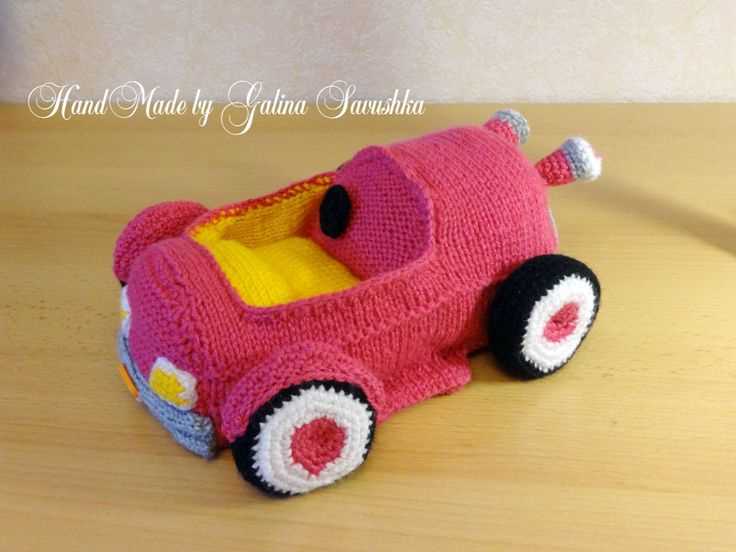
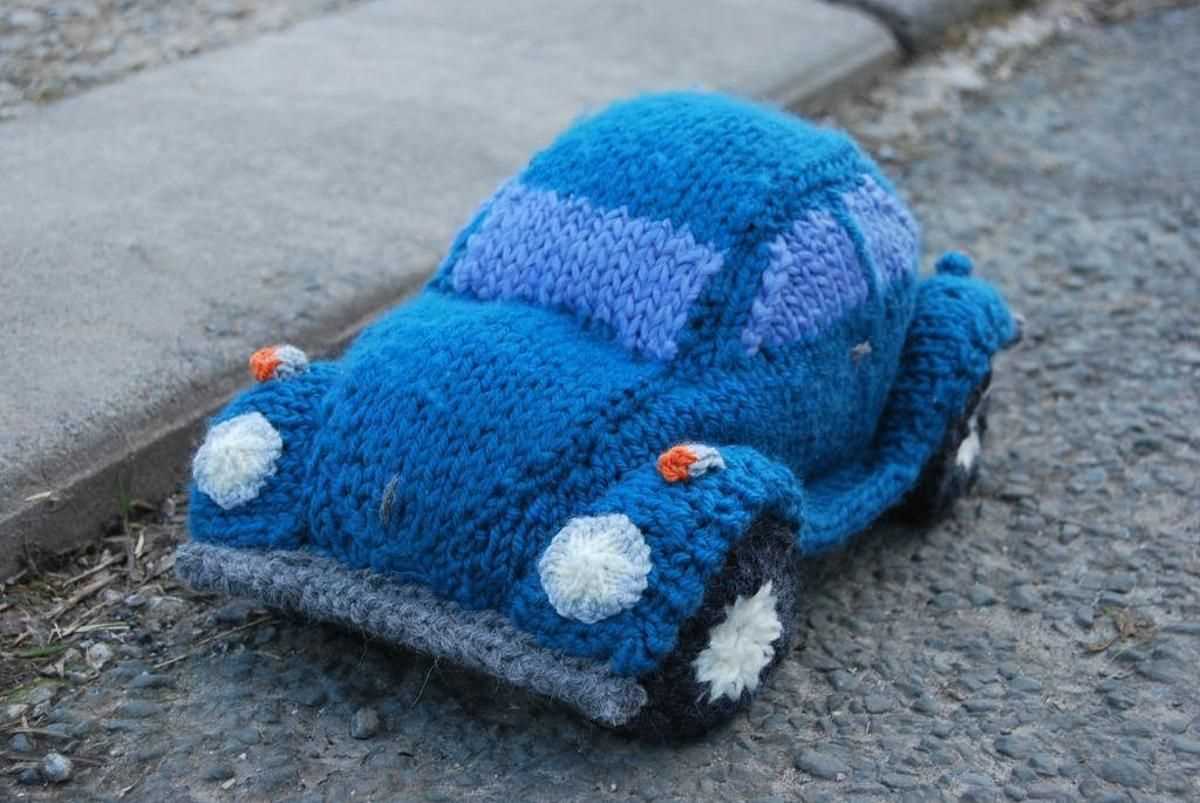
If you’re looking for a fun and unique knitting project, why not try making a knitted toy car? These adorable little cars are the perfect gift for a child or a delightful addition to any toy collection. Plus, they’re surprisingly easy to make! In this article, we’ll provide you with a step-by-step guide to knitting your own toy car.
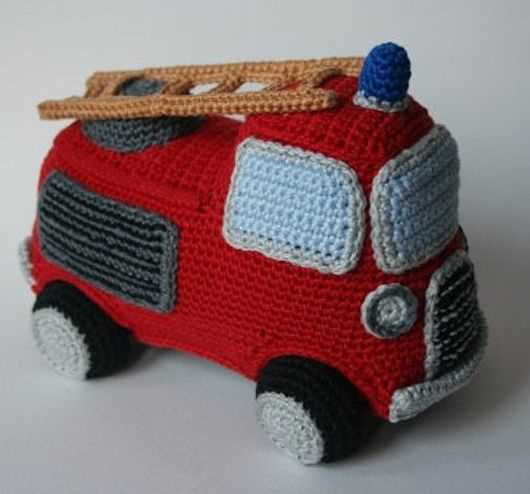
First, you’ll need to gather your materials. For this project, you’ll need a set of knitting needles, a ball of yarn in your preferred colors, and a yarn needle for sewing up the finished car. You can choose any color combination you like, whether it’s a classic red firetruck or a funky rainbow car. Let your creativity run wild!
Next, you’ll need to find a pattern for your knitted toy car. There are many free patterns available online, or you can create your own design if you’re feeling adventurous. Make sure the pattern includes detailed instructions and a list of abbreviations to ensure you can follow along.
Once you have your materials and pattern ready, it’s time to start knitting! Begin by casting on the required number of stitches and following the pattern’s instructions for the car body. This will usually involve knitting rows of garter stitch or stockinette stitch to create the main body of the car.
Knitted Toy Car Pattern
If you are a fan of knitting and toys, you will love this knitted toy car pattern. This pattern allows you to create a cute and charming toy car using only your knitting skills. It is a perfect project for both beginners and experienced knitters.
Materials:
- Medium weight yarn in the colors of your choice
- Knitting needles in the appropriate size for your yarn
- Stuffing material
- Tapestry needle
- Embroidery thread or yarn for the details
- Scissors
Instructions:
- Start by knitting the body of the car. Cast on the desired number of stitches and work in stockinette stitch until you reach the desired length.
- Next, knit the wheels of the car. You can either knit small circles or use ready-made toy wheels. Sew the wheels onto the body of the car.
- To create the windows, use a contrasting color of yarn and stitch a small rectangle onto the body of the car.
- For the details, you can use embroidery thread or yarn to stitch on headlights, a grille, and other decorative elements.
- Once all the details are in place, stuff the car with the stuffing material and sew up the remaining open edges.
- Your knitted toy car is now complete! You can add any additional details or embellishments that you like.
This knitted toy car pattern is a great way to showcase your creativity and knitting skills. It also makes for a wonderful gift for children or anyone who loves handmade toys. Have fun creating your own unique toy car!
Why Choose a Knitted Toy Car?
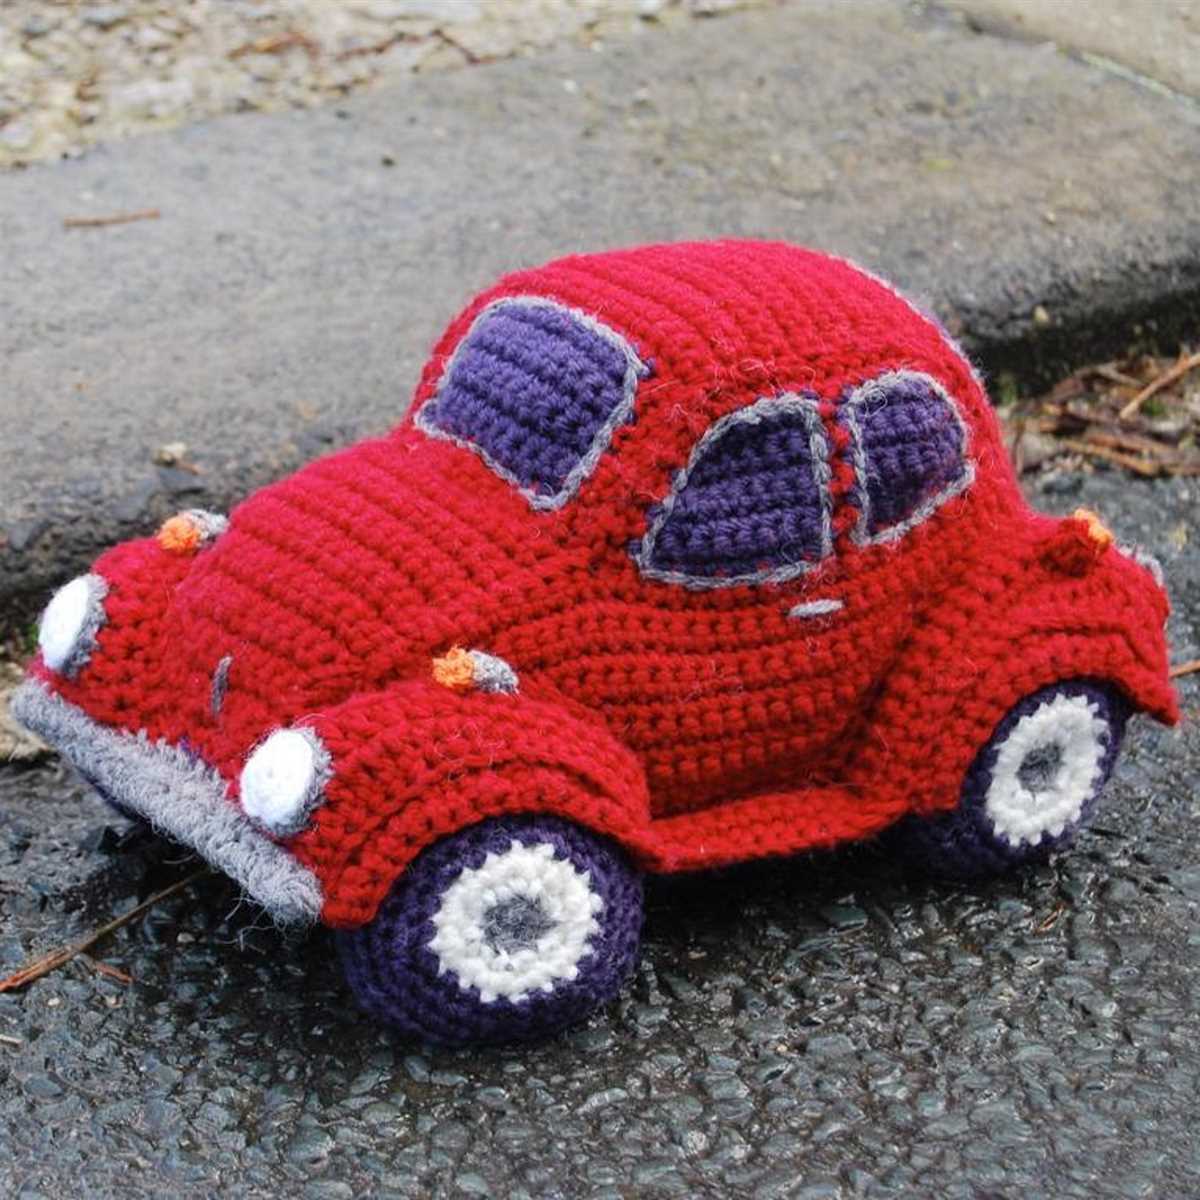
Knitted toy cars are a popular choice among kids and parents alike for several reasons. Firstly, they offer a unique and handmade touch that cannot be replicated by mass-produced toys. When you give a child a knitted toy car, you are not only giving them a fun and engaging plaything but also a special and meaningful gift.
Another reason to choose a knitted toy car is that it provides a safe and soft alternative to traditional plastic or metal cars. Knitted toys are made from soft yarn, which makes them gentle to touch and reduces the risk of injuries during play. Parents can have peace of mind knowing that their child is playing with a toy that is not only fun but also safe.
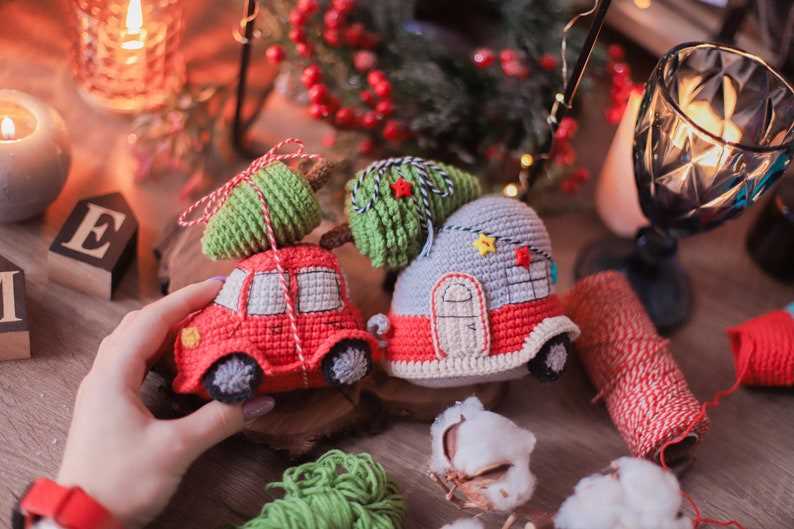
Furthermore, knitted toy cars often have intricate and detailed designs, which can help stimulate a child’s imagination and creativity. These toys can spark imaginative play scenarios and encourage storytelling, allowing children to create their own adventures and narratives. Knitted toy cars can also be customized with different colors and patterns, making them uniquely personal and appealing to each child.
Additionally, knitted toy cars are eco-friendly and sustainable. They are typically made from natural materials, such as cotton or wool, which are biodegradable and renewable. By choosing a knitted toy car over a plastic or metal alternative, you are making a conscious choice to reduce your environmental impact and promote a more sustainable lifestyle.
In conclusion, there are many reasons to choose a knitted toy car. From their handmade charm to their softness and safety, these toys offer a unique and enjoyable play experience for children. They also promote imagination and creativity while being eco-friendly and sustainable. Consider adding a knitted toy car to your child’s toy collection for a special and meaningful gift that they will cherish for years to come.
Materials and Tools Needed
Before you start knitting your own toy car, make sure you gather all the necessary materials and tools. Here is a list of what you will need:
Materials:
- Yarn: Choose a yarn in the color of your choice for the body of the car. You will also need a small amount of contrasting yarn for the details.
- Stuffing: You will need stuffing material to fill the toy car and give it a plush and soft feel.
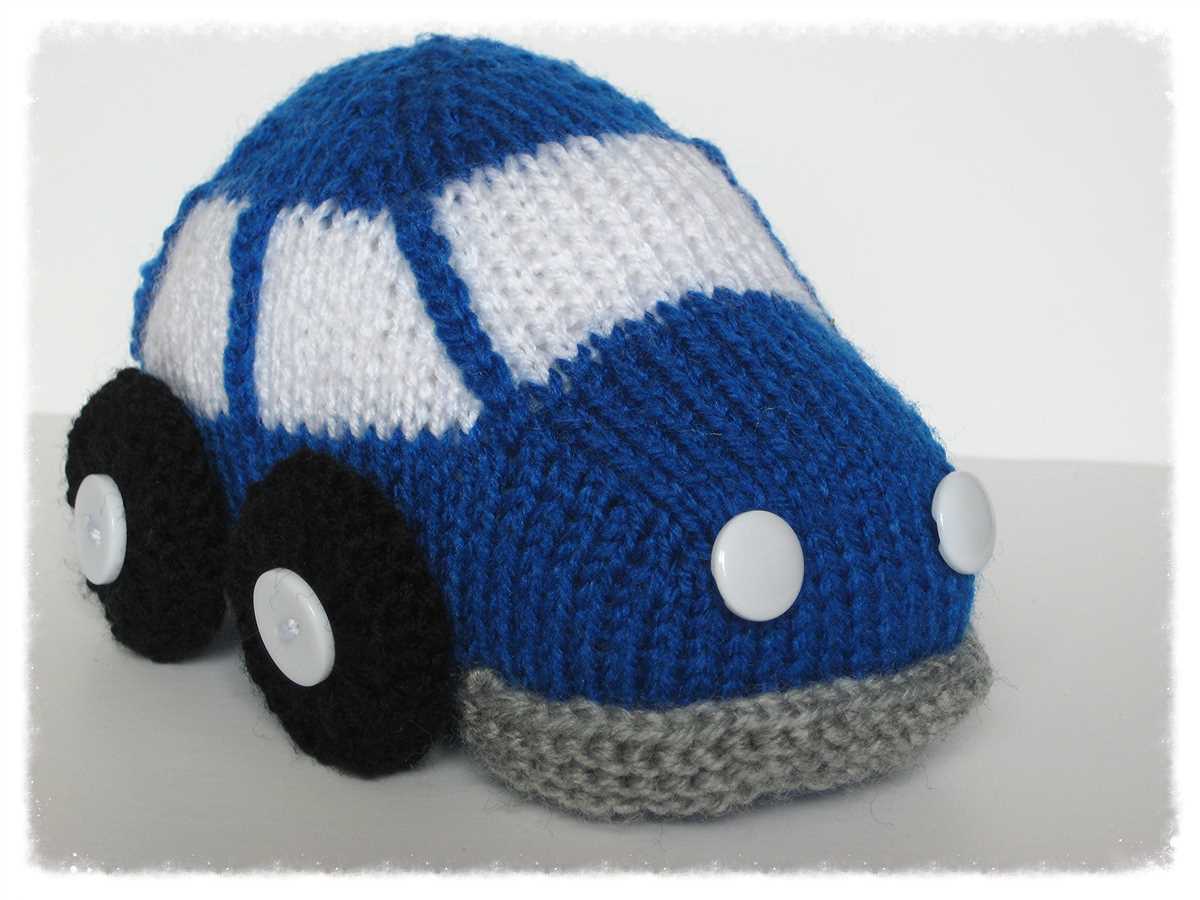
- Buttons: Select a few buttons in different colors and sizes for the wheels of the car.
- Embroidery Thread: Get some embroidery thread in a color that complements the yarn you have chosen for sewing on the details.
Tools:
- Knitting Needles: Use knitting needles in the appropriate size for the yarn you have chosen. Make sure you have the correct size to achieve the desired gauge.
- Tapestry Needle: A tapestry needle with a large eye will be necessary for sewing the different pieces together and adding the details.
- Scissors: Keep a pair of scissors handy for cutting the yarn and embroidery thread.
- Stitch Markers: Use stitch markers to keep track of your stitches and make it easier to follow the pattern.
- Measuring Tape: Have a measuring tape or ruler nearby to ensure your toy car is the correct size and proportions.
With all the necessary materials and tools gathered, you are now ready to start knitting your own adorable toy car!
Getting Started with the Base of the Car
Before you can start knitting the toy car, you’ll need to gather all the necessary materials and supplies. Here’s a list of what you’ll need:
- Knitting needles (size 4 mm)
- Worsted weight yarn in the color of your choice
- Tapestry needle
- Scissors
- Stuffing
Once you have all the materials ready, you can start knitting the base of the car. Begin by casting on the required number of stitches onto your knitting needles. The pattern should specify the exact number of stitches you need to cast on.
Next, you’ll want to knit the base of the car using the garter stitch. This stitch is created by knitting every row. Knit each row until the base reaches the desired length specified in the pattern. Keep in mind that the length may vary depending on the size of the toy car you want to make.
After knitting the base to the desired length, you can bind off the stitches. This will create a finished edge and secure the stitches in place. Cut the yarn, leaving a long tail, and thread it through the tapestry needle. Insert the needle through each stitch on the knitting needle, pulling the yarn through to create a loop. Continue this process until you’ve bound off all the stitches.
Now that the base of the car is complete, you can move on to knitting the other parts of the toy car, such as the wheels, windows, and any additional details. Refer to the pattern for instructions on how to knit these parts and how to assemble the toy car.
Knitting the Body of the Car

Once you have completed the wheels of your knitted toy car, it’s time to move on to knitting the body. The body is worked in one piece using the stockinette stitch, creating a smooth and seamless finish.
To begin, cast on the required number of stitches for your chosen size using the main color yarn. This will determine the width of the car body. Knit in stockinette stitch for the desired length, keeping in mind the proportions of the car. You can refer to the pattern for specific measurements and instructions.
As you knit, you can add details to the car body using different colored yarns or stitches. For example, you can create windows by using a lighter shade of yarn and knitting a few rows in garter stitch to create a textured effect. You can also add stripes or other embellishments using the intarsia or fair isle techniques.
Once you have reached the desired length for the car body, bind off your stitches and weave in any loose ends. Remember to leave a long enough tail for sewing up the sides of the body and attaching it to the wheels.
Now that you have finished knitting the body, you can move on to the final steps of assembling your knitted toy car, including sewing the body to the wheels, attaching any additional details like headlights or a steering wheel, and stuffing the car if desired. Follow the pattern instructions carefully to ensure a successful finish to your knitted toy car.
Adding the Wheels
Once you have completed knitting the body of the car, it’s time to add the wheels. This step will provide the finishing touch to your knitted toy car and bring it to life.
Start by selecting the type of wheels you want to use for your knitted car. You can either purchase small toy wheels from a craft store or make your own using buttons or circular pieces of felt or fabric. Make sure the size of the wheels is appropriate for the size of your knitted car.
Next, determine the placement of the wheels on your knitted car. Typically, there are four wheels, with two on either side of the car. Use safety pins to temporarily attach the wheels in the desired positions and check if they are aligned properly.
Now that you have determined the correct placement, it’s time to securely attach the wheels to the knitted car. You can use a needle and thread to sew the wheels onto the car, making sure to sew through both the wheel and the car body to ensure a strong attachment. Alternatively, you can use fabric glue or a hot glue gun for a quicker and easier attachment.
Once the wheels are securely attached, double-check their alignment and make any necessary adjustments. Ensure that the wheels turn smoothly and are evenly placed.
Finally, give your knitted toy car a test drive! Roll it on a flat surface to make sure the wheels are functioning properly and the car moves smoothly. If everything looks good, your knitted toy car is now complete and ready for play or display!
Creating the Windows and Doors
The windows and doors are an essential part of any knitted toy car. They add detail and character to the design, making the toy more realistic and fun to play with. In this section, we will explore how to create the windows and doors for your knitted toy car.
To begin, you will need to decide on the size and shape of the windows and doors. You can choose to make them square, rectangular, or even circular, depending on the style that you prefer. Once you have determined the shape, you can start knitting the pieces.
For the windows: Start by casting on the required number of stitches, depending on the size of the window. Knit in your desired stitch pattern until the window reaches the desired height. You can add details such as window frames or curtains by using different stitch patterns or colors. Once you are satisfied with the window, bind off the stitches.
For the doors: Start by casting on the required number of stitches for the door width. Knit in your desired stitch pattern until the door reaches the desired height. You can add details such as doorknobs or hinges by embroidering or using buttons. Once you are satisfied with the door, bind off the stitches.
After you have finished knitting the windows and doors, it’s time to attach them to the knitted toy car. Use a yarn needle and matching yarn to sew the edges of the windows and doors onto the body of the car. Make sure to position them evenly and securely.
A knitted toy car with well-crafted windows and doors will surely delight any child. The attention to detail will make the toy stand out and provide hours of imaginative play. Enjoy the process of creating these elements and bringing your knitted toy car to life!
Personalizing the Car
When it comes to creating a knitted toy car, one of the most fun aspects is personalizing it. You have the freedom to choose the colors and patterns that best represent your style and personality.
Color: Start by selecting a color scheme for your car. Whether you want to go for a classic look with black or white, or opt for bright and bold colors, the choice is yours. Consider using different shades of the same color to add depth and dimension to your toy car.
Pattern: Next, think about the pattern you want to incorporate into your design. You can choose to follow a specific knitting pattern or get creative and come up with your own. For example, you could create a striped pattern using alternating colors, or use different stitches to add texture to the car’s body.
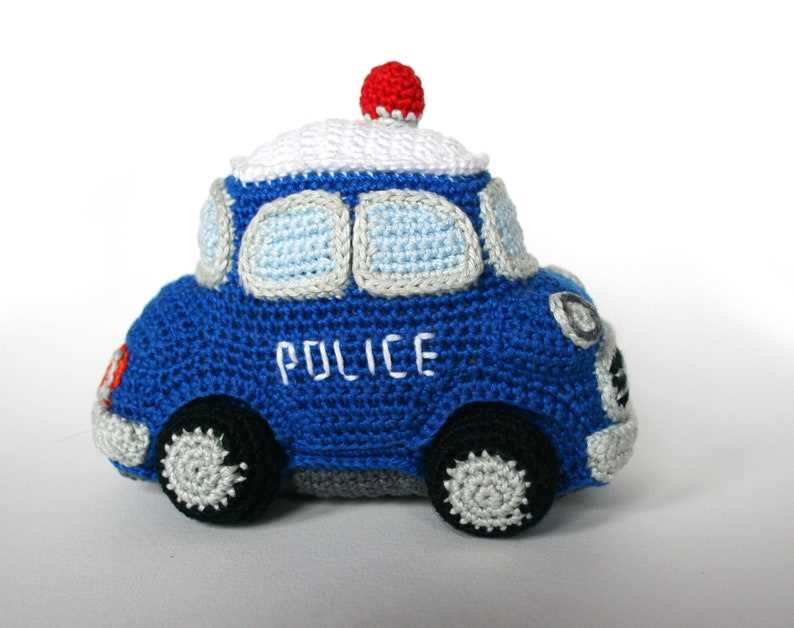
Details: Don’t forget to add some personalized details to make your toy car truly unique. You can embroider a name or initials onto the car’s doors or roof, or sew on buttons or beads as headlights and wheels. These small touches can add a lot of character to your knitted creation.
Accessories: Lastly, consider accessorizing your toy car to give it some extra flair. This could include knitting a small hat or scarf for the driver, or attaching a tiny knitted backpack or surfboard to the roof. These accessories can add a playful touch and make your toy car even more lovable.
Knitting the Roof
When it comes to knitting the roof for your toy car, attention to detail is key. This is the final touch that will complete the look of your knitted toy car and make it truly unique.
Materials:
- Yarn in your desired color
- Knitting needles
- Tapestry needle
Before you start knitting the roof, it’s important to measure the width of your car’s body. This will ensure that the roof fits perfectly and doesn’t appear too big or too small.
Knitting the Roof:
- Cast on the required number of stitches, based on the width of your car’s body.
- Work in your desired stitch pattern for the length of the roof. This could be a simple stockinette stitch or a more intricate pattern depending on your preference.
- Once you have reached the desired length, bind off the stitches.
- Using a tapestry needle, sew the sides of the roof to the car’s body, making sure to secure it firmly in place.
- Weave in any loose ends and trim off excess yarn.
Congratulations! You have successfully knitted the roof for your toy car. Now you can add any additional details such as windows, wheels, and even a steering wheel to complete your knitted masterpiece.
Adding the Details
Once you have completed knitting the basic shape of the toy car, it’s time to add the details that will bring it to life. These details will help define the different parts of the car and make it more realistic. Here are some steps you can follow to add the finishing touches:
1. Embroider the Windows
Using a contrasting color of yarn, you can embroider the windows of the car. Start by threading a tapestry needle with the yarn and making small stitches to outline the shape of the windows. You can choose to fill in the windows with more stitches or leave them open, depending on the desired look.
2. Attach the Wheels
To attach the wheels, you can sew them onto the sides of the car using a matching color of yarn. Make sure to position them evenly and securely, so the car can roll smoothly. You can also add some extra stitches to create the illusion of wheel spokes or hubcaps.
3. Add Decorative Details
To give the toy car some extra flair, you can add decorative details such as racing stripes, headlights, or a license plate. These details can be embroidered or appliquéd onto the body of the car using different colors of yarn or felt. Be creative and personalize your toy car!
4. Finish with a Knitted Keychain
If you want to turn your toy car into a keychain or a bag charm, you can create a small knitted loop or chain to attach it. Simply knit a few rows in a contrasting color of yarn and sew it securely to the top of the car. This way, you can take your knitted toy car with you wherever you go!
- Tip: Don’t be afraid to experiment with different techniques and materials to add the details. You can use buttons, fabric scraps, or even beads to make your toy car unique.
Assembling the Toy Car
Once you have finished knitting all the required parts for your toy car, it’s time to assemble them together. Follow these step-by-step instructions to ensure a successful assembly:
1. Attach the Wheels
Start by attaching the wheels to the base of the car. Take one knitted wheel and place it on one end of a wooden dowel. Insert the dowel through the designated hole on the side of the car’s base. Repeat this step for all four wheels, making sure they are evenly spaced and securely attached.
2. Sew the Body
Next, take the knitted body piece and fold it in half lengthwise, with the right sides facing each other. Align the edges and use a tapestry needle to sew the two sides together, leaving an opening at the top for stuffing. Turn the body right side out and stuff it firmly with polyester fiberfill or your preferred stuffing material.
3. Attach the Body to the Base

Now it’s time to attach the stuffed body to the base of the car. Align the open end of the body with the top of the base and use a tapestry needle to stitch the two pieces together. Make sure the stitches are secure and tight to prevent the body from coming loose during play.
4. Add the Details
To complete your toy car, add any additional details such as headlights, windows, or a steering wheel. Use small pieces of felt or yarn to create these details and sew or glue them onto the appropriate spots on the car. Be creative and personalize your toy car to make it unique!
With these steps, you will be able to assemble your knitted toy car and have it ready for play or as a charming decoration. Enjoy the process and let your imagination run wild!
Tips for Finishing Touches
When it comes to finishing touches on your knitted toy car, there are several steps you can take to give it that extra special touch. Here are some tips to help you add those final details:
1. Embroider the wheels
To make the wheels of your toy car stand out, consider embroidering them with contrasting thread. This will create a nice visual effect and give the car a more realistic look. You can use a simple backstitch or any other embroidery stitch of your choice to outline the wheels and make them pop.
2. Add buttons or beads for headlights

Add a touch of whimsy to your knitted toy car by attaching buttons or beads as headlights. Choose buttons or beads that are the right size and color to resemble headlights. Sew them onto the front of the car where the headlights would be located, and secure them tightly so they don’t come loose during play.
3. Sew on details
Take some time to sew on smaller details, such as a grille or door handles, to enhance the overall appearance of your toy car. Use embroidery thread or yarn of a contrasting color to sew on these details. Take care to sew them on securely so they won’t easily come off.
4. Personalize with a license plate

Add a personal touch to your knitted toy car by attaching a small piece of fabric or felt in the shape of a license plate. You can write a name or phrase on the license plate to make it more personalized. Sew it onto the back of the car, or attach it using fabric glue.
5. Give it a final wash and blocking
Before presenting your finished toy car, give it a final wash to remove any dirt or dust that may have accumulated during the knitting process. After washing, reshape the car if necessary and let it air dry or block it to ensure that it maintains its shape.
By following these tips, you can add those finishing touches that will make your knitted toy car truly unique and special. Have fun adding your own creative flair!
Enjoying Your Knitted Toy Car
After all the hard work and dedication you put into knitting your toy car, it’s time to sit back, relax, and enjoy the fruits of your labor. Whether you decide to keep the toy car for yourself or gift it to a loved one, there are many ways to appreciate and make the most out of your knitted creation.
Playtime with your toy car
One of the most enjoyable ways to appreciate your knitted toy car is by playing with it. Let your imagination run wild and create different scenarios for your car to be a part of. Have fun racing it against other toy cars, building a racetrack or a city for it to roam, or even organizing a mini car show with other knitted toys. The possibilities are endless!
Displaying your toy car
If you prefer to keep your knitted toy car as a decorative piece, there are various ways to showcase it in your home. You can place it on a shelf, mantelpiece, or even create a dedicated display case for it. Consider adding other knitted toys or car-themed decorations to create a themed display. Not only will it add a touch of charm to your space, but it will also serve as a reminder of your knitting skills and creativity.
Sharing your creation
If you’re proud of your knitted toy car, why not share it with others? You can showcase your creation on social media platforms or knitting communities, where fellow knitting enthusiasts can appreciate and admire your work. You can also consider gifting your toy car to a friend or family member who would appreciate the time and effort that went into making it. Sharing your creation can bring joy to both yourself and others.
Preserving your toy car
Remember to take proper care of your knitted toy car to ensure its longevity. Keep it away from direct sunlight, as prolonged exposure can cause its colors to fade. Avoid placing it near heat sources or humid areas to prevent any damage. If your toy car gets dirty, gently spot clean it with mild soap and water and let it dry fully before displaying or playing with it again. By preserving your toy car, you can continue to enjoy it for years to come.