Knitting is not just a hobby, but an art form that allows you to create beautiful and unique garments. If you’re looking for a new project to challenge your skills and expand your knitting repertoire, why not try knitting a V-neck sweater?
A V-neck sweater is a classic wardrobe staple that never goes out of style. It can be dressed up or down, making it versatile and perfect for any occasion. By following a knitting pattern, you can create a V-neck sweater that fits you perfectly and reflects your personal style.
Before you start knitting your sweater, it’s important to choose the right yarn and needles. The yarn should be soft, warm, and suitable for the pattern you’re using. The needles should be the right size to achieve the desired gauge. Once you have your supplies, you can start casting on and working on the body of the sweater.
The V-neck part of the sweater requires some additional shaping and decreasing to create the flattering V shape. This can be a bit tricky, but with the help of a detailed knitting pattern and some patience, you’ll be able to master it. Once you’ve finished the V-neck, it’s time to work on the sleeves and the finishing touches, such as adding buttons or a ribbed edging.
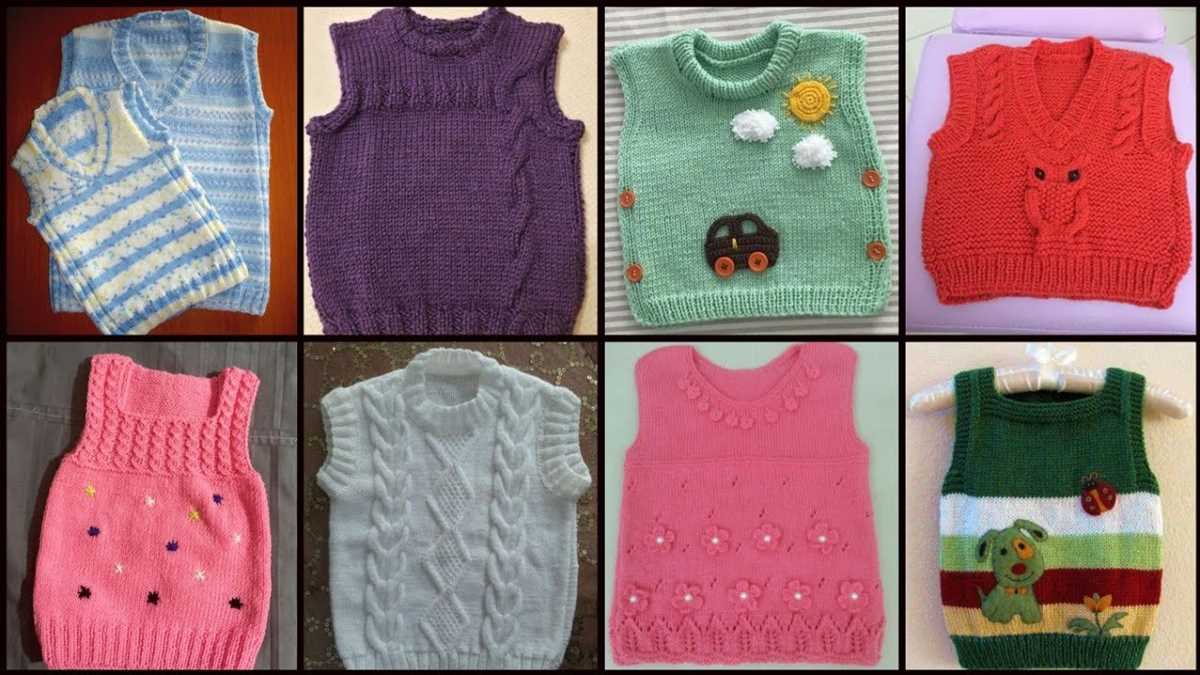
What is a v neck sweater?
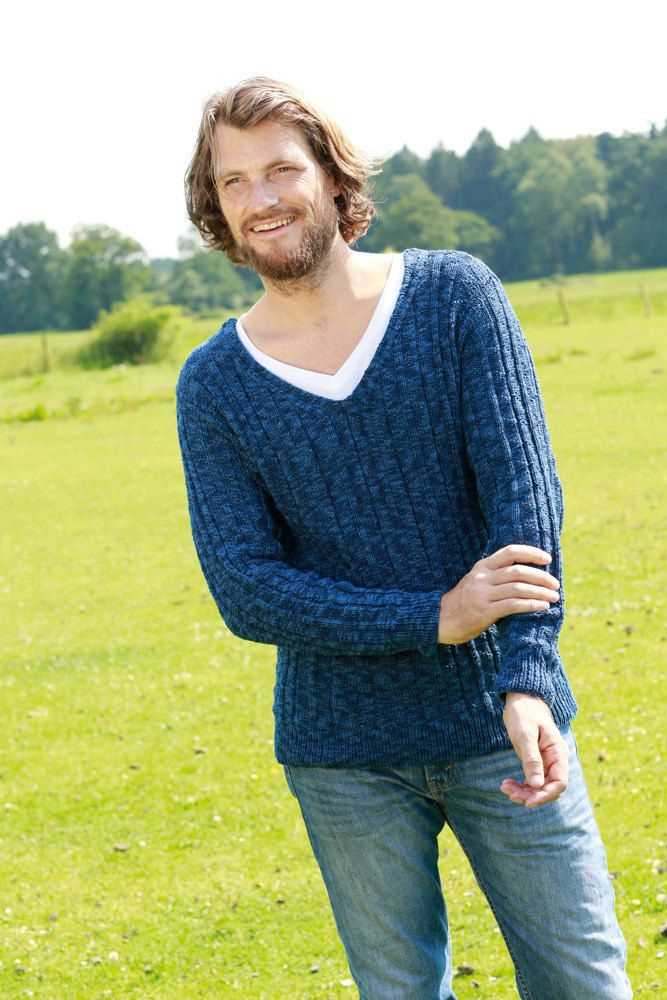
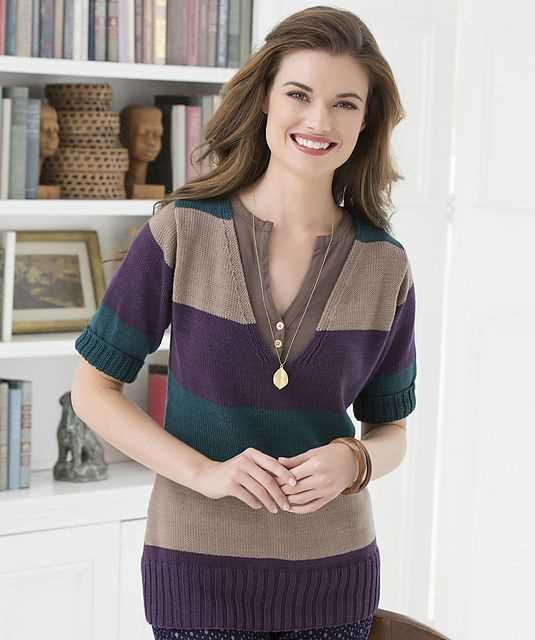
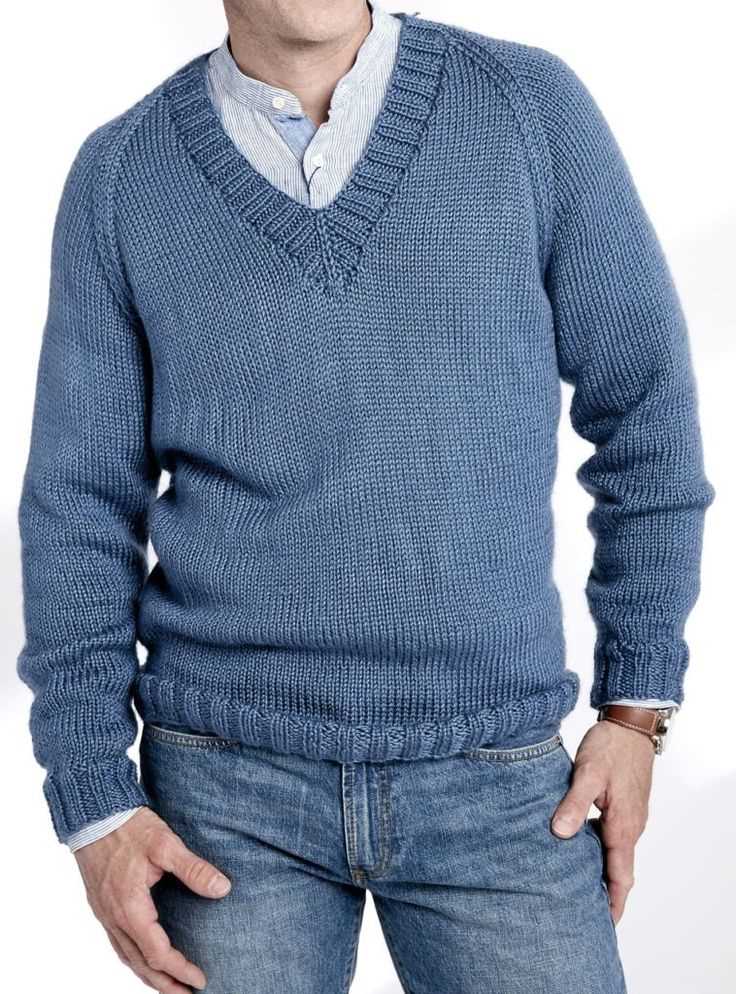
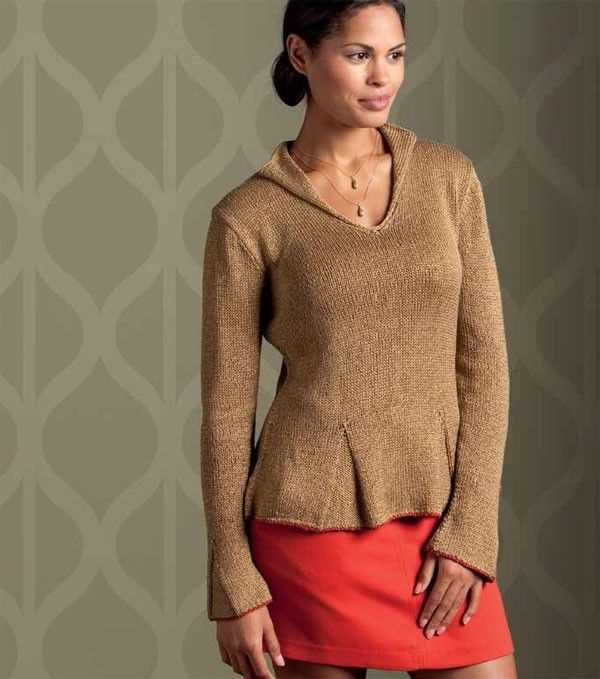
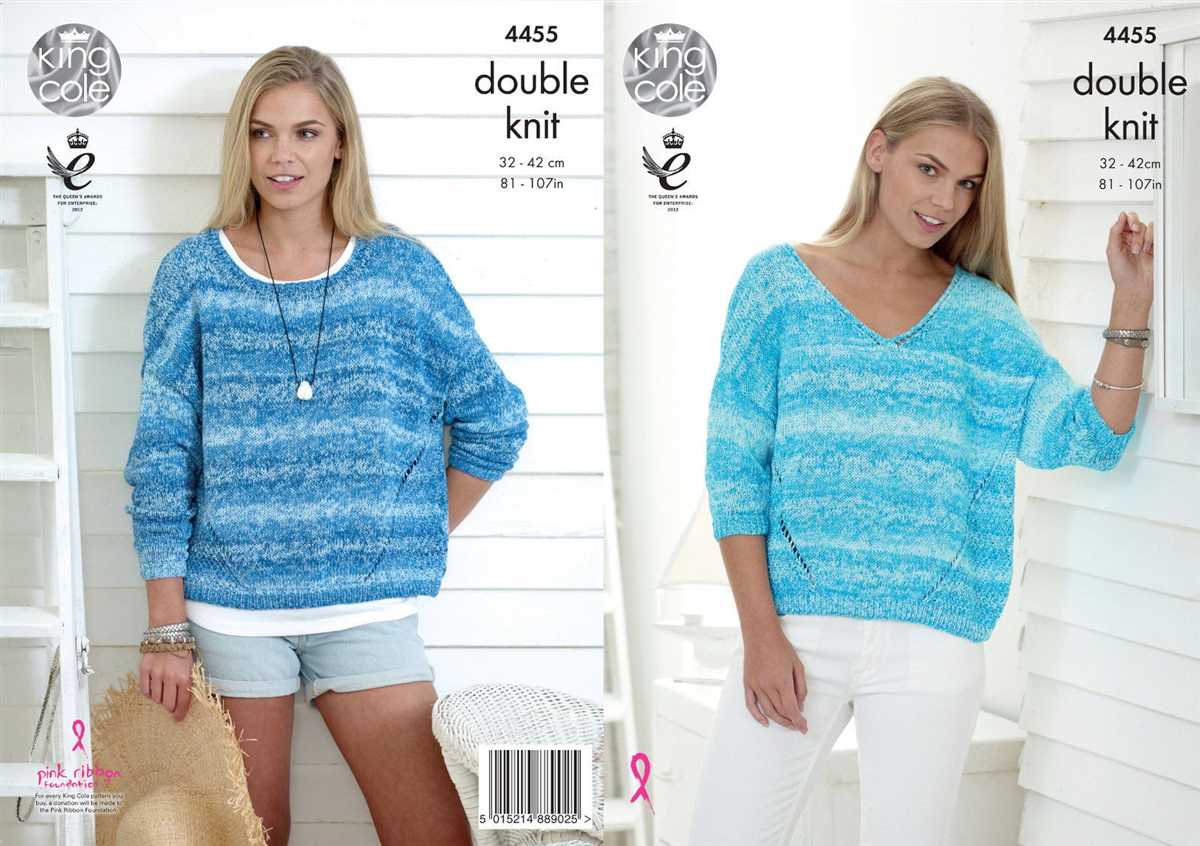
A v neck sweater is a type of knitted garment that features a v-shaped neckline. The front of the sweater dips down into a v shape, creating an elegant and flattering neckline. This style of sweater is a popular choice for both men and women, as it can be dressed up or down and is suitable for various occasions.
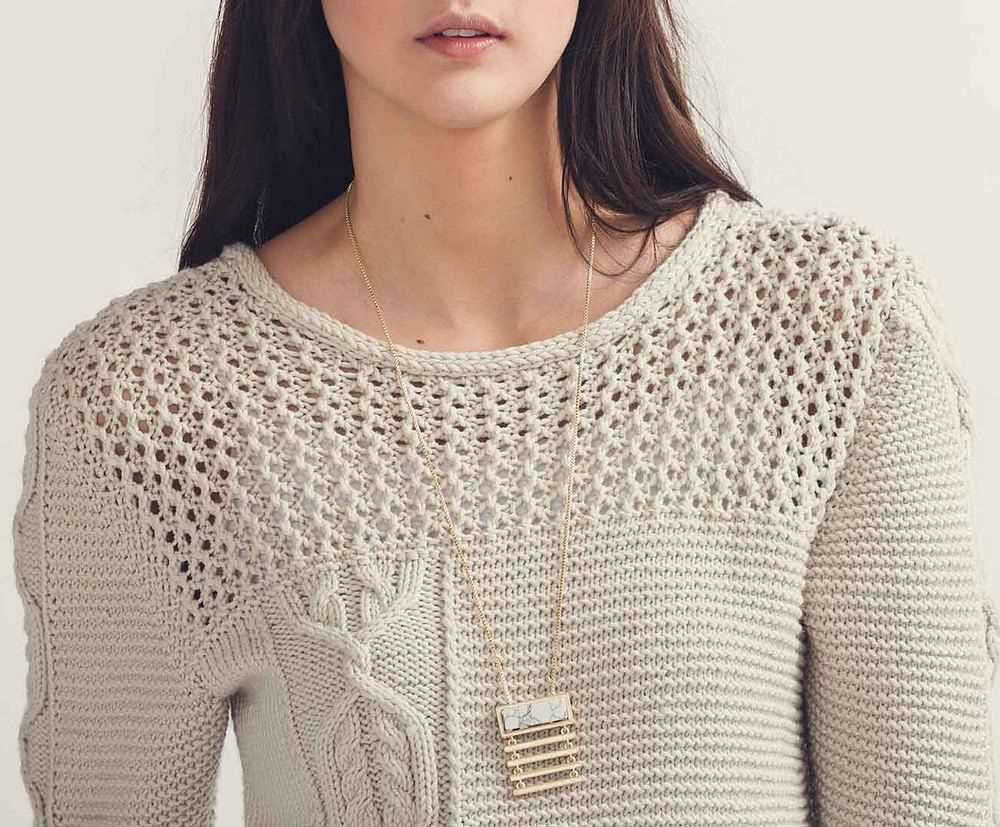
The v neck sweater is characterized by its versatility and timeless appeal. It can be worn on its own as a standalone piece, or layered over a shirt or blouse for a more polished look. The v neck also provides an opportunity to showcase accessories such as necklaces or scarves. It is a classic style that never goes out of fashion and can be found in various colors, patterns, and textures.
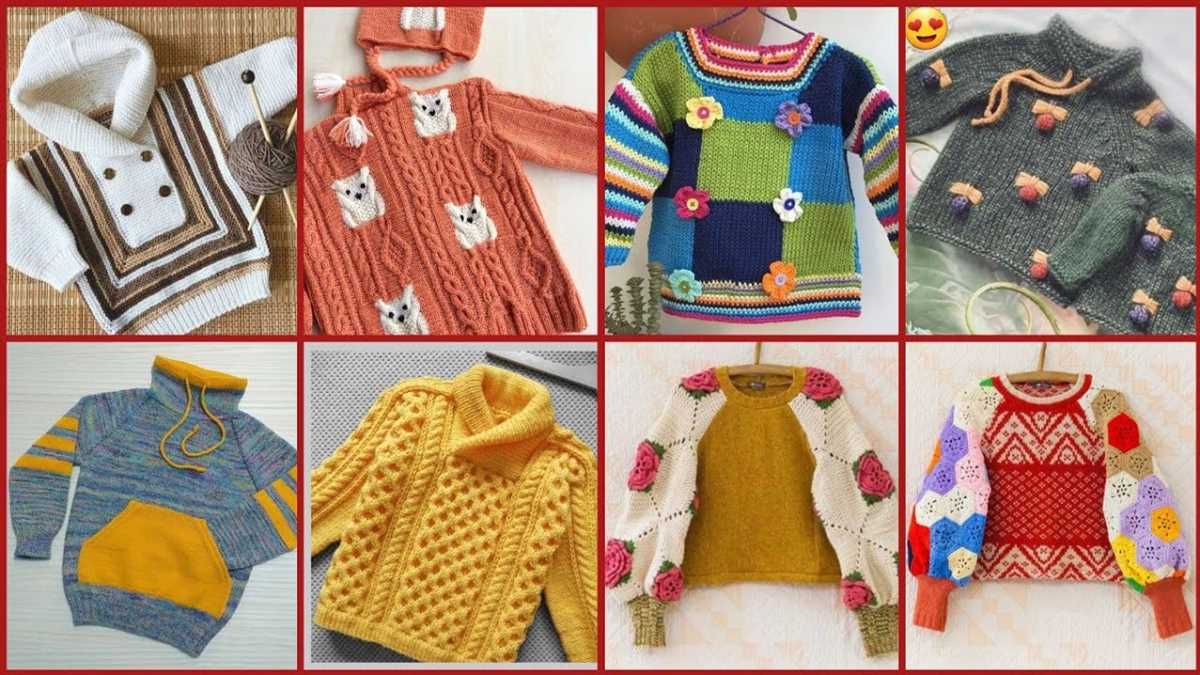
When it comes to knitting a v neck sweater, there are various knitting patterns available. Some patterns may feature a more shallow v neck, while others may have a deeper plunge. The choice of pattern also determines the overall fit and style of the sweater, whether it is a loose and oversized fit or a more tailored silhouette.
Whether you are looking to knit your own v neck sweater or purchase one, this style is a wardrobe staple that can be worn year-round. Its versatility makes it a great investment piece, as it can be worn in both casual and formal settings. So, if you are in need of a versatile and stylish sweater, consider adding a v neck sweater to your collection.
Choosing the right yarn for your v neck sweater

When it comes to knitting a v neck sweater, choosing the right yarn is crucial for the success of your project. The yarn you select will affect not only the texture and appearance of your sweater, but also its overall comfort and durability. Here are some factors to consider when choosing yarn for your v neck sweater:
Fiber content
The first thing to consider is the fiber content of the yarn. Different fibers have different properties, so it’s important to choose one that suits your needs and preferences. Wool is a popular choice for sweaters as it is warm, breathable, and naturally elastic. Acrylic yarns are a more affordable option, and they are known for their durability and easy care. Other options include cotton, silk, and blends of different fibers, each of which has its own unique characteristics.
Weight

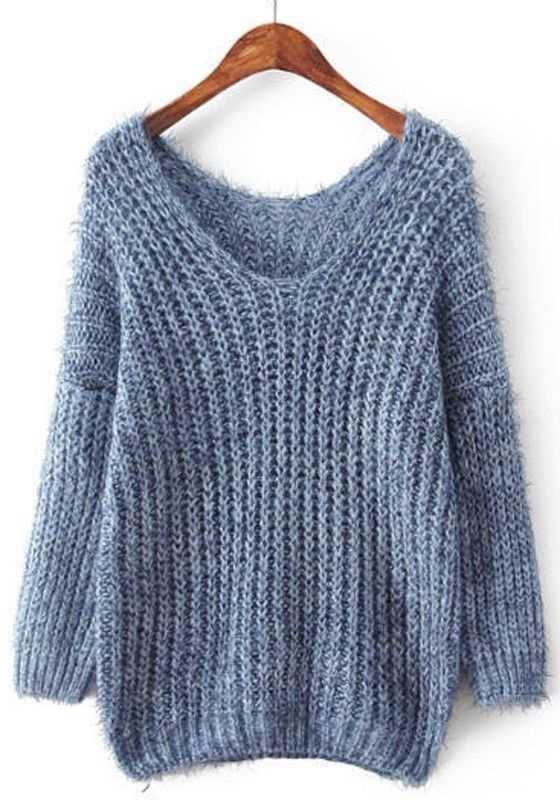
The weight of the yarn is another important factor to consider. The weight of the yarn will determine the thickness and drape of your sweater. For a v neck sweater, a medium or worsted weight yarn is often a good choice, as it strikes a balance between warmth and versatility. However, you may also opt for a lighter weight yarn for a more delicate and lightweight sweater, or a heavier weight yarn for a chunkier and more cozy look.
Color and texture
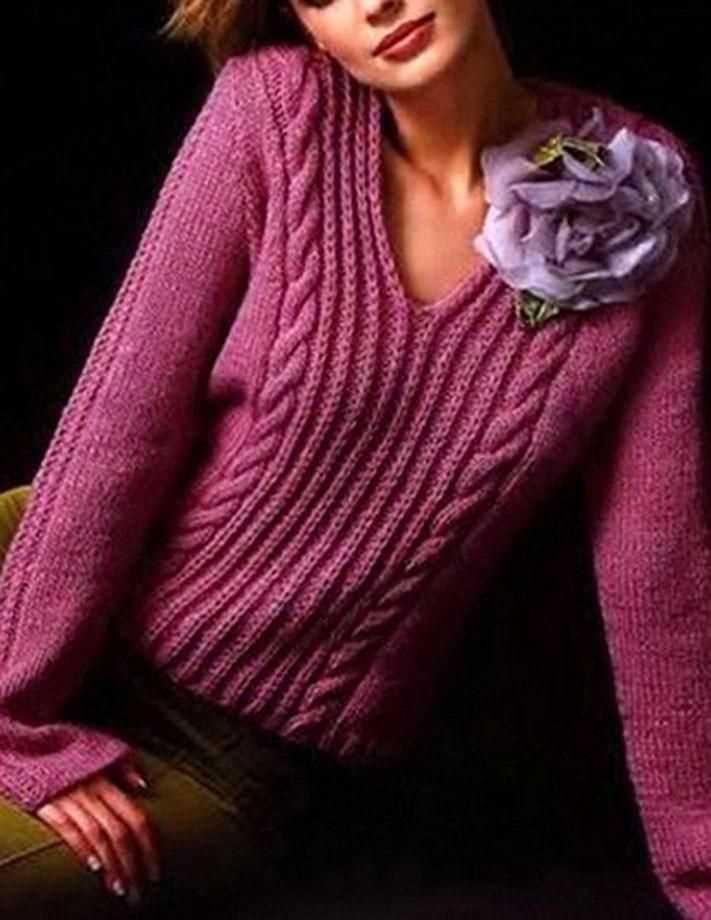
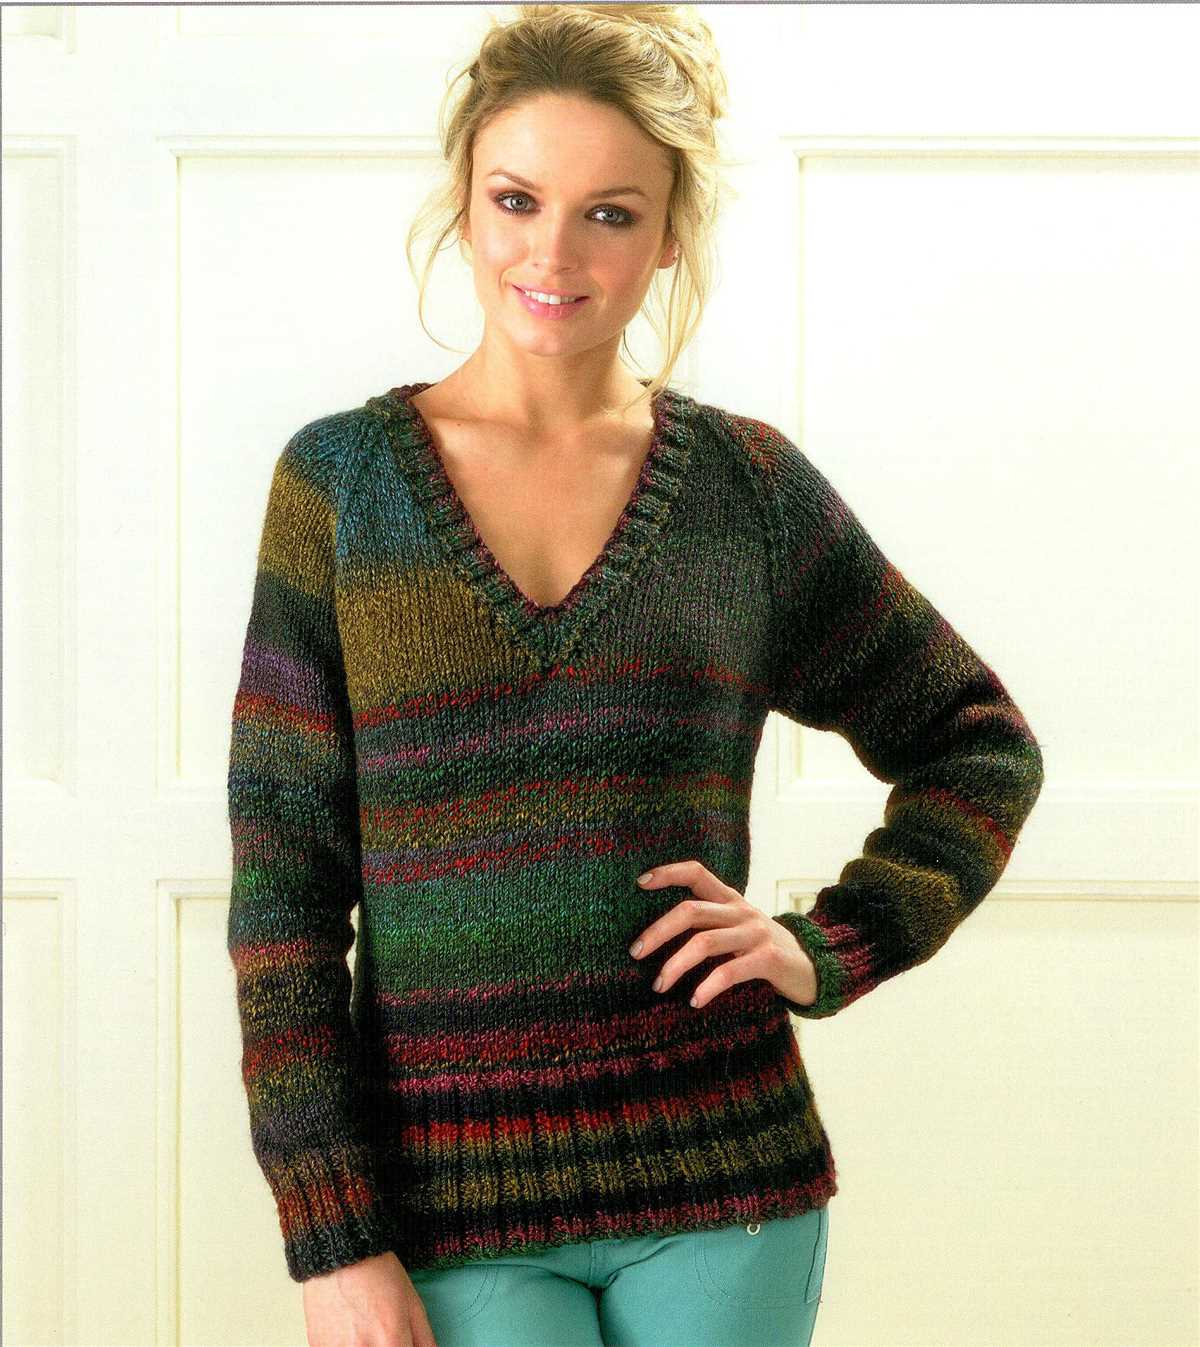
The color and texture of the yarn can also greatly impact the final look of your v neck sweater. Consider the style and design of your sweater when choosing yarn colors. You may opt for solid colors for a classic and timeless look, or variegated yarns for a more vibrant and unique appearance. Additionally, consider the texture of the yarn and how it will affect the stitch definition of your sweater. Smooth and tightly spun yarns will create a more polished look, while fluffy and textured yarns can add dimension and interest to your sweater.
Budget
Lastly, consider your budget when choosing yarn for your v neck sweater. Yarn prices can vary greatly, so it’s important to choose a yarn that fits within your budget while still meeting your desired criteria. Additionally, consider the amount of yarn you will need for your sweater and calculate the total cost accordingly.
By considering factors such as fiber content, weight, color and texture, and budget, you can select the perfect yarn for your v neck sweater. Remember, choosing the right yarn will not only impact the appearance of your sweater, but also its overall quality and your knitting experience. Happy knitting!
Selecting the appropriate knitting needles
When starting a knitting project, one of the first things to consider is selecting the appropriate knitting needles. The choice of needles can greatly affect the outcome of your project, so it’s important to choose wisely. Here are some factors to consider when selecting your needles:
Material:
Knitting needles are available in a variety of materials, including metal, wood, bamboo, and plastic. Each material has its own unique properties that can affect the way your stitches look and feel. Metal needles are usually smooth and slide easily, making them a good choice for fast knitting. Wood and bamboo needles are warmer to the touch and have more grip, which can be helpful when working with slippery yarns. Plastic needles are lightweight and flexible, making them a good option for beginners.
Size:
The size of your knitting needles will determine the gauge or tension of your stitches. The size is usually indicated by a number or a letter, and it corresponds to the diameter of the needle shaft. Smaller needles create tighter, denser stitches, while larger needles create looser, more open stitches. The size of the needles you choose will depend on the type of yarn you’re using and the desired outcome of your project. It’s important to check the recommended needle size in your knitting pattern and make sure to use the same size needles to achieve the desired results.
Type:
There are different types of knitting needles to choose from, including straight needles, circular needles, and double-pointed needles. Straight needles are the most common type and are used for knitting flat pieces, such as scarves or blankets. Circular needles have a flexible cable attached to two needle tips and can be used for both flat knitting and knitting in the round. They are especially useful for larger projects, as the weight of the project is evenly distributed on the cable. Double-pointed needles are used for knitting small, circular pieces, such as socks or sleeves. They have points at both ends and are typically used in sets of three or four.
By considering these factors and selecting the appropriate knitting needles for your project, you can ensure that your knitting experience is enjoyable and that your finished sweater turns out exactly as you envision it.
Understanding the Gauge and Tension
When it comes to knitting patterns, understanding the gauge and tension is crucial for achieving the desired fit and look of your finished project. Gauge refers to the number of stitches and rows per inch or centimeter, and tension refers to how tightly or loosely you knit. While it may seem like an extra step, taking the time to swatch and check your gauge before starting a project can save you a lot of frustration and ensure that your sweater turns out just right.
To determine your gauge, you will need to use the specified yarn and needle size recommended in the pattern. Start by casting on a few more stitches than indicated and knit a square swatch that is larger than 4 inches or 10 centimeters. After you have finished your swatch, measure the number of stitches and rows within the desired square area. If your stitch count is too large, try using a larger needle size. If your stitch count is too small, try using a smaller needle size. Making adjustments to your needle size will help you achieve the correct gauge and ensure that your sweater fits properly.
It is important to note that not all knitters have the same tension. Some may naturally knit tighter, resulting in fewer stitches per inch, while others may knit looser, resulting in more stitches per inch. Therefore, it is essential to check your gauge even if you are using the same yarn and needle size as specified in the pattern.
It is worth mentioning that the gauge and tension can also be affected by other factors, such as the type of yarn, your knitting style, and even the weather. So, if you have a project in mind but your gauge swatch doesn’t match the pattern, don’t despair! You can try adjusting your needle size, experimenting with different yarns, or even modifying the pattern to accommodate the differences in your gauge. Remember, knitting is a creative and versatile craft, and with a little bit of patience and practice, you can achieve amazing results!
Cast on stitches for the v neck sweater
When starting a knitting project, one of the first steps is casting on stitches. For a v neck sweater, the cast on process may vary slightly depending on the specific pattern being followed. However, there are some general guidelines to follow.
The exact number of stitches to cast on will be specified in the knitting pattern. It is important to carefully read and understand the instructions before beginning. Typically, the pattern will provide this information along with other details such as the recommended yarn weight and needle size.
Once you have determined the number of stitches to cast on, you can begin the process. One common method for casting on is the long tail cast on. To do this, you will need to estimate the amount of yarn you will need for your desired number of stitches. This can be done by measuring a length of yarn that is approximately three times the length you want to cast on, then doubling it.
Hold the yarn in your hand so that the tail end is on your thumb side and the working end is on your other fingers. Make a slipknot and place it onto one of your knitting needles. Hold the needle with the slipknot in your right hand and the other needle in your left hand, as if you were going to start knitting. Insert the tip of the right needle into the slipknot and bring the yarn over the top of the needle. Pull the yarn through the slipknot, creating a new stitch on the right needle.
Continue this process, making sure to keep the stitches loose enough to easily slide along the needle but not so loose that they become sloppy. Once you have cast on the required number of stitches, you can begin working on the v neck sweater according to the pattern instructions.
Knitting the Body of the Sweater

Once you have finished knitting the ribbing for the hem, it’s time to start working on the body of the sweater. You will continue knitting in stockinette stitch, which means you will alternate between knitting one row and purling the next. This creates a smooth, flat fabric that is commonly used for sweaters.
Before you begin, make sure to consult the knitting pattern for any specific instructions on shaping or stitch pattern changes. It’s also helpful to have stitch markers on hand to mark the beginning and end of each section or any specific stitch pattern repeats.
To knit the body of the sweater, cast on the required number of stitches as specified in the pattern. Use the appropriate size needles to achieve the correct gauge. If the pattern calls for any increases or decreases, make sure to follow them to maintain the shaping of the sweater.
Continue knitting in stockinette stitch until the body reaches the desired length. It may be helpful to periodically try on the sweater to check the fit and length. Remember to always measure your gauge as you go to ensure the sweater will fit correctly.
Once you have reached the desired length, you will typically need to bind off the stitches. Follow the pattern instructions for the specific bind-off method to use. This will create a finished edge for the bottom of the sweater.
At this point, you have completed knitting the body of the sweater. You can now move on to knitting the sleeves or any other remaining sections as specified in the pattern. Remember to always read and follow the pattern instructions carefully to ensure a successful knitting project.
Working on the v-neck shaping
When knitting a v-neck sweater, one of the crucial steps is working on the v-neck shaping. This is where you will begin to create the flattering v-shape that adds interest to the sweater’s neckline.
To start the v-neck shaping, you will typically be working with two separate pieces, one for the left side of the neckline and one for the right. This allows for easier customization based on personal preferences, such as the depth of the v-neck.
Following the knitting pattern instructions, you will begin shaping the v-neck by decreasing stitches. This is usually done by working a series of decreases on either side of a center stitch marker. The number of decreases and the rate at which they are worked will vary depending on the specific pattern.
It’s important to pay close attention to the pattern and follow the shaping instructions carefully. This will ensure that the v-neck shaping is symmetrical and suits the overall design of the sweater.
Once the initial decreases are complete, the pattern may instruct you to continue shaping the v-neck in a specific manner. This could involve additional decreases, increases, or working short rows to create a gentle curve along the v-neckline.
A stitch holder or scrap yarn is often used to hold the stitches of the v-neck shaping while you work on the other side. This prevents them from unraveling or becoming stretched out.
Once both sides of the v-neck shaping are complete, the stitches will be joined together again to continue knitting the sweater in the round. At this point, you can follow the pattern instructions to complete the remaining sections of the sweater, such as the body and sleeves.
Working on the v-neck shaping can be an exciting part of the knitting process, as it begins to transform the flat fabric into a stylish and wearable garment. With careful attention to detail and following the pattern instructions, you can achieve a beautifully shaped v-neck sweater that you’ll be proud to wear.
Knitting the sleeves
After completing the body of the v-neck sweater, it’s time to move on to knitting the sleeves. The sleeves are an essential part of the sweater, providing warmth and comfort. When knitting the sleeves, it’s important to follow the pattern instructions carefully to ensure the correct size and fit.
1. Casting on: Start by casting on the required number of stitches for the sleeves, as specified in the pattern. This number will depend on the size you are knitting. Use a set of double-pointed needles or a circular needle, depending on your preference and the pattern instructions.
2. Knitting the body of the sleeves: Once you have cast on the stitches, follow the pattern instructions to knit the body of the sleeves. This may involve knitting in the round or knitting back and forth in rows, depending on the pattern design. Pay attention to any shaping or stitch patterns specified in the pattern, such as increases or decreases.
3. Shaping the sleeves: As you progress with knitting the sleeves, there may be shaping instructions to create a tapered shape. This is usually done by decreasing stitches evenly on either side of the sleeve. Follow the pattern instructions carefully to ensure the correct shaping and fit.
4. Adding any sleeve details: Some sweater patterns may include sleeve details such as cuffs, ribbing, or other decorative elements. If specified in the pattern, follow the instructions to add these details to the sleeves. This will add a finishing touch to the sweater and make it look more polished.
5. Binding off: Finally, once you have completed the required length for the sleeves, follow the pattern instructions to bind off the stitches. This may involve simply binding off all stitches, or it may be a more specific instruction such as binding off a certain number of stitches at each edge.
By carefully following the pattern instructions and paying attention to the shaping and details, you will be able to knit the sleeves of your v-neck sweater with success. The sleeves are an important part of the sweater, so take your time and enjoy the process of creating a cozy and stylish garment.
Adding ribbing to the cuffs and hem
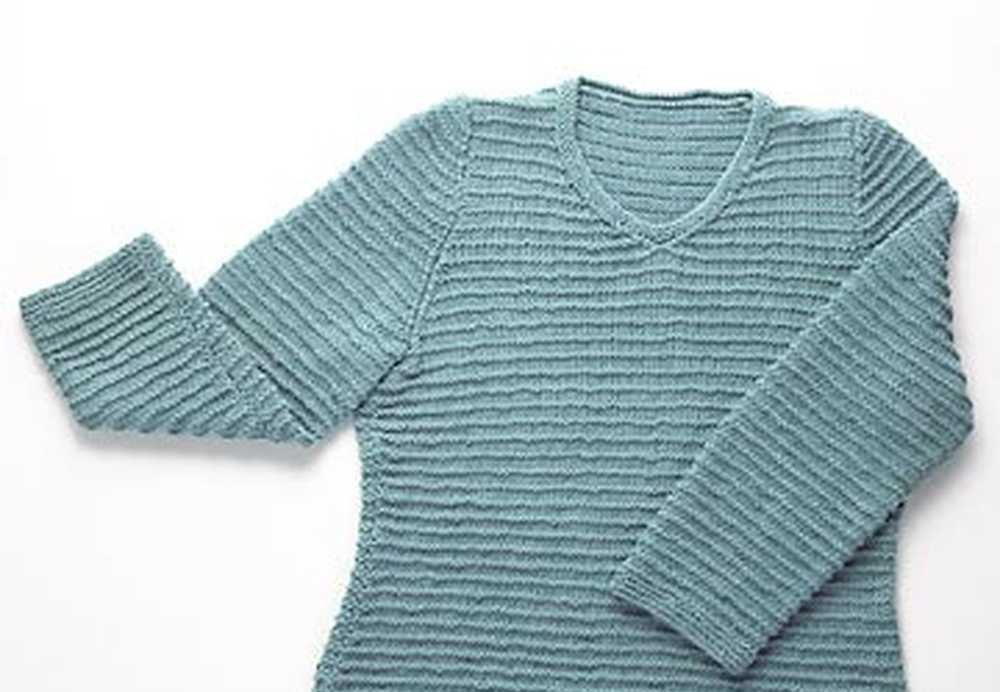
When knitting a v-neck sweater, adding ribbing to the cuffs and hem can help create a polished and professional-looking finish. Ribbing is a common technique in knitting that involves alternating knit and purl stitches to create a stretchy and textured fabric. By adding ribbing to the cuffs and hem of a sweater, it not only adds visual interest but also ensures that the edges of the garment have a snug and comfortable fit.
To add ribbing to the cuffs and hem, you can use a smaller needle size than the one used for the main body of the sweater. This helps to create a tighter fabric that will retain its shape and elasticity. You can choose to knit a traditional ribbing pattern, such as 2×2 ribbing (alternating 2 knit stitches with 2 purl stitches) or experiment with different variations like 1×1 ribbing or fisherman’s ribbing.
Before adding ribbing, it is important to measure the circumference of the cuffs and hem to determine the number of stitches needed. Typically, you would cast on fewer stitches for the ribbing than the main body of the sweater since ribbing tends to pull in and create a tighter fabric. This creates a contrasting effect between the ribbed sections and the rest of the sweater.
Once you have cast on the required number of stitches, you can begin working in your chosen ribbing pattern. When you reach the desired length for the ribbing, you can then switch back to the main needle size and continue with the pattern or stitch pattern for the rest of the sweater. To finish off the ribbing, you can bind off the stitches using a stretchy bind-off method, such as the tubular bind-off or a standard bind-off with larger needles.
Adding ribbing to the cuffs and hem not only adds a touch of style to your v-neck sweater but also provides structure and elasticity. Whether you opt for a classic ribbing pattern or try something different, it’s a great way to elevate your knitting project and create a garment that fits and looks great.
Blocking and Finishing Your V Neck Sweater

After completing the knitting part of your v neck sweater, the next step is to block and finish it. Blocking is an essential process that helps shape the sweater and give it a more polished look. It involves stretching and reshaping the garment to ensure that it fits correctly and has a professional finish.
Before blocking, it is important to read and understand the washing and blocking instructions provided with the knitting pattern. Different fibers and yarns require different blocking techniques. Some may be hand-washed and air-dried, while others may require gentle machine-washing and tumble-drying. Following the instructions carefully will help maintain the integrity and longevity of your v neck sweater.
First, start by laying your v neck sweater flat on a clean surface or blocking board, making sure it is shaped and positioned correctly. Use rust-proof pins to secure the edges and any lace or decorative patterns. To ensure even drying and blocking, measure the dimensions of your sweater and compare them to the specifications provided in the knitting pattern.
Once your sweater is pinned and positioned correctly, you can begin the blocking process. If your sweater requires wet blocking, gently soak it in lukewarm water with a small amount of gentle detergent. Avoid agitating or wringing the sweater, as this can cause stretching or damage. After soaking, carefully remove any excess water by rolling the sweater in a towel.
If your sweater requires steam blocking, use a handheld steamer or a steam iron to apply steam evenly to the garment. Be careful not to press too hard or directly onto the sweater, as this can flatten the stitches. Instead, hold the steamer or iron a few inches away from the surface and gently move it across the fabric.
After blocking, it is time to finish your v neck sweater. This may include sewing in loose ends, attaching buttons or other closures, and adding any desired embellishments. Use a tapestry needle and matching yarn to sew in ends invisibly, making sure to weave the yarn through the stitches and trim any excess.
Finally, give your v neck sweater a final inspection and make any necessary adjustments. Once you are satisfied with the blocking and finishing, allow the sweater to dry completely before wearing or storing it. With proper blocking and finishing, your v neck sweater will not only look great but also fit comfortably and last for years to come.
Styling and Wearing Your V Neck Sweater
Once you have finished knitting your v neck sweater, you are ready to style and wear it. The v neck design offers a versatile and classic look that can be dressed up or down, depending on the occasion. Here are some tips on how to style and wear your v neck sweater.
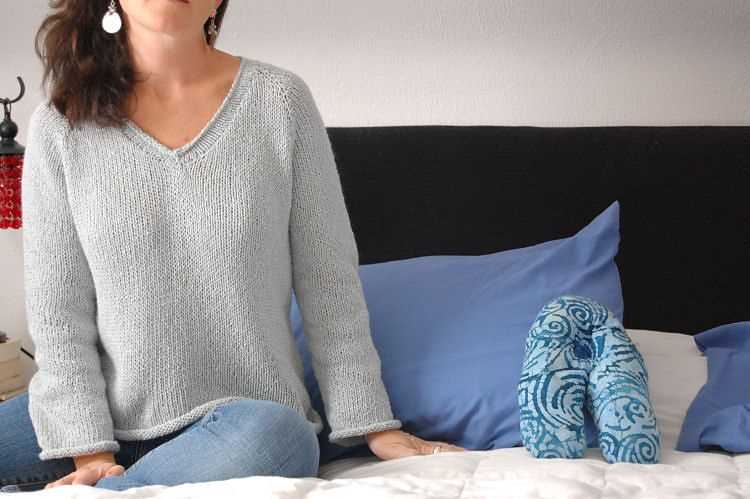
1. Casual Look:
For a casual and relaxed look, pair your v neck sweater with jeans or leggings. You can choose a neutral-colored sweater for a timeless look, or go for a more vibrant color to make a statement. Complete the outfit with sneakers or ankle boots for a comfortable and effortless style.
2. Office Attire:
If you want to wear your v neck sweater to the office, opt for a more tailored and polished look. Pair it with tailored pants or a pencil skirt in a coordinating color. You can layer a collared shirt underneath for a more professional appearance. Accessorize with a statement necklace or a pair of elegant earrings.
3. Layering:
V neck sweaters are perfect for layering. You can wear a button-down shirt underneath the sweater for a preppy and polished look. Alternatively, you can layer a blazer or a denim jacket over the sweater for added warmth and style. Experiment with different combinations to create your own unique looks.
4. Accessories:
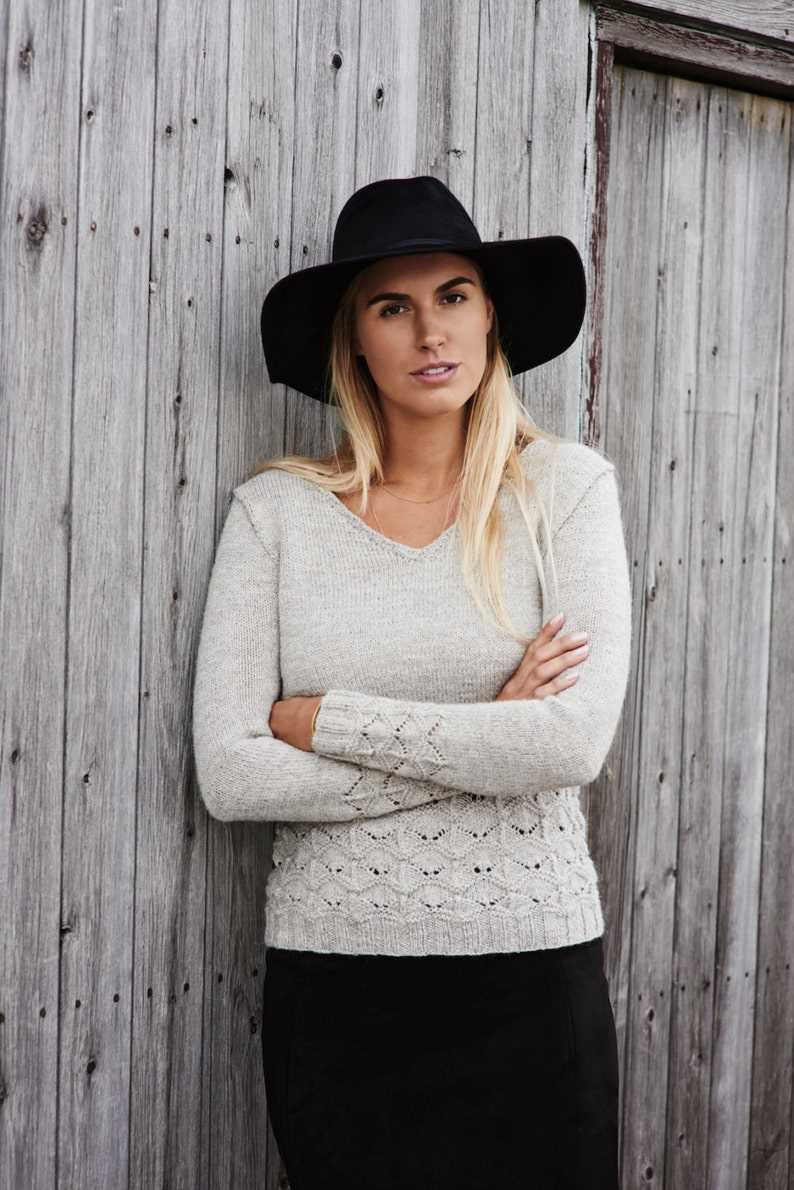
Accessorize your v neck sweater with scarves, hats, or gloves during colder months to add extra warmth and style. Choose accessories that complement the color and style of your sweater. A chunky knit scarf or a beanie can instantly elevate your outfit and make it more fashionable.
5. Care and Maintenance:

To keep your v neck sweater in good condition, follow the care instructions provided. Most sweaters will require hand washing or gentle machine washing. Avoid wringing or twisting the sweater to prevent stretching. Lay it flat to dry to maintain its shape. Regularly remove any pills or fuzz with a sweater comb or fabric shaver.
In conclusion, a v neck sweater is a versatile and timeless piece that can be styled in various ways. Whether you prefer a casual or more formal look, the v neck sweater can be adapted to suit your personal style. With proper care and maintenance, your v neck sweater can be a wardrobe staple that will last for years to come.