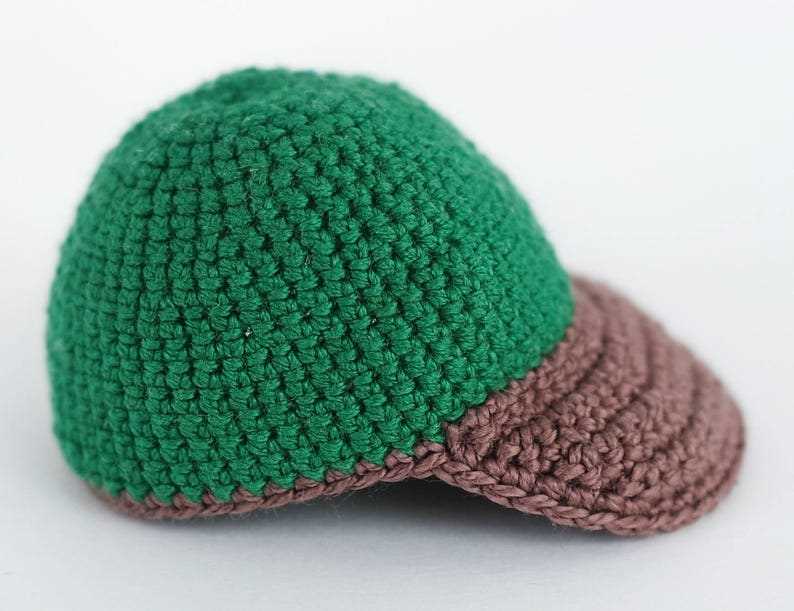
Knitted caps are a popular and practical accessory for anyone who wants to keep warm during the colder months. They are not only functional, but can also be a stylish addition to your outfit. If you enjoy knitting and want to try your hand at making your own cap, there are numerous patterns available to suit a variety of styles and skill levels.
One popular knitted cap pattern is the classic ribbed cap. This pattern is perfect for beginners and creates a simple yet stylish design. The ribbed texture provides extra warmth and elasticity, making it a comfortable and snug fit. It can easily be customized by adding a pom pom or changing the color of the yarn.
For those looking for a more intricate design, fair isle knitted caps are a great choice. This pattern incorporates multiple colors and intricate patterns to create a unique and eye-catching design. Fair isle knitting requires some experience and concentration, but the end result is a beautiful and cozy cap that is sure to stand out in a crowd.
If you prefer a more casual and laid-back style, chunky knitted caps are a great option. These caps are perfect for keeping warm during outdoor activities or casual outings. The thick yarn and large needles used in this pattern create a loose and chunky texture that adds a cozy and relaxed vibe to any outfit. Plus, they are quick to knit, making them a great option for last-minute gift ideas.
Knitted Cap Patterns

If you enjoy knitting and want to create your own stylish and cozy caps, then you have come to the right place! Knitted cap patterns provide you with a wide range of options to express your creativity and keep your head warm during cold weather. Whether you are a beginner or an experienced knitter, there are patterns available for all skill levels.
One popular knitted cap pattern is the classic ribbed beanie. This pattern features a simple ribbing stitch that creates a stretchy and snug fit. The ribbing also adds a textured look to the cap, making it versatile and suitable for both men and women. You can choose to knit the cap in a solid color or experiment with different yarns to create a striped or variegated effect.
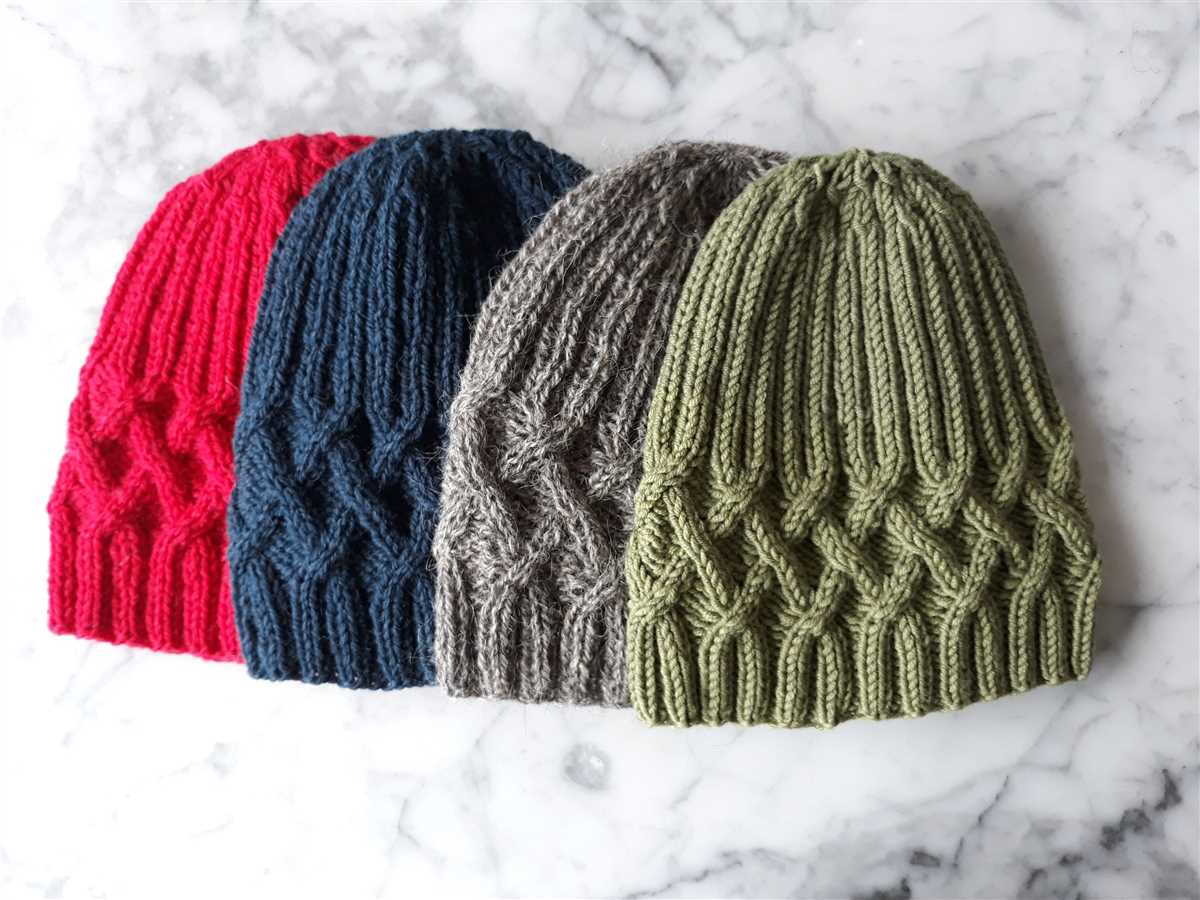
For those looking for a more intricate design, the cable knit cap pattern is an excellent choice. This pattern incorporates cable stitches that give the cap a stylish and timeless look. The cables can be arranged in various patterns, such as twists, braids, or diamond shapes, adding depth and visual interest to the cap. Knitting cables may require some practice, but the end result is well worth the effort.
Here are some other types of knitted cap patterns to consider:

- Fair Isle cap pattern: This pattern uses multiple colors and stranded knitting techniques to create intricate and colorful designs.
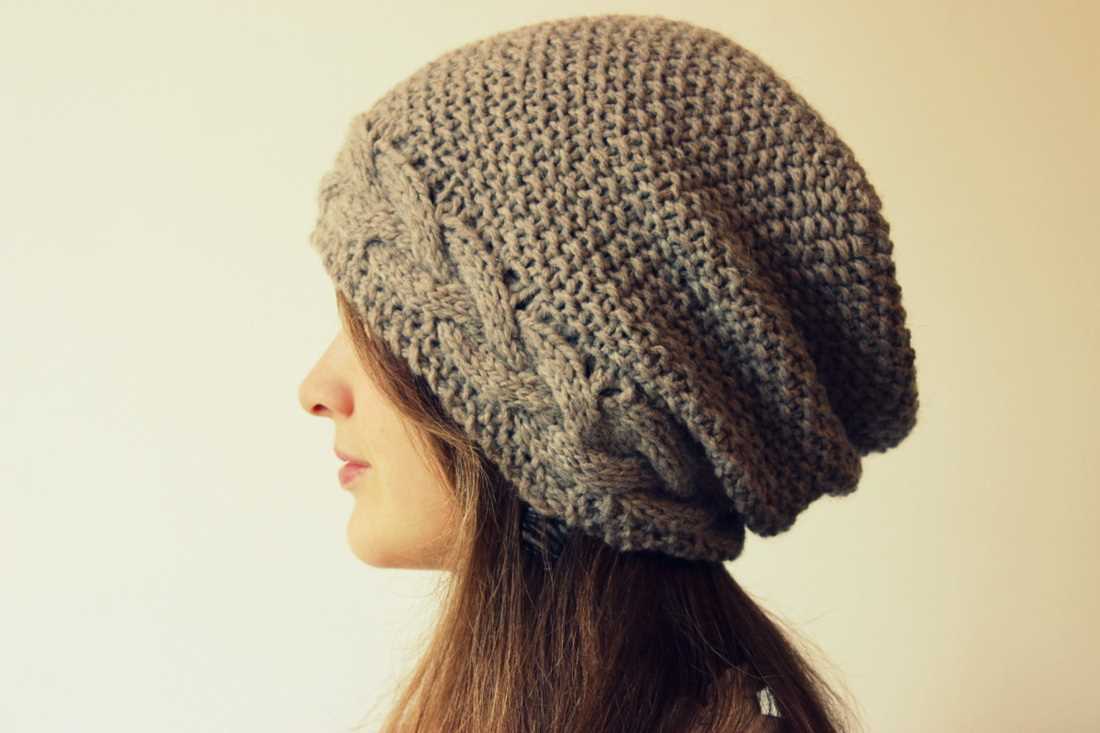
- Slouchy beanie pattern: This pattern features a loose and relaxed fit, perfect for those who prefer a more casual and effortless style.
- Earflap hat pattern: Ideal for colder climates, this pattern includes ear flaps that provide extra warmth and protection from the wind.
- Beanie with pom-pom pattern: Add a fun and playful touch to your cap by knitting a pom-pom at the top.
With countless knitted cap patterns available online and in knitting books, you can find the perfect pattern to suit your style and skill level. So grab your knitting needles, choose your favorite yarn, and start creating your own cozy and fashionable caps!
The Basic Knitted Cap Pattern
If you’re new to knitting or just looking for a simple and versatile project, the basic knitted cap pattern is a great place to start. This pattern is perfect for both beginners and experienced knitters alike, as it can be easily customized to fit your own style and preferences.
To get started, you’ll need a few basic supplies: a pair of knitting needles, a ball of yarn in your desired color, and a yarn needle for finishing. It’s recommended to use a medium weight yarn and needles that match the yarn’s recommended gauge.
Instructions:
- Cast on the desired number of stitches, depending on the size of the cap you want to make. A typical adult-sized cap usually requires around 70-80 stitches.
- Start knitting in the round, using either circular needles or double-pointed needles. This will create a seamless cap with no visible seam.
- Continue knitting in a basic stockinette stitch (knit one row, purl one row) until the cap reaches your desired length. Most caps typically measure around 6-8 inches in length.
- Once the cap has reached the desired length, it’s time to decrease the stitches to create the crown. This can be done by knitting two stitches together at regular intervals, such as every 10 stitches, until you have reduced the number of stitches to a manageable size.
- When you have a few stitches remaining, cut the yarn leaving a tail. Thread the yarn through a yarn needle and pass the needle through the remaining stitches, pulling tight to close the top of the cap.
- Weave in any loose ends and trim any excess yarn.
- Your basic knitted cap is now complete! Feel free to add your own personal touch by embellishing it with pom poms, buttons, or other decorative elements.
This basic knitted cap pattern is a great starting point for exploring different textures, colors, and stitch patterns. Once you’ve mastered the basics, you can experiment with different yarn weights, needle sizes, and stitch patterns to create unique and stylish caps for yourself and others.
Chunky Knitted Cap Pattern
A chunky knitted cap is a cozy and stylish accessory for the colder months. With its thick yarn and large stitches, it provides extra warmth and comfort. If you’re looking to make your own chunky knitted cap, we’ve got you covered with an easy-to-follow pattern.
Materials:
- Chunky yarn (choose your favorite color)
- Knitting needles (size 10 or as recommended by the yarn)
- Tapestry needle
- Scissors
- Pom-pom maker (optional, for adding a fluffy pom-pom to the cap)
Instructions:
- Cast on 60 stitches onto your knitting needles.
- Work in a rib stitch pattern (knit 1, purl 1) for the first 2 inches.
- Switch to stockinette stitch (knit one row, purl one row) and continue for 6 inches. This will create the body of the cap.
- Decrease by knitting 2 together across the row. You should have 30 stitches remaining.
- Continue in stockinette stitch for another 2 inches.
- Switch back to rib stitch and work for the last 2 inches.
- Bind off all stitches.
- Use the tapestry needle to weave in any loose ends.
- If desired, use a pom-pom maker to create a fluffy pom-pom and attach it to the top of the cap.
- Your chunky knitted cap is now ready to keep you warm and stylish!
This chunky knitted cap pattern is great for beginners and can be easily customized by adding different colors or patterns. Whether you’re making it for yourself or as a gift, it’s sure to be a cozy and fashionable accessory for the winter season.
Slouchy Knitted Cap Pattern
A slouchy knitted cap is a playful and stylish accessory that can be easily added to any outfit. With its loose and relaxed fit, it offers a casual and laid-back look. Whether you’re heading out for a walk in the park or meeting friends for a coffee, a slouchy knitted cap is a great choice to keep you warm and add a touch of flair to your ensemble.
To create a slouchy knitted cap, you’ll need a few basic knitting skills and some yarn of your choice. There are countless patterns available, so you can find one that suits your taste and skill level. Some patterns feature simple ribbed designs, while others incorporate intricate cable or lace patterns.
Materials
- Worsted weight yarn
- Size 8 knitting needles
- Stitch markers
- Tapestry needle
Pattern
- Cast on 80 stitches.
- Work *k2, p2* ribbing for 2 inches.
- Switch to stockinette stitch and work until the piece measures 8 inches from the cast on edge.
- Begin decrease rounds: *k6, k2tog* repeat to end of the round.
- Work one round in knit stitch.
- Continue decreasing in this manner until you have 8 stitches remaining.
- Cut yarn leaving a long tail. Thread the tail through the remaining stitches and pull tightly to close the top of the cap.
- Weave in all loose ends and block the cap to shape.
This is just one example of a slouchy knitted cap pattern, but the possibilities are endless. Don’t be afraid to experiment with different stitch patterns, yarn types, and colors to create a unique and personalized slouchy knitted cap that reflects your personal style.
Cable Knitted Cap Pattern
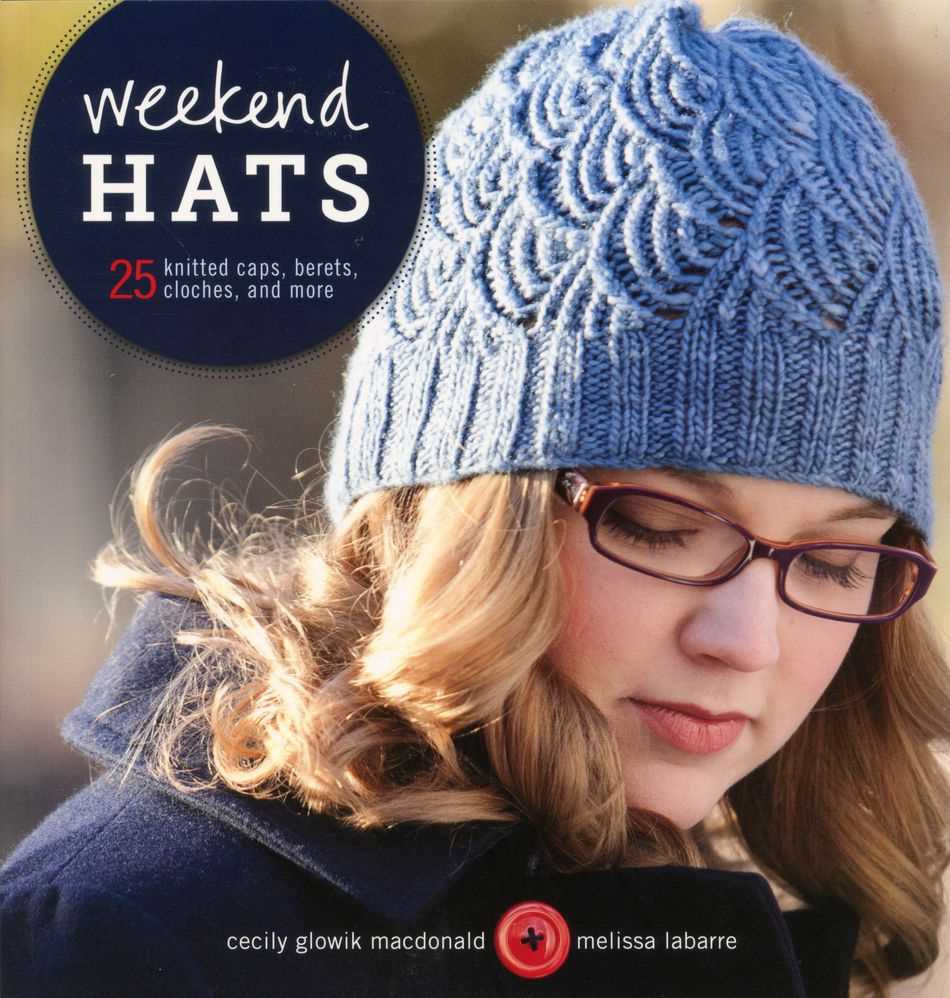
A cable knitted cap is a classic and stylish accessory that can be worn in any season. Whether you’re a beginner or an experienced knitter, this pattern is easy to follow and produces a beautiful result.
To create this cable knitted cap, you will need a set of double-pointed knitting needles, a cable needle, and worsted weight yarn. If you prefer a tighter fit, you can use a smaller needle size, and if you want a looser fit, you can use a larger needle size.
Start by casting on the desired number of stitches, keeping in mind that the ribbing will be elastic and will stretch to fit. You will then work the ribbing for a few inches, alternating between knit and purl stitches, to create a stretchy band that will keep the cap in place.
Once the ribbing is complete, it’s time to create the cable pattern. Using a cable needle, you will cross a set number of stitches over each other to create the intricate cable design. The cable pattern is typically worked over a set number of rows and is repeated until the desired length is reached.
After completing the cable pattern, it’s time to shape the crown of the cap. This is done by decreasing stitches in a systematic manner, either by knitting two stitches together or by using other decrease methods. The number of decreases and the frequency at which they are made will determine the shape of the crown.
Finally, once you have reached the desired length and shaped the crown, it’s time to bind off the stitches and weave in any loose ends. You can then add any embellishments or decorations, such as a pom-pom or a button, to personalize your cable knitted cap.
With this cable knitted cap pattern, you can create a stylish and warm accessory that is perfect for all seasons. Whether you’re knitting for yourself or as a gift, this pattern is versatile and can be customized to suit your preferences. So grab your knitting needles and get started on your own cable knitted cap!
Fair Isle Knitted Cap Pattern
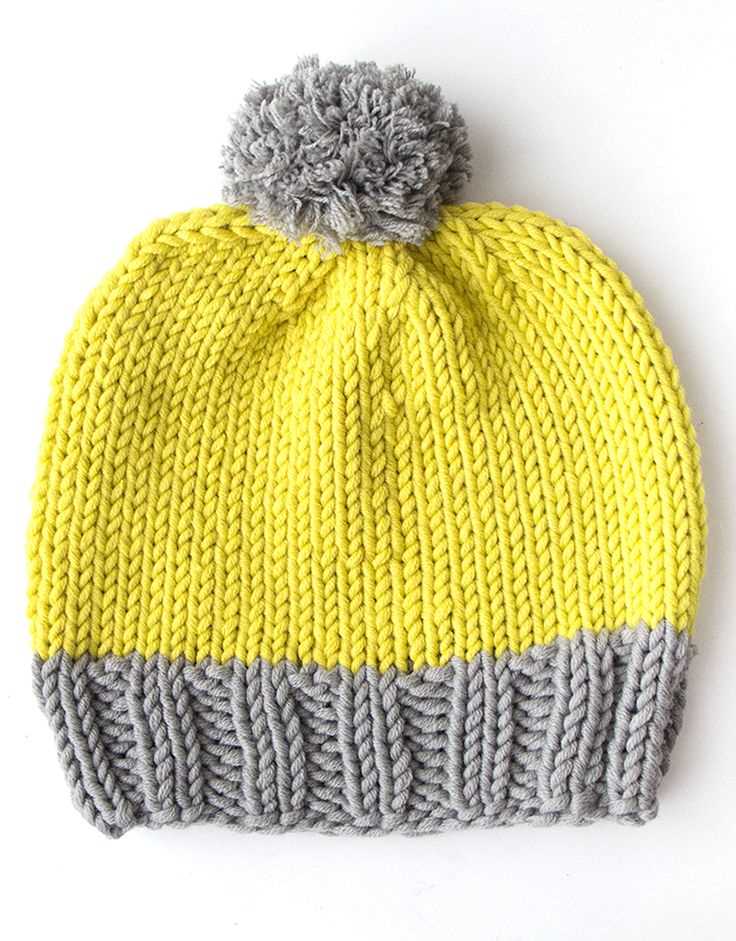
If you’re looking to add a touch of traditional charm to your winter wardrobe, a Fair Isle knitted cap is the perfect choice. Fair Isle is a knitting technique that originates from the Fair Isle in Scotland, known for its intricate patterns and use of multiple colors. The result is a warm and stylish accessory that will keep you cozy during the cold months.
To start your Fair Isle knitted cap, you will need a selection of yarn in different colors. Traditionally, the patterns in Fair Isle knitting use a limited color palette, typically no more than five or six colors. Choose colors that complement each other to create a visually appealing design.
Once you have your yarn ready, you can begin knitting your cap using the Fair Isle technique. This involves knitting with two colors at a time, carrying the unused color along the back of the work. The key to a successful Fair Isle pattern is to keep your yarn tension consistent and avoid pulling too tight, as it can distort the design.
Tip: When working with multiple colors, it’s helpful to use bobbins or small balls of yarn to keep your colors organized.
As you knit your cap, you can experiment with different patterns and motifs. Traditional Fair Isle patterns often feature geometric designs, floral motifs, or intricate borders. You can also incorporate symbols or shapes that hold personal significance to make your cap truly unique.
Once you’ve completed the knitting, don’t forget to block your cap to give it a finished look. Blocking involves wetting the cap, shaping it to your desired size and shape, and allowing it to dry flat. This step helps to enhance stitch definition and even out any inconsistencies in tension.
With your Fair Isle knitted cap complete, you’ll have a stylish and cozy accessory that showcases your knitting skills. Whether you wear it for a casual stroll or a winter adventure, the Fair Isle pattern adds a touch of timeless elegance to any outfit.
Color-Block Knitted Cap Pattern
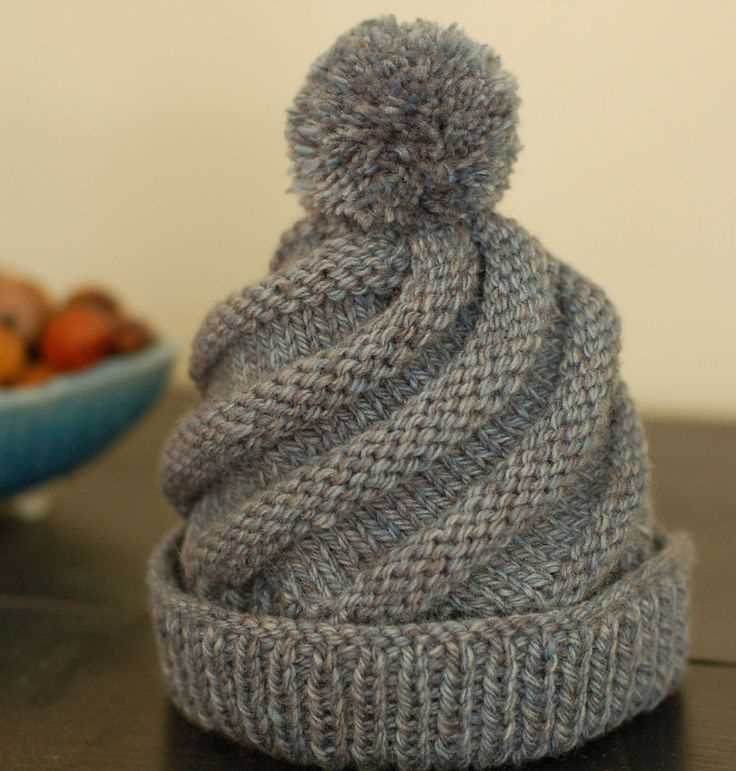
The Color-Block Knitted Cap Pattern is a fun and trendy design that adds a pop of color and personality to any winter wardrobe. This pattern is perfect for knitters looking to experiment with color and create a statement accessory.
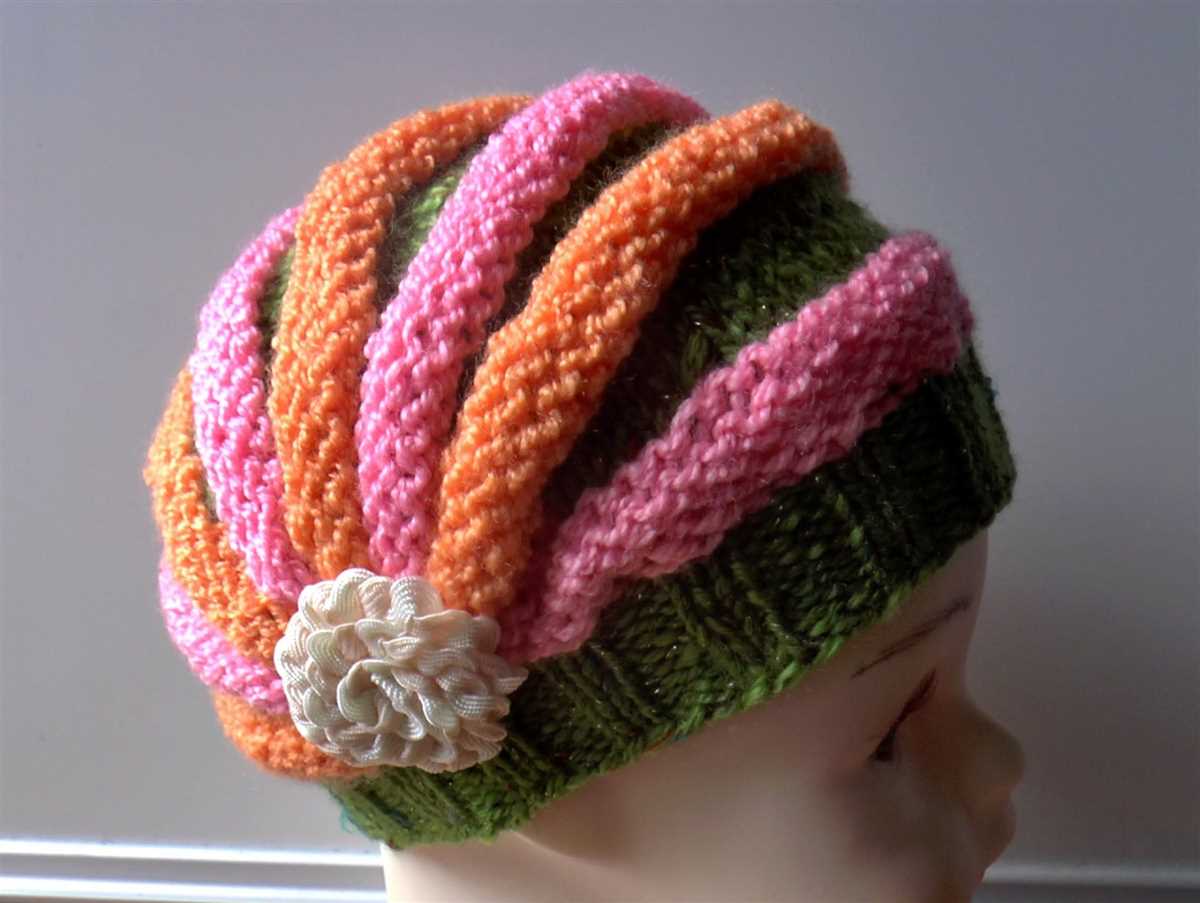
This pattern features a unique color-blocking technique that allows you to combine different colors and create bold, eye-catching designs. Whether you choose to use contrasting colors for a vibrant look or subtle shades for a more muted effect, the color-block pattern will add an interesting twist to your knitted cap.
To create this color-blocked cap, you will need a combination of two or more yarn colors of your choice. You can select colors that complement each other or go for a bold and contrasting color scheme. The cap can be knit in any size, making it suitable for adults and children alike.
The pattern begins with a ribbed brim that provides a snug fit and stretches to accommodate various head sizes. The color-blocking starts after the brim, with stripes of different colors knitted in a repeating pattern. You can choose to alternate colors every few rows or create larger blocks of color depending on your preference.
This color-blocked cap pattern requires intermediate knitting skills, as it involves basic knitting stitches and color changes. The pattern includes detailed instructions, a color chart, and a list of materials needed.
Once you complete your color-blocked knitted cap, you’ll have a stylish accessory that is sure to keep you warm and trendy during the winter season. Whether you’re braving the cold or heading out for a casual outing, this color-blocked cap will add a touch of personality to your outfit.
Bobble Knitted Cap Pattern
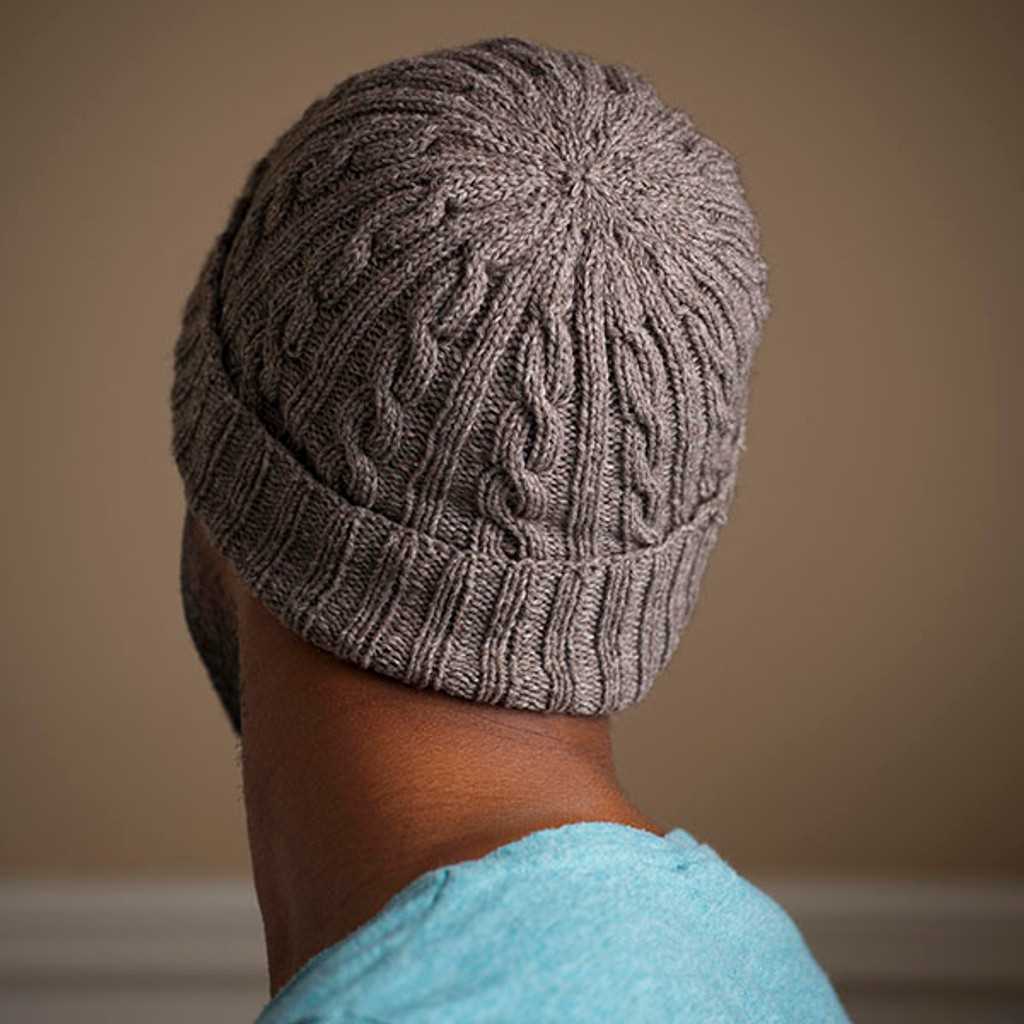
Looking to add a fun and playful touch to your winter wardrobe? Try knitting a bobble knitted cap! This pattern is perfect for those who want to showcase their knitting skills and create a stylish accessory that is both functional and fashionable.
To get started, you will need a set of double-pointed knitting needles and a soft, chunky yarn in your desired color. Begin by casting on the required number of stitches, usually around 80-100, depending on your head size and the desired fit of the cap.
To create the bobbles, you will need to incorporate a bobble stitch pattern into your design. This can be done by knitting into the front and back of the same stitch multiple times, and then knitting all the stitches together. This will create a textured bobble effect that adds dimension to the cap.
Continue knitting in the bobble stitch pattern for the desired length, taking into account the brim of the cap. Once you have reached the desired length, it’s time to shape the crown of the cap. This can be done by decreasing the number of stitches gradually, usually by knitting two stitches together at regular intervals.
Finally, bind off the remaining stitches and sew the seams of the cap together. For added warmth and flair, you can also choose to line the cap with a cozy fabric, such as fleece or faux fur. This will help to keep your head warm during those cold winter months.
With this bobble knitted cap pattern, you can create a stylish and unique accessory that is sure to turn heads. Whether you’re knitting for yourself or as a gift for a loved one, this pattern is a great way to showcase your knitting skills and create a one-of-a-kind item. So grab your knitting needles and get started on your bobble knitted cap today!
Ribbed Knitted Cap Pattern
A ribbed knitted cap pattern is a classic design that adds texture and elasticity to a hat. The ribbing creates a snug fit and helps the hat retain its shape, making it a popular choice for both beginners and experienced knitters.
To create a ribbed knitted cap, you will need a set of double-pointed needles and a skein of yarn in your chosen color. Start by casting on the desired number of stitches, typically anywhere from 80 to 100 stitches, depending on the size of the hat.
Next, begin knitting in a 2×2 rib pattern, which means you will alternate knitting two stitches and purling two stitches. Continue in this pattern for the desired length of the hat, typically around 6 to 8 inches for an adult-sized cap.
Once you have reached the desired length, you can begin decreasing stitches to shape the crown of the hat. This is typically done by knitting two stitches together, then purling two stitches together, continuing in this pattern until you have a small number of stitches remaining.
To finish the hat, cut the yarn and thread it through the remaining stitches, pulling tight to close the top of the hat. Weave in any loose ends, and your ribbed knitted cap is complete!
With its classic design and versatile style, a ribbed knitted cap is a timeless accessory that can be customized to suit any taste or occasion. Whether you prefer a simple solid color or want to experiment with different yarns and patterns, the ribbed knit technique is sure to create a hat that is both stylish and warm.
Lace Knitted Cap Pattern
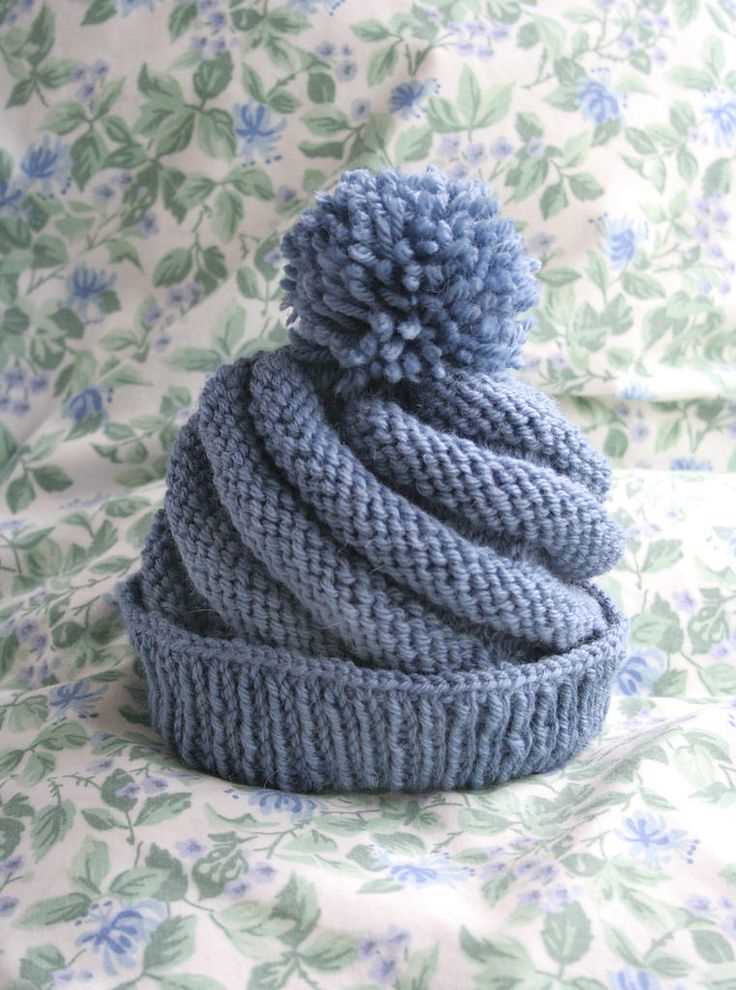
If you’re looking for a stylish and elegant knitted cap, then a lace pattern is the perfect choice. Lace patterns add a delicate and intricate touch to your cap, making it stand out from the crowd. Whether you’re a beginner or an experienced knitter, there are plenty of lace patterns available to suit your skill level.
Materials: To create a lace knitted cap, you’ll need the following materials:
- Size US 7 (4.5 mm) knitting needles
- 100g of fingering weight yarn
- Tapestry needle for weaving in ends
- Stitch markers to help keep track of your pattern
Instructions:
- Start by casting on the desired number of stitches for your cap. If you prefer a snug fit, you can use a smaller needle size or cast on fewer stitches.
- Begin the lace pattern by following the stitch chart or written instructions provided with the pattern you’ve chosen. Lace patterns typically involve yarn overs, decreases, and various combinations of knit and purl stitches.
- Continue knitting the lace pattern for the desired length of your cap. Remember to use stitch markers to help you stay on track.
- Once you’ve reached the desired length, it’s time to shape the crown of your cap. This can be done by decreasing stitches in a pattern or following a specific shaping chart, depending on the pattern you’ve chosen.
- When you’ve completed the crown shaping, it’s time to bind off your stitches. Use a stretchy bind-off method to ensure a comfortable fit.
- Weave in any loose ends using a tapestry needle, and your lace knitted cap is ready to be worn!
Whether you’re knitting for yourself or as a gift, a lace knitted cap adds a touch of elegance to any winter outfit. With a variety of lace patterns to choose from, you can create a unique cap that showcases your knitting skills and personal style.
Striped Knitted Cap Pattern
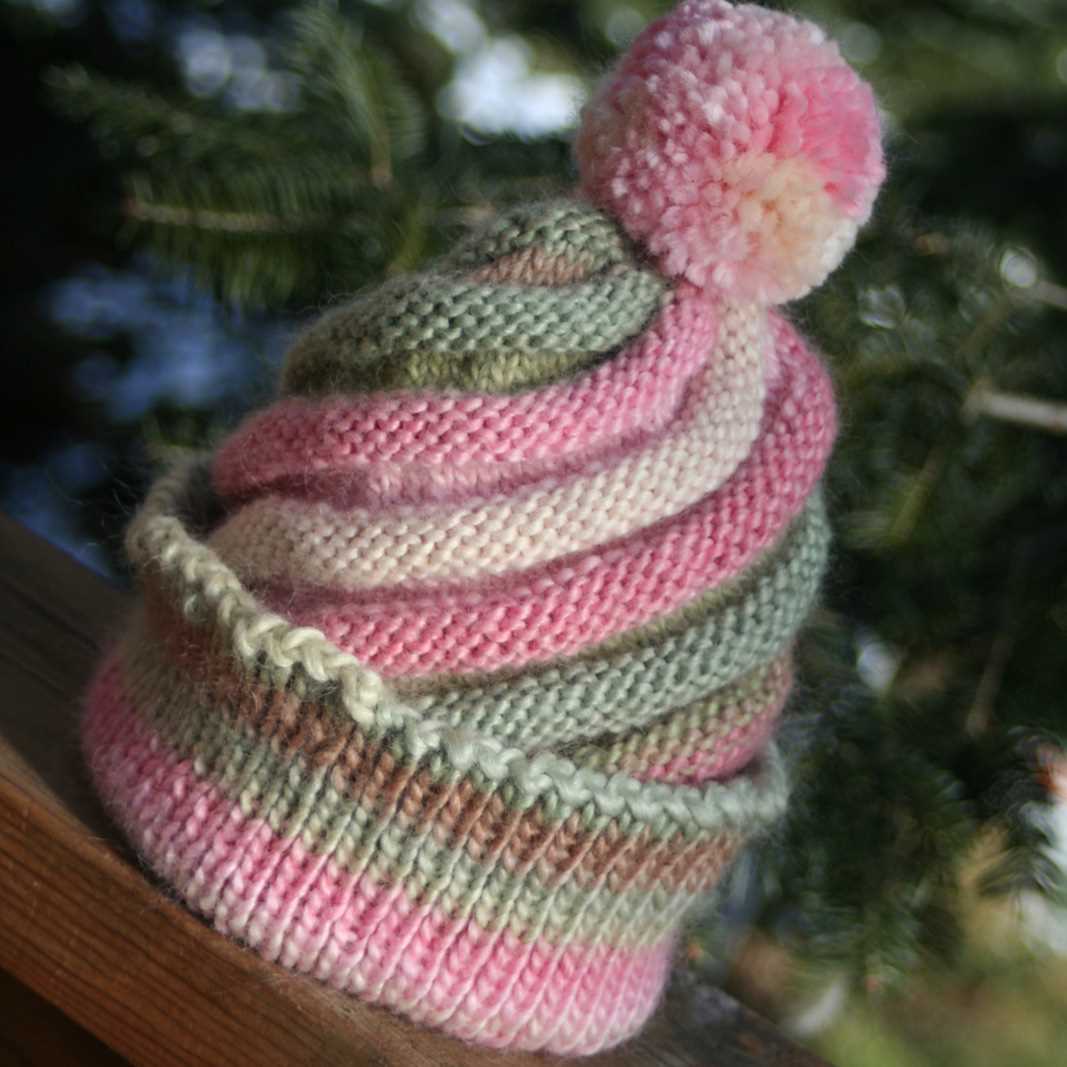
Knitting a striped cap is a fun and stylish way to add some color and personality to your winter wardrobe. Whether you’re a beginner or an experienced knitter, this pattern is easy to follow and will result in a cozy and trendy accessory.
Materials needed:
- Size 6 (4mm) circular knitting needles
- Worsted weight yarn in two different colors
- Tapestry needle
- Stitch marker
Instructions:
- Start by casting on 80 stitches using the first color of yarn.
- Join in the round, being careful not to twist the stitches. Place a stitch marker to mark the beginning of the round.
- Knit in a 2×2 ribbing pattern (knit 2 stitches, purl 2 stitches) for 2 inches.
- Switch to the second color of yarn and knit every stitch for the next 4 inches.
- Switch back to the first color of yarn and knit every stitch for another 4 inches.
- Repeat steps 4 and 5 until the cap measures approximately 8 inches from the cast-on edge.
- Decrease rounds: Switch to the first color of yarn and knit 7 stitches, knit 2 together. Repeat this pattern until the end of the round. You should have 72 stitches remaining.
- Knit every stitch for the next round.
- Repeat steps 7-8, decreasing 8 stitches in each decrease round, until you have 16 stitches remaining.
- Break the yarn, leaving a long tail. Thread the tail through a tapestry needle, and slip the needle through the remaining stitches. Pull tight to close the top of the cap.
- Weave in any loose ends with a tapestry needle, and your striped knitted cap is complete!
Animal Ear Knitted Cap Pattern
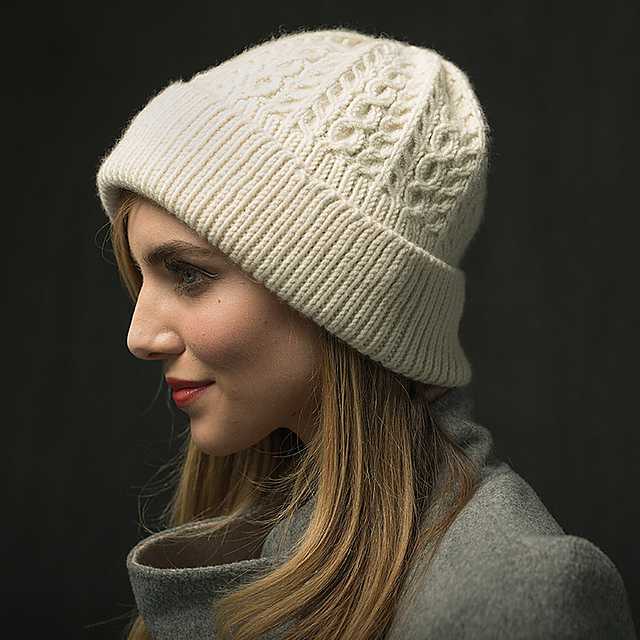
If you love animals and enjoy knitting, why not combine the two by making an animal ear knitted cap? This fun and cozy accessory will keep you warm during the colder months while adding a touch of whimsy to your outfit. Whether you’re knitting for yourself or for a loved one, this pattern is sure to bring a smile to your face.
To get started, you’ll need a few basic knitting supplies, including yarn in your chosen animal-inspired colors, knitting needles, and a tapestry needle for seaming. You can choose to knit the cap in a single color or add stripes for a playful look. The pattern is suitable for knitters of all skill levels, from beginners to more advanced practitioners.
Materials:
- Yarn in your chosen colors (at least two colors for stripes)
- Knitting needles in the appropriate size for your yarn
- Tapestry needle for seaming
- Scissors
- Stitch markers
Instructions:
- Cast on the desired number of stitches, following a ribbing pattern for the brim of the cap. You can use a 1×1 rib or a 2×2 rib, depending on your preference.
- Work in the ribbing pattern for a few inches, or until the brim is the desired length.
- Switch to stockinette stitch for the body of the cap, knitting every row for a smooth finish.
- If you’re adding stripes, change colors at regular intervals, making sure to weave in the loose yarn ends as you go.
- To create the animal ears, follow a separate set of instructions specific to the animal you want to replicate. You can find a variety of animal ear patterns online, from cats and dogs to bears and rabbits.
- Once the ears are complete, sew them onto the top corners of the cap using the tapestry needle and matching yarn.
- Continue knitting the body of the cap until it reaches the desired length, usually 7-8 inches from the brim.
- Bind off the stitches, cut the yarn, and weave in the loose ends to finish your knitted animal ear cap.
Now that you have your very own animal ear knitted cap, you can show off your love for animals and your knitting skills. This unique accessory is perfect for chilly winter walks, cozy evenings by the fire, or even as a thoughtful gift for a fellow animal lover. So grab your knitting needles and start creating your own adorable animal ear cap today!
Double-Knit Knitted Cap Pattern
In this article, we have explored the double-knit knitting technique for creating a warm and cozy knitted cap. Double-knit fabric is thicker and denser than regular knitting, making it perfect for winter accessories such as hats.
We started by explaining the basic concept of double knitting and how it differs from traditional knitting. We then provided step-by-step instructions on how to cast on, work the main double-knit pattern, and shape the crown of the cap. Along the way, we highlighted key techniques and tips to help you achieve professional-looking results.
Throughout the article, we also showcased various double-knit stitch patterns that you can incorporate into your cap design, including ribbing, cables, and colorwork. These patterns add visual interest and make your cap truly unique.
Additionally, we shared resources for finding inspiration and further developing your double-knit skills. We mentioned books, online tutorials, and communities where you can connect with other knitters and share your projects.
Now that you have learned the basics of double-knit knitting and have a complete pattern for a knitted cap, it’s time to put your newfound knowledge into practice. Experiment with different yarns, colors, and stitch patterns to create personalized caps for yourself, family, and friends.
Remember to take your time, enjoy the process, and don’t be afraid to make mistakes. Knitting is a versatile and forgiving craft, and with practice, you will develop your own unique style and create beautiful, functional pieces.
Q&A:
What is a knitted cap?
A knitted cap is a type of hat that is hand-knitted using knitting needles and yarn. It is usually snug-fitting and covers the head to provide warmth and comfort.
How do I choose the right knitted cap pattern?
When choosing a knitted cap pattern, consider your skill level, the type of yarn you prefer, and the style you want. Look for patterns that include clear instructions and gauge measurements to ensure a good fit.
What are some popular knitted cap patterns for beginners?
Some popular knitted cap patterns for beginners include basic ribbed hats, simple beanies, and slouchy hats. These patterns typically use basic stitches and are easy to follow for those new to knitting.
Are there knitted cap patterns for children?
Yes, there are many knitted cap patterns designed specifically for children. These patterns often feature fun designs, such as animal ears or pom-poms, to make the hats more appealing to kids.
Can I modify knitted cap patterns to fit my personal style?
Absolutely! Knitted cap patterns can be easily modified to suit your personal style. You can add different stitch patterns, change the color or yarn type, or incorporate embellishments like buttons or ribbons to make the cap unique to you.