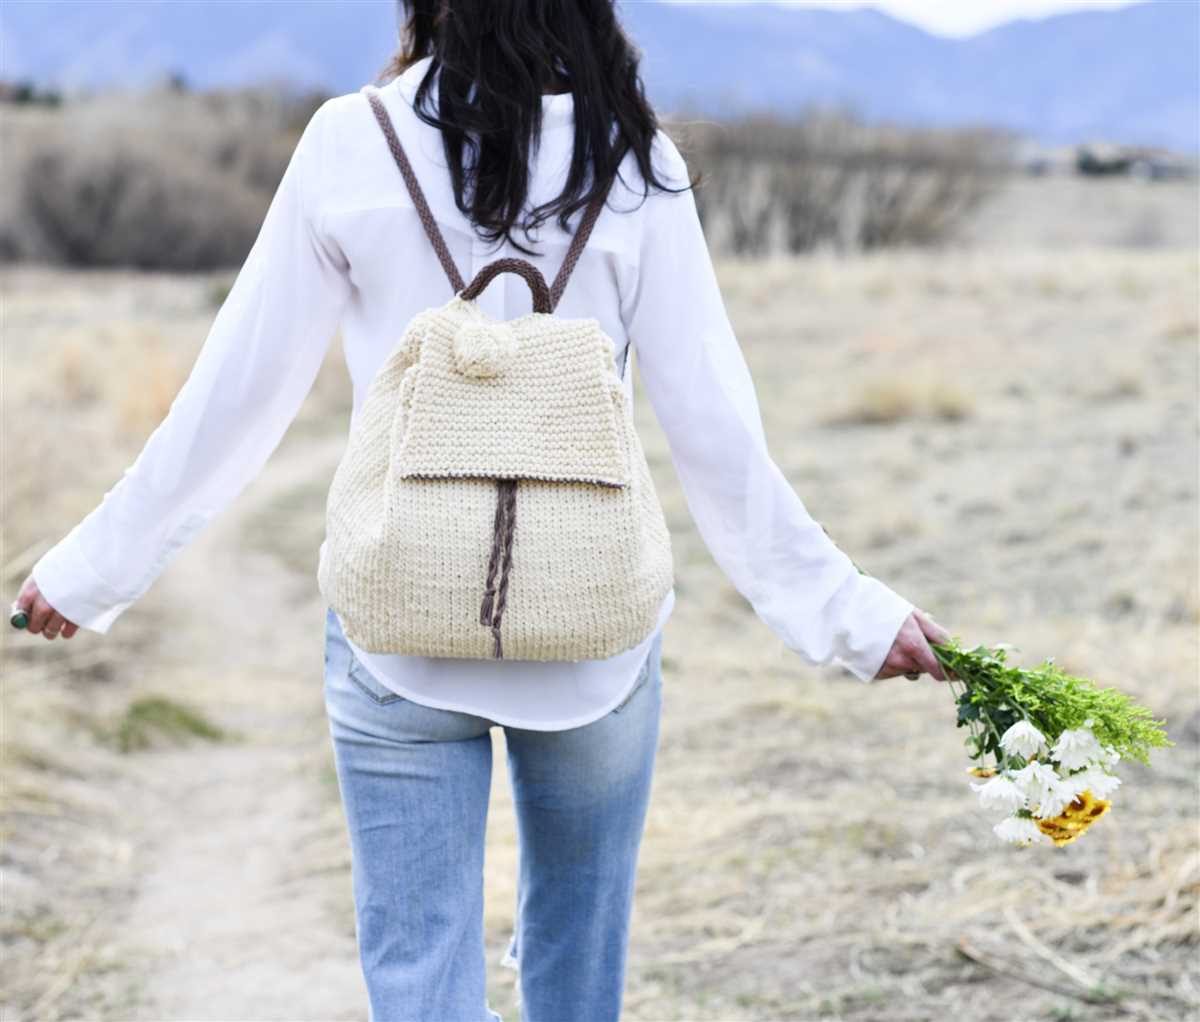
Knitting is a versatile hobby that allows you to create beautiful and functional items with just a few simple tools and some yarn. One of the most popular accessories to knit is a bag. Bags not only serve as a practical way to carry your belongings, but they can also be stylish and unique fashion statements. If you’re new to knitting or looking for a quick and easy project, this easy knitted bag pattern is perfect for you.
This pattern requires basic knitting skills such as casting on, knitting, and purling, making it suitable for beginners. The bag is knit in a simple stockinette stitch, which creates a smooth and stretchy fabric. The pattern also includes instructions for creating a sturdy base and adding handles, so you can customize the bag to your liking.
The best part about knitting your own bag is that you can choose any color or type of yarn you like. Whether you prefer a neutral shade for a classic look or a bold and vibrant color to make a statement, the choice is yours. The easy knitted bag pattern is also great for using up any leftover yarn from previous projects.
Choose the right yarn and needles
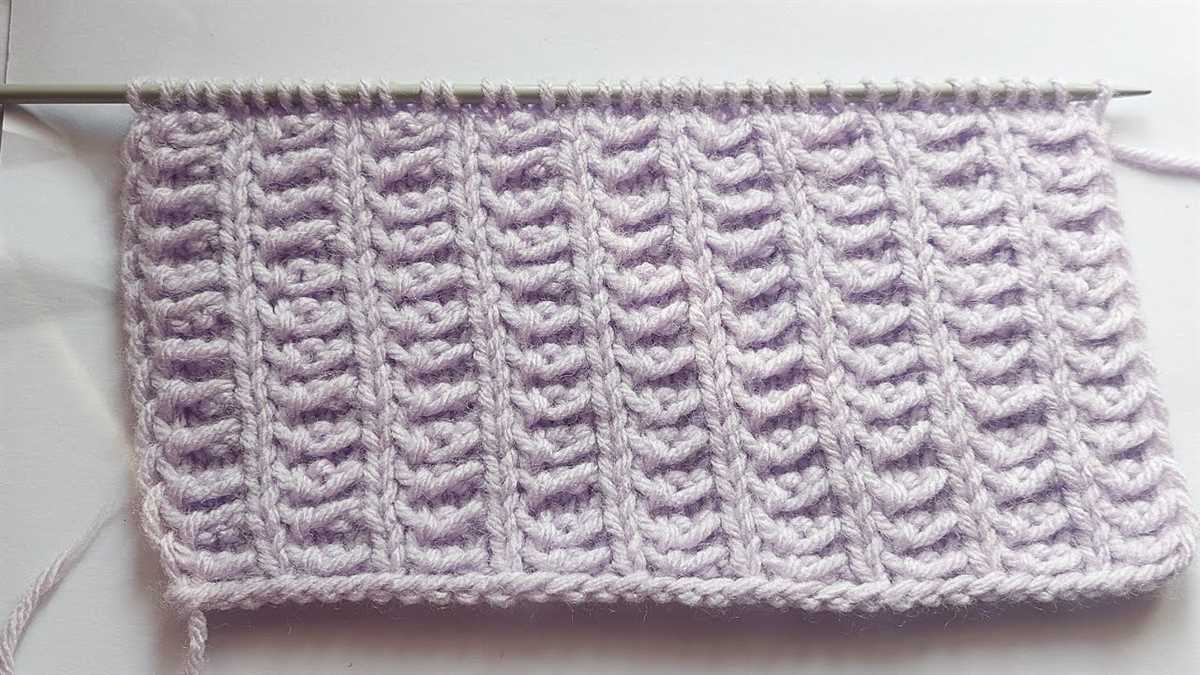
When knitting a bag, it is important to choose the right yarn and needles to ensure that your project turns out the way you want it to. The yarn you choose will determine the texture, weight, and durability of your bag, while the needles will determine the size and tension of your stitches.
Choose a yarn that is suitable for bags, such as cotton or a blend of cotton and acrylic. These yarns are sturdy and can withstand the weight of items that may be carried in the bag. Avoid using delicate or lightweight yarns as they may stretch or tear easily.
Select the appropriate needle size
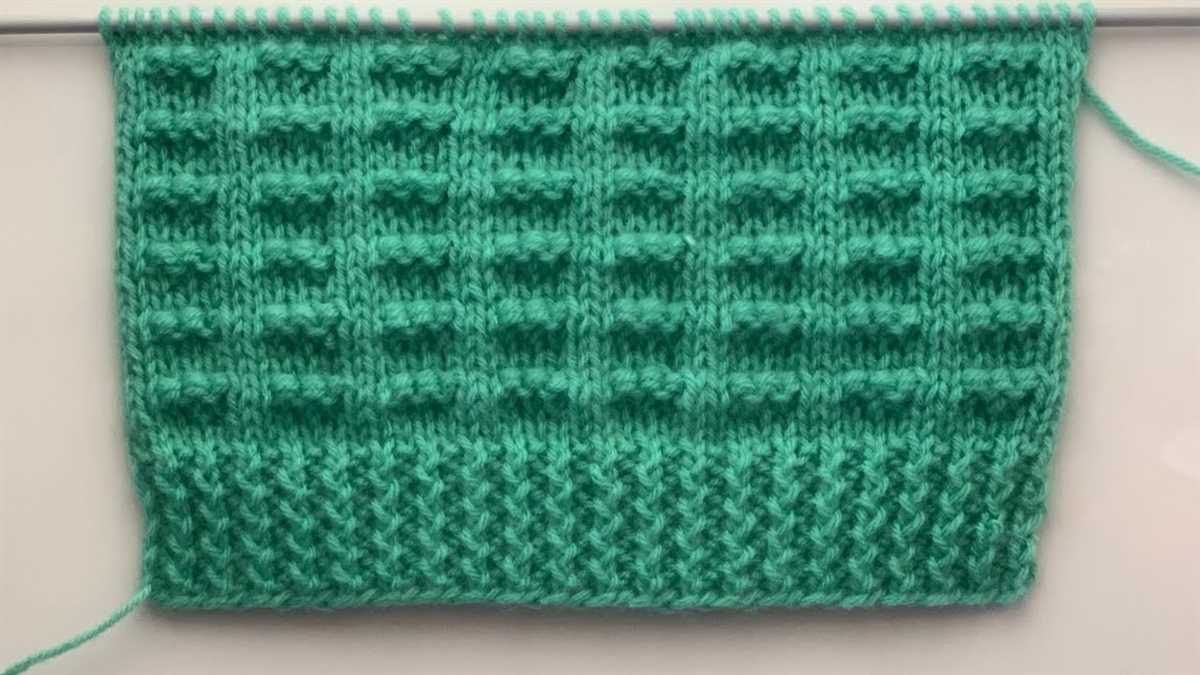
The needle size you choose will affect the overall size and tightness of your stitches. For a bag, you will typically want to use needles that are slightly larger than what is recommended for the yarn. This will result in a looser, more flexible fabric that can accommodate the contents of the bag.
- If the yarn label suggests using size 8 needles, consider using size 9 or 10 needles for your bag.
- Alternatively, if you want a tighter fabric, you can use smaller needles than recommended for the yarn.
- Be sure to check your gauge as you knit to ensure that your stitches are not too tight or too loose.
Experiment with different yarns and needles to find the combination that works best for you. Consider the drape, texture, and weight of the yarn as well as the size and tension of the stitches. Remember that the right yarn and needles can make all the difference in the final outcome of your knitted bag.
Gauge swatch
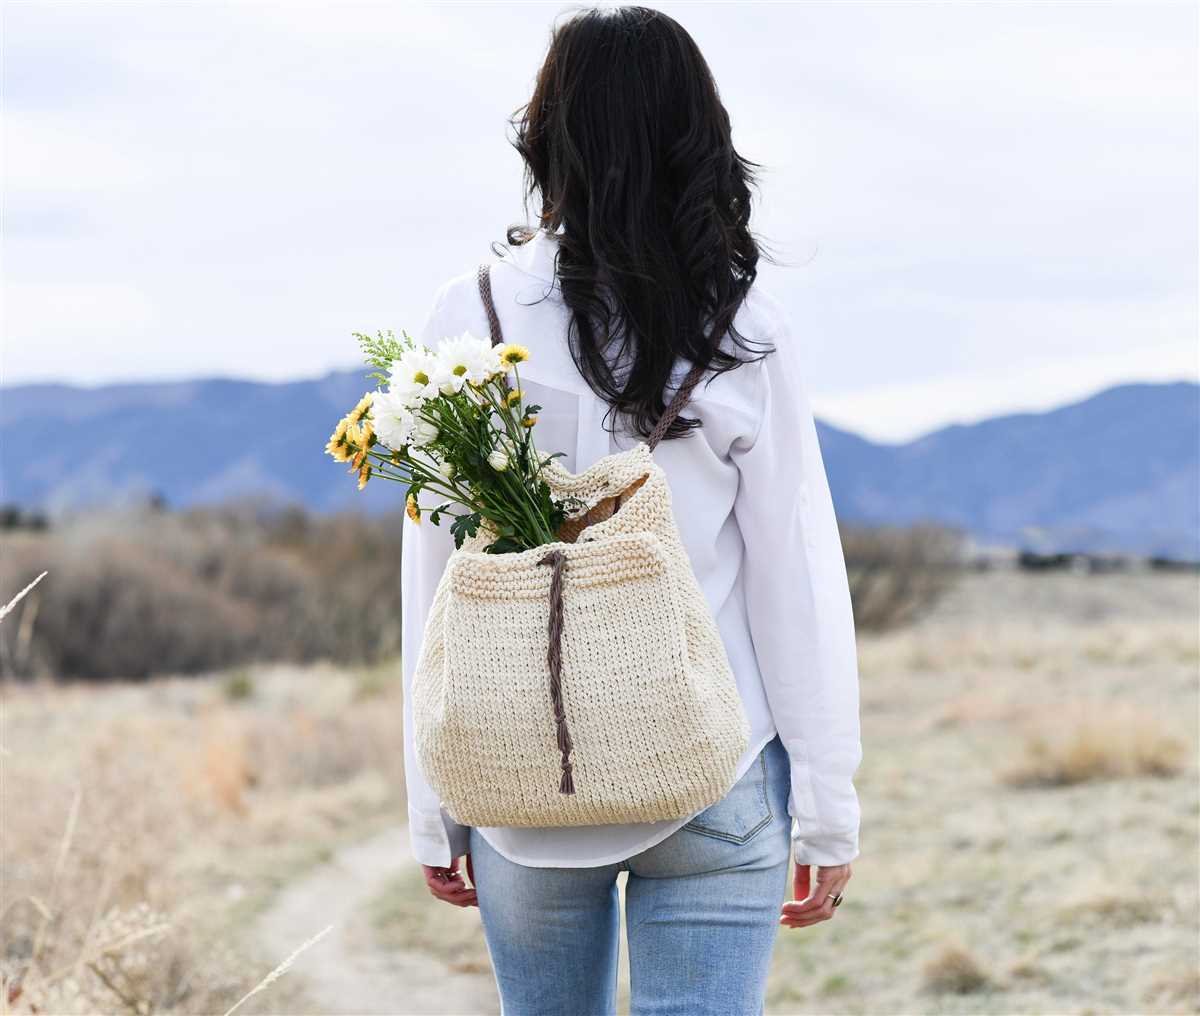
Before starting any knitting project, it is important to create a gauge swatch. A gauge swatch is a small square of knitting that is used to determine the number of stitches and rows per inch in your knitting. This is particularly important for projects such as bags where the size and shape are crucial.
To create a gauge swatch, first, cast on the number of stitches indicated in the pattern. Use the recommended needle size and yarn specified in the pattern. Knit a few rows in the specified stitch pattern, then measure the width of your swatch using a ruler. Make sure to measure a few inches in the middle of your swatch to get an accurate measurement.
What if the gauge doesn’t match?
If your gauge is larger than the pattern specifies, it means that your stitches are too loose, and you need to use a smaller needle size. Try again with a smaller needle and create a new swatch. Conversely, if your gauge is smaller than the pattern specifies, it means your stitches are too tight, and you need to use a larger needle size. Repeat the process with a larger needle.
Make sure to wash and block your gauge swatch before measuring it. This will help determine if the fabric will change after washing, which is important for projects that need to maintain their shape.
Why is a gauge swatch important?
A gauge swatch is important because it helps ensure that your finished project will turn out the correct size. If your gauge is off, then your finished bag may be too small or too large, which can affect the fit and functionality of the bag. By taking the time to create a gauge swatch, you can save yourself the frustration of having to start over or end up with a bag that doesn’t meet your expectations.
Remember, a gauge swatch is an essential tool for any knitting project, especially when it comes to creating a bag. Take the time to create a swatch before starting your project to ensure the best results. Happy knitting!
Casting on
When starting a knitting project, one of the first steps is casting on. This is the process of creating the first row of stitches on the knitting needle. There are different methods of casting on, but the most common one is the long tail cast on.
To begin the long tail cast on, you will need to measure out a length of yarn that is approximately four times the width of the knitting project you are making. This will give you enough yarn to create your first row of stitches. Make a slip knot at one end of the yarn and place it on the knitting needle.
Step 1: Hold the knitting needle with the slip knot in your right hand and the other end of the yarn in your left hand. Insert the right-hand needle into the slip knot from front to back, with the tip of the needle pointing towards the back.
Step 2: Using your left hand, bring the yarn over the top of the right-hand needle, from back to front. This creates a loop of yarn on the right-hand needle.
Step 3: Insert the right-hand needle through the loop on the left-hand needle, from front to back. This forms a new loop on the right-hand needle.
Step 4: Slip the new loop off the left-hand needle, while keeping the original loop on the right-hand needle. You now have one new stitch on the right-hand needle.
Repeat steps 2-4: Continue steps 2-4 until you have cast on the desired number of stitches. Each time you complete these steps, you will create one new stitch on the right-hand needle. Make sure to keep the stitches evenly spaced along the needle.
Step 5: Once you have cast on all of the stitches for your project, you can begin knitting the next row. The long tail cast on creates a neat and stretchy edge that is perfect for a variety of knitting projects, including bags.
Overall, casting on is an essential skill in knitting and mastering the long tail cast one can make the process easier and more efficient. Whether you’re a beginner or an experienced knitter, learning and practicing different casting on methods can help you create beautiful and functional knitted items.
Knitting the Base
When starting to knit the base of your bag, you will first need to cast on stitches. The number of stitches will depend on the size of the bag you want to create. You can use a simple knit stitch for the entire base or experiment with different stitch patterns for added texture and interest.
Once you have cast on your stitches, you can begin knitting the rows. It is important to maintain an even tension throughout to ensure that your base is flat and not puckered. You may find it helpful to use stitch markers to indicate the corners or any specific sections of your bag.
As you continue knitting, you can also consider adding reinforcement to the base by doubling up the fabric or using a denser stitch pattern. This will help to provide extra durability and support for your bag, especially if you plan on carrying heavier items.
Tips:
- Take your time and enjoy the process of knitting the base. It is the foundation of your bag, so it’s important to get it right.
- Check your tension regularly to ensure a consistent and even fabric.
- Experiment with different stitch patterns and techniques to create a unique and personalized base.
- Consider using circular needles if you are knitting a larger bag to accommodate the growing number of stitches.
By following these guidelines and using your creativity, you will be able to successfully knit the base of your bag and move on to the next steps of the pattern with confidence.
Creating the sides
Once you have completed the base of your knitted bag, it is time to move on to creating the sides. This is where the bag really starts to take shape and come together.
Start by picking up stitches along the edges of the base. You can use a knitting needle or a crochet hook to do this – whichever method you prefer. Make sure to evenly space out your stitches, and be sure to pick up enough to create the desired width for your bag.
Next, you will begin working in the round to create the sides of the bag. This can be done using circular knitting needles or double-pointed needles, depending on your preference. Continue knitting in the stitch pattern you have chosen, repeating the pattern until you have reached your desired height for the bag.
As you work, be sure to keep track of your progress and check the bag’s measurements to ensure that it is turning out the way you want it to. You may need to make adjustments along the way, such as adding or decreasing stitches, to achieve the desired size and shape for your bag.
Once you have finished knitting the sides of the bag, you can bind off your stitches and weave in any loose ends. Your knitted bag is now almost complete!
In the next step, we will discuss adding handles and finishing touches to your bag.
Shaping the handles
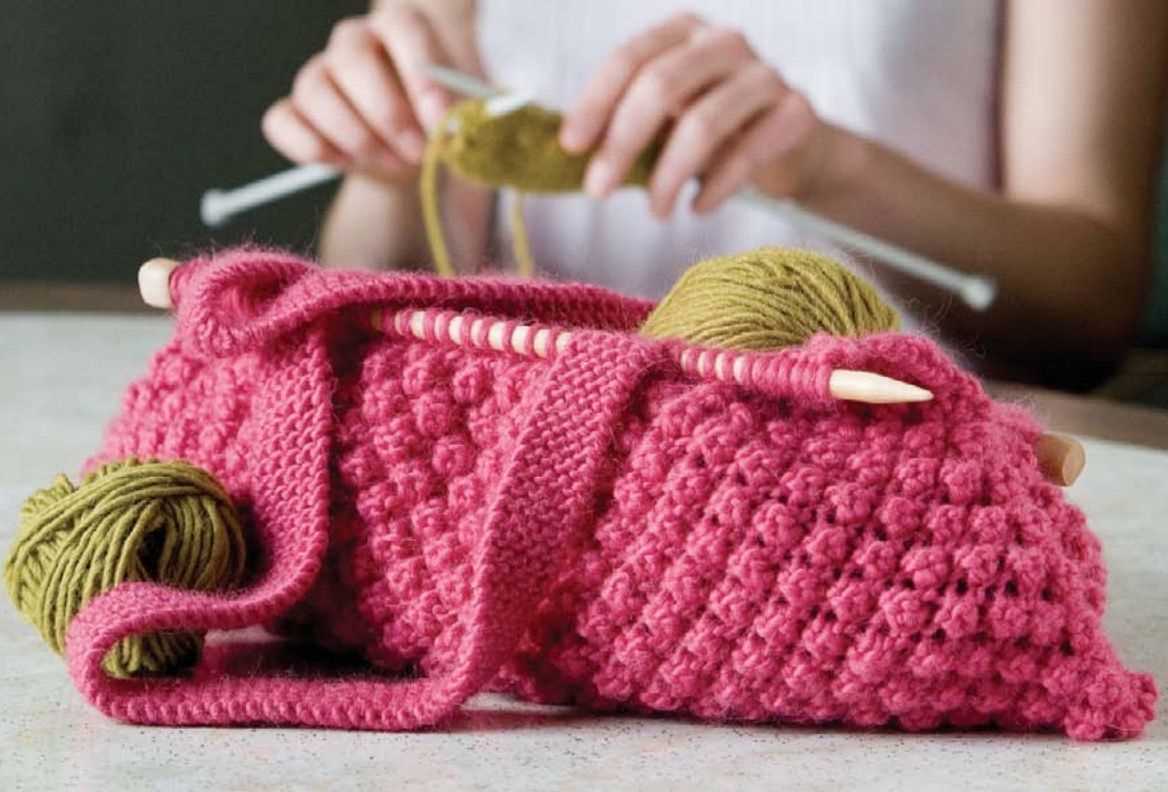
Once you have completed the main body of your knitted bag, it’s time to shape the handles. To create sturdy and comfortable handles, you will need to decrease the stitches gradually.
Step 1: Begin by placing markers at each side of the bag to indicate where the handles will be positioned. Make sure the markers are evenly spaced and aligned with the center of the bag.
Step 2: Starting on the right side of the bag, knit until you reach the first marker. Then, slip the next stitch onto the right needle without knitting it, knit the following 2 stitches together, and pass the slipped stitch over the decreased stitch. This will create a clean and tight decrease. Repeat this decrease at the beginning and end of each row until the desired handle width is achieved.
Step 3: Once the desired handle width is reached, bind off the stitches in the next row. To do this, knit the first 2 stitches, then use the left needle to lift the first stitch over the second stitch and off the needle. Continue this process until all the stitches are bound off.
Step 4: Repeat steps 2 and 3 for the second handle on the left side of the bag.
Note: You can adjust the length and width of the handles to your personal preference by increasing or decreasing the number of rows or stitches. Once the handles are shaped, you can attach them securely to the bag using a tapestry needle and the same yarn.
Finishing touches
Once you have completed knitting your bag, it’s time to add the finishing touches to make it truly unique and stylish. Here are some ideas to give your bag that extra special touch:
1. Embellishments
Add some embellishments to your bag to make it stand out. You can sew on buttons, beads, or sequins to create a decorative pattern or design. You could also attach a beautiful brooch or appliqué for an elegant touch.
2. Handles or Straps
Choose the perfect handles or straps for your bag. You can use leather or fabric straps, or even repurpose an old belt or scarf. Attach them securely to the bag using a strong thread or yarn, making sure they are reinforced for extra durability.
3. Lining

Add a lining to your knitted bag to give it a professional finish. A fabric lining will prevent small items from falling through the stitches, and can also add a pop of color or pattern. Sew the lining into the bag using a whip stitch or hand stitch, making sure to secure it neatly at the top.
4. Pockets
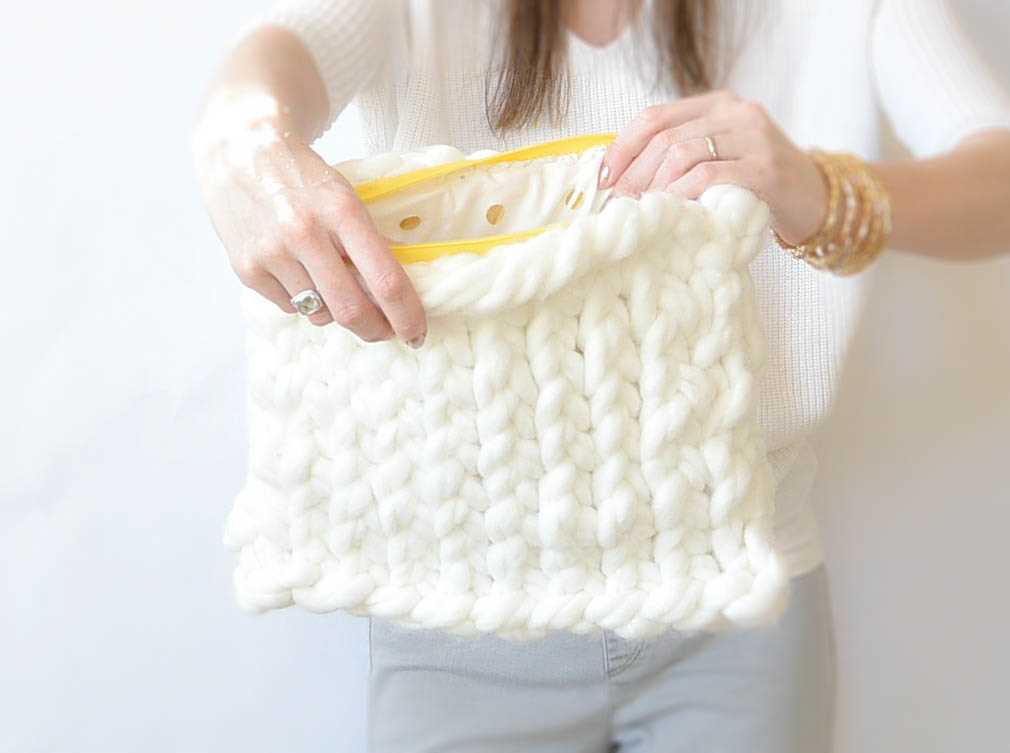
If you want to add some extra functionality to your bag, consider adding pockets. You can create small pockets on the inside or outside of the bag to hold essentials like keys, cards, or a phone. Stitch them securely in place, making sure they are the right size and shape for your needs.
With these finishing touches, your knitted bag will be transformed into a one-of-a-kind accessory that reflects your personal style and creativity. Enjoy using it or give it as a thoughtful handmade gift that will be cherished for years to come!
Blocking the Bag
Blocking is an essential step in the knitting process that helps to shape and set the final dimensions of your bag. It involves wetting your knitted piece and laying it out flat to dry, allowing the fibers to relax and settle into their intended shape. Blocking can make a big difference in the overall appearance and structure of your bag, so it’s worth taking the time to do it correctly.
To block your knitted bag, start by filling a basin or sink with lukewarm water and adding a small amount of gentle detergent. Gently submerge your bag in the water, making sure it is completely saturated. Let it soak for about 15-20 minutes, allowing the fibers to absorb the water.
Next, carefully remove the bag from the water, taking care not to stretch or twist it. Gently squeeze out any excess water, being careful not to wring or agitate the fabric. Lay the bag flat on a clean towel or blocking mat, shaping it into its desired dimensions.
Use rustproof pins to secure the edges of the bag and any desired shaping or design elements. Take your time to ensure that the bag is smooth and even, with all stitches and details properly aligned. Allow the bag to dry completely, which may take several hours or overnight.
Once the bag is fully dry, carefully remove the pins and gently reshape it if necessary. Your bag should now be beautifully blocked, with a professional-looking finish. Blocking not only improves the appearance of your bag but also helps to even out any slight inconsistencies in tension or stitch size. It’s a worthwhile step that will truly elevate your handmade creation.
Embellishments and Decorations
Adding embellishments and decorations to your knitted bag can really make it stand out and give it a unique touch. There are many options to choose from, whether you prefer a more simple and understated look or want to go all out with bold and eye-catching elements.
Buttons: One of the easiest ways to add some decorative flair to your knitted bag is by sewing on buttons. You can choose buttons in different shapes, sizes, and colors to complement your bag’s design. From classic round buttons to playful novelty ones, there are endless options to explore. Sew them on securely using matching thread to ensure they stay in place.
Embroidery:
- Embroidered motifs: Adding embroidered motifs to your knitted bag can give it a personalized touch. You can choose to stitch on initials, flowers, animals, or any other design that resonates with you. Use embroidery floss in contrasting or complementary colors to make the design pop.
- Embroidered patterns: Instead of individual motifs, you can also consider embroidering patterns onto your bag. Whether it’s a simple geometric design or a more intricate floral pattern, embroidery can add depth and texture to your bag.
Pompoms and tassels: Pompoms and tassels are fun and playful embellishments that can instantly add a cheerful vibe to your knitted bag. You can make them using yarn in coordinating or contrasting colors and attach them to the bag’s handles or the bottom corners. Experiment with different sizes and lengths to find the perfect look.
Lace: Adding a strip of lace to your knitted bag can add a touch of elegance and femininity. You can sew it along the edges or use it as a decorative trim. Choose lace in a color that complements your bag or opt for a contrasting shade for a more striking effect.
Beads and sequins: If you’re looking to add some sparkle and shine to your knitted bag, consider sewing on beads or sequins. These embellishments can be sewn on individually to create patterns or sprinkled randomly for a more whimsical look. Use a strong thread and secure each bead or sequin tightly to prevent them from falling off.
Ribbons and bows: Ribbons and bows are classic embellishments that can instantly add a touch of elegance to your knitted bag. You can tie a ribbon into a bow and attach it as a decorative accent or sew a strip of ribbon along the bag’s handles. Experiment with different ribbon colors and textures to achieve the desired effect.
Remember, when adding embellishments and decorations to your knitted bag, it’s important to consider their practicality as well. Make sure they won’t get in the way of using the bag or make it uncomfortable to carry. Take your time to plan out your design and enjoy the process of making your knitted bag uniquely yours.
Additional tips and tricks
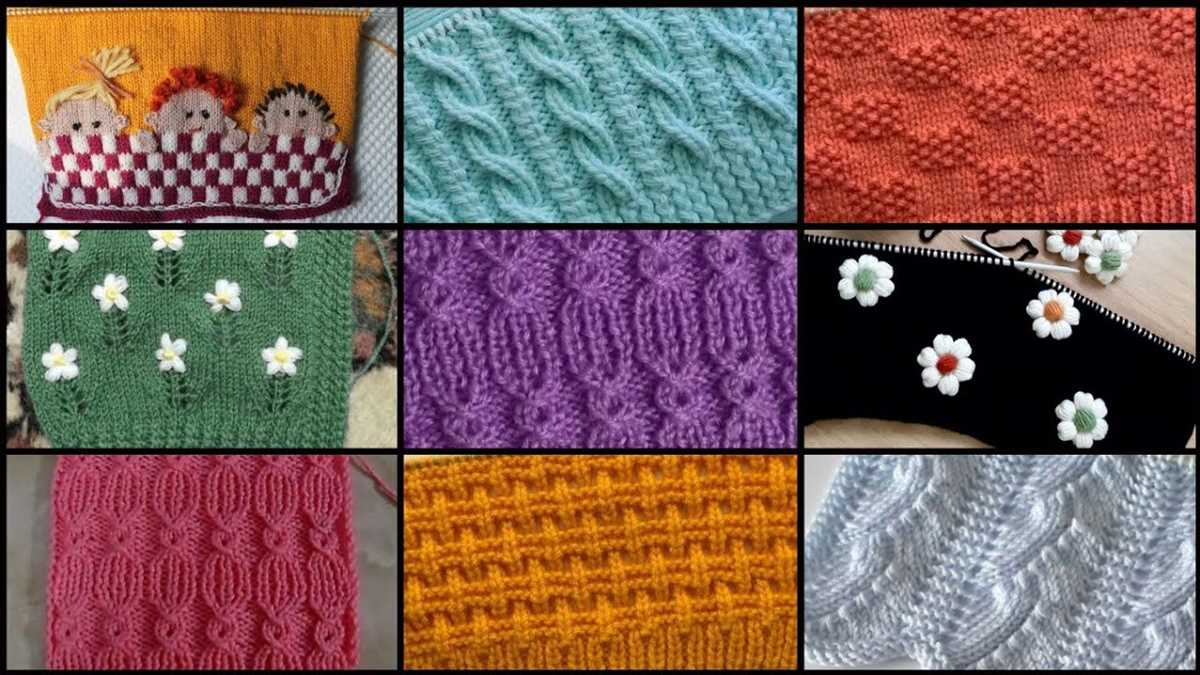
Now that you have learned how to knit an easy bag, here are some additional tips and tricks to help you improve your knitting skills and make the process even easier:
1. Use stitch markers
Stitch markers are a great tool to help keep track of your stitches, especially when working on larger projects like bags. Place a stitch marker at the beginning of each round or wherever you need to keep track of a specific stitch pattern. This will help prevent mistakes and make your knitting more efficient.
2. Block your finished bag
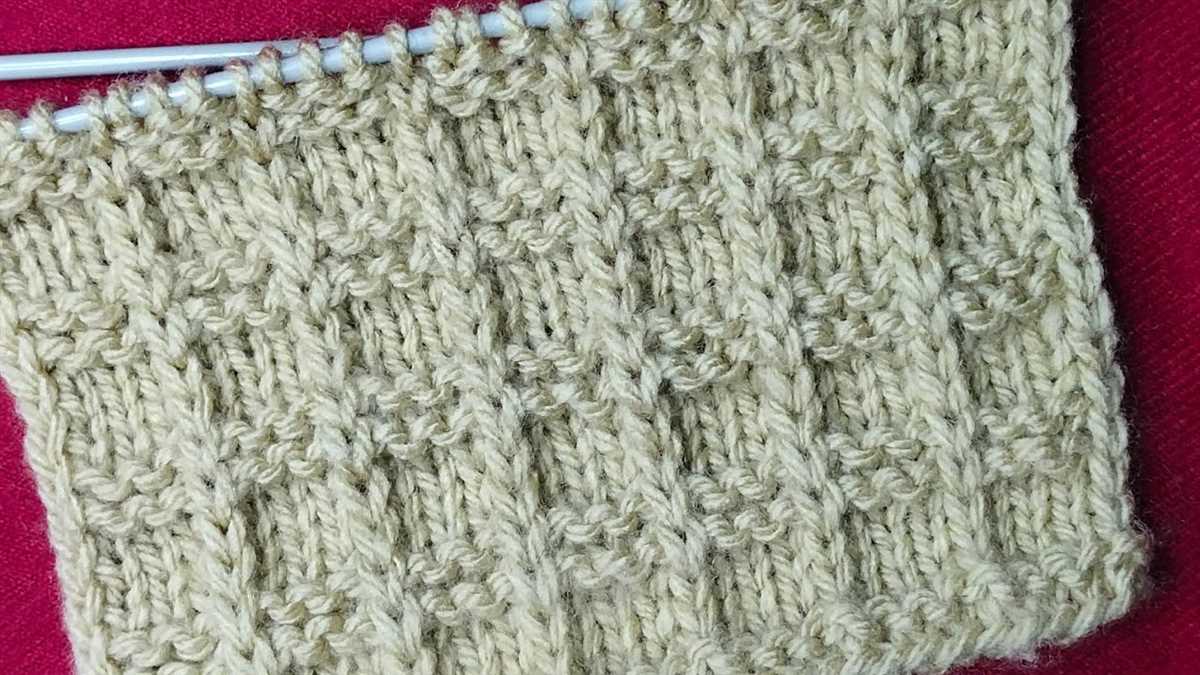
Blocking is the process of wetting and shaping your finished knitted piece to give it a more professional look. To block your bag, soak it in lukewarm water for a few minutes, then gently squeeze out the excess water and lay it flat on a towel. Use pins to shape it to the desired size and let it air dry. Blocking will help even out any uneven stitches and give your bag a neater appearance.
3. Experiment with yarn and needle sizes
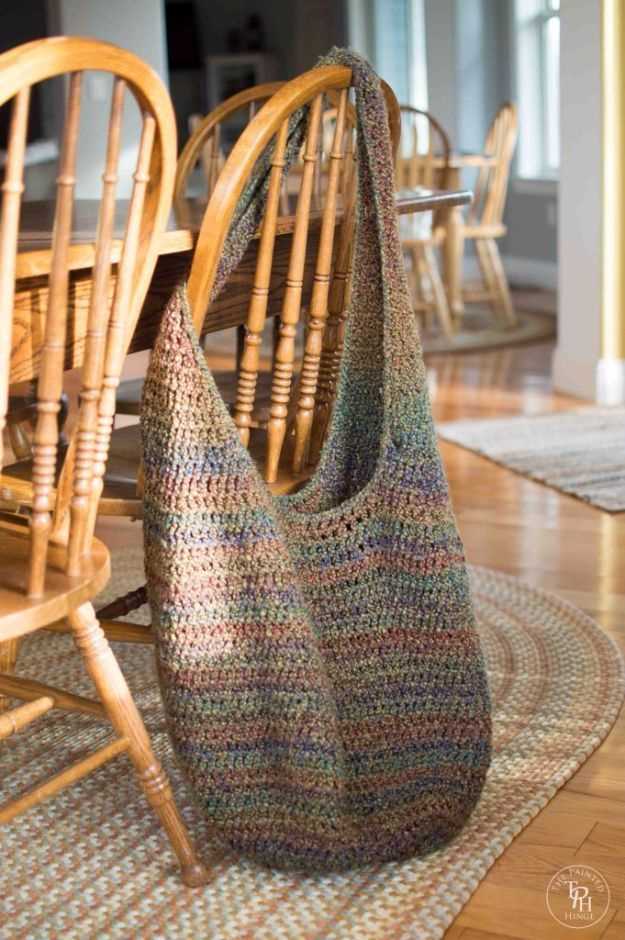
Don’t be afraid to experiment with different yarn weights and needle sizes to achieve different effects. Thicker yarn and larger needles will create a bulkier and more durable bag, while thinner yarn and smaller needles will result in a more delicate and lightweight bag. Have fun playing around with different combinations to find the perfect look and feel for your bag.
4. Add embellishments
If you want to personalize your bag and make it even more unique, consider adding embellishments such as buttons, beads, or embroidery. These details can take your bag to the next level and make it truly one-of-a-kind. Get creative and let your imagination run wild!
With these additional tips and tricks, you are now ready to take your knitting skills to the next level and create beautiful and functional bags. Whether you use them for yourself or as thoughtful gifts, your handmade bags will surely be treasured for years to come.