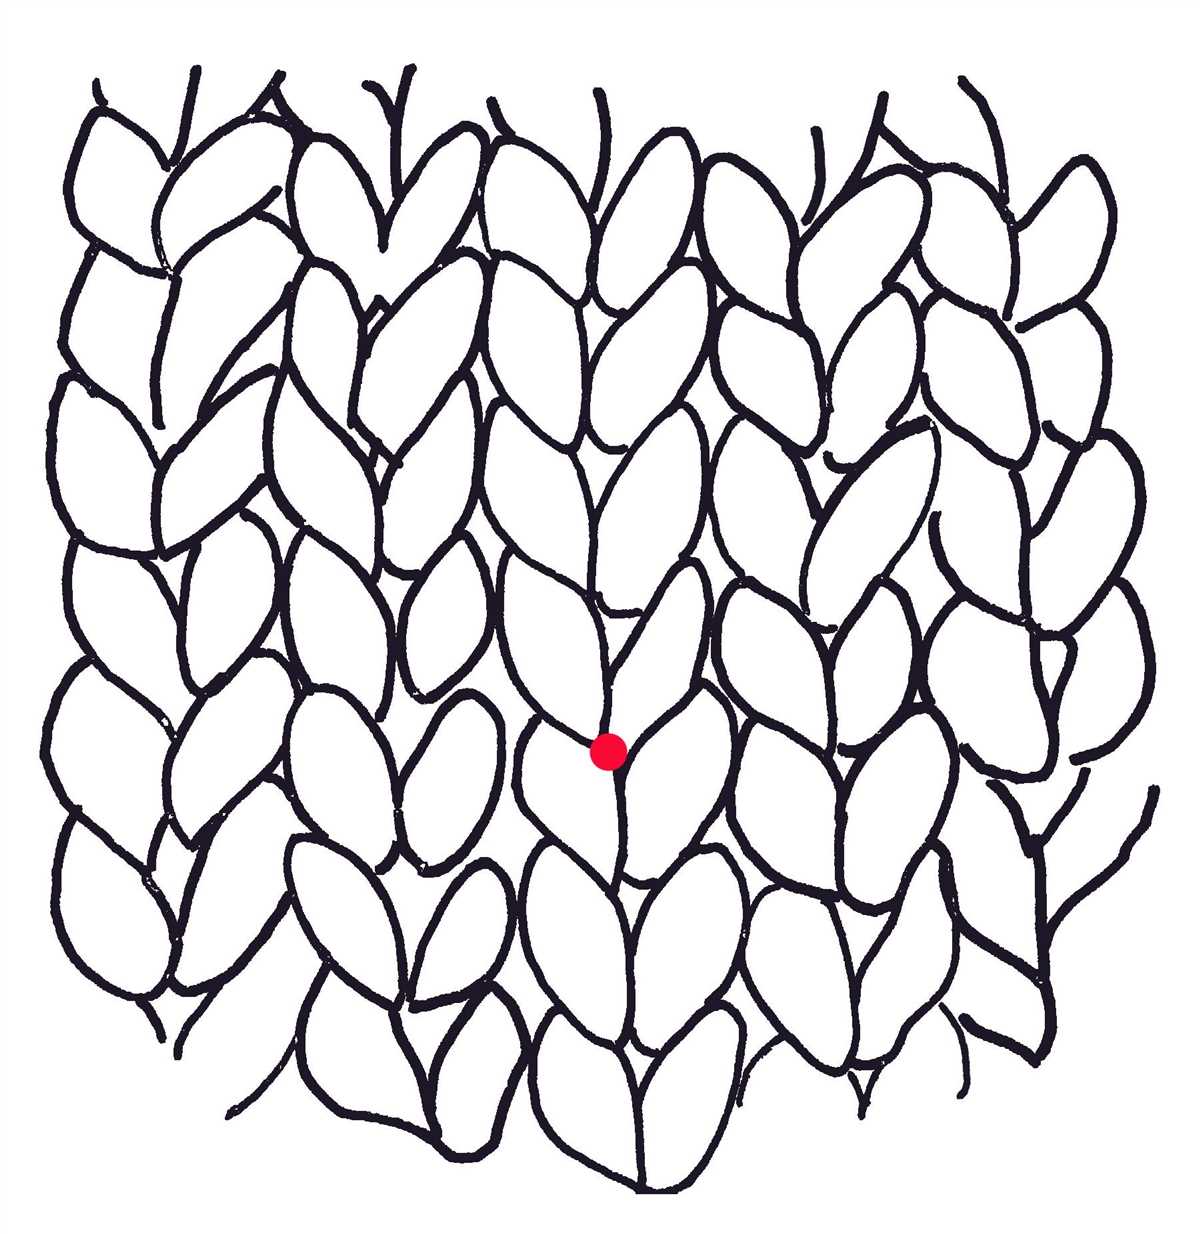
Are you a knitting enthusiast looking for a way to create your own unique knitting patterns? Look no further! Drawing your own knitting pattern is a fantastic way to unleash your creativity and design beautiful knitted pieces that are truly one-of-a-kind. Whether you’re a beginner or an experienced knitter, drawing your own pattern allows you to personalize your projects and create something that perfectly suits your style and preferences.
When it comes to drawing knitting patterns, the possibilities are endless. You can experiment with different stitches, colors, and textures to create intricate designs that will impress everyone. From simple scarves and hats to complex sweaters and shawls, drawing your own knitting pattern gives you the freedom to bring your ideas to life and turn them into stunning pieces of wearable art.
To get started with drawing your own knitting pattern, all you need is some basic drawing materials like graph paper, pencils, erasers, and colored pencils or markers if you want to add some color to your design. The graph paper will help you create a precise and proportional pattern, making it easier for you to follow when you start knitting. You can choose the size of the graph paper depending on the size of your project and the level of detail you want to include in your pattern.
Choosing the right knitting pattern

When it comes to knitting, choosing the right pattern is essential to ensure a successful and enjoyable knitting project. The pattern you choose should align with your skill level and preferences, as well as the type of garment or item you want to create.
One important factor to consider when selecting a knitting pattern is your skill level. If you are a beginner knitter, it is recommended to start with simple patterns that use basic stitches and techniques. These patterns usually have clear and detailed instructions, making it easier for you to follow along and complete the project. As you gain more experience and confidence, you can gradually move on to more complex patterns that challenge you and allow you to expand your knitting skills.
1. Consider your preferences:
Another aspect to think about when choosing a knitting pattern is your personal preferences. Do you enjoy knitting with specific types or colors of yarn? Do you prefer working on small or large projects? Take these factors into account when browsing through different patterns. Look for patterns that align with your preferences, as this will make the knitting process more enjoyable and fulfilling for you.
2. Determine the purpose of your knitting project:
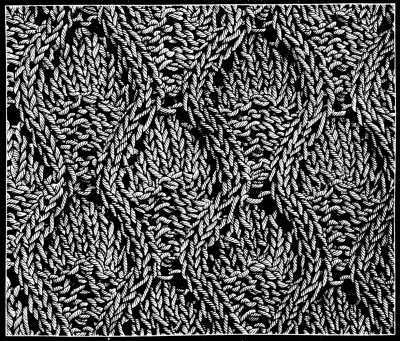
Additionally, the purpose of your knitting project should influence your pattern choice. Are you knitting a sweater, hat, or blanket? Different patterns are specifically designed for different items, ensuring the best fit, shape, and functionality. For example, a sweater pattern will provide instructions on shaping the sleeves and neckline, while a blanket pattern will guide you in creating a large, rectangular piece. Consider the purpose of your project and find a pattern that suits your needs.
3. Read reviews and check for modifications:
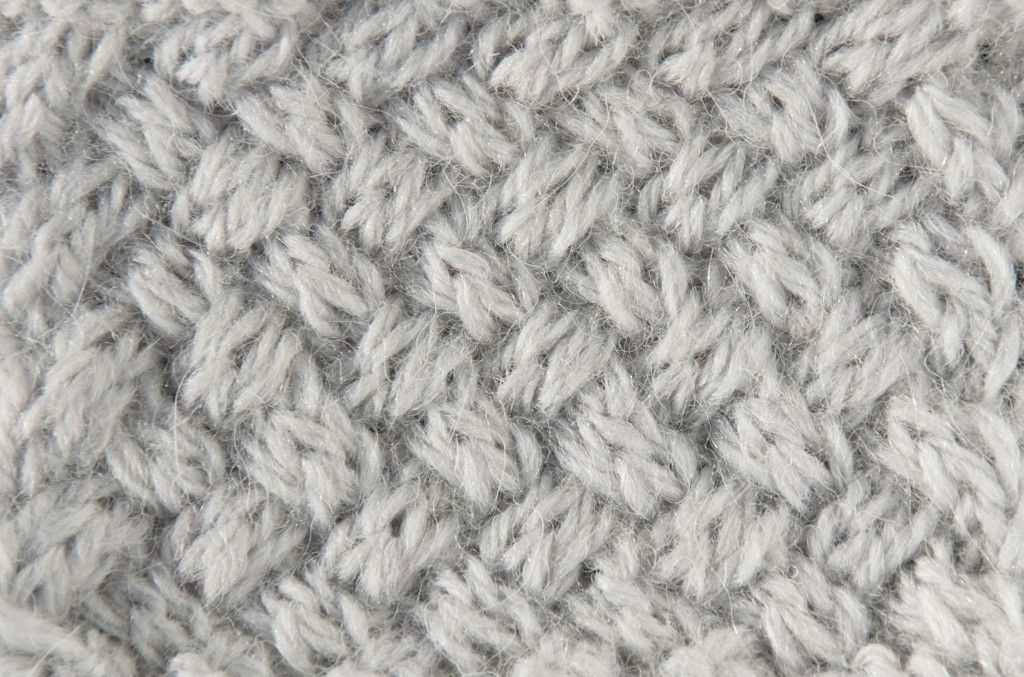
Before committing to a knitting pattern, it is helpful to read reviews or comments from other knitters who have tried the pattern. They can provide valuable insights into the clarity of instructions, ease of following the pattern, and potential issues or modifications that might be necessary. By learning from the experiences of other knitters, you can make a more informed decision and choose a pattern that has been tried and tested by others.
In conclusion, choosing the right knitting pattern requires careful consideration of various factors. By selecting a pattern that aligns with your skill level, preferences, and the purpose of your project, you can ensure a successful and satisfying knitting experience. Don’t be afraid to explore different patterns and techniques to expand your skills and create beautiful knitted creations.
Tools and materials for drawing knitting patterns
Creating a knitting pattern requires a set of tools and materials in order to accurately represent the design and instructions. These tools not only aid in the visual representation of the pattern, but also make it easier for other knitters to understand and follow the instructions.
Drawing Materials:

- Pencils: A set of drawing pencils in various lead hardness allows for precise lines and shading.
- Erasers: Erasers are essential for correcting mistakes and refining the details of the pattern.
- Rulers: Straight rulers and measuring tapes are used to ensure accurate measurements and proportions in the pattern.
- Graph Paper: Knitting patterns are often drawn on graph paper to help maintain symmetry and keep track of stitch counts.
Coloring Materials:
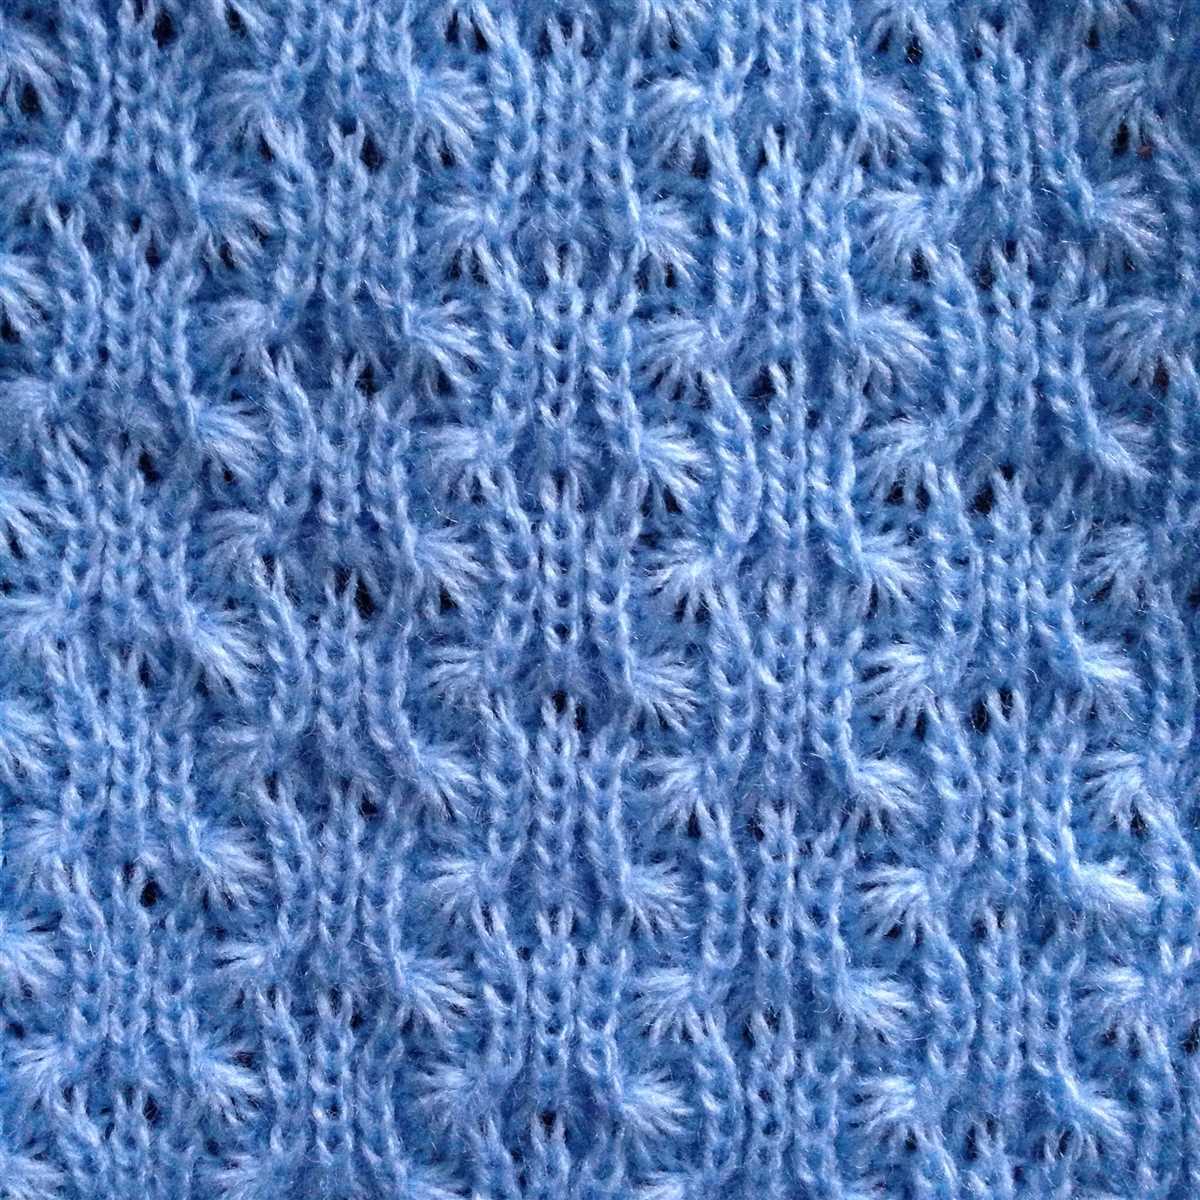
- Colored Pencils: Colored pencils are useful for adding color and distinguishing different elements in the pattern.
- Markers: Permanent markers can be used to outline and emphasize certain areas of the pattern.
- Watercolors: For more advanced drawing techniques, watercolors can be used to add depth and texture to the pattern.
Additional Tools:

- Knitting Needle Gauge: A knitting needle gauge is used to accurately measure and identify the size of knitting needles.
- Stitch Markers: These small rings or clips are used to mark specific stitches or sections in the pattern.
- Notepad and Pen: Having a notepad and pen nearby allows you to jot down any additional notes or instructions as you work on the pattern.
- Computer Software: While not necessarily a physical tool, using computer software can greatly simplify the process of designing and drawing knitting patterns, allowing for easy editing and sharing of the pattern.
By utilizing these tools and materials, you can create clear and visually appealing knitting patterns that can be easily understood and followed by others. Whether you prefer traditional drawing methods or digital software, having the right tools at your disposal will help you bring your knitting designs to life.
Understanding knitting symbols
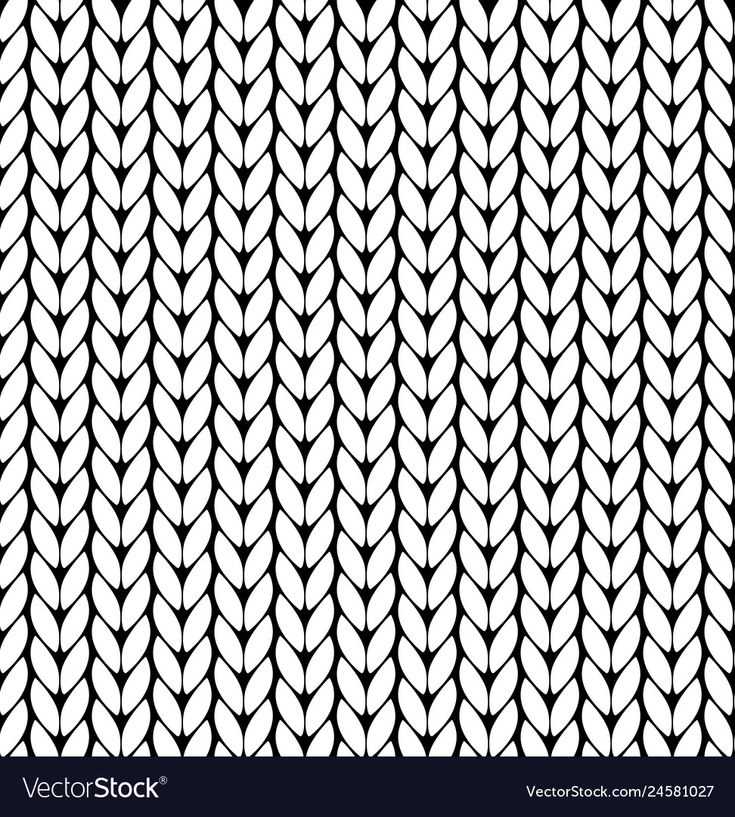
Knitting symbols are graphical representations used in knitting patterns to communicate specific instructions to the knitter. These symbols enable knitters to create a wide variety of stitches and patterns without relying solely on written instructions. By understanding and interpreting these symbols, knitters can easily navigate through complex patterns and successfully replicate the desired design.
Common knitting symbols:
- K: This symbol represents the “knit” stitch, which is the most basic and commonly used stitch in knitting. It produces a smooth and flat fabric.
- P: The symbol for the “purl” stitch, this is another fundamental stitch in knitting. It creates a bumpy texture on the fabric, often used for ribbing or adding texture to a design.
- YO: “YO” stands for “yarn over” and is represented by an empty circle. It is used to create an extra stitch by wrapping the yarn around the needle, resulting in an eyelet or decorative hole in the fabric.
- SSK: Short for “slip, slip, knit,” SSK is used to decrease stitches. It is represented by a diagonal line pointing to the left and indicates that the next two stitches should be slipped individually and then knitted together.
- K2TOG: This symbol stands for “knit two together” and represents a decrease in stitches. It is depicted by a diagonal line pointing to the right and signifies that the next two stitches should be knitted together as one.
These are just a few examples of the many knitting symbols that exist. Each symbol represents a specific stitch or technique, and by following the key provided with the knitting pattern, knitters can easily decipher the instructions and create beautiful and intricate designs.
Basic shapes and stitches
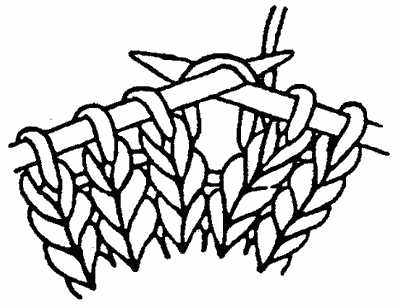
In knitting, basic shapes and stitches are the foundation for creating intricate and beautiful patterns. Whether you’re a beginner or an experienced knitter, understanding these fundamental elements is essential.
Shapes:
When it comes to knitting, the most common basic shapes are squares, rectangles, circles, and triangles. These shapes are created by varying the number of stitches and rows in your knitting. For example, a square can be knitted by casting on an equal number of stitches and working an equal number of rows. By increasing or decreasing the number of stitches or rows, you can create rectangles, circles, and triangles.
Stitches:
There are various basic stitches that are used in knitting patterns. Some of the most common stitches include the knit stitch (abbreviated k), which creates a smooth V-shaped pattern on the right side of the project, and the purl stitch (abbreviated p), which creates a bumpy texture on the right side. By combining these two stitches and varying the order and frequency of knitting and purling, you can create an endless variety of textures and patterns.
Another important basic stitch is the yarn over (abbreviated yo), which creates an extra stitch and is often used for creating lace patterns. The decrease stitches, such as knit two together (k2tog) or slip slip knit (ssk), are used to decrease the number of stitches and shape the fabric.
Combining shapes and stitches:
Once you have a good understanding of basic shapes and stitches, you can start combining them to create more complex patterns. For example, you can knit a rectangle with a basketweave stitch pattern or create a triangular shawl with lace stitches. The possibilities are endless, and the more you explore and experiment with different combinations of shapes and stitches, the more creative and unique your knitting projects will be.
Remember, practice is key to mastering these basic shapes and stitches. Start with simple patterns, and gradually move on to more challenging ones. With time and patience, you’ll be able to create stunning knitted pieces using a variety of shapes and stitches.
Creating your own knitting pattern
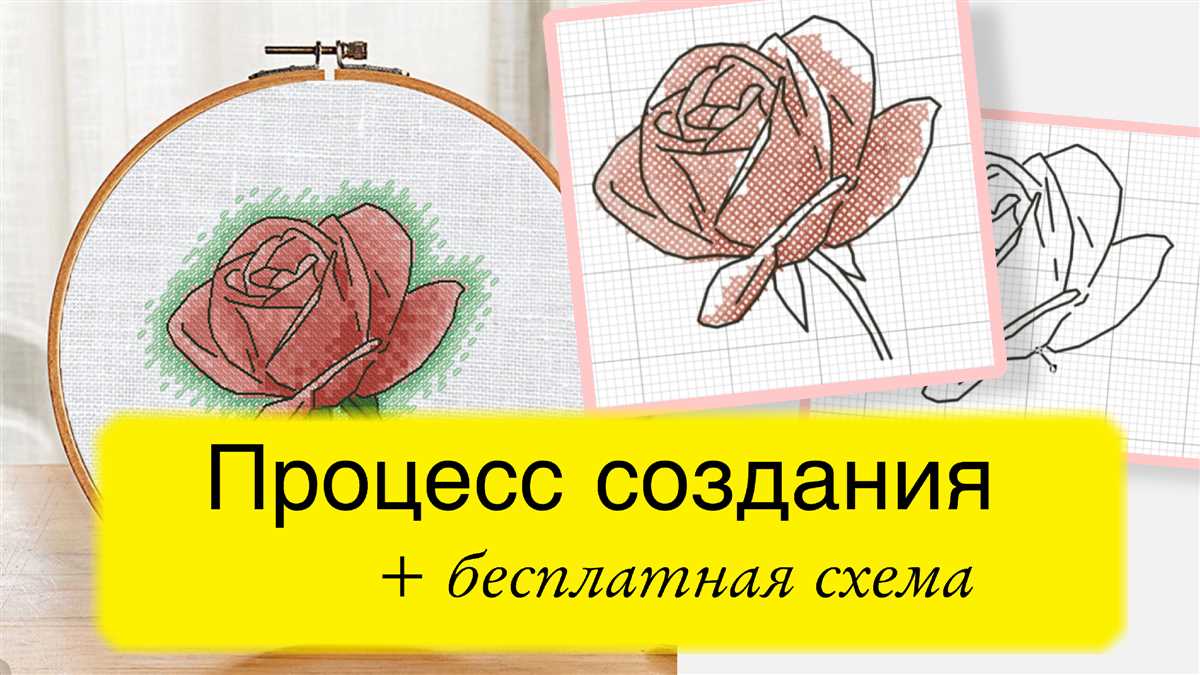
Creating your own knitting pattern is a great way to showcase your creativity and personalize your knitting projects. Whether you’re a beginner or an experienced knitter, designing your own pattern allows you to make something truly unique. Here are some tips to help you get started.
Choose your project
First, decide what type of project you want to create. It could be a hat, a sweater, a scarf, or any other item you’re interested in knitting. Consider the skill level required for the project and whether it aligns with your current knitting abilities.
Gather inspiration
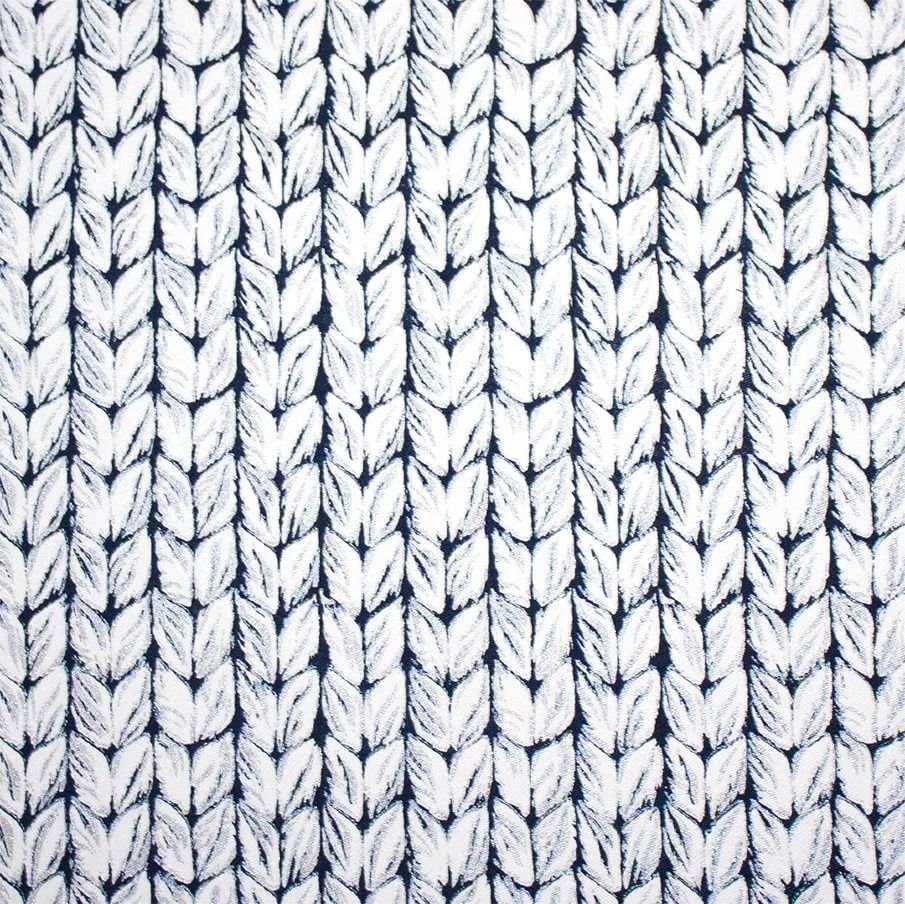
Look for inspiration in various sources, such as fashion magazines, websites, or even nature. Pay attention to different stitch patterns, color combinations, and textures that catch your eye. Take notes and gather images to help you visualize your design.
Plan your design

Sketch out your design ideas on paper or use software specifically designed for knitting design. Decide on the measurements, gauge, stitch pattern, and any additional embellishments you want to incorporate into your pattern. Keep in mind that some modifications may be necessary as you start knitting and see how the design progresses.
Make a gauge swatch
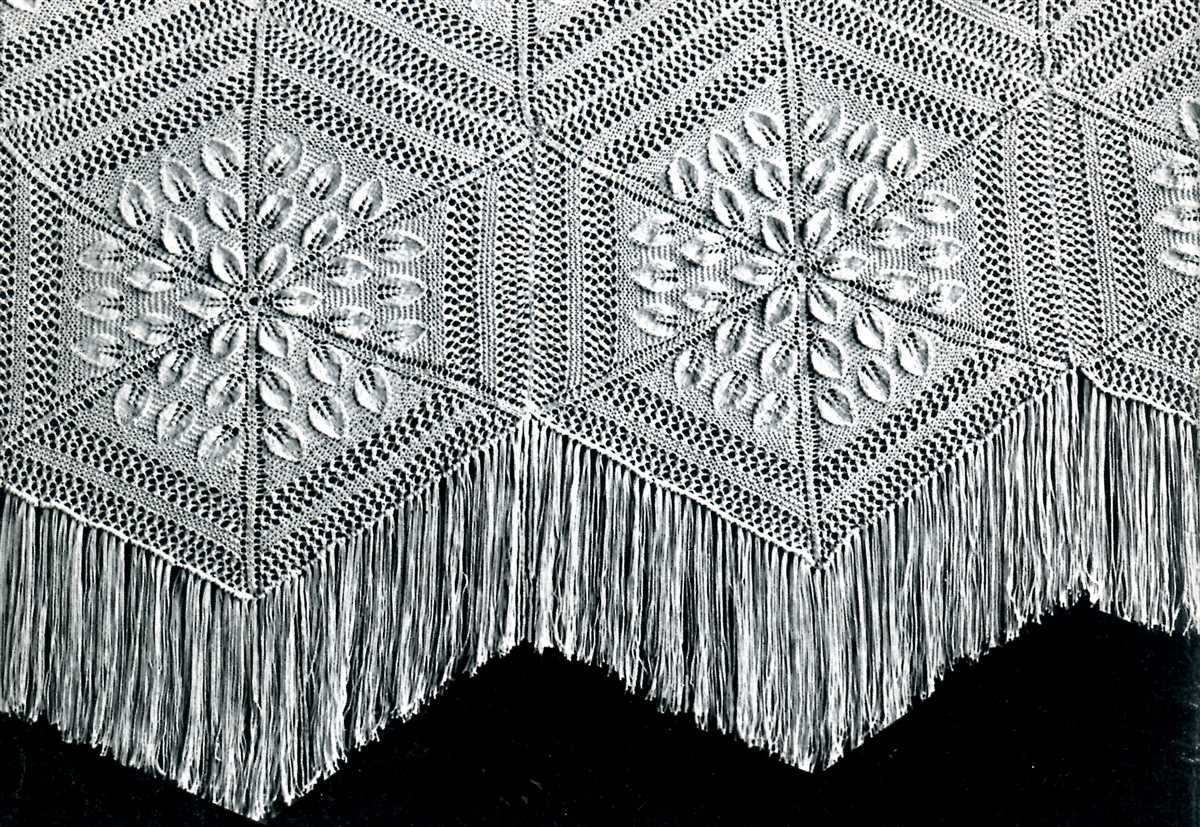
Before you start knitting your project, make a gauge swatch to ensure that your tension matches the desired specifications. This will help you determine the correct number of stitches and rows needed to achieve the desired size and fit. Adjust your needle size if necessary.
Start knitting
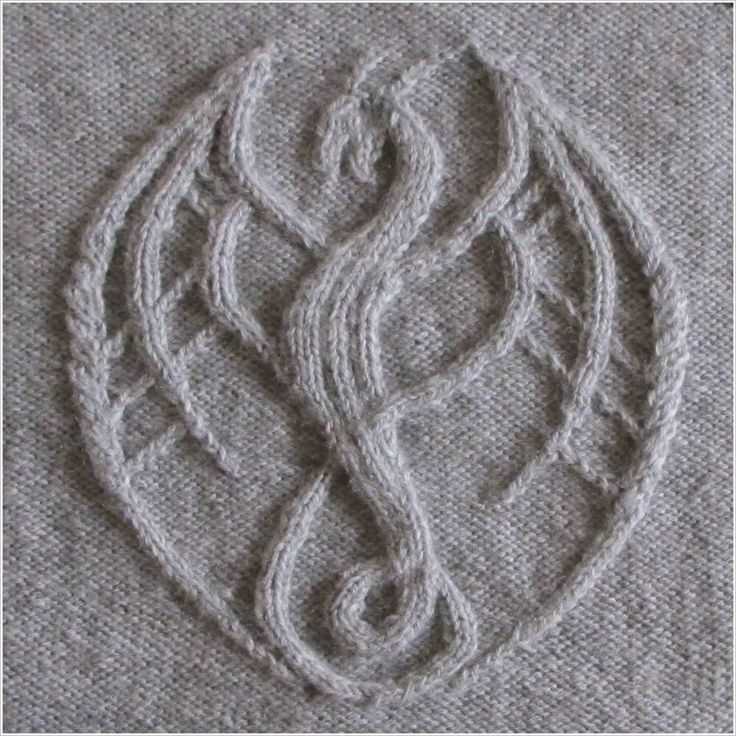
Once you have your design plan and gauge swatch, start knitting according to your pattern. Take detailed notes throughout the process, including any modifications or adjustments you make along the way. This will be helpful when you want to recreate or share your pattern with others.
Creating your own knitting pattern can be a fun and rewarding experience. It allows you to showcase your unique style and create one-of-a-kind pieces. Don’t be afraid to experiment and have fun with your design. Happy knitting!
Adding Texture to Your Knitting Pattern
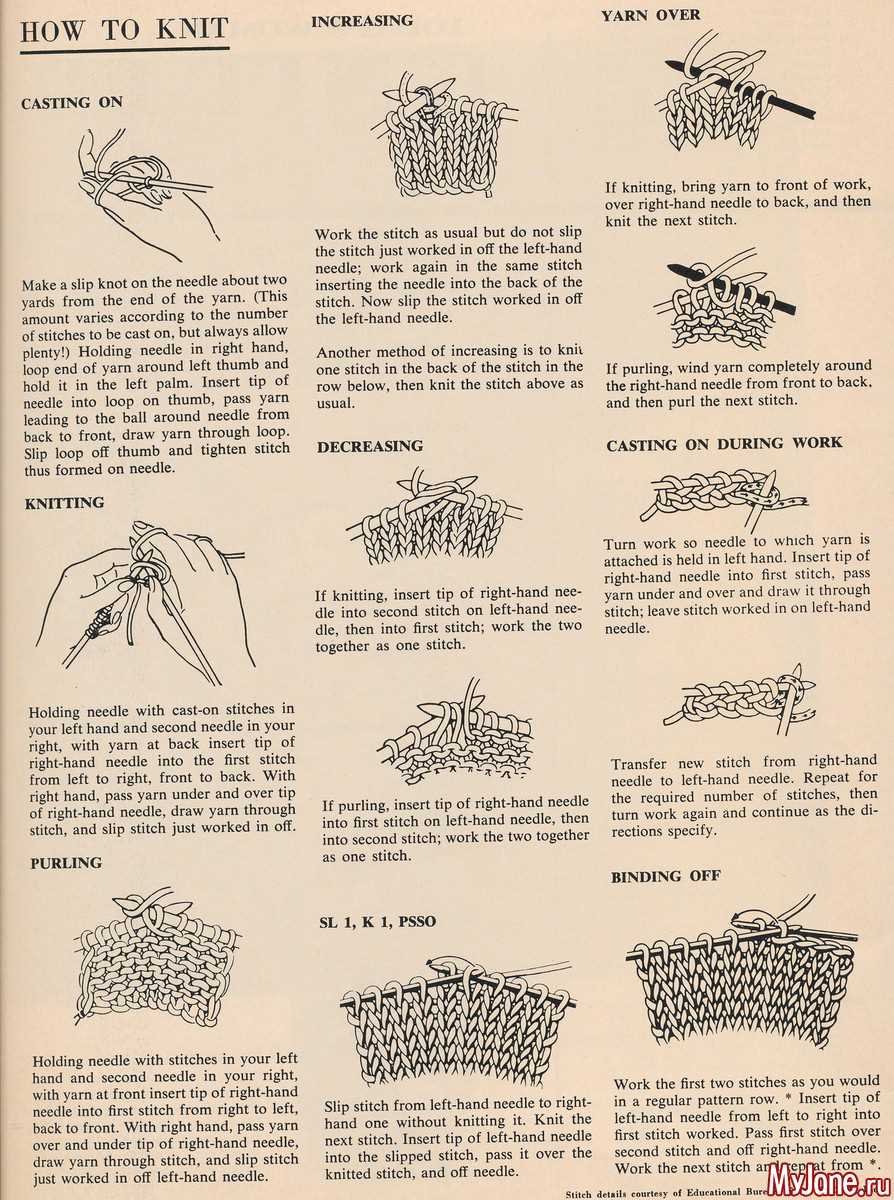
When it comes to knitting, adding texture to your patterns can create beautiful and unique designs that stand out. Texture can be achieved through various techniques, such as using different stitch patterns, adding cables, or incorporating different types of yarns.
1. Stitch patterns: One of the easiest ways to add texture to your knitting pattern is by using different stitch patterns. This can include ribbing, seed stitch, basketweave, or even lace patterns. These stitches can create interesting textures that not only look great but also provide warmth and structure to your knitted items.
2. Cables: Another popular technique for adding texture is by incorporating cables into your knitting pattern. Cables create a twisted or braided effect that adds depth and dimension to your design. They can be simple or complex, depending on your skill level and the overall look you want to achieve.
3. Different yarns: Choosing different types of yarns can also add texture to your knitting pattern. For example, using a yarn with a boucle or nubby texture can create a unique surface that adds visual interest to your project. You can also experiment with different weights of yarn, such as using a bulky or chunky yarn for a more textured and cozy feel.
4. Combination of techniques: To create truly eye-catching textures, you can combine different techniques in your knitting pattern. For instance, you could incorporate a cable stitch pattern with a textured yarn or mix ribbing with a lace pattern. Combining techniques allows you to experiment and create your own unique designs.
Conclusion: Adding texture to your knitting pattern can take your projects to the next level. Whether you choose to use different stitch patterns, incorporate cables, or experiment with different yarns, adding texture can create visually stunning and interesting designs. So, get creative and start exploring different ways to add texture to your knitting patterns!
Colorwork Knitting Patterns
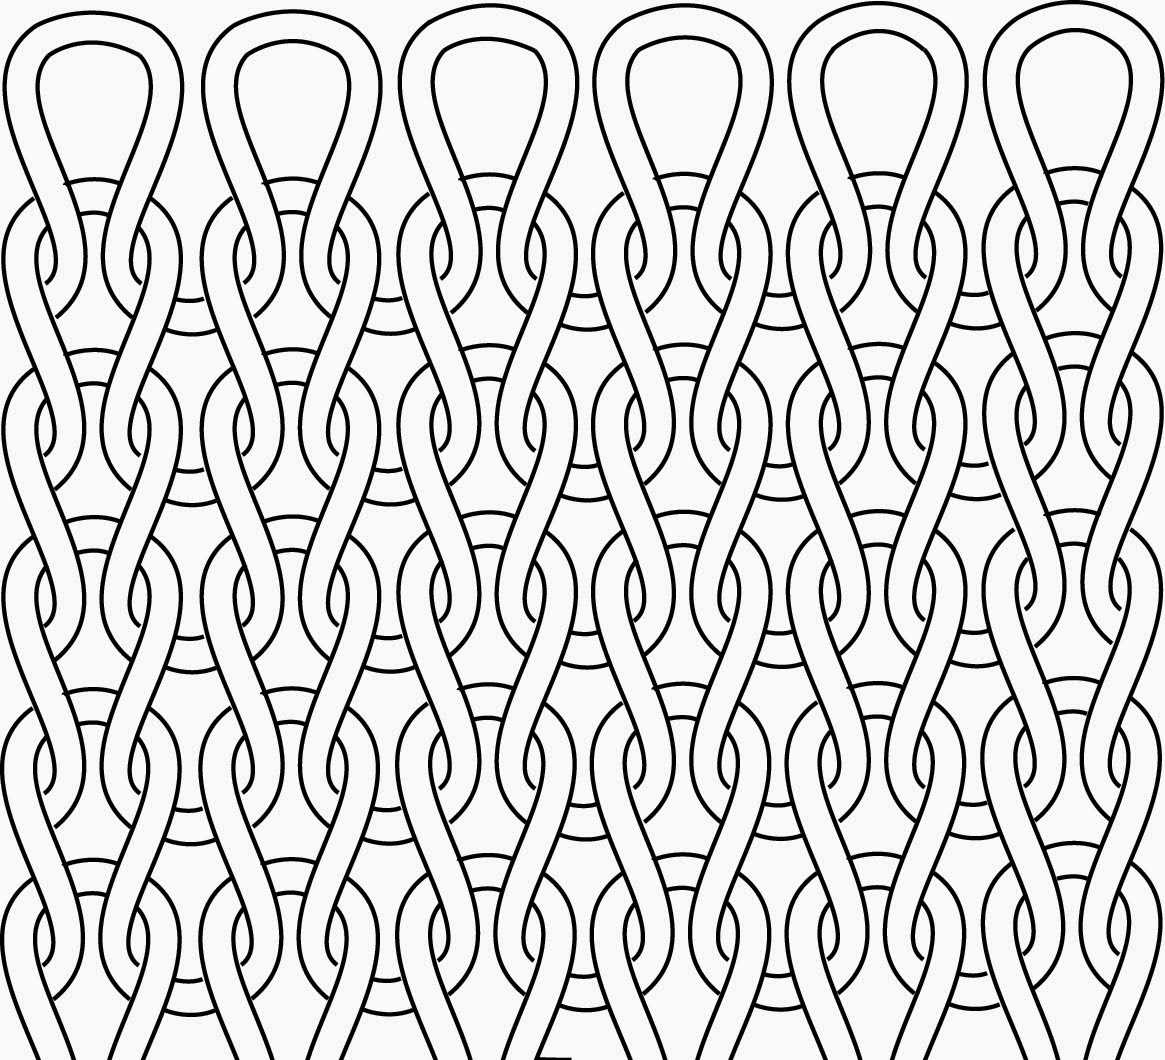
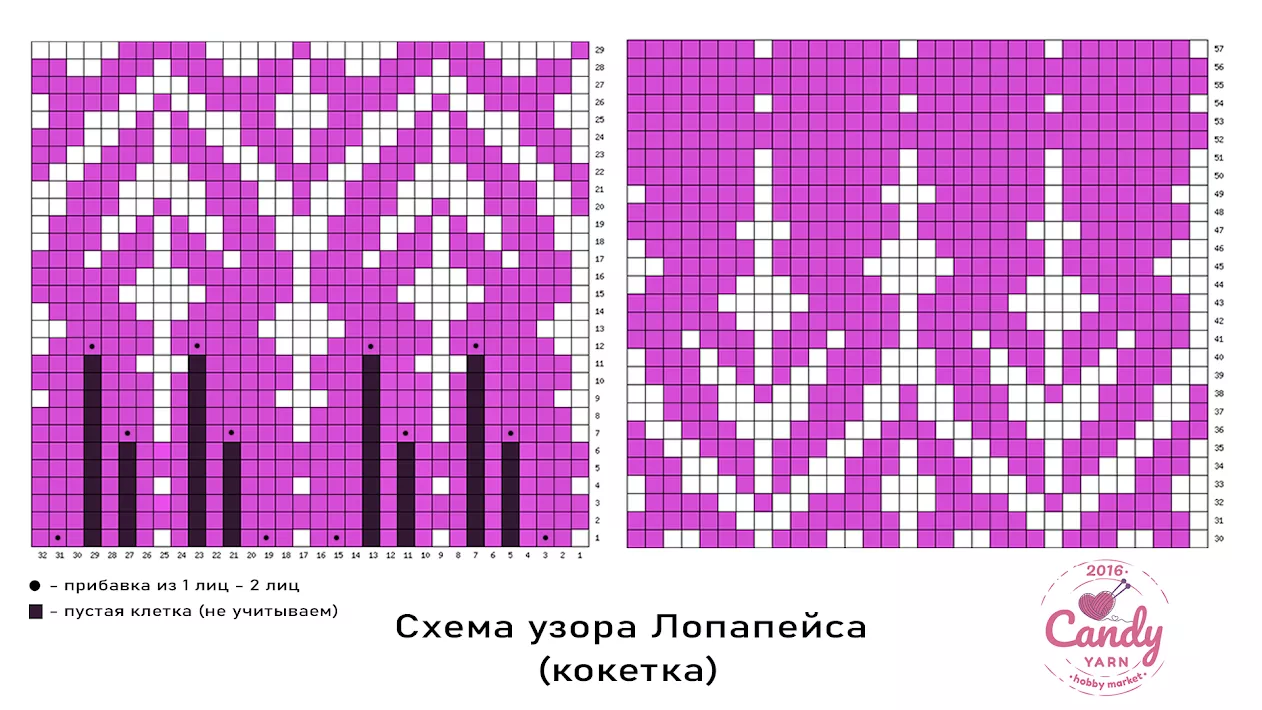
Colorwork knitting patterns, also known as stranded knitting or fair isle knitting, are a popular technique used to create beautiful and intricate designs in knitted garments and accessories. This technique involves working with multiple colors of yarn in each row, creating a pattern by using different colors for different stitches. The result is a stunning design that can be used to add visual interest and complexity to a wide range of knitting projects.
One of the key elements of colorwork knitting patterns is the use of two or more contrasting colors. This allows the pattern to stand out and create a bold and eye-catching design. The choice of colors can greatly impact the final look of the project, and careful consideration should be given to selecting colors that complement each other and enhance the overall design.
Colorwork knitting patterns can range from simple geometric designs to intricate pictorial motifs. Some popular motifs include traditional Scandinavian patterns, animals, flowers, and geometric shapes. The combination of different stitch patterns and colors provides endless possibilities for creating unique and personalized designs.
To create a colorwork knitting pattern, it is important to have a good understanding of knitting techniques such as stranded knitting, reading colorwork charts, and managing multiple colors of yarn. It is also crucial to maintain tension and avoid pulling too tightly on the yarn, as this can lead to puckering and distortion of the pattern. With practice and patience, colorwork knitting patterns can be a rewarding and enjoyable technique to master.
Whether you are a beginner or an experienced knitter, exploring colorwork knitting patterns can open up a whole new world of creativity and design possibilities. From cozy sweaters and hats to intricate mittens and socks, colorwork can elevate your knitting projects to the next level. So grab your needles and yarn and get ready to dive into the world of colorwork knitting!
Working with charts and diagrams
When it comes to knitting patterns, charts and diagrams play a crucial role, especially for more intricate or complex designs. These visual representations provide a step-by-step guide of the stitches and techniques required to create the desired pattern. Working with charts and diagrams allows knitters to easily visualize the pattern and understand how each stitch contributes to the final design.
Charts: Knitting charts are commonly used in patterns to represent each stitch symbol using different symbols or colors. Each square on the chart corresponds to a specific stitch, and the chart is read from right to left for right-side rows and left to right for wrong-side rows. Charts are great for visual learners, as they provide a clear visual representation of the pattern and make it easier to keep track of stitch counts and pattern repeats.
Diagrams: Diagrams are another visual representation often used in knitting patterns, particularly for lace or cable designs. These diagrams show the stitch pattern and how it repeats across rows. The symbols used in the diagrams indicate the specific type of stitch and its placement within the pattern. By following the symbols, knitters can easily see how the stitches are worked together to create the intricate lace or cable motifs.
When working with charts and diagrams, it is important to pay attention to the key or legend provided with the pattern. The key explains the meaning of each symbol used in the chart or diagram, ensuring that knitters understand how to execute each stitch correctly. Taking the time to familiarize yourself with the symbols and their meanings will greatly enhance your ability to follow and understand knitting patterns.
Overall, charts and diagrams are valuable tools for knitters, allowing them to easily visualize and understand the stitch patterns and techniques required for a given knitting pattern. By mastering the art of reading charts and diagrams, knitters can tackle more complex patterns with confidence and create stunning projects.
Modifying an existing knitting pattern
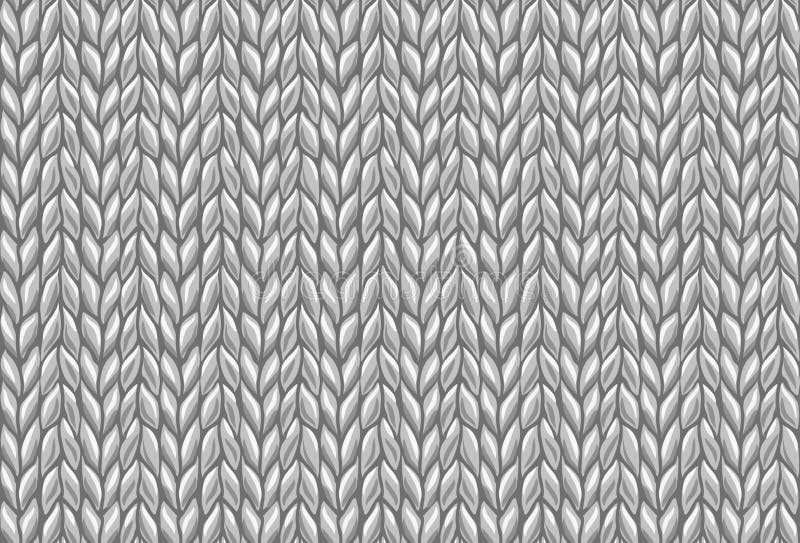
When it comes to knitting, one of the joys is being able to modify patterns to suit your own preferences and needs. Whether you want to change the size, adjust the stitch pattern, or add extra details, modifying an existing knitting pattern allows you to create a truly unique and personalized piece.
1. Changing the size: One of the most common modifications made to knitting patterns is adjusting the size. This can be achieved by changing the number of stitches and rows in the pattern or by using a different yarn weight and needle size. It is important to take accurate measurements and swatch before making any changes to ensure the finished garment fits correctly.
2. Adjusting the stitch pattern: If you want to add a different stitch pattern or modify an existing one, it’s important to understand how the pattern is constructed. You can experiment with different stitch combinations or even create your own stitch pattern. Just remember to take careful notes of your modifications so that you can replicate them if needed.
3. Adding extra details: If you’re feeling adventurous, you can add extra details to an existing pattern to make it truly unique. This could be adding a cable panel, a lace border, or even embroidery. Just make sure to plan these additions carefully, considering the structure and flow of the pattern, and ensuring that they complement the overall design.
Modifying an existing knitting pattern allows you to unleash your creativity and make each project truly your own. By changing the size, adjusting the stitch pattern, or adding extra details, you can create a piece that is perfectly tailored to your personal style and preferences.
Knitting Pattern Testing and Troubleshooting

When it comes to creating knitting patterns, it is essential to thoroughly test them before sharing them with others. Testing a knitting pattern ensures that the instructions are clear, accurate, and will result in the desired finished product. It also helps identify any potential issues or errors that may need to be addressed. In this article, we will explore the process of knitting pattern testing and troubleshooting.
1. Finding Test Knitters: Once a knitting pattern is drafted, the next step is to find test knitters who are willing to try out the pattern and provide feedback. Test knitters can be friends, family members, or part of an online knitting community. It is important to find a diverse group of test knitters with different skill levels to get a variety of perspectives.
2. Instructions and Material: Test knitters should be provided with clear and detailed instructions, including any abbreviations or special techniques used. It is also essential to specify the recommended yarn type, gauge, and needle size to ensure consistent and accurate results. Providing a list of materials needed for the project will help test knitters gather everything they need before starting.
3. Knitting the Pattern: Test knitters should follow the instructions step-by-step to create the project. They should pay attention to any confusing sections or potential errors and provide feedback on their findings. It is crucial for test knitters to document any modifications they made or difficulties they encountered during the knitting process.
4. Pattern Feedback: Once the test knitters have completed the pattern, they should provide detailed feedback on their experience. This feedback can include suggestions for improving clarity, identifying areas of confusion, or noting any errors they encountered while knitting. Their input is invaluable in refining the pattern and making it more user-friendly.
5. Pattern Troubleshooting: After receiving feedback from the test knitters, it is time to troubleshoot any issues or errors that were identified. This may involve revising the instructions, clarifying confusing sections, or making corrections to any mistakes found. It is important to thoroughly review and test the revised pattern before considering it final.
In conclusion, knitting pattern testing is a crucial step in the pattern creation process. It helps ensure that the instructions are accurate and clear, while also identifying and resolving any issues or errors. By finding a group of test knitters, providing clear instructions, and incorporating feedback, you can create a high-quality knitting pattern that others can enjoy without frustration or confusion.
Sharing and Selling Your Knitting Patterns

Once you have created your knitting patterns, you may want to share or sell them to others who are interested in knitting. Here are some ways you can do that:
1. Online Platforms: There are various online platforms where you can share and sell your knitting patterns. Websites such as Ravelry, Etsy, and Craftsy allow you to upload and sell your patterns to a wide audience of knitters. These platforms often provide tools for managing and promoting your patterns, as well as connecting with other knitters.
2. Personal Website or Blog: If you prefer more control over the presentation and distribution of your knitting patterns, you can create your own website or blog. This allows you to showcase your patterns, provide tutorials or tips, and sell them directly to your audience. You can also build a community around your website by engaging with knitters through comments or forums.
3. Social Media: Utilizing social media platforms such as Instagram, Facebook, and Pinterest can be an effective way to share and market your knitting patterns. You can post pictures of your finished projects, provide snippets of your patterns, and direct interested knitters to your online platforms or personal website.
4. Craft Fairs or Markets: Participating in craft fairs or markets gives you an opportunity to showcase and sell your knitting patterns in person. You can set up a booth where people can browse through your patterns, ask questions, and make purchases. This allows you to directly interact with customers and potentially build a local customer base.
Conclusion
Sharing and selling your knitting patterns can be a fulfilling way to share your passion and creativity with others, as well as potentially generate income. Consider the different platforms and methods available, and choose those that align with your goals and preferences. Remember to market your patterns effectively and engage with your audience to build a loyal following.