
Knitting can be both a fun and rewarding hobby, and what better way to showcase your skills than creating a playful jester hat? This whimsical accessory is perfect for adding a touch of comedy and charm to your winter wardrobe, or even for dressing up for a festive occasion.
With its distinctive three-pronged design and colorful pom-poms, the jester hat is sure to turn heads and bring a smile to everyone’s face. Whether you’re a beginner knitter or have years of experience, this knitting pattern is suitable for all skill levels.
Knitting your own jester hat allows you to customize it to your liking, whether it’s by choosing your favorite color combination, adjusting the size to fit your head perfectly, or adding extra embellishments. Not only will you have a unique and eye-catching accessory, but you’ll also have the satisfaction of creating something with your own hands.
In this article, we will provide step-by-step instructions on how to knit a jester hat, including the materials you’ll need, the techniques used, and tips for personalizing your creation. So grab your knitting needles and let’s get started on this fun and festive project!
Jester Hat Knitting Pattern

Do you want to add a touch of whimsy to your winter wardrobe? Look no further than the jester hat knitting pattern. This fun and playful hat is perfect for anyone who wants to stand out and make a statement. Whether you’re heading to a costume party or just want to add a bit of fun to your everyday outfit, this hat is sure to turn heads.
The jester hat knitting pattern is surprisingly easy to master, even for beginners. With just a few simple stitches and some basic shaping techniques, you’ll have a unique and eye-catching hat in no time. Plus, knitting your own jester hat allows you to customize it to your liking, whether you prefer classic colors or want to experiment with bold and vibrant hues.
Materials Needed

- Size US 8 (5mm) double pointed needles
- 1 skein of worsted weight yarn in main color
- Small amounts of contrasting colors for the jester points
- Tapestry needle for weaving in ends
- Stitch markers
- Pom-pom maker (optional)
Instructions

Step 1: Cast on 80 stitches using the main color yarn and divide them evenly onto 4 double pointed needles. Place a stitch marker to indicate the beginning of the round.
Step 2: Work in a K2, P2 ribbing pattern for 2 inches.
Step 3: Switch to the jester point colors. Work in stockinette stitch for 4 inches, or desired length for the jester points.
Step 4: Switch back to the main color yarn. Decrease by knitting 2 stitches together every 10 stitches, until there are 40 stitches remaining.
Step 5: Continue knitting in stockinette stitch for another 4 inches, or desired length for the body of the hat.
Step 6: Decrease again, by knitting 2 stitches together every 5 stitches, until there are 8 stitches remaining.
Step 7: Cut the yarn, leaving a long tail. Thread the tail through the tapestry needle and slide the needle through the remaining stitches, removing them from the needles. Pull tight to close the top of the hat.
Step 8: Weave in all loose ends and trim any excess yarn. Optionally, attach a pom-pom to the top of the hat using a pom-pom maker or by hand.
Now that you have your very own jester hat, get ready to receive compliments and turn heads wherever you go. Embrace your playful side and have fun with your winter accessories!
Choosing the Right Yarn

When it comes to knitting a jester hat, choosing the right yarn is essential. The type of yarn you select can greatly impact the final look and feel of your hat. There are a few factors to consider when deciding on the perfect yarn for your project.
Fiber Content: The fiber content of the yarn will determine how warm, soft, and durable your jester hat will be. Wool is a popular choice for hats as it is insulating and has natural elasticity. Acrylic yarns are another option, which are often more affordable and machine washable. Alternatively, you could choose a blend of different fibers to combine the benefits of each.
Weight and Gauge: The weight of the yarn you choose will impact the size and thickness of your jester hat. Consider the pattern you are using and the desired outcome when determining the weight of the yarn. The gauge, or the number of stitches per inch, is also essential to ensure the hat fits properly. Check the recommended gauge in the pattern and choose a yarn that matches it.
Color and Texture: Jester hats are known for their playful and vibrant colors. Consider the color scheme you want for your hat and select yarns that match your vision. Additionally, the texture of the yarn can add interest and personality to the hat. Look for textured yarns or consider using multiple yarns together to create different effects.
Conclusion

Choosing the right yarn for your jester hat project is crucial for achieving the desired look and feel. Consider factors such as fiber content, weight and gauge, as well as color and texture. By selecting the appropriate yarn, you can ensure that your jester hat turns out just as whimsical and playful as you envision.
Selecting the Right Needles

When knitting a jester hat, it’s important to choose the right needles for the project. The needles you use will have an impact on the final appearance and fit of the hat, so it’s important to choose wisely. Here are some factors to consider when selecting your needles:
Material

The material of the needles can affect both the comfort of knitting and the resulting fabric of the hat. Common materials for knitting needles include metal, wood, bamboo, and acrylic. Metal needles are smooth and durable, while wooden and bamboo needles provide a warm and natural feel. Acrylic needles are lightweight and often preferred by beginners. Choose a material that feels comfortable in your hands and suits your knitting style.
Size

The size of the needles will determine the gauge of your knitting, which in turn affects the size and drape of the jester hat. The pattern you are using will typically specify the recommended needle size, but you may need to adjust it based on your own tension and the desired fit of the hat. Use a needle gauge tool to ensure you are working with the correct size. It’s also a good idea to swatch your yarn and needles to check that you are achieving the desired measurements.
Length
The length of the needles can make a difference in the ease with which you can knit your jester hat. Shorter needles, such as double-pointed needles (DPNs), are commonly used for small circumference knitting, such as the top of the hat. Longer needles, such as circular needles, can be more comfortable for larger projects and allow for easier switching between needles. Consider the construction of your jester hat and choose the appropriate needle length for each section of the pattern.
Specialty Needles

Depending on the complexity of the jester hat pattern, you may also need to consider specialty needles. Cable needles are useful for creating intricate cable designs, while stitch holders can help when working on multiple sections of the hat at once. DPNs with varying lengths can be useful for decreasing stitches in the crown of the hat. Be sure to have the necessary specialty needles on hand before starting your jester hat project.
Gauge and Swatching

When knitting a jester hat, it is important to achieve the correct gauge in order for the hat to fit properly. Gauge refers to the number of stitches and rows per inch that you achieve with a particular yarn and needle size. In order to determine your gauge, you will need to create a swatch.
A swatch is a small square of knitting that you create using the same yarn and needle size that you plan to use for your project. The purpose of the swatch is to measure your gauge and determine if any adjustments need to be made. It is important to create a swatch because different knitters can have variations in tension, which can affect the final fit of the hat.
To create a swatch:
- Choose the yarn and needle size specified in the pattern.
- Cast on a certain number of stitches, typically specified in the pattern.
- Knit a few rows using the specified stitch pattern.
- Continue knitting in the specified pattern until the swatch measures a few inches in length.
- Bind off the stitches and wash and block the swatch as you would the finished hat.
- Measure the number of stitches and rows per inch in the swatch using a ruler or gauge tool.
Once you have measured your swatch, compare the number of stitches and rows per inch to the gauge specified in the pattern. If your gauge is too loose (meaning you have fewer stitches and rows per inch), you will need to switch to a smaller needle size. If your gauge is too tight (meaning you have more stitches and rows per inch), you will need to switch to a larger needle size.
By creating a swatch and measuring your gauge, you can ensure that your jester hat will fit properly and that you are using the correct needle size to achieve the desired results.
Casting On and Joining in the Round
Casting on is the first step in starting your knitting project. It involves creating the first row of stitches onto your knitting needle. For the jester hat pattern, you will need to cast on a specific number of stitches to ensure the correct size and fit of the hat. The pattern will provide instructions on how many stitches to cast on and what type of cast on method to use.
Joining in the round is the next step after casting on. It allows you to create a seamless tube of knitting, which is necessary for the shape of the jester hat. To join in the round, you will need a set of circular knitting needles or double-pointed needles. Once you have cast on the required number of stitches, you will bring the first stitch to the last stitch, making sure not to twist the stitches, and begin knitting in the round.
There are different methods for joining in the round, such as using a slip stitch or a single crochet, depending on your preference and the pattern instructions. Make sure to follow the pattern carefully to ensure you join the stitches correctly and create an even and smooth tube of knitting.
Joining in the round is an important step in knitting the jester hat, as it sets the foundation for the rest of the pattern. It allows you to create the circular shape necessary for the hat and makes it easier to knit the various sections, such as the brim, body, and pom-pom. Take your time and double-check your stitches to ensure they are joined correctly and that there are no twists or gaps in the knitting.
Once you have successfully cast on and joined in the round, you will be ready to start working on the main body of the jester hat. Follow the pattern instructions for the specific stitch pattern, shaping, and any color changes that may be required. With each round, you will continue to build the height of the hat and create the distinctive jester shape. Enjoy the process and have fun creating your unique jester hat!
Knitting the Brim
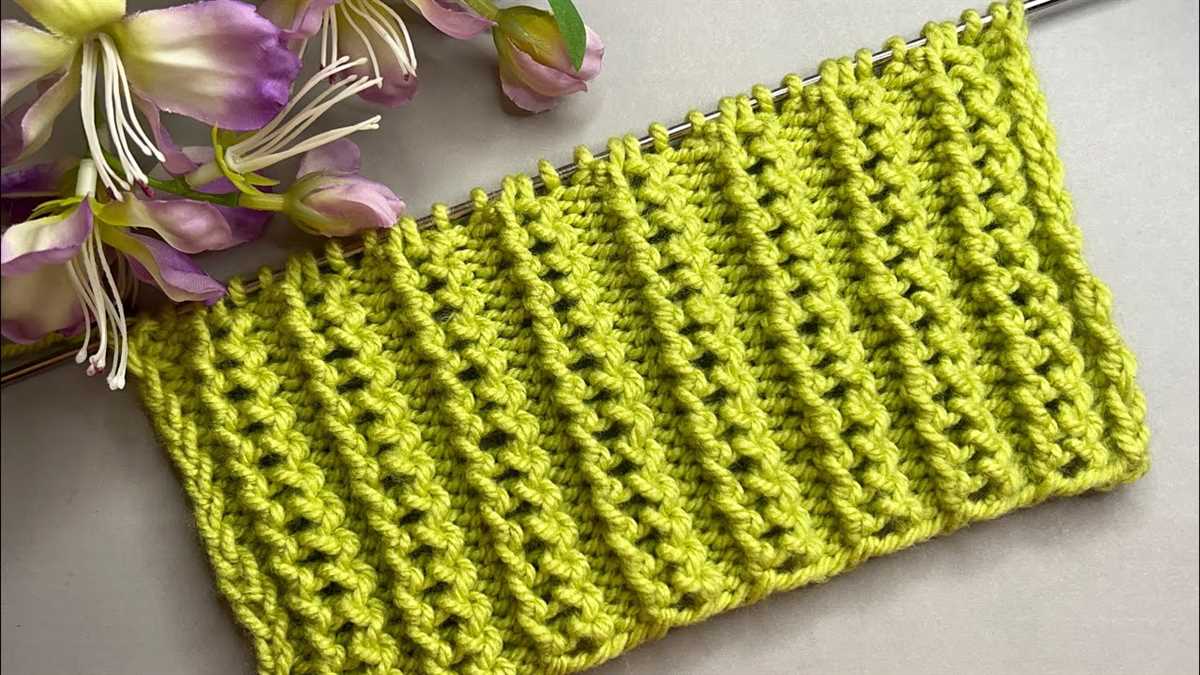
When knitting a jester hat, the brim is an essential element that adds style and shape to the hat. The brim is typically knitted using a smaller needle size and a ribbing stitch pattern to create a snug fit and stretchiness. It is important to choose a needle size that complements the yarn weight and gauge of your project to ensure the brim has the right tension and elasticity.
To start knitting the brim, cast on the desired number of stitches using the smaller needle size. It is common to cast on an even number of stitches, such as 90 or 100, to achieve a balanced ribbing pattern. Once the stitches are cast on, join in the round, being careful not to twist the stitches. This will create a seamless brim that wraps around the head comfortably.
The most common stitch pattern used for the brim of a jester hat is the 1×1 ribbing. This means alternating between knitting one stitch and purling one stitch in each round. The 1×1 ribbing creates a stretchy and flexible fabric that comfortably hugs the head. It is important to maintain the ribbing pattern for the desired length of the brim, usually 1-2 inches depending on personal preferences.
Once the brim has been knitted to the desired length, it is time to switch to a larger needle size and continue with the main body of the jester hat. At this point, you can add additional design elements such as colorwork, stripes, or fair isle patterns to create a unique and eye-catching hat. The brim sets the foundation for the jester hat and adds a professional and polished finish to your hand-knitted creation.
Creating the Classic Jester Points
When knitting a jester hat, one of the most iconic features is the classic jester points or bells at the end of each point. These points add a whimsical and playful touch to the hat, making it instantly recognizable as a jester hat. Creating these points requires some basic knitting techniques and a bit of patience, but the end result is well worth the effort.
To begin, you will need to cast on the desired number of stitches for each point. The number of stitches will depend on the size of your hat and the desired size of the points. Once you have cast on, you can start working the pattern for each point.
Knitting the Points
To achieve the classic jester point shape, you will need to work a series of decreases. One common method is to work a series of knit two together (K2tog) stitches. This will decrease the number of stitches and create a tapered point. You can also experiment with other decrease stitches, such as slip, slip, knit (SSK), or centered double decrease (CDD), to achieve different shapes and styles for your points.
After working the decreases, you will continue knitting the remaining stitches in the pattern until you reach the desired length for the point. This could be a few rows or several inches, depending on your personal preference. Once you have reached the desired length, you can bind off the stitches and weave in any loose ends.
Repeat this process for each point on your jester hat, making sure to evenly distribute them around the circumference of the hat. You can create a symmetrical design with an equal number of points on each side, or you can mix it up and have a different number of points on each side for a more unique look.
Once all the points are knitted and secured, you can give them a gentle tug to shape them and make sure they stand upright. If desired, you can also attach small bells or pompoms to the ends of each point to add an extra touch of whimsy.
With some patience and attention to detail, you can create the classic jester points that make a jester hat truly stand out. Whether you’re knitting a hat for a costume, a gift, or simply for your own enjoyment, these points are sure to bring a smile to everyone who sees them.
Adding Embellishments
Adding embellishments to your jester hat can give it an extra touch of whimsy and personality. There are several different types of embellishments you can consider, depending on your preference and skill level. Some popular options include:
- Pom-poms: Pom-poms are a classic choice for adding a fun and playful element to your jester hat. You can make pom-poms using yarn in contrasting colors and attach them to the tips of the hat or along the brim.
- Tassels: Tassels are another great option for adding movement and texture to your jester hat. You can make tassels using yarn in coordinating colors and attach them to the ends of the hat or along the edges.
- Buttons: Buttons can be used as embellishments to add visual interest to your jester hat. Choose buttons in different shapes, sizes, and colors that complement the overall design of your hat. Sew them onto the hat in a decorative pattern or randomly scatter them for a playful look.
- Ribbons and bows: Ribbons and bows can add a feminine and festive touch to your jester hat. You can attach ribbons or bows made from contrasting fabric or ribbon to the sides or top of the hat. This can be a great option if you want to give your jester hat a more decorative and whimsical feel.
- Embroidery: If you have advanced knitting skills, you can consider adding embroidery to your jester hat. You can use embroidery thread or yarn in coordinating colors to create intricate designs or patterns on the hat. This can be a great way to personalize your jester hat and make it truly one-of-a-kind.
When adding embellishments to your jester hat, it’s important to consider the overall design and keep it balanced. You don’t want to overpower the hat with too many embellishments or make it too busy. Choose embellishments that enhance the look of the hat and reflect your personal style.
Finishing and Blocking
Once you have finished knitting your jester hat, it is important to properly finish and block it to achieve the desired shape and drape. Finishing includes sewing in any loose ends and securing any embellishments such as pom-poms or tassels. Ensure that all seams are neatly sewn and any decorative elements are securely attached.
Blocking is the process of shaping and sizing the hat by wetting and then pinning it into the desired shape. This step is especially important if you want your hat to have a professional finish. To block your jester hat, start by gently wetting it with water. You can either soak it or spray it, depending on the fiber content of your yarn.
Wet blocking
If your yarn is made of animal fiber such as wool or alpaca, wet blocking is recommended. Gently soak the hat in lukewarm water with a mild soap or wool wash. Let it sit for a few minutes, then carefully squeeze out the excess water without wringing or twisting the hat. Place the damp hat on a clean towel and roll it up to remove even more moisture.
Next, lay the hat on a blocking mat or an old towel, and gently stretch and shape it to the desired size and shape. You can use pins or blocking wires to help hold the shape. Allow the hat to air dry completely before removing the pins or wires. This process can take anywhere from a few hours to a couple of days, depending on the thickness of your hat and the humidity of your environment.
Steam blocking

If your yarn is made of synthetic fibers or if you prefer a quicker blocking method, you can steam block your hat. Fill a steam iron with water and set it to the appropriate temperature for your yarn. Hold the iron about an inch above the hat and gently steam it, being careful not to touch the iron to the hat. As you steam, use your hands to shape and stretch the hat to the desired size and shape. Once you’ve achieved the desired shape, set the hat aside to cool and dry.
Regardless of which blocking method you choose, it is important to ensure that your hat is completely dry before wearing or storing it. Once dry, your jester hat is ready to be proudly worn and admired!
Tips and Tricks for Successful Jester Hat Knitting
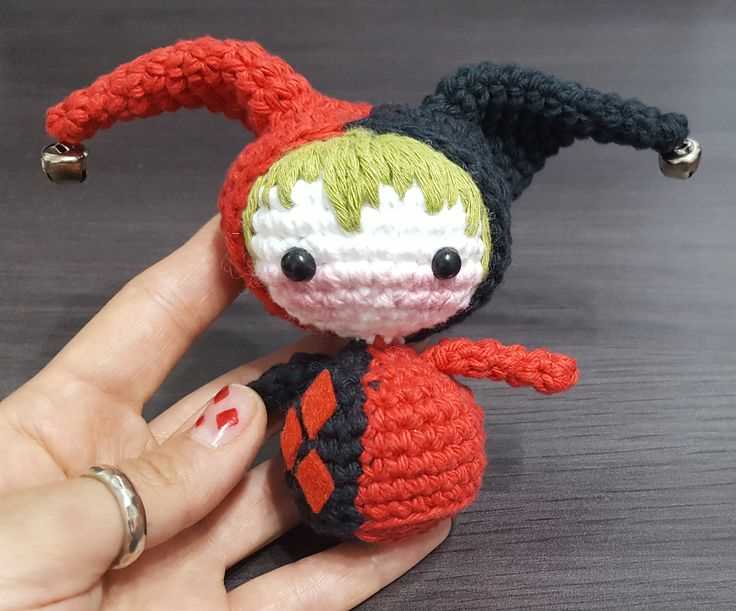
Knitting a jester hat can be a fun and rewarding project, but it can also present some challenges. Here are some tips and tricks to help you successfully create your own jester hat:
- Select the right yarn: Choose a yarn that is appropriate for the size and style of jester hat you want to create. Consider the weight, texture, and color of the yarn to ensure it matches your vision.
- Use the right needles: Different styles and sizes of needles can produce different results. Experiment with different needle sizes to achieve the desired gauge and appearance of your jester hat.
- Swatch before you start: It’s important to knit a gauge swatch before you begin your jester hat to ensure your stitches will result in the correct size. This will also help you familiarize yourself with the stitch pattern.
- Pay attention to tension: Consistent tension is key to creating an even and professional-looking jester hat. Take your time, relax your hands, and try not to pull too tightly or let your stitches become too loose.
- Master the necessary skills: Depending on the complexity of the jester hat pattern, you may need to be familiar with techniques such as knitting in the round, increasing and decreasing stitches, and colorwork. Practice these techniques before attempting your jester hat.
- Count your stitches and rows: Keeping track of your stitch count and rows is essential for maintaining the shape and size of your jester hat. Use stitch markers and row counters to help you stay on track.
- Take breaks and stretch: Knitting can be a repetitive activity, so it’s important to take breaks and stretch your hands and wrists to avoid fatigue and injury.
- Experiment and have fun: Don’t be afraid to add your own personal touch to your jester hat. Try different color combinations, stitch patterns, or embellishments to make it unique and reflect your style.
Conclusion
Knitting a jester hat can be a challenging yet rewarding project. By following these tips and tricks, you’ll be well-equipped to create a successful jester hat that showcases your knitting skills and personal style. Remember to have fun, embrace experimentation, and enjoy the process of bringing your jester hat to life.