
Knitting is a popular hobby that allows people to create cozy and stylish accessories for themselves and their loved ones. One such accessory that is perfect for chilly weather is a cowl neck warmer. A cowl neck warmer is a versatile accessory that can be worn in a variety of ways and adds a touch of style to any outfit. If you’re looking for a free pattern to get started on your own cowl neck warmer, you’re in luck!
This pattern is designed for knitters of all skill levels and is a great project for beginners looking to practice their knitting techniques. It features a simple yet beautiful stitch pattern that creates a textured and warm fabric. The cowl is knit in the round, making it seamless and easy to adapt to any size or length you prefer.
To get started on your own cowl neck warmer, all you’ll need is a pair of knitting needles and a ball of your favorite yarn. The pattern provides instructions for both written and charted versions of the stitch pattern, so you can choose whichever method you prefer. Whether you’re knitting for yourself or as a gift for a friend, this cowl neck warmer is sure to be a hit!
Materials needed
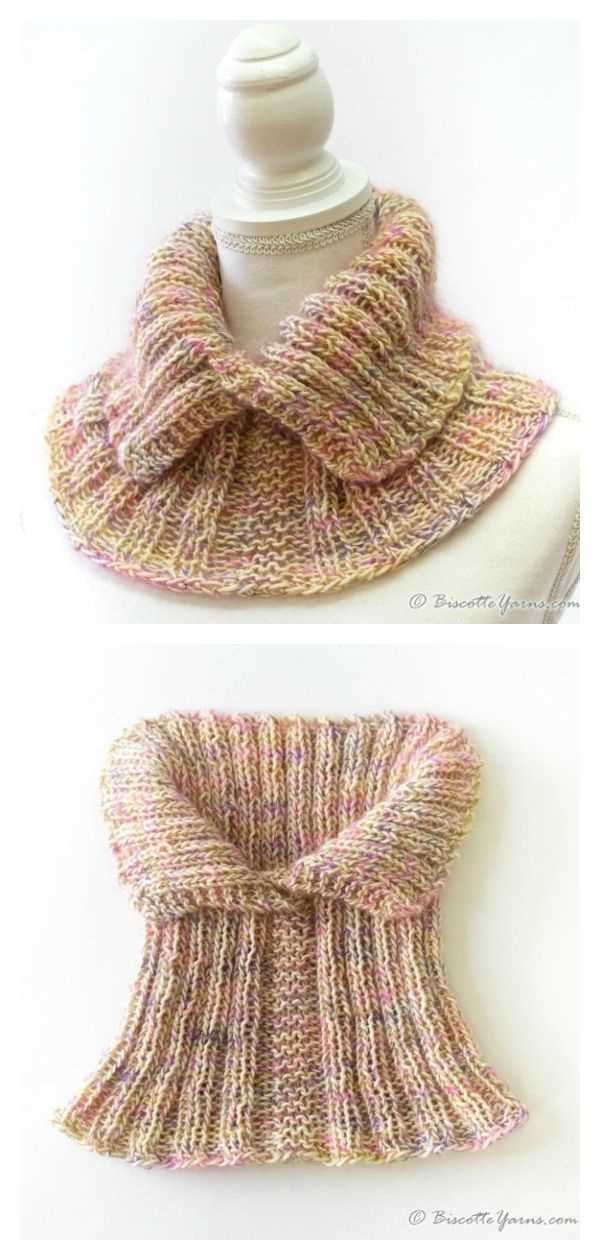
In order to knit a cowl neck warmer, you will need the following materials:
- Yarn: Choose a soft and warm yarn that is suitable for knitting. You can use any color or combination of colors that you like.
- Knitting needles: Select the appropriate size of knitting needles according to the gauge of your yarn. Circular needles are recommended for knitting the cowl.
- Darning needle: This is used for weaving in the loose yarn ends and finishing the project.
- Scissors: You will need a pair of scissors to cut the yarn and trim any excess ends.
- Tape measure: This will come in handy for checking your gauge and measuring the length of your cowl.
- Stitch markers: These are useful for marking specific stitches or sections of your pattern.
- Row counter: If you want to keep track of your rows, a row counter can be helpful.
Once you have gathered all of these materials, you will be ready to start knitting your cowl neck warmer. Make sure to read and follow the pattern instructions carefully to ensure successful completion of your project.
Choosing the right yarn
When knitting a cowl neck warmer, one of the most important decisions you will make is choosing the right yarn. The type of yarn you choose will determine the warmth, texture, and overall look of your finished project. Here are some factors to consider when selecting the perfect yarn for your knitted cowl neck warmer.
1. Fiber Content

The first thing to consider is the fiber content of the yarn. Different fibers have unique qualities and characteristics. For a cozy and warm cowl neck warmer, you might want to consider using wool or alpaca. These fibers are known for their excellent insulation properties and softness. If you prefer a lighter-weight and more breathable cowl, cotton or bamboo yarn could be a great choice. It’s important to think about how the fiber will feel against your skin and how well it will retain heat.
2. Weight and Thickness
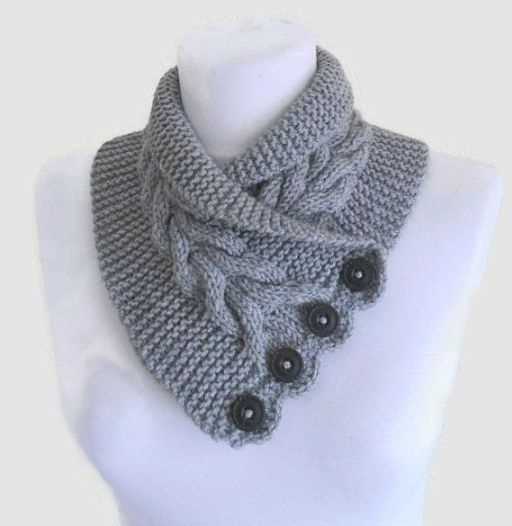
The weight and thickness of the yarn will also impact the look and feel of your cowl neck warmer. Thicker yarn will create a chunkier and more substantial cowl, perfect for colder climates or a bold fashion statement. Lighter-weight yarn will result in a more delicate and airy cowl, suitable for milder weather or for layering. Consider the desired drape and structure of your cowl when selecting the weight and thickness of the yarn.
3. Color and Texture
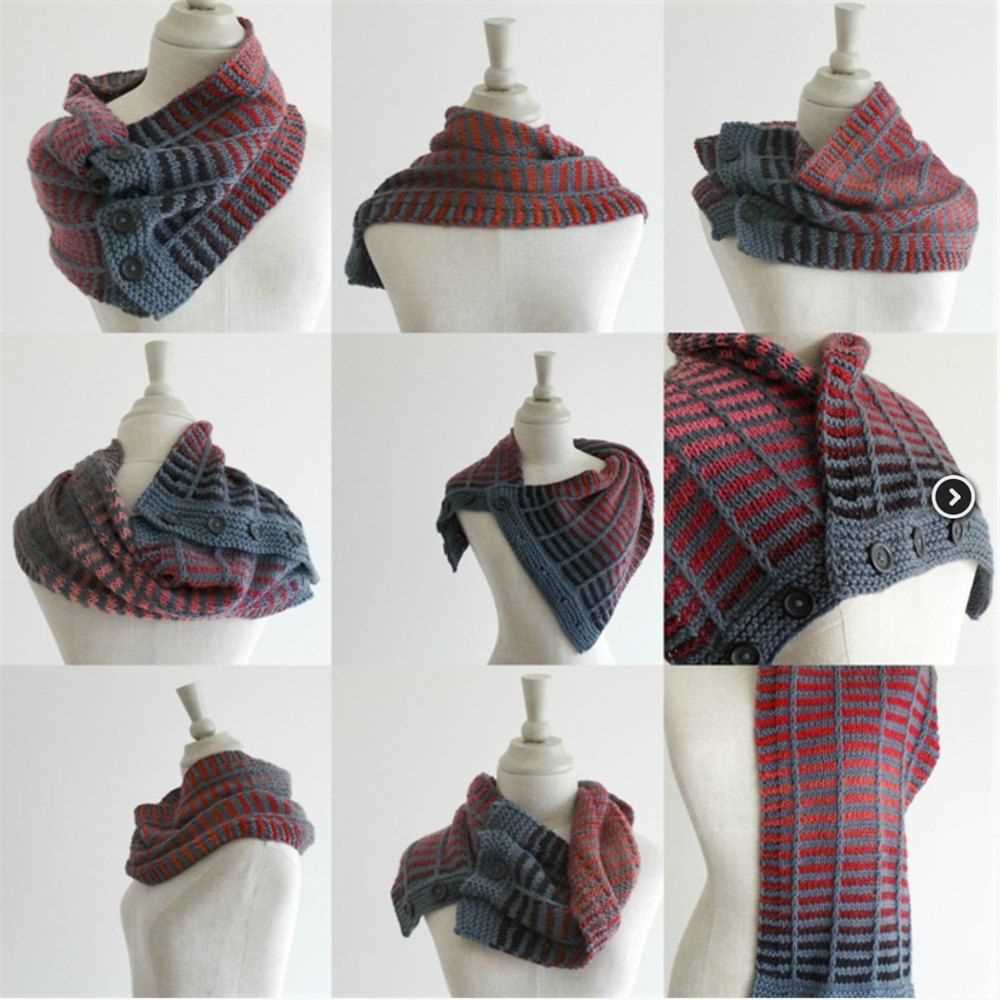
Lastly, consider the color and texture of the yarn. Do you want a solid-colored cowl or one with variegated or self-striping yarn? Will you opt for a smooth and sleek texture or a more textured and bumpy one? The color and texture of the yarn will greatly impact the overall aesthetic of your cowl neck warmer and can add visual interest and dimension to your finished piece.
By considering the fiber content, weight and thickness, as well as the color and texture of the yarn, you can ensure that you choose the perfect yarn for your knitted cowl neck warmer. Take your time and explore different options to find the yarn that best suits your personal style and desired outcome.
Size and Gauge
To ensure that your knitted cowl neck warmer fits properly, it’s important to pay attention to the size and gauge of your project. The size refers to the finished dimensions of the cowl, such as its length and width. The gauge refers to the number of stitches and rows per inch that you achieve when knitting with your chosen yarn and needle size.
To determine the size of your cowl, you can refer to the pattern instructions. The pattern should indicate the measurements of the finished piece, such as the circumference around the neck and the length from top to bottom. It’s important to choose a size that will fit comfortably around your neck and offer the desired amount of coverage.
When it comes to gauge, it’s important to swatch before starting your project. This involves knitting a small sample using your chosen yarn and needle size, and measuring the number of stitches and rows within a specific measurement (usually 4 inches). The pattern will typically specify the required gauge, and you’ll need to adjust your needle size or tension until you achieve the correct gauge.
If your gauge is too loose (i.e., you have fewer stitches and rows per inch than specified), you’ll need to switch to a smaller needle size or tighten your tension. Conversely, if your gauge is too tight (i.e., you have more stitches and rows per inch than specified), you’ll need to switch to a larger needle size or loosen your tension. Achieving the correct gauge is important for ensuring that your cowl has the right fit and will turn out as expected.
Casting on
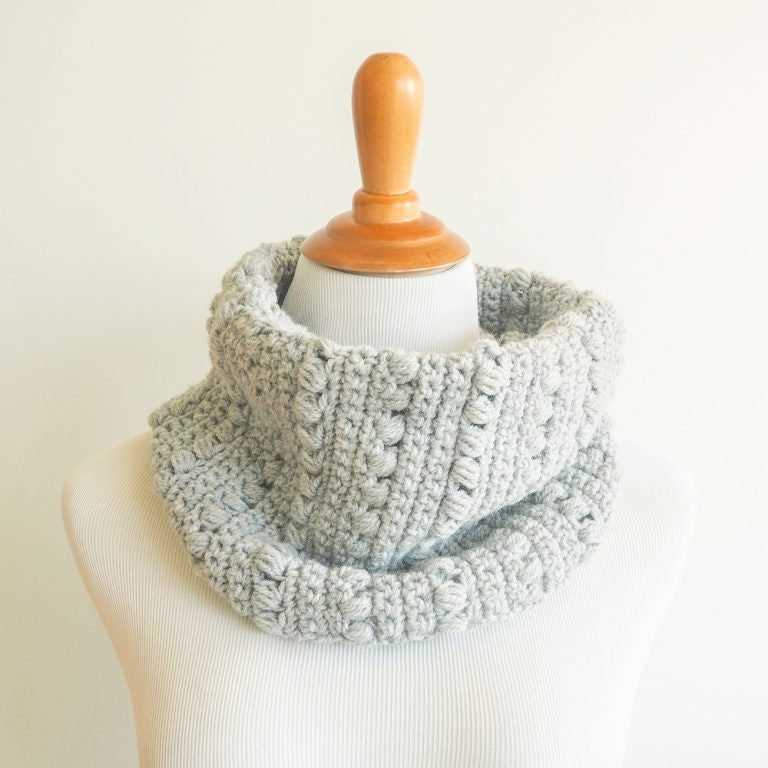
When starting a knitting project, one of the first steps is casting on. This is the process of creating the first row of stitches on the knitting needle. There are several methods for casting on, but the most common one is the long tail cast on.
The long tail cast on method requires a long tail of yarn to be left at the beginning. This tail will be used to create the first row of stitches. To begin, make a slipknot by forming a loop with the yarn and pulling the end through. Slip this loop onto the knitting needle and tighten it up. This will be the first stitch.
Next, hold the needle with the slipknot in your right hand and the tail of yarn in your left hand. Insert the right needle into the slipknot from left to right, going under the left-hand needle. With the left hand, bring the tail of yarn over the right-hand needle, making sure to catch it with the needle. Pull the yarn through the slipknot, creating a new stitch. Slip this stitch onto the left-hand needle, keeping tension on the yarn to form a firm, but not too tight, stitch.
Knitting the body
Once you have cast on the desired number of stitches for your cowl neck warmer, it’s time to start working on the body of the piece. Knitting the body involves creating the main part of the cowl, which will go around your neck and provide warmth and comfort.
To start, you will need to follow the pattern instructions for the body. This may involve working in a specific stitch pattern or using a combination of knit and purl stitches to create a textured design. Make sure to read the pattern carefully and understand any abbreviations or special techniques that may be used.
As you work your way through the body of the cowl, make sure to maintain an even tension and keep track of your rows or rounds. This will ensure that your cowl neck warmer turns out the correct size and shape. It’s also a good idea to periodically check your gauge to make sure you are on track.
If you come across any shaping instructions, such as increasing or decreasing stitches, make sure to follow them carefully. These instructions are often included to help create the desired shape and fit of the cowl neck warmer.
Once you have completed the required number of rows or rounds for the body, you can move on to finishing the piece. This may involve binding off stitches, seaming the ends together, or adding any additional details or embellishments.
Adding the cowl neck
Now that you have completed the body of the cowl neck warmer, it’s time to add the cowl neck. The cowl neck adds warmth and style to the finished piece, and it’s a great way to personalize your knitted accessory.
To begin, you will need to pick up stitches along the top edge of the body. Start by folding the body in half lengthwise, with the wrong side facing out. Use your knitting needles to pick up stitches along the edge, making sure to evenly space them. You can use a crochet hook to help guide the stitches onto the needle if needed.
Once you have picked up all the stitches, you can begin knitting the cowl neck. You can choose to knit the cowl neck in the same stitch pattern as the body, or you can switch to a different stitch pattern for a contrasting look. In either case, continue knitting in the round until the cowl neck reaches your desired depth.
If you want a tighter fit, you can switch to smaller needles when working on the cowl neck. This will create a more snug and cozy fit around your neck. Alternatively, if you prefer a looser fit, you can use larger needles to create a more relaxed and draped look.
Once you have finished knitting the cowl neck, you can bind off all the stitches. Weave in any loose ends, and your knitted cowl neck warmer is complete! Now you can enjoy the warmth and style of your handmade accessory.
Binding off
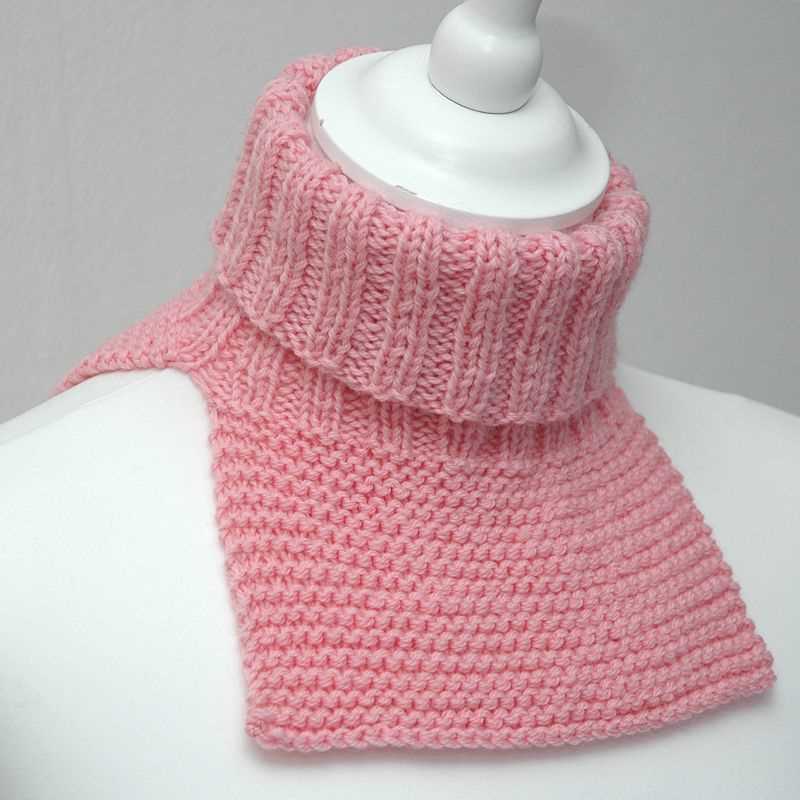
Binding off is the final step in completing your knitted cowl neck warmer. It is the process of closing up the stitches and creating a finished edge. There are several methods you can use to bind off, but the most common one is the basic bind off.
To bind off, start by knitting two stitches. Then, insert the left needle into the first stitch on the right needle. Lift this stitch over the second stitch and off the right needle, essentially passing it over the second stitch and dropping it. This binds off one stitch. Repeat this process for each stitch until you have only one stitch left on the right needle.
Once you have bound off all the stitches, cut the yarn, leaving a tail that is long enough to weave in later. Take the tail of yarn and thread it through the last stitch, pulling it tight to secure the end. Then, use a tapestry needle to weave in the remaining tail of yarn along the bound off edge to ensure it doesn’t unravel.
Finishing touches
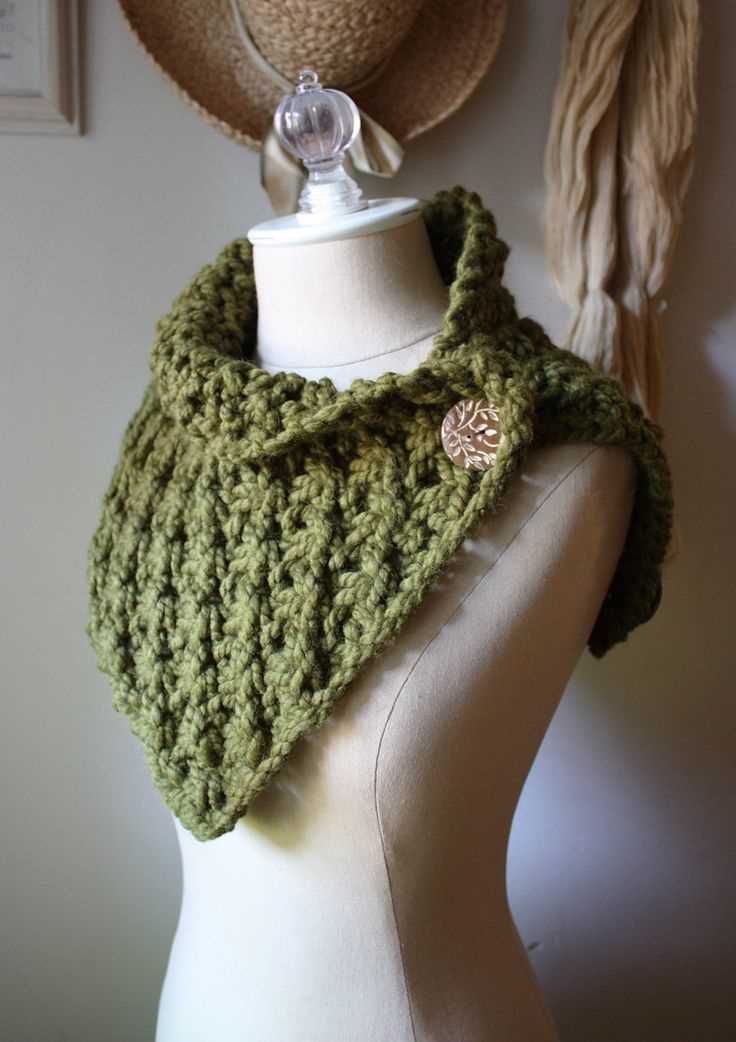
Once you have completed knitting the cowl neck warmer, it’s time to add some finishing touches to make it look polished and professional. Here are a few steps you can take to give your knitted accessory a final touch:
Blocking
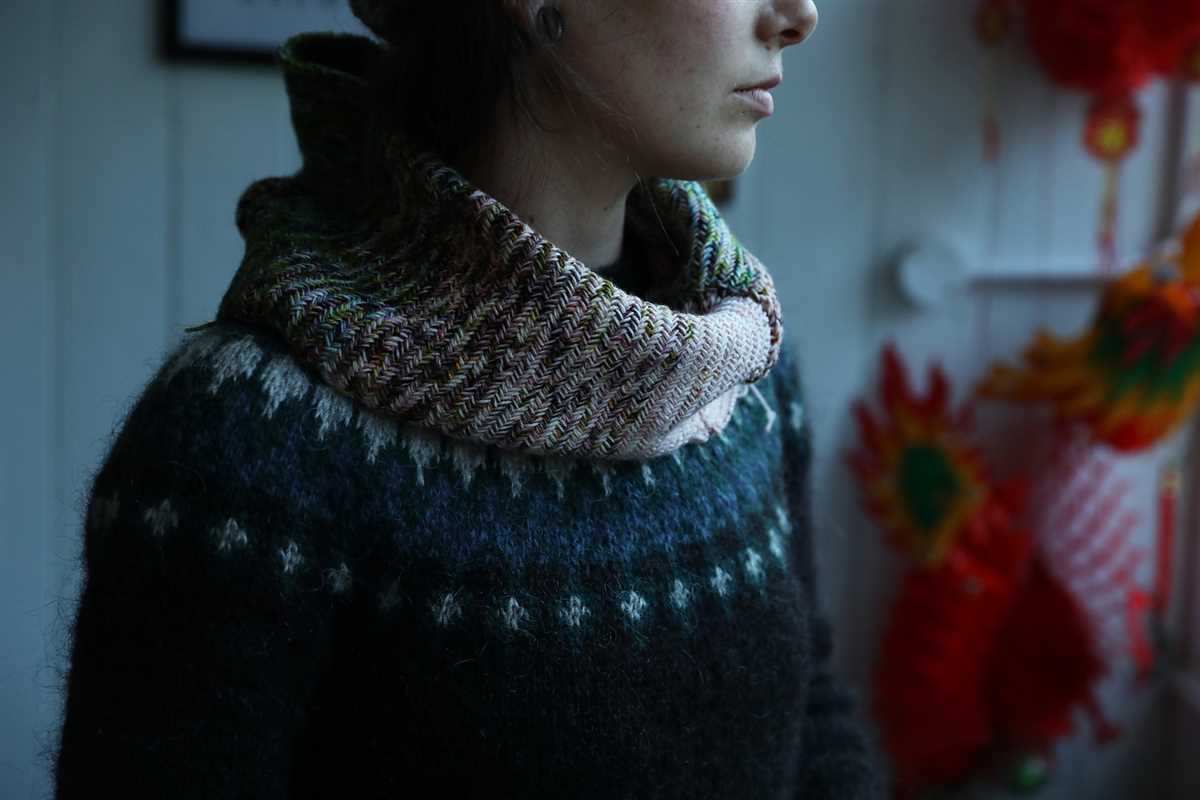
Blocking is an important step in knitting that helps to shape and even out your final piece. To block your cowl neck warmer, wet it gently with lukewarm water and a mild detergent. Squeeze out the excess water and then lay it flat on a clean towel. Use pins or blocking wires to shape it into the desired dimensions, ensuring that the edges are straight and the stitches are well-defined. Leave it to dry completely before removing the pins or wires.
Making the seams invisible
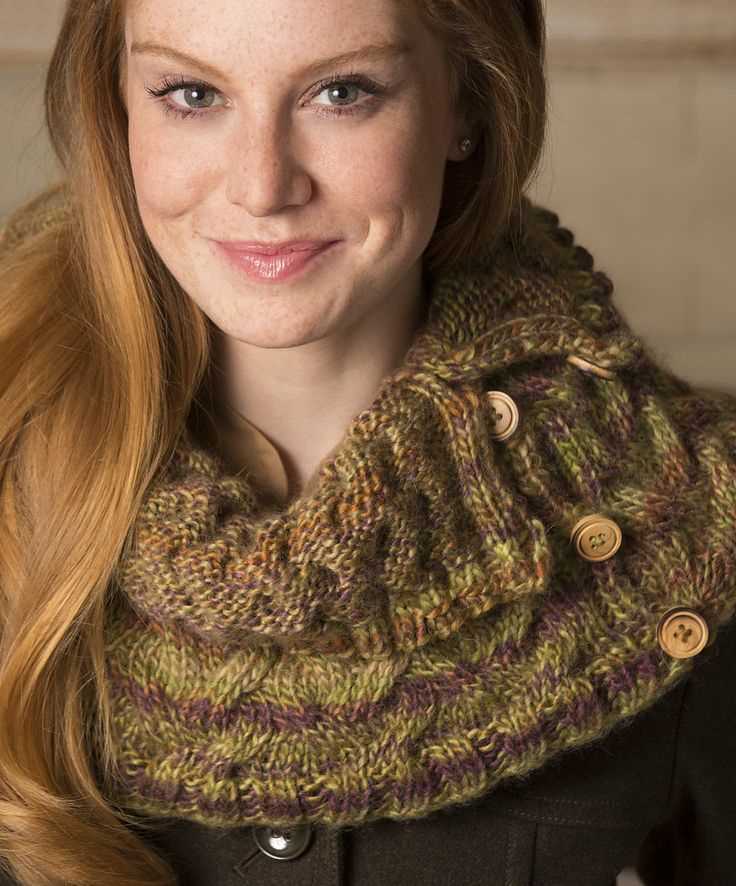
If your cowl neck warmer is made in separate pieces, you will need to seam them together. To create invisible seams, use the mattress stitch. This stitch allows you to join the pieces seamlessly, ensuring that the stitches are hidden within the fabric. Take your time and be patient when sewing the seams, making sure to match the stitches and maintain a consistent tension throughout.
Adding embellishments

To give your cowl neck warmer a personalized touch, you can consider adding some embellishments. This could be a decorative button, a crochet flower, or even some embroidery. Choose embellishments that complement the color and style of your cowl neck warmer, and sew them securely in place using a matching yarn or thread. Be creative and have fun with this step!
With these finishing touches, your knitted cowl neck warmer will be complete and ready to be worn or gifted. Remember to take your time and pay attention to detail, as these final steps can make all the difference in the overall appearance of your handiwork.
Tips and Tricks
When knitting a cowl neck warmer, there are a few tips and tricks that can help make the process easier and ensure the best results. Here are some things to keep in mind:
- Choose the right yarn: Select a yarn that is soft, warm, and comfortable against the skin. It should also be suitable for the needle size you plan to use.
- Check your gauge: Before starting the project, make sure to check your gauge to ensure that the finished cowl will fit properly. Adjust your tension or needle size if necessary.
- Use circular needles: Circular needles are preferred for knitting a cowl neck warmer because they can hold a large number of stitches and make it easier to join in the round.
- Keep track of your stitches: Use stitch markers to help keep track of your stitches, especially when working in the round. This will prevent you from losing your place and making mistakes.
- Try different stitch patterns: Experiment with different stitch patterns to add texture and interest to your cowl. Lace, cables, or ribbing can all create beautiful effects.
- Add a twist: To prevent the edges of your cowl from rolling, add a twist before joining in the round. This will create a mobius strip effect and give your cowl a unique look.
- Block your cowl: Once you have finished knitting your cowl, block it to give it a professional finish. This will help even out the stitches and make the cowl drape nicely.
In conclusion, knitting a cowl neck warmer can be a fun and rewarding project. By following these tips and tricks, you can create a beautiful and cozy accessory that will keep you warm all winter long.
Q&A:
Where can I find a free pattern for a knitted cowl neck warmer?
You can find free patterns for knitted cowl neck warmers on various websites, such as Ravelry, KnittingPatternCentral, and LoveCrafts. Simply search for “knitted cowl neck warmer pattern” and browse through the available options.
Are there any specific materials required for knitting a cowl neck warmer?
The specific materials required may vary depending on the pattern you choose. Generally, you will need knitting needles (circular or straight) and yarn in the recommended weight and fiber type for the pattern. Make sure to check the pattern for any additional materials needed, such as stitch markers or buttons.
Is knitting a cowl neck warmer suitable for beginners?
Knitting a cowl neck warmer can be suitable for beginners, especially if you choose a simple pattern with basic stitches. It’s a great project to practice knitting in the round and can be completed relatively quickly. However, if you’re a complete beginner, it might be helpful to have some basic knitting skills before attempting a cowl neck warmer.
Can I modify a cowl neck warmer pattern to make it larger or smaller?
Yes, you can modify a cowl neck warmer pattern to make it larger or smaller. This can be done by adjusting the number of stitches cast on or by changing the size of the knitting needles used. Keep in mind that making significant modifications to a pattern may affect the final look and fit of the cowl.
Are there any video tutorials available for knitting cowl neck warmers?
Yes, there are many video tutorials available online that can guide you through the process of knitting a cowl neck warmer. Websites like YouTube often have helpful tutorials from experienced knitters. Watching a video tutorial can be especially beneficial for visual learners who prefer to see the techniques in action.