
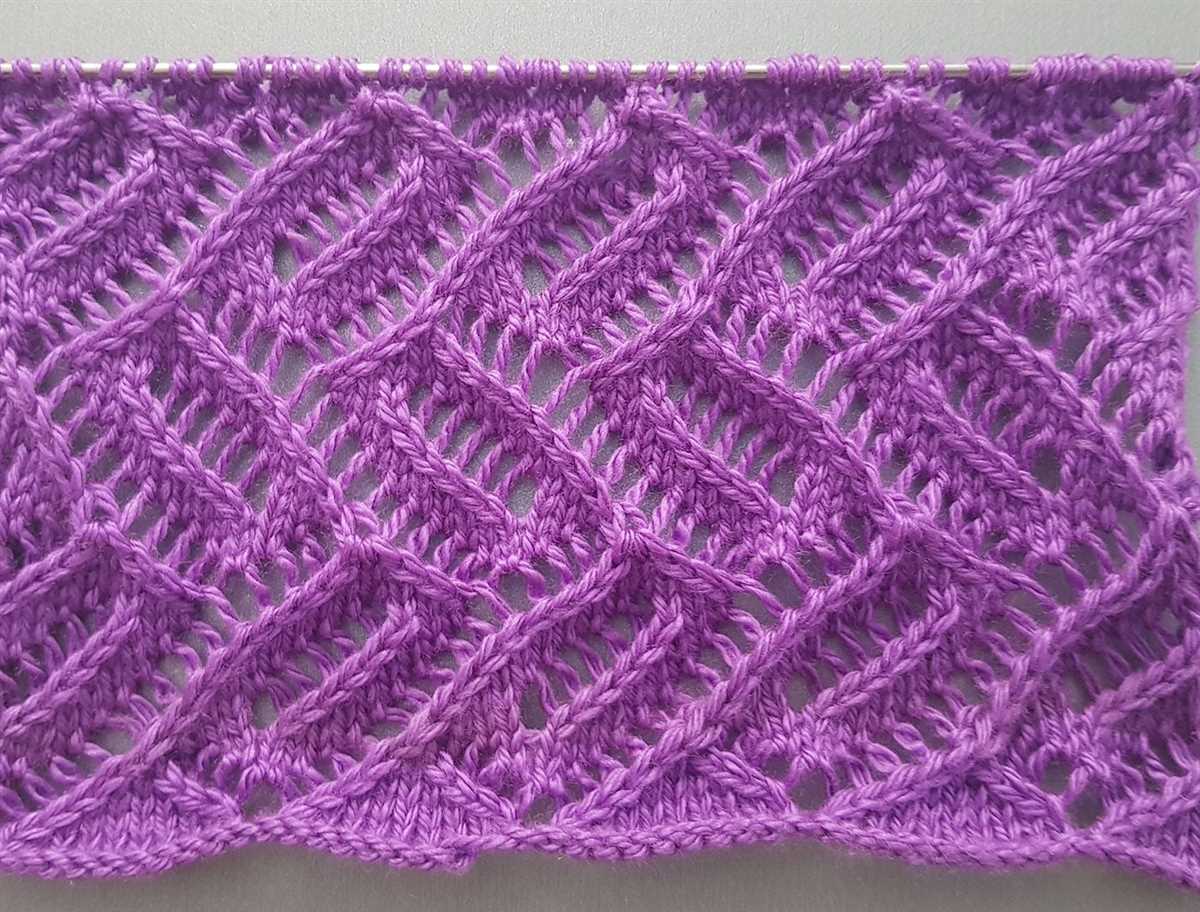
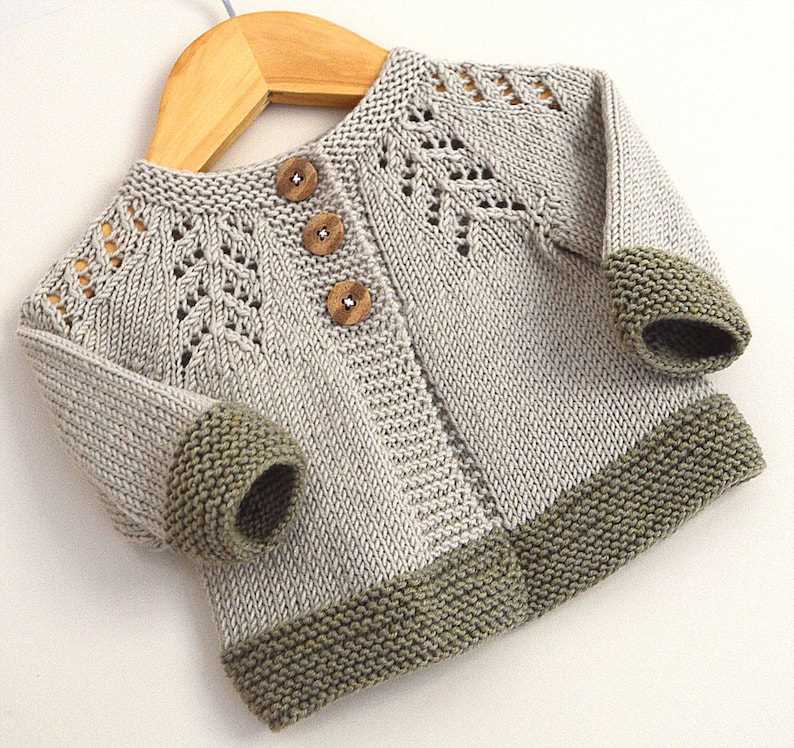
If you’re an avid knitter looking to add some new patterns to your collection, the arrowhead knitting pattern is a great option to consider. This pattern features a unique design that resembles arrows pointing in different directions, creating an eye-catching and intricate finished product.
The arrowhead knitting pattern is perfect for those who are looking to challenge themselves and try something new. It requires some intermediate knitting skills, including basic stitches and color changes. With a little practice, you’ll be able to master this pattern and create stunning garments and accessories.
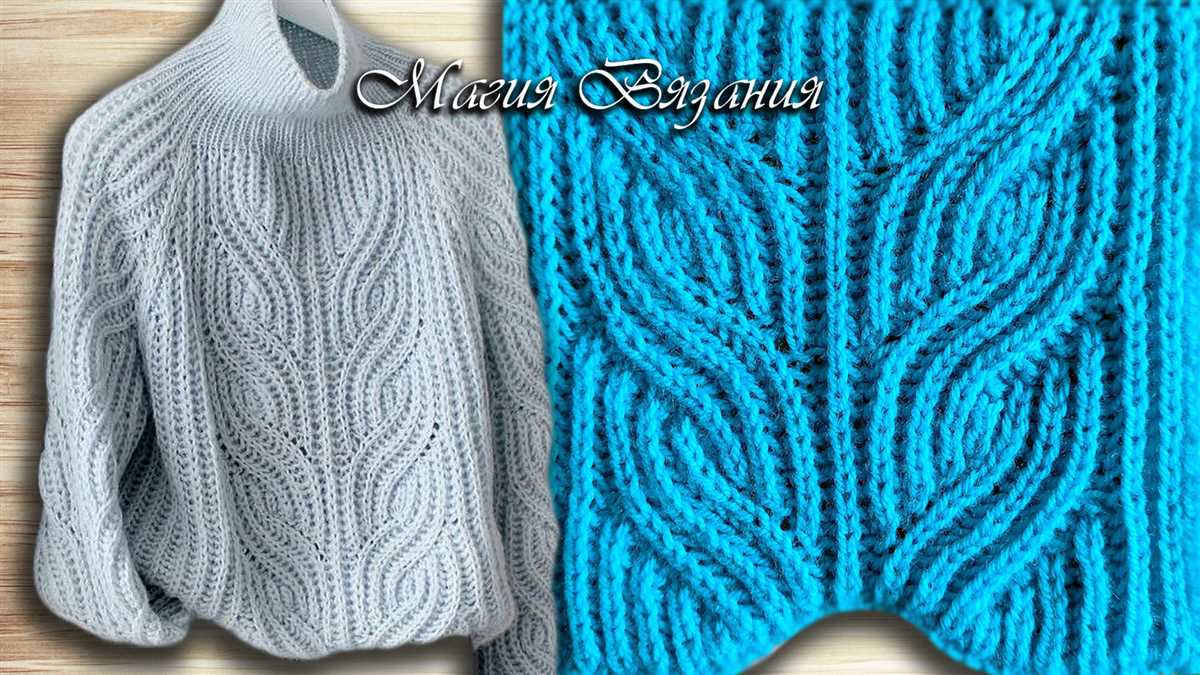
One of the great things about the arrowhead knitting pattern is its versatility. You can use it to create a variety of items, such as scarves, shawls, hats, and even sweaters. The design works well with different types of yarn weights and colors, allowing you to customize your project to your liking.
Whether you’re knitting a gift for a friend or looking to add a unique piece to your wardrobe, the arrowhead knitting pattern is sure to impress. So grab your knitting needles and give this pattern a try – you won’t be disappointed with the results!
What is an arrowhead knitting pattern?

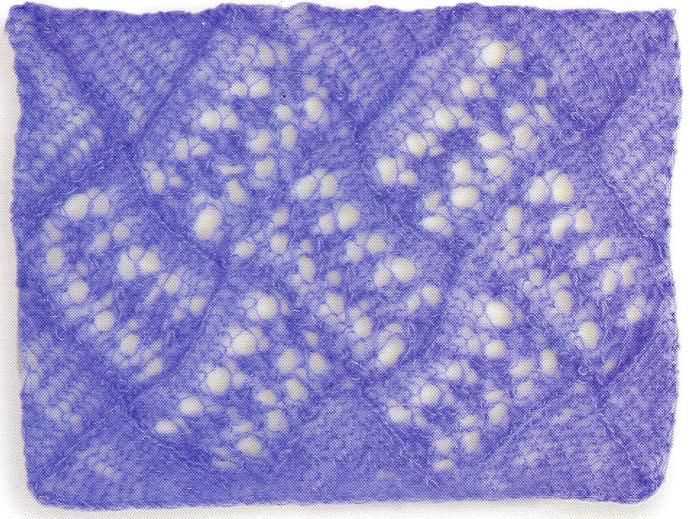
The arrowhead knitting pattern is a popular and visually appealing design that is commonly used in knitting. It gets its name from the geometric shape of an arrowhead, which is created by using a combination of stitches and techniques.
This pattern typically involves working with a combination of knit and purl stitches to create a textured and angular design. The arrowhead shape is achieved by strategically increasing and decreasing stitches in specific rows.
To create an arrowhead pattern, knitters often use a combination of techniques such as yarn overs, slip stitches, and knit two togethers. These techniques are used in different sequences and rows to create the desired effect.
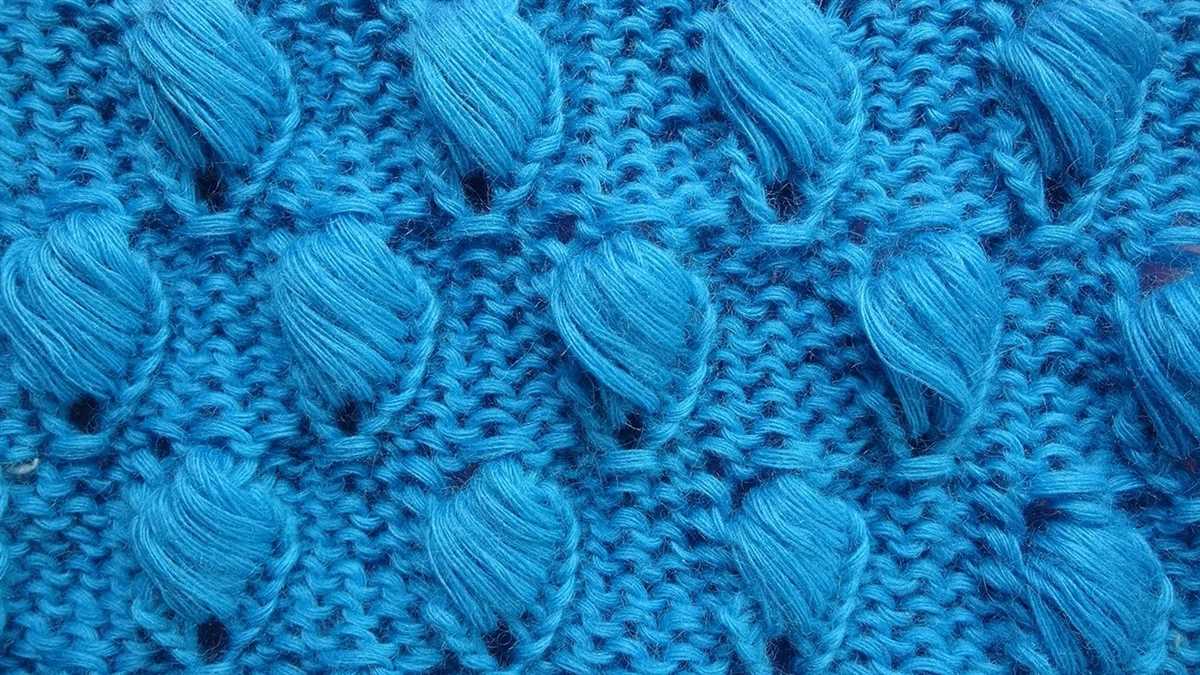
The arrowhead pattern is versatile and can be used in a variety of knitting projects, including scarves, hats, sweaters, and blankets. It adds visual interest and texture to the finished piece, making it a popular choice among knitters looking to create unique and eye-catching designs.
Overall, the arrowhead knitting pattern is a fun and rewarding pattern to work with. It allows knitters to showcase their skills and creativity while creating beautiful and intricate designs.
Materials needed for arrowhead knitting pattern
To create the arrowhead knitting pattern, you will need a few essential materials. These materials will help you knit the pattern successfully and create a beautiful finished product.
1. Yarn: Choose a yarn in your preferred weight and color for the project. The yarn should be suitable for the knitting needle size you plan to use and have enough yardage to complete the pattern.
2. Knitting Needles: Select knitting needles in the appropriate size for your chosen yarn. The size of the knitting needles will depend on your knitting tension and the desired finished size of the pattern.
3. Stitch Markers: Stitch markers are useful for marking specific stitches or sections in the pattern. They help you keep track of your progress and ensure accuracy while knitting.
4. Tapestry Needle: A tapestry needle is necessary for weaving in loose ends of yarn and completing any finishing touches on the knitted piece.
5. Scissors: A pair of sharp scissors is essential for cutting yarn and trimming any excess threads during the knitting process.
6. Row Counter: Having a row counter can help you keep track of the number of rows you have knitted and ensure consistency throughout the pattern.
7. Blocking Materials: Depending on the yarn and the desired finish of your knitted piece, you may need blocking materials such as blocking mats, pins, and a steam iron to shape and set the pattern after knitting.
8. Arrowhead Knitting Pattern Instructions: Lastly, make sure you have a clear and concise set of arrowhead knitting pattern instructions or a knitting pattern book that includes the arrowhead pattern you wish to create.
By gathering these materials and following the arrowhead knitting pattern instructions, you will be well-equipped to create a stunning knitted piece using the arrowhead pattern.
How to cast on for arrowhead knitting pattern
When starting an arrowhead knitting pattern, it is important to cast on the correct number of stitches to achieve the desired width. The cast on method you choose will depend on your personal preference and the elasticity you want in your finished piece. Here are a few different cast on methods you can use:
1. Long-tail cast on
The long-tail cast on method is a popular choice for many knitters. To cast on using this method, you will need to estimate the amount of yarn that will be needed for each stitch, as well as a long tail of yarn to create the foundation row. This method creates a neat and stretchy edge, making it suitable for arrowhead knitting patterns.
2. Cable cast on
The cable cast on method is similar to the long-tail cast on, but it creates an even stretchier edge. To cast on using this method, you will need a cable needle or double-pointed needle in addition to your main knitting needles. This method is great for adding elasticity to your arrowhead knitting pattern.
3. Provisional cast on
If you plan on joining your arrowhead knitting pattern into a loop or creating a seamless edge, the provisional cast on method may be a good choice. This method involves casting on using waste yarn and then picking up the stitches later on. It gives you flexibility in how you finish the edge of your pattern.
Once you have chosen your desired cast on method, make sure to cast on the specified number of stitches for your arrowhead knitting pattern. Following the pattern instructions, you can then begin knitting the arrowhead design and create a beautiful piece of knitted fabric.
Creating the Arrowhead Pattern
The arrowhead pattern is a popular knitting pattern that creates a striking geometric design resembling arrows. It can be used to add visual interest and texture to various knitting projects such as scarves, blankets, and even sweaters. While the pattern may seem complex, it is relatively easy to create and can be mastered with a little practice.
To create the arrowhead pattern, you will need a set of knitting needles, yarn in your desired color(s), and a basic knowledge of knitting techniques such as knit and purl stitches. Start by casting on an odd number of stitches on your needles. This is important as it will ensure that the arrowhead pattern is symmetrical and balanced.
To begin the pattern, knit the first two stitches of the row. Then, insert your right needle into the front of the first stitch on the left needle and slip it off the needle without knitting it. This will create a large loop. Repeat this step with the second stitch on the left needle.
Your next step is to knit the next two stitches together. To do this, simply insert your right needle into the front of both stitches on the left needle and knit them together as one stitch. This will create a decrease in the number of stitches and form the arrowhead shape. Continue knitting the next two stitches together and creating loops by slipping stitches until you reach the end of the row.
After completing the first row, you will repeat these steps to create the arrowhead pattern. Knit the first two stitches, slip two stitches to create loops, and knit two stitches together to decrease the number of stitches. Repeat these steps until you have reached your desired length or until your pattern instructs otherwise. Remember to always knit the first two stitches of each row to maintain the symmetry of the arrowhead pattern.
Once you have finished knitting the arrowhead pattern, you can bind off your stitches and weave in any loose ends to complete your project. With a little practice, you will be able to create beautifully textured and eye-catching arrowhead patterns in no time.
How to Change Colors in the Arrowhead Pattern
Changing colors in the arrowhead knitting pattern can add depth and visual interest to your project. Whether you’re working on a scarf, hat, or blanket, understanding how to switch colors seamlessly will elevate your knitting skills to the next level. Here is a step-by-step guide on how to change colors in the arrowhead pattern.
1. Begin by knitting the last row of the current color until you reach the point where you want to switch colors. Make sure to leave a long enough tail of the current color so that you can weave it in later.
2. Once you’re ready to change colors, pick up the new color and hold it alongside the working yarn of the old color. As you knit the next stitch, use both yarns to create a tight double stitch, securing the new color in place. This will ensure that there are no gaps or loose ends in your work.
3. Continue knitting in the new color according to the arrowhead pattern instructions. It’s essential to maintain the tension of your stitches to ensure an even and professional-looking color change.
4. When you reach the end of the row or need to switch back to the previous color, follow a similar process. Hold the old color alongside the working yarn of the new color and create a tight double stitch using both yarns. This will enable a smooth transition between the colors.
5. Repeat steps 2-4 as necessary to complete your arrowhead pattern. Remember to always weave in the loose ends of the yarn to secure them and prevent any unraveling.
With these simple steps, you can confidently change colors in the arrowhead pattern and create stunning knitted items. Experiment with different color combinations to make your project truly unique and visually appealing.
Finishing the Arrowhead Knitting Pattern
Once you have completed knitting the arrowhead pattern, it’s time to finish off your project. Finishing refers to all the steps you take after the knitting is done to give your piece a polished and professional look.
One of the first steps in finishing the arrowhead pattern is to weave in the loose ends. Since this pattern involves color changes, there may be several ends to secure. Use a tapestry needle to weave each end into the back of the work, making sure to hide it within the stitches. This will help prevent any unraveling or snagging of the yarn.
Next, you can block your arrowhead pattern to even out the stitches and give it a smoother appearance. To block, soak your finished piece in lukewarm water and gently squeeze out the excess moisture. Lay it flat on a clean towel, gently shaping it to the desired measurements. Use pins to secure the edges and allow it to dry completely.
To give your arrowhead pattern a polished finish, consider adding a border or edging. This can be done in a contrasting color or in the same color as your main pattern. You can choose a simple garter or ribbed border, or get creative with lace or cable stitches. The choice is up to you and your personal style.
Finally, once you have finished all the steps above, take a moment to admire your completed arrowhead pattern. Whether you have knit a scarf, blanket, or any other project, the arrowhead pattern adds a lovely touch. Don’t forget to share your finished piece with others and inspire them to try the arrowhead pattern for themselves.
How to block your arrowhead knitting project

Blocking your arrowhead knitting project is an important step in the finishing process that helps to even out stitches, open up lace patterns, and give your project a more polished and professional look. Here are some steps to follow for successful blocking:
Gather your materials: Before you begin blocking, make sure you have all the necessary materials. You will need blocking mats or towels, rust-proof pins, a spray bottle filled with water or a steam iron, and a measuring tape.
Step 1: Soak your project

- Fill a basin or sink with room temperature water and add a few drops of mild detergent.
- Place your arrowhead knitting project in the water and gently agitate it to remove any dirt or oils.
- Let the project soak for about 15-20 minutes.
- Gently squeeze out the excess water, being careful not to wring or twist the fabric.
Step 2: Lay out your project
Spread out your blocking mats or towels on a flat surface, making sure they are clean and dry.
Step 3: Shape and pin your project
- Take your damp knitting project and lay it flat on the blocking mats.
- Using a measuring tape, carefully shape your project to the desired dimensions.
- Pin the edges of your project to the blocking mats, using rust-proof pins. Make sure to space the pins evenly and follow the shape of the garment or accessory.
Step 4: Steam or spray
Depending on the fiber content of your arrowhead knitting project, you can use either steam or a spray bottle to help set the shape.
If your project is made of a natural fiber like wool or cotton, you can use a steam iron set on low heat. Hold the iron a few inches above the project and gently steam the fabric, being careful not to touch the iron to the knitting.
If your project is made of a synthetic fiber like acrylic or nylon, you can use a spray bottle filled with water. Lightly mist the project, paying extra attention to the areas that need shaping.
Step 5: Let it dry
Once you have steamed or sprayed your project, leave it to dry completely. This may take anywhere from a few hours to overnight, depending on the fiber content and thickness of your knitting.
Following these steps will help you achieve a beautifully blocked arrowhead knitting project that showcases the intricate arrowhead pattern and gives your finished piece a professional touch.
Tips and Tricks for Arrowhead Knitting Pattern
Knitting the arrowhead pattern can be a fun and rewarding project, but it may also come with its own set of challenges. Here are some tips and tricks to help you navigate through the process and create beautiful arrowhead knitted items.
1. Use stitch markers: Stitch markers can be a useful tool to keep track of your stitches and help you avoid getting lost in the arrowhead pattern. Place a marker at the beginning of each repeat section to help you stay organized.
2. Take your time with the decreases: The arrowhead pattern relies on a combination of increases and decreases to create its unique shape. Take your time when working the decreases, ensuring that you are working them correctly and consistently.
3. Practice with a swatch: Before diving into a larger project, consider making a swatch to practice the arrowhead pattern. This will help you become familiar with the pattern and ensure that you are comfortable with the techniques involved before committing to a larger piece.
4. Use a lifeline: If you are working on a particularly intricate arrowhead pattern, consider using a lifeline. A lifeline is a piece of contrasting thread that is threaded through a row of stitches. If you make a mistake, you can easily frog back to the lifeline without losing all of your progress.
5. Block your finished project: Blocking your finished arrowhead knitted item can help even out your stitches and enhance the overall appearance of the pattern. Follow the blocking instructions for the yarn you are using to achieve the best results.
By following these tips and tricks, you can successfully tackle the arrowhead knitting pattern and create stunning knitted items. Experiment with different yarns and color combinations to personalize your projects and make them truly unique.