
If you’re tired of spending money on disposable dish scrubbers that just end up in the trash, it’s time to try knitting your own dish scrubbies! Knitted dish scrubbies are not only eco-friendly, but they’re also durable and effective at removing stubborn food particles from your dishes. Plus, they’re a great way to use up yarn scraps and practice your knitting skills.
This knitted dish scrubbie pattern is perfect for beginners. Even if you’ve never knitted before, you’ll find this project easy to follow and quick to complete. With just a few basic stitches and some basic knitting supplies, you’ll have a set of lovely and practical dish scrubbies in no time.
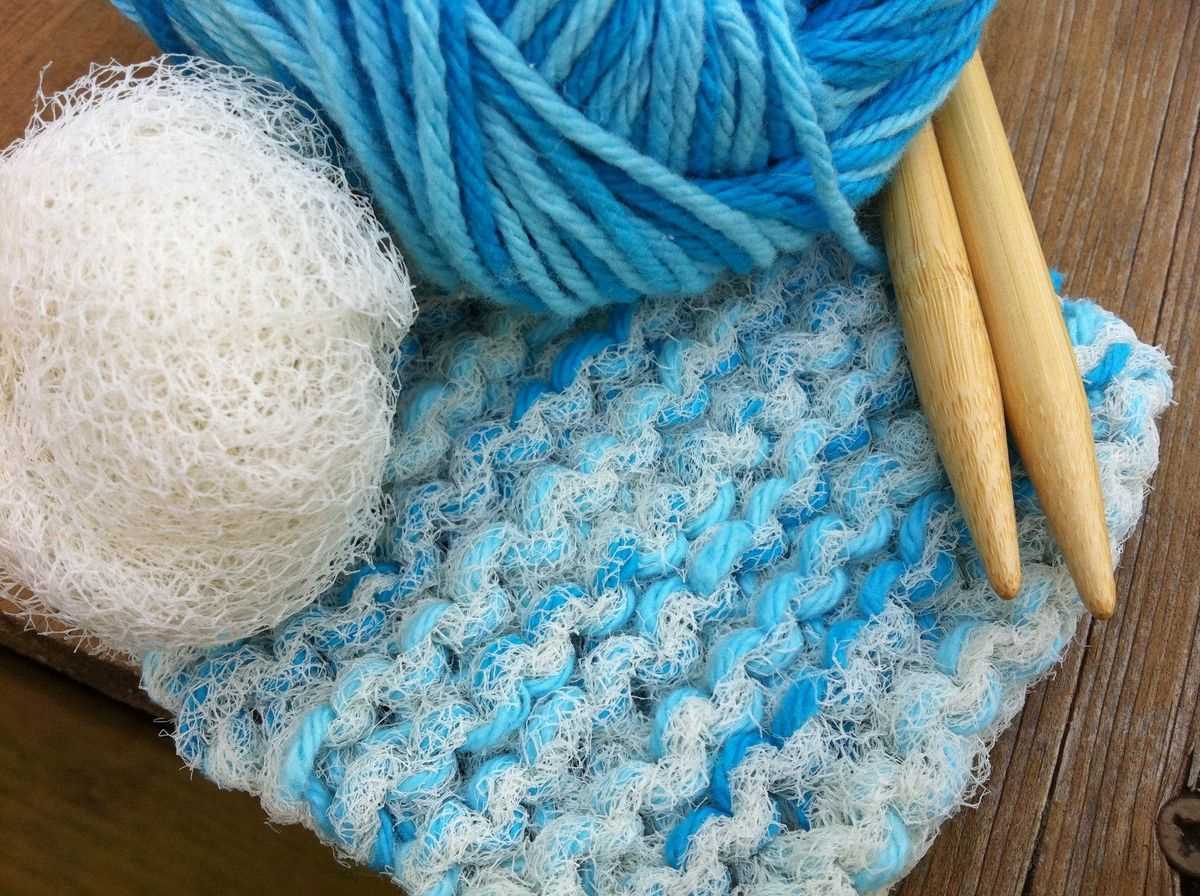
To get started, you’ll need some cotton yarn and a pair of knitting needles. Don’t worry if you don’t have the exact yarn weight or needle size recommended in the pattern – you can adjust as needed to achieve the desired thickness and texture. Once you’ve gathered your supplies, follow the step-by-step instructions below to create your own knitted dish scrubbie.
How to Make a Knitted Dish Scrubbie: Step-by-Step Guide
In this step-by-step guide, we will show you how to make your own knitted dish scrubbie. This simple and practical project is perfect for beginners and can be completed in just a few hours. Follow along with the instructions below to create your own reusable and eco-friendly dish scrubbie.
Materials Needed
- Worsted weight cotton yarn
- Size 8 knitting needles
- Tapestry needle
- Scissors
Step 1: Cast on

To begin, cast on 34 stitches using the long-tail cast on method. Make sure your stitches are not too tight or too loose to ensure an even and sturdy scrubbie.
Step 2: Knit the First Row
Next, knit every stitch across the first row. This will create the foundation for your dish scrubbie.
Step 3: Knit the Second Row
Continue knitting every stitch across the second row. Repeat this process for a total of 15 rows or until your scrubbie reaches your desired size.
Step 4: Bind off

Once you have reached the desired size, bind off all stitches. Cut the yarn, leaving a long tail for sewing up the sides.
Step 5: Seam the Sides
Using a tapestry needle and the long tail, seam up the sides of the scrubbie using a mattress stitch. This stitch will create an invisible seam that gives your scrubbie a polished and finished look.
Step 6: Final Touches
After seaming up the sides, weave in any loose ends of yarn with a tapestry needle. Trim off any excess yarn. Your knitted dish scrubbie is now complete!
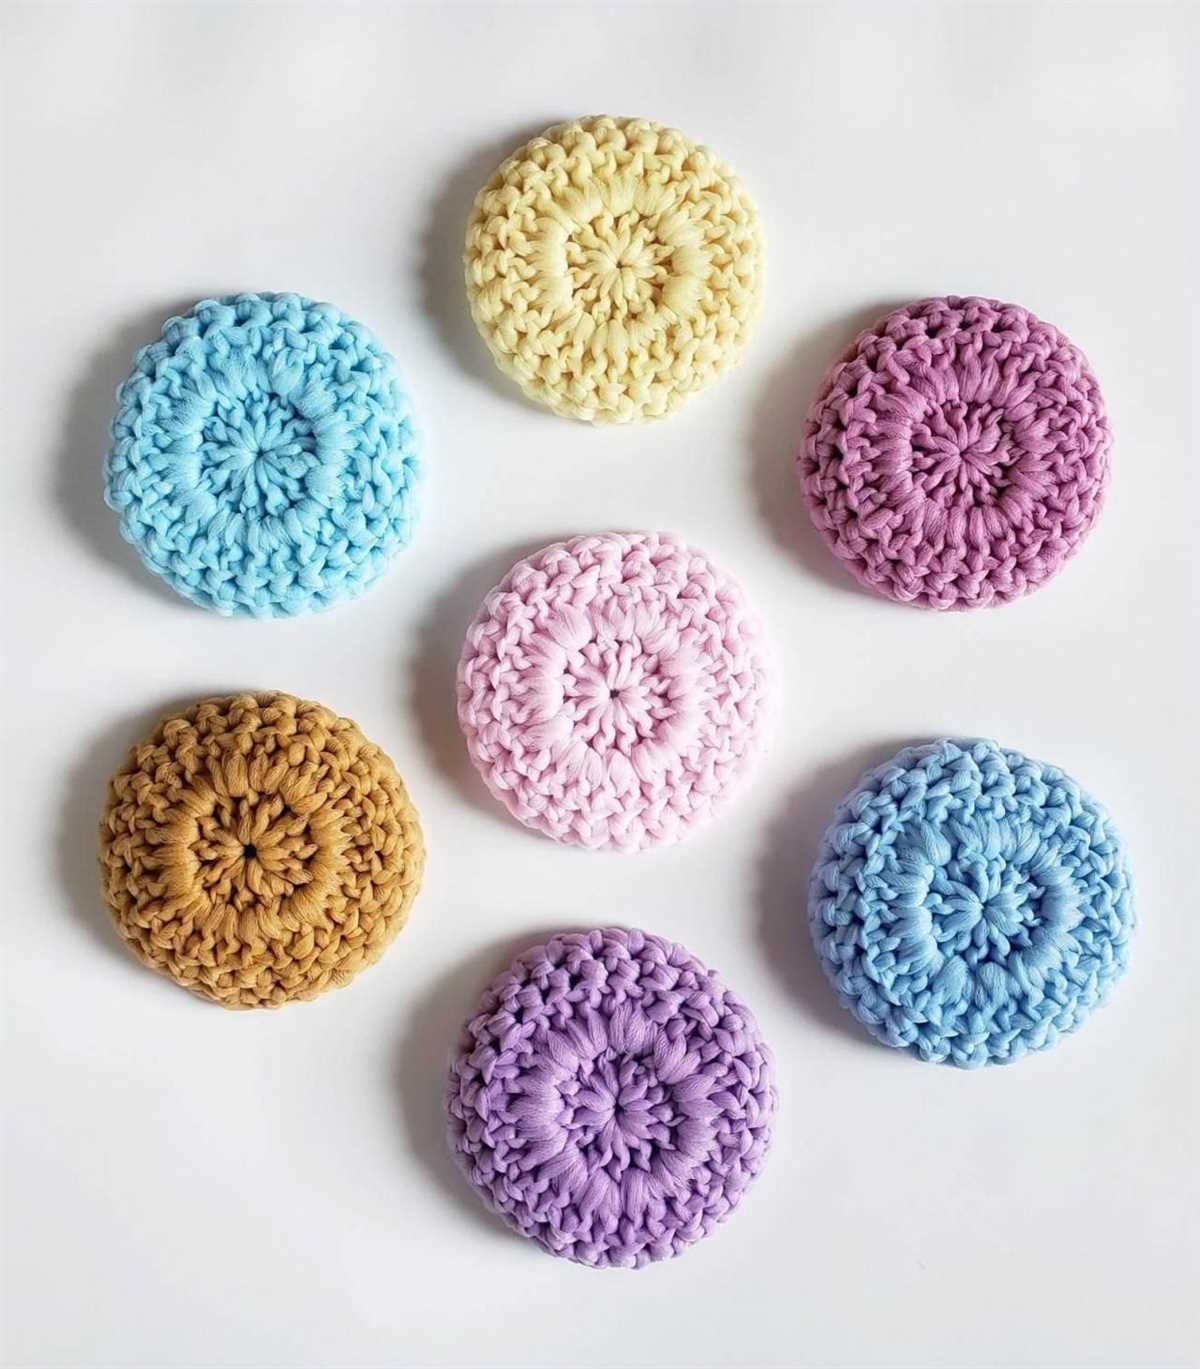
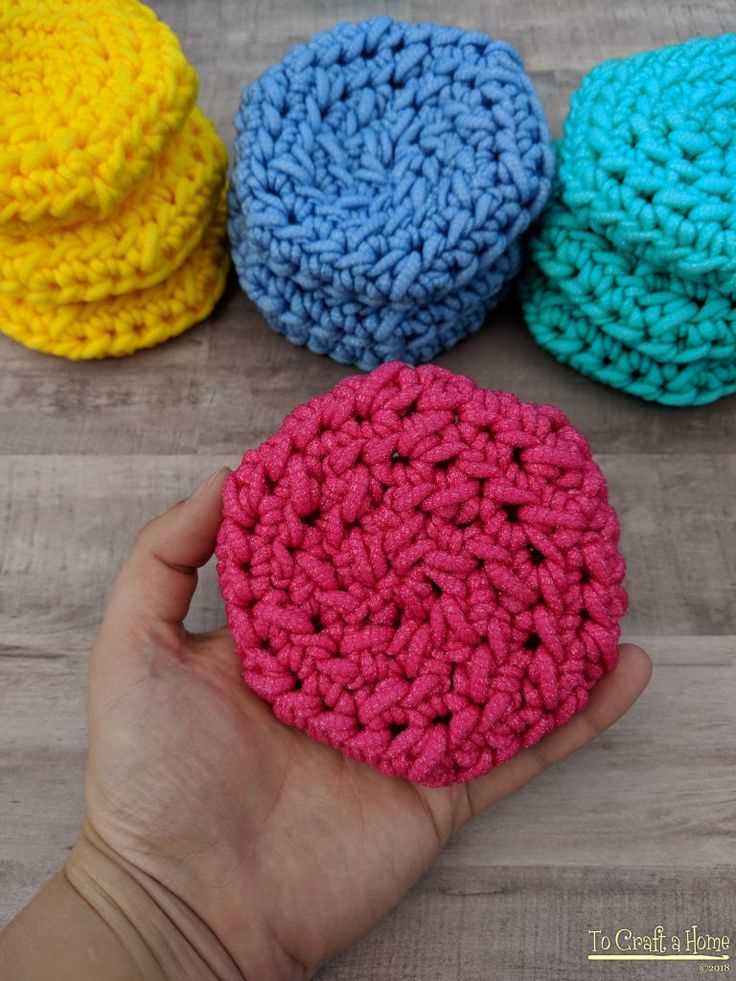
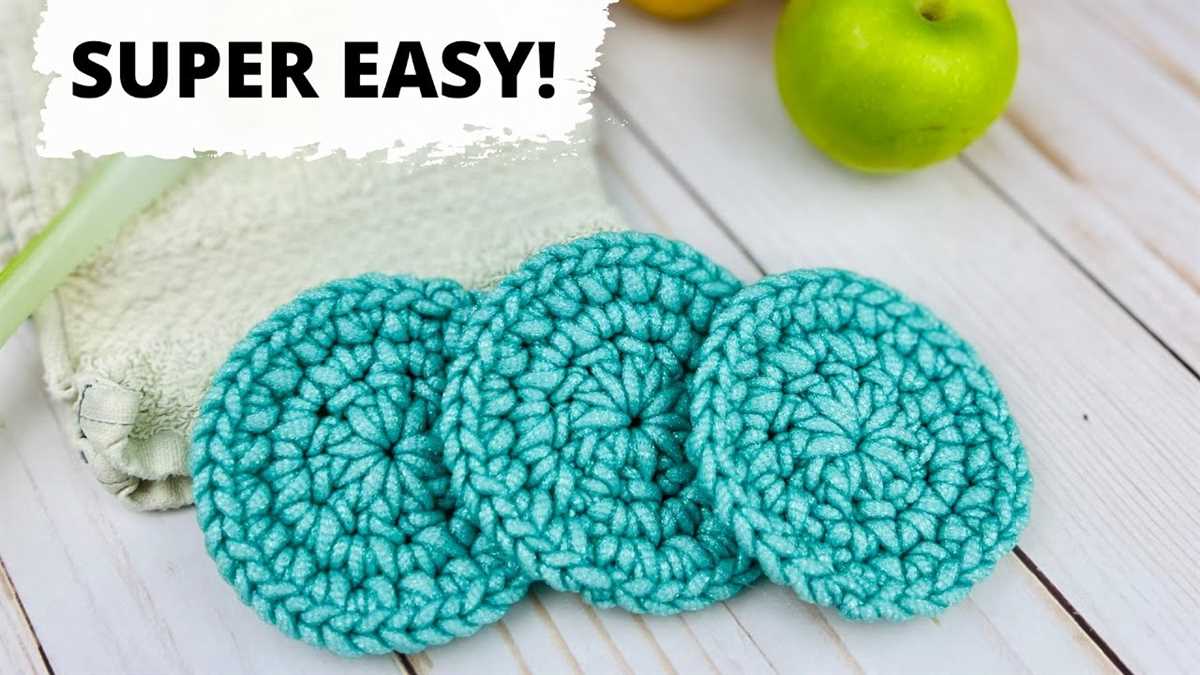
Now you can enjoy the satisfaction of using something you made yourself while being eco-friendly at the same time. These dish scrubbies are not only useful for cleaning dishes, but they also make great gifts for friends and family. Get creative with different colors and patterns to personalize your scrubbies and make them truly unique.
Gather Your Materials and Tools
Before you start knitting your dish scrubbie, it’s important to gather all the necessary materials and tools. This will ensure that you have everything you need at hand and can complete the project without any interruptions.
To make a knitted dish scrubbie, you will need the following materials:
- Yarn: Choose a durable and easy-to-clean yarn, such as cotton or nylon. Pick a color that you like and that matches your kitchen decor.
- Knitting needles: Use knitting needles that are appropriate for the yarn you’ve chosen. The size of the needles will depend on the thickness of the yarn. Check the label on the yarn for recommended needle sizes.
- Scissors: Have a pair of sharp scissors on hand to cut the yarn as needed.
In addition to the materials, you will also need a few tools to help you with the knitting process:
- Tape measure: Use a tape measure to check your gauge and ensure that your dish scrubbie will be the correct size.
- Stitch markers: These small plastic rings will help you keep track of your stitches and make it easier to follow the pattern.
- Tapestry needle: This large-eyed needle is used for weaving in the loose ends of yarn and finishing your project.
Once you have all your materials and tools, you’re ready to start knitting your dish scrubbie! Make sure to familiarize yourself with the pattern and instructions before you begin, and don’t forget to enjoy the process of creating something beautiful and useful for your kitchen.
Choose the Right Yarn for Your Knitted Dish Scrubbie
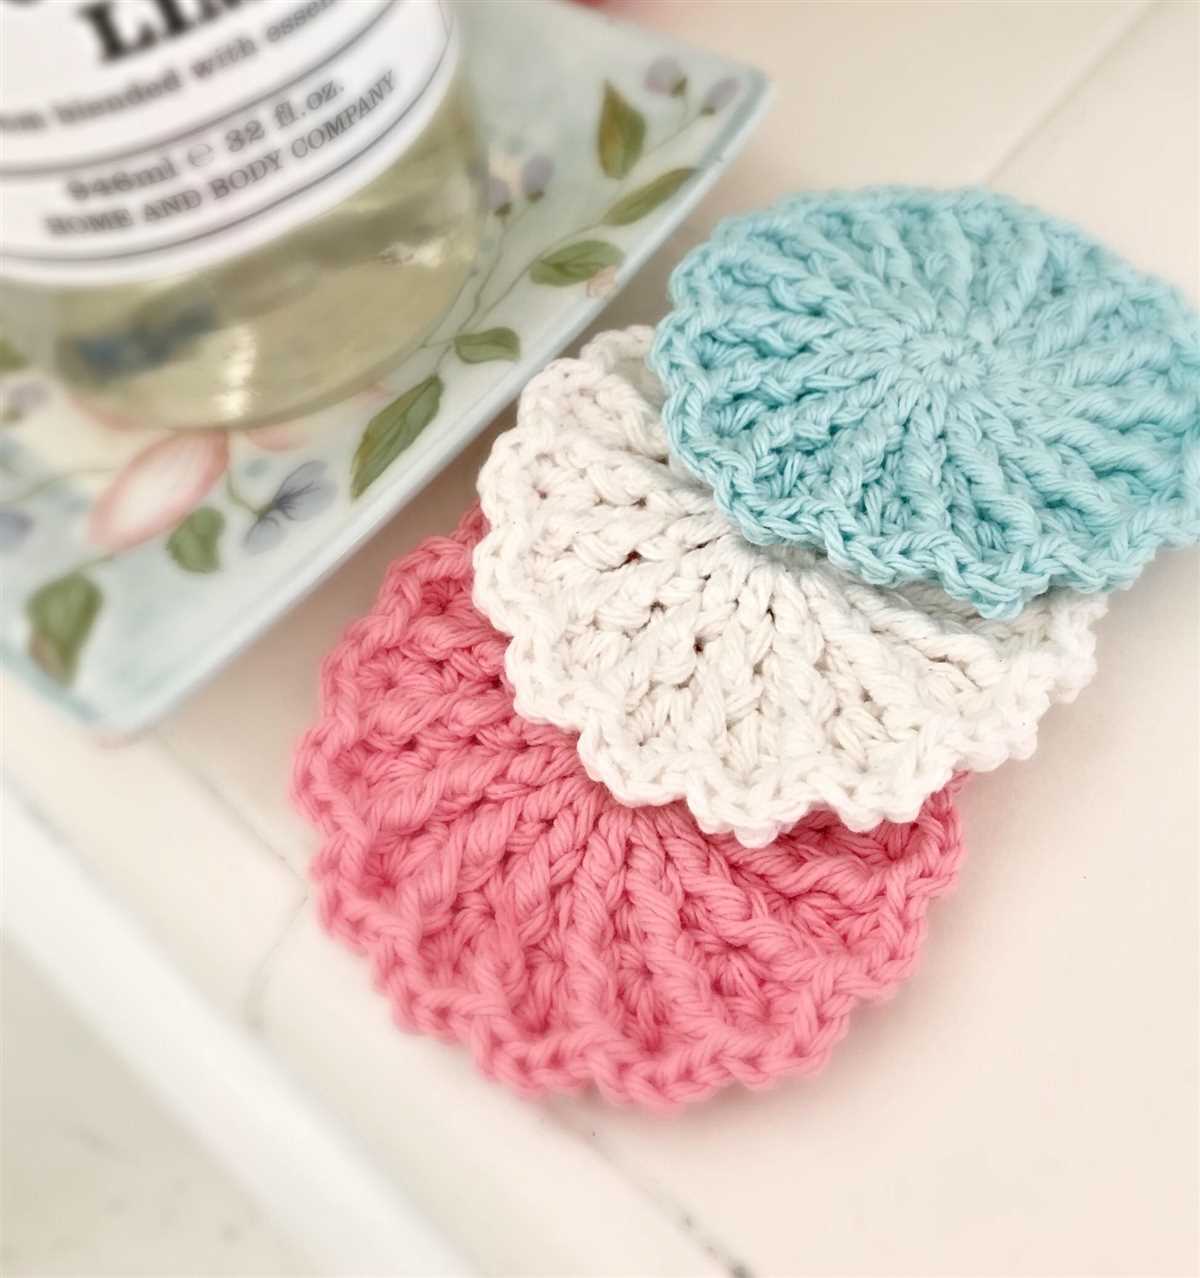
Knitting dish scrubbies is a great way to add a touch of creativity to your kitchen. These handy items are not only practical, but they can also be made in a variety of colors and patterns to suit your personal style. When making a knitted dish scrubbie, choosing the right yarn is crucial to ensure that it is durable, easy to clean, and effective in scrubbing away stubborn dirt and grime.
1. Consider the fiber content: When selecting yarn for your dish scrubbie, consider the fiber content. Opt for a yarn that is durable and can withstand repeated use and washing. Cotton and acrylic yarns are popular choices for dish scrubbies, as they are both strong and easy to clean.
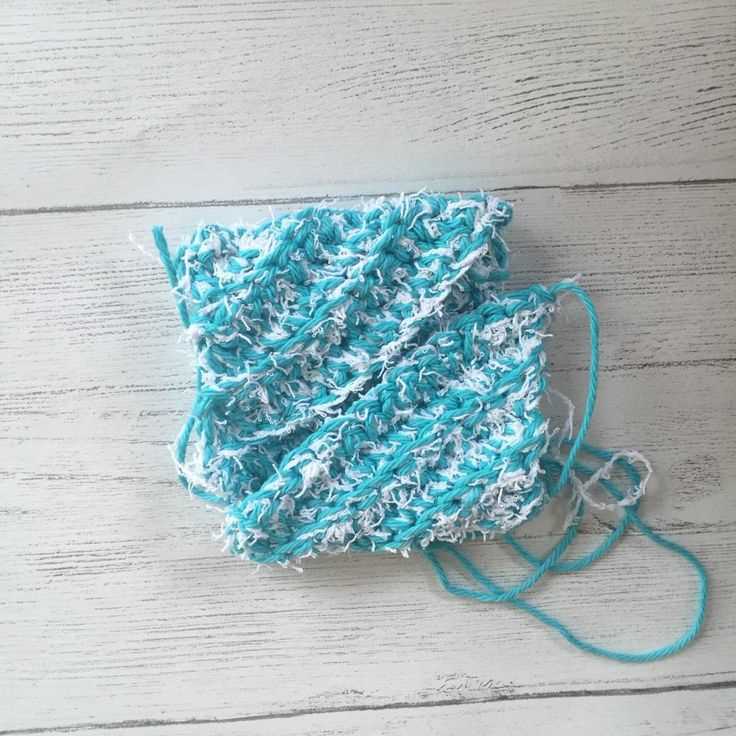
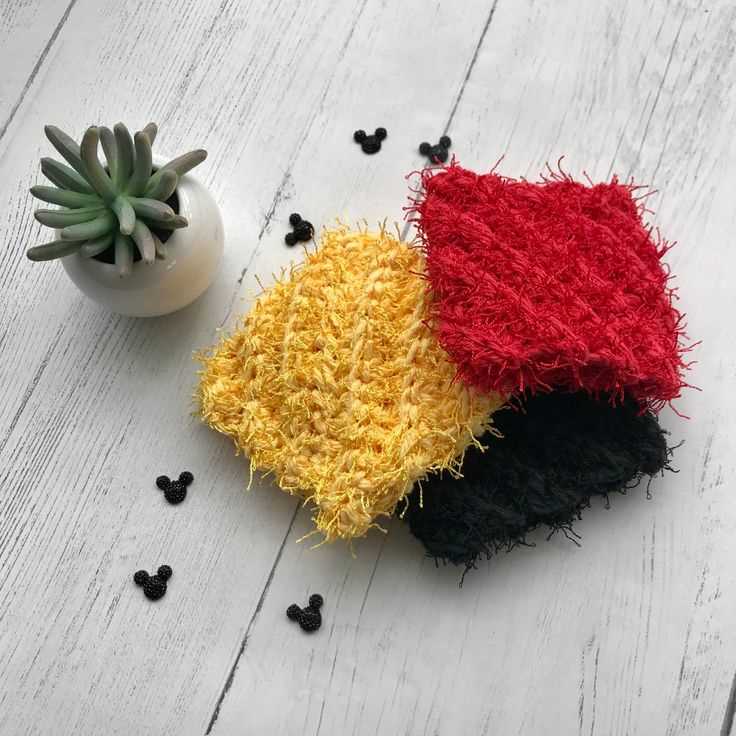
2. Look for a textured yarn: For maximum scrubbing power, choose a yarn that has a textured or nubby surface. This will help to create friction against dirty dishes, making it easier to remove food particles and stains. Yarns with a boucle or chenille texture can be excellent options for creating effective scrubbing surfaces.
3. Consider the gauge: The gauge of the yarn will determine the size and thickness of your dish scrubbie. If you prefer a denser scrubber, opt for a bulkier yarn with a smaller gauge. For a lighter and more flexible scrubbie, choose a thinner yarn with a larger gauge. Consider the type of cleaning tasks you want your scrubbie to tackle when selecting the gauge.
4. Choose a colorfast yarn: Dish scrubbies are likely to come into contact with water and cleaning agents, so it is important to choose a yarn that is colorfast. This means that the yarn will not bleed or fade when exposed to moisture or cleaning agents. Check the label or do a colorfastness test before selecting a yarn for your dish scrubbie.
By considering these factors when choosing yarn for your knitted dish scrubbie, you can ensure that it will be durable, efficient, and a stylish addition to your kitchen.
Select the Appropriate Knitting Needles
When it comes to knitting dish scrubbies, selecting the appropriate knitting needles is an important factor to consider. The size and material of the needles can greatly impact the final outcome of your project.
Firstly, it is crucial to choose the correct needle size. The pattern for dish scrubbies usually specifies the recommended needle size, which is typically around 4-5mm. Using the correct size will ensure that your stitches are even and tight enough to create a sturdy scrubbing surface.
Next, consider the material of the knitting needles. Most dish scrubbie patterns suggest using metal or plastic needles as they are durable and can withstand repeated use and exposure to water. Additionally, metal and plastic needles tend to have a smooth surface, allowing the yarn to slide easily without snagging.
If you prefer eco-friendly options, you may also consider bamboo knitting needles. Bamboo is a renewable resource and provides a lightweight and comfortable grip. However, it is important to note that bamboo needles may not be as durable as their metal or plastic counterparts.
In summary, when choosing knitting needles for your dish scrubbie project, opt for the recommended size specified in the pattern and consider materials such as metal, plastic, or bamboo based on your preferences for durability and eco-friendliness.
Cast On Stitches to Begin Your Knitted Dish Scrubbie
When starting your knitted dish scrubbie, you’ll need to cast on stitches to create the foundation of your project. The number of stitches you cast on will determine the width of your dish scrubbie. It’s important to choose the appropriate number to ensure that your scrubbie is the right size.
To cast on stitches, you can use the long-tail cast on method. This method is commonly used in knitting and creates a neat, stretchy edge. Simply make a slipknot with your yarn, and then hold the slipknot on the left-hand needle. With your right-hand needle, insert it into the slipknot from front to back, and wrap the yarn around your right-hand needle. Pull the loop through the slipknot, creating a new stitch. Repeat this process until you have cast on the desired number of stitches.
It’s important to keep your tension even as you cast on stitches. This will ensure that your dish scrubbie is consistent in size and appearance. If your stitches are too tight, your scrubbie may not stretch properly. If they are too loose, your scrubbie may be too floppy.
Once you have cast on your stitches, you’ll be ready to start knitting your dish scrubbie. Follow the pattern instructions to create the desired texture and design. Remember to keep track of your rows and stitches to ensure that your scrubbie turns out as planned.
Knit the Body of the Dish Scrubbie
Once you have completed the cast on and the first row, you are ready to knit the body of the dish scrubbie. This is the main part of the pattern where the scrubbing texture is created.
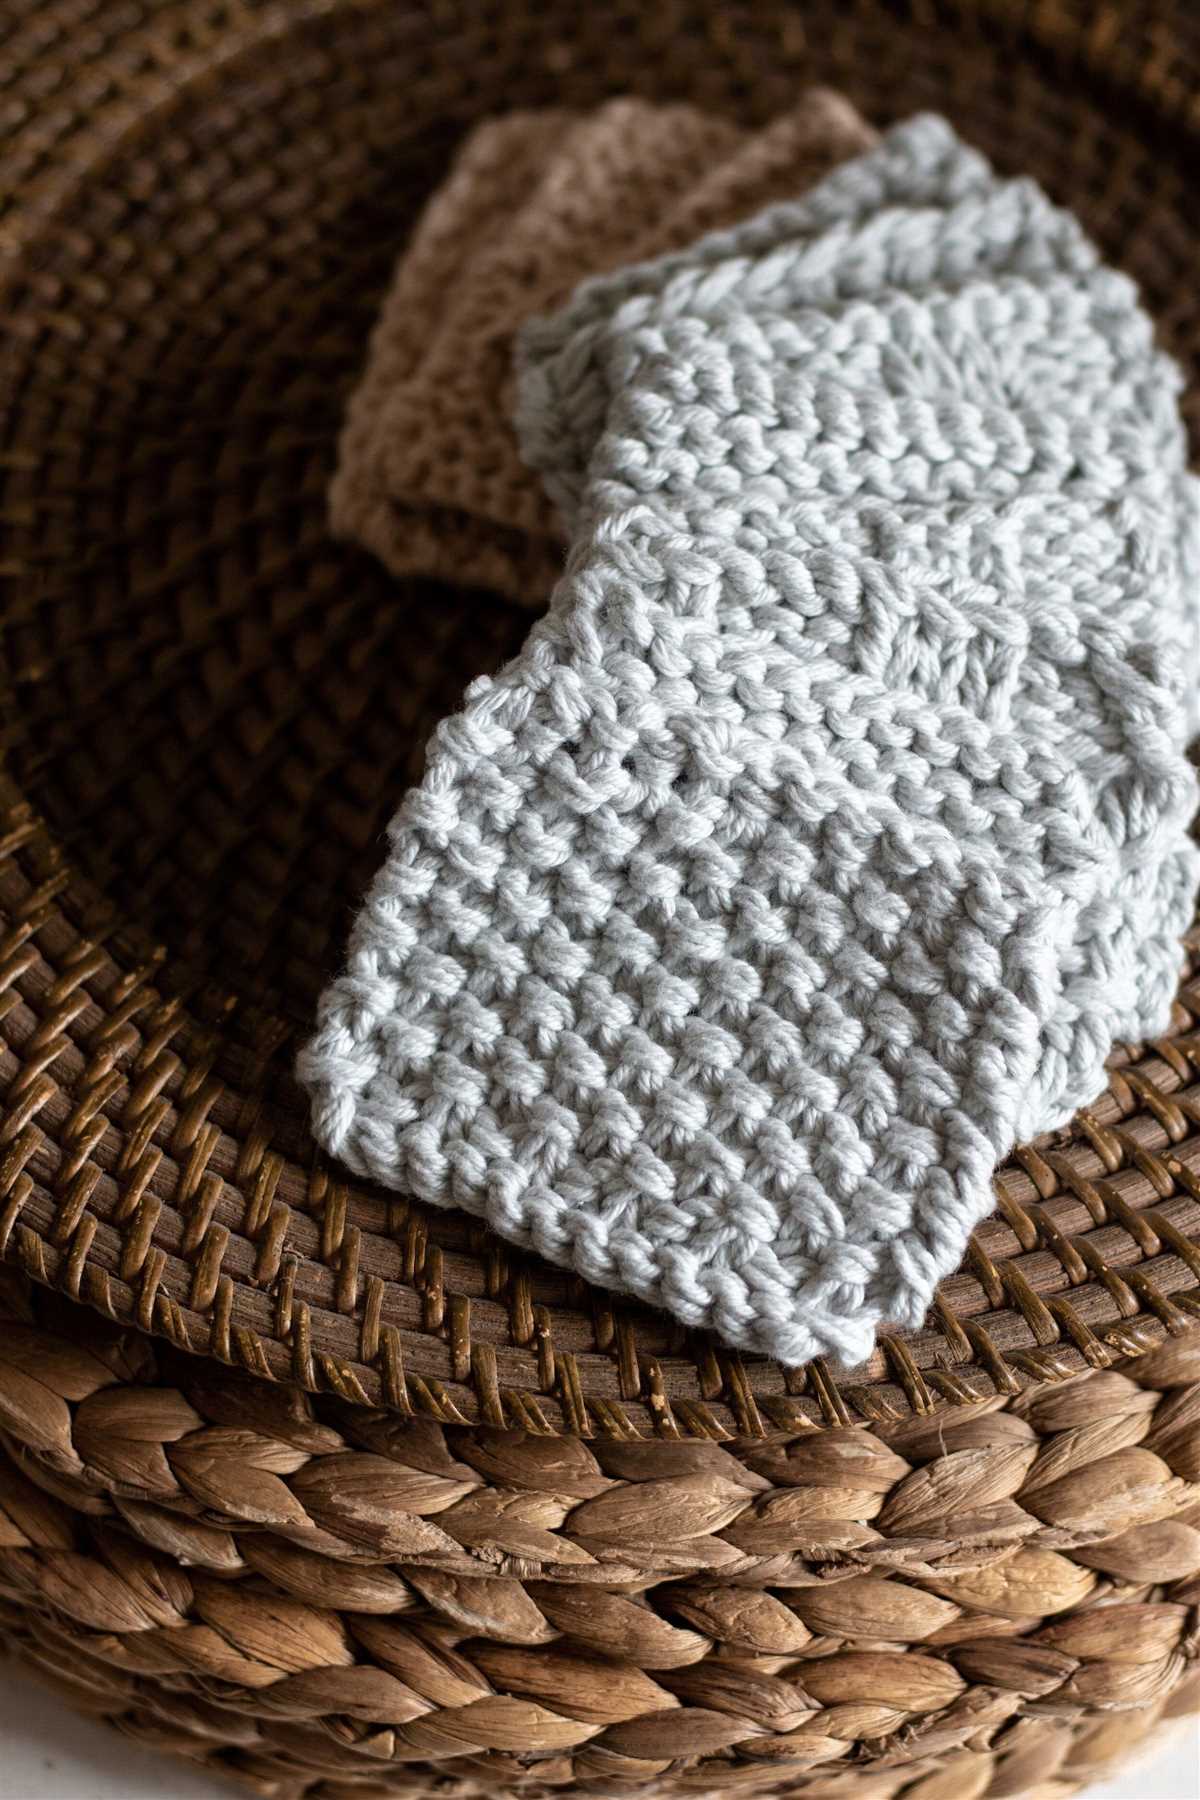
To create the scrubbing texture, you will be using a combination of knit and purl stitches. The pattern calls for alternating rows of knits and purls. This creates a bumpy surface that is perfect for scrubbing away stubborn food stains and residue.
Start by knitting the specified number of rows in the pattern, following the knit and purl instructions. Make sure to keep track of your rows and count them to ensure you are following the pattern correctly. This will help you achieve a consistent scrubbing texture throughout the body of the dish scrubbie.
If you prefer a denser scrubbing texture, you can knit additional rows before moving on to the next section of the pattern. Alternatively, if you want a lighter texture, you can knit fewer rows. Feel free to experiment and adjust the pattern to suit your personal preference.
In knitting, there are numerous different stitches that can be used to add texture and depth to your projects. By incorporating various stitch patterns, you can create beautiful and unique designs that stand out.
Types of Knitting Stitches
There are a wide range of knitting stitches to choose from, each with its own unique characteristics. Some common stitches include:
- Garter Stitch: This is one of the simplest and most basic stitch patterns. It is created by knitting every stitch on every row, resulting in a bumpy texture.
- Stockinette Stitch: This stitch pattern creates a smooth and flat surface on the right side, while the wrong side has a series of “V” shapes. It is achieved by knitting one row and purling the next.
- Ribbing: Ribbing is commonly used for cuffs, hems, and necklines. It consists of alternating knit and purl stitches in a specific pattern, such as 1×1 ribbing (knit 1, purl 1).
- Seed Stitch: This stitch pattern creates a textured surface with a mix of knits and purls. It is achieved by alternating between knit and purl stitches in a specific pattern, such as knit 1, purl 1.
- Cable Stitch: Cable stitches create beautiful twisted designs that add depth and interest to your knitting. They are accomplished by crossing a set of stitches over another set of stitches.
Using Different Stitches
By using different knitting stitches, you can add texture and visual interest to a variety of projects. For example, if you’re knitting a scarf, you might choose to incorporate a cable stitch pattern to create an intricate and eye-catching design. On the other hand, if you’re working on a blanket, using a combination of garter stitch and seed stitch can result in a cozy, textured fabric.
When selecting stitches for your projects, consider the desired effect and the type of yarn you’re using. Some stitches work better with certain types of yarn, while others may be more suitable for specific projects. Experimenting with different stitches can help you discover new techniques and create one-of-a-kind pieces.
Increase or Decrease Stitches for Shaping
When knitting a dish scrubbie pattern, it may be necessary to increase or decrease stitches in order to shape the piece. This can be done through various methods depending on the desired outcome and the specific pattern being followed.
To increase stitches, one common method is to make a yarn over (YO) stitch. This is achieved by simply bringing the yarn over the needle from front to back, creating a new stitch. YO stitches are often used to create decorative holes or eyelets in a pattern. Another method for increasing stitches is to knit or purl into the same stitch twice, effectively creating two stitches from one. This is known as a kfb (knit front and back) or pfb (purl front and back) stitch.
When it comes to decreasing stitches, there are also several techniques that can be employed. One common method is to knit or purl two stitches together, effectively reducing two stitches to one. This is known as a k2tog (knit two together) or p2tog (purl two together) decrease. Another method is to slip a stitch, knit or purl the next stitch, then pass the slipped stitch over the knitted or purled stitch. This is known as a slip slip knit (ssk) or slip slip purl (ssp) decrease.
Increasing and decreasing stitches can be used to shape various parts of a dish scrubbie, such as creating a wider base or tapering the sides. It’s important to carefully follow the instructions in the pattern and keep track of the number of stitches being added or subtracted. This will help ensure that the finished scrubbie retains its desired shape and fits properly. Practice and familiarity with these techniques will help knitters confidently shape their projects according to their own preferences.
Bind Off Stitches to Finish Your Knitted Dish Scrubbie
After you have finished knitting your dish scrubbie, it is time to bind off the stitches to secure them and complete your project. Binding off is the process of closing the loops on your knitting needles to create a finished edge. This step is important to prevent your stitches from unraveling and to give your scrubbie a neat and polished look.
To bind off your stitches, start by knitting the first two stitches as you normally would. Then, using the left needle, insert it into the first stitch on the right needle and lift it up and over the second stitch and completely off the right needle. This is known as passing the stitch over. You should now have one stitch remaining on your right needle.
Continue this process of knitting a stitch and passing the previous stitch over until you have only one stitch left on your right needle. Cut the yarn, leaving a tail that is about 6 inches long. Thread the tail through the last stitch, removing it from the needle. Pull the tail tight to secure the last stitch.
Your stitches are now bound off, and your knitted dish scrubbie is complete! You can weave in any loose ends, and your scrubbie is ready to be used. The bind off edge will give your scrubbie a finished look and ensure that it stays intact even with repeated use and washing.
Weave in Loose Ends and Trim Excess Yarn
Once you have finished knitting your dish scrubbie, it’s important to weave in any loose ends to ensure the durability and neatness of your project. To do this, take a tapestry needle and thread the loose end through the loops on the back of the knitted fabric. Make sure to weave the yarn in different directions to secure it in place.
After weaving in the loose ends, you may notice that there is still excess yarn sticking out. To trim this excess yarn, use a pair of sharp scissors and carefully cut close to the base of the fabric. Be cautious not to cut any of the knitted stitches.
Remember to weave in all the loose ends and trim excess yarn for each individual piece of the dish scrubbie. This will give your project a clean and professional finish. Take your time and pay attention to detail to ensure the best result.
Care and Maintenance Tips for Your Knitted Dish Scrubbie
Proper care and maintenance are essential to ensure the longevity and efficiency of your knitted dish scrubbie. Follow these tips to keep your scrubbie in top condition:
- Regularly clean your scrubbie: After each use, rinse your scrubbie with warm water to remove any food particles or debris. Use a mild soap if necessary. Avoid using harsh chemicals or bleach, as they can damage the yarn.
- Dry it thoroughly: After rinsing, gently squeeze out excess water from the scrubbie. Let it air dry completely before storing or using it again. Hanging it up to dry can help prevent the growth of bacteria and maintain its shape.
- Machine wash on a gentle cycle: If your scrubbie becomes heavily soiled or needs a more thorough cleaning, you can wash it in the washing machine on a gentle cycle. Use a laundry bag or pillowcase to protect the scrubbie from getting tangled or stretched out. Avoid using fabric softeners, as they can reduce the scrubbie’s effectiveness.
- Avoid high heat: To prevent shrinking or damaging the scrubbie, avoid exposing it to high temperatures. Do not tumble dry or use a hot iron on the scrubbie. Instead, allow it to air dry naturally.
- Replace when necessary: Over time, the yarn of your knitted dish scrubbie may start to wear out or lose its effectiveness. If you notice any fraying, unraveling, or a significant decrease in scrubbing power, it’s time to replace your scrubbie with a new one.
By following these care and maintenance tips, you can ensure that your knitted dish scrubbie remains clean, effective, and long-lasting. Enjoy the convenience and practicality of this eco-friendly kitchen accessory!