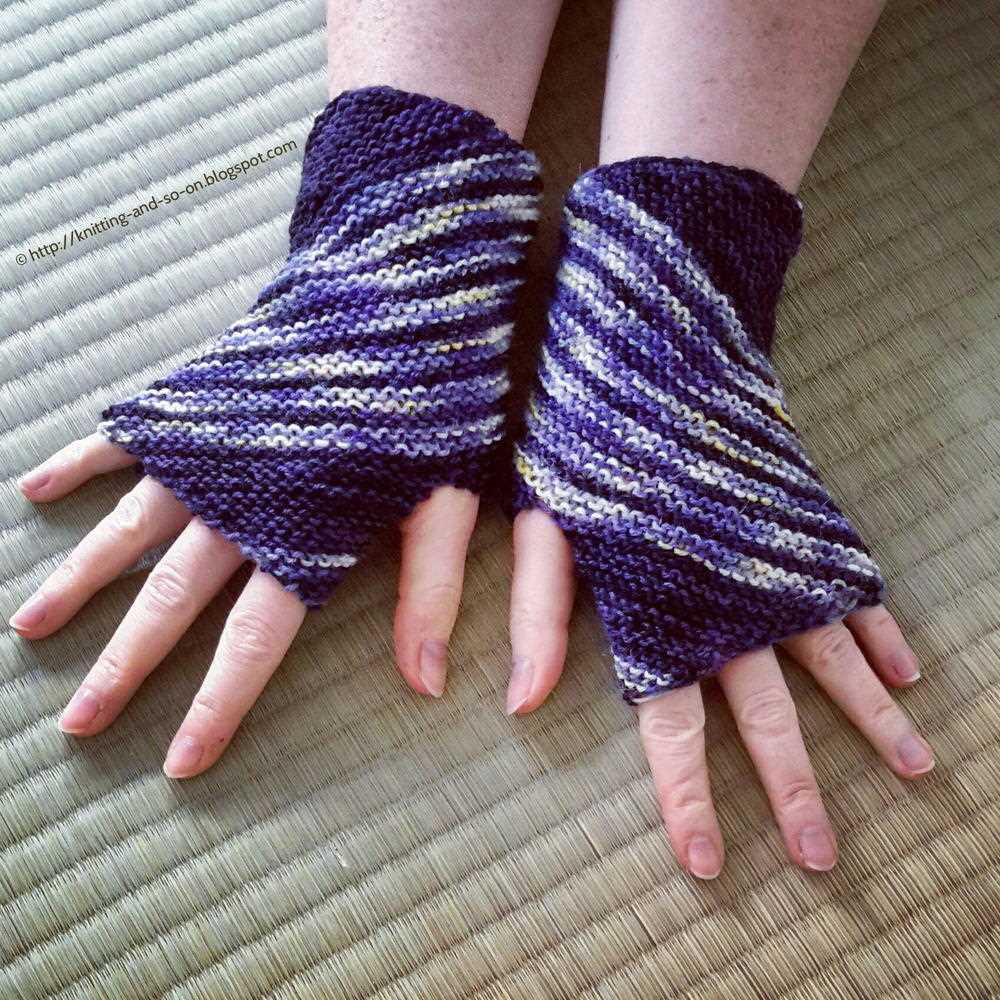
Are you searching for a stylish and practical accessory to keep your hands warm during the colder months? Look no further than the chunky wrist warmers! These cozy arm warmers are a trendy and functional addition to your winter wardrobe.
Whether you’re new to knitting or an experienced crafter, this free knitting pattern is perfect for you. The chunky yarn and simple stitch pattern make these wrist warmers a quick and easy project. You’ll be able to whip up a pair in no time!
Not only are these wrist warmers a fashion statement, but they also provide extra warmth and comfort. The thick, chunky yarn insulates your wrists and hands, keeping them toasty warm even on the coldest days. Plus, the fingerless design allows for easy movement and dexterity, making them perfect for outdoor activities or even typing on your computer.
So grab your knitting needles and get ready to create a stylish and practical accessory. Whether you’re knitting these wrist warmers for yourself or as a thoughtful gift for a loved one, you’re sure to love the cozy and fashionable result.
Chunky Wrist Warmers Free Knitting Pattern
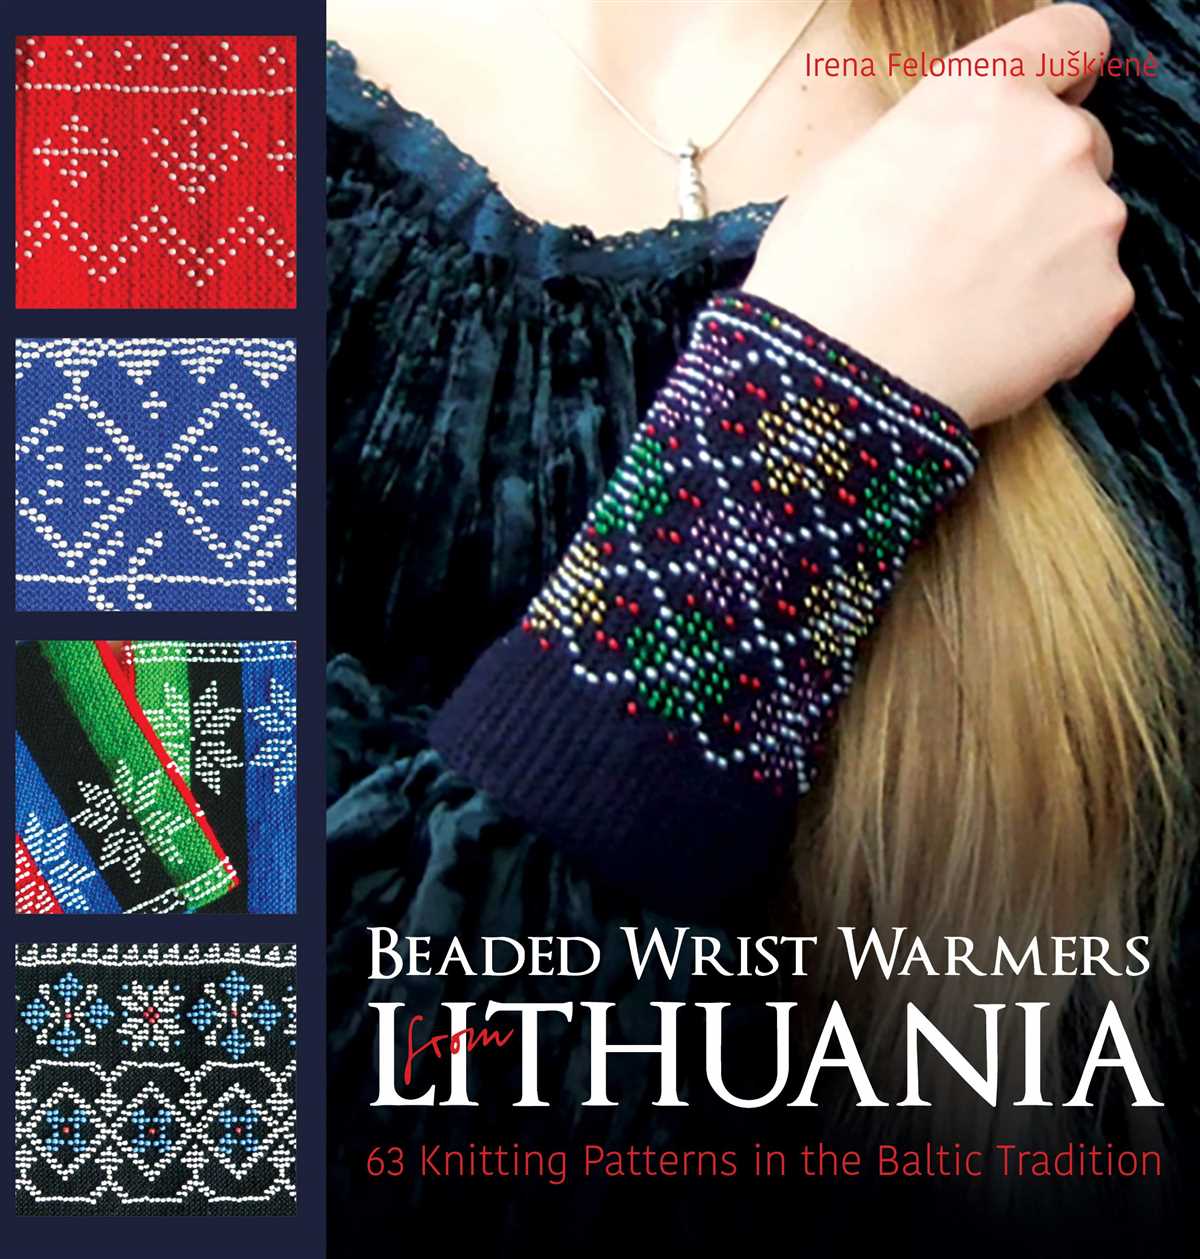
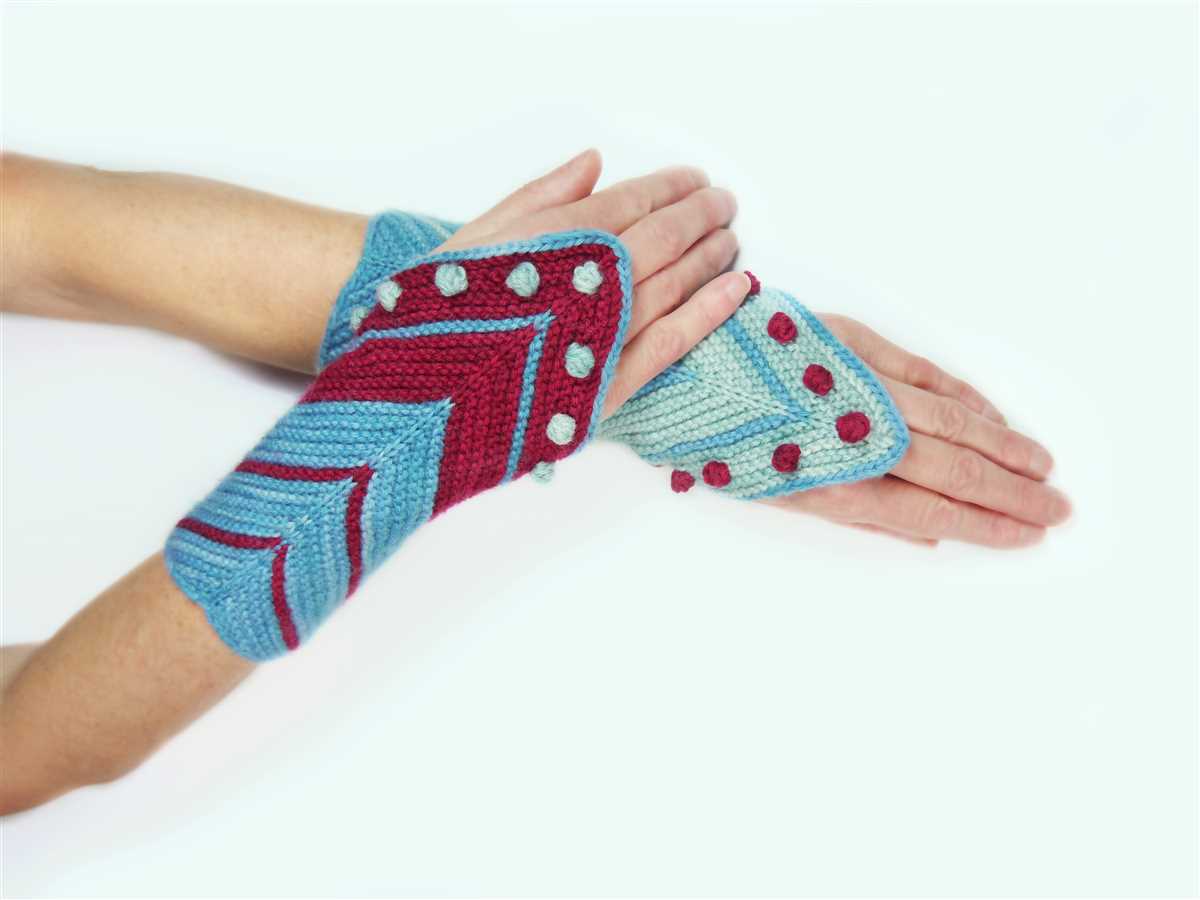
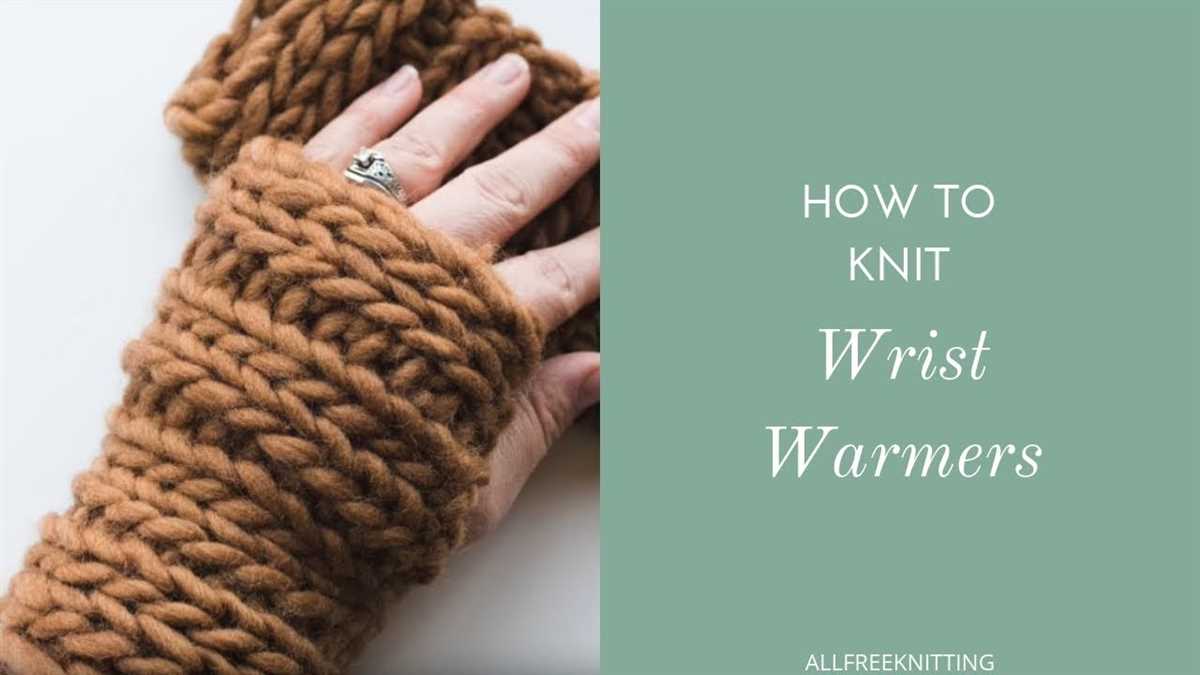
Stay warm and stylish this winter with these chunky wrist warmers. They are perfect for keeping your hands cozy while allowing for dexterity and freedom of movement. The best part is that you can make them yourself with this free knitting pattern.
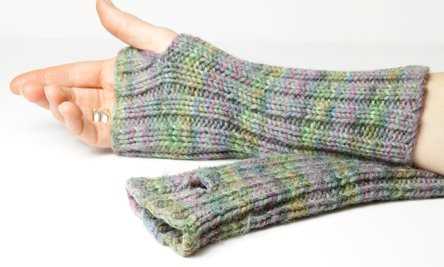
The pattern uses chunky yarn, which makes the wrist warmers thick and warm, perfect for colder weather. The ribbed design adds a touch of elegance and ensures a snug fit. With this pattern, you can create your own unique pair of wrist warmers that will not only keep you warm but also add a chic touch to any outfit.
To start, gather your materials: chunky yarn, knitting needles, and a tape measure. The pattern is suitable for intermediate knitters and involves basic knitting techniques such as casting on, knitting, purling, and casting off.
Materials:
- Chunky yarn in the color of your choice
- Size US 10 (6mm) knitting needles
- Tape measure
Instructions:

- Cast on 30 stitches
- Work in rib stitch (knit 1, purl 1) for 20 rows
- Continue knitting in rib stitch for another 10 rows
- Bind off all stitches
Repeat the above instructions to create a second wrist warmer.
Once you have completed both wrist warmers, sew the sides together, leaving a small opening for your thumb. Make sure to secure the seams tightly to ensure durability.
Now you have a cozy pair of chunky wrist warmers that are not only functional but also fashionable. They are perfect for wearing during outdoor activities such as hiking, biking, or simply taking a stroll in the park. With their stylish design and warm materials, these wrist warmers are a must-have accessory for the winter season.
Materials
In order to knit the chunky wrist warmers, you will need the following materials:
Yarn: For this project, you will need a chunky weight yarn. You can choose any color you like, but keep in mind that wrist warmers are often worn as accessories and can add a pop of color to any outfit. You will need approximately 100 grams of yarn.
Knitting Needles: You will need a pair of knitting needles in the appropriate size for the yarn you are using. The size of the needles will depend on the gauge specified in the pattern. Make sure to check the gauge before starting the project to ensure your wrist warmers turn out the right size.
Tapestry Needle: A tapestry needle is necessary for weaving in the loose ends of yarn and finishing your wrist warmers. This needle has a blunt tip, making it easy to weave the yarn through the stitches without snagging or damaging the yarn.
Stitch Markers: Stitch markers are used to mark certain points in your knitting to help you keep track of where you are in the pattern. This can be especially helpful when knitting in the round or when working on complex stitch patterns.
Scissors: A pair of scissors is necessary for cutting the yarn at the end of your project.
Measuring Tape: A measuring tape is essential for checking the size of your wrist warmers and ensuring they fit properly.
Pattern: Finally, you will need a copy of the chunky wrist warmers knitting pattern. This pattern will provide you with the instructions and stitch information necessary to complete the project.
Once you have gathered all of the necessary materials, you will be ready to start knitting your chunky wrist warmers!
Gauge

When knitting a project, it is important to achieve the correct gauge in order to ensure that the finished item will have the correct measurements. Gauge refers to the number of stitches and rows per inch that are produced when working with a specific yarn and needle size.
To determine the gauge for a particular project, it is recommended to create a gauge swatch. This is a small square of knitting that is worked using the specified yarn and needle size. The swatch is then measured to determine how many stitches and rows are produced per inch.
Accurate gauge is crucial because it not only affects the size of the finished item, but also the overall appearance and drape. If the gauge is too tight, the finished item will be smaller than intended. Conversely, if the gauge is too loose, the finished item will be larger.
It is important to note that every knitter knits differently, so achieving the exact gauge specified in a pattern may require adjusting needle size up or down. It may be necessary to knit multiple swatches with different needle sizes to find the one that produces the correct gauge.
In conclusion, achieving accurate gauge is essential in knitting projects to ensure the correct size, appearance, and drape of the finished item. Taking the time to create a gauge swatch and adjust needle size if necessary will result in a more successful and satisfying knitting experience.
Size
When knitting wrist warmers, getting the right size is important for a comfortable fit. The pattern provides instructions for three different sizes: small, medium, and large. You can choose the size that best fits your wrist measurements.
To determine the right size for you, measure the circumference of your wrist. For the small size, the wrist circumference should be around 6-7 inches. The medium size fits wrists with a circumference of 7-8 inches, while the large size is designed for wrists measuring 8-9 inches.
It’s important to note that the wrist warmers are meant to have a snug fit, so if your measurements are between sizes, it’s recommended to go with the smaller size. However, if you prefer a looser fit, you can go up a size. Keep in mind that the stretchiness of the yarn used can also affect the fit.
To achieve the desired size, make sure to check your gauge before starting the project. The pattern specifies the gauge required to achieve the correct size. If your gauge doesn’t match the pattern gauge, you may need to adjust your needle size to achieve the right fit.
Lastly, if you’re knitting the wrist warmers for someone else, it’s always helpful to know their wrist measurements to ensure a proper fit. You can measure their wrists or ask them for their measurements to ensure that the finished wrist warmers will be comfortable and cozy.
Abbreviations
When it comes to knitting patterns, there are several abbreviations that are commonly used to make the instructions more concise. Here are some common abbreviations you may come across while knitting chunky wrist warmers:
- K: Knit
- P: Purl
- St(s): Stitch(es)
- CO: Cast On
- K2tog: Knit two stitches together
- P2tog: Purl two stitches together
- YO: Yarn Over
- RS: Right Side
- WS: Wrong Side
These abbreviations are used throughout the written instructions to indicate which stitches to work and in what order. They help to make the pattern easier to read and follow, especially for experienced knitters who are familiar with these standard abbreviations.
It’s important to familiarize yourself with these abbreviations before you start knitting the chunky wrist warmers pattern. If you are unsure about any of the abbreviations, you can consult a knitting glossary or refer to online resources for more information. Understanding the abbreviations will make it easier for you to follow the pattern and complete the wrist warmers successfully.
Instructions

To create the chunky wrist warmers, follow these step-by-step instructions:
Materials:
- 2 skeins of chunky yarn
- Pair of size 10 knitting needles
- Tapestry needle
1. Cast on stitches:
Using the long-tail cast on method, cast on 24 stitches onto one of the knitting needles.
2. Ribbing:
Row 1: *K1, P1* repeat to the end of the row.
Row 2: Repeat Row 1.
Repeat Rows 1 and 2 for a total of 4 inches of ribbing.
3. Body of the wrist warmer:
Switch to stockinette stitch (knit one row, purl one row) and continue until the work measures 8 inches from the cast on edge.
4. Thumb opening:
Row 1: Knit 12 stitches, place the next 4 stitches on a stitch holder or spare yarn, knit to the end of the row.
Row 2: Purl all stitches.
Repeat Rows 1 and 2 for a total of 2 inches.
5. Finish the wrist warmer:
Switch back to ribbing (Row 1: *K1, P1* repeat to the end of the row) and work for 4 inches.
Bind off all stitches and weave in the ends using a tapestry needle.
6. Repeat for the second wrist warmer:
Follow steps 1-5 to create the second wrist warmer.
Once both wrist warmers are complete, slip them on and enjoy the cozy warmth they provide!
Cuff
The cuff is an important element of the chunky wrist warmers, as it provides a comfortable and snug fit around the wrist. It is the part of the wrist warmers that sits closest to the skin, so it needs to be soft and stretchy, yet durable enough to hold its shape.
The chunky wrist warmers pattern features a ribbed cuff, which adds both style and functionality. The ribbing creates a textured look that adds visual interest to the wrist warmers, while also allowing the cuff to stretch to fit various wrist sizes.
To create the ribbed cuff, the pattern calls for using a combination of knit and purl stitches. The knit stitches create raised ridges, while the purl stitches create recessed valleys. This alternating pattern gives the cuff its elasticity and helps it stay in place on the wrist.
The chunky yarn used in this pattern also adds to the cuff’s overall warmth and coziness. The thick yarn provides insulation against cold air, making these wrist warmers perfect for chilly climates or for keeping your hands warm during outdoor activities.
In addition to the ribbed cuff, the pattern also includes instructions for adding a button closure to the wrist warmers. This allows you to adjust the fit of the cuff and ensures that the wrist warmers stay securely in place on your wrists.
Hand
The hand is a complex and highly specialized part of the human body. It consists of the palm, fingers, thumb, and wrist, and plays a crucial role in our everyday activities. Whether we are typing on a keyboard, holding a pen, or tying our shoelaces, our hands enable us to perform a wide range of tasks with precision and dexterity.
Structure and Function:
The hand is made up of 27 small bones called phalanges, which are arranged in three groups – the proximal, middle, and distal phalanges. These bones are connected by joints, ligaments, and tendons, which allow for movement and flexibility. The hand also contains numerous muscles, nerves, and blood vessels, which contribute to its functionality and sensitivity.
The main functions of the hand include grasping, pinching, gripping, and manipulating objects. The opposable thumb, a unique feature of the human hand, allows for fine motor skills and precision grip. The fingers, with their ability to flex and extend, provide additional control and precision.
Hand Injuries:
Due to its frequent use and exposure to various hazards, the hand is prone to injuries. Common hand injuries include fractures, dislocations, sprains, strains, and cuts. These injuries can occur as a result of accidents, falls, repetitive motion, or excessive force. Hand injuries can significantly impair a person’s ability to perform daily activities and may require medical intervention and rehabilitation.
Hand Care:
To maintain hand health and prevent injuries, it is important to practice good hand hygiene, such as washing hands regularly and moisturizing to keep the skin hydrated. Wearing protective gloves or wrist warmers can also provide added support and insulation for the hands, especially in cold weather or during certain activities. Regular exercise and stretching can help improve hand strength, flexibility, and coordination.
In conclusion, the hand is an essential part of the human body, enabling us to perform a multitude of tasks and activities. Understanding the structure and function of the hand, as well as taking proper care of it, is crucial for maintaining hand health and preventing injuries.
Thumb Opening
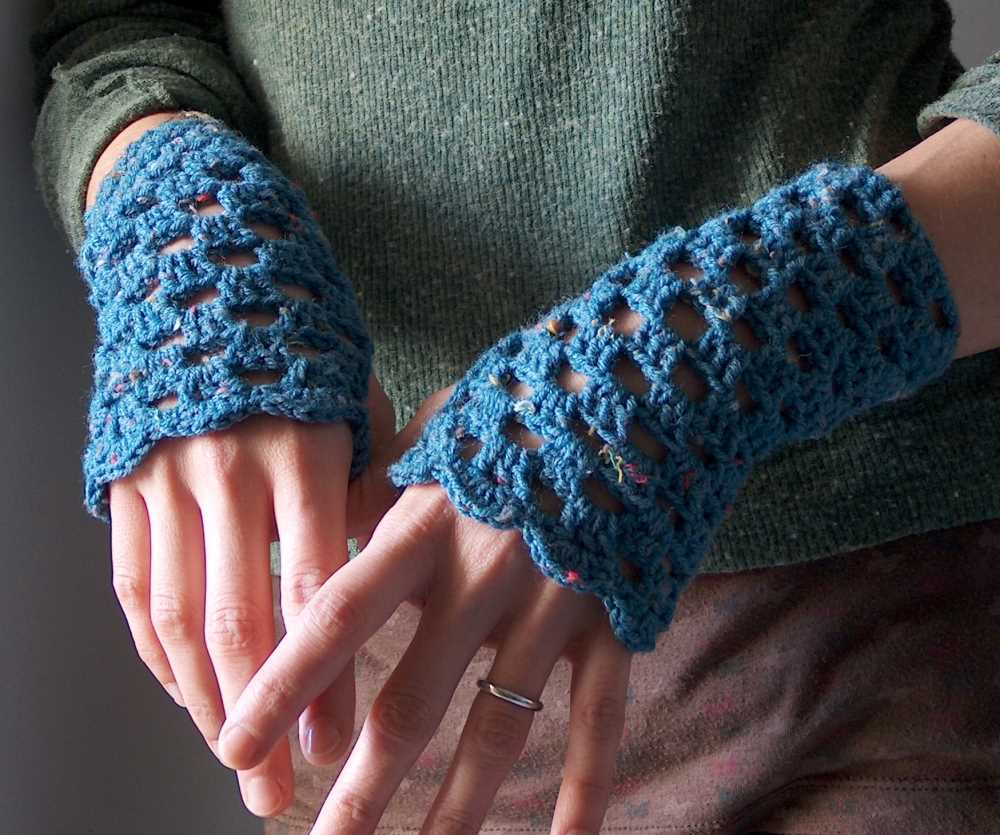
The thumb opening is an important aspect of the wrist warmers pattern as it allows for ease of movement and functionality. To create the thumb opening, follow these steps:
- Row 1: Knit until you reach the desired location for the thumb opening. This will vary based on the size of your hand and personal preference.
- Row 2: Purl the next row, maintaining the established stitch pattern.
- Row 3: Start the thumb opening by casting off a predetermined number of stitches, typically between 6 and 10 stitches. This will create a gap for the thumb to fit through.
- Row 4: Continue knitting the remaining stitches in the row, following the established stitch pattern.
Once the thumb opening has been created, you will continue working on the wrist warmers as normal, knitting in the round or back and forth depending on the pattern instructions. The thumb opening provides flexibility and allows for easy movement of the fingers and thumb, making the wrist warmers comfortable to wear.
Finishing

After completing both wrist warmers, it’s time to finish them off and make them ready to wear. Here are the final steps:
- With a yarn needle, weave in all loose ends on both wrist warmers. Make sure to secure them tightly to prevent any unraveling.
- Block the wrist warmers by wetting them gently and shaping them to the desired size. Lay them flat to dry, making sure they retain their shape.
- Once the wrist warmers are completely dry, fold them in half and stitch the sides together using a whip stitch or any preferred method. Make sure to leave a small opening for the thumb.
- To create the thumb hole, fold the wrist warmer in half again and mark the center on the side seam. Use scissors or a yarn needle to carefully cut or unravel the stitches at the marked center, creating a small opening for the thumb.
- Trim any excess yarn or loose threads.
And there you have it! Your chunky wrist warmers are now complete and ready to keep your hands warm and cozy during the colder months. Enjoy wearing them or gift them to someone special.