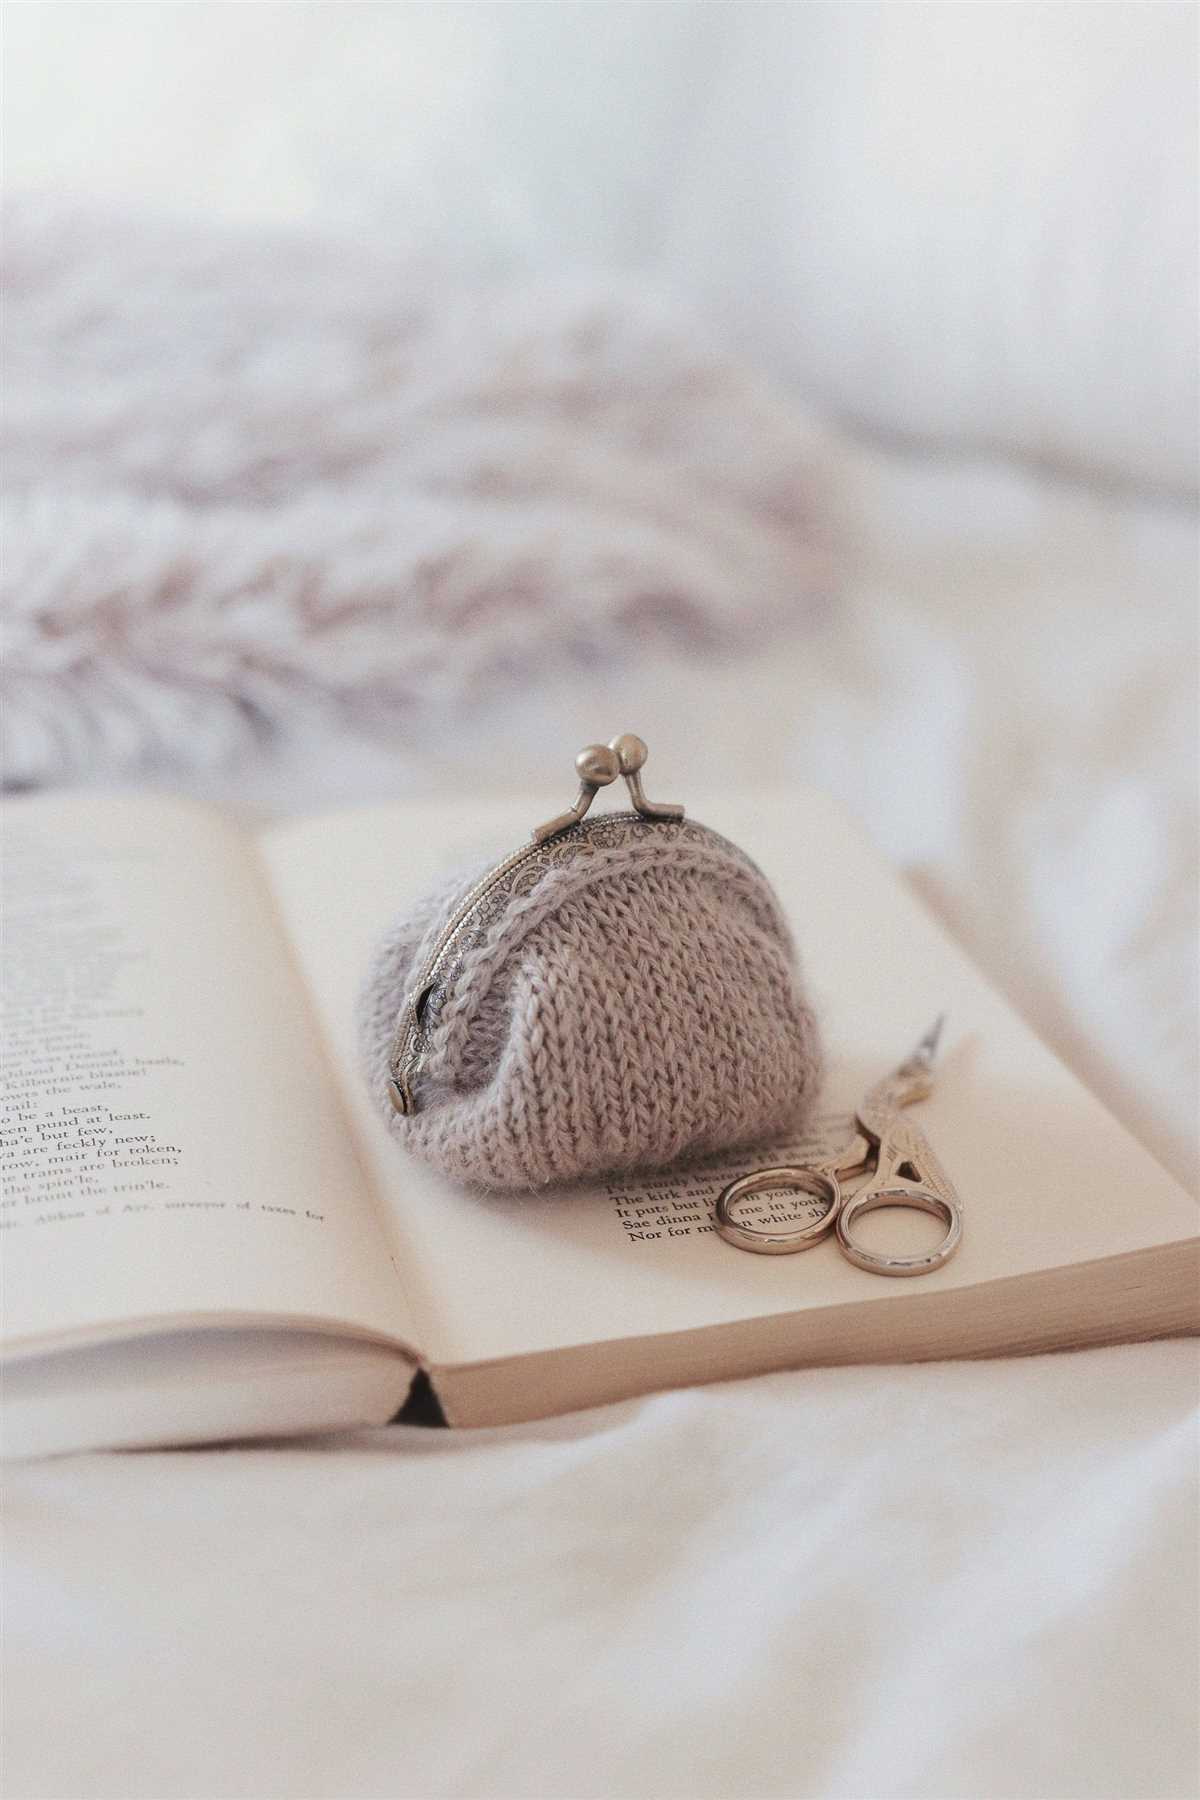
Are you looking for a fun and creative project to showcase your knitting skills? Look no further! In this article, we will share with you an easy knit coin purse pattern that is perfect for beginners and experienced knitters alike. Whether you are knitting your first project or looking to add to your collection, this pattern is bound to become one of your favorites.
This easy knit coin purse pattern is not only practical, but it also makes for a thoughtful and personalized gift. With just a few basic knitting techniques, you can create a stylish and functional coin purse that you can use to hold your loose change, keys, or other small items. The best part? You can customize this pattern to fit your style by choosing your favorite yarn colors and adding embellishments like buttons or beads.
Don’t let the word “knitting” intimidate you – this pattern is designed with beginners in mind. With the help of clear instructions and step-by-step photos, you will be able to create a stunning coin purse in no time. Plus, knitting is a great way to relax and unwind, so you can enjoy the process as much as the final product.
Easy Knit Coin Purse Pattern
If you are looking for a fun and quick knitting project, then this easy knit coin purse pattern is perfect for you. With just a few basic stitches and some colorful yarn, you can create a cute and functional accessory to keep your coins organized.
To start, gather your materials. You will need a set of knitting needles, a small amount of yarn in your desired color, a yarn needle, and a small button for the closure. Choose a soft and sturdy yarn, such as acrylic or cotton, that will hold its shape well.
Instructions
- Cast on 20 stitches using the long tail cast on method.
- Knit every row until the piece measures approximately 4 inches in length.
- Bind off all stitches.
- Fold the knitted piece in half, with the wrong sides together.
- Using the yarn needle, sew the sides of the purse together using a whip stitch or mattress stitch.
- Attach the button to the front of the purse, near the edge.
- Weave in any loose ends.
Once you have completed these steps, you will have a cute and functional coin purse. This easy knit pattern is great for beginners who are looking to practice their knitting skills and create a useful item at the same time. You can easily customize this pattern by using different yarn colors or adding embellishments such as beads or embroidery.
This coin purse is perfect for keeping your loose change in one place, and it also makes a great gift for friends and family. With its simple design and easy construction, you can whip up several of these coin purses in no time. Happy knitting!
Supplies Needed
Before starting your knit coin purse project, make sure you have all the necessary supplies on hand. Here is a list of what you will need:
- Yarn: Choose a soft, lightweight yarn in your preferred color. Cotton or acrylic yarn works well for this type of project.
- Knitting Needles: Select a pair of knitting needles that are the appropriate size for your chosen yarn. Generally, a set of size 8 or 9 needles will work for most coin purse patterns.
- Tapestry Needle: This needle is used for sewing and weaving in loose ends of yarn.
- Crochet Hook: You will need a crochet hook to create the buttonhole, if the pattern requires it.
- Button: Choose a small button that matches the size and style of your coin purse. Make sure it is secure and won’t easily come undone.
- Scissors: A pair of sharp scissors will be needed for trimming yarn and cutting thread.
- Tape Measure: This will come in handy for measuring your gauge and the size of your finished coin purse.
Gather all of these supplies before you begin your knitting project. Having everything within reach will make the process much smoother and more enjoyable.
Choosing the Right Yarn
When it comes to creating an easy knit coin purse, choosing the right yarn is essential. The type of yarn you choose will not only affect the final look and feel of the purse, but also its durability and functionality. Here are a few key factors to consider when selecting the perfect yarn for your project.
1. Fiber Content:
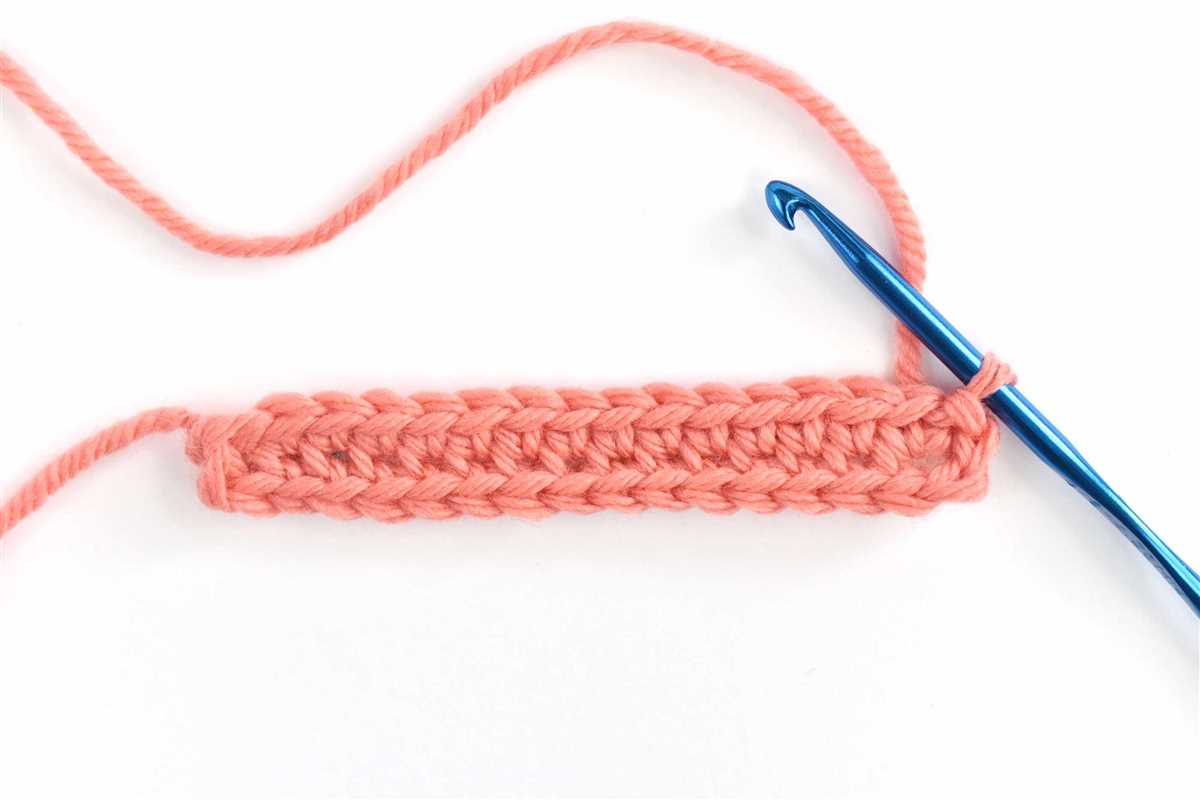
The first thing to consider when choosing yarn is its fiber content. Different fibers have different properties, so it’s important to choose one that suits your needs. For a coin purse, you’ll want a yarn that is sturdy and can withstand frequent use. Some popular options for coin purses include cotton, acrylic, and wool blends. These fibers are known for their durability and ability to hold their shape well.
2. Weight:
The weight of the yarn refers to its thickness and can greatly affect the overall look and feel of your coin purse. For a small and functional coin purse, you’ll typically want to choose a lightweight or medium-weight yarn. These yarns are easier to work with and create a more compact final product. Avoid bulky or chunky yarns, as they may make the purse too big and difficult to manipulate.
3. Color and Texture:
The color and texture of the yarn are also important considerations when choosing yarn for a coin purse. While the color is a matter of personal preference, it’s important to choose a yarn that is easy to see stitches in, especially if you’re new to knitting. As for texture, you may want to consider a smooth yarn for a sleek and professional look, or a textured yarn for added visual interest.
By considering these factors and choosing the right yarn for your project, you can ensure that your easy knit coin purse turns out just the way you want it – stylish, functional, and made to last.
Getting Started
If you’re looking for a fun and easy knitting project, then this easy knit coin purse pattern is perfect for you! Whether you’re a beginner or an experienced knitter, this pattern is straightforward and quick to make.
To get started, you’ll need a few supplies. First, you’ll need some knitting needles. For this pattern, I recommend using a pair of size 7 or size 8 knitting needles. You’ll also need some yarn. I suggest using a medium-weight yarn in a color of your choice. Lastly, you’ll need a yarn needle for finishing and a small button for the closure.
Step 1: Casting On

Begin by casting on 30 stitches onto your knitting needles. This will be the width of your coin purse. Make sure to leave a long tail of yarn at the beginning for sewing up the sides later.
Step 2: Knitting Rows
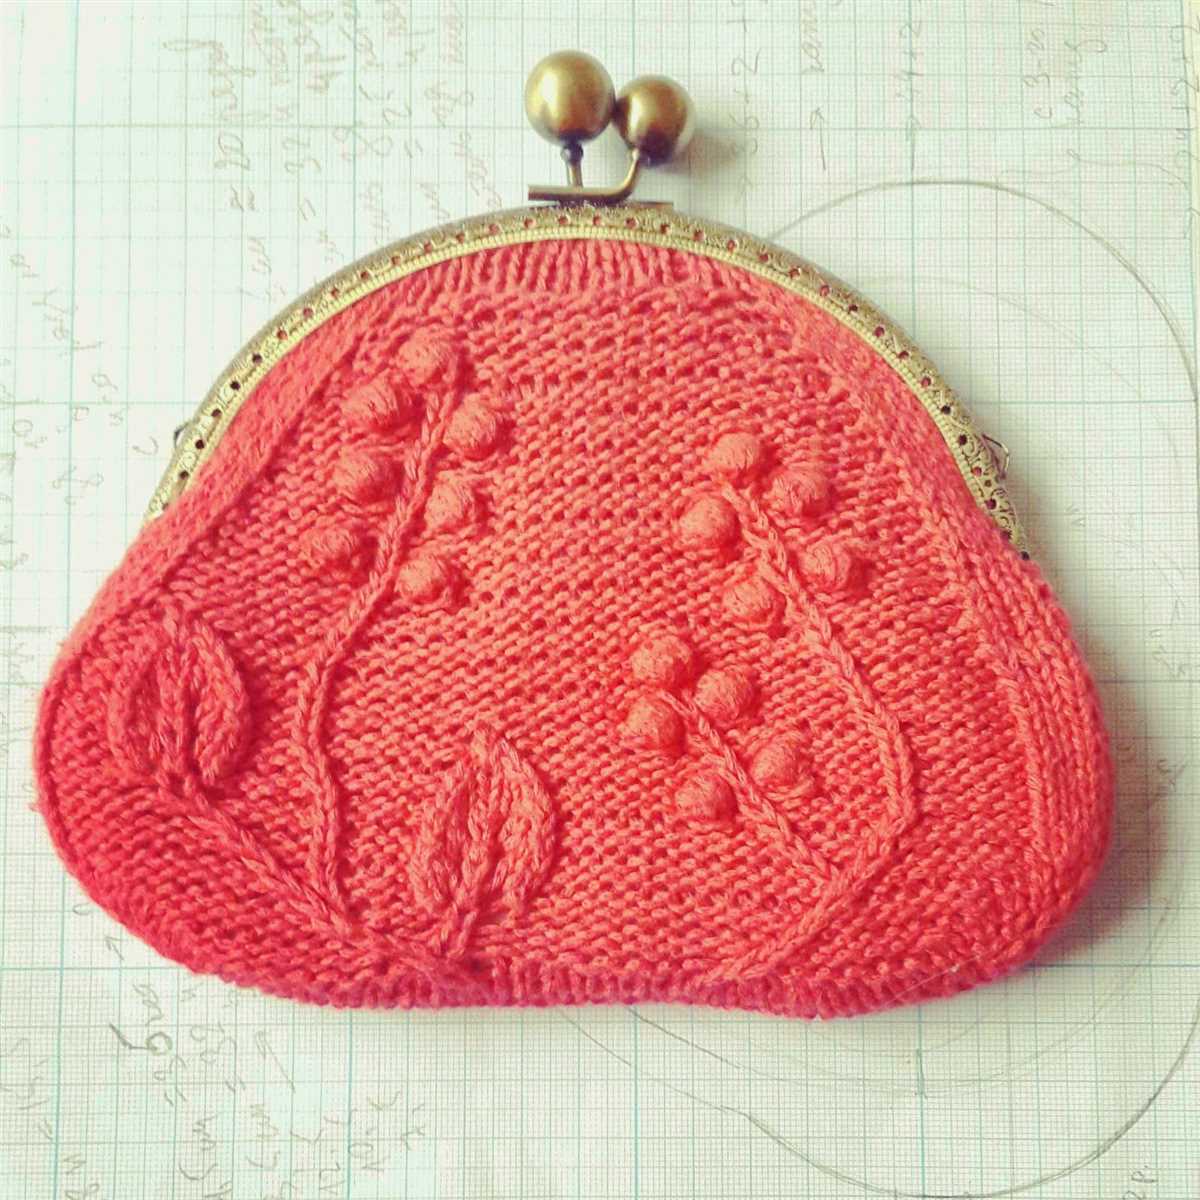
Once you have cast on your stitches, it’s time to start knitting. Knit every row until your work measures approximately 4 inches in length. This will be the height of your coin purse.
Step 3: Binding Off
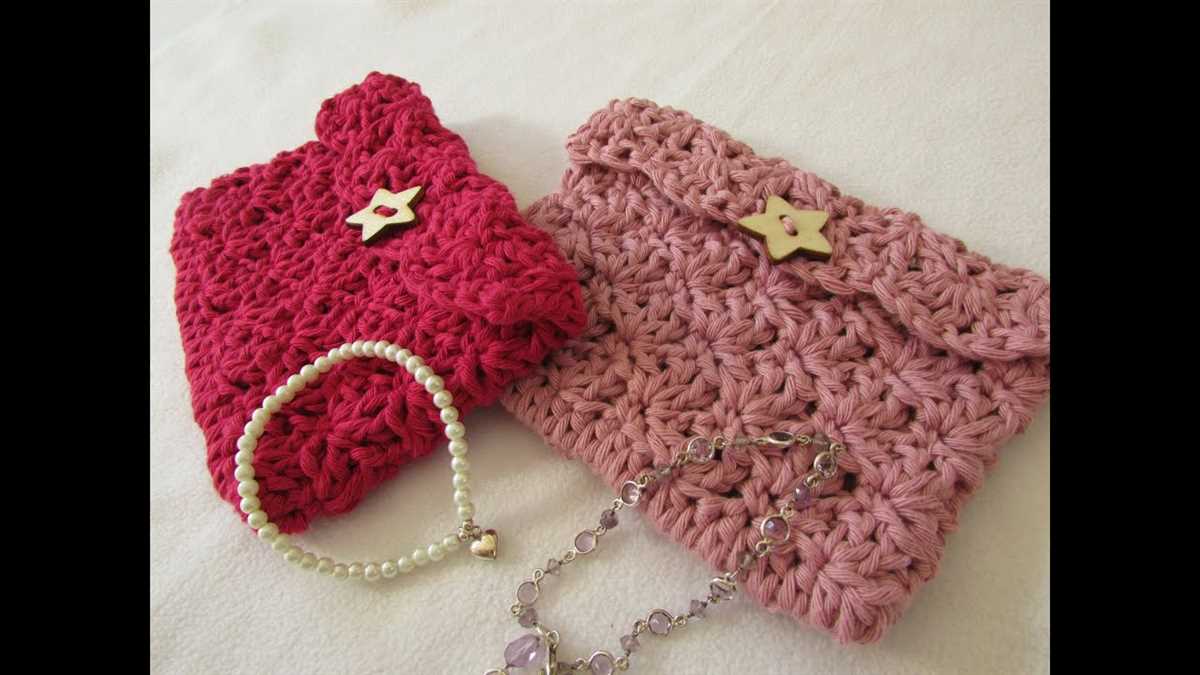
When your work has reached the desired height, it’s time to bind off your stitches. Cut the yarn, leaving a long tail, and thread it through the last stitch on your knitting needle. Pull tight to secure the end of your work.
Step 4: Sewing the Sides
Now, fold your knitted piece in half so that the cast on and bind off edges are aligned. Using the long tails of yarn left at the beginning and end, use a yarn needle to sew up the sides of the coin purse. Make sure to sew in a sturdy and secure manner.
Step 5: Adding the Button
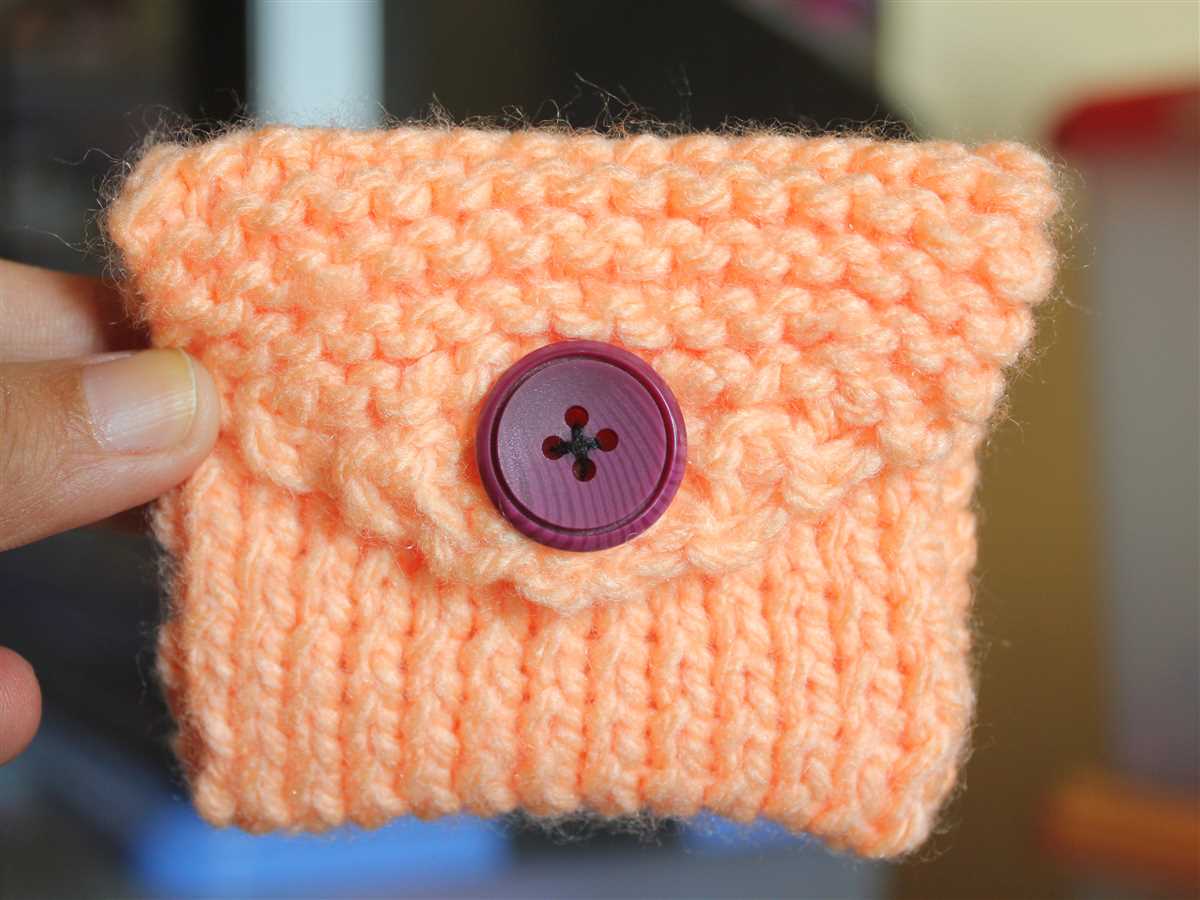
To complete your coin purse, sew a small button onto the front of the purse near the top edge. Make sure the button is securely attached.
That’s it! Your easy knit coin purse is now ready to hold all your loose change. Feel free to get creative with different yarn colors and button designs to customize your purse to your liking.
Basic Knitting Stitches
When it comes to knitting, there are a few basic stitches that every beginner should learn. These stitches form the foundation of knitting patterns and can be easily combined to create a wide variety of textures and designs.
One of the most common stitches is the knit stitch. To knit, simply insert the right-hand needle into the stitch on the left-hand needle, from front to back, and wrap the yarn around the right-hand needle. Then, pull the right-hand needle through the stitch, bringing the new loop of yarn through the old loop. This creates a new stitch on the right-hand needle, while the old stitch is transferred to the right-hand needle.
Another basic stitch is the purl stitch. To purl, insert the right-hand needle into the stitch on the left-hand needle, from back to front, and wrap the yarn around the right-hand needle. Then, pull the right-hand needle through the stitch, bringing the new loop of yarn through the old loop. This creates a new stitch on the right-hand needle, while the old stitch is transferred to the right-hand needle. The purl stitch creates a loop that sits on top of the knitted fabric, creating a bumpy texture.
In addition to the knit and purl stitches, there are a few other basic stitches that are commonly used in knitting patterns. These include the yarn over, which creates an extra stitch and adds lace-like holes to the fabric, the slip stitch, which involves passing a stitch from one needle to the other without knitting or purling it, and the decrease stitch, which involves knitting or purling two stitches together to create a decrease in the number of stitches.
By mastering these basic knitting stitches, you’ll have the skills to tackle a wide range of knitting projects. Whether you’re a beginner or an experienced knitter, understanding and practicing these stitches will help you create beautiful and unique knitted items.
Knitting the Body of the Coin Purse
Once you have finished knitting the flap of your coin purse, it’s time to move on to the body. You will continue knitting in garter stitch, just like you did for the flap. To start, pick up stitches along one side of the flap. The number of stitches you pick up will depend on the size of your flap and the desired size of your coin purse. Make sure to space the stitches evenly along the edge.
Once you have picked up your stitches, you will work in rows back and forth to create the body of the coin purse. Continue knitting in garter stitch, knitting every row, until the body is the desired length. This is where you can get creative with your pattern. You can continue with the same color yarn, or switch to a different color. You can also experiment with different stitch patterns, like ribbing or seed stitch, to add some texture to your coin purse.
If you want to add a lining to your coin purse, now is the time to do it. Cut a piece of fabric that is slightly larger than the size of your knitted body. Fold the edges of the fabric under and sew it to the inside of the coin purse, making sure to leave an opening for turning it right side out later.
Once you have finished knitting the body and adding the lining, you can close up the bottom of the coin purse. Cut the yarn, leaving a long tail. Thread the tail through a tapestry needle and pass it through the stitches along the bottom edge of the coin purse. Pull tight to close the opening, and weave in the end to secure it.
Creating the Drawstring Closure
The drawstring closure is an essential part of a coin purse as it helps keep the contents secure and prevents them from falling out. There are several ways to create a drawstring closure for your easy knit coin purse depending on your preferred aesthetic and level of difficulty.
Elastic Closure

An elastic closure is a simple and convenient option for your coin purse. You can easily attach a thin piece of elastic to the top edge of the purse and secure it in place by stitching it down on both sides. This allows the elastic to stretch, accommodating different sizes of coins and keeping them safely inside the purse.
Ribbon Closure
For a more decorative closure, you can use a ribbon. To create a ribbon closure, you will need to sew a small fabric loop onto the front or back of the coin purse. Then, thread a coordinating ribbon through the loop and tie it into a bow to secure the purse closed. This adds a touch of elegance to your knit coin purse and allows for easy opening and closing.
Button Closure
If you prefer a more traditional closure, you can opt for a button closure. To create a button closure, sew a small button to the front of the coin purse and create a corresponding hole or loop on the back. This allows you to fasten the button through the hole or loop to keep the coin purse closed. Buttons come in a variety of shapes and colors, allowing you to personalize your coin purse according to your style.
Drawstring Closure
Another option is to create a drawstring closure using a thin cord or string. To do this, you will need to sew two small fabric channels on either side of the top edge of the coin purse, leaving a small opening to thread the cord through. Once the cord is threaded through the channels, you can pull it to tighten the closure and secure it with a knot or bow. This closure is adjustable and allows for easy opening and closing.
- Elastic Closure
- Ribbon Closure
- Button Closure
- Drawstring Closure
Choose the closure method that best suits your style and skill level to complete your easy knit coin purse. Whether you prefer simplicity, elegance, or tradition, there is an option for everyone. Have fun experimenting with different closures to add a unique touch to your coin purse.
Finishing Touches
Once you have finished knitting your coin purse, it’s time to add some finishing touches to make it really stand out. Here are a few ideas to help you customize your purse:
- Lining: Adding a lining to your coin purse not only gives it a professional look but also helps prevent coins from slipping through the stitches. You can use fabric or felt to line the purse, and hand stitch the lining in place.
- Button or Zipper Closure: To keep your coins secure, you can add a button or zipper closure to your coin purse. This not only adds a functional element but also allows you to personalize the purse with a button or zipper in a color or design of your choice.
- Embellishments: Add some flair to your coin purse with embellishments such as beads, sequins, or appliques. You can sew them onto the front of the purse to create a unique and eye-catching design.
- Embroidery: If you’re feeling creative, you can use embroidery to add some decorative elements to your coin purse. Consider stitching a monogram, a small flower, or a simple pattern onto the fabric for a personal touch.
- Tassel: Attach a tassel to the zipper or closure of your coin purse to add a fun and playful element. You can make your own tassel using embroidery thread or buy one ready-made in a color that matches your purse.
By adding these finishing touches, you can elevate your coin purse from a simple knitting project to a stylish accessory that reflects your personal style. Have fun getting creative and making your coin purse truly unique!
Customization Options
When it comes to knitting your own coin purse, the customization options are endless. Whether you are a beginner knitter or an experienced one, you can easily tailor the pattern to match your personal style and preferences.
Yarn Choice: One of the first customization options to consider is your yarn choice. Depending on the look and feel you want to achieve, you can choose from a wide variety of yarn types, colors, and textures. From soft and cozy to bold and vibrant, the yarn you choose will greatly impact the final result.
Pattern Variation: While the easy knit coin purse pattern provides a basic foundation, you can easily modify it to create different designs. For example, you can experiment with different stitch patterns such as ribbing, cables, or lace to add some visual interest to your coin purse. Additionally, you can adjust the size and shape of the purse to better suit your needs.
Embroidery and Embellishments: Another way to customize your coin purse is by adding embroidery or embellishments. You can use embroidery thread to add decorative stitches or patterns to the surface of the purse. Additionally, you can use buttons, beads, or other small accessories to add some extra flair.
Lining: To give your coin purse a professional and finished look, you can add a lining. Lining not only adds structure to the purse but also provides a barrier to prevent coins or other small items from slipping through the knitted stitches. You can choose a fabric that complements your yarn color or opt for a fun pattern.
Personalization: Finally, you can personalize your coin purse by adding a monogram, a name, or other personal touch. This can be done through embroidery, sewing on a patch, or even using fabric paint. Adding your own personal touch ensures that your coin purse is truly one-of-a-kind and reflects your own individual style.
In conclusion, knitting your own coin purse allows for a wide range of customization options. From choosing the yarn and pattern variations to adding embroidery and personalized touches, you can create a coin purse that is unique to you. Let your creativity guide you and enjoy the process of making a practical and stylish accessory.
Tips and Tricks
When knitting a coin purse, there are a few tips and tricks that can help make the process easier and ensure a successful outcome. Here are some key things to keep in mind:
Choose the right yarn
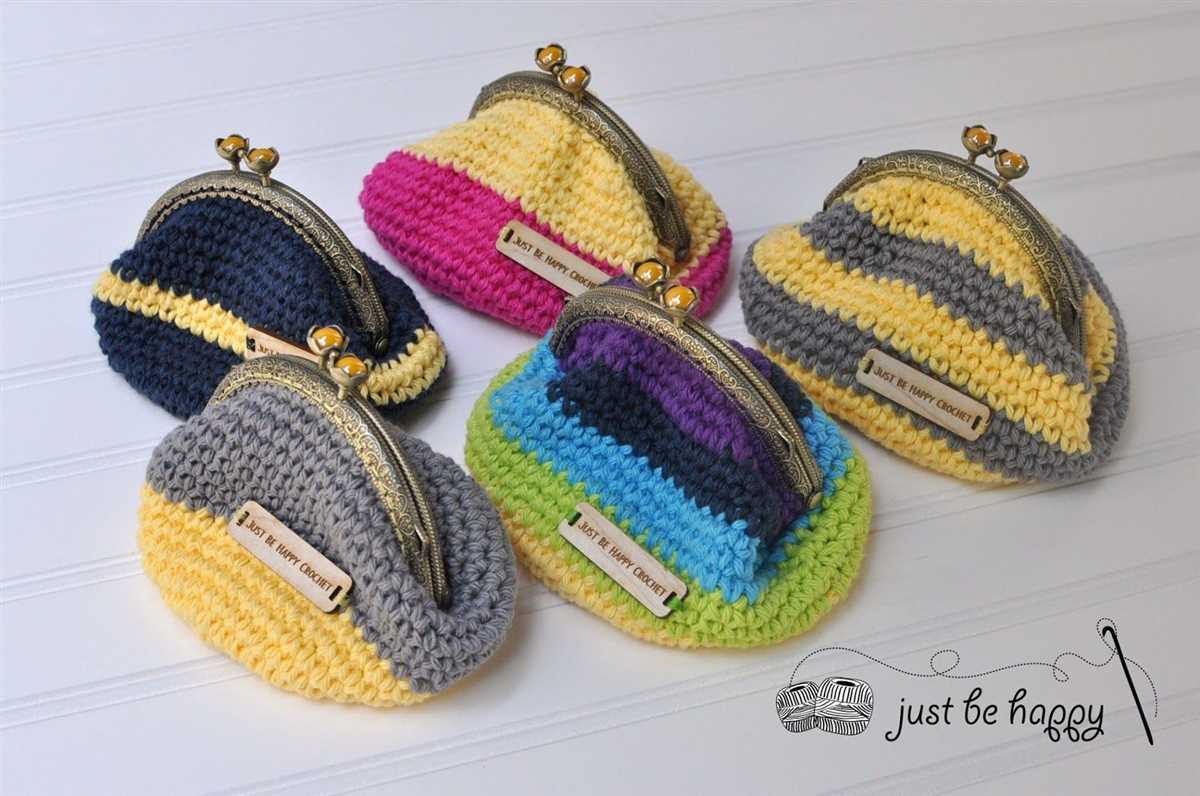
When selecting yarn for a coin purse, it’s important to choose a yarn that is durable and able to withstand the wear and tear of daily use. Look for a yarn that has a high percentage of wool or acrylic, as these fibers are known for their strength and durability. Avoid yarns that are too delicate or prone to felting, as they may not hold up well over time.
Use the right needles
Choosing the right knitting needles for your coin purse can make a big difference in the final result. For a tight-knit fabric, use smaller needles to create a denser fabric that will be more sturdy. However, be careful not to choose needles that are too small, as this can make it difficult to knit and may strain your hands. Test out different needle sizes to find the best balance between a tight stitch and comfortable knitting.
Consider adding a lining
To give your coin purse a more finished look and added durability, consider adding a fabric lining. This can help prevent items from poking through the knitted fabric and can also make the purse easier to clean. Choose a fabric that complements the color and style of your knitted purse, and sew it in place using a sewing machine or by hand.
Experiment with closures
There are many different closure options to choose from for your coin purse, so don’t be afraid to experiment and try something new. Some popular options include zippers, buttons, snaps, or even drawstrings. Consider the size and style of your purse when choosing a closure, and make sure it is securely attached to prevent items from falling out.
- Choose a durable and strong yarn
- Use the right sized needles for a tight-knit fabric
- Consider adding a fabric lining for added durability
- Experiment with different closure options to find the best fit
Final Thoughts
In conclusion, knitting your own coin purse can be a fun and rewarding project. Not only does it allow you to create a personalized and unique accessory, but it also gives you the opportunity to practice and improve your knitting skills.
With the easy knit coin purse pattern provided, even beginners can successfully complete this project. The clear instructions and simple stitches make it an ideal choice for those who are new to knitting.
Additionally, this pattern can be easily customized to fit your personal style and preferences. Whether you want to add embellishments or experiment with different yarns and colors, the possibilities are endless.
The finished coin purse is not only functional but also makes for a great handmade gift. You can create personalized coin purses for your friends and family, adding a personal touch to your presents.
Overall, knitting a coin purse is a fun and practical project that allows you to showcase your creativity and skills. So grab your knitting needles and start stitching your own coin purse today!