Knitting your own lace scarf is a great way to add a stylish and unique accessory to your wardrobe. With a simple lace pattern and basic knitting techniques, you can create a beautiful scarf that will keep you warm and stylish. This easy knitted lace scarf pattern is perfect for beginners who want to try their hand at lace knitting.
The pattern uses a basic lace stitch that is repeated throughout the scarf, creating a delicate and airy pattern. The scarf is knitted in a soft and lightweight yarn, making it perfect for year-round wear. The pattern is easy to follow and requires only basic knitting skills, such as casting on, knitting, purling, and binding off. It’s a great project for beginners who want to practice their knitting skills and create a beautiful accessory.
To knit this scarf, you will need a pair of knitting needles and a skein of your favorite yarn. The pattern provides instructions for both the lace stitch pattern and the finishing details, such as blocking the scarf to give it a polished and professional look. Whether you’re a beginner or an experienced knitter, this easy knitted lace scarf pattern is a great project to add to your knitting repertoire.
Choosing the right yarn and knitting needles

When embarking on a project like knitting a lace scarf, it’s important to choose the right yarn and knitting needles to ensure the best results. The yarn and needles you use can greatly influence the overall look and feel of the finished product.
One of the first things to consider when selecting yarn is its fiber content. A finer yarn with a high percentage of natural fibers, such as wool or alpaca, is often a popular choice for a lace scarf. Natural fibers have a beautiful drape and elasticity that can enhance the delicate lace stitches. However, some knitters may prefer a softer, more lightweight yarn made from synthetic fibers like silk or bamboo, which can give a different texture and feel to the scarf.
Once you have chosen the fiber content, it’s important to consider the weight and thickness of the yarn. Lace knitting typically requires a finer yarn, such as lace weight or fingering weight, to achieve the delicate appearance of the lace stitches. These thinner yarns create more intricate and detailed patterns, but they can also be more challenging to work with for beginners. If you’re new to lace knitting, you may want to start with a slightly thicker yarn, like sport weight, until you gain more experience and confidence.
When it comes to selecting knitting needles, the size and material can make a difference in the final product. Lace knitting often requires smaller needles to create the fine stitches. Circular needles are a popular choice for knitting a scarf, as they can hold a large number of stitches and make it easier to manage the length of the project. The material of the needles can also impact the outcome – metal needles might provide a smoother surface for the yarn to glide on, while wooden or bamboo needles may offer a bit more grip and control, especially for more slippery fibers.
Casting on and creating the foundation row
To begin knitting the lace scarf pattern, you will need to cast on your stitches and create the foundation row. This is the first row of your scarf and sets the stage for the lace pattern to come.
The number of stitches you cast on will depend on the desired width of your scarf. You can refer to the pattern instructions to determine the recommended number of stitches or make adjustments based on your own preferences.
One common method for casting on is the long-tail cast on. To do this, you will need to estimate the amount of yarn you will need for your cast on stitches and leave a long tail. Then, make a slip knot and place it on your knitting needle.
With the slip knot on your needle, hold the needle in your right hand and the tail and working yarn in your left hand. Insert the right needle into the slip knot from left to right, and then bring the working yarn over the right needle and through the slip knot.
Slide the new stitch onto the left needle and tighten the yarn tail to secure the stitch. Repeat this process until you have cast on the desired number of stitches.
Once all your stitches have been cast on, you are ready to create the foundation row. This row is usually worked in a simple stitch pattern, such as garter stitch or stockinette stitch, to create a solid base for the lace pattern. Follow the pattern instructions to determine the specific stitch pattern for your foundation row.
With the foundation row complete, you can now move on to the lace stitch pattern and start creating the intricate design of your scarf.
Learning the basic lace stitch pattern
If you are new to knitting lace, it’s important to start with a simple and easy lace stitch pattern to practice your skills. One such pattern is the basic lace stitch, which is perfect for beginners. This stitch pattern involves a combination of yarnovers and decreases to create an open and airy texture.
To knit the basic lace stitch pattern, you will need to know how to knit, purl, yarnover (yo), and knit two together (k2tog). These are the basic stitches used in lace knitting, and once you have mastered them, you will be able to create a wide variety of lace patterns.
The basic lace stitch pattern is worked over a multiple of stitches, usually a multiple of two or four. It begins with a set-up row, which is usually just knit stitches, followed by the lace pattern. The lace pattern typically consists of a combination of yarnovers and decreases, which create the open and lacy effect.
- To work a yarnover, bring the yarn to the front of the work and then over the right-hand needle to the back.
- To work a knit two together, insert the right-hand needle into the next two stitches on the left-hand needle as if to knit, and then knit them together as one stitch.
The basic lace stitch pattern is a versatile stitch that can be used for a variety of projects, such as scarves, shawls, and even garments. Once you have mastered the basic lace stitch pattern, you can experiment with different combinations of yarnovers and decreases to create your own unique lace patterns.
Continuation of the Lace Pattern

Now that you have completed the initial lace pattern for your knitted scarf, it’s time to continue with the next section. This section will build upon the previous lace motif and add new elements to create a beautiful and intricate design.
Start by knitting a few rows in plain stockinette stitch to provide a break before transitioning into the next lace pattern. This will help define the different sections of your scarf and make the lace pattern stand out even more.
Section 2: Diamond Lace
For the next section of your scarf, you will introduce a diamond lace pattern. This pattern creates a delicate and decorative motif that adds visual interest to your knitted lace scarf.
- Row 1: knit 1, *yo, k2tog, yo, k3, sl1-k2tog-psso, k3, yo, k2tog, yo, k1; repeat from * to end of row.
- Row 2: purl all stitches.
- Repeat rows 1 and 2 until the diamond lace pattern reaches your desired length.
Continue knitting the diamond lace pattern until you reach the desired length for this section of your scarf. The repetition of these rows will create a consistent and symmetrical diamond pattern that will flow seamlessly into the next section.
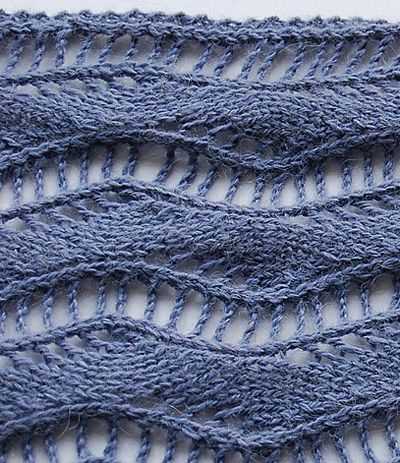
Section 3: Wave Lace
For the final section of your knitted lace scarf, you will introduce a wave lace pattern. This pattern adds a flowing and undulating element to your scarf, creating a captivating visual effect.
- Row 1: knit 1, *k2tog, yo, k1, yo, k3, sl1-k2tog-psso, k3, yo, k1, yo; repeat from * to end of row.
- Row 2: purl all stitches.
- Repeat rows 1 and 2 until the wave lace pattern reaches your desired length.
Continue knitting the wave lace pattern until you have reached the desired length for this section of your scarf. The alternating waves created by this pattern will provide a stunning finishing touch to your knitted lace scarf.
Creating the eyelet pattern
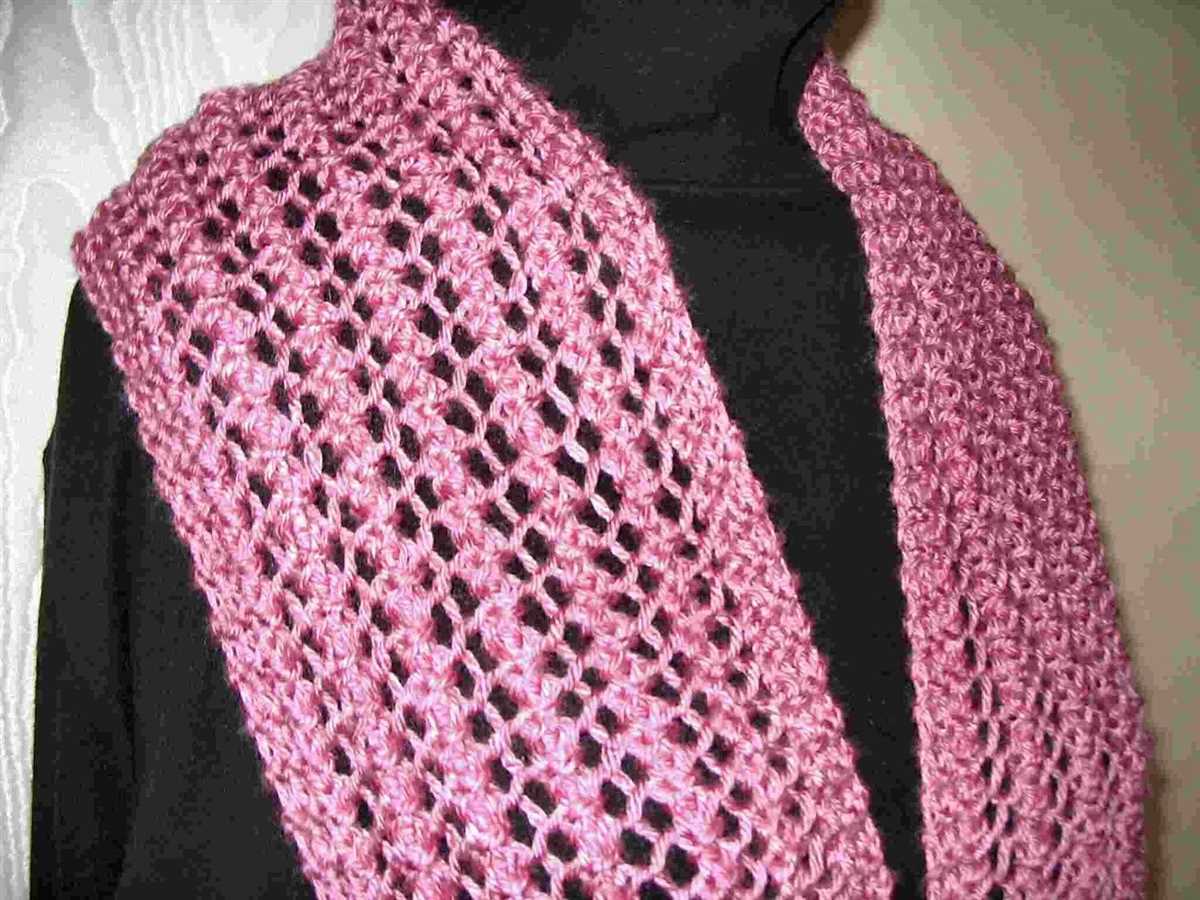
When knitting a lace scarf, the eyelet pattern is a popular choice for adding a delicate and airy look to your project. The eyelet pattern consists of small holes or “eyelets” evenly spaced throughout the fabric, created by a series of yarn overs and decreases.
To start creating the eyelet pattern, you will first need to cast on the desired number of stitches for your scarf. It’s a good idea to work with an odd number of stitches to make the pattern symmetrical. Once your stitches are cast on, you can begin the eyelet pattern.
Yarn Overs: A yarn over (YO) is the simplest way to create an eyelet in your knitting. To perform a yarn over, simply bring the yarn to the front of your work between the needles, then back to the back of the work again. This creates an extra loop of yarn on your needle.
Decreases: To complement the yarn overs, you will also use decreases in the eyelet pattern. The most common decrease used in lace knitting is the knit two together decrease (K2tog). To perform a K2tog decrease, simply insert your right needle into the next two stitches on your left needle as if to knit, and knit them together as one stitch.
By combining yarn overs and decreases, you can create a variety of eyelet patterns. You can experiment with different stitch combinations, such as a single yarn over followed by a K2tog decrease, or multiple yarn overs and decreases in a row. This will give your scarf a unique and intricate look.
Pro tip: When working with eyelet patterns, it’s important to keep track of your stitch count and pattern repeats to ensure that your scarf stays symmetrical. Using stitch markers or a row counter can help you stay on track.
Incorporating increases and decreases in the lace
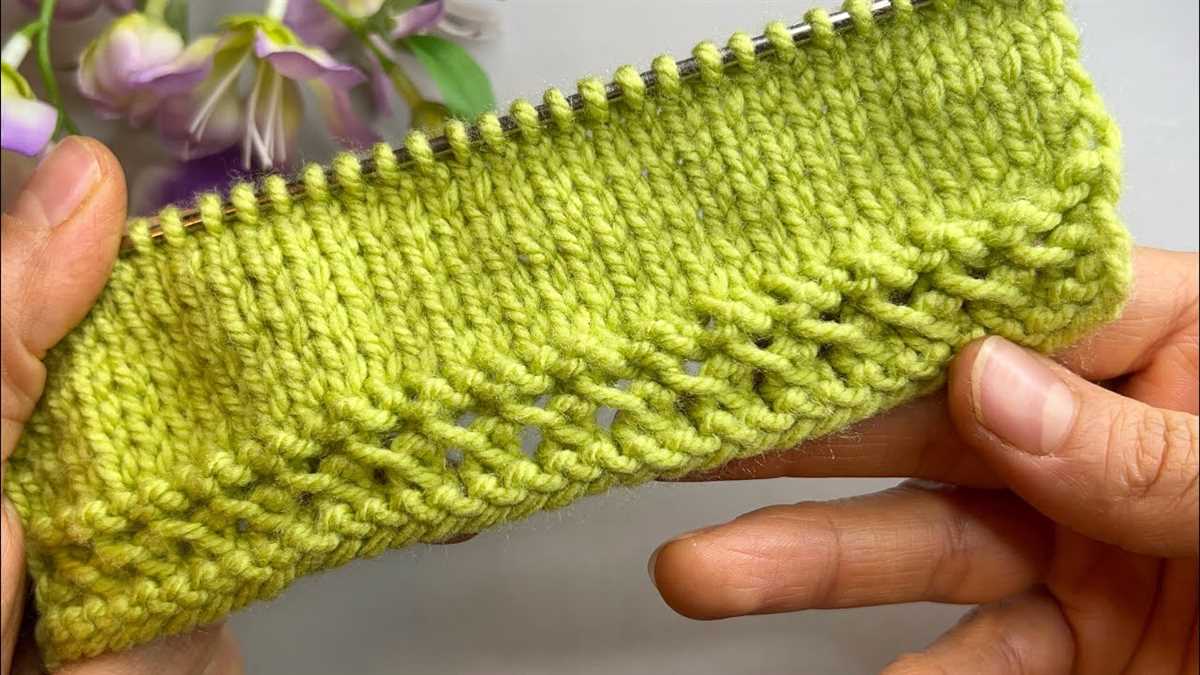
When knitting lace patterns, it’s important to understand how to incorporate increases and decreases to create the intricate designs. These techniques are essential for shaping the lace and adding depth to the pattern. By using increases and decreases strategically, knitters can create waves, diamonds, and other intricate lace motifs.
One commonly used increase in lace knitting is the yarn over (YO). This simple technique involves wrapping the yarn around the needle, creating an extra stitch. YOs are often used in lace patterns to create the holes and spaces that give lace its airy and delicate appearance. When knitting a YO, it’s important to remember that the YO itself doesn’t count as a stitch, so it should be paired with a decrease to maintain the stitch count.
Another frequently used decrease in lace patterns is the knit 2 together (K2tog). This decrease involves knitting two stitches together to create a single stitch. K2tog decreases are often used to create decreases that slant to the right in lace patterns. They can be paired with YOs to create eyelets and other decorative elements in the lace.
It’s important to carefully follow the lace pattern instructions when incorporating increases and decreases. The pattern will specify where and how to work these stitches to achieve the desired lace design. By practicing these techniques and understanding how they contribute to the overall structure of the lace, knitters can create beautiful and intricate lace scarves.
Transitioning to the next lace section
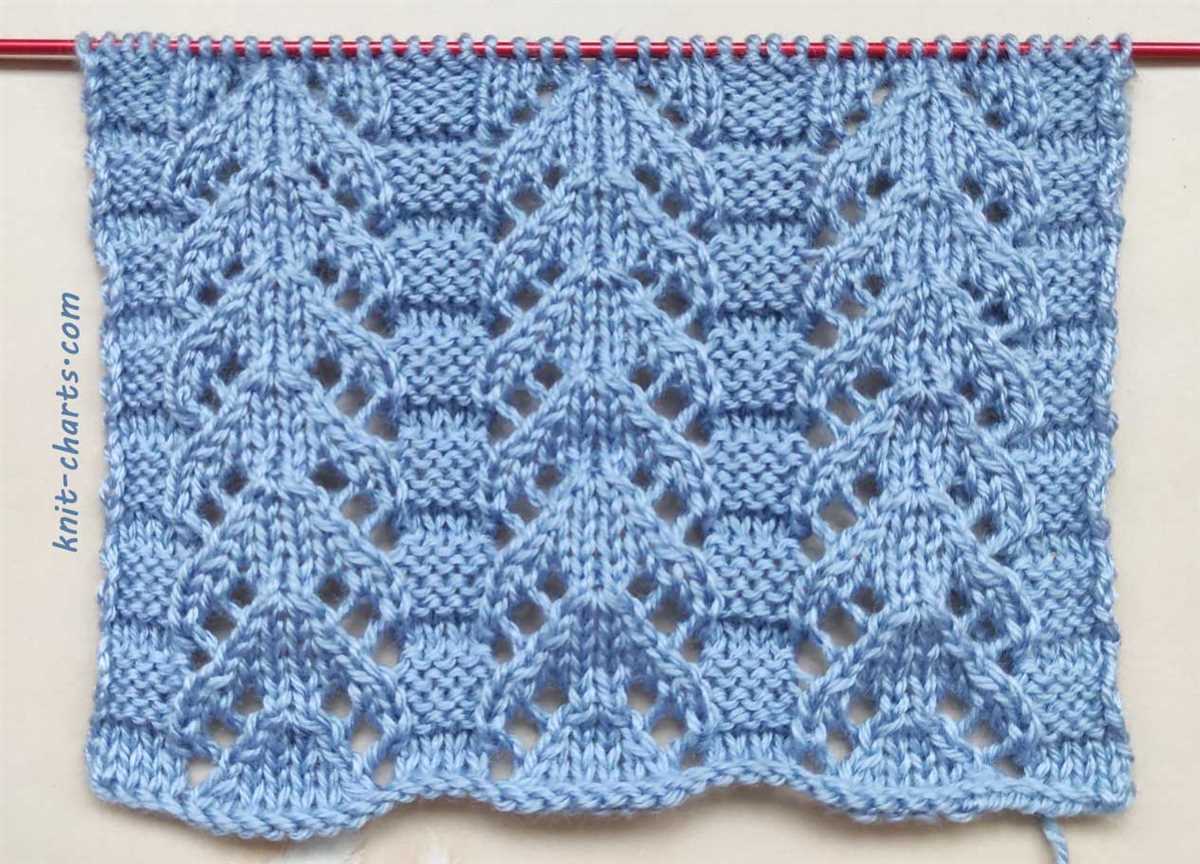
When knitting a lace scarf pattern, one of the beautiful aspects is the transition between different lace sections. These transitions help create visual interest and add complexity to the overall design. To ensure a smooth transition, there are a few key tips to keep in mind.
Firstly, pay attention to the stitch count: Each lace section will have a different number of stitches, so it’s important to keep track of the stitch count as you move from one section to the next. Make sure to count your stitches at the end of each lace section to ensure you haven’t missed any stitches or accidentally added extra ones.
Secondly, follow the pattern instructions: Lace patterns often have specific instructions for transitioning between sections. These instructions may involve increasing or decreasing stitches, adding yarn overs, or working specific stitches to create a smooth flow between sections. It’s important to carefully read and follow the pattern instructions to achieve the desired transition.
When transitioning between lace sections, you may encounter different stitch patterns or motifs. It’s important to keep in mind that each lace section may require a different set of stitches or techniques to create the desired lace pattern. For example, one section may include lace eyelets, while another section may involve intricate lace motifs. Be prepared to learn and practice new stitches as you progress through the pattern.
Finally, maintain tension and gauge throughout: Consistency in tension and gauge is crucial when transitioning between lace sections. Sudden changes in tension or gauge can result in an uneven or distorted lace pattern. Make sure to knit or purl your stitches with the same tension throughout the project, ensuring a consistent look across all sections.
Transitioning to the next lace section is an exciting part of the knitting process. By following these tips and being mindful of stitch count, pattern instructions, stitch patterns, and tension, you can create a beautiful and seamless transition that will enhance the overall beauty of your knitted lace scarf pattern.
Repeating the lace pattern until desired length
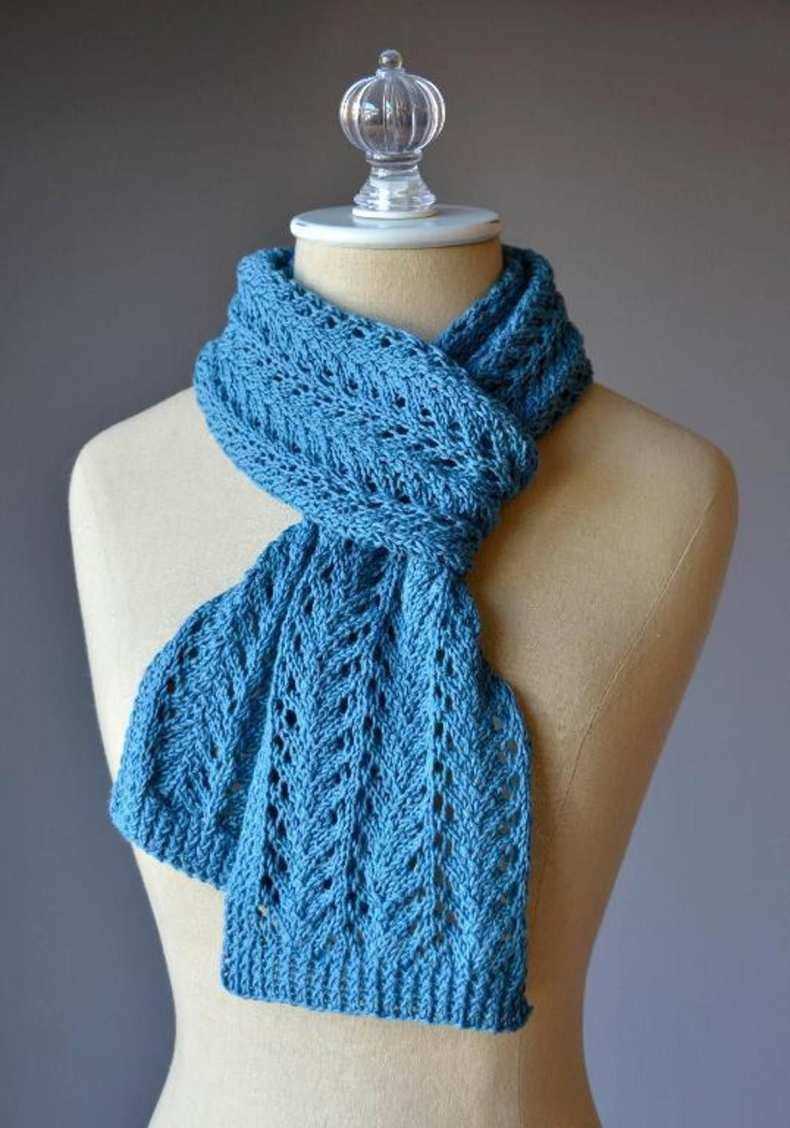
Once you have mastered the lace pattern for your knitted scarf, you can start repeating it until you reach your desired length. Repeating the pattern creates a visually pleasing and cohesive design, allowing you to showcase the intricate lacework throughout the entire scarf.
To begin, carefully review the lace pattern instructions to ensure you understand the various stitches and techniques involved. It’s essential to have a solid understanding of the pattern before proceeding to avoid mistakes or inconsistencies in your work.
After you have familiarized yourself with the lace pattern, continue knitting, repeating the specified stitches and rows until you achieve the length you desire for your scarf. It may be helpful to use stitch markers to keep track of each pattern repeat and ensure accuracy.
Remember to periodically check your work against the pattern instructions to ensure you’re maintaining the correct stitch count and achieving the desired lace effect. If you encounter any difficulties or make a mistake, don’t hesitate to refer back to the pattern or seek guidance from fellow knitters or online resources.
By repeating the lace pattern until your chosen length, you can create a beautiful, delicate scarf that showcases your knitting skills and adds an elegant touch to any outfit.
Binding off and finishing the scarf
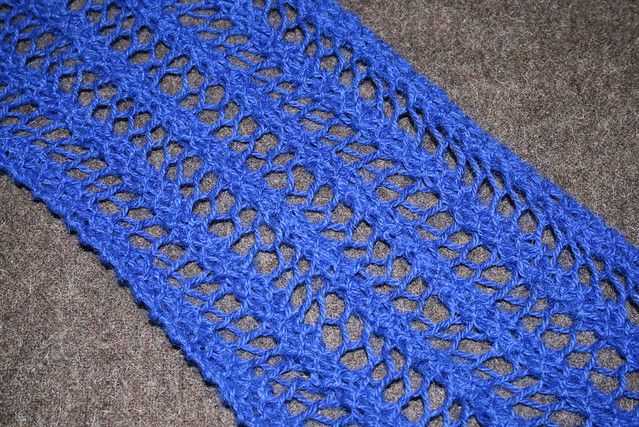
Once you have completed the main body of the lace scarf, it is time to bind off and finish the project. Binding off ensures that the stitches do not unravel and gives the scarf a clean, finished edge. Here is a simple method for binding off:
- Begin by knitting two stitches.
- Insert the left needle into the first stitch on the right needle.
- Lift the first stitch over the second stitch and off the needle.
- Knit another stitch, then lift the second stitch over the third stitch and off the needle.
- Repeat steps 3 and 4 until there is only one stitch left on the right needle.
- Cut the yarn, leaving a long tail.
After binding off, you can add any finishing touches to the scarf. This may include weaving in the loose ends of yarn, blocking the scarf to give it shape, or adding any desired embellishments, such as tassels or decorative buttons. Weaving in loose ends involves threading the yarn through nearby stitches to secure it in place and prevent it from unraveling. Blocking the scarf can be done by gently wetting it and shaping it on a flat surface to ensure that the lace pattern is fully visible. Lastly, adding embellishments allows you to personalize the scarf and make it unique to your style.
Blocking the finished scarf
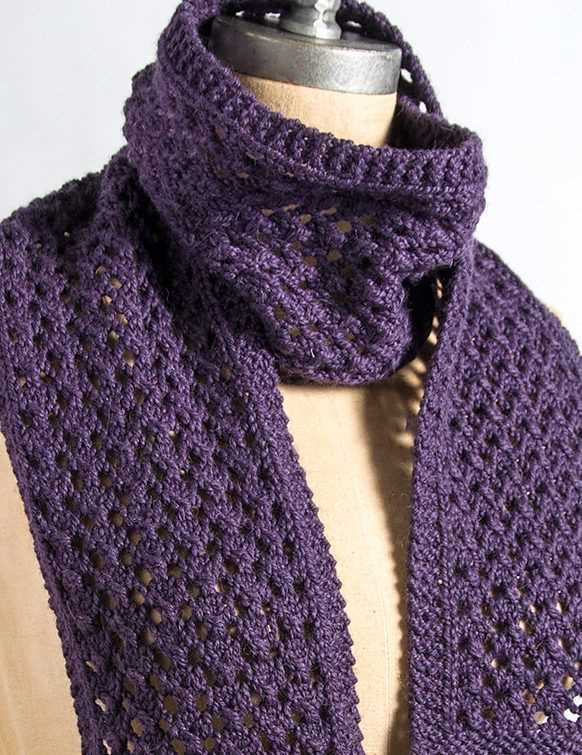
Blocking is an essential step in finishing a knitted lace scarf. It helps to shape and enhance the pattern, making the scarf look more polished and professional. The process involves wetting the scarf and then carefully stretching and pinning it out to the desired measurements. This allows the lace stitches to open up and create a more defined look.
To block your finished scarf, you will need some basic supplies such as blocking mats or towels, rust-proof pins, and a spray bottle. Start by filling the spray bottle with lukewarm water and lightly mist the scarf, ensuring it is evenly damp but not soaking wet. Lay the scarf on the blocking mats or towels and gently stretch it to the desired shape and size.
Pin the edges: Using rust-proof pins, pin the edges of the scarf to the mats or towels, ensuring that the edges are straight and smooth. This will help to maintain the desired shape of the scarf while it dries.
Pin the points: For a more intricate lace pattern, you may want to pin out the individual points or motifs to enhance their visibility. Carefully stretch each point and pin it down, being mindful not to distort the rest of the scarf.
Let the scarf dry completely before unpinning it. This can take several hours or even overnight, depending on the thickness of the yarn and the climate. Once dry, gently remove the pins and admire your beautifully blocked lace scarf.
Adding Optional Embellishments
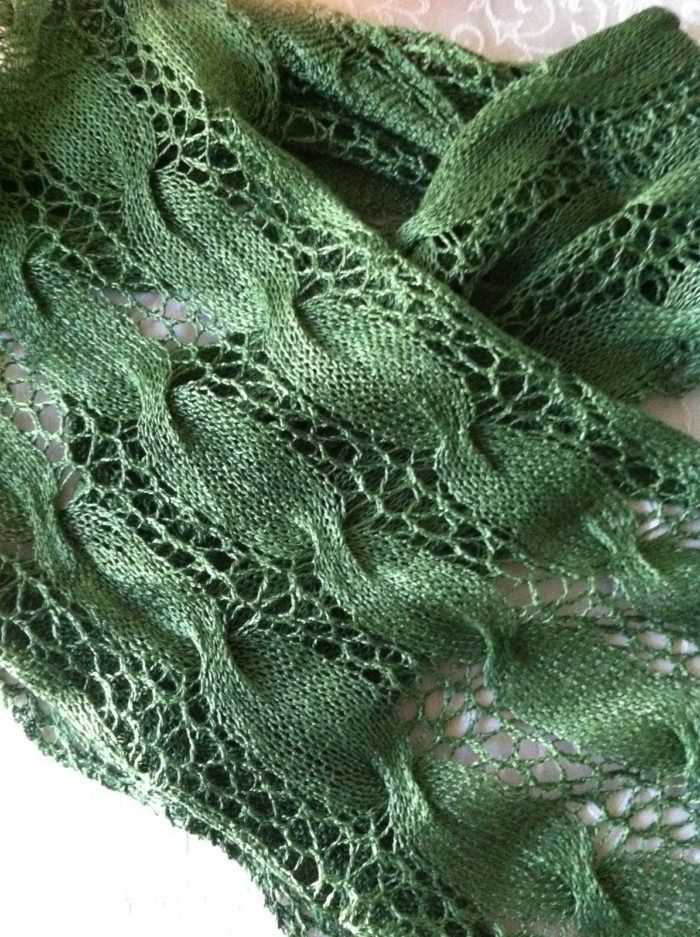
If you want to add some extra flair to your easy knitted lace scarf, there are several optional embellishments you can incorporate into your design. These embellishments can help to elevate the overall look of the scarf and make it even more unique and personalized.
One option for embellishing your scarf is to add fringe. Fringe can be added to the ends of the scarf by simply cutting several strands of yarn to the desired length and attaching them to the ends. This can add a playful and bohemian touch to your scarf.
Another option is to incorporate beads into the lace pattern. You can add beads to specific stitches or rows using a crochet hook or a dental floss threader. This can create a subtle shimmer and add a touch of elegance to your scarf.
If you want to add some dimension to your scarf, you can also consider using different yarn textures. For example, you can combine a smooth yarn with a fuzzy or textured yarn to create a visually interesting contrast. This can give your scarf a more dynamic and multidimensional look.
Finally, you can also consider adding a decorative border to your scarf. This can be done by knitting an additional row or two in a contrasting color or stitch pattern along the edges of the scarf. This can give your scarf a polished and finished look.
Overall, adding optional embellishments to your easy knitted lace scarf can help to make it stand out and reflect your personal style. Whether you choose to add fringe, beads, different yarn textures, or a decorative border, these embellishments can take your scarf to the next level and make it truly unique.
Tips for washing and caring for your knitted lace scarf
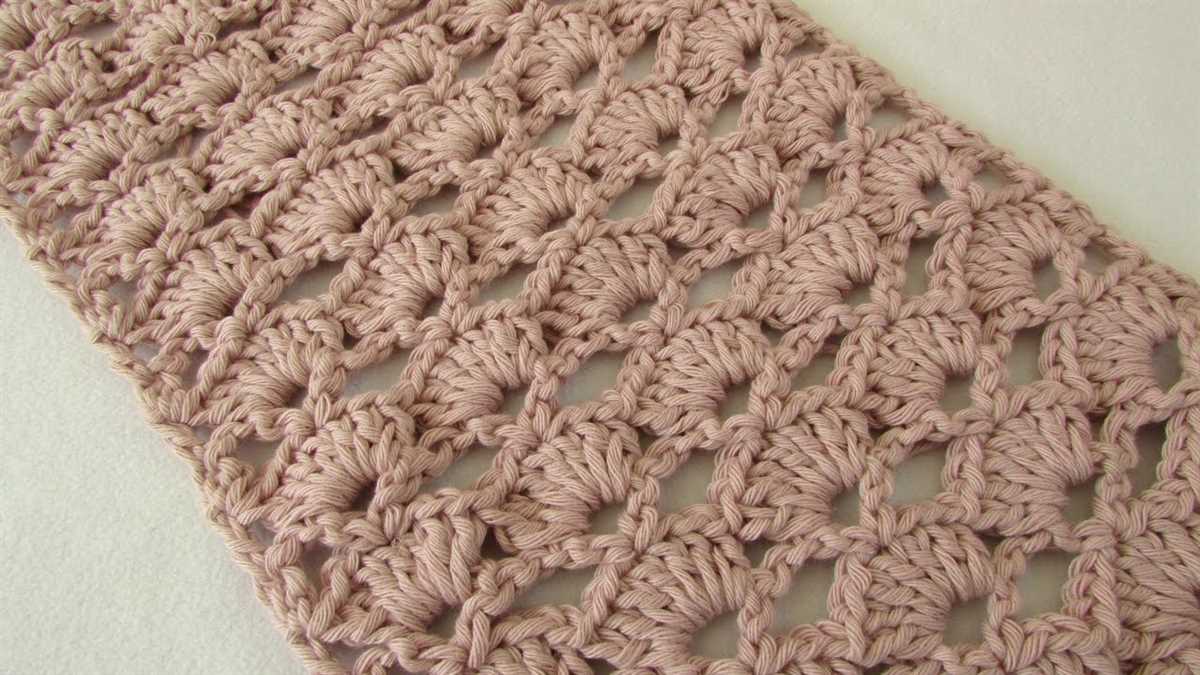
Knitted lace scarves are delicate and require special care to ensure they retain their shape and beauty. Here are some tips to help you properly wash and care for your knitted lace scarf:
1. Hand wash: It is best to hand wash your knitted lace scarf rather than machine washing it. Fill a sink or basin with lukewarm water and add a small amount of mild detergent. Gently agitate the scarf in the water, being careful not to stretch or twist it. Rinse the scarf thoroughly with clean water.
2. Drying: After washing, gently squeeze out excess water from the scarf, being careful not to wring or twist it. Lay it flat on a towel and roll it up to remove more moisture. Unroll the towel and reshape the scarf, smoothing out any wrinkles or creases. Lay it flat on a clean, dry towel and allow it to air dry. Avoid hanging the scarf or using a dryer, as this can cause stretching and damage to the delicate lace.
3. Blocking: Blocking is an important step in caring for a knitted lace scarf. To block your scarf, pin it out on a blocking mat or towel, gently stretching it to the desired shape and size. Use rustproof T-pins to hold the scarf in place. Allow it to dry completely in this stretched position before unpinning it.
4. Storage: When storing your knitted lace scarf, be sure to fold it gently and avoid hanging it. Place it in a cool, dry place, away from direct sunlight and moisture. To prevent snagging, you can also store it in a cloth bag or pillowcase.
5. Care with jewelry and sharp objects: Be cautious when wearing your knitted lace scarf with jewelry or around sharp objects. Avoid wearing necklaces or earrings that can catch on the delicate lace, and be careful not to snag the scarf with rings or sharp edges.
6. Repairing: If your knitted lace scarf gets damaged or develops small holes, you can repair it with a fine knitting needle and matching yarn. Carefully weave the yarn through the stitches surrounding the damaged area, replicating the pattern as closely as possible.
By following these tips, you can ensure that your knitted lace scarf remains beautiful and lasts for years to come. Take the time to properly care for and maintain your scarf, and it will continue to be a cherished accessory in your wardrobe.
Q&A:
Can you recommend an easy knitted lace scarf pattern?
Yes, I can. One easy knitted lace scarf pattern that you may try is the “Feather and Fan” stitch pattern. It is a popular and beginner-friendly lace pattern that creates a beautiful and delicate look. You can find many variations of this pattern online, along with detailed instructions on how to knit it.
What size needles should I use for an easy knitted lace scarf?
The needle size you should use for an easy knitted lace scarf depends on the yarn weight you are using and the desired drape of the finished scarf. As a general guideline, if you are using a light or fingering weight yarn, you may use US size 3-5 (3.25-3.75 mm) needles. For a heavier worsted weight yarn, US size 8-10 (5-6 mm) needles would be suitable.
What yarn would you recommend for an easy knitted lace scarf?
For an easy knitted lace scarf, you would generally want a yarn that has good stitch definition and is lightweight. A smooth and solid-colored yarn would be ideal, as it would allow the lace pattern to stand out. Some popular yarn choices for lace knitting include silk, bamboo, or a blend of natural fibers like cotton or linen.
How long should an easy knitted lace scarf be?
The length of an easy knitted lace scarf can vary depending on personal preference and the intended use of the scarf. On average, a scarf length of 60-70 inches (152-178 cm) is common, as this allows for wrapping around the neck and creating different styles. However, you can adjust the length to suit your needs by adding or subtracting pattern repeats.
Is blocking necessary for an easy knitted lace scarf?
Blocking is highly recommended for an easy knitted lace scarf to help open up the lace pattern and give it a more polished and finished look. Blocking involves wetting the finished scarf and gently stretching it to the desired shape. This process helps to even out the stitches and allows the lace pattern to fully showcase its beauty.