
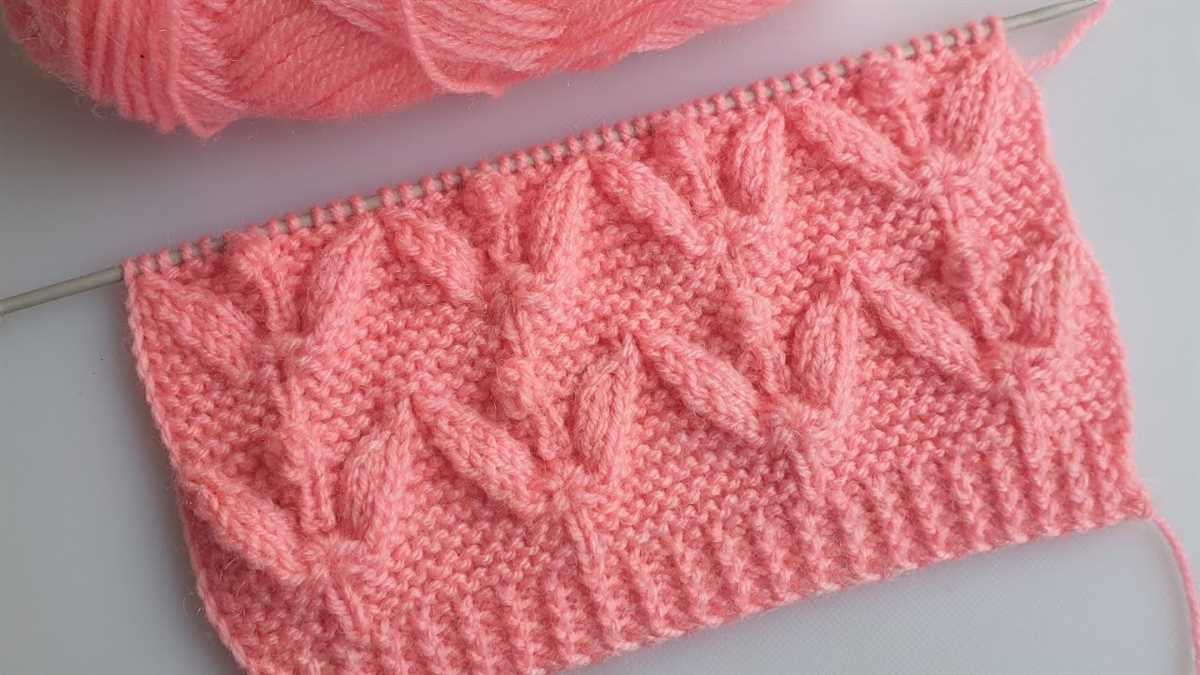
Knitting in the round is a versatile technique that allows you to create seamless projects, from hats and socks to sweaters and blankets. Whether you’re a beginner or an experienced knitter, knitting in the round patterns offer a range of options for quick and easy projects.
One of the advantages of knitting in the round is that there are no seams to sew, making it a faster and more efficient way to knit. With the right pattern and a few basic techniques, you can easily create beautiful, professional-looking projects with minimal effort.
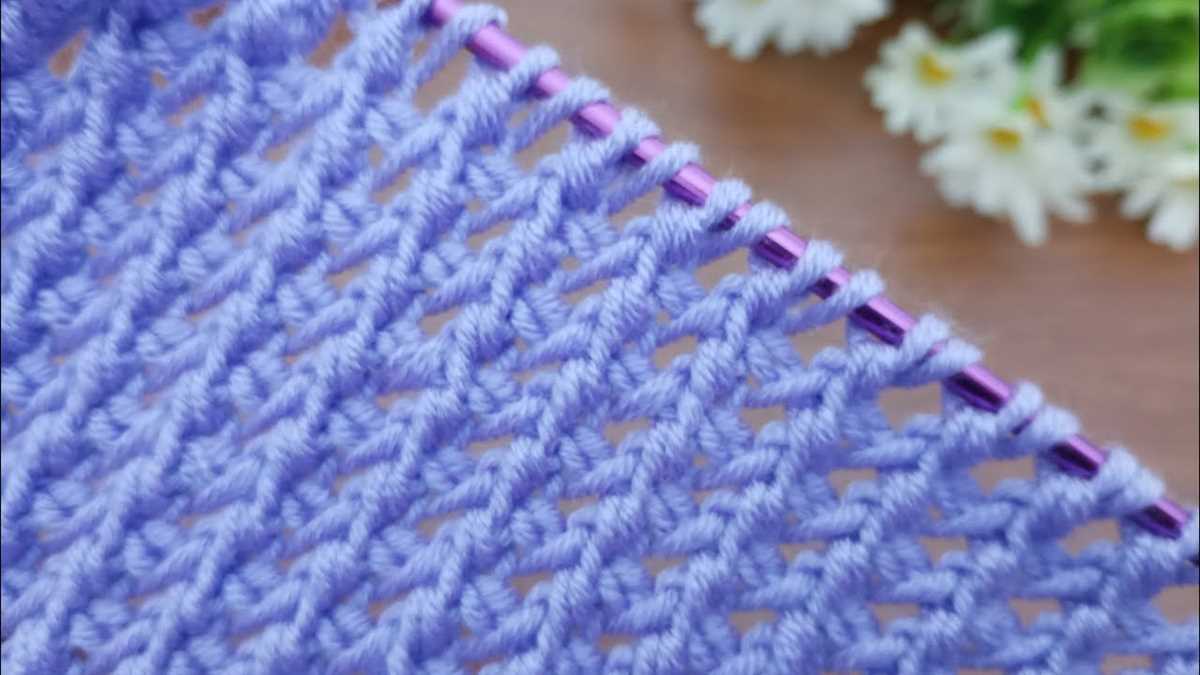
There are a variety of easy knitting in the round patterns available for knitters of all skill levels. From simple hats and scarves to intricate lace patterns and colorwork, there is something for everyone. Whether you prefer working with circular needles or double-pointed needles, there are patterns that can be easily adapted to your preferred method of knitting in the round.
Easy Knitting in the Round Patterns
If you’re new to knitting or looking for simple projects to practice your skills, knitting in the round is a great technique to try. Knitting in the round allows you to create seamless projects like hats, cowls, and sweaters without the need for seams. To help you get started, here are a few easy knitting in the round patterns that you can try.
Hat Pattern
A classic hat is a perfect project for knitting in the round. Using circular needles or double-pointed needles, cast on the desired number of stitches and join them in a round. Then, you can work in the round using a simple knit stitch or experiment with different stitch patterns to create a unique design. Finish off with a decrease round and weave in the ends to complete your hat.
Cowl Pattern
A cowl is another easy project to knit in the round. With circular needles, cast on the desired number of stitches and join them in a round. Then, work in the round using a knit stitch or any other stitch pattern you prefer. You can make a cozy infinity cowl by knitting in the round until the desired length or create a shorter cowl for a more snug fit. Bind off and weave in the ends to finish off your cowl.
Sock Pattern
Socks may seem intimidating, but knitting them in the round can actually be quite simple. Using double-pointed needles or magic loop technique with circular needles, cast on the stitches for the sock cuff and join them in a round. Then, you can work the leg, heel flap, gusset, foot, and toe in the round using a combination of knit and purl stitches. Follow a detailed sock pattern or experiment with different stitch patterns and colorwork to make your socks unique.
These are just a few examples of easy knitting in the round patterns. Once you feel comfortable with knitting in the round, you can explore more complex projects like sweaters, dresses, and even blankets. Don’t be afraid to try new stitch patterns and techniques to create beautiful, seamless knitted items.
Essential Tools for Knitting in the Round

Knitting in the round is a popular technique for creating seamless and circular projects such as hats, socks, and sweaters. To successfully knit in the round, there are several essential tools that every knitter should have in their toolbox.
1. Circular Needles: Circular needles are one of the most important tools for knitting in the round. These needles have two pointed ends connected by a flexible cable, allowing you to easily knit in a continuous loop. They come in various lengths and materials, so choose the one that suits your project and personal preference.
2. Stitch Markers: Stitch markers are small, often colored, rings or clips that are used to mark specific stitches or sections of your knitting. They are essential for keeping track of pattern repeats, increases, decreases, or any other important points in your project. Using stitch markers can help prevent mistakes and make your knitting experience smoother.
3. Tape Measure: A tape measure is a must-have tool for any knitter. It is used to measure your gauge, determine the size of your finished project, and keep track of your progress. Make sure to choose a flexible and reliable tape measure that is easy to read.
4. Yarn Needle: A yarn needle, also known as a tapestry needle, is used to weave in loose ends of yarn and sew pieces of your project together. It is an essential tool for finishing your knitting and giving it a polished look. Look for a yarn needle with a large eye and a blunt tip for easy weaving.
5. Row Counter: Keeping track of your rows is crucial when knitting in the round, especially if you are following a pattern. A row counter is a handy tool that helps you keep count of your rows and repeats. It can be a physical counter that you manually click after each row or a digital counter on your phone or tablet.
6. Scissors: A pair of sharp scissors is essential for any knitting project. You will need them to cut yarn, trim ends, and fix any mistakes. Choose a small and lightweight pair that is easy to carry with you.
- Circular Needles
- Stitch Markers
- Tape Measure
- Yarn Needle
- Row Counter
- Scissors
With these essential tools in hand, you’ll be ready to start knitting in the round and create beautiful seamless projects.
Choosing the Right Yarn for Knitting in the Round
When it comes to knitting in the round, choosing the right yarn is essential to ensure a successful and enjoyable knitting experience. There are several factors to consider when selecting the yarn for your project, including the fiber content, weight, and color.
Fiber Content: The fiber content of the yarn will affect the final look and feel of your project. Wool yarns, such as merino or alpaca, are great options for knitting in the round as they are warm, soft, and have good stitch definition. Cotton and linen yarns are also suitable choices for lighter and summer projects. However, keep in mind that different fibers have different properties and behave differently when knit, so it’s important to choose a yarn that matches your desired outcome.
Weight: The weight of the yarn refers to its thickness and determines the size of the stitches and the overall drape of the finished project. For knitting in the round, it’s best to choose a yarn that is suitable for the intended pattern. Bulky or chunky yarns are great for quick and cozy projects like hats or scarves, while fingering or lace weight yarns are better suited for delicate and lightweight projects like shawls or socks.
Color: The color of the yarn is another important consideration. If you’re knitting a complex pattern or intricate design, a solid color yarn may be the best choice to showcase the stitchwork. On the other hand, if you’re knitting a simple project or prefer a more playful look, a variegated or self-striping yarn can add visual interest to your finished piece. Ultimately, choose a color that you love and that complements your style.
Overall, when choosing the right yarn for knitting in the round, it’s important to consider the fiber content, weight, and color to ensure that your project turns out just as you envision. Take the time to explore different options and feel the yarn before making your final decision. Happy knitting!
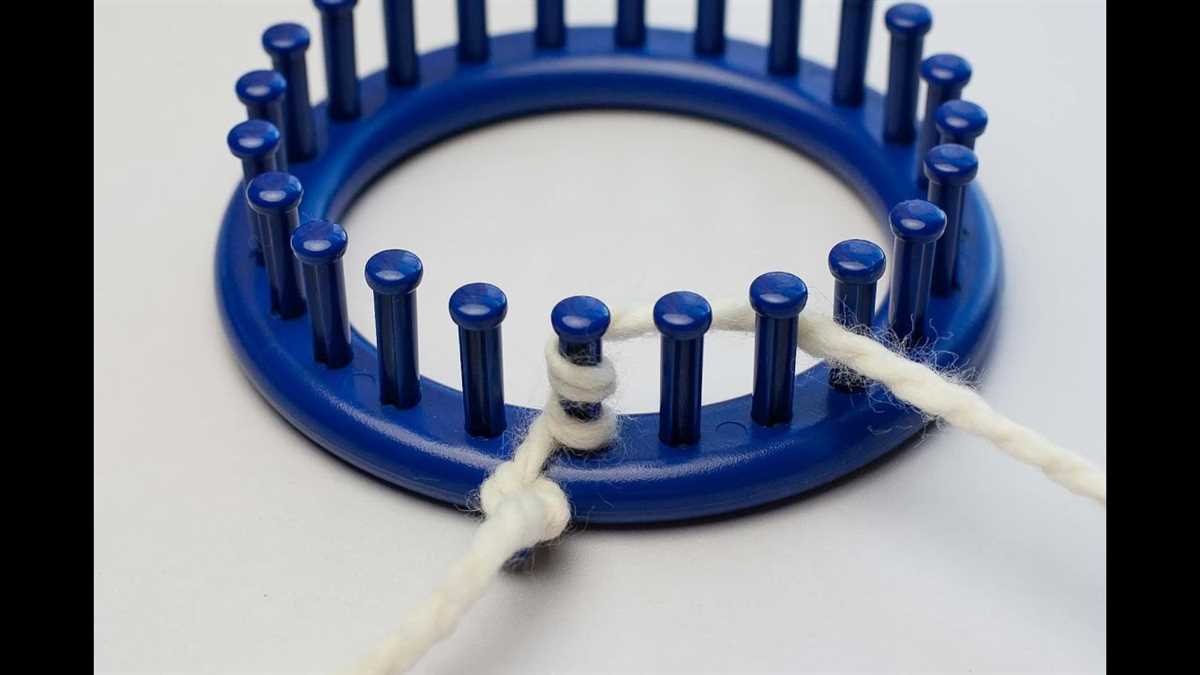
How to Cast On for Knitting in the Round
When it comes to knitting in the round, the casting on process is slightly different from casting on for flat knitting. In knitting in the round, you are working in a continuous circle, so you need to create a seamless join without any bumps or gaps. Here are a few steps to help you cast on for knitting in the round.
Step 1: Choose the Right Cast-On Method
There are several cast-on methods you can choose from when knitting in the round, but the most common ones are the long-tail cast-on, the knitted cast-on, and the cable cast-on. The long-tail cast-on is a popular choice as it creates a flexible and sturdy edge. Choose the cast-on method that you are most comfortable with and suits your project.
Step 2: Calculate the Number of Stitches
Before casting on, you need to determine the number of stitches required for your project. This will depend on the gauge, the size of the item you are knitting, and any specific pattern instructions. Make sure to account for any stitch patterns that require a multiple of stitches.
Step 3: Make a Slipknot
To start casting on, make a slipknot by creating a loop with the working yarn. The slipknot will be your first stitch on the needle. Make sure the loop is not too tight or too loose.
Step 4: Cast On Stitches
Using your chosen cast-on method, start casting on stitches onto your needle. Keep in mind that you are forming a circle, so make sure to distribute the stitches evenly around the needle. This will prevent any twisting when you join and start knitting in the round. Count your stitches as you go to ensure you have the correct number.
Step 5: Join the Round
Once you have cast on all the required stitches, it’s time to join the round. Place a marker on the right needle to mark the beginning of the round. Make sure the stitches are not twisted around the needle. You are now ready to start knitting in the round.
Knitting in the Round with Circular Needles
Knitting in the round with circular needles is a popular technique among knitting enthusiasts. Circular needles have two needle tips connected by a flexible cable, allowing for seamless knitting in the round. This method is particularly useful for projects like hats, socks, and sweaters, where you want to avoid seaming.
When using circular needles, you can choose between using a magic loop technique or using double-pointed needles. The magic loop technique involves using a long circular needle with a very flexible cable to loop around the stitches, creating a smaller diameter loop to work with. This technique is great for projects with a small circumference, like socks or sleeves. On the other hand, double-pointed needles have pointed tips on both ends and are used when working with a larger circumference, such as in the round hats or sweaters.
If you’re new to knitting in the round, circular needles can be a bit intimidating at first. However, with a little practice, you’ll find that they are actually quite easy to work with. One of the advantages of circular needles is that they distribute the weight of your project more evenly, making it more comfortable to knit for longer periods. Additionally, there is no need to worry about losing one of your needles, as the tips are always connected.
Whether you’re a beginner or an experienced knitter, there are plenty of easy knitting patterns available for circular needles. From simple beanies to cozy cowls, knitting in the round has endless possibilities. So grab your circular needles and start exploring the world of seamless knitting!
Knitting in the Round with Double-Pointed Needles
Double-pointed needles (DPNs) are a versatile tool in a knitter’s arsenal, especially when it comes to knitting in the round. Whether you’re making socks, hats, or mittens, DPNs allow you to create seamless, circular projects without the need for cumbersome circular needles.
When knitting in the round with DPNs, it’s important to divide your stitches evenly onto the needles. For example, if you have 32 stitches, you can divide them evenly onto four DPNs, with eight stitches on each needle. This ensures that your project stays balanced as you knit.
One key technique when working with DPNs is “jogless” knitting, which helps ensure a smooth transition when knitting in the round. To achieve this, simply slip the last stitch from the previous round to the first stitch of the new round, and then knit as usual. This helps minimize any visible jog in the fabric.
Another important tip is to use stitch markers to help keep track of your rounds. Place a marker at the beginning of the round to mark the start, and move it up as you progress. This is especially useful if you’re working on a pattern with a complex stitch pattern or if you need to keep track of increases or decreases.
Overall, knitting in the round with double-pointed needles can be a fun and rewarding experience. With a little practice and these tips in mind, you’ll be able to create seamless, circular projects with ease. So grab your DPNs and get started on your next knitting adventure!
Knitting in the Round with Magic Loop
Knitting in the round with magic loop is a technique that allows you to knit small circumference projects, such as hats or socks, using long circular needles. It eliminates the need for double-pointed needles or multiple circular needles, making it an easy and efficient way to knit in the round.
The magic loop method involves using a long circular needle with a flexible cable, typically at least 32 inches long. The technique is performed by dividing your stitches in half, with one half on the front needle and the other half on the back needle. The loop of the cable is pulled through the stitches, creating two separate loops of stitches. The working needle is then inserted into the first loop, and the stitches are worked across, while the second loop remains on the cable until needed.
This technique is especially useful for those who find double-pointed needles fiddly or are not comfortable with using multiple circular needles. It also allows for easy adjustments in tension and flexibility in project size, as you can easily lengthen or shorten the cable of the circular needle to accommodate different projects.
Benefits of Magic Loop
- No need for double-pointed needles or multiple circular needles
- Allows for easy adjustments in tension and flexibility in project size
- Reduces the risk of laddering or gaps between needles
- Provides a smooth and continuous knitting experience
- Less risk of dropped stitches or needles falling out
With a little practice, knitting in the round with magic loop can become an essential technique in your knitting repertoire. It offers versatility and convenience, making it ideal for both beginner and experienced knitters alike.
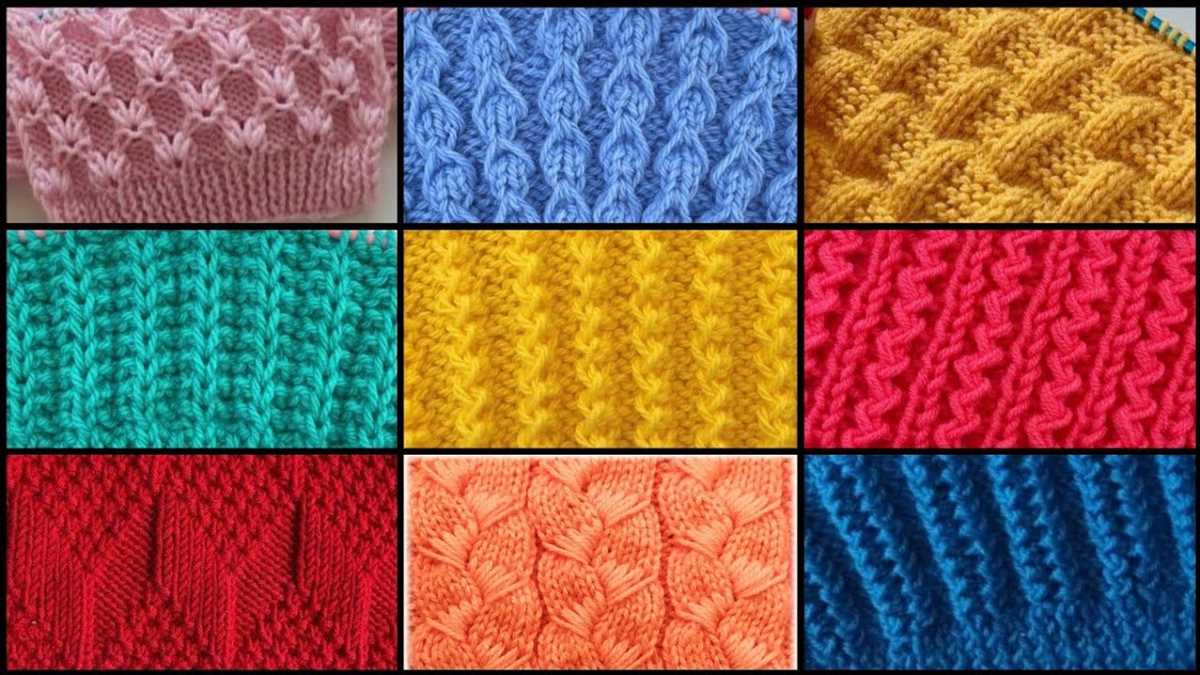
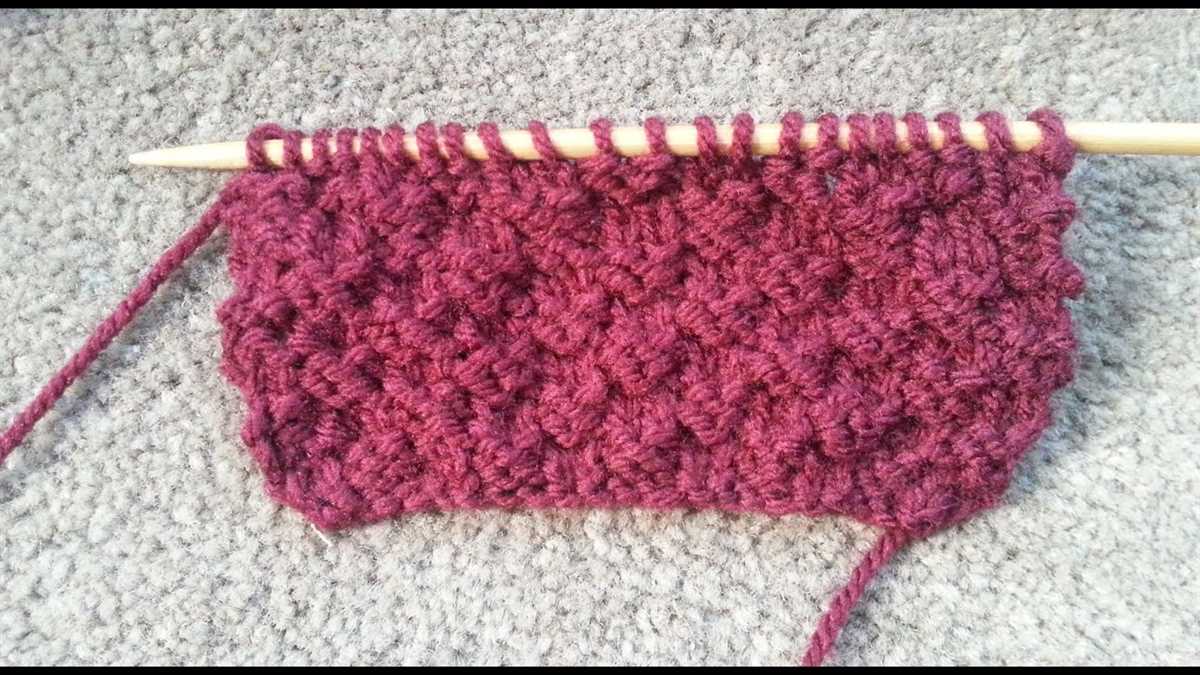
Basic Knitting Stitches for Knitting in the Round
Knitting in the round is a technique used to create seamless and continuous projects, such as hats, socks, and sweaters. It involves working in a circle rather than back and forth on straight needles. To successfully knit in the round, it is important to understand and master a few basic knitting stitches.
1. Knit Stitch
The knit stitch is one of the most fundamental stitches in knitting. When knitting in the round, you will be using the knit stitch for the majority of your project. To knit a stitch, insert the right needle from left to right through the front of the stitch on the left needle. Wrap the yarn around the right needle and pull it through the stitch, slipping the old stitch off the left needle. Repeat this process for each stitch.
2. Purl Stitch
The purl stitch is the reverse of the knit stitch and is often used in combination with it to create different stitch patterns. To purl a stitch, insert the right needle from right to left through the front of the stitch on the left needle. Wrap the yarn around the right needle and pull it through the stitch, slipping the old stitch off the left needle. Repeat this process for each stitch.
3. Ribbing
Ribbing is a popular stitch pattern used for cuffs, collars, and hems in knitting. It is created by alternating between knit and purl stitches. For example, a common ribbing pattern is the 1×1 rib, which consists of one knit stitch followed by one purl stitch, repeated across the row. In the round, ribbing is worked by repeating the same pattern for each round.
4. Stockinette Stitch
The stockinette stitch is created by knitting one row and purling the next row. This stitch pattern creates a smooth fabric with a “V” pattern on one side and a purl bump pattern on the other side. When knitting in the round, the stockinette stitch is achieved by knitting every round, as there is no need to alternate between knit and purl rows.
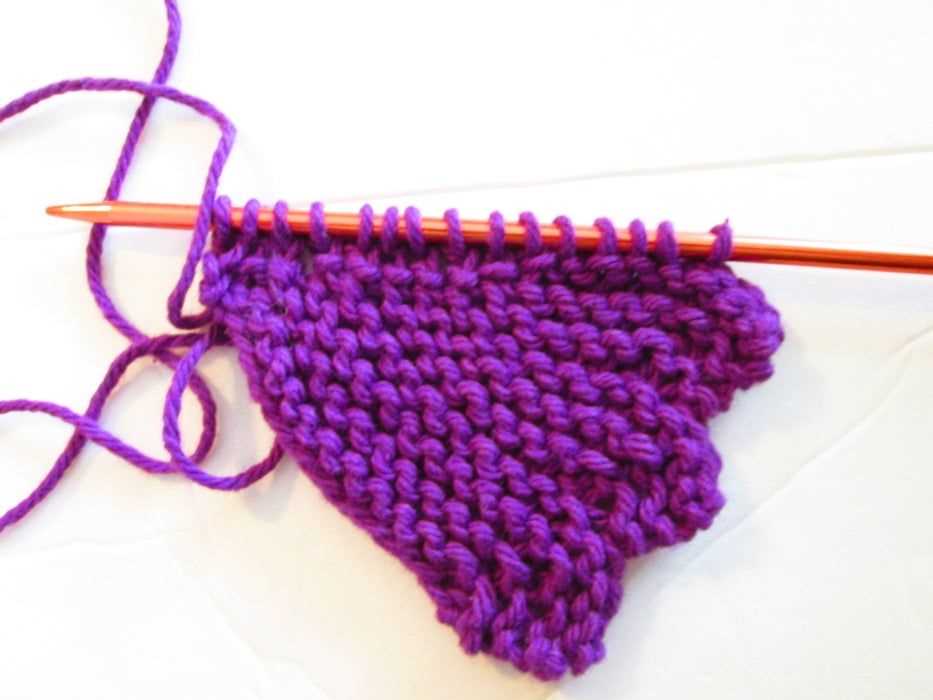
5. Garter Stitch

The garter stitch is created by knitting every row. This stitch pattern creates a textured fabric with ridges on both sides. When knitting in the round, the garter stitch can be achieved by knitting every round or by alternating between knit and purl rounds. Knitting every round will create a seamless garter stitch fabric.
By mastering these basic knitting stitches, you will be able to create a wide variety of projects in the round. Experiment with different stitch patterns and yarns to create unique and personalized items.
Knitting in the Round: Increasing and Decreasing
Knitting in the round is a popular technique used to create seamless projects, such as hats, cowls, and socks. It eliminates the need for seaming and allows for easy, continuous knitting. When working in the round, it is important to know how to increase and decrease stitches to shape your project and achieve the desired fit.
Increasing Stitches:
To increase stitches in knitting, you can use various techniques, such as yarn overs, make one (M1), and knit front and back (kfb). Yarn overs are simple to do and create a decorative hole in your fabric. M1 is a common increase used to make a new stitch without leaving a hole. Kfb is another common method where you knit into the front and back of the same stitch, creating two stitches from one. These techniques can be used to add stitches evenly throughout a round or in specific areas to shape your project.
Decreasing Stitches:
Decreasing stitches is essential for shaping your knitting in the round. There are different methods of decreasing, including knit two together (k2tog), slip, slip, knit (ssk), and slip slip knit pass slipped stitches over (ssk-psso). K2tog is a standard decrease where you knit two stitches together as one. Ssk and ssk-psso are left-leaning decreases that create a more visually appealing decrease line. These techniques can be used to decrease stitches evenly or in specific areas to shape your project.
By mastering the techniques of increasing and decreasing stitches in knitting in the round, you can create projects with a professional finish and tailor them to your desired fit. Happy knitting!
Knitting in the Round: Simple Hat Pattern
If you’re new to knitting in the round or are looking for a quick and easy project, this simple hat pattern is perfect for you. With just a few basic stitches and techniques, you can create a cozy hat that will keep you warm during the colder months.
Materials:
- Worsted weight yarn
- Size 8 circular knitting needles
- Set of size 8 double-pointed knitting needles
- Tapestry needle
- Stitch marker
Instructions:
- Cast on 80 stitches using the circular needles.
- Place a stitch marker to mark the beginning of the round.
- Join the round, being careful not to twist the stitches.
- Work in a knit 2, purl 2 ribbing pattern for 2 inches.
- Switch to stockinette stitch (knit every round) and continue until the hat measures approximately 7 inches from the cast-on edge.
- Begin decreasing: On the next round, *knit 6, knit 2 together* (repeat from * to * until the end of the round).
- Continue knitting one round without decreases.
- On the next round, *knit 5, knit 2 together* (repeat from * to * until the end of the round).
- Continue this pattern, decreasing by one stitch before the knit 2 together, until you have 8 stitches remaining.
- Thread the tapestry needle and carefully slip the stitches off the knitting needles, threading the needle through each stitch.
- Pull tight to close the top of the hat.
- Weave in any loose ends with the tapestry needle.
And voila! You have a simple and stylish hat that you can wear with pride. Customize it with different yarns and colors to make it your own. Happy knitting!
Knitting in the Round: Cozy Cowl Pattern
When the weather turns cold, there’s nothing better than wrapping yourself in a warm and cozy cowl. A cowl is a versatile accessory that can be worn in various ways to keep you both fashionable and warm. With this easy knitting in the round pattern, you can create a beautiful cowl that will be a staple in your winter wardrobe.
To start, gather your materials: circular knitting needles, yarn, and a stitch marker. Choose a soft and chunky yarn to give your cowl a luxurious feel and ensure it provides maximum warmth. Once you have everything ready, cast on the desired number of stitches onto your circular needles and join in the round, being careful not to twist the stitches.
Now it’s time to knit away! This pattern uses a simple knit stitch throughout, making it perfect for beginners. Knitting in the round eliminates the need for purling, allowing you to create your cowl quickly and easily. As you work your way around, place a stitch marker to keep track of your rounds.
Continue knitting in the round until your cowl reaches the desired length. Depending on your preferences, you can make a shorter cowl that sits snugly around your neck or a longer one that can be wrapped several times for added warmth. Once you’re satisfied with the length, bind off your stitches and weave in any loose ends.
Remember, the beauty of knitting in the round is that you don’t have to worry about sewing any seams. Your cowl will be seamless and ready to wear as soon as you’re done knitting. Whether you choose a solid color or a vibrant variegated yarn, your cozy cowl is sure to become a favorite accessory that you’ll reach for throughout the winter season.
So why wait? Grab your knitting needles and get started on your very own cozy cowl. With this easy knitting in the round pattern, you’ll have a stylish and warm accessory in no time.
Knitting in the Round: Seamless Sweater Pattern
In this article, we have explored the concept of knitting in the round and its benefits. We have discussed the advantages of seamless construction and highlighted some easy knitting in the round patterns that beginners can try. Now, let’s put everything together and present a seamless sweater pattern that incorporates knitting in the round techniques.
Seamless Sweater Pattern
This seamless sweater pattern is perfect for those who want to try their hand at knitting in the round. It features a simple stockinette stitch for the body and a ribbed pattern for the collar, cuffs, and hem.
Materials:
- Worsted weight yarn
- Size 8 circular knitting needles (16-inch and 24-inch)
- Set of size 8 double-pointed knitting needles
- Tapestry needle
- Stitch markers
Size: Adult (one size fits most)
Gauge: 18 stitches and 24 rows = 4 inches in stockinette stitch
Instructions:
- Using the smaller circular needle, cast on 100 stitches.
- Place a stitch marker to indicate the beginning of the round.
- Join in the round, being careful not to twist the stitches.
- Work in a knit 2, purl 2 ribbing for 2 inches.
- Switch to the larger circular needle.
- Continue knitting in stockinette stitch until the body measures 15 inches from the cast-on edge.
- Shape the armholes: At the beginning of the next 2 rounds, bind off 5 stitches.
- Continue knitting in stockinette stitch until the body measures 23 inches from the cast-on edge.
- Shape the shoulders: At the beginning of the next 6 rounds, bind off 7 stitches.
- Transfer the remaining stitches onto the double-pointed needles.
- Work in a 2×2 ribbing for the collar, cuffs, and hem for 1 inch.
- Bind off all stitches.
With this simple seamless sweater pattern, you can create a cozy and comfortable garment without the hassle of seaming. Experiment with different yarns and colors to make it your own. Happy knitting!