
Knitting lace patterns can create beautiful and intricate designs, but they can also be quite complex and challenging for beginner knitters. However, there are many lace stitch patterns out there that are easy to follow and perfect for those who are just starting out with lace knitting. These patterns feature simple repeats and minimal shaping, making them ideal for creating stunning lace effects without the frustration.
One such easy lace stitch pattern is the Garter Eyelet pattern. This pattern is worked entirely in garter stitch, making it perfect for those who are new to lace knitting. It consists of a series of eyelet holes created by yarn overs, which are then crossed over by knitting two stitches together. The result is a delicate and airy fabric that is perfect for lightweight garments and accessories.
Another straightforward lace pattern is the Feather and Fan stitch. This classic pattern is made by repeating a four-row sequence, which includes basic knit and purl stitches along with yarn overs and double decreases. The result is a wavy and undulating lace pattern that resembles the shape of feathers. The Feather and Fan stitch is often used for shawls and scarves and can be easily customized by changing the number of stitches in the repeat.
If you’re looking for a lace pattern that is even simpler, the Openwork Rib stitch is a great option. This pattern is created by alternating rows of knit, purl, yarn overs, and knit two together stitches. The combination of these basic stitches creates a mesh-like fabric that is perfect for lightweight summer garments and accessories. The Openwork Rib stitch can be easily memorized and is ideal for those who are new to lace knitting.
These easy lace knitting stitch patterns are just a few examples of the many options available to knitters. Whether you’re a beginner or an experienced knitter looking for a simple lace project, these patterns are a great place to start. Experiment with colors and yarn weights to create your own unique designs, and enjoy the relaxing and rewarding process of knitting lace.
Easy Lace Knitting Stitch Patterns
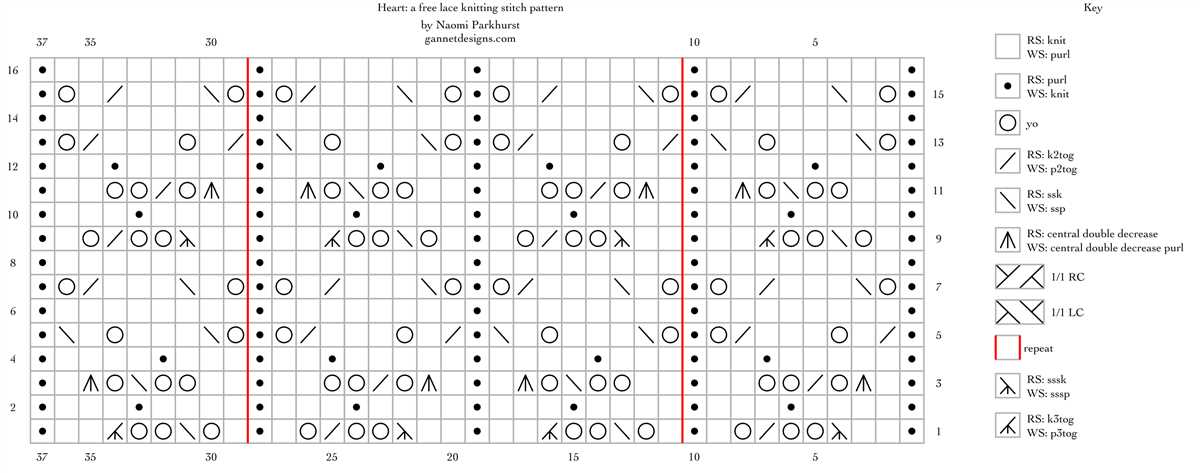
If you are new to lace knitting or looking for some simple lace stitch patterns to add a touch of elegance to your knitting projects, you’ve come to the right place. Lace knitting is a beautiful technique that involves using yarn overs and decreases to create intricate designs. It may seem intimidating at first, but with the right stitch patterns, lace knitting can be easy and enjoyable.
One easy lace stitch pattern that is perfect for beginners is the Garter Eyelet pattern. This pattern creates a delicate and airy texture that is perfect for scarves, shawls, and lightweight garments. To knit the Garter Eyelet stitch, you simply alternate between knitting and yarn overs on every row. The result is a simple yet elegant lace pattern that adds a touch of sophistication to any project.
Another easy lace stitch pattern is the Diamond Lace pattern. This pattern features a series of diamond-shaped motifs that are created by a combination of yarn overs and decreases. The Diamond Lace stitch pattern is perfect for knitting decorative panels or inserts for blankets, pillows, or even sweaters. With its repetitive pattern, it is easy to memorize and can be a great project for knitting while watching TV or on the go.
If you are looking for a lace stitch pattern with a bit more complexity but still easy to knit, the Feather and Fan pattern is a great choice. This pattern creates a beautiful wavy design that resembles the feathers of a fan. The Feather and Fan stitch pattern is perfect for creating lacy borders on blankets, scarves, or even socks. It is created by repeating a series of increases, decreases, and yarn overs in a specific sequence, resulting in an eye-catching lace pattern.
These are just a few examples of easy lace knitting stitch patterns that you can try. Lace knitting is a versatile technique that can be used to create stunning and intricate designs. Whether you are a beginner or an experienced knitter, incorporating lace stitch patterns into your projects can add a touch of elegance and sophistication.
The Garter Stitch
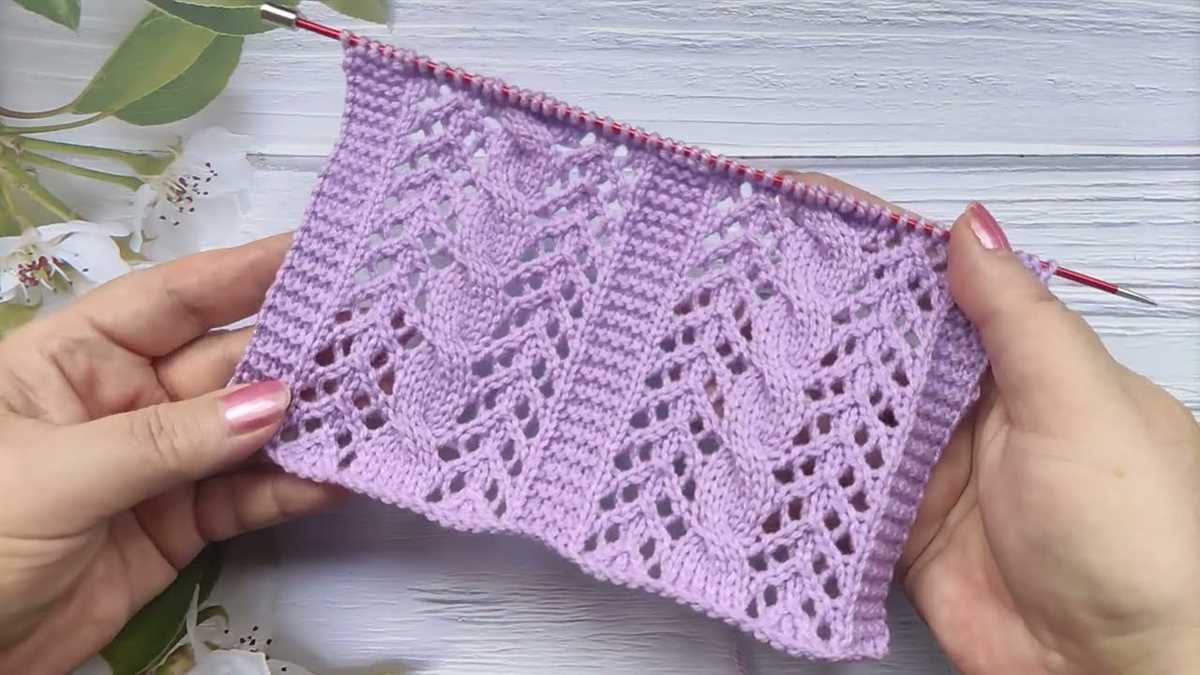
The garter stitch is one of the most basic and commonly used stitch patterns in knitting. It is formed by knitting every row, resulting in a fabric with a series of ridges. This stitch pattern is often used for its simplicity and versatility, making it perfect for beginners or for creating textured designs.
To create the garter stitch, you simply knit every stitch on every row. This means that there is no need to alternate between knit and purl stitches, making it an ideal stitch pattern for beginners who are just learning the basics of knitting. The garter stitch is also reversible, meaning that it looks the same on both sides of the fabric.
This stitch pattern is popular for a variety of projects, such as scarves, blankets, and dishcloths. The ridges created by the garter stitch add depth and texture to the fabric, making it visually appealing. Additionally, the garter stitch creates a stretchy and squishy fabric, making it comfortable to wear or use.
One of the benefits of using the garter stitch is that it is easy to customize and modify. You can easily incorporate other stitch patterns or add colorwork to create more intricate designs. The garter stitch also works well with different types of yarn, from thin and delicate to thick and chunky.
Overall, the garter stitch is a versatile and beginner-friendly stitch pattern that can be used for a wide range of projects. Whether you are a beginner knitter looking to practice your skills or an experienced knitter looking for a simple and versatile stitch pattern, the garter stitch is a great choice.
The Stockinette Stitch
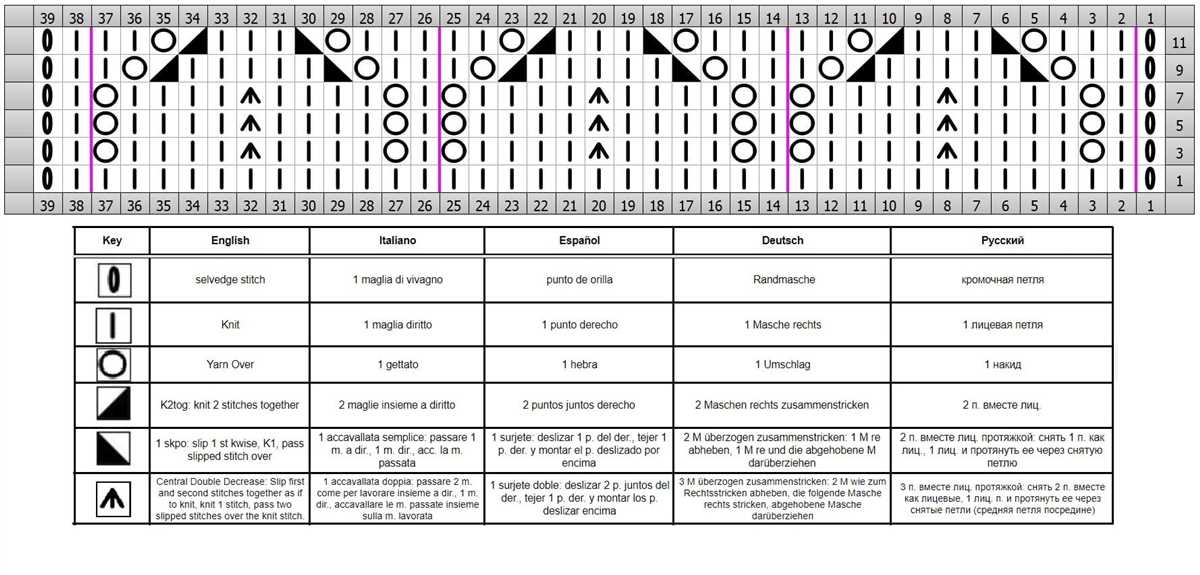
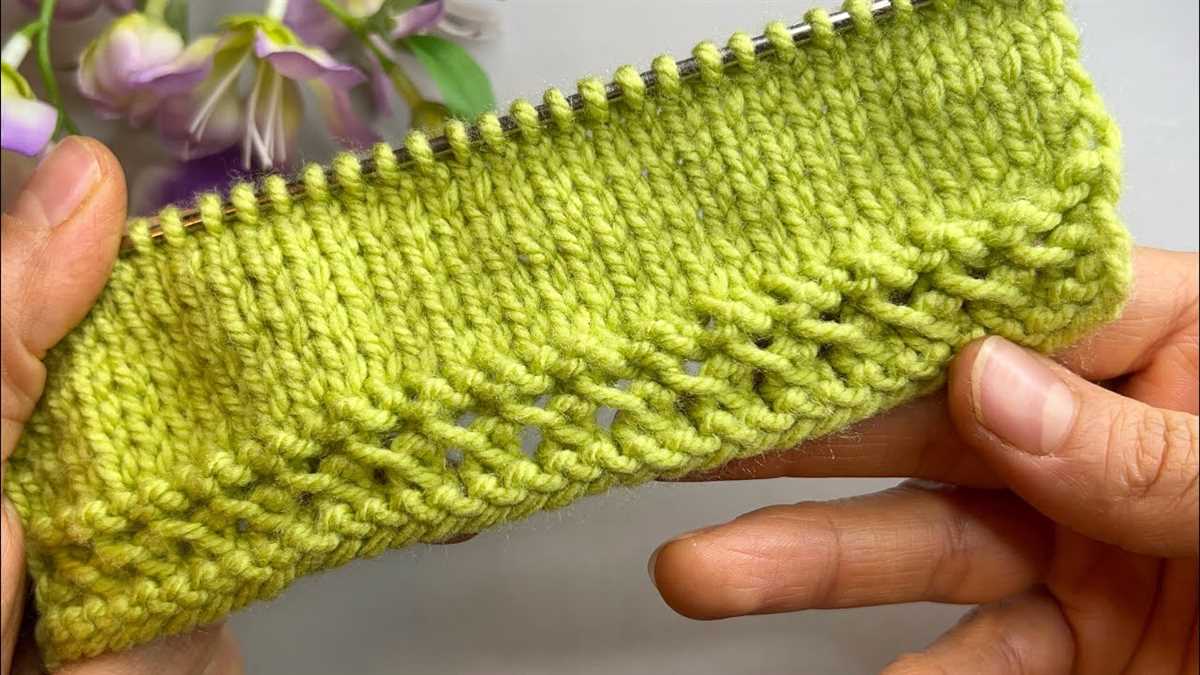
The stockinette stitch is one of the most common and versatile patterns in knitting. It is created by alternating knit and purl stitches. When worked in the round, every row is knit, creating a smooth and uniform texture. When worked flat, one row is knit and the next is purled, resulting in a fabric with a distinct right side and wrong side.
To create the stockinette stitch, start by casting on an even number of stitches. On the right side, knit all the stitches in the row. On the wrong side, purl all the stitches. Repeat these two rows until your desired length is reached. The stockinette stitch is often used for garments, such as sweaters and scarves, as well as accessories like hats and mittens.
Key Features:
- Smooth and even texture
- Distinct right side and wrong side
Pros:
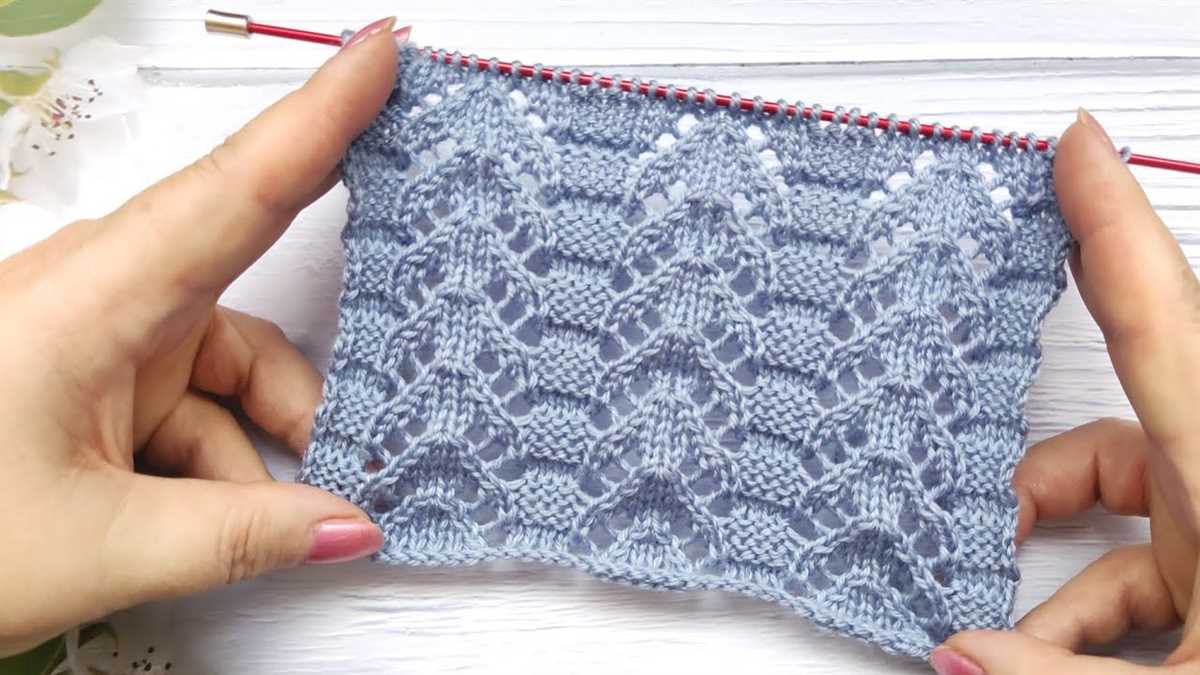
- Easy to knit, suitable for beginners
- Creates a professional and polished look
- Can be used for a wide range of projects
Cons:
- Tends to curl at the edges, requiring blocking or a border
- Not as stretchy as other stitch patterns
- Differences in tension can be more noticeable
Overall, the stockinette stitch is a classic and timeless pattern that can be used for a variety of knitting projects. It is easy to learn and creates a sleek and polished look. However, it’s important to keep in mind its tendencies to curl and the potential for tension inconsistencies. With proper blocking and attention to detail, the stockinette stitch can result in beautiful and professional finished garments.
The Seed Stitch
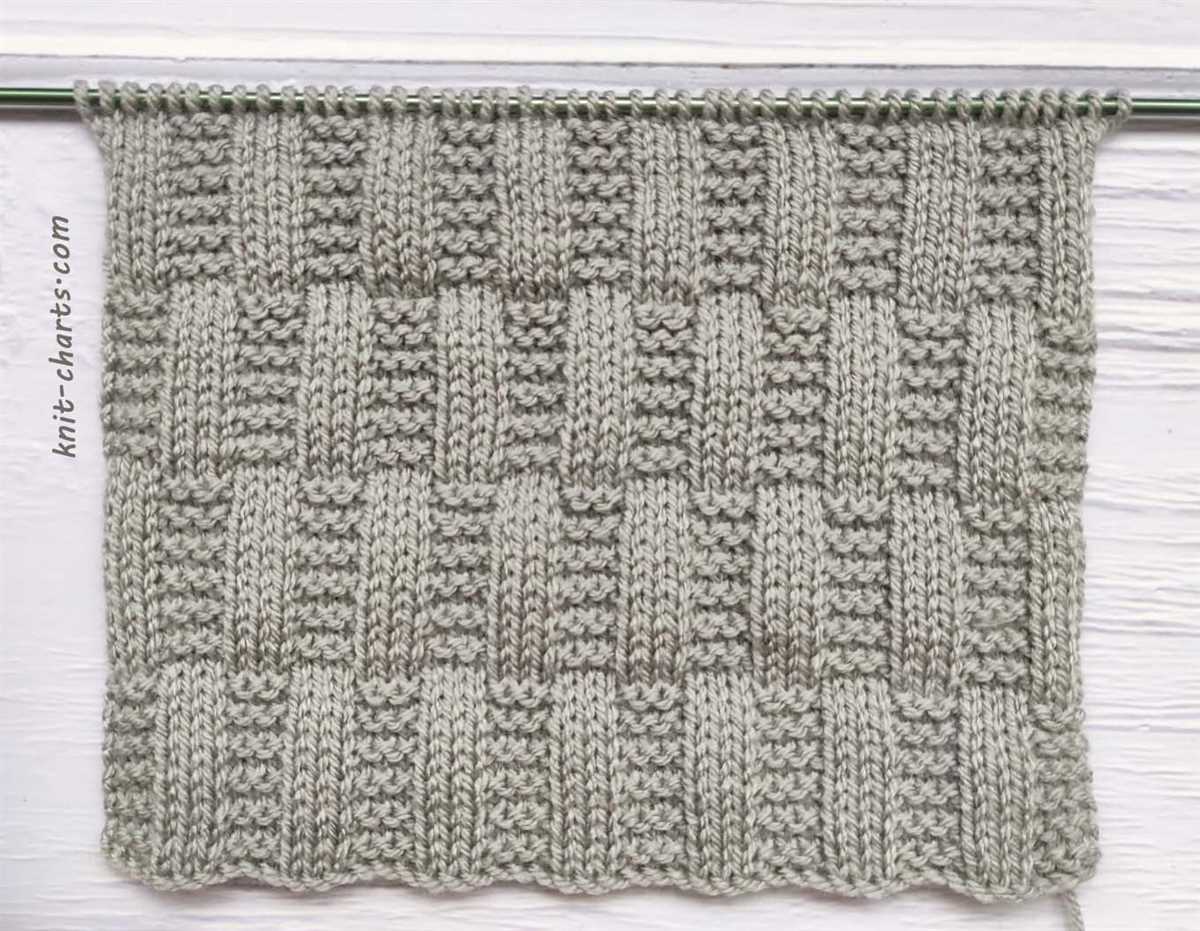
The seed stitch is a simple and versatile knitting stitch pattern that creates a rich and textured fabric. It is a great option for beginners who are looking to add some interest to their projects without having to tackle complex techniques. The seed stitch is often used for scarves, blankets, and other cozy accessories, but can also be incorporated into garments such as sweaters and cardigans. This stitch pattern is characterized by alternating knits and purls across each row, creating a pattern that resembles scattered seeds or small bumps. Its repetitive nature makes it easy to memorize and perfect for mindless knitting while watching TV or socializing.
To create the seed stitch, you will need to alternate between knitting and purling stitches across each row. This can be achieved by knitting one stitch, then purling the next stitch, and repeating this sequence until the end of the row. On the next row, you will knit the stitches that were purled in the previous row and purl the stitches that were knit. By continuing this pattern, you will create a fabric with a textured appearance and an even tension.
The seed stitch can be customized to create different effects by adjusting the number of stitches in each repeat. For example, you can create wider or narrower seed stitches by increasing or decreasing the number of knit and purl stitches in each row. Additionally, you can experiment with different yarn weights and needle sizes to achieve varying levels of texture and drape in your projects. The seed stitch is also an excellent choice for colorwork, as the texture helps to blend and define different hues in striped or patterned designs. With its simplicity and versatility, the seed stitch is a great addition to any knitter’s repertoire.
The Basket Weave Stitch
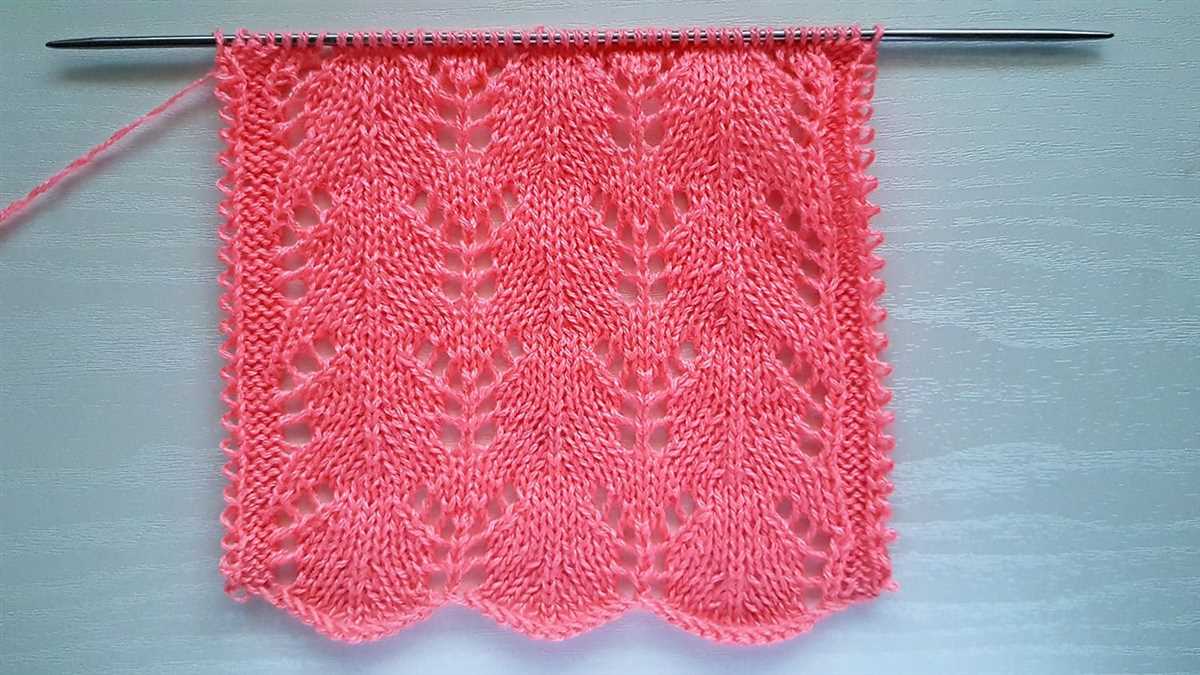
The basket weave stitch is a simple yet versatile knitting pattern that creates a beautiful texture resembling a woven basket. It is perfect for creating cozy blankets, scarves, and even sweaters. The pattern is made up of a combination of knit and purl stitches, giving it its distinctive look. The basket weave stitch is an ideal option for beginner knitters looking to expand their skills and try something new.
To create the basket weave stitch, you will need to be comfortable with basic knitting techniques such as knitting and purling. The stitch pattern is worked over a multiple of four stitches and four rows, making it easy to memorize and follow along. The rhythm of alternating knits and purls creates the basket-like texture.
To begin, cast on a multiple of four stitches, such as 16 or 20. Row one: *Knit two stitches, purl two stitches; repeat from * to the end of the row. Row two: *Purl two stitches, knit two stitches; repeat from * to the end of the row. Repeat rows one and two for the desired length of your project.
The basket weave stitch can also be modified to create different variations. For example, you can experiment with different stitch sizes by using larger or smaller needles. You can also add additional stitches or rows to make the basket weave pattern wider or longer. The possibilities are endless, and it’s all about getting creative and finding a variation that suits your project.
In conclusion, the basket weave stitch is an easy and beautiful knitting pattern that adds texture and interest to any project. Whether you’re a beginner knitter or an experienced one, it’s a stitch pattern worth trying. So grab your knitting needles, choose your favorite yarn, and start creating your own basket weave masterpiece.
The Ribbed Lace Stitch
The Ribbed Lace Stitch is a beautiful and versatile stitch pattern that combines ribbing and lace elements to create an intricate and textured fabric. This stitch pattern is perfect for various knitting projects, such as scarves, sweaters, and shawls. It adds a touch of elegance and sophistication to any design.
To create the Ribbed Lace Stitch, you will need to know how to knit and purl, as well as basic lace knitting techniques. The stitch pattern consists of alternating sections of ribbing and lace, which creates a visually appealing pattern. The ribbing sections are created by knitting and purling in a specific sequence, while the lace sections are formed by a combination of yarn overs and decrease stitches.
To knit the Ribbed Lace Stitch, follow these steps:
- Cast on a multiple of 4 stitches, plus 2 additional stitches.
- Row 1: Knit all stitches.
- Row 2: Knit 1, *purl 2, knit 2; repeat from * until the last stitch, knit 1.
- Row 3: Knit all stitches.
- Row 4: Knit 1, *k2tog, yarn over, purl 2; repeat from * until the last 2 stitches, k2tog, knit 1.
- Repeat rows 1-4 for the desired length.
- Bind off all stitches.
The Ribbed Lace Stitch is a great option for knitters who want to add some texture and interest to their projects. It can be easily customized by changing the ribbing or lace sections, or by adding additional stitch patterns. With the Ribbed Lace Stitch, the possibilities are endless!
The Feather and Fan Stitch
The Feather and Fan Stitch is a classic lace knitting stitch pattern that creates a beautiful wavy design. It is often used in shawls, scarves, and blankets, as it adds a delicate and feminine touch to any project. The stitch pattern is relatively easy to knit and is perfect for knitters of all skill levels.
To create the Feather and Fan Stitch, you will need to know basic knitting stitches such as knit, purl, yarn over, and decrease stitches. The pattern consists of repeating sets of rows, which are worked over an odd number of stitches.
To begin, start with a multiple of 18 stitches plus 2 extra stitches. The first and last stitches are edge stitches, which are worked in garter stitch for stability. The main repeat of the pattern is worked over 16 stitches, and includes a series of yarn overs and decreases.
To knit the Feather and Fan Stitch, follow the pattern below:
- Row 1: Knit all stitches.
- Row 2: Purl all stitches.
- Row 3: Knit 2, *yarn over, knit 2 together, knit 6, slip, slip, knit, pass slipped stitches over, knit 6; repeat from * to last 2 stitches, yarn over, knit 2.
- Row 4: Knit all stitches.
- Repeat Rows 1-4 for the desired length.
Once you have mastered the Feather and Fan Stitch, you can experiment with different yarns and needle sizes to create different effects. You can also incorporate the stitch pattern into garments, such as sweaters or cardigans, to add a touch of elegance.
The Eyelet Stitch
The eyelet stitch is a popular lace knitting pattern that adds an elegant touch to any project. It features small holes or “eyelets” that create a lacy effect and give the fabric a delicate and airy look. The eyelet stitch is versatile and can be used in a variety of knitting projects, including scarves, shawls, and sweaters.
To create the eyelet stitch, you will need to know how to do yarn overs and knit two together (K2tog) stitches. A yarn over is a simple technique where you wrap the yarn around the needle and create a new stitch. The K2tog stitch is used to decrease stitches and create the texture of the eyelet stitch.
To begin the eyelet stitch pattern, cast on an even number of stitches. The first row starts with knitting one stitch, followed by a yarn over and knitting two stitches together. Repeat this pattern across the row, ending with a knit one stitch. The second row is simply purling all stitches. Repeat these two rows until you have reached the desired length of your project.
The eyelet stitch is a great option for beginner knitters who want to experiment with lace patterns. It is relatively easy to memorize the pattern, and the results are impressive. Whether you’re knitting a lightweight summer top or a cozy blanket, the eyelet stitch will add a touch of elegance and complexity to your project.
- Create a sample swatch to practice the eyelet stitch before starting your project.
- Experiment with different yarn weights and colors to achieve different effects with the eyelet stitch.
- Consider using the eyelet stitch as a border or decorative element in your knitting projects.
- For more intricate designs, try combining the eyelet stitch with other lace patterns.
The Honeycomb Stitch
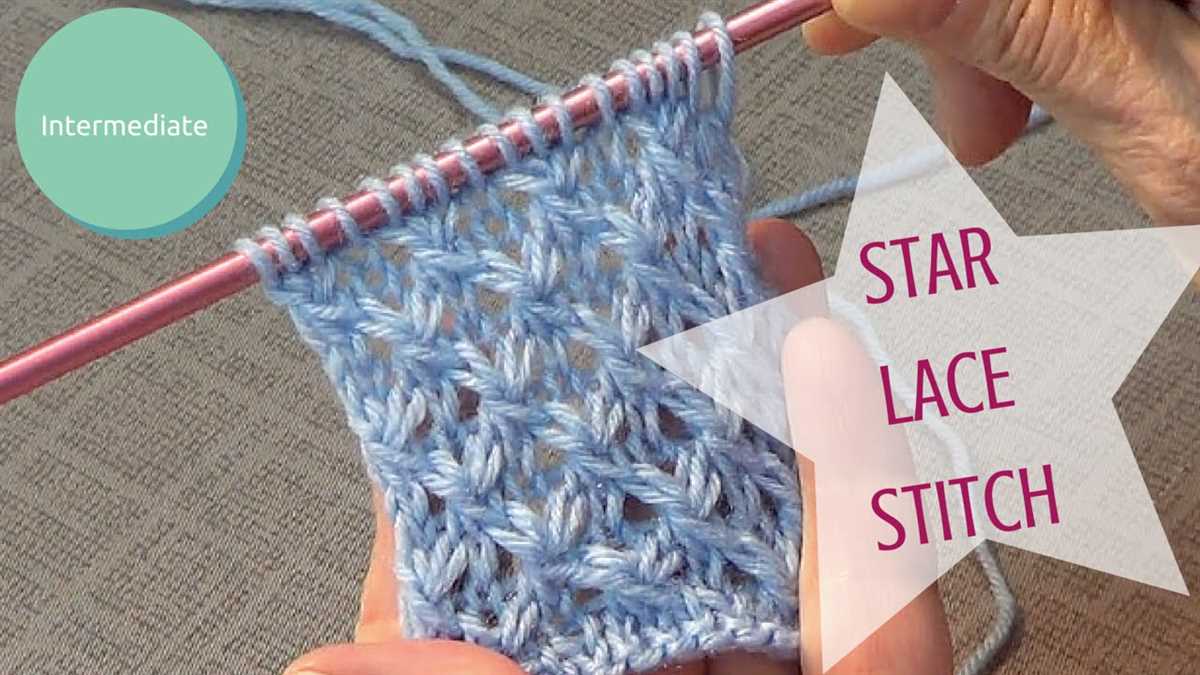
The Honeycomb Stitch is a popular knitting stitch pattern that creates a textured fabric resembling honeycomb cells. It is a simple yet interesting pattern that is perfect for beginner knitters looking to enhance their skills.
To knit the Honeycomb Stitch, you will need to know how to knit and purl stitches. The pattern is created by alternating knit and purl stitches in a specific sequence.
Instructions:
- Cast on an even number of stitches.
- Row 1: *Knit 1, purl 1*. Repeat from * to * until the end of the row.
- Row 2: *Purl 1, knit 1*. Repeat from * to * until the end of the row.
- Repeat Rows 1 and 2 until you reach the desired length.
- Bind off all stitches.
The Honeycomb Stitch creates a fabric that is stretchy and has a lot of texture. It is great for making scarves, blankets, and other cozy projects. The pattern is reversible, so it looks the same on both sides, making it perfect for projects where both sides will be visible.
If you want to add some extra flair to your Honeycomb Stitch project, you can experiment with using different colors or combining the stitch pattern with other stitch patterns for a unique look.
The Daisy Stitch

The Daisy Stitch is a simple lace knitting stitch pattern that creates a lovely floral design. It is a beginner-friendly pattern that is perfect for adding some decorative flair to your knitting projects.
To work the Daisy Stitch, you will need to have a basic understanding of knitting and purling. The pattern is worked over a multiple of 8 stitches, making it easy to customize the size to fit your needs.
To create the Daisy Stitch, you will follow a simple repeating pattern of knit, purl, and yarn overs. The pattern forms a series of diamonds with a central eyelet design resembling a daisy. This stitch pattern is versatile and can be used for a variety of projects such as scarves, shawls, and blankets.
When knitting the Daisy Stitch, it is important to maintain an even tension to ensure that the lace pattern is clearly defined. Blocking your finished project will also help to enhance the stitch pattern and give it a more polished look.
To work the Daisy Stitch:
- Cast on a multiple of 8 stitches.
- Row 1 (and all odd-numbered rows): Knit.
- Row 2: Purl across.
- Row 4: K3, *yo, k3, sl1, k2tog, psso, k3, yo, k1; rep from * to last 3 sts, k3.
- Row 6: Purl across.
- Repeat Rows 1-6 until desired length.
With its delicate yet straightforward design, the Daisy Stitch is a great option for beginner lace knitters who are looking to expand their skills. Give it a try and unleash your creativity with this beautiful stitch pattern. Happy knitting!
The Scallop Lace Stitch

The Scallop Lace Stitch is a beautiful and intricate lace pattern that adds elegance to any knitting project. This stitch pattern features a series of scallops formed by decreases and yarn overs. It creates a delicate and textured fabric that is perfect for shawls, scarves, and even lightweight garments.
To create the Scallop Lace Stitch, you will need to know how to knit, purl, yarn over, and work decreases (such as knit two together and slip-slip-knit). The stitch pattern is worked over a multiple of six stitches, and the instructions are usually provided in both written and chart form.
To knit the Scallop Lace Stitch, follow these steps:
- Cast on a multiple of six stitches.
- Work a set-up row, which is usually knit across.
- Begin the lace pattern by following the written or charted instructions. This will involve a combination of knit, purl, yarn overs, and decreases.
- Continue working the lace pattern for the desired length.
- Finish with a border or a few rows of garter stitch for a polished look.
The Scallop Lace Stitch can be customized by changing the number of repeats or adding additional lace motifs. It can also be combined with other stitch patterns to create unique designs. Experiment with different yarns and needle sizes to achieve different effects.
Overall, the Scallop Lace Stitch is a versatile and timeless pattern that adds elegance and interest to any knitting project. Whether you’re a beginner or an experienced knitter, this stitch is sure to impress. Give it a try and see how the Scallop Lace Stitch can elevate your knitting to a new level!