
If you love knitting and fashion, then a crop top is a must-have in your wardrobe. It’s trendy, versatile, and perfect for summer. But why spend money on buying one when you can easily knit your own? In this article, we will share a free crop top knitting pattern that you can follow to create your own stylish piece.
Knitting your own crop top allows you to customize the design, color, and fit to your liking. Whether you prefer a tight-fitting or a more loose and relaxed style, this pattern can be easily adjusted to suit your preferences. Plus, knitting your own clothes gives you a sense of satisfaction and accomplishment that store-bought items can’t provide.
This free crop top knitting pattern is suitable for knitters of all skill levels. Even if you are a beginner, you can easily create this stylish garment with basic knitting stitches like knit and purl. The pattern includes step-by-step instructions, a materials list, and measurements, ensuring that you have all the information you need to successfully complete your project.
What is a crop top?
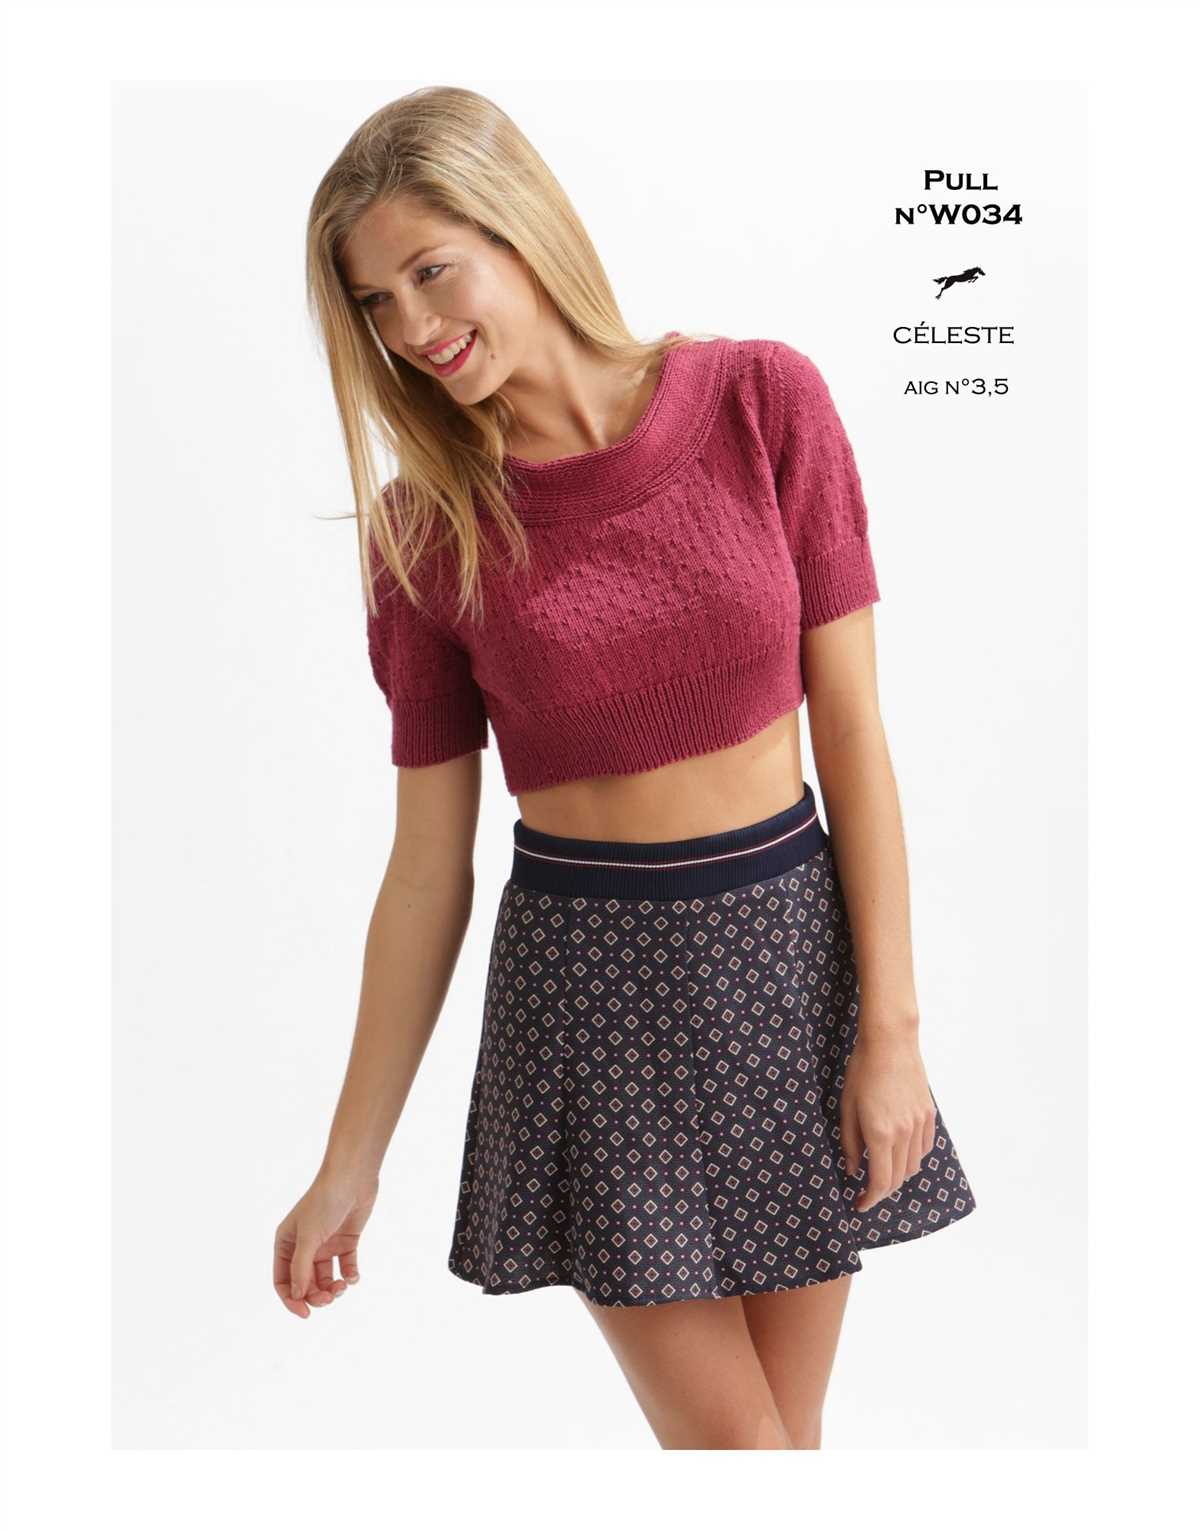
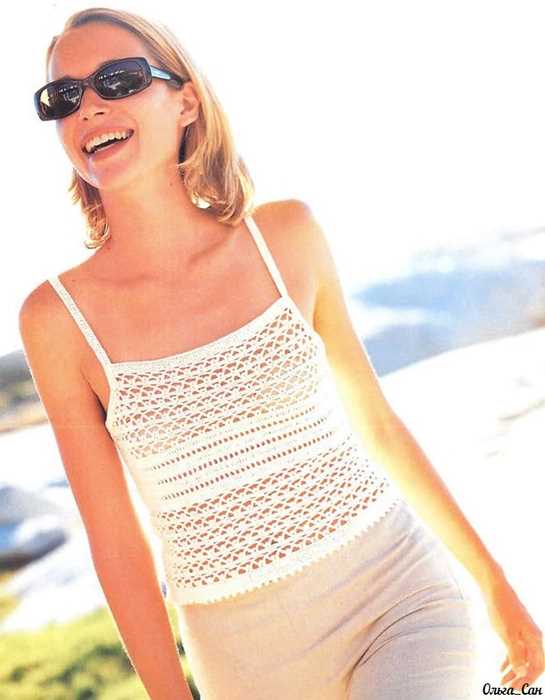
A crop top is a short, fitted garment that typically hits above the waistline, exposing the midriff. It is a popular style of top that has made a comeback in recent years, becoming a staple in the fashion industry.
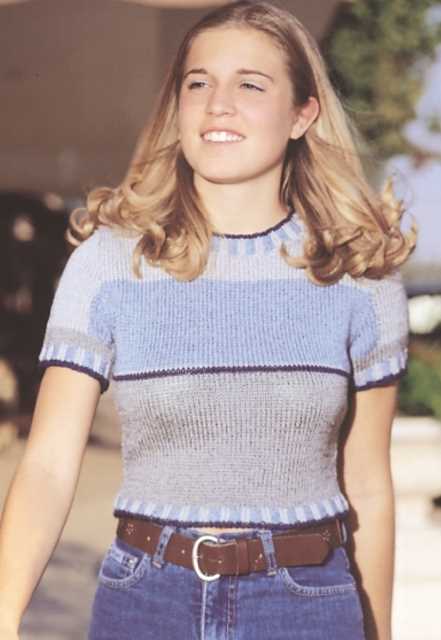
These tops are characterized by their shorter length, which can vary from just below the bust to several inches above the navel. They can be found in various styles, including sleeveless, short sleeve, long sleeve, and even off-the-shoulder designs. Crop tops can be made from a variety of fabrics, such as cotton, knit, or even lace.
Many people enjoy wearing crop tops during the warmer months or for special occasions. They can be paired with high-waisted jeans, skirts, or shorts for a trendy and stylish look. Some people also layer crop tops over a camisole or tank top for a more modest approach.
Although crop tops are often associated with casual wear, they can also be dressed up for more formal events. By choosing a crop top with an elegant fabric and pairing it with a high-waisted skirt or tailored pants, you can create a chic and sophisticated outfit.
Benefits of knitting your own crop top
Knitting your own crop top can be a rewarding project for several reasons. Firstly, it allows you to create a unique and customized garment that reflects your personal style. You can choose the yarn, color, and stitch pattern to make a one-of-a-kind crop top that you won’t find in any store.
Secondly, knitting your own crop top gives you the opportunity to improve your knitting skills and learn new techniques. You can challenge yourself with different stitch patterns, shaping, and finishing techniques, while creating a practical and wearable item.
Additionally, knitting your own crop top allows you to create a sustainable and eco-friendly garment. By using high-quality yarn and investing time and care into the project, you can create a piece of clothing that is made to last. Knitting also reduces waste by allowing you to use up yarn scraps and repurpose old garments.
Finally, knitting your own crop top can be a cost-effective option. While high-quality knitted garments can be expensive in stores, knitting your own allows you to save money on materials and have control over the cost.
Benefits of knitting your own crop top
Knitting your own crop top can be a rewarding and fulfilling experience. Not only do you get to create a stylish and unique garment, but there are also several other benefits to knitting your own crop top.
1. Customization: When you knit your own crop top, you have the freedom to customize it to your liking. You can choose the color, the type of yarn, and even add your own personal touches such as embellishments or patterns. This allows you to create a crop top that perfectly reflects your unique style and personality.
2. Fit: Knitting your own crop top ensures a perfect fit. You can take accurate measurements and adjust the pattern as needed to create a crop top that fits you flawlessly. This means no more struggling to find the right size or dealing with ill-fitting store-bought tops. Plus, you can make adjustments along the way as you knit to ensure the perfect fit.
3. Quality: By knitting your own crop top, you have control over the quality of materials used. You can choose high-quality yarn that feels soft against your skin and will stand the test of time. This means your crop top will not only look great but also be durable and long-lasting.
4. Creativity: Knitting your own crop top allows you to unleash your creativity. You can experiment with different stitches, patterns, and techniques to create a truly unique piece. Knitting is a creative outlet that allows you to express yourself and have fun while making something beautiful.
5. Sense of accomplishment: There is a great sense of satisfaction that comes from completing a knitting project, especially when it’s a crop top that you can wear with pride. Knitting your own crop top allows you to experience this sense of accomplishment and take pride in your handmade creation.
Overall, knitting your own crop top is a great way to unleash your creativity, customize your clothing, and create a garment that fits you perfectly. So why not give it a try and enjoy the many benefits that come with knitting your own crop top?
When it comes to knitting a crop top, choosing the right yarn and needles is crucial. The type of yarn and needle size you use will determine the overall look and feel of your project.
Yarn
When selecting yarn for your crop top, consider the season and the desired drape of the finished garment. For warm weather, a lightweight, breathable yarn like cotton or linen would be a good choice. If you prefer a more cozy and snug fit, a wool or acrylic blend might be more suitable. You can also experiment with different textures and colors to add visual interest to your crop top.
It’s important to check the recommended gauge for the pattern you’re using and ensure that your chosen yarn matches it. Using a different weight or thickness of yarn could result in a crop top that is too loose or too tight. Keep in mind that the yarn’s composition will also affect the drape and stretch of the fabric, so consider how it will behave when worn.
Needles
The size of your knitting needles will determine the stitch size and tension of your crop top. Refer to the pattern for the recommended needle size, as it will have been designed to achieve the desired gauge. You may need to adjust the needle size if your tension is different from the pattern’s recommendation.
Some patterns may also recommend using circular needles, especially if the crop top has a wide or seamless construction. Circular needles can accommodate a larger number of stitches and make it easier to knit in the round. However, if you are more comfortable with straight needles, you can still use them as long as they are long enough to hold all the stitches.
Understanding the knitting pattern
When it comes to knitting, understanding the pattern is crucial. It is like decoding a language that enables you to create beautiful and functional garments. Whether you are a beginner or an experienced knitter, taking the time to read and comprehend the pattern is essential for a successful and enjoyable knitting experience.
First, start by familiarizing yourself with the abbreviations used in the knitting pattern. These abbreviations are shortcuts for different knitting techniques and stitches. Common abbreviations include K (knit), P (purl), YO (yarn over), and inc (increase). Pay attention to any special stitches or techniques mentioned in the pattern, as they may require additional instructions or explanations.
Next, carefully read through the instructions for each section or component of the crop top. It is important to understand the order and sequence of the steps involved in creating the garment. Look for any repeat instructions or pattern sequences that may be used throughout the pattern. This will help you anticipate and understand the structure of the crop top.
Make sure to check the gauge and measurements provided in the knitting pattern. Gauge refers to the number of stitches and rows per inch in the knitting. By knitting a gauge swatch, you can ensure that your tension and stitch size match the pattern’s requirements. This step is important to ensure that your finished crop top will fit properly.
Lastly, take note of any special finishing instructions or techniques. These may include instructions for seaming, blocking, or adding any embellishments to the finished garment. Understanding these instructions will help you complete the crop top and give it a polished and professional look.
Overall, understanding the knitting pattern is key to successfully creating a crop top. Take the time to read and comprehend each section, pay attention to abbreviations and special techniques, and make sure to check the gauge and finishing instructions. With careful attention to detail, you will be able to knit a beautiful crop top that fits perfectly.
Reading and Interpreting the Crop Top Knitting Pattern Instructions
When starting a new knitting project, it is essential to properly read and interpret the pattern instructions to ensure accurate results. Understanding the language, abbreviations, and symbols used in the pattern is crucial for successful knitting.
To begin, carefully read through the entire pattern to get an overview of the project. Pay attention to any special notes, sizing information, and yarn requirements. It is also essential to familiarize yourself with the recommended gauge, as it will affect the final measurements of the crop top.
Next, examine the abbreviations and symbols used in the pattern. These can usually be found at the beginning or end of the instructions. Common abbreviations may include “k” for knit, “p” for purl, “inc” for increase, and “dec” for decrease. Familiarize yourself with these abbreviations to understand the specific stitches required at each step.
When working with a complex pattern, it can be beneficial to write out the instructions in your own words or create a chart to visualize the steps. This will help you to organize your thoughts and make it easier to follow along as you knit.
The pattern may also include a stitch count or measurement at certain intervals. Pay attention to these markers, as they will ensure proper sizing and fit of the crop top. If necessary, use stitch markers to help keep track of your progress and counts.
Additionally, take note of any specific techniques or stitches that are required for the pattern. This may include cables, lacework, or colorwork. If you are unfamiliar with these techniques, consider practicing them on a small swatch before starting the project to ensure you are comfortable with the instructions.
As you work through the pattern, it can be helpful to highlight or circle the instructions for each row or round as you complete them. This will help you stay organized and prevent any mistakes or missed steps.
In conclusion, reading and interpreting the crop top knitting pattern instructions is a critical step in achieving successful results. By understanding the language, abbreviations, and symbols used in the pattern, as well as paying attention to the sizing and technique requirements, you can confidently knit a beautiful crop top.
How to Cast On and Start the Free Crop Top Knitting Pattern

Before you can start knitting your free crop top, you need to cast on. Casting on is the process of creating the initial row of stitches on your knitting needle. For this specific pattern, you will need to cast on a specific number of stitches to achieve the desired size and fit of your crop top. Make sure to check the instructions for the pattern to determine how many stitches you need to cast on.
To cast on, start by making a slip knot. This is done by creating a loop with your yarn and pulling the working end of the yarn through the loop. Once you have your slip knot, slide it onto your knitting needle and tighten it snugly.
Next, hold the knitting needle with the slip knot in your right hand and the working yarn in your left hand. Insert the right needle into the slip knot from front to back, going under the left needle. With your left hand, use your index finger and thumb to hold the working yarn. With your right hand, bring the working yarn behind the right needle and use it to wrap the yarn around the right needle counterclockwise.
Once you have wrapped the yarn around the right needle, use your right hand to gently pull the loop through the slip knot. This will create a new stitch on your right needle. Repeat this process until you have cast on the required number of stitches for the pattern.
After casting on, you are ready to begin knitting the first row of your free crop top. Follow the pattern instructions to determine the stitches and techniques required for the first row. Remember to read the instructions carefully and take your time to ensure accuracy in your knitting. Once you have completed the first row, you can continue knitting the rest of the crop top pattern according to the given instructions.
Knitting the main body of the crop top
Once you have cast on the required number of stitches for your crop top, it’s time to start knitting the main body. This is where the bulk of the work will be done, as you’ll be creating the fabric that will make up the body of the top.
Using your chosen stitch pattern, work row by row to create the desired length for your crop top. You may choose to use a simple stockinette stitch for a smooth, even finish, or experiment with different stitch patterns to add texture and interest to your garment. It’s important to keep track of your rows and stitches to ensure an even and symmetrical result.
If using a stockinette stitch, remember to alternate between knit and purl rows to prevent your fabric from curling up. This will help to maintain the shape of your crop top and make it more wearable.
You can also consider adding increases or decreases to shape the body of your crop top. Increases can be added on the sides to create a flared effect, while decreases can be used to create a more fitted look. It’s important to keep these increases and decreases evenly spaced throughout the rows to maintain the overall shape of the top.
Once you have reached the desired length for your crop top, it’s time to move on to the next step: knitting the neckline and finishing touches.
Creating the desired length and width

When knitting a crop top, it’s important to create the desired length and width to achieve the desired fit. There are a few key considerations to keep in mind when adjusting the measurements of your knitting project.
1. Length:
The length of your crop top can be easily adjusted by adding or subtracting rows in the main body section. If you prefer a shorter top, simply knit fewer rows. To make it longer, add more rows. It’s important to keep in mind that the length should be flattering to your body shape and hit at the desired point on your torso.
2. Width:
The width of the crop top can be adjusted by adding or subtracting stitches in the cast-on. Increasing the number of stitches will make the top wider, while decreasing the number of stitches will make it narrower. It’s important to consider your bust size and desired fit when determining the width of your crop top.
Additionally, you can also adjust the width by changing the size of the needles you’re using. Using smaller needles will result in a tighter gauge and a narrower top, while using larger needles will result in a looser gauge and a wider top.
Overall, when creating a crop top, it’s essential to experiment with adjusting the length and width to achieve the perfect fit for your body shape and personal style. These adjustments can be easily made by adding or subtracting rows and stitches, or by changing the size of the needles you’re using.
Knitting the neckline and straps

After completing the main body of the crop top, it’s time to move on to knitting the neckline and straps. This is an important step to ensure a comfortable fit and a finished look for the garment.
To start, you will need to pick up stitches along the neckline. This can be done by inserting the needle into the edge stitch of the neckline and knitting a new stitch onto the needle. Repeat this process until you have picked up the desired number of stitches. Make sure to evenly distribute the stitches along the neckline to maintain a balanced look.
Once the stitches are picked up, you can begin knitting the neckline. This can be done in a variety of stitch patterns, such as ribbing or a simple garter stitch. The choice of stitch pattern will depend on the desired style and design of the crop top. Follow the instructions of the knitting pattern or experiment with different stitch patterns to achieve the desired look.
In addition to the neckline, you will also need to knit the straps of the crop top. This can be done by either continuing to pick up stitches along the edge of the neckline and knitting in a desired stitch pattern, or by knitting two separate pieces and attaching them to the front and back of the crop top. Again, the choice of method will depend on the desired style and design.
Once the neckline and straps are complete, make sure to try on the crop top and adjust the length and fit if necessary. You can also add any desired embellishments or finishing touches, such as buttons or crochet edging, to enhance the overall look of the garment. Enjoy the process of knitting the neckline and straps, and soon you’ll have a stylish and comfortable crop top ready to wear!
Different options for necklines and strap styles
When knitting a crop top, there are several options for necklines and strap styles that can give your finished garment a unique and personalized look. Here are a few ideas to consider:
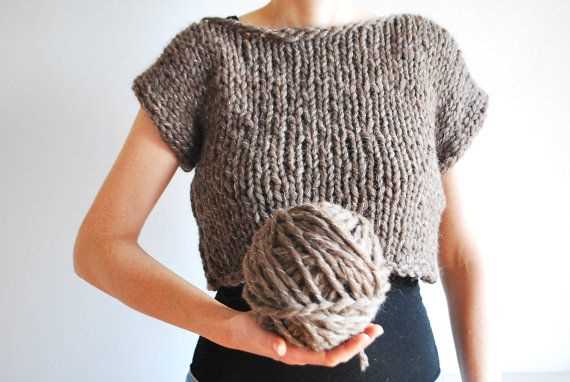
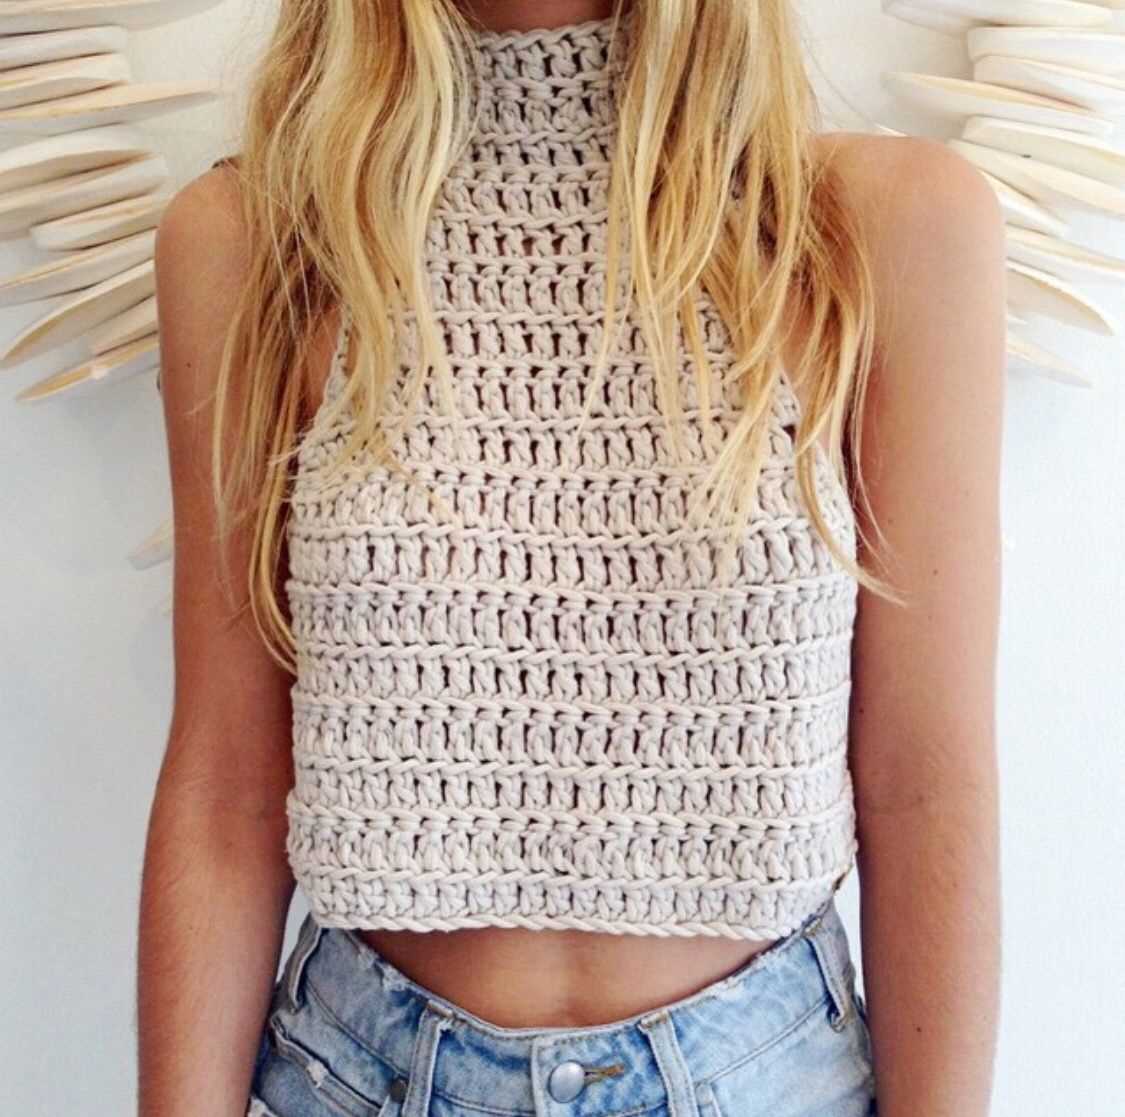
1. Boat neckline:

A boat neckline, also known as a bateau neckline, is a classic and elegant choice for a crop top. It features a wider neckline that sits above the collarbone and extends towards the shoulders. This neckline style creates a flattering and feminine look.
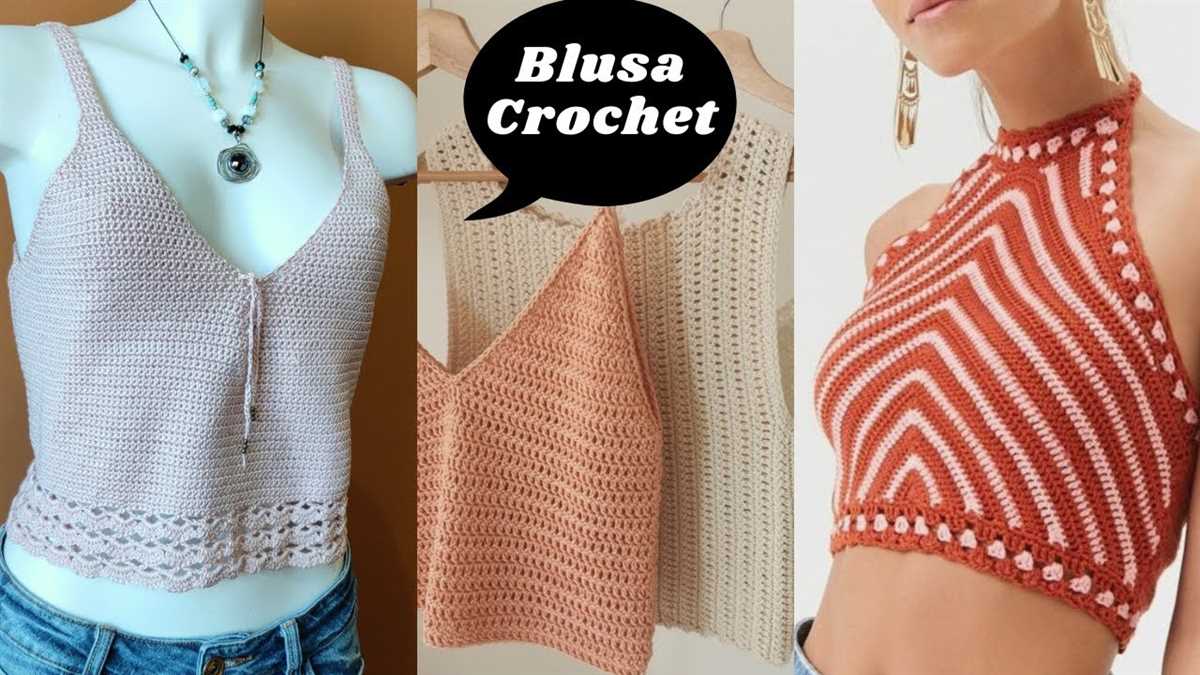
2. V-neckline:
A V-neckline adds a touch of sophistication and can help elongate the neck and torso. This neckline is created by decreasing stitches in a V shape at the center front of the crop top. You can choose to make the V-neckline deeper or more shallow depending on your preference.
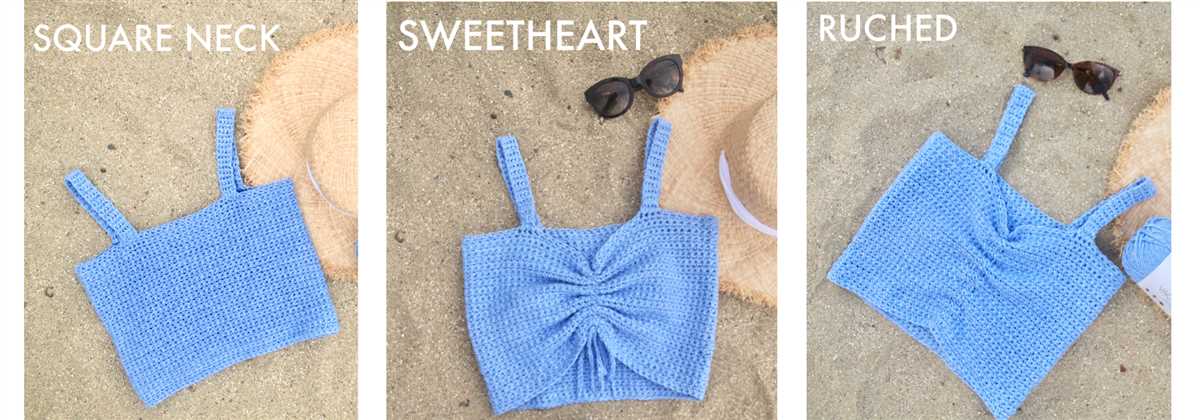
3. Square neckline:

A square neckline is a modern and versatile option for a crop top. It is created by shaping the neckline to form right angles at the front and back. This neckline style can be flattering for different body types and can be paired with various strap styles.
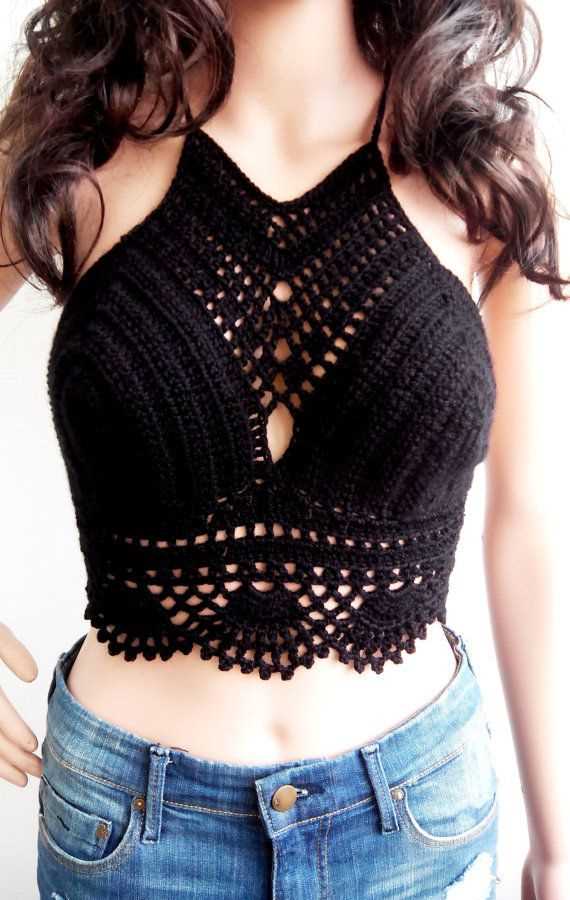
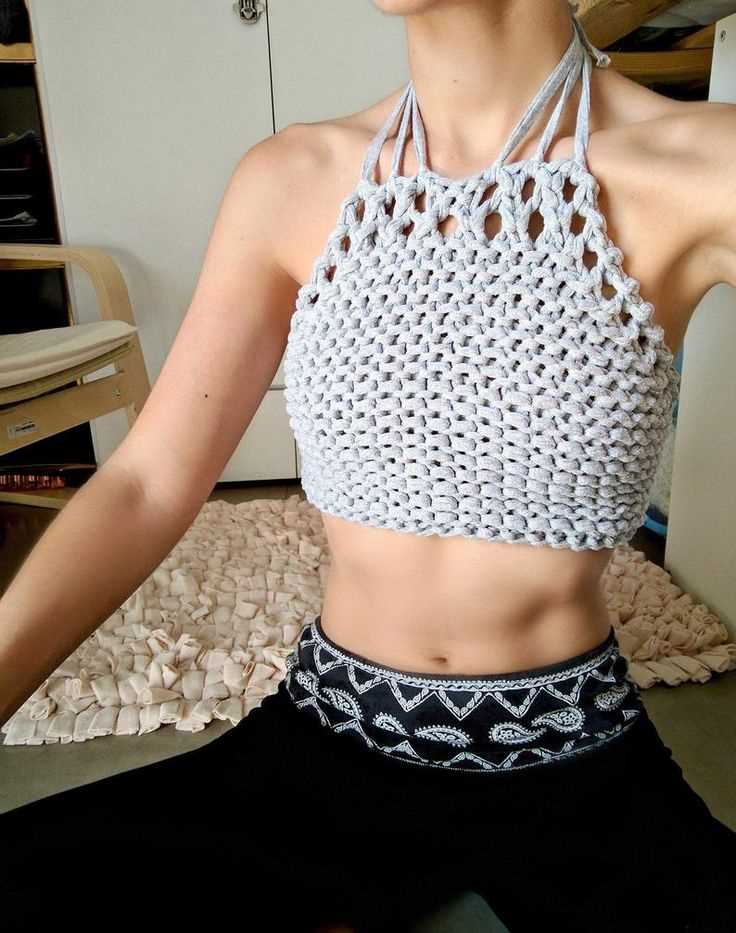
4. Halter neck:
A halter neck style is perfect for a summer crop top. It features straps that tie or fasten behind the neck, leaving the shoulders and upper back open. This neckline style is great for showcasing your collarbones and can give a trendy and playful look to your crop top.
5. Strappy back:
If you want to add some intrigue and detail to your crop top, consider incorporating a strappy back design. You can create crisscrossed or multiple straps that intersect at the back, giving a unique and eye-catching look. This style also offers the opportunity to experiment with different textures and stitches.
These are just a few examples of necklines and strap styles that you can explore when knitting a crop top. Whether you prefer a classic boat neckline or a trendy strappy back, the choice is yours. Have fun experimenting with different options and create a crop top that reflects your personal style.
Finishing touches and blocking
Once you have completed knitting your crop top, there are a few finishing touches that you can add to give it a polished look. One option is to add a decorative edging to the bottom of the top. This can be done by picking up stitches along the edge and knitting a few rows in a contrasting color or stitch pattern. Another option is to add a button or closure at the back of the top to hold it in place.
After you have added any desired finishing touches, it is important to block your crop top. Blocking is the process of wetting or steaming your knitted item to help smooth out any uneven stitches and to give it its final shape. To block your crop top, start by filling a basin with lukewarm water and a small amount of gentle detergent. Gently submerge the top in the water and let it soak for about 10-15 minutes.
Blocking Steps:
- After soaking, carefully remove the top from the water and gently squeeze out the excess water, being careful not to wring or twist the fabric.
- Next, lay the top flat on a clean towel and gently roll the towel up, pressing slightly to remove any remaining water.
- Unroll the towel and lay the top flat again on a dry towel or blocking mat.
- Using rust-proof pins, carefully stretch and shape the top to the desired measurements, making sure to align any stitch patterns or edges.
- Allow the top to dry completely before unpinning. This may take several hours or even overnight.
Blocking your crop top will not only help it to look its best, but it will also help to even out the stitches and give the fabric a softer, drapey feel. Once it is fully dry, you can try on your beautiful new crop top and show off your knitting skills!
How to Properly Finish and Block Your Crop Top
After completing your crop top, it’s important to properly finish and block it to give it a polished and professional look. Follow these steps to ensure your crop top looks its best:
1. Weave in Ends
Start by weaving in all the loose ends of yarn from your knitting. Use a tapestry needle to carefully thread the ends through the stitches on the wrong side of the fabric. Make sure to secure the ends firmly, so they don’t come undone over time.
2. Sew Side Seams
Next, sew the side seams of your crop top together using a mattress stitch or any preferred method. This will create a clean and seamless finish. Take your time to align the stitches properly and sew them neatly.
3. Block the Crop Top
Blocking is an essential step to give your crop top its final shape and ensure even stitches. Fill a basin or sink with lukewarm water and add a small amount of gentle soap. Submerge your crop top in the water and gently squeeze it to remove any air bubbles. Let it soak for around 10-15 minutes.
After soaking, carefully remove the crop top from the water and gently squeeze out excess moisture. Lay it flat on a clean towel and shape it into the desired size and dimensions. You can use blocking pins to hold the edges in place and enhance the shape. Allow the crop top to dry completely, preferably away from direct sunlight.
4. Finishing Touches
Once the crop top is dry, remove the blocking pins and check for any remaining loose ends. Use scissors to trim them carefully, making sure not to cut any of the finished stitches. Give your crop top a final look to ensure it is free from any imperfections.
Now you have successfully finished and blocked your crop top! It’s ready to be worn and enjoyed, or you can gift it to someone special. Remember, proper finishing and blocking can make a significant difference in the final appearance and longevity of your knitted garment.
Adding Embellishments and Personalizing Your Crop Top
Once you have completed knitting your crop top, you can add embellishments and personalize it to make it unique and reflect your personal style. Here are a few ideas to get you started:
- Embroidery: Use embroidery thread to add decorative stitches and patterns to your crop top. You can create flowers, geometric designs, or your initials.
- Sequins and Beads: Sew on sequins or beads in a pattern or randomly to add sparkle and shine to your crop top.
- Ribbons and Lace: Attach ribbons or lace trim to the hem or sleeves of your crop top for a feminine touch.
- Pom-poms: Add small pom-poms along the bottom edge of your crop top for a playful and fun look.
- Tassels: Attach tassels to the hem or ties of your crop top for a bohemian vibe.
Remember to consider the type of yarn and color of your crop top when choosing embellishments. You want to make sure they complement each other and create a cohesive look.
Personalizing your crop top is a great way to make it truly yours. Whether you add a monogram, a small patch, or an embroidered symbol, it’s the little details that can make a big difference.
Conclusion
Knitting your own crop top is a fun and rewarding project. With the right pattern, yarn, and a little creativity, you can create a stylish and comfortable garment that reflects your personal style. By adding embellishments and personalizing your crop top, you can make it truly unique and turn it into a statement piece. So grab your knitting needles and start crafting your own crop top today!
Q&A:
What is a crop top?
A crop top is a type of shirt or blouse that ends above the waistline, exposing the midriff.
Why would someone want to knit a crop top?
Knitting a crop top can be a fun and fashionable way to create your own unique piece of clothing. It allows for customization in terms of color, pattern, and fit.
Are there any free crop top knitting patterns available?
Yes, there are many free crop top knitting patterns available online. You can find them on various knitting websites, blogs, and forums.
Where can I find a beginner-friendly crop top knitting pattern?
You can find beginner-friendly crop top knitting patterns on websites like Ravelry, LoveKnitting, and AllFreeKnitting. These patterns are specifically designed for those new to knitting.
What are some popular yarns used for knitting crop tops?
Some popular yarns used for knitting crop tops include cotton, bamboo, linen, and lightweight acrylic blends. These yarns are breathable and comfortable to wear during the warmer months.
What materials do I need for a crop top knitting pattern?
You will need yarn, knitting needles, a tapestry needle, and scissors.
What size needles should I use?
The size of needles will depend on the yarn weight you are using. Generally, a US size 8 (5mm) or US size 9 (5.5mm) needle is a good choice for a crop top.