
If you’re looking to keep your legs warm and stylish during the colder months, then look no further than these free easy leg warmer knitting patterns. Leg warmers are a versatile accessory that can be worn with skirts, dresses, or even over leggings or tights. They not only keep your legs cozy, but they also add a touch of charm to any outfit.
These patterns are perfect for both beginners and experienced knitters alike. With just a few basic knitting stitches, you’ll be able to create beautiful leg warmers in no time. The best part is that you can customize them to your own taste by choosing different yarn colors and patterns.
Whether you prefer classic ribbed leg warmers or more intricate cable designs, there’s a pattern for everyone. You can knit a pair for yourself or make them as a thoughtful handmade gift for a friend or loved one. So grab your knitting needles and get ready to create some cozy, fashionable leg warmers!
Basic knitting techniques
Knitting is a popular craft that allows you to create beautiful and functional items with just yarn and needles. Whether you’re a beginner or an experienced knitter, it’s important to have a strong foundation in basic knitting techniques. These techniques will help you understand and execute various stitches and patterns, and they will serve as building blocks for more complex projects. Below, we’ll explore some of the essential knitting techniques that every knitter should know.
Casting on
When starting a knitting project, the first step is casting on. This technique creates the foundation row of stitches on your needle. There are several methods for casting on, including the long-tail cast-on, the knitted cast-on, and the cable cast-on. Each method has its own unique benefits and uses. The long-tail cast-on is widely used and creates a neat and stretchy edge. The knitted cast-on is simple and quick, making it ideal for beginners. The cable cast-on is sturdy and perfect for projects that require extra durability.
Knit stitch
The knit stitch is the basic stitch in knitting. It creates a smooth and flat fabric and is commonly used in a wide range of projects. To knit, insert the right-hand needle into the front of the stitch on the left-hand needle, from left to right. Then, wrap the yarn around the right-hand needle, and pull the right-hand needle through the stitch, slipping the stitch off the left-hand needle. Repeat this process for each stitch in the row. The knit stitch creates a “V” pattern on the right side of the fabric.
Purl stitch
The purl stitch is the reverse of the knit stitch and creates a bumpy texture on the right side of the fabric. It’s often used in combination with the knit stitch to create various stitch patterns. To purl, insert the right-hand needle into the front of the stitch on the left-hand needle, from right to left. Then, wrap the yarn around the right-hand needle, and pull the right-hand needle through the stitch, slipping the stitch off the left-hand needle. Repeat this process for each stitch in the row. The purl stitch creates a horizontal bar on the right side of the fabric.
- Casting on is the first step in a knitting project and creates the foundation row of stitches on your needle.
- The knit stitch is the basic stitch in knitting and creates a smooth and flat fabric.
- The purl stitch is the reverse of the knit stitch and creates a bumpy texture on the right side of the fabric.
By mastering these basic techniques, you’ll be well-equipped to tackle a wide range of knitting projects. With practice, you’ll gain confidence and develop your own personal knitting style. Happy knitting!
Choosing the right yarn and needles
When it comes to knitting leg warmers, choosing the right yarn and needles is important for achieving the desired result. The yarn you select will determine the warmth, texture, and appearance of the leg warmers, while the needles will affect the size and density of the knitting.
Firstly, consider the type of yarn you want to use for your leg warmers. There are various options available, such as wool, acrylic, cotton, or a blend of different fibers. Wool is known for its warmth and insulating properties, making it an excellent choice for colder climates. Acrylic yarn is often preferred for its affordability and easy care, as it can be machine washed and dried. Cotton yarn is lightweight and breathable, making it suitable for warmer seasons. Consider the texture you want as well, whether you prefer a smooth finish or a more textured look.
Next, choose the appropriate needle size for your leg warmers. The size of the needles will determine the gauge and overall size of the finished leg warmers. Be sure to check the recommended gauge for the pattern you are using, as this will guide you in selecting the right needle size. If you want a tighter, denser fabric, opt for smaller needles. Conversely, if you want a looser, more open-knit, choose larger needles. It’s important to achieve the proper gauge to ensure the leg warmers fit correctly and have the desired drape.
In summary, consider the type of yarn that will best suit your needs in terms of warmth, texture, and care. Additionally, carefully choose the appropriate needle size to achieve the desired gauge and finished size for your leg warmers. By taking these factors into consideration, you can ensure a successful and enjoyable knitting experience.
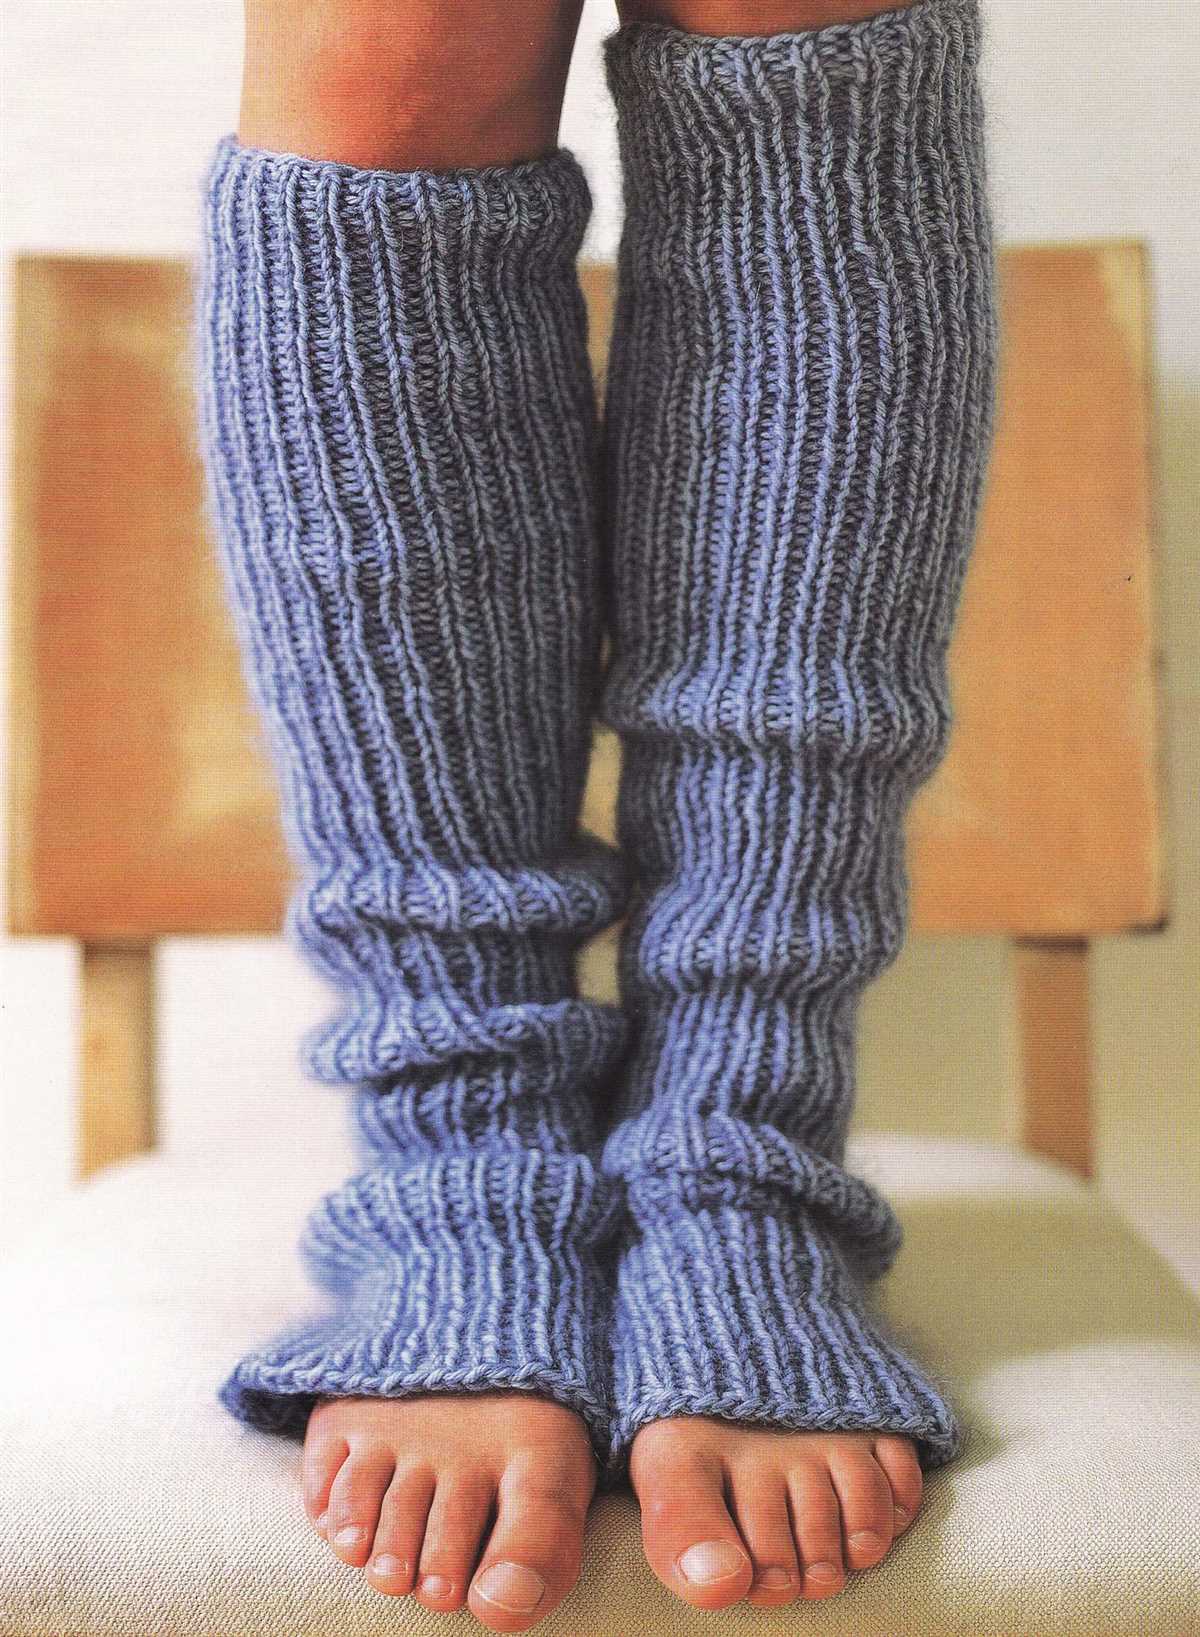
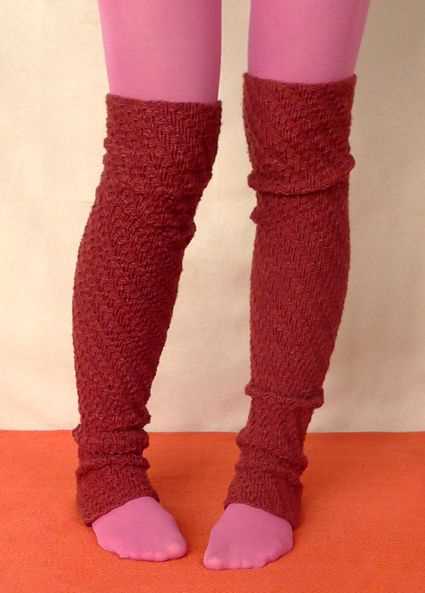
Pattern 1: Simple Ribbed Leg Warmers
Stay cozy and stylish with the Simple Ribbed Leg Warmers knitting pattern. These leg warmers are not only easy to make but also incredibly comfortable to wear. Whether you’re heading out for a winter jog or simply want to add a touch of warmth to your outfit, these leg warmers are the perfect accessory.
To create the Simple Ribbed Leg Warmers, you’ll need basic knitting skills and some worsted weight yarn. The pattern uses a simple rib stitch, which creates a stretchy and textured fabric that hugs your legs snugly. The ribbing allows the leg warmers to stay in place while providing flexibility and freedom of movement.
The pattern starts with casting on a certain number of stitches, which can be easily adjusted to fit your leg measurements. Then, you’ll knit in a rib stitch pattern, alternating between knitting and purling stitches. This repetition creates the beautiful ribbed texture that gives these leg warmers their unique look.
A great thing about this pattern is its versatility. You can customize the length of the leg warmers based on your preference, whether you prefer them to reach just below the knees or all the way up to the thighs. Plus, you can experiment with different yarn colors and add embellishments like buttons or bows to make them even more personalized.
With the Simple Ribbed Leg Warmers knitting pattern, you’ll have a practical and fashionable accessory that will keep your legs warm and stylish all winter long.
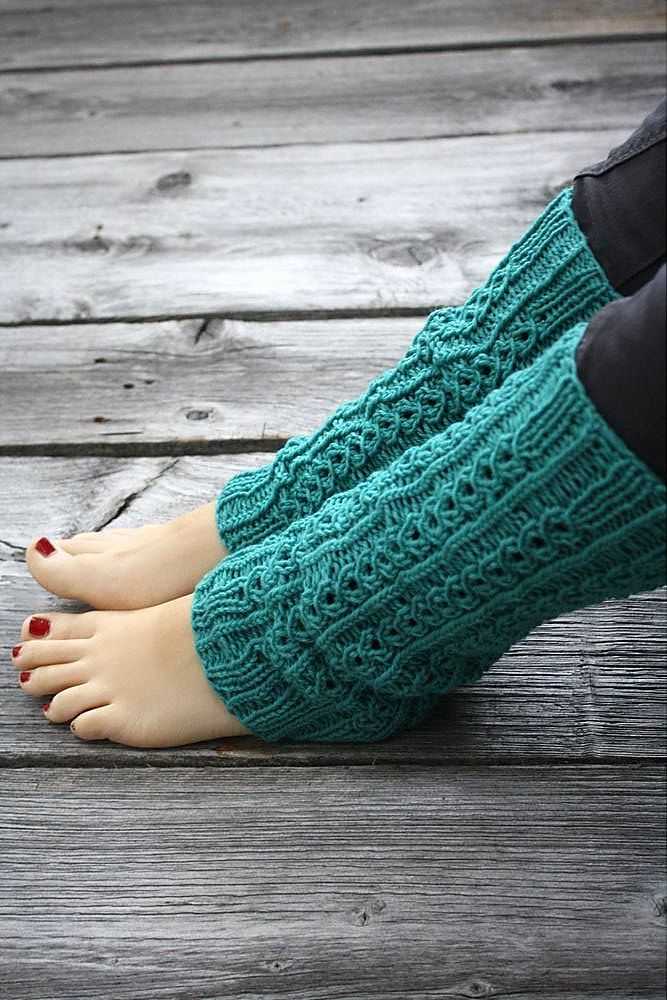
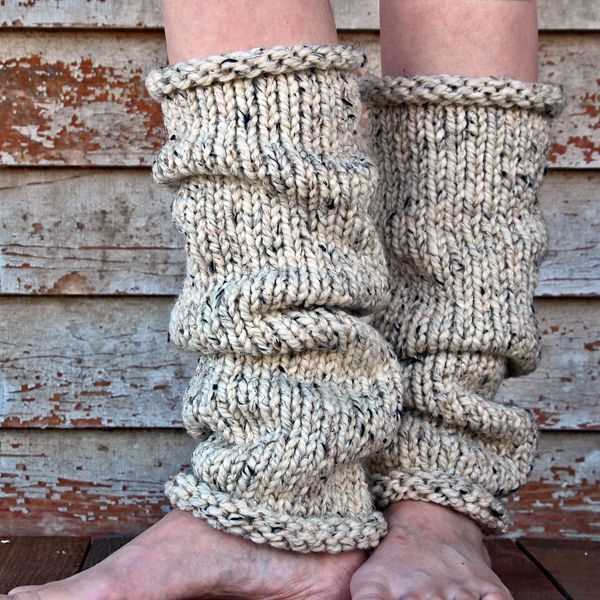
Pattern 2: Cable Knit Leg Warmers
If you’re looking for a more intricate and textured design for your leg warmers, then this cable knit pattern is perfect for you. Cable knitting creates beautiful braided patterns that add depth and visual interest to your leg warmers.
To start this pattern, you’ll need medium-weight yarn and knitting needles in the appropriate size. You’ll also need a cable needle, which is a smaller knitting needle used to hold stitches while you work on the cable pattern.
Begin by casting on the desired number of stitches, making sure to cast on an even number for the cable pattern to work correctly. You’ll be working in a rib stitch pattern for the leg warmers, alternating between knit and purl stitches.
Once you’ve worked several rows in the rib stitch pattern, it’s time to start the cable pattern. The cable pattern consists of crossing stitches over each other to create the braided effect. Follow the specific instructions for the cable pattern you’ve chosen, using the cable needle to hold the stitches as you work.
Continue working the cable pattern for the desired length of the leg warmers, making sure to maintain the rib stitch pattern when not working the cables. Once you’ve reached the desired length, finish off your leg warmers by binding off your stitches and weaving in any loose ends.
With these cable knit leg warmers, you’ll have a stylish and cozy accessory to keep your legs warm during the colder months, while also showcasing your knitting skills. Don’t be afraid to experiment with different cable patterns and colors to make your leg warmers truly unique.
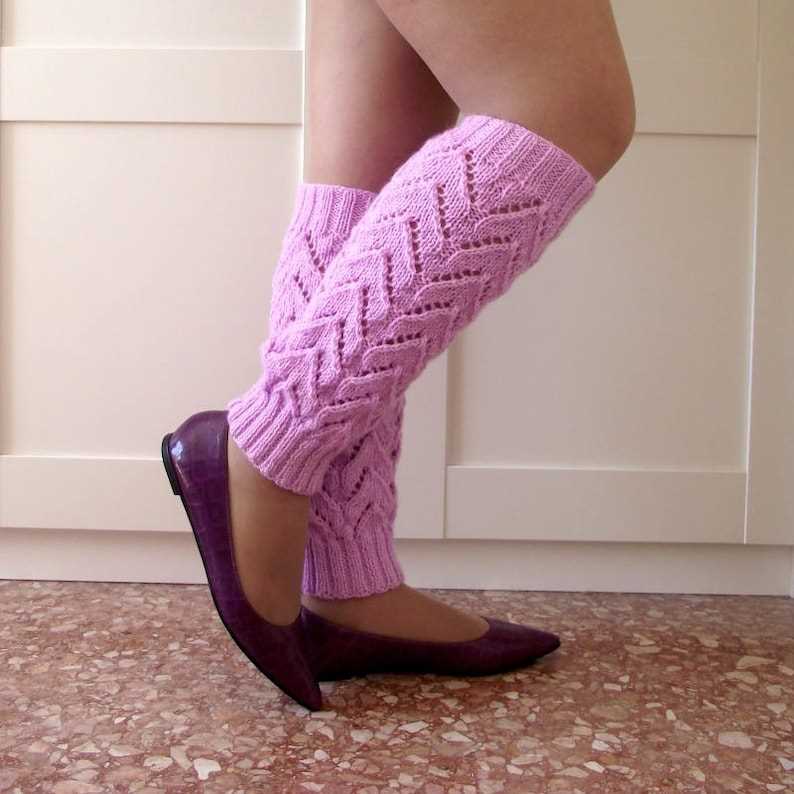
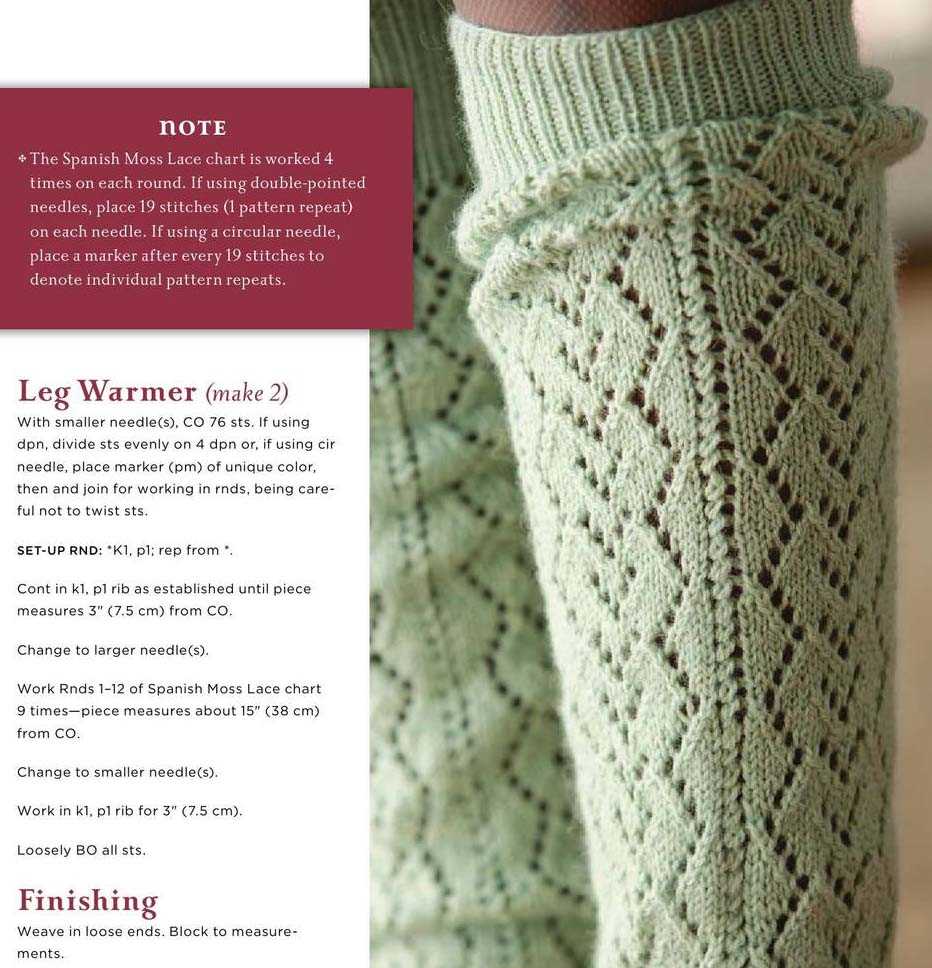
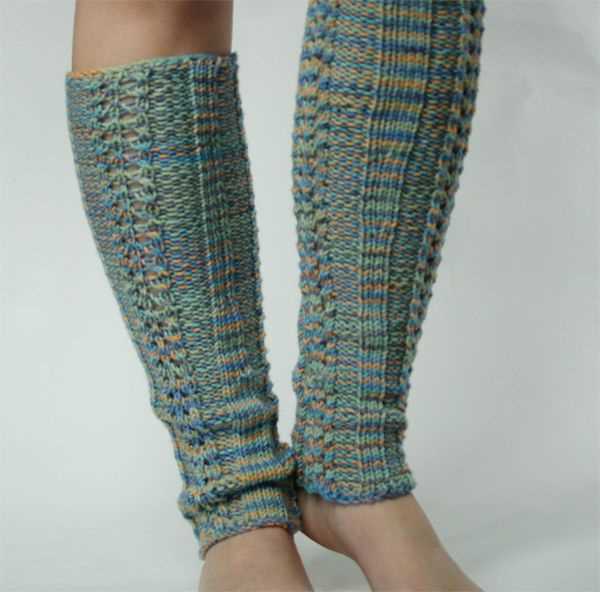
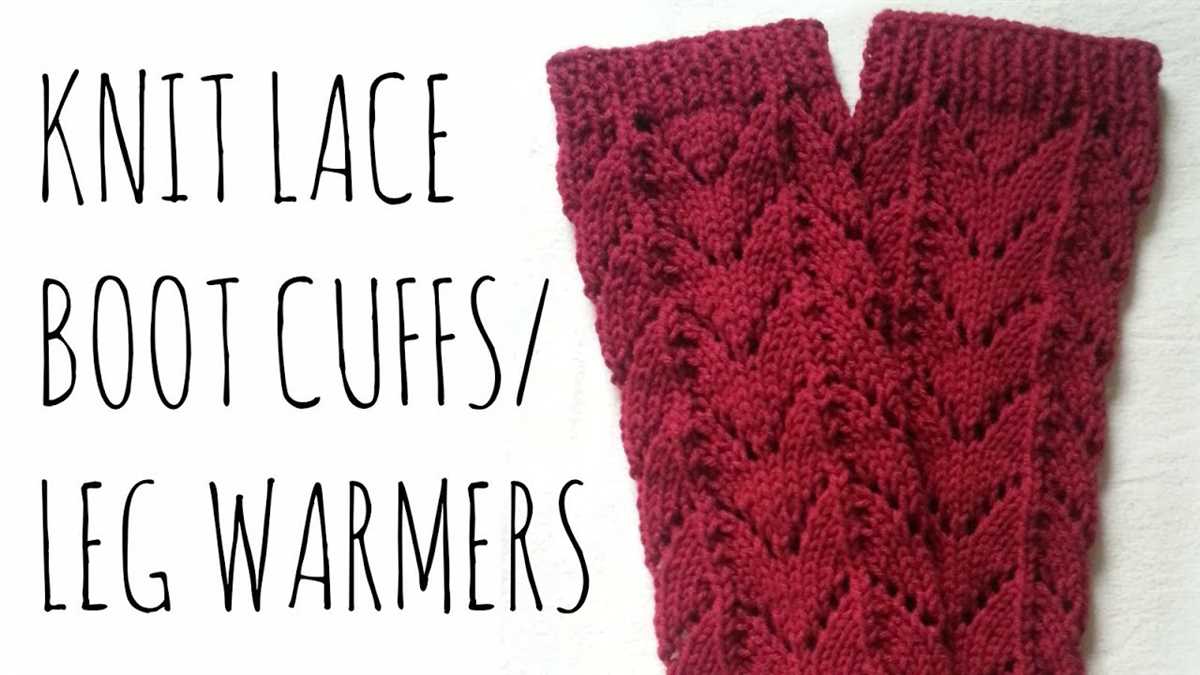
Pattern 3: Lace stitch leg warmers
If you’re looking for a feminine and delicate option for your leg warmers, the lace stitch pattern is perfect for you. This pattern creates a beautiful lacy design that adds a touch of elegance to any outfit. Let’s take a look at how to knit these lace stitch leg warmers.
Materials:
- Yarn: Choose a light-weight yarn in your desired color.
- Needles: Use a pair of US size 4 (3.5mm) circular needles.
- Stitch markers
- Tapestry needle
Instructions:
- Cast on: Start by casting on 60 stitches.
- Set up row: Knit 2 rows in a basic knit stitch.
- Lace stitch pattern: Follow this lace stitch pattern for the main body of the leg warmer:
Row Stitch pattern 1 K2, *yo, k2tog, k4, ssk, yo, k2*; repeat from * to * until the end of the row. 2 Purl all stitches. Repeat these 2 rows until the leg warmer reaches your desired length.
- Finish: After reaching the desired length, knit 2 more rows in a basic knit stitch and then bind off. Weave in any loose ends using a tapestry needle.
These lace stitch leg warmers are a great addition to your wardrobe, and they will keep your legs warm and stylish during the colder months. The lace pattern adds a touch of elegance, making them suitable for both casual and dressier occasions. Knit a pair for yourself or as a thoughtful gift for a friend.
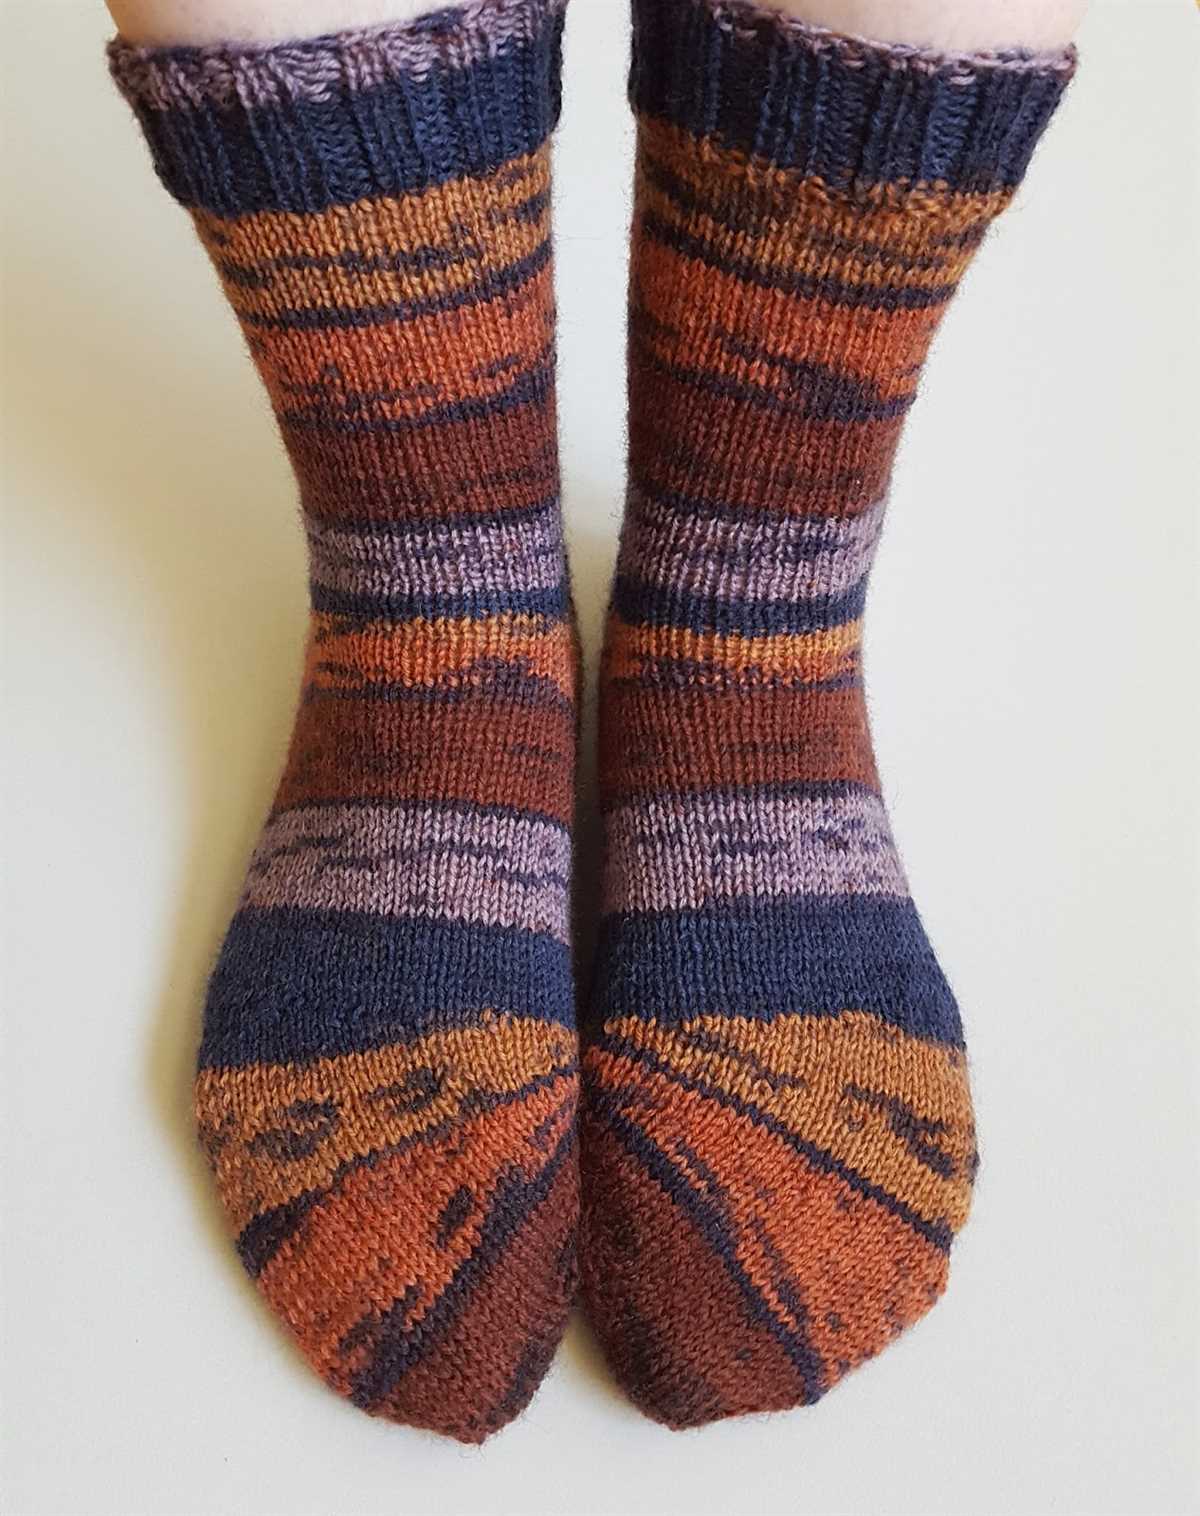
Pattern 4: Fair Isle colorwork leg warmers
If you’re looking for a fun and stylish way to keep your legs warm, try knitting a pair of Fair Isle colorwork leg warmers. These leg warmers are made using a traditional colorwork technique that originated in the Fair Isle region of Scotland. The technique involves knitting with two colors at once to create intricate and beautiful patterns.
To create your own Fair Isle colorwork leg warmers, you will need two colors of yarn, preferably one solid color and one variegated or self-striping yarn. You will also need double-pointed knitting needles in a size appropriate for the thickness of your yarn. The leg warmers are worked in the round, so double-pointed needles are necessary.
Begin by casting on the desired number of stitches using the solid color yarn. Join the round, being careful not to twist the stitches. Then, start knitting the Fair Isle pattern using the variegated yarn. You can find a variety of Fair Isle patterns online or in knitting books. Choose one that you like and follow the chart or written instructions to create the pattern.
Keep knitting in the Fair Isle pattern until the leg warmers reach the desired length. Then, switch back to the solid color yarn and knit a few rounds to create a solid color cuff at the top of the leg warmers. Finally, bind off the stitches and weave in any loose ends.
The finished Fair Isle colorwork leg warmers will be both cozy and stylish, making them the perfect accessory for chilly days. They can be worn with skirts, dresses, or over leggings or skinny jeans to add a pop of color and pattern to your outfit. Plus, they will keep your legs warm and comfortable throughout the day.
If you’re new to Fair Isle colorwork, this pattern is a great introduction to the technique. The leg warmers are small and quick to knit, so you can practice your colorwork skills and create a beautiful accessory in no time. So why not give it a try and add some Fair Isle charm to your winter wardrobe?
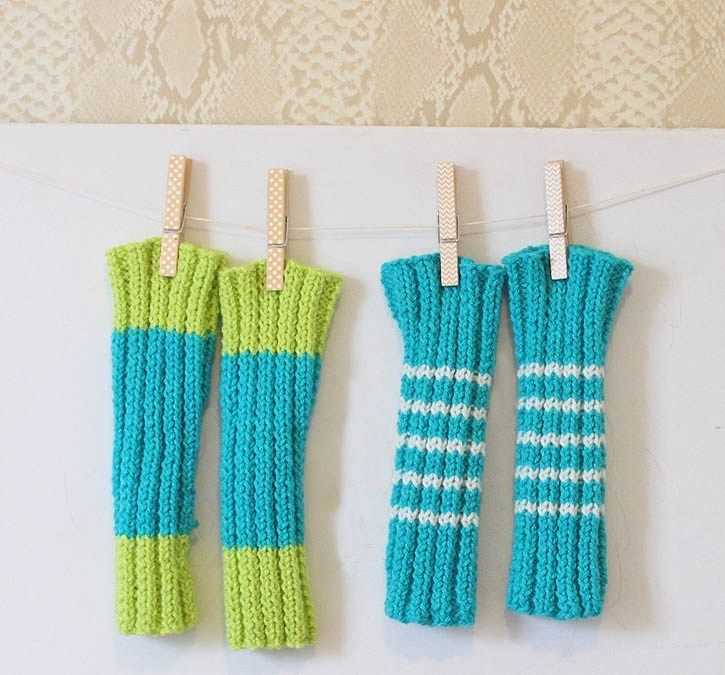
Pattern 5: Striped Leg Warmers
If you’re looking for a fun and colorful project, these striped leg warmers are perfect for you. With their vibrant hues and stylish design, they will add a playful touch to any outfit. Plus, they are super easy to knit, making them a great option for beginners.
To make these leg warmers, you will need two different colors of worsted weight yarn, preferably in contrasting shades. Start by casting on the desired number of stitches, depending on the size of your leg. The pattern recommends using circular needles for a seamless finish, but you can also use straight needles if that’s what you’re comfortable with.
Once you have cast on, you can start knitting the leg warmers following a simple stripe pattern. Alternate between the two colors, knitting a few rows with one color and then switching to the other. You can choose the width of each stripe based on your preference. For a more balanced look, you might want to make the stripes equal in size, or you can mix it up and create varying widths.
Continue knitting in this manner until the leg warmers reach your desired length, or until you run out of yarn. Make sure to end with the same color you started with to create a cohesive look. Once you’ve finished knitting, bind off your stitches and sew up any seams if necessary.
These striped leg warmers are not only fashionable but also functional. They will keep your legs warm and cozy during the colder months, making them a great accessory for winter activities such as skiing or ice skating. So grab your yarn and needles, and get ready to create a unique and stylish pair of leg warmers!
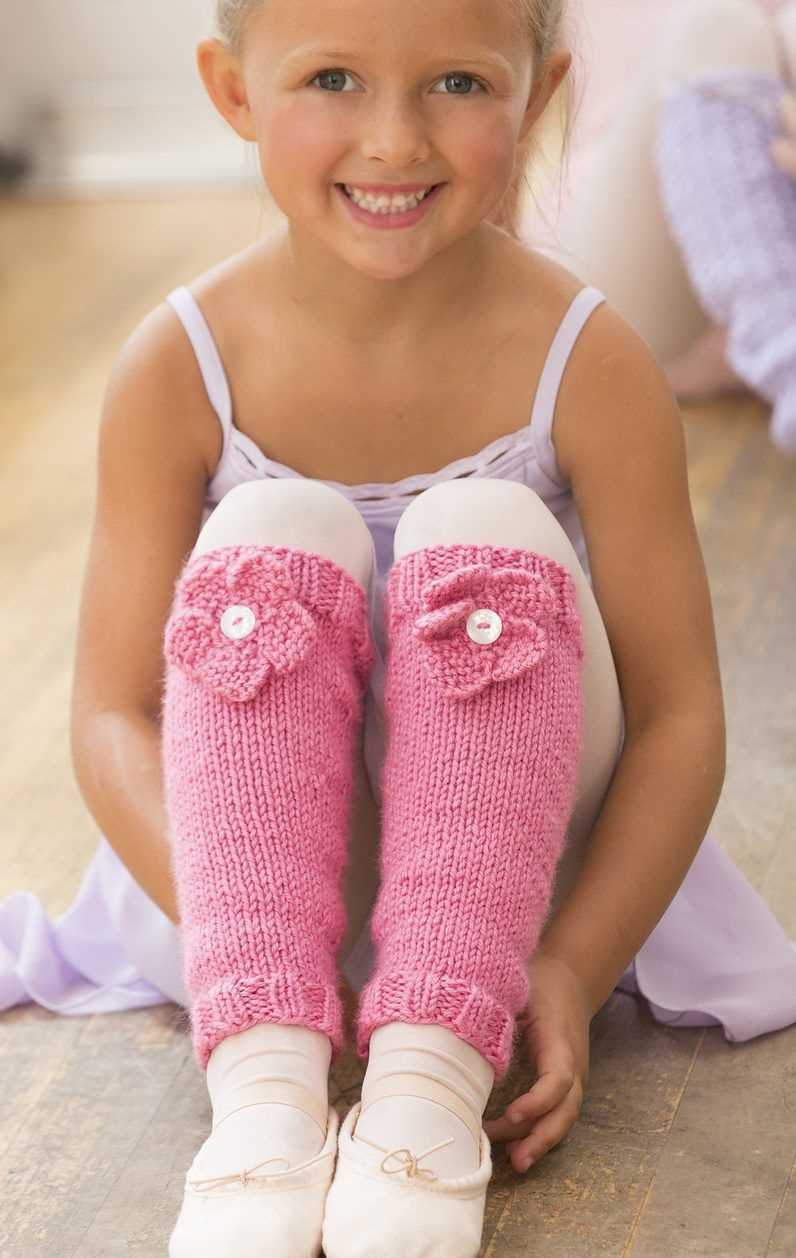
Pattern 6: Buttoned Leg Warmers
These buttoned leg warmers are a stylish and practical addition to your winter wardrobe. They are perfect for keeping your legs warm and protected from the cold while adding a touch of style to your outfit. The pattern is easy to follow and suitable for beginners.
To start, you will need a pair of knitting needles and two different colored yarns. The pattern uses basic knitting stitches such as knit and purl, making it a great project for beginners who want to improve their knitting skills.
Materials:
- Size 8 knitting needles
- Worsted weight yarn in two different colors
- Four buttons
- Tapestry needle for weaving in ends
Instructions:
- Begin by casting on 40 stitches using your main color yarn.
- Work in a k2, p2 rib pattern for 5 inches.
- Switch to your contrasting color yarn and work in stockinette stitch for 10 inches.
- Switch back to your main color yarn and work in a k2, p2 rib pattern for another 5 inches.
- Bind off all stitches.
- Repeat the above steps to make the second leg warmer.
- Sew four buttons evenly spaced along the ribbed section of each leg warmer.
These buttoned leg warmers are not only functional but also fashionable, adding a stylish touch to any outfit. They can be paired with skirts, dresses, or even leggings to create a unique and trendy look. Whether you are a beginner knitter or an experienced one, this pattern is a great choice for creating cozy and fashionable leg warmers.
Tips for Customizing Your Leg Warmers

While the free easy leg warmer knitting patterns provided above are a great starting point, you may want to customize your leg warmers to match your personal style and preferences. Here are some tips on how to do that:
1. Choose your yarn: The type of yarn you choose can greatly affect the look and feel of your leg warmers. Consider using a soft, cozy yarn for extra warmth, or opt for a variegated yarn for a unique and colorful design.
2. Experiment with stitch patterns: The patterns provided above use basic stitch patterns, but don’t be afraid to get creative! Try adding cables, lace, or other textured stitches to give your leg warmers a more intricate look.
3. Add embellishments: Personalize your leg warmers by adding small embellishments like buttons, ribbons, or bows. These small details can make a big difference in the overall look of your leg warmers.
4. Customize the length: Leg warmers can be worn at different lengths, so consider adjusting the pattern to fit your desired length. You can make them shorter to just cover your ankles, or longer to go up over your knees.
5. Experiment with colors: Don’t be afraid to play with color! Choose yarns in different shades or create a striped design by alternating colors. This allows you to create leg warmers that match your outfit or add a pop of color to your winter wardrobe.
6. Add a ribbed or elasticized cuff: If you want your leg warmers to stay in place, consider adding a ribbed or elasticized cuff at the top. This will help prevent them from slipping down your legs while providing a snug and comfortable fit.
7. Personalize with monograms: For a truly unique touch, consider adding your initials or a monogram to your leg warmers. You can do this by embroidering or knitting the letters onto the leg warmers, adding a personalized touch to your accessory.
By following these tips, you can customize your leg warmers to reflect your personal style and preferences. Whether you want a cozy pair for lounging at home or a stylish accessory for a night out, your custom leg warmers will be sure to keep you warm and fashionable throughout the colder months.