
Knitting is a popular hobby for people of all ages and genders. It not only allows you to create warm and cozy items but also provides a sense of satisfaction and accomplishment. One of the most common knitting projects is a hat, which can be customized to fit any style or preference.
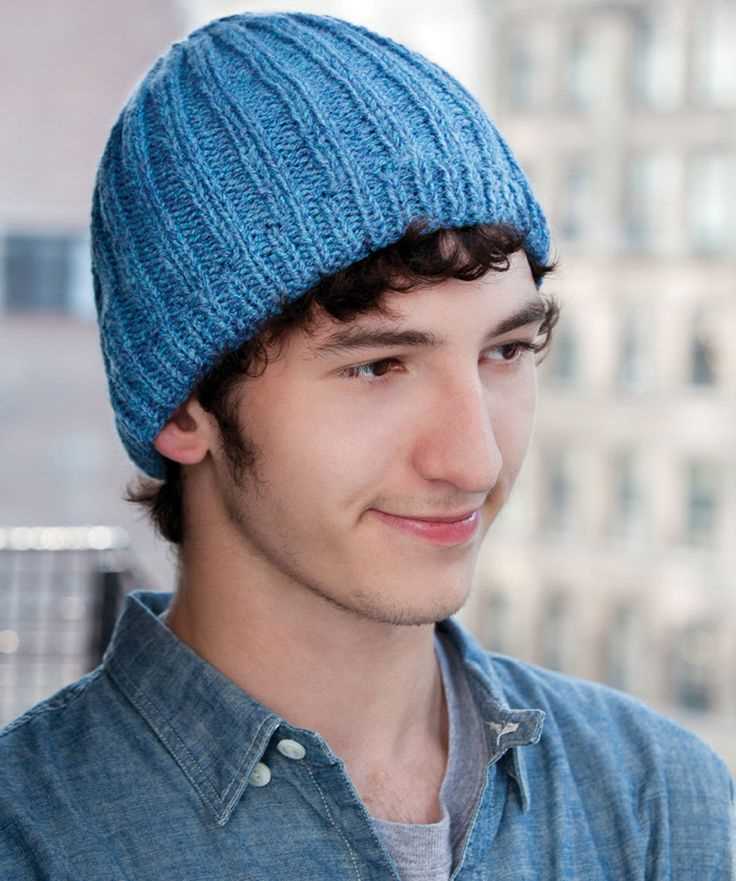
If you’re looking for a free knitting pattern for a man’s hat, you’re in luck. We have a simple yet stylish pattern that is perfect for any man in your life. Whether you’re knitting for your husband, son, brother, or friend, this pattern is sure to impress.
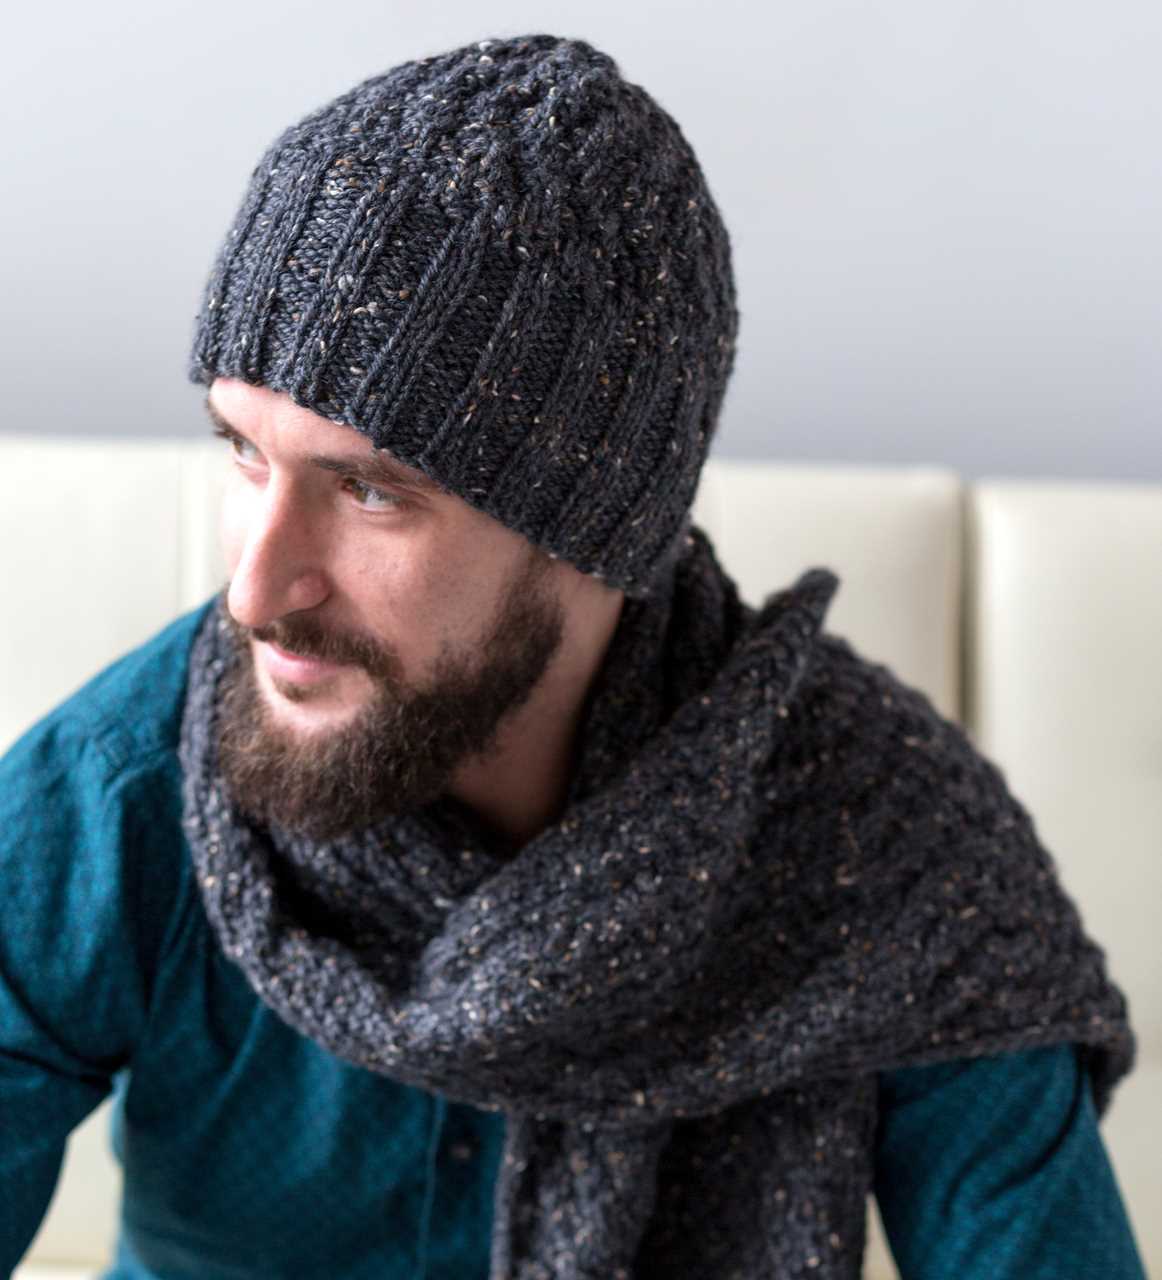
The pattern calls for worsted weight yarn and size 8 circular knitting needles. It features a ribbed band for a snug fit and a classic stockinette stitch for a clean and polished look. The hat is finished off with a simple pompom to add a touch of fun and whimsy.
With our free knitting pattern, you’ll be able to create a high-quality, handmade hat that will keep the man in your life warm and stylish all winter long. So grab your knitting needles and get ready to create a one-of-a-kind accessory that will be cherished for years to come.
Free Knitting Pattern for Man’s Hat
If you’re looking for a stylish and practical gift for a man in your life, a knitted hat is a great choice. With this free knitting pattern, you can create a cozy and fashionable hat that any man would be happy to wear. The pattern is simple and easy to follow, making it suitable for knitters of all skill levels.
To get started, you will need the following materials:
- Size 8 (5mm) knitting needles
- 1 skein of medium weight yarn in the color of your choice
- A set of double-pointed needles (DPNs) in the same size
- A yarn needle for finishing
Once you have gathered your materials, you can begin knitting the hat. Start by casting on 96 stitches on your main needles. Then, join in the round by knitting the first stitch and slipping it onto the last stitch of the previous row. This will create a seamless and continuous circle.
Next, you will work in a rib stitch pattern for the brim of the hat. *Knit 2, purl 2* and repeat this pattern until the brim measures approximately 2 inches. Then, switch to a stockinette stitch for the body of the hat, continuing in the round until the hat measures the desired length.
To shape the crown of the hat, you will gradually decrease the number of stitches. Divide the stitches evenly onto your DPNs and begin the decrease rounds. *Knit 6, knit 2 together* and repeat this pattern until you have 8 stitches remaining. Cut the yarn, leaving a long tail, and thread it through the yarn needle. Slip the needle through the remaining stitches, remove them from the DPNs, and pull tight to close the top of the hat.
Once you have finished knitting, weave in any loose ends and block the hat to give it a polished and professional look. Your man’s hat is now ready to be worn or gifted to someone special. Enjoy the satisfaction of creating something handmade with love!
Choose the Right Yarn and Needles
When it comes to knitting a hat, selecting the right yarn and needles is essential for achieving the desired outcome. The yarn weight determines the thickness and warmth of the final product, while the needle size affects the drape and tension of the stitches. It is important to consider these factors when choosing your materials.
Yarn Weight: To ensure your knitted hat is cozy and comfortable, opt for a yarn weight that is suitable for the intended season. For a warm winter hat, aran or bulky weight yarns are ideal as they provide excellent insulation. If you’re looking for a lighter hat for spring or autumn, choose a DK or worsted weight yarn.
Needle Size: Depending on the yarn weight you select, you will need to choose the appropriate needle size to achieve the desired tension. A smaller needle size will result in tighter stitches, while a larger size will create looser stitches. It’s important to check the gauge of the pattern and adjust your needle size accordingly to ensure your hat fits properly.
When choosing your yarn and needles, keep in mind the level of stretch or elasticity you want in your hat. Some yarns, like acrylic, have more stretch than others, which can affect the fit of the hat. Additionally, consider the texture and color of the yarn to ensure it matches your aesthetic preferences.
In summary, selecting the right yarn weight and needle size is crucial for knitting a well-fitting and comfortable hat. Consider the season, desired tension, and desired stretch when making your choices. Take the time to experiment and swatch to ensure your materials will work well with the chosen pattern and result in a hat that you’ll love to wear.
Measurements and Gauge

In order to create a well-fitting hat, it is important to take accurate measurements before starting your project. Using a tape measure, measure the circumference of the head where the hat will sit. This measurement will determine the size of the hat you will be knitting. Make sure to measure snugly, but not too tight, as the hat should be comfortable to wear.
The gauge, or tension, of your knitting is also crucial to achieve the correct size and fit of the hat. Gauge refers to the number of stitches and rows per inch. To determine your gauge, knit a swatch using the recommended yarn and needle size. Measure a 4×4 inch square in the center of your swatch and count the number of stitches and rows within that area.
Sample Gauge:
- 20 stitches = 4 inches
- 26 rows = 4 inches
The sample gauge provided is just an example. Refer to the pattern instructions for the specific gauge needed for your hat. If your gauge does not match the recommended gauge, you may need to adjust your needle size to achieve the correct gauge.
Remember, taking accurate measurements and achieving the correct gauge will ensure that your hat fits well and looks great!
Step-by-Step Instructions

In this guide, we will walk you through the steps to knit a man’s hat using a free knitting pattern. With these detailed instructions, even beginners will be able to create a cozy and stylish hat for themselves or their loved ones.
Materials Needed
- Size 8 (5.0mm) knitting needles
- One skein of worsted weight yarn
- Tapestry needle
- Stitch markers
- Scissors
Before you begin, make sure you have all the necessary materials at hand. Once you have everything ready, follow these step-by-step instructions:
1. Cast On
Start by casting on 80 stitches using a long-tail cast on method. Make sure the stitches are evenly distributed on the needle.
2. Ribbing
Row 1: *K2, p2* – repeat this pattern until the end of the row.
Row 2: *P2, k2* – repeat this pattern until the end of the row.
Continue working in a k2, p2 ribbing pattern for approximately 2 inches or desired length.
Main Body
Switch to stockinette stitch (knit one row, purl one row) and continue knitting until the hat measures approximately 7 inches from the cast-on edge, or desired length.
Decrease Rounds
Switch to double-pointed needles or a circular needle when necessary.
- Round 1: *K6, k2tog* – repeat this pattern until the end of the round. (70 stitches remaining).
- Round 2: Knit all stitches.
- Round 3: *K5, k2tog* – repeat this pattern until the end of the round. (60 stitches remaining).
- Round 4: Knit all stitches.
- Round 5: *K4, k2tog* – repeat this pattern until the end of the round. (50 stitches remaining).
- Round 6: Knit all stitches.
- Continue this decreasing pattern, reducing the number of knit stitches between each decrease by one, until you have 10 stitches remaining.
Finishing
Cut the yarn, leaving a long tail. Thread the tail through a tapestry needle and weave it through the remaining stitches. Pull tight to close the top of the hat and secure the yarn. Weave in any loose ends.
Your man’s hat is now complete! Put it on and enjoy the warmth and style it brings.
Casting On
When starting a knitting project, the first step is to cast on. This is the process of creating the initial row of stitches on your knitting needle. There are several methods for casting on, but one of the most common is the long-tail cast on.
To start the long-tail cast on, you will need to estimate the amount of yarn you will need to cast on the required number of stitches. This can be done by wrapping the yarn around the needle a certain number of times, depending on the stitch size and number of stitches required.
Once you have estimated the amount of yarn you need, you will then make a slip knot, leaving a long tail of yarn. This tail will be used to create the first row of stitches. Insert the needle through the slip knot loop from left to right, and tighten the knot around the needle.
Hold the needle with the slip knot in your right hand, and the tail of the yarn in your left hand. Using your thumb and index finger of your left hand, create a loop with the tail of the yarn and place it over the needle, forming a stitch. Repeat this process for the required number of stitches, making sure to keep the stitches loose enough so that the needle can easily pass through them.
Once you have cast on the required number of stitches, you are ready to begin knitting your project. The cast on row will form the foundation for the rest of your knitting, so it is important to take your time and make sure the stitches are even and not too tight. Practice the long-tail cast on method until you feel comfortable and confident with the technique.
Knitting the Body of the Hat
After completing the ribbing for the brim of the hat, it is time to move on to knitting the body of the hat. For this pattern, we will be using a basic stockinette stitch throughout the body. The stockinette stitch creates a smooth and neat finish, making it perfect for this hat.
To begin knitting the body, continue with the same needle size that you used for the ribbing. Start by knitting one row in the round, making sure to join the round by knitting the first and last stitches together. This will create a seamless transition between the ribbing and the body of the hat.
Next, continue knitting in the round using the stockinette stitch. This means that you will knit every stitch for every round. Make sure to check the pattern for the required number of stitches and rows for each size. This will ensure that your hat fits properly.
As you work on the body of the hat, it is important to keep track of your stitches and rows. You can use stitch markers to mark the beginning of each round or count your stitches at the end of each row. This will help you avoid any mistakes and ensure that your hat turns out just right.
Continue knitting the body of the hat until you reach the desired length. This will vary depending on the size and style of the hat. Once you have reached the desired length, you can move on to shaping the crown of the hat. The crown shaping will give the hat its slouchy or fitted look, depending on the style you prefer.
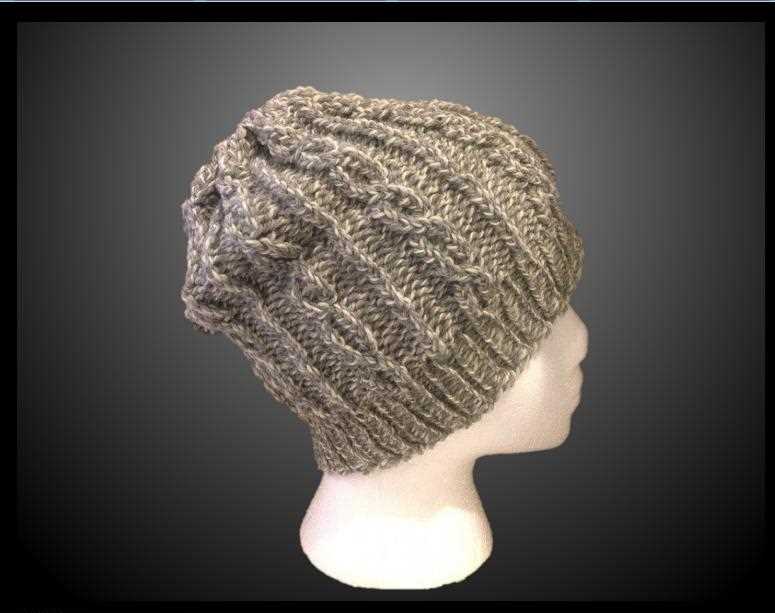
Shaping the Crown
When knitting a hat, shaping the crown is an important step to achieve the desired fit and style. The crown refers to the top portion of the hat, and different techniques can be used to shape it, depending on the design and desired outcome.
One common method for shaping the crown is decreasing stitches. This is typically done by knitting two stitches together (k2tog) or by working a slip, slip, knit (ssk) decrease. These decreases create a seamless and smooth transition from the wider circumference of the hat to a narrower top, allowing the hat to fit snugly on the head. The rate at which the stitches are decreased can be adjusted to achieve different crown shapes, such as a more rounded or pointed top.
Another technique for shaping the crown is using short rows. Short rows involve knitting partway across a row and then turning the work around, without knitting all the way to the end. This creates extra fabric in specific sections of the hat, which can be used to shape the crown. By strategically placing short rows, you can create a hat with a slouchy or textured crown.
Some hat patterns may also incorporate both decreasing stitches and short rows to shape the crown. This combination allows for even more versatility in creating unique and customized crown shapes. It’s important to carefully follow the instructions provided in the pattern to ensure that the crown shaping is done correctly and consistently.
Overall, shaping the crown of a hat is a crucial step in knitting. It not only determines the fit and comfort of the hat but also contributes to its overall aesthetic. Whether using decreasing stitches, short rows, or a combination of techniques, attention to detail and precision will result in a hat that looks and feels great.
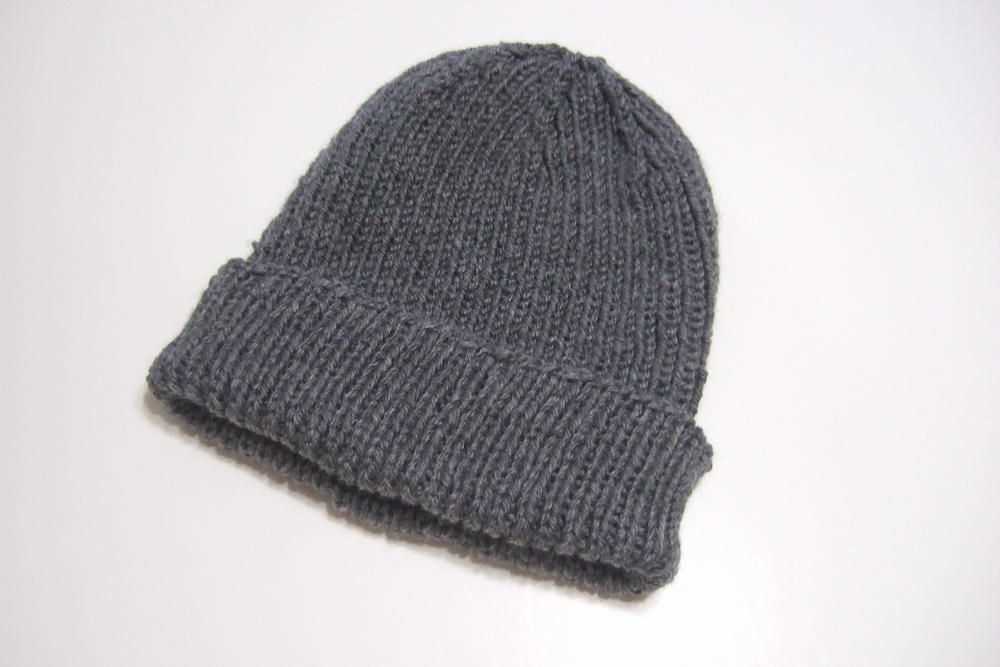
Creating the Ribbed Band

Before starting the main body of the hat, you need to create the ribbed band. The ribbed band adds elasticity to the hat and helps it stay in place on the wearer’s head. To create the ribbed band, you will need to use a smaller needle size than what is recommended for the main body of the hat.
Materials
- Size 4mm circular knitting needles
- Worsted weight yarn in the color of your choice
- Tapestry needle
Instructions
- Begin by casting on 96 stitches using the long-tail cast-on method. Make sure to leave a long tail for sewing the seam later.
- Join the round, being careful not to twist the stitches. Place a stitch marker to mark the beginning of the round.
- Work in a *k2, p2* ribbing pattern for the entire ribbed band. Continue knitting in this pattern until the band measures approximately 2 inches in length.
- Switch to the larger size needle and begin working the main body of the hat.
The ribbed band adds a nice texture to the hat while also providing a snug fit. It is important to use the correct needle size for the band to ensure that it is tight enough to stay in place, but not too tight to be uncomfortable for the wearer. Once you have completed the ribbed band, you can continue with the rest of the hat pattern, following the instructions for the main body.
Finishing Touches

Once you have completed knitting your man’s hat, it’s time to add the finishing touches to make it truly special. These small details can elevate your hat from ordinary to extraordinary, giving it a polished and professional look.
1. Blocking:
Blocking is an important step in finishing your knitted hat. It involves wetting the hat and shaping it to the desired size and shape, then letting it dry. This helps to even out any irregularities and give the hat a smooth and neat appearance. To block your hat, you can use blocking mats or simply lay it out on a clean towel. Make sure to pin it in place to maintain the shape you want.
2. Adding a Pom Pom:
A pom pom is a fun and playful addition to any hat. You can make one using yarn in a contrasting color or use a ready-made pom pom. To attach the pom pom, thread a long piece of yarn through the center of the pom pom, then tie it securely to the top of the hat. Make sure the knot is tight so the pom pom doesn’t come off easily. Trim any excess yarn for a clean finish.
3. Sewing on a Patch:
If you want to personalize your hat, sewing on a patch is a great way to do it. Choose a patch that reflects your style or interests, such as a logo, a flag, or a design. Position the patch on the front or side of the hat, then use a needle and thread to stitch it in place. Make sure the stitches are secure and evenly spaced for a professional look.
4. Embroidery:
Another way to add a personal touch to your hat is to embroider it. You can embroider initials, a small design, or even a pattern onto the hat. Use embroidery floss in a contrasting color and a needle with a sharp point. Plan out your design before you start embroidering and keep the stitches neat and even. This can be a time-consuming process, but the end result is worth it.
With these finishing touches, your man’s hat will be transformed into a unique and stylish accessory. Take your time and pay attention to the details to ensure a professional-looking finish. Now, you can proudly wear or gift your hand-knitted hat knowing that it is truly one-of-a-kind.
Additional Tips and Tricks
When following a free knitting pattern for a man’s hat, it’s always helpful to have some additional tips and tricks to make the process easier and ensure a successful outcome. Here are some tips to consider:
1. Gauge Swatch
Before starting the pattern, it’s important to knit a gauge swatch to ensure that your tension and stitches match the pattern’s requirements. By knitting a small square using the recommended yarn and needles, you can measure the stitches per inch and adjust your needle size if needed.
2. Correct Needle Size

Using the correct needle size is crucial to achieve the desired fit and finished dimensions of the hat. Be sure to check the pattern for the recommended needle size and adjust accordingly if your gauge swatch indicates a different size.
3. Proper Yarn Choice
Consider the fiber content, weight, and texture of the yarn when choosing one for your hat. Some yarns may be more suitable for a particular stitch pattern or provide better insulation for colder climates. It’s also important to ensure that you have enough yarn to complete the entire project.
4. Stitch Markers
Using stitch markers can help you keep track of stitch patterns, decreases, or other important sections of the pattern. They make it easier to count stitches and ensure accuracy throughout the knitting process.
5. Blocking
Blocking the finished hat can help even out the stitches, improve stitch definition, and ensure a more polished final result. Consider blocking the hat according to the yarn’s recommended blocking method to achieve the best results.
By keeping these additional tips and tricks in mind, you can enhance your knitting experience and increase the chances of creating a beautifully knitted man’s hat.
Ways to Customize the Hat
Once you have finished knitting your man’s hat, there are several ways you can customize it to give it a unique and personal touch. Here are some ideas to consider:
Add a Pom Pom
One of the easiest ways to customize a hat is by adding a pom pom. You can use a matching color of yarn to create a pom pom and attach it to the top of the hat. This simple addition can give the hat a playful and fun look.
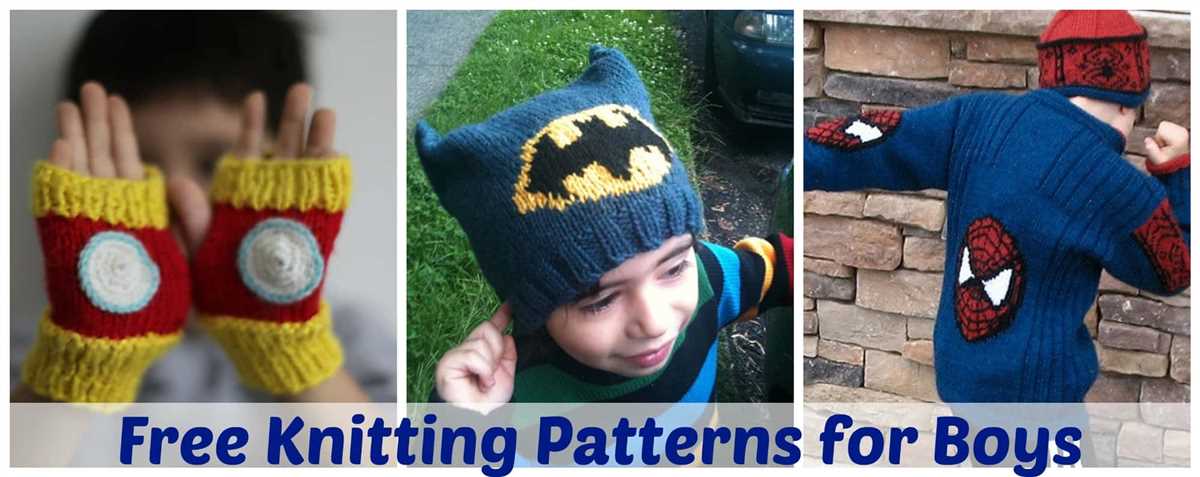
Embroidery or Applique
If you have some basic embroidery skills, you can add a design or pattern to the hat using colorful yarn. You can also use applique techniques to attach small fabric patches or embellishments onto the hat, adding a personalized touch.
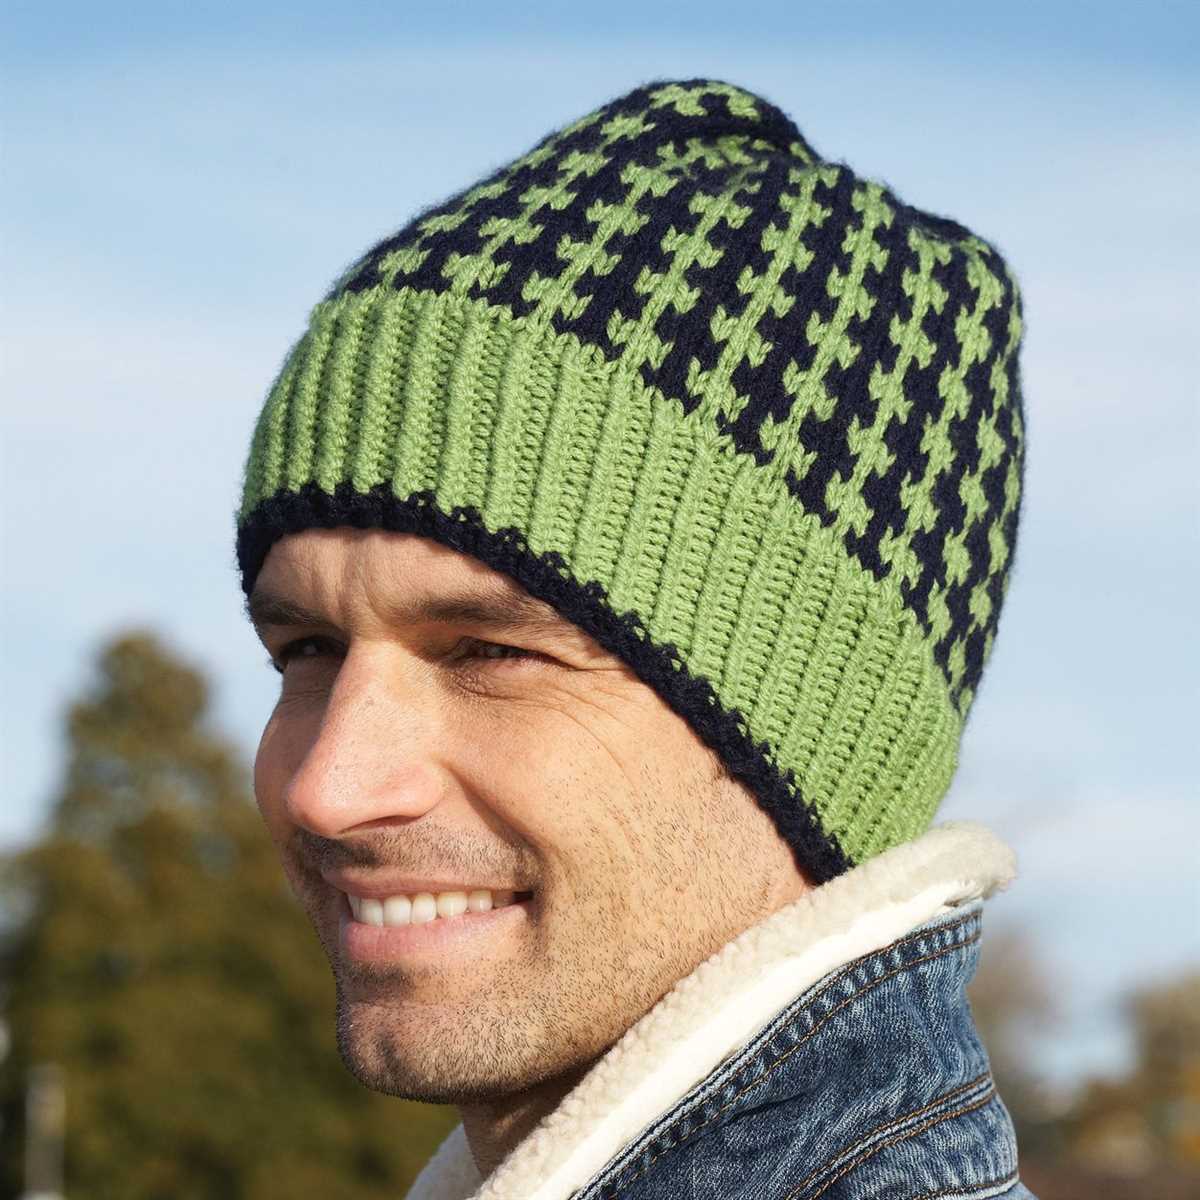
Use Different Colors
Instead of knitting the whole hat in a single color, you can choose to use multiple colors and create stripes or other patterns. Experiment with different color combinations to create a hat that truly stands out.
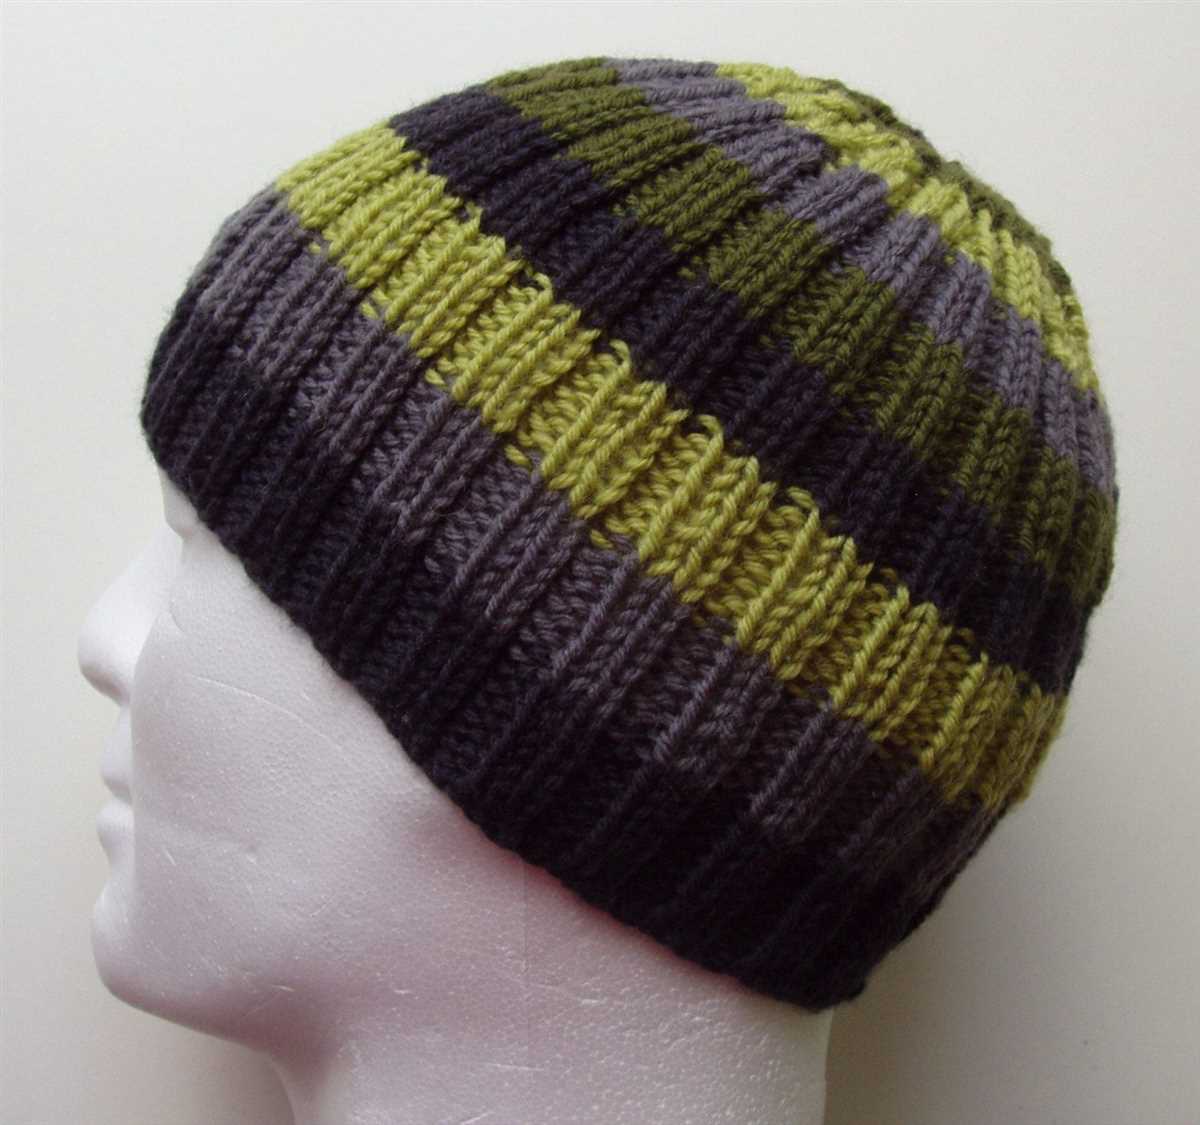
Add a Ribbed Edge
Instead of a simple folded edge, you can add a ribbed edge to the hat for a different look. Knit a few rows of ribbing at the brim of the hat using a different stitch pattern, such as knit 2, purl 2. This can add texture and visual interest to the hat.
Personalize with Initials

If you are knitting the hat as a gift, consider personalizing it by adding the recipient’s initials. You can embroider or knit the initials onto a small patch and sew it onto the hat. This will make the hat extra special and unique.
In conclusion, there are many ways you can customize a man’s hat to make it your own. Whether it’s adding a pom pom, incorporating different colors, or personalizing it with embroidery or initials, these customization options allow you to create a hat that reflects your style and individuality.