
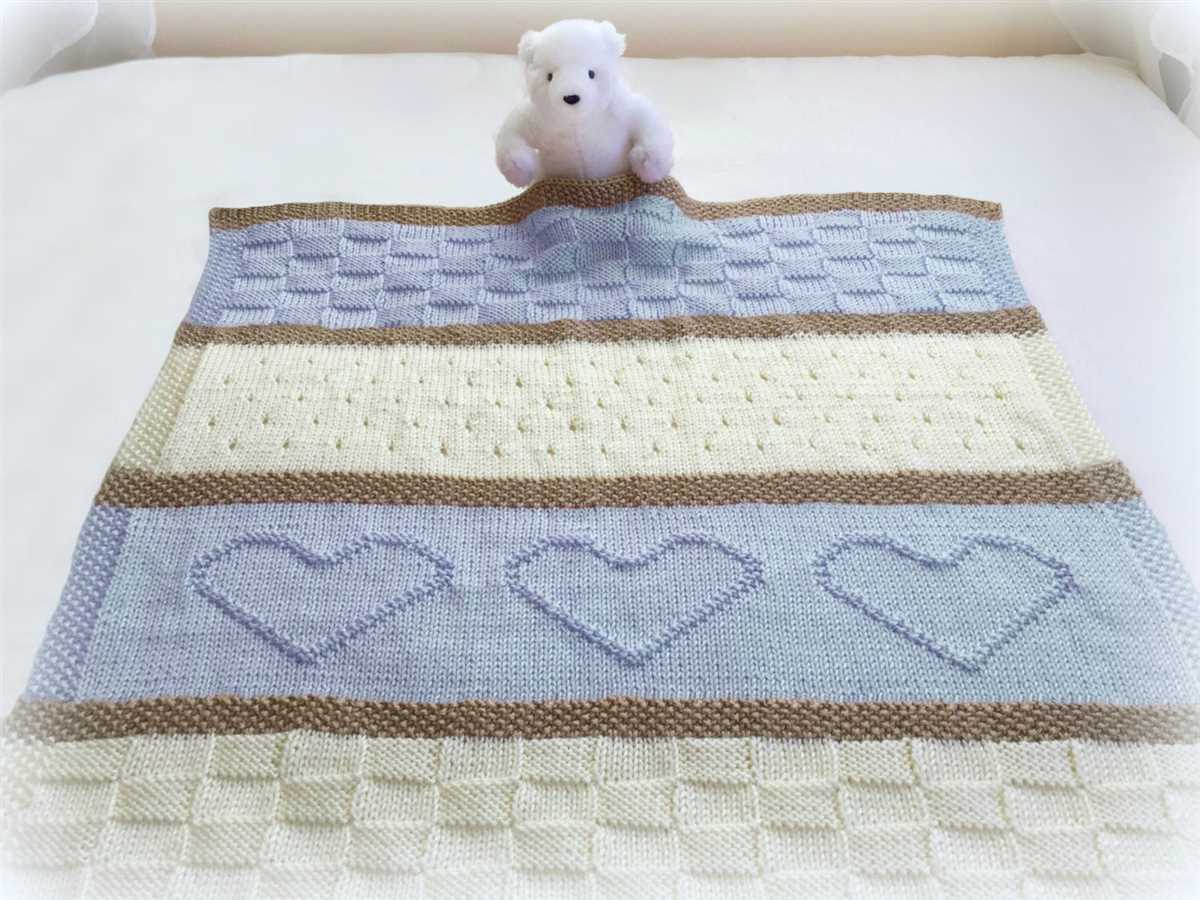
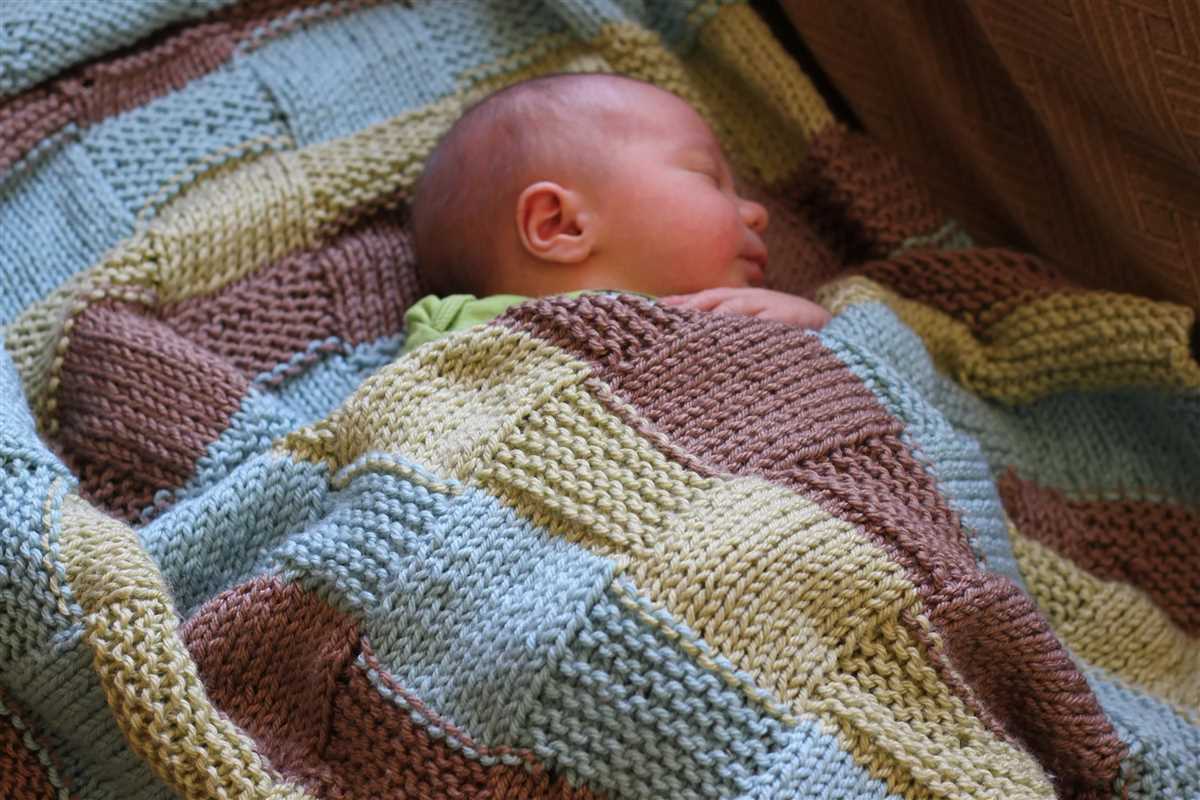
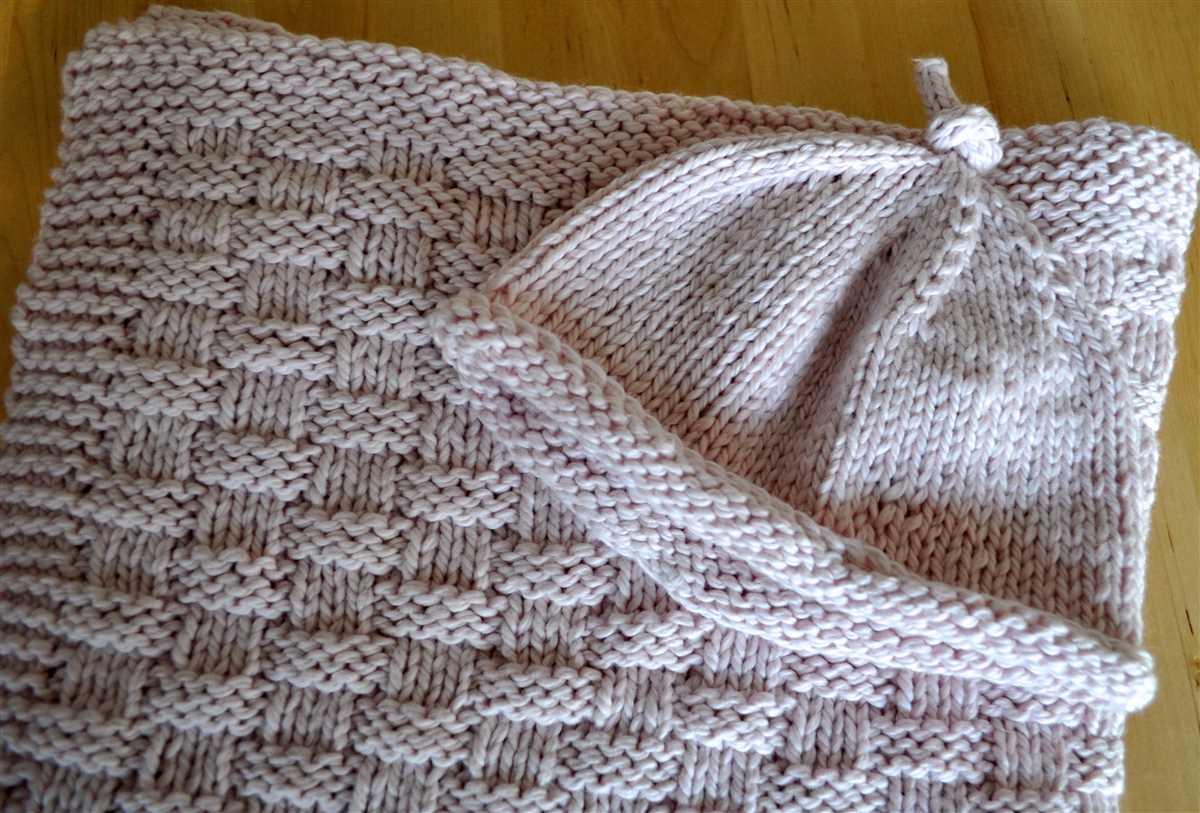
Knitting a baby blanket is a perfect way to create a thoughtful and handmade gift for a little one. With a simple yet beautiful design, this knitting pattern is suitable for both beginners and experienced knitters. Whether you are looking to knit a blanket for your own baby or to give as a special gift, this pattern will guide you through each step.
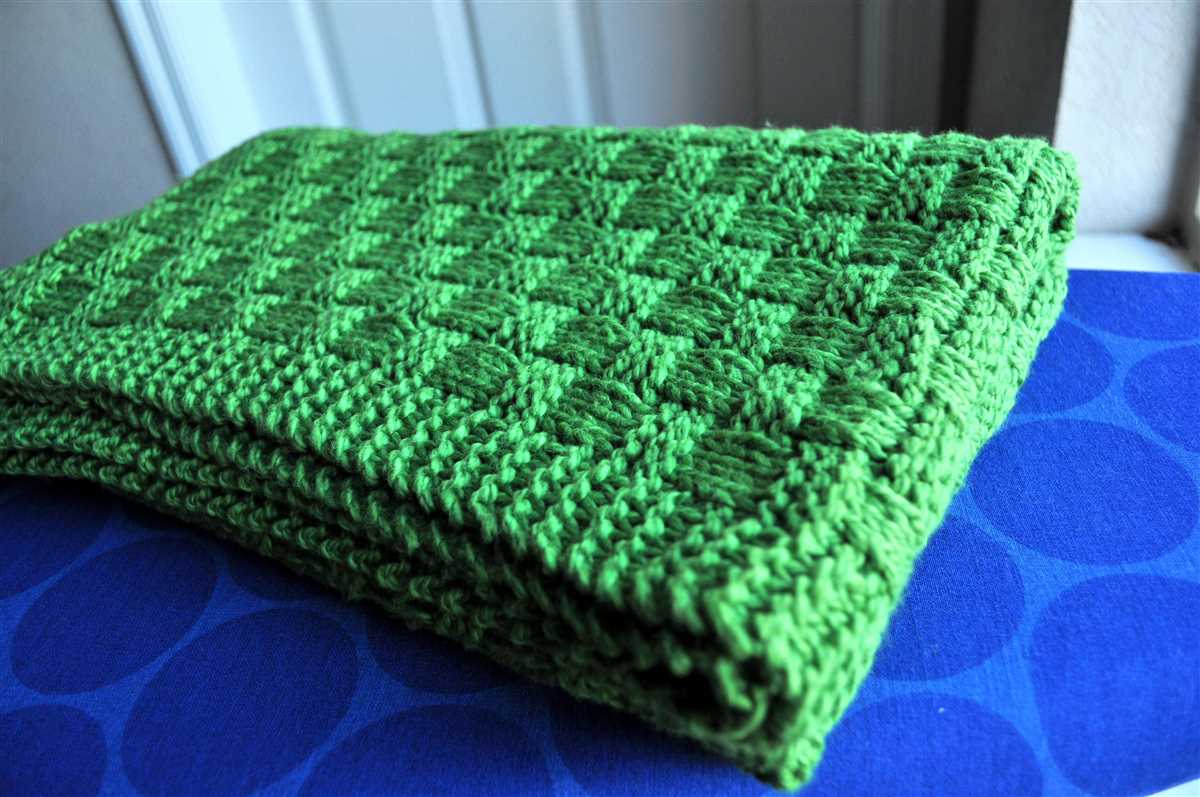
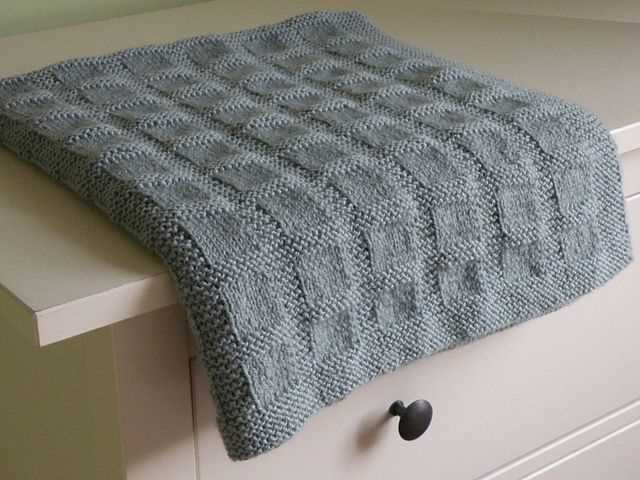
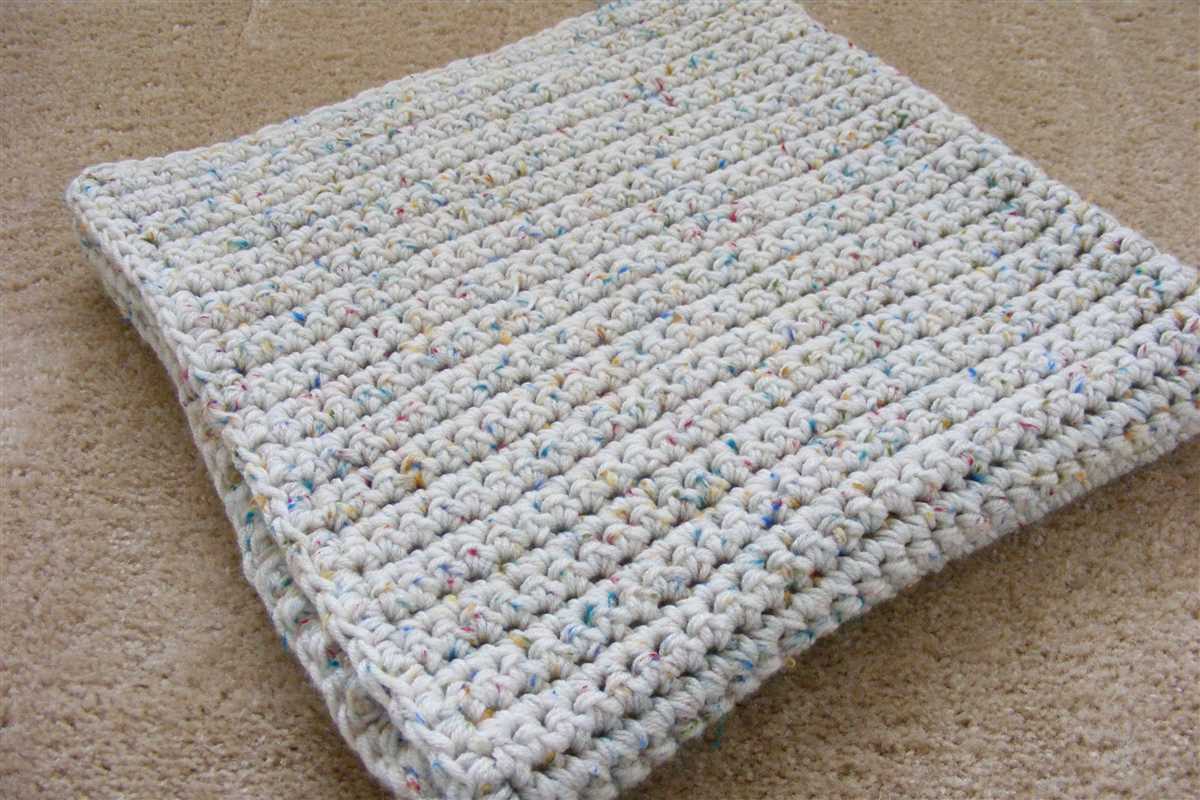
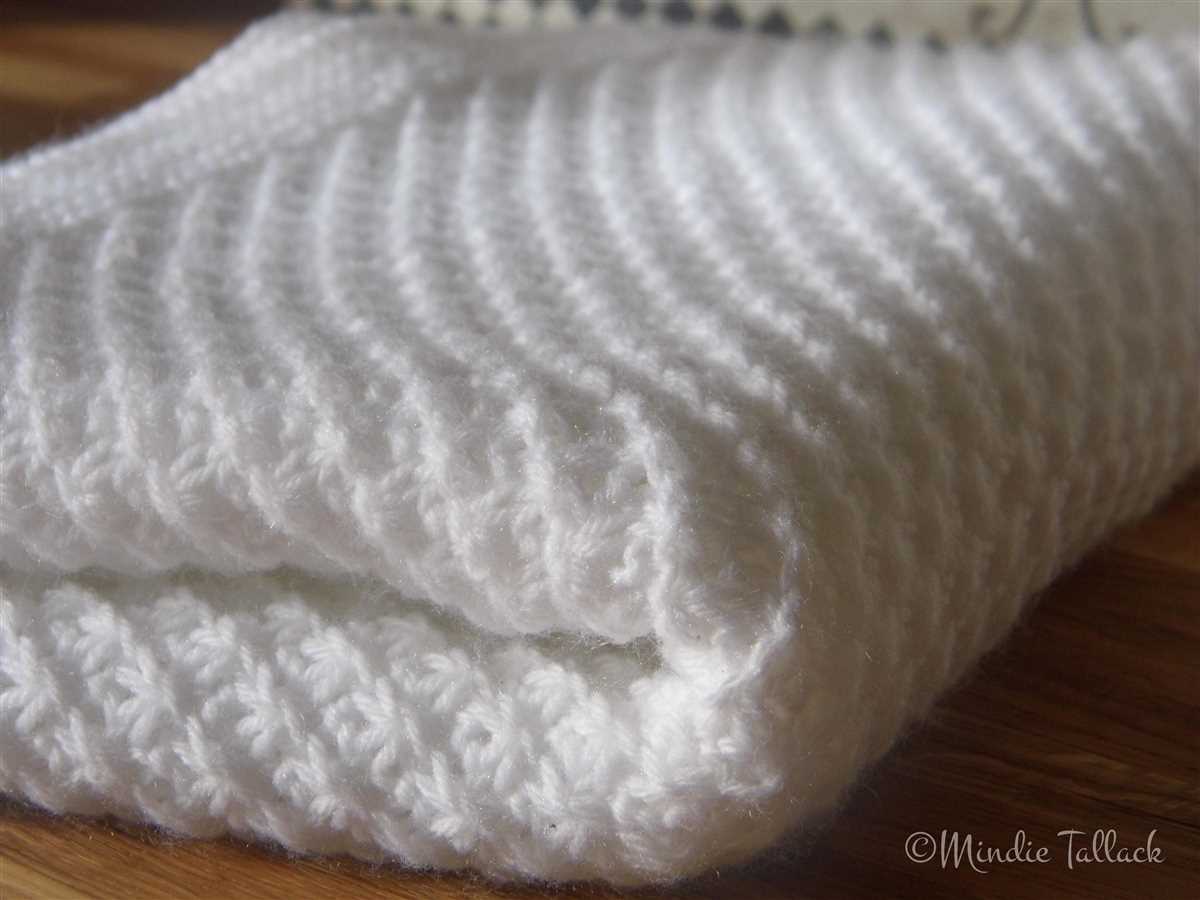
The pattern features a classic garter stitch, which creates a cozy and warm texture perfect for a baby blanket. The simplicity of the pattern allows you to focus on the joy of knitting and the love that goes into each stitch. Using basic techniques, such as casting on, knitting and binding off, you can easily create this blanket in no time.
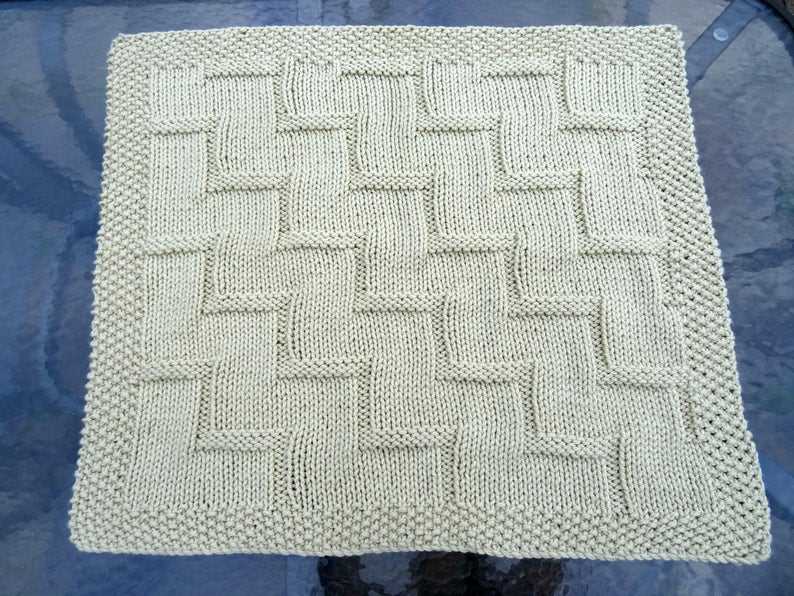
One of the great advantages of this pattern is its versatility. You can customize it by choosing your favorite colors and adding personal touches, such as a decorative border or a monogram. Additionally, the size can be easily adjusted to fit your needs. Whether you want to make a small receiving blanket or a larger crib blanket, this pattern can be adapted to create the perfect size.
So gather your knitting needles, choose your favorite yarn, and get ready to create a beautiful and cozy baby blanket. With this simple knitting pattern, you can create a treasured keepsake that will be cherished for years to come.
Materials
To make a simple baby blanket, you will need the following materials:
- Yarn: Choose a soft and machine-washable yarn suitable for babies. Opt for a worsted weight or DK weight yarn in your preferred color. Approximately 800-1000 yards (730-910 meters) of yarn will be needed for a standard-sized baby blanket.
- Knitting needles: Use a pair of knitting needles that are appropriate for your chosen yarn weight. Generally, a size US 7 or US 8 (4.5mm or 5mm) circular or straight needles will work well for a baby blanket.
- Tapestry needle: This will be used for weaving in loose ends and finishing touches.
- Measuring tape: This will help you keep track of your progress and ensure that your blanket is the desired size.
- Scissors: You will need these to cut your yarn.
Before you begin knitting, make sure you have all the necessary materials on hand. Once you have these items ready, you can start creating a beautiful and cozy baby blanket.
Gauge
Gauge is an important aspect to consider when knitting a baby blanket. It refers to the number of stitches and rows per inch that you will achieve with a specific yarn and needle size. It is crucial to match the gauge mentioned in the pattern to ensure that the final blanket turns out the correct size.
To determine your gauge, knit a swatch using the recommended yarn and needle size. The pattern usually specifies the stitch pattern to be used for the swatch. Cast on the number of stitches mentioned in the pattern and work the specified number of rows. Measure the swatch over a 4-inch square using a ruler or a gauge tool.
If your swatch matches the gauge mentioned in the pattern:
- Great! You can proceed with the pattern knowing that your stitches and rows will turn out as expected. Your finished blanket should also be the correct size.
If your swatch has more stitches and rows per inch than the pattern gauge:
- Your knitting is tighter than the pattern gauge. You will need to switch to a larger needle size to achieve the correct gauge. Knit another swatch using a larger needle, and continue this process until your swatch matches the pattern gauge.
If your swatch has fewer stitches and rows per inch than the pattern gauge:
- Your knitting is looser than the pattern gauge. You will need to switch to a smaller needle size to achieve the correct gauge. Knit another swatch using a smaller needle, and continue this process until your swatch matches the pattern gauge.
It is important to remember that getting the correct gauge is crucial for the size and fit of the blanket. Take the time to check your gauge before starting the project to avoid any disappointments or need for adjustments later on.
Size
When knitting a baby blanket, it’s important to consider the size to ensure that it is just right for your little one. The size of the blanket will determine how much yarn you will need and how long it will take to knit.
The recommended size for a baby blanket is usually around 30 inches by 30 inches. This size provides enough coverage for a newborn or infant and is also a versatile size that can be used as a stroller or car seat blanket. However, you can always adjust the size to suit your preference and needs. If you want a larger blanket, you can increase the number of stitches and rows. On the other hand, if you prefer a smaller blanket, you can decrease the number of stitches and rows.
It’s important to note that the size of the blanket may also depend on the knitting pattern you are using. Some patterns may specify a specific size, while others may provide instructions on how to adjust the size. Make sure to check the pattern for any size recommendations or modifications before starting your project.
If you are unsure about the size you should make, consider the intended use of the blanket. For example, if you want to make a blanket for a crib, you may want to consult a standard baby crib mattress size to get an idea of the ideal dimensions. Additionally, you can always ask for advice or recommendations from fellow knitters or experienced crafters who have made baby blankets before.
Abbreviations
In knitting patterns, abbreviations are commonly used to make the instructions shorter and easier to read. Understanding these abbreviations is essential for following a knitting pattern successfully.
Here is a list of commonly used abbreviations in baby blanket knitting patterns:
- k: knit
- p: purl
- k2tog: knit two stitches together
- p2tog: purl two stitches together
- yo: yarn over
- ssk: slip, slip, knit
- psso: pass slipped stitch over
- st(s): stitch(es)
- rep: repeat
- pm: place marker
It’s important to refer to the abbreviations section of a knitting pattern before starting to ensure you understand all the terms used in the instructions. This will help you avoid confusion and mistakes while knitting the baby blanket.
Pattern
A simple baby blanket knitting pattern can be a great project for both beginner and experienced knitters. The pattern typically involves using basic knitting stitches, such as knit and purl, to create a cozy and soft blanket that is perfect for keeping a baby warm and comfortable.
Materials:
- Size US 8 knitting needles
- 3 skeins of DK weight yarn in the color of your choice
- Tapestry needle for weaving in ends
Instructions:
- Cast on 120 stitches.
- Row 1: Knit all stitches.
- Row 2: Purl all stitches.
- Repeat rows 1 and 2 until the blanket measures approximately 36 inches in length, or desired size.
- Bind off all stitches.
- Weave in any loose ends.
Once you have completed the pattern, you will have a beautiful and functional baby blanket that can be used or gifted. Feel free to customize the pattern by using different colors or adding a border. Happy knitting!
Cast on

When starting a simple baby blanket knitting pattern, the first step is to cast on. Casting on is the process of creating the first row of stitches on the needle. There are various ways to cast on, but for this pattern, we will use the long tail cast on method.
To begin, you will need a pair of knitting needles and your choice of yarn. Take the yarn and make a slipknot, leaving a long tail of yarn. Insert one knitting needle into the slipknot, making sure the tail of the yarn is on the left side of the needle.
Hold the needle with the slipknot in your right hand and the other needle in your left hand. With your left hand, take the tail end of the yarn and place it over your thumb, while holding the working end of the yarn with your index finger and middle finger. This creates a loop of yarn around your thumb.
Next, insert the right needle into the loop on your thumb from front to back. Move your thumb out of the loop and tighten the stitch slightly. This is the first stitch of your cast on row.
Repeat this process, creating stitches until you have cast on the desired number of stitches for your baby blanket pattern. Make sure to keep the tension of the stitches consistent to ensure an even cast on edge.
Once you have finished casting on, you are ready to begin knitting the first row of your baby blanket.
Rows 1-10
Start knitting the baby blanket by casting on the required number of stitches. Make sure to choose a soft and gentle yarn that is suitable for a baby’s delicate skin. You can use any color of yarn that you prefer, whether it’s a traditional baby pink or blue, or a more neutral shade like white or cream. Once you have cast on, you are ready to begin the first row of the pattern.
Row 1: Knit all stitches across the row. This will create the foundation for your blanket and give it a smooth and even texture. Remember to take it slow and keep your tension consistent throughout.
Row 2: Purl all stitches across the row. This will create a nice contrast to the knitted row and add depth to the blanket. Purling is a simple stitch that involves bringing the yarn to the front of your work and creating a loop with your right-hand needle.
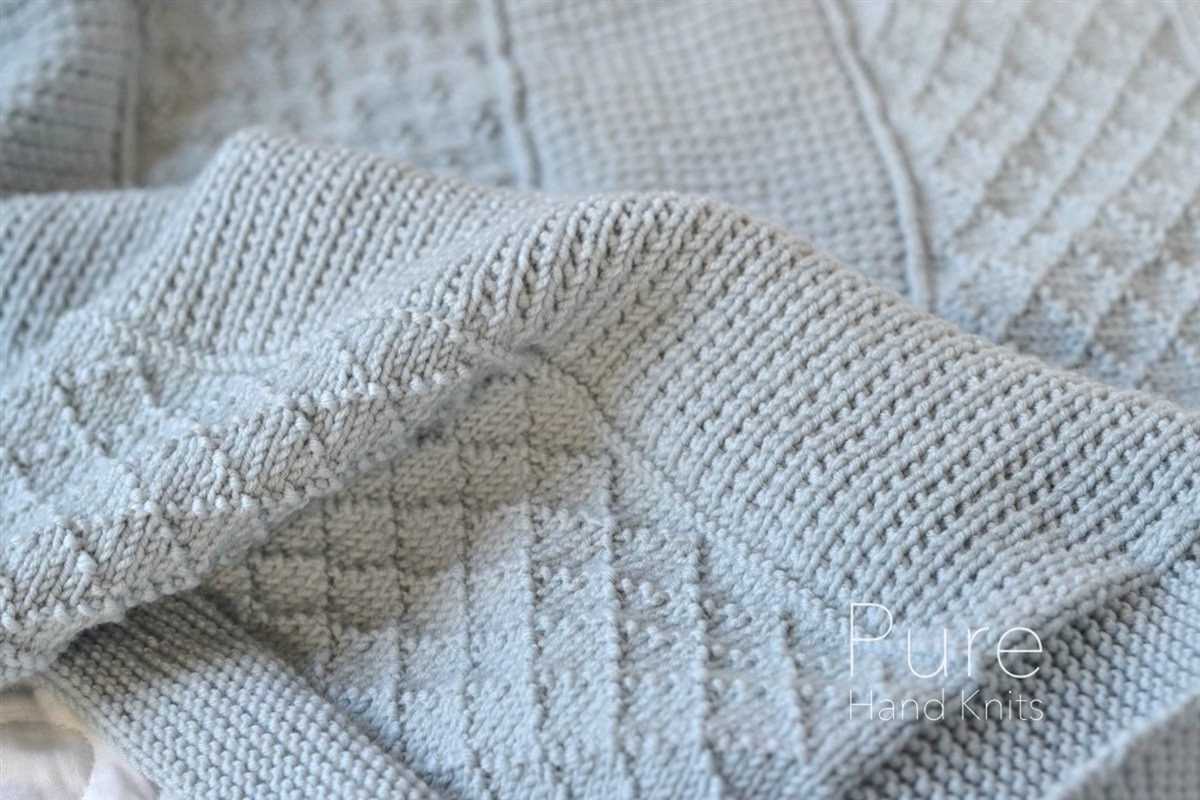
Continue alternating between knitting and purling for the next few rows, following the pattern instructions. As you progress, you will see the beautiful texture of the blanket emerge. The simple design allows for easy and enjoyable knitting, making it a perfect project for beginners or for those looking for a quick and satisfying knit.
If you prefer, you can also add additional details to the blanket, such as decorative borders or stitch patterns. Just make sure to adjust the instructions accordingly and keep track of any changes you make. Once you have completed the specified number of rows, you can move on to the next section of the pattern and continue knitting your baby blanket.
Rows 11-20
In rows 11-20, you will continue the pattern established in the previous rows, creating the textured design for your baby blanket. Remember to always knit the first and last stitch of each row to maintain a neat edge.
Row 11: Knit 2 stitches, *purl 2 stitches, knit 2 stitches*; repeat from * to * until the end of the row.
Row 12: Knit all stitches.
Row 13: Knit 2 stitches, *purl 2 stitches, knit 2 stitches*; repeat from * to * until the end of the row.
Row 14: Knit all stitches.
Row 15: Knit 2 stitches, *purl 2 stitches, knit 2 stitches*; repeat from * to * until the end of the row.
Row 16: Knit all stitches.
Row 17: Knit 2 stitches, *purl 2 stitches, knit 2 stitches*; repeat from * to * until the end of the row.
Row 18: Knit all stitches.
Row 19: Knit 2 stitches, *purl 2 stitches, knit 2 stitches*; repeat from * to * until the end of the row.
Row 20: Knit all stitches.
Continue repeating rows 11-20 until your baby blanket has reached the desired length. The repeating pattern creates a beautiful texture that is both simple and visually appealing. The final result will be a cozy and soft baby blanket that is perfect for keeping your little one warm and comfortable.
Rows 21-30
During rows 21-30 of the simple baby blanket knitting pattern, you will continue to work in the established pattern to create additional length and texture to the blanket.
Row 21: Knit 2 stitches, *purl 2 stitches, knit 2 stitches*. Repeat from * to * across the row.
Row 22: Purl 2 stitches, *knit 2 stitches, purl 2 stitches*. Repeat from * to * across the row.
Continue alternating between rows 21 and 22 for the specified number of rows, until you reach row 30.
By maintaining this simple knit and purl stitch pattern, you will be able to create a beautiful and textured baby blanket that is perfect for keeping your little one cozy and warm.
Feel free to customize your blanket by incorporating other stitch patterns or adding different colors for a personalized touch.
Rows 31-40

As we continue knitting our simple baby blanket, we now reach rows 31-40. By this point, we should have become comfortable with the pattern and the stitches involved.
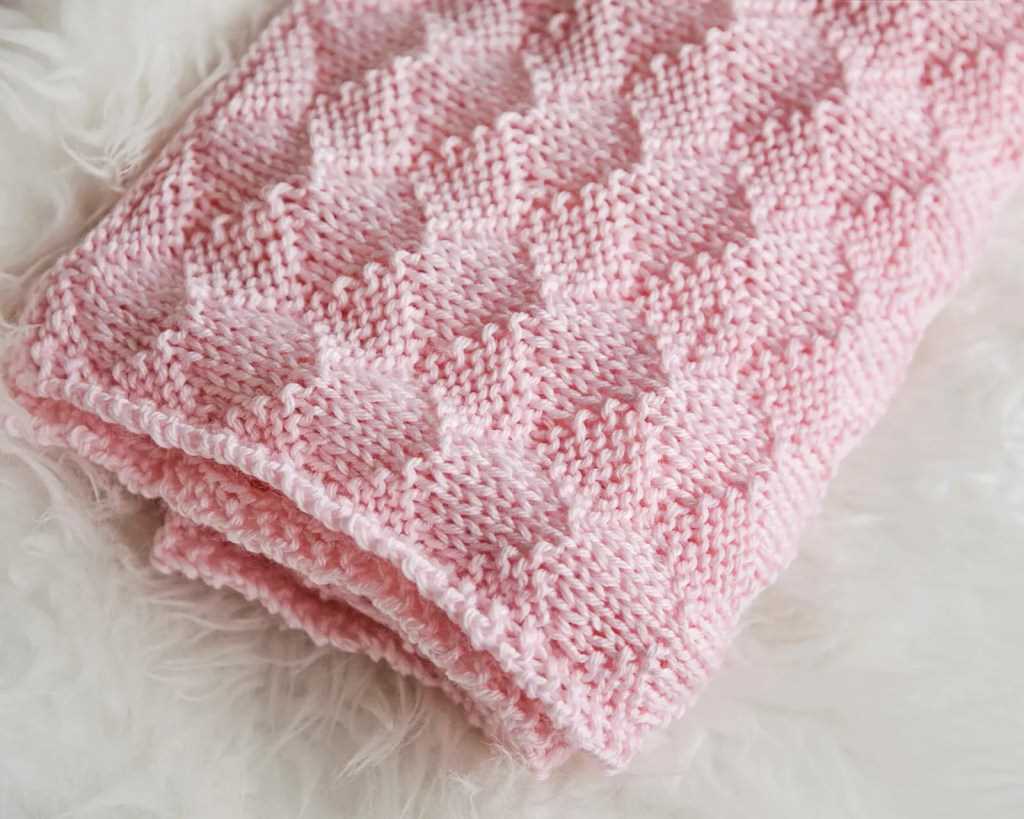
During these rows, we will continue to knit in the established pattern of knitting two stitches, then purling two stitches, until the end of the row. This will create the beautiful and classic ribbed pattern that makes this blanket so charming.
It’s important to note that in these next rows, we will be maintaining the same stitch count as in the previous section. Each row will consist of the same number of stitches, allowing us to create a balanced and symmetrical design.
In row 31, we will start by knitting two stitches, followed by purling two stitches. We will repeat this pattern until we reach the end of the row, ensuring that we maintain the consistency of the ribbed pattern.
In rows 32-39, we will continue with the same pattern, knitting two stitches, then purling two stitches. This repetition will create a visually appealing and textured look to the blanket.
Finally, in row 40, we will conclude this section by knitting two stitches and then purling two stitches. This brings us to the end of the 40 rows, and we can now move on to the next section of our simple baby blanket knitting pattern.
Rows 41-50
As you continue knitting the baby blanket, you will now work on rows 41-50. These rows will add more length and texture to the blanket, creating a cozy and intricate design that will keep your little one warm.
Row 41: Start by knitting 4 stitches, then purling 2 stitches. Repeat this pattern until the end of the row.
Row 42: Knit all stitches in this row. This will create a simple and smooth texture to contrast with the previous row.
Row 43: Purl all stitches in this row. The purl stitches will create a bumpy texture, adding more interest and visual appeal to the blanket.
Row 44: Knit 3 stitches, purl 3 stitches. Repeat this pattern until the end of the row. The alternating knit and purl stitches will create a ribbed texture, providing extra stretch and flexibility to the blanket.
Row 45: Knit 2 stitches, purl 4 stitches. Repeat this pattern until the end of the row. This row will continue the ribbed pattern, adding more depth and dimension to the fabric.
Row 46: Purl 3 stitches, knit 3 stitches. Repeat this pattern until the end of the row. This row will create a mirror image of the previous row, further enhancing the ribbed texture of the blanket.
Row 47: Knit all stitches in this row. This row will provide a break from the ribbed pattern, allowing the blanket to lay flat and show off the overall design.
Row 48: Purl all stitches in this row. This row will bring back the bumpy texture of the purl stitches, adding more visual interest to the blanket.
Row 49: Knit 4 stitches, purl 2 stitches. Repeat this pattern until the end of the row. This row will reintroduce the alternating knit and purl stitches, creating a ribbed texture once again.
Row 50: Knit all stitches in this row. This will create a simple and smooth texture, providing a clean and polished finish to the blanket.
Finishing
Once you have completed knitting the baby blanket, it’s time to finish it off and make it ready for use or gifting. Here are the final steps to finish your baby blanket:
1. Bind off stitches: To bind off your stitches, knit the first two stitches of the row, then pass the first stitch over the second stitch and off the needle. Continue knitting one stitch, passing the previous stitch over, until you have one stitch left. Cut the yarn, leaving a long tail, and pull it through the last stitch to secure. This will prevent the stitches from unraveling.
2. Weave in ends: Take the long tail of yarn left from binding off and thread it onto a tapestry needle. Weave the needle through the stitches on the wrong side of the blanket, making sure to go in different directions to secure the yarn. Once you have woven in the end for a few inches, trim off any excess yarn.
3. Block the blanket: Blocking is not always necessary for baby blankets, but if you want to give it a smooth and neat appearance, you can block it. Wet the blanket with cold water and gently squeeze out the excess moisture. Lay the blanket flat on a clean towel and shape it to the desired size and dimensions. Let it air dry completely before removing the pins or weights used to hold it in place during blocking.
4. Add finishing touches: You can add any additional finishing touches to the blanket, such as a crochet border or appliques, to personalize it and make it more unique. Choose colors and designs that match the theme or nursery decor if it is a gift.
With these simple finishing steps, your baby blanket is now complete and ready to be cherished by a little one or given as a thoughtful gift. Enjoy the satisfaction of creating something handmade with love!
Q&A:
What is a simple baby blanket knitting pattern?
A simple baby blanket knitting pattern is a set of instructions that guide knitters on how to create a basic blanket for a baby. It often involves using basic knitting stitches and techniques to produce a soft and cozy blanket.
What materials are needed for a simple baby blanket knitting pattern?
The materials typically needed for a simple baby blanket knitting pattern include knitting needles (usually in size US 7 or US 8), yarn (preferably a soft and washable baby yarn), scissors, and a yarn needle for finishing.
How long does it take to knit a simple baby blanket?
The time it takes to knit a simple baby blanket can vary depending on the complexity of the pattern, the knitter’s skill level, and the amount of time dedicated to the project. On average, it can take anywhere from a few days to a few weeks to complete.
Can I customize the size and design of a simple baby blanket knitting pattern?
Yes, you can customize the size and design of a simple baby blanket knitting pattern to suit your preferences. You can adjust the number of stitches and rows to make it larger or smaller, and you can also incorporate different stitch patterns or color changes to personalize the design.