
Looking for a cute and versatile accessory to add to your wardrobe? Look no further than the mohair bow! This simple yet stylish accessory can be knitted in no time and adds a touch of whimsy to any outfit. Whether you want to dress up a plain sweater or add some flair to a hat or bag, a mohair bow is the perfect solution.
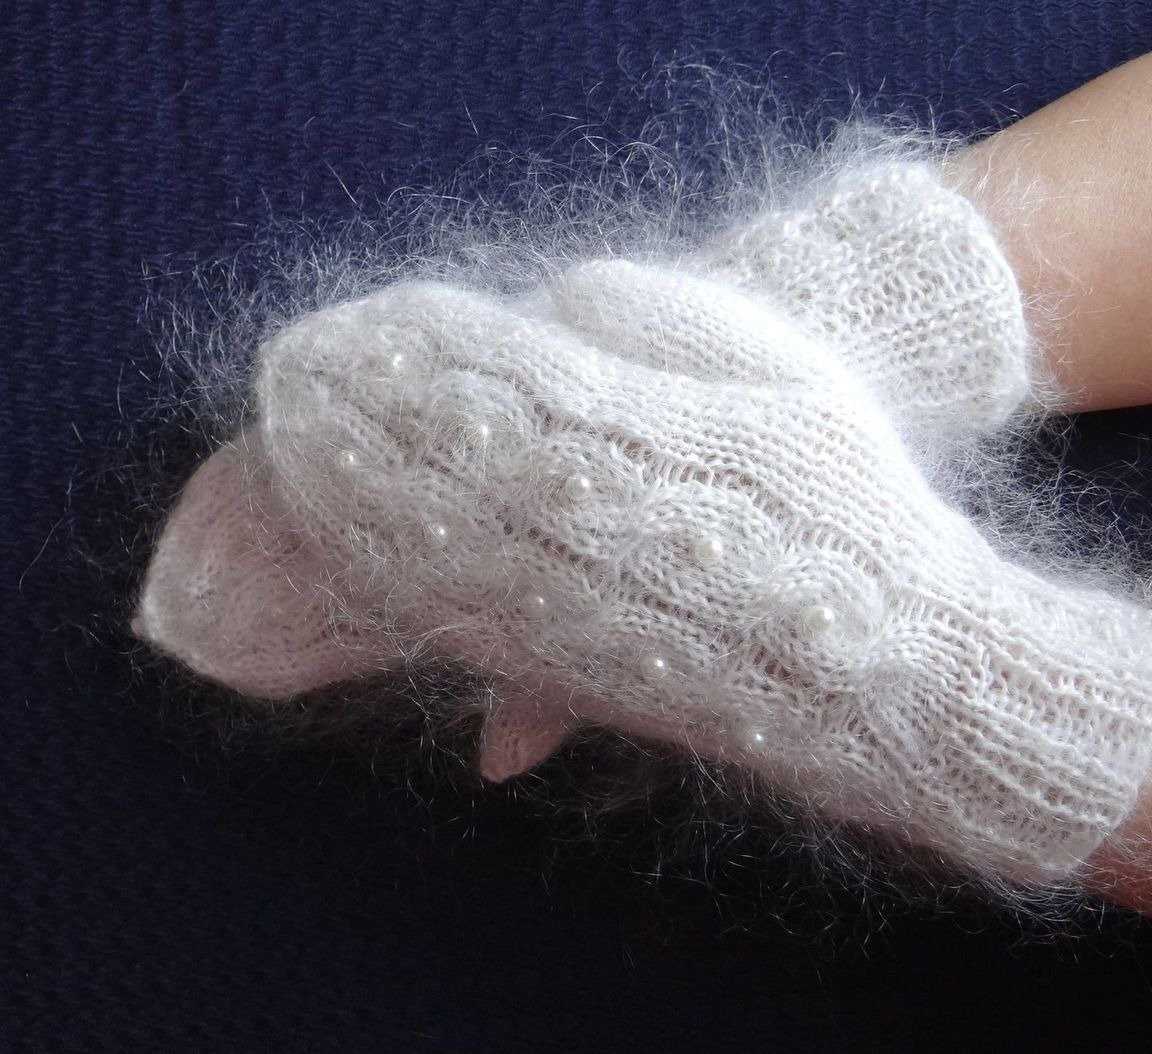
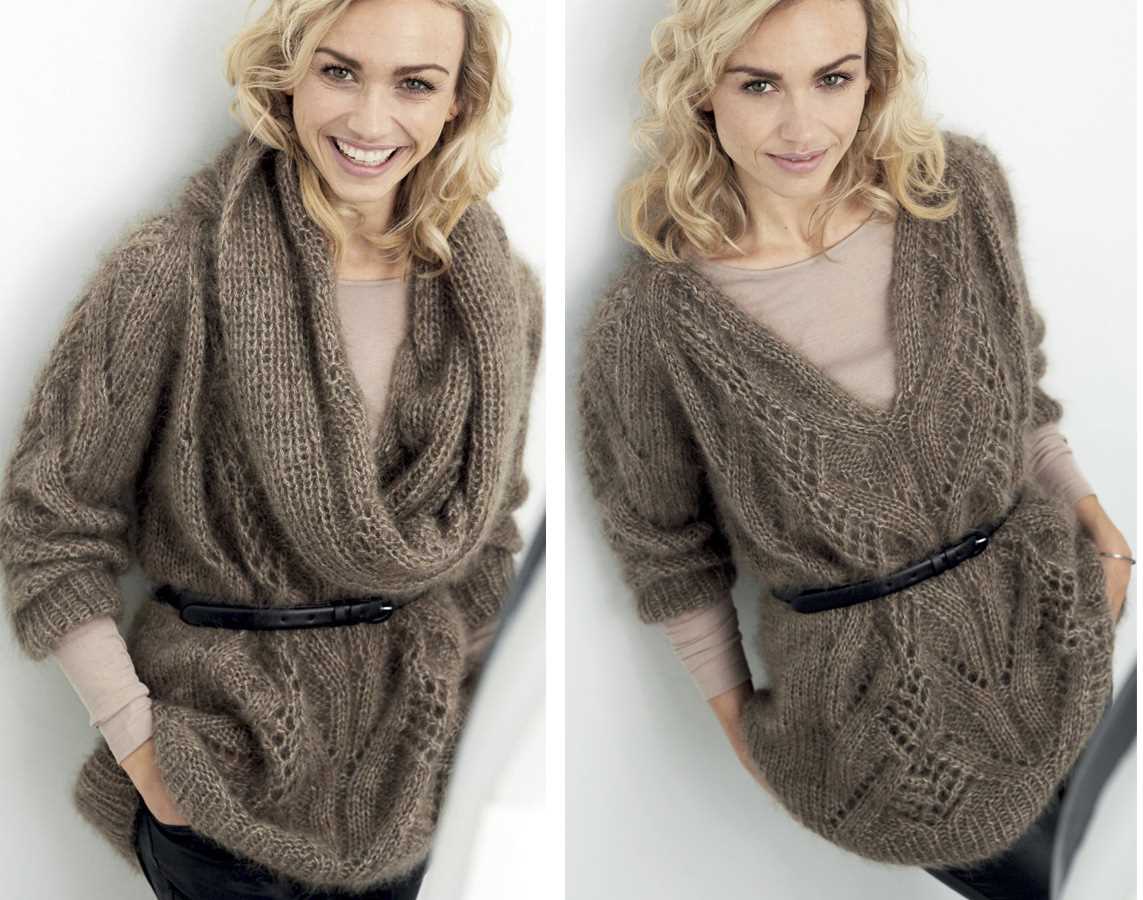
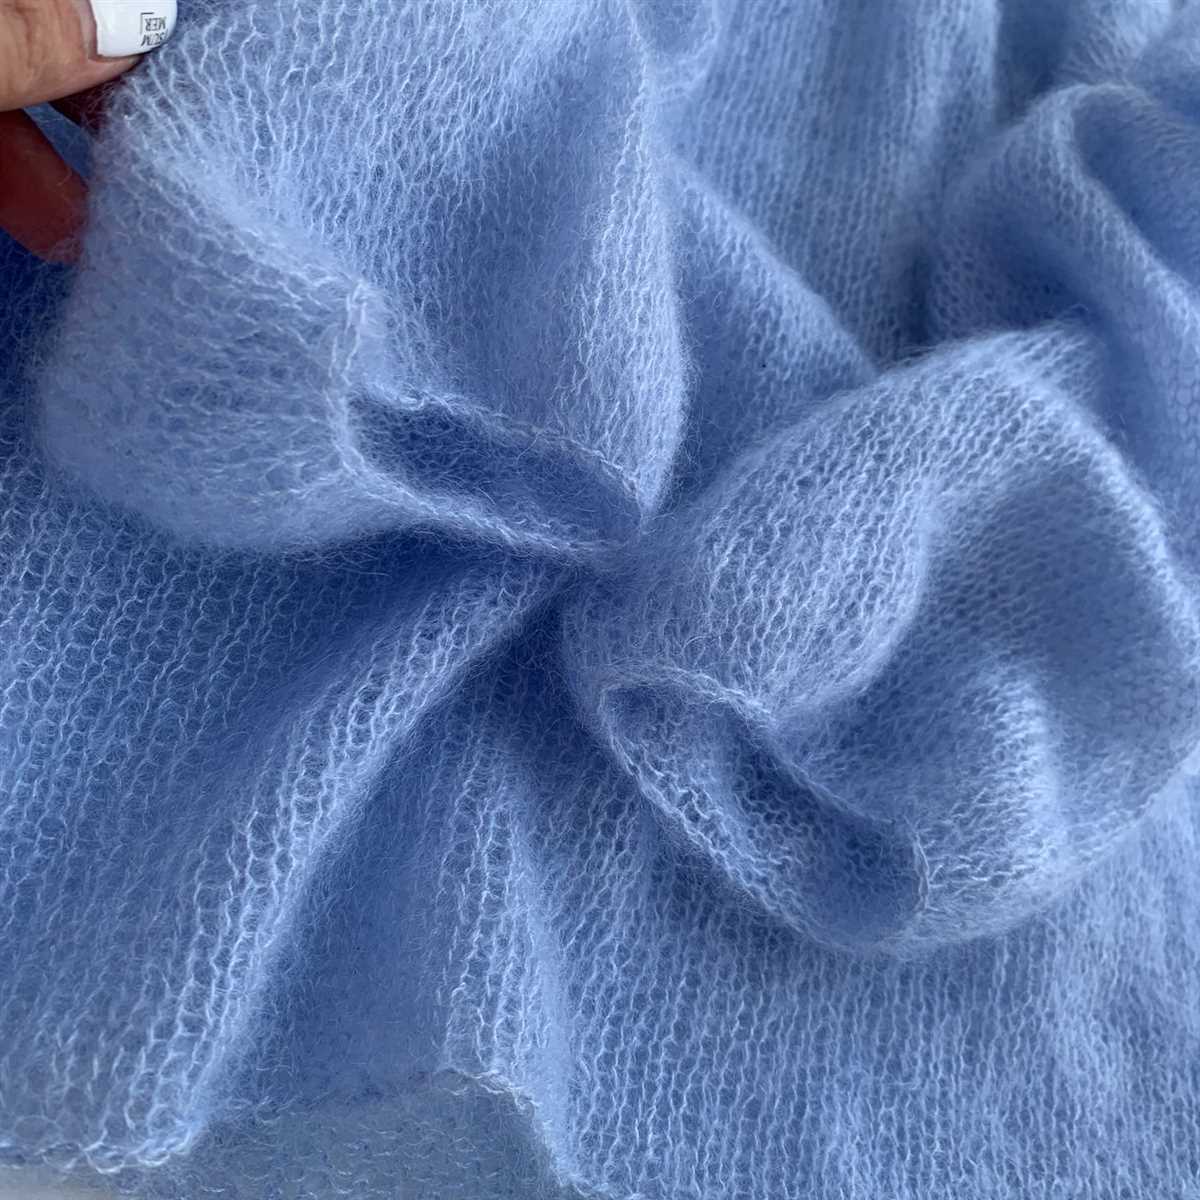
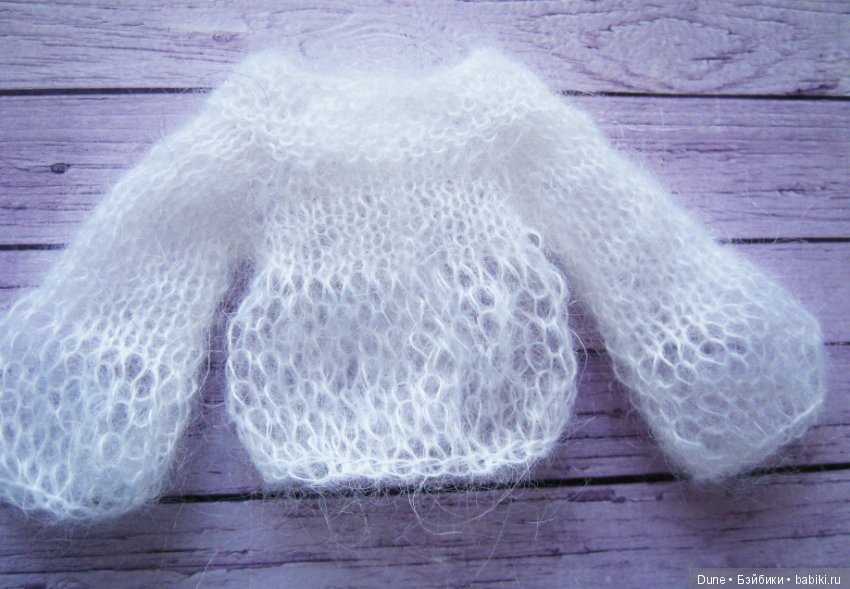
Mohair is a soft and luxurious yarn that is known for its warmth and durability. It has a slight sheen to it, which adds a touch of elegance to any project. Plus, mohair is incredibly soft and comfortable to wear, making it the perfect choice for accessories like bows.
This free knitting pattern is perfect for knitters of all skill levels. Whether you’re a beginner or an experienced knitter, you’ll find this pattern easy to follow and quick to complete. It uses basic knitting stitches and techniques, making it a great project for beginners who want to practice their skills.
Free Mohair Bow Knitting Pattern
Looking for a stylish and versatile accessory to add to your wardrobe? Look no further than this free mohair bow knitting pattern! Mohair is a luxurious and soft yarn that adds a touch of elegance to any project. With this pattern, you’ll be able to create a beautiful and timeless bow that can be worn in a variety of ways.
To get started, you’ll need a few supplies: mohair yarn in your desired color, knitting needles, a tapestry needle, and a pair of scissors. Once you have your supplies, simply follow the step-by-step instructions below to create your own mohair bow.
Instructions:
- Cast on 16 stitches using the long-tail cast-on method.
- Knit every row for 15 rows to create the base of the bow.
- Next, bind off 5 stitches at the beginning of each row for the next 4 rows to shape the center of the bow.
- Continue knitting the remaining 6 stitches for a few more rows, until the sides of the bow start to taper.
- Bind off all stitches and cut the yarn, leaving a long tail for sewing.
- To shape the bow, fold it in half lengthwise and sew the edges together using the tapestry needle and the long tail of yarn.
- Once the edges are sewn together, wrap the center of the bow tightly with yarn to create the bow shape. Secure the yarn with a knot and weave in the ends.
Now that you have your beautiful mohair bow, you can use it in a variety of ways. Attach it to a hair clip or headband for a stylish hair accessory, sew it onto a sweater or cardigan for a unique embellishment, or even use it as a bow tie for a sophisticated and trendy look. The possibilities are endless!
With this free mohair bow knitting pattern, you’ll be able to create a versatile and timeless accessory that can be enjoyed for years to come. Get creative with different colors and styles to make the bow truly unique to your personal style. Happy knitting!
Step 1: Materials You’ll Need
Before starting the knitting process for the mohair bow, it’s important to gather all the necessary materials. Here is a list of items you’ll need:
- Mohair Yarn: Select a soft and fluffy mohair yarn in the color of your choice. Mohair yarn gives the bow a delicate and luxurious feel.
- Knitting Needles: Find a set of knitting needles that are compatible with the thickness of the mohair yarn. Choose the needle size recommended on the yarn label or based on your knitting preference.
- Tape Measure: This will come in handy when measuring the length and width of the bow to ensure accurate sizing.
- Scissors: You’ll need scissors to cut the yarn at various points during the knitting and finishing process.
- Tapestry Needle: A tapestry needle with a large eye is necessary for weaving in loose ends of yarn and sewing the bow together.
- Stitch Marker: While not essential, a stitch marker can be helpful in keeping track of your stitches, especially if you’re a beginner.
Once you have gathered these materials, you are ready to move on to the next step and begin knitting the mohair bow.
Step 2: Casting On
Now that you have gathered all your materials, it’s time to start knitting your mohair bow. The first step is to cast on the stitches onto your knitting needle. Casting on is the process of creating the foundation row of stitches that you will be working with throughout your pattern.
Materials
- Knitting needle (size 6 or as recommended in the pattern)
- Mohair yarn (color of your choice)
- Tape measure
- Yarn needle
To cast on, follow these simple steps:
- Hold the knitting needle in your dominant hand, with the pointy end facing your non-dominant hand.
- Make a slipknot by creating a loop with the yarn, leaving a tail of about 4-6 inches.
- Place the slipknot onto the knitting needle, making sure it is not too tight or too loose.
- Hold the needle with the slipknot in your non-dominant hand, and use your dominant hand to hold the working yarn.
- Using your dominant hand, insert the needle into the slipknot from left to right, making sure to catch the working yarn with the needle as you do so.
- Pull the working yarn through the slipknot, creating a new loop on the needle.
- Repeat steps 4-6 until you have cast on the required number of stitches as specified in your pattern.
Once you have cast on all the stitches, you are ready to move on to the next step of your mohair bow knitting pattern.
Step 3: Knitting the Bow
Now that you have completed the first two steps of casting on and knitting the bow, it’s time to start forming the actual shape of the bow. Follow these instructions to continue:
1. Knit in garter stitch: Begin by continuing to work in garter stitch, knitting every row, until the piece measures approximately 8 inches in length. You can use the same size knitting needle you used for the casting on and ribbing, or switch to a larger size if you prefer a looser gauge.
2. Decrease stitches: Once you have reached the desired length, it’s time to decrease the number of stitches to create the pointed ends of the bow. To do this, knit two stitches together at the beginning and end of every right-side row, until you have only a few stitches left. This will gradually narrow the bow shape.
3. Bind off: When you have only a few stitches remaining, bind off all stitches and cut the yarn, leaving a long tail for sewing. Make sure to securely fasten the end of the yarn to prevent any unraveling.
4. Shape the bow: To create the bow shape, fold the knitted piece in half lengthwise and sew the two ends together using the long tail of yarn. Then, wrap the yarn tightly around the center of the folded piece several times and secure it with a knot. This will cinch the center and create the bow shape.
5. Finishing touches: Finally, weave in any loose ends and trim the excess yarn. You can also steam or block the bow to help it retain its shape and remove any wrinkles.
Once you have completed these steps, you will have a beautiful mohair bow that you can attach to a headband, hat, or any other garment for a touch of elegance and charm.
Step 4: Shaping the Bow
Once you have finished knitting the main body of your mohair bow, it’s time to shape it into the classic bow shape. Follow these steps to achieve the desired shape:
1. Fold the bow in half
Take the knitted piece and fold it in half widthwise, with the right side facing in. This will help create the looped shape of the bow.
2. Sew the ends together
Using a yarn needle and matching yarn, carefully sew the two short ends of the folded piece together. Make sure to secure the stitches well, as this will hold the shape of the bow together.
3. Flatten the loop
With the sewn seam facing upwards, gently flatten the loop created by folding the piece. Adjust the shape until you are satisfied with the overall appearance of the bow.
4. Secure the loop
To ensure that your bow maintains its shape, stitch through the center of the loop, attaching the top and bottom layers together. This will help prevent the bow from unraveling or losing its form over time.
Once you have completed these steps, your mohair bow should be perfectly shaped and ready to add the finishing touches. You can now move on to attaching any additional embellishments, such as ribbons or buttons, to personalize your bow even further.
Step 5: Binding Off
Once you have finished knitting your mohair bow, it’s time to bind off your stitches. Binding off is the process of securing the stitches so that they don’t unravel. Here’s how to do it:
- Knit the first two stitches. Start by knitting the first two stitches on your needle as usual.
- Pass the first stitch over the second stitch. Insert your left needle into the first stitch on your right needle, then lift it up and over the second stitch. This will leave the second stitch as the only stitch on your right needle.
- Knit the next stitch. Now knit the next stitch on your left needle.
- Pass the previous stitch over the newly knitted stitch. Insert your left needle into the second stitch on your right needle, then lift it up and over the newly knitted stitch. This will leave the newly knitted stitch as the only stitch on your right needle.
- Repeat steps 3 and 4 until you have only one stitch remaining. Continue knitting the next stitch and passing the previous stitch over it until you have only one stitch left on your right needle.
- Cut the yarn. Once you have only one stitch remaining, cut the yarn leaving a tail that is about 6 inches long.
- Pull the tail through the last stitch. Using a crochet hook or your needle, pull the tail through the last stitch to secure it.
And that’s it! You have successfully bound off your mohair bow knitting project. Now you can remove your bow from the needles and weave in any remaining loose ends. Your mohair bow is now ready to be used as a hair accessory or as a decoration on your favorite knitting project.
Step 6: Making the Center Strip
In this step, you will be making the center strip of the mohair bow. This strip will be knitted separately and then attached to the main bow later.
Materials Needed:
- Mohair yarn in the desired color
- Knitting needles in the appropriate size
Instructions:
- Cast on the desired number of stitches for the center strip. The number of stitches will depend on how wide you want the strip to be.
- Knit in stockinette stitch for the desired length. This can be determined based on the size of your main bow and personal preference.
- Once the strip is the desired length, bind off all stitches.
- Weave in any loose ends and trim them.
- Take the main bow piece and position it in the center of the strip.
- Using a tapestry needle and matching yarn, sew the main bow piece onto the center strip. Make sure to secure it firmly in place.
- Trim any excess yarn and weave in the ends to finish off the center strip.
Once the center strip is complete, you can continue on to the next step to finish off your mohair bow.
Step 7: Attaching the Center Strip
Now that you have knitted the two bow pieces, it’s time to attach the center strip to bring the bow together. The center strip will not only hold the bow in shape but also give it a polished look.
To attach the center strip, place the two knitted bow pieces in front of you with the right sides facing up. Take the center strip and fold it in half lengthwise, aligning the edges. Using a tapestry needle and the same yarn used for the bow, sew the fold of the center strip to the center of one of the bow pieces. Make sure to securely attach the strip by stitching along the length of the bow, following the edge.
Once the center strip is attached to one of the bow pieces, carefully align the other bow piece on top, with the wrong side facing up. Sew the other side of the center strip to the second bow piece in the same manner as before. This will create a neat and symmetrical bow shape.
Step 8: Finishing Touches
After completing the knitting of your mohair bow, it’s time to add the finishing touches to make it look polished and ready to wear.
1. Block the bow: To give your bow a smooth and professional look, gently block it using a blocking board or a towel. Lay the bow flat on the board or towel, gently stretch it to its desired shape, and pin it down. Allow it to dry completely before moving on to the next step.
2. Attach the bow to a hair clip or headband: Depending on how you want to wear your mohair bow, you can either sew or glue it onto a hair clip or headband. If you choose to sew it, use a needle and thread that matches the color of the bow. If you prefer to glue it, use a strong fabric glue or a hot glue gun. Make sure to securely attach the bow, and let it dry if you used glue.
3. Trim any excess yarn or threads: Take a closer look at your bow and carefully trim any loose yarn or threads that may be sticking out. This will give your bow a neat and tidy appearance.
4. Optional: Embellish the bow: If you want to add some extra flair to your mohair bow, you can consider embellishing it. You can sew on small buttons, beads, or sequins to add some sparkle or use fabric paints to create designs or patterns on the bow.
5. Enjoy your mohair bow: Once you have completed all the finishing touches, your mohair bow is ready to be worn. Pin it in your hair, clip it to a headband, or attach it to a purse or jacket for a stylish touch. Enjoy the softness and warmth that mohair brings, and show off your handmade accessory with pride!
Step 9: Blocking the Bow
After completing the knitting process, the next step is to block the mohair bow. Blocking is an essential step to give your bow a professional and finished look. It helps to shape the bow and even out any uneven stitches or edges.
To block the bow, you will need a blocking board or a flat surface. Start by wetting the bow with lukewarm water or a blocking spray. Gently squeeze out any excess water, making sure not to wring the bow. Lay the bow flat on the blocking board, making sure that it is in the desired shape and size.
Pin the edges of the bow to the blocking board to secure it in place. Use rust-resistant pins or T-pins and place them evenly around the edges, making sure to maintain the shape of the bow. Pay extra attention to the loops of the bow, as these are the defining features of the design.
Leave the bow to dry completely. Depending on the humidity and air circulation, this process can take anywhere from a few hours to a day or two. Once the bow is completely dry, carefully remove the pins and admire your beautifully blocked mohair bow.
Step 10: Additional Embellishments (Optional)
Once you have completed knitting the bow, you can add some additional embellishments to personalize it and make it even more unique. Here are a few ideas to consider:
1. Buttons
Add a touch of charm to your mohair bow by sewing on some buttons. Choose buttons that complement the color of your yarn and sew them onto the center of the bow. You can use one large button or a combination of smaller buttons for a more whimsical look.
2. Beads
Create a glamorous bow by adding some beads. Thread a needle with a matching thread and sew the beads onto the bow in a pattern of your choice. You can sew a few beads on each loop of the bow or sprinkle them throughout for a more scattered effect.
3. Ribbons
Enhance the elegance of the mohair bow by attaching some ribbon tails. Cut two long pieces of ribbon and tie them to the center of the bow. You can either knot the ends of the ribbons or leave them loose for a flowing effect. Choose ribbons in colors that complement or contrast with the yarn to create a visually striking bow.
4. Appliques
Add a touch of whimsy by attaching some small appliques to the bow. These can be in the form of fun shapes, like hearts or flowers, or more intricate designs. Sew the appliques onto the center of the bow or scatter them across the loops for a playful look.
Remember, these embellishments are optional and it’s entirely up to you whether you want to add them or keep the bow simple. Have fun experimenting with different materials and designs to create a mohair bow that reflects your personal style.
Tips for Knitting with Mohair
Mohair is a luxurious and delicate fiber that requires some special care when knitting. Here are some tips to help you get the best results when working with mohair:
- Choose the right needles: Mohair is a fuzzy and slippery yarn, so using needles with a sharp tip can help you easily pick up and manipulate the stitches.
- Use smaller needles: Mohair tends to stretch out when knitted, so using smaller needles than recommended on the yarn label can help create a tighter and more cohesive fabric.
- Hold the yarn gently: Mohair can easily tangle and knot, so it’s important to hold the yarn gently while knitting to prevent any unwanted snags or pulls.
- Knit with a loose tension: Mohair is naturally bulky and creates a fluffy fabric, so knitting with a loose tension can help maintain the airiness and softness of the finished piece.
- Consider blending with other fibers: If you find mohair too difficult to work with on its own, consider blending it with another yarn, such as a smooth merino wool. This can add stability and make the knitting process easier.
Knitting with mohair can be a rewarding experience, as it produces a beautiful and luxurious finished product. By following these tips, you’ll be able to overcome the challenges that mohair presents and create stunning knitted items.