
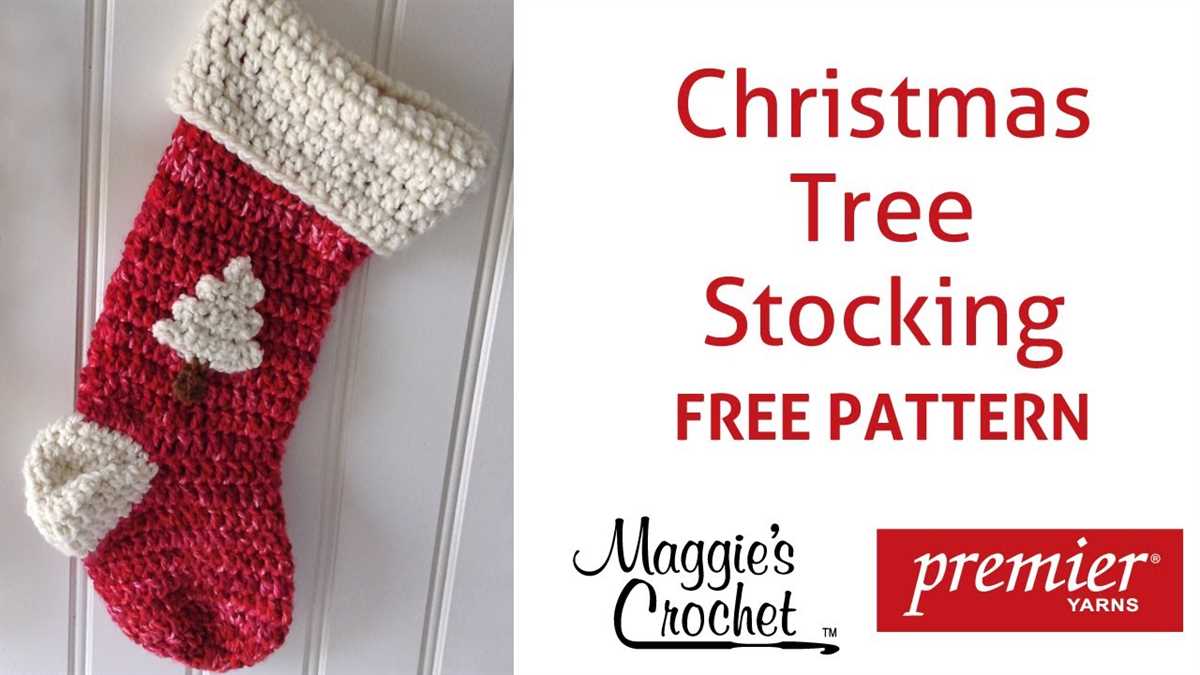
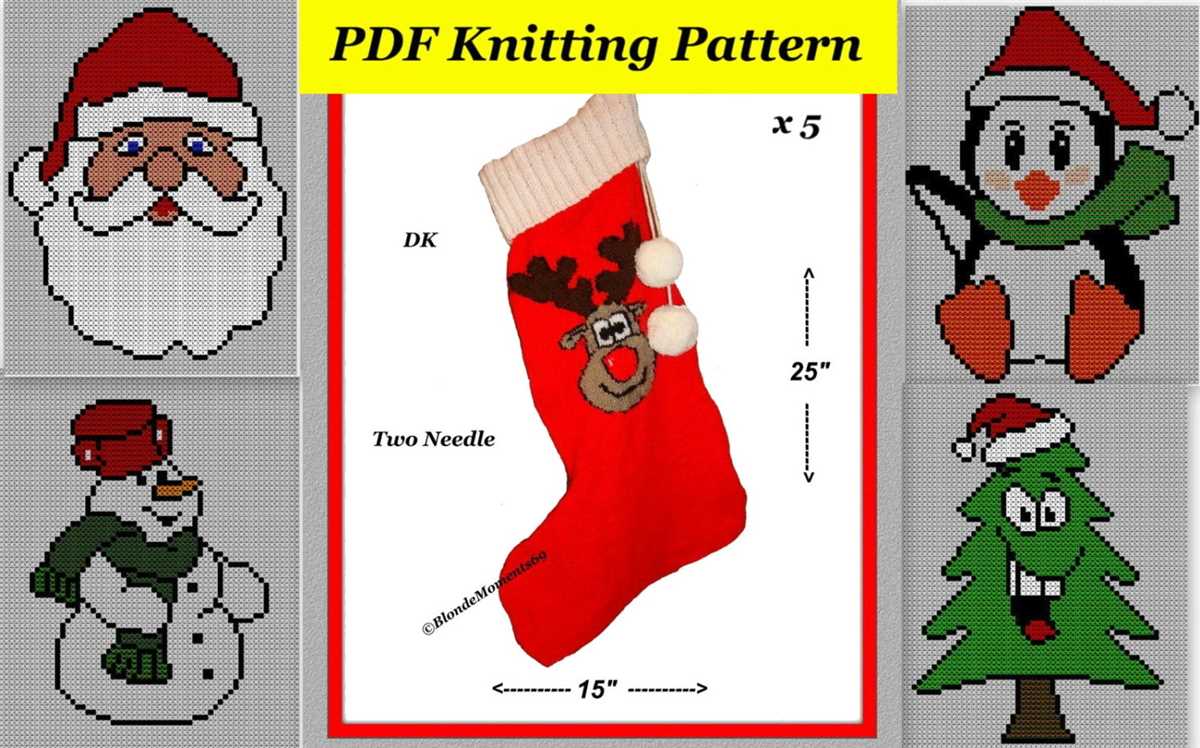
Knitted Christmas Tree Stocking Pattern
If you’re looking for a festive and cozy addition to your holiday decor, a knitted Christmas tree stocking is the perfect project. This pattern will guide you through creating a beautiful tree-shaped stocking that can be hung by the fireplace or used as a gift bag for presents. Knitting your own stocking allows you to customize the colors and design to match your personal style and the rest of your holiday decorations.
This pattern is suitable for knitters of all skill levels, from beginners to advanced. It uses basic knitting techniques such as knit and purl stitches, as well as some simple shaping. The stocking is worked in the round on double-pointed needles or using the magic loop method. You can choose to use any type of knitting needles and yarn that you prefer, as long as you achieve the desired gauge.
Your finished stocking will be approximately [insert dimensions] in size, making it perfect for holding small gifts and treats. The pattern includes instructions for adding a decorative cuff, as well as optional embellishments like pom-poms or tassels. This allows you to personalize your stocking even further and make it truly unique.
Get ready to celebrate the holiday season in style with your very own knitted Christmas tree stocking. Follow this pattern and let your creativity shine as you knit a beautiful and festive addition to your home decor.
Knitted Christmas Tree Stocking Pattern
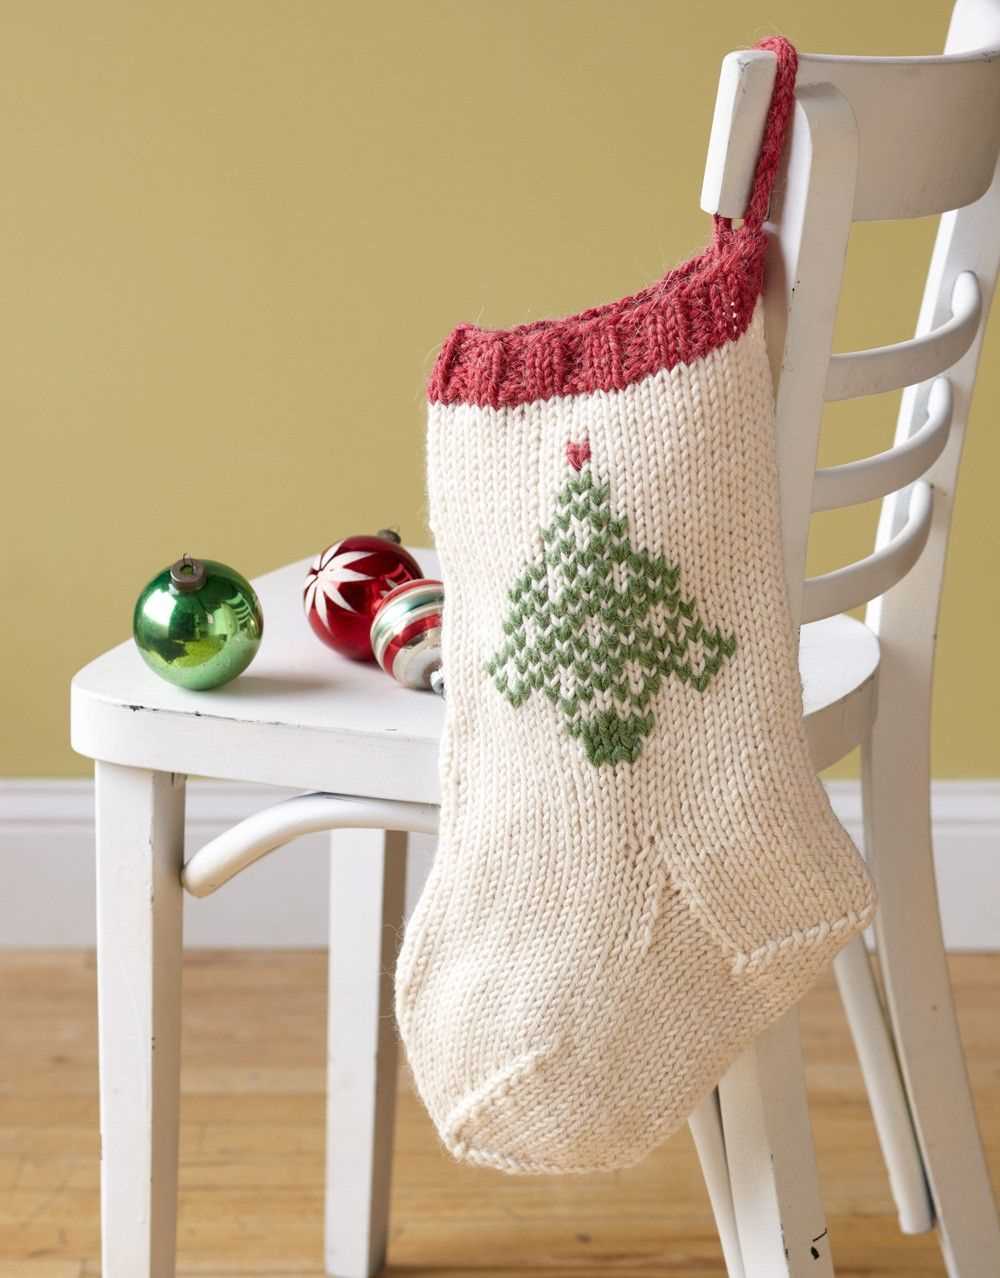
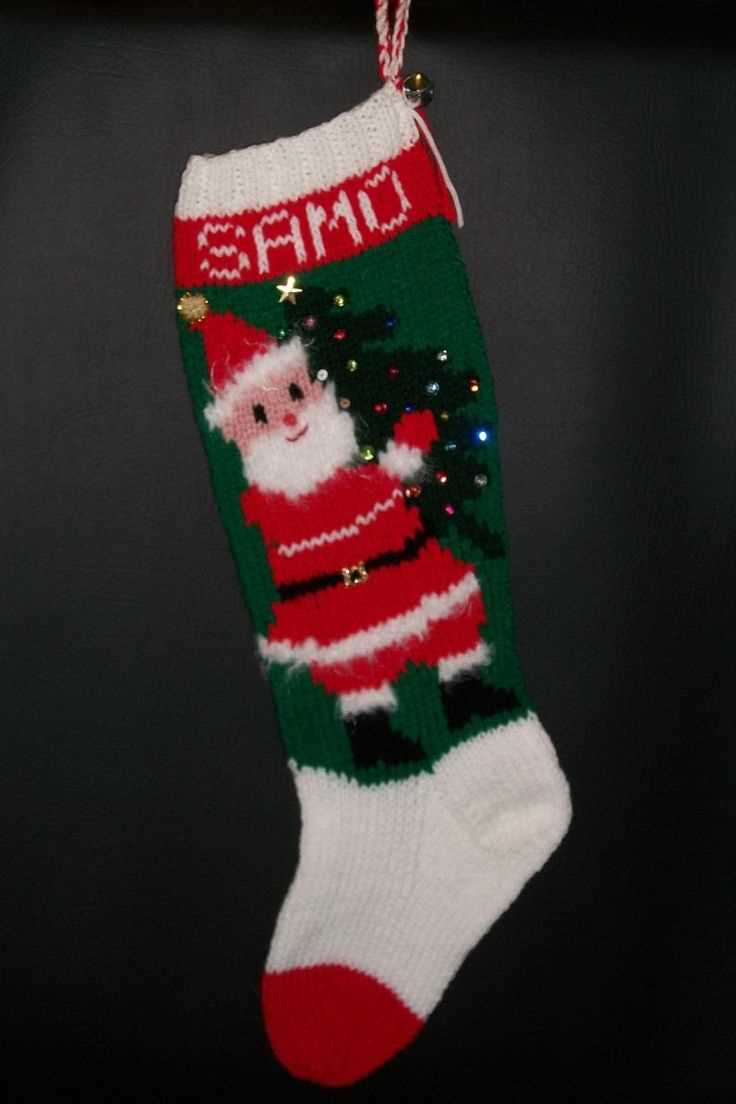
There’s nothing quite like a handmade Christmas stocking to add a personal touch to your holiday decorations. With this knitted Christmas tree stocking pattern, you can create a beautiful and unique stocking to hang by the fireplace or on your Christmas tree.
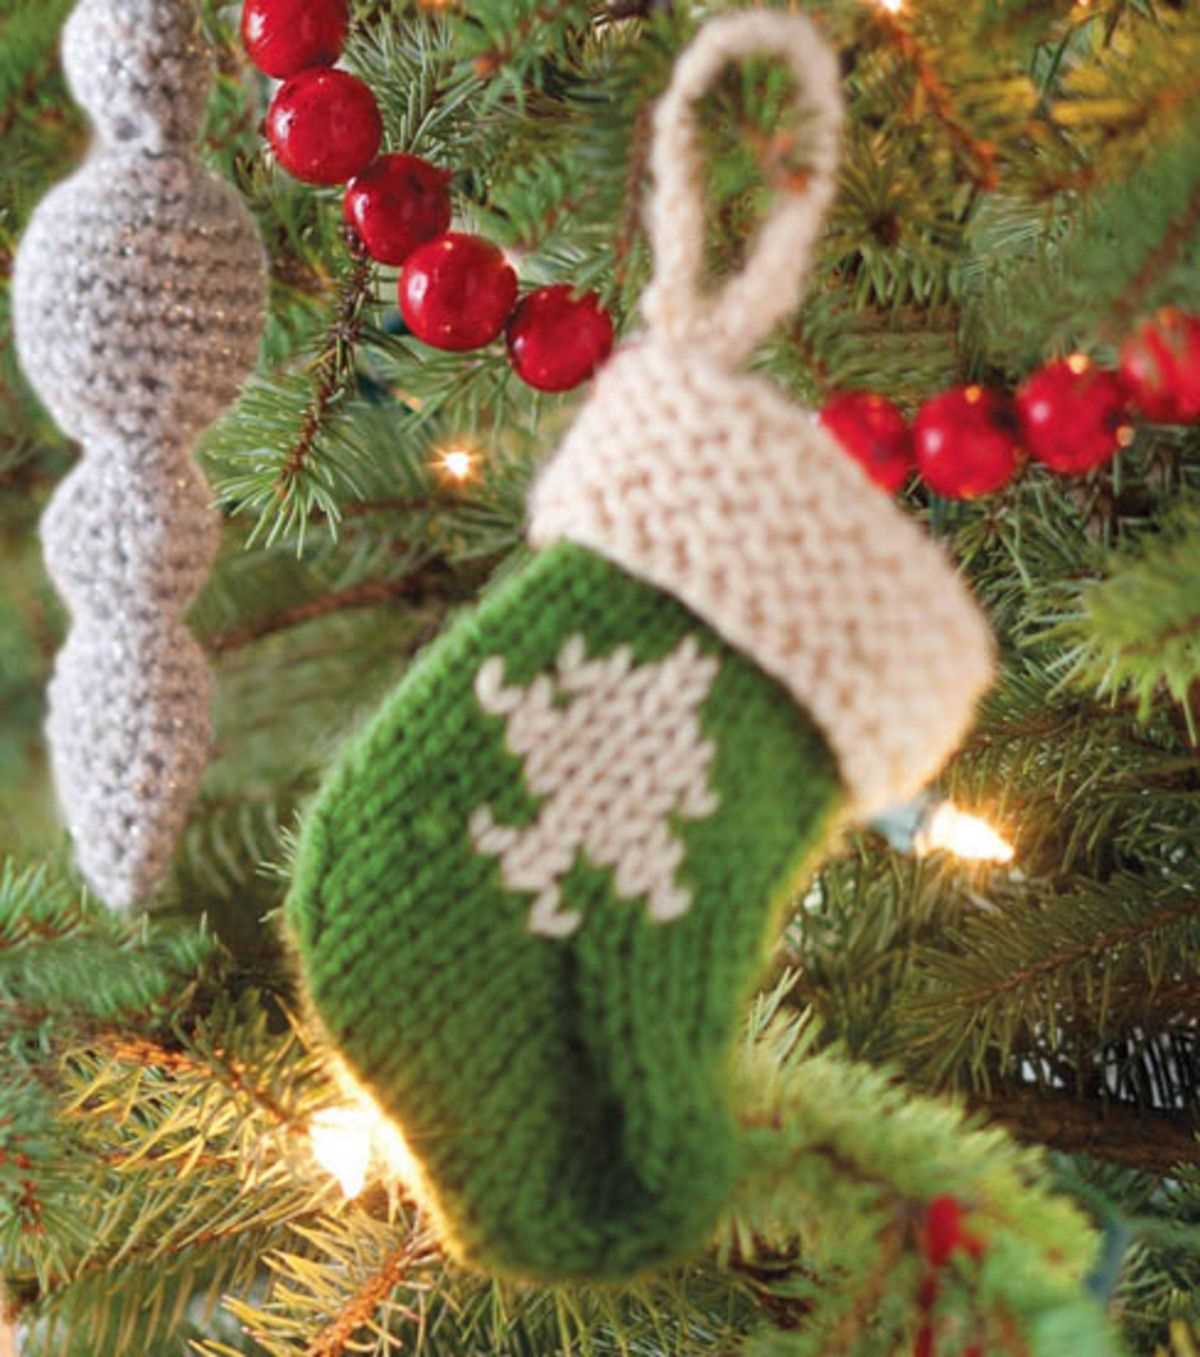
The pattern features a festive Christmas tree design, complete with decorative ornaments and a star on top. The stocking is knit using a combination of different stitches to create texture and depth, making it a fun and engaging project for intermediate knitters.
To start, you’ll need to gather the necessary materials, including yarn in your chosen colors, knitting needles in the appropriate size, and a tapestry needle for finishing touches. The pattern calls for a combination of knit and purl stitches, as well as increases and decreases, to shape the stocking and create the tree design.
Instructions for the knitted Christmas tree stocking pattern are provided row by row, making it easy to follow along and keep track of your progress. The pattern also includes helpful tips and techniques to ensure your stocking turns out beautifully.
Once you’ve finished knitting the stocking, you can embellish it with additional decorations such as beads, sequins, or embroidery to make it truly unique. Fill it with small gifts and treats, and hang it with care to bring holiday cheer to your home.
Materials needed for the project
In order to complete the knitted Christmas tree stocking pattern, you will need the following materials:
- Yarn: Choose a soft and durable yarn in your desired color for the body of the stocking. Additionally, you will need smaller amounts of yarn in contrasting colors for the trim and decorations.
- Knitting needles: Use knitting needles that are appropriate for your chosen yarn. Typically, a pair of US size 7 (4.5mm) needles works well for worsted weight yarn.
- Tapestry needle: This will be used for weaving in the ends of your yarn and for sewing any decorative elements onto the stocking.
- Scissors: A pair of sharp scissors will be needed for cutting the yarn while working on your project.
- Stitch markers: These can be helpful for keeping track of specific stitch patterns or sections of your knitting.
- Pom-pom maker: If you plan to add a pom-pom to the top of your stocking, a pom-pom maker will make the process much easier.
With these materials on hand, you will be well-equipped to create a beautiful knitted Christmas tree stocking. Enjoy the process and let your creativity shine as you add your own personal touches to the design!
Choosing the right yarn and needles

When it comes to knitting a Christmas tree stocking, choosing the right yarn and needles is essential to achieve the desired look and feel. The yarn and needle selections will determine the final size, texture, and appearance of the stocking.
Yarn
When selecting yarn for a knitted Christmas tree stocking, it’s important to consider factors such as the fiber content, weight, and color. The fiber content determines the softness, durability, and warmth of the stocking, so opting for a cozy and easy-to-care-for yarn is ideal. Acrylic or wool blends can provide warmth and softness, while also being machine washable. In terms of weight, a medium (worsted) weight yarn is generally a good choice for a stocking as it allows for a balance between durability and drape. Finally, the color of the yarn can be selected to match the overall theme and décor, whether it’s a traditional red and green scheme or a more modern color palette.
Needles

The needles used for knitting a Christmas tree stocking can depend on personal preference and the desired gauge. For a medium weight yarn, a pair of US size 7 (4.5mm) or US size 8 (5mm) straight knitting needles may be suitable. Straight needles are often preferred for beginners as they are easier to handle and control. It’s important to ensure that the needle length is comfortable to hold and maneuver the yarn. Alternatively, circular needles can be used for larger projects or for those who prefer working in the round. Circular needles also allow for the stitches to be easily distributed along the needle for even tension and reduce strain on the hands and wrists.
Getting started with the pattern
If you’re looking to add a touch of handmade charm to your Christmas decor, knitting a Christmas tree stocking is the perfect project. This pattern allows you to create a beautiful and unique stocking to hang by the fireplace or display on your Christmas tree.
Materials:
- Knitting needles (size 8)
- Worsted weight yarn in various colors
- Tapestry needle
- Scissors
Instructions:
- Begin by casting on 50 stitches using your chosen yarn color.
- Work in a 2×2 rib stitch pattern for the first 6 rows.
- Next, switch to a stocking stitch pattern (knit one row, purl one row) for the next 20 rows.
- When you reach the desired length for the body of the stocking, begin shaping the toe.
- Decrease one stitch at the beginning and end of every alternate row until you have 10 stitches remaining.
- Bind off the stitches and cut the yarn, leaving a long tail for sewing.
- Using a contrasting yarn color, embroider your desired Christmas tree design onto the front of the stocking.
- Finally, fold the stocking in half with the wrong sides together and sew up the back seam using the tail of yarn. Leave the top open for stuffing and hanging.
This pattern is a great opportunity to experiment with different colors and stitch patterns to create your own unique design. Whether you choose to keep it simple or get creative with intricate details, your knitted Christmas tree stocking is sure to add a festive touch to your holiday decorations.
Creating the base of the stocking
When it comes to knitting a Christmas tree stocking, the base is an essential part of the pattern. It sets the foundation for the shape and size of the stocking, and determines how much space there will be for gifts. To create the base, you will need to choose your yarn and knitting needles.
Yarn selection: The yarn you choose will determine the overall look and feel of your Christmas tree stocking. Opt for a festive color like red, green, or white, or go for a more modern approach with metallic or variegated yarn. Make sure to choose a yarn that is suitable for the size of needles you plan to use, and consider the durability of the yarn, especially if you plan on stuffing the stocking with heavier gifts.
Needle size: The size of your knitting needles will also affect the final result of the stocking. If you want a tighter knit, choose smaller needles, while larger needles will create a looser fabric. It is important to use the appropriate needle size for your chosen yarn to achieve the desired gauge. This will ensure that the stocking turns out the correct size and shape.
- Cast on: To begin creating the base of the stocking, you will need to cast on the desired number of stitches. This will vary depending on the size of the stocking you want to make. You can use the long-tail cast-on method or any other cast-on method you prefer.
- Knit rows: Once you have cast on, you can begin knitting the base of the stocking. Work in your chosen stitch pattern and continue knitting rows until you have reached the desired length for the base. Remember to keep track of your row count, especially if you want to create a symmetrical design.
- Shaping the toe: To give the stocking a tapered shape at the toe, you will need to decrease stitches gradually. This can be done through various decrease methods, such as knit two together (k2tog) or slip, slip, knit (ssk). Follow the pattern instructions for the specific decrease method and continue shaping the toe until you have reached the desired point.
Creating the base of the stocking is an exciting part of the knitting process. It allows you to establish the overall look and feel of the stocking, and provides the foundation for the rest of the pattern. By carefully selecting your yarn and needle size, casting on the appropriate number of stitches, and shaping the toe, you can create a beautiful and functional Christmas tree stocking.
Knitting the tree design

Knitting the tree design for a Christmas stocking can be a fun and festive project. The tree design adds a charming and traditional touch to the stocking, making it the perfect addition to your holiday decor. Whether you’re an experienced knitter or just starting out, this pattern is accessible for all skill levels.
Materials:
- Yarn in green for the tree and brown for the trunk
- Knitting needles in the appropriate size for your yarn
- Tapestry needle for weaving in ends
Instructions:
- Begin by casting on the desired number of stitches for your stocking. This will depend on the size and gauge of your knitting needles and yarn.
- First, knit the trunk of the tree using the brown yarn. Follow a simple pattern of knit and purl stitches to create a textured look. Continue knitting until the trunk reaches the desired length.
- Once the trunk is complete, switch to the green yarn to knit the tree. You can use a basic stockinette stitch for the body of the tree, or get creative with different stitch patterns for added texture.
- To create the shape of the tree, gradually decrease the number of stitches as you knit up towards the top. This will give the tree its triangular shape.
- Once you have reached the top of the tree, bind off the stitches and weave in any loose ends.
- For a finishing touch, you can add decorations to the tree using embroidery techniques or by attaching small beads or sequins.
With these instructions, you can easily knit a beautiful Christmas stocking with a tree design. Once completed, your stocking will be ready to be hung by the fireplace and filled with treats and small gifts for the holiday season.
Adding decorative elements
When creating a knitted Christmas tree stocking, adding decorative elements can bring a festive touch to the final design. These decorative elements can be incorporated in various ways, such as using different knitting techniques or attaching additional embellishments.
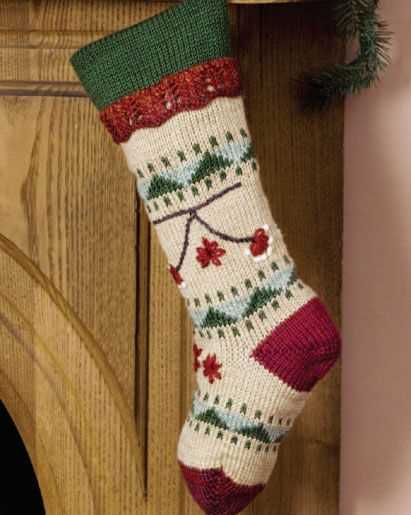
1. Fair Isle knitting: One way to add decorative elements to your stocking is by using the Fair Isle knitting technique. This technique involves knitting with two different colors to create intricate patterns and designs. You can incorporate holiday-themed motifs, such as snowflakes, Christmas trees, or reindeer, to make your stocking more festive.
2. Embroidery: Another way to add decorative elements is by embroidering onto the knitted fabric. You can use colorful threads to create intricate designs, such as holly leaves, candy canes, or personalized initials. Embroidery can be done before assembling the stocking or added as a finishing touch.
3. Appliqués: Adding appliqués is another great way to decorate your knitted Christmas tree stocking. You can use festive fabric to cut out shapes, like stars or ornaments, and then sew them onto the stocking. This adds texture and visual interest to the design, making it even more eye-catching.
Overall, adding decorative elements to your knitted Christmas tree stocking allows you to personalize it and make it truly unique. Whether you choose to incorporate Fair Isle knitting, embroidery, or appliqués, these decorative elements will help create a beautiful and festive stocking that captures the holiday spirit.
Shaping the toe and heel
When knitting a Christmas tree stocking, shaping the toe and heel is an important step to create a comfortable and well-fitting sock. The toe is the rounded and tapered part of the sock that covers the front of the foot, while the heel is the curved area that covers the back of the foot.
To shape the toe, you will typically start with a certain number of stitches on the needles and gradually decrease the number of stitches towards the tip. This creates the tapered shape. There are different methods to decrease stitches, such as knitting two stitches together or using the slip-slip-knit technique. The specific instructions and stitch counts will vary depending on the knitting pattern you are using.
Once the toe is shaped, you will move on to shaping the heel. This often involves working a series of short rows to create a curved shape that fits the contour of the foot. Short rows are rows that are not worked all the way across, and they are commonly used to create shaping in knitting. By knitting or purling only partway across the rows, you can create extra fabric in certain areas, which results in the desired shape.
There are different methods for working short rows, such as wrap and turn or German short rows. These techniques involve wrapping the yarn around the stitch to create an extra stitch and then turning the work to continue knitting or purling in the opposite direction. The wrapped stitches are then picked up later to close any gaps and create a smooth transition.
Shaping the toe and heel requires careful attention to the knitting pattern instructions and keeping track of stitch counts. It may take some practice to master these techniques, but once you become familiar with them, you can create beautifully shaped and comfortable Christmas tree stockings.
Finishing touches: sewing and blocking

Once you have finished knitting your Christmas tree stocking, there are a few important finishing touches to complete before it is ready to be hung up. These steps include sewing up any remaining seams, blocking the stocking to give it a professional finish, and adding any additional decorative elements if desired.
Sewing the seams
- Thread your needle: Choose a matching yarn or thread to sew up the seams of the stocking. It is best to use a sturdy thread that will not easily break or come undone.
- Start sewing: Begin by carefully sewing up the bottom seam of the stocking, making sure to match up the stitches as evenly as possible. Use a whipstitch or mattress stitch to create a secure, invisible seam.
- Continue sewing: Next, sew up any remaining side seams, again using a whipstitch or mattress stitch. Take care to match up the stitches and maintain a neat and even seam.
- Secure and trim: Once all the seams have been sewn, secure the thread by making a small knot or weaving it back through the stitches. Trim any excess thread or yarn.
Blocking the stocking

Why block: Blocking is the process of shaping and smoothing out your knitted piece to give it a more polished appearance. This step is especially important for a Christmas stocking, as it will help it maintain its shape and hang nicely when filled with gifts.
- Prepare your blocking materials: Fill a basin or sink with lukewarm water and add a gentle wool wash or mild detergent. Have towels and a flat surface ready for blocking.
- Soak the stocking: Submerge the stocking in the water, gently agitating it to ensure the entire piece gets wet. Let it soak for about 10-15 minutes.
- Remove excess water: Gently squeeze out the excess water from the stocking, being careful not to wring or twist it.
- Shape the stocking: Lay the stocking flat on a towel and gently shape it to its desired size and dimensions. Smooth out any wrinkles or unevenness.
- Let it dry: Leave the stocking to dry completely on the towel, making sure it is in the correct shape. This may take a day or two, depending on the humidity and air circulation in your environment.
By carefully sewing the seams and blocking the stocking, you can ensure that it is finished to a high standard and ready to be proudly displayed as part of your Christmas decorations.
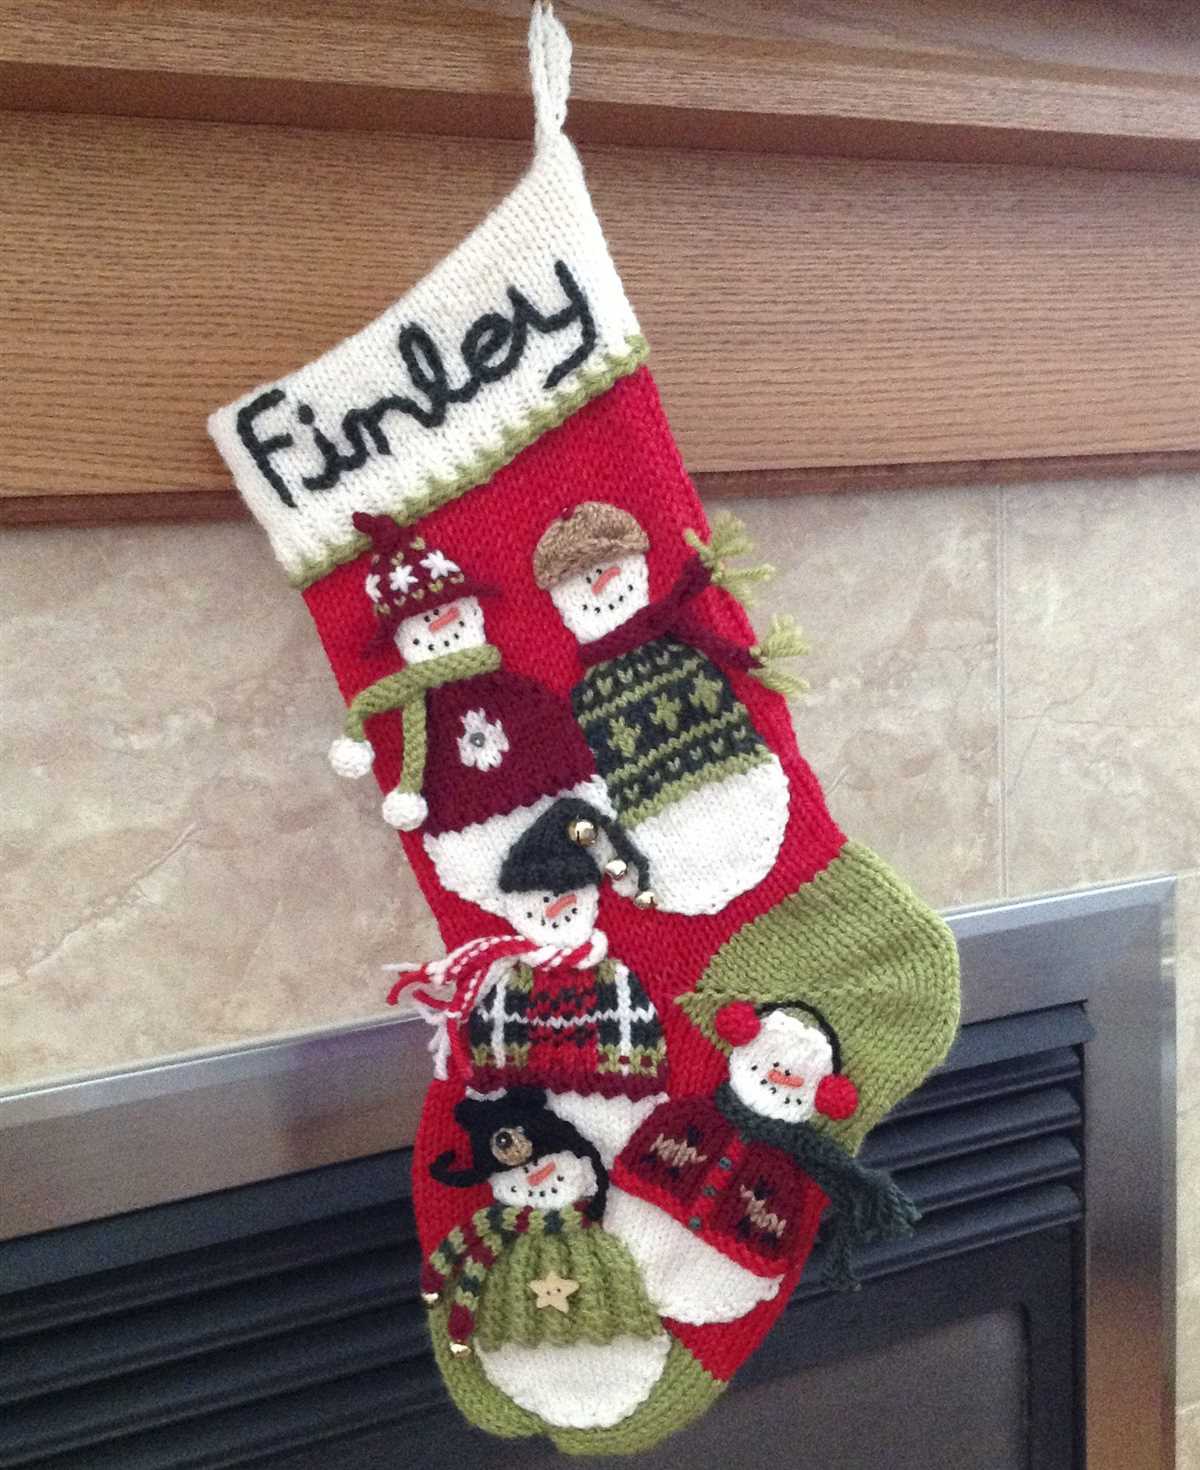
Personalizing the stocking
The knitted Christmas tree stocking pattern provides a wonderful opportunity to personalize your stocking and make it truly unique. There are several ways you can add a personal touch to your stocking, whether it’s for yourself or as a gift for someone special.
1. Embroidery: One of the simplest ways to personalize your stocking is by adding embroidery. You can embroider the owner’s name, initials, or a special message on the cuff or the body of the stocking. Choose a thread color that complements the stocking’s colors and use a font style that reflects the recipient’s personality.
2. Appliques: Another option is to add appliques to your stocking. You can use pre-made appliques or create your own using scraps of fabric. Choose festive shapes like snowflakes, gingerbread men, or Christmas trees. Secure the appliques to the stocking with hand stitching or fabric glue.
3. Beads and sequins: For a touch of sparkle, consider embellishing your stocking with beads and sequins. You can add them to the entire stocking or create designs like stars, snowflakes, or initials. Sew them on individually or use beaded trims to add a decorative border.
4. Patchwork: If you enjoy quilting or patchwork, you can incorporate these techniques into your stocking. Use fabric scraps in different colors and patterns to create a unique patchwork design. You can also use themed fabrics like Christmas prints or tartans for a festive touch.
5. Personalized tags: Lastly, you can attach personalized tags to your stocking. These can be made from cardstock or wood and can feature the recipient’s name or a special message. Attach the tags by tying them to the stocking’s loop or by sewing them onto the cuff.
By personalizing your knitted Christmas tree stocking, you can create a cherished heirloom or a meaningful gift that will be treasured for years to come.
Tips for Successful Knitting
Knitting is a popular craft that allows you to create beautiful and unique items. Whether you are a beginner or an experienced knitter, it’s important to keep a few tips in mind to ensure successful and enjoyable knitting projects. Here are some tips to help you along the way:
1. Choose the Right Yarn and Needles
One of the most important factors in knitting is choosing the right yarn and needles for your project. Consider the type and weight of the yarn, as well as the recommended needle size. This will ensure that your stitches are even and the finished piece has the desired drape and texture.
2. Gauge Matters
Take the time to create a gauge swatch before starting your project. Gauge refers to the number of stitches and rows per inch in your knitting. By matching the gauge specified in the pattern, you can ensure that your finished project will be the correct size. Adjust your needle size if necessary to achieve the correct gauge.
3. Count Your Stitches
Be diligent about counting your stitches as you go. Missing or adding stitches can throw off the entire pattern and result in a misshapen finished item. Use stitch markers to help keep track of stitch pattern repeats and double-check your stitch count at the end of each row.
4. Take Regular Breaks
Knitting can be a repetitive activity that can strain your hands and wrists. To avoid discomfort or injury, take regular breaks to stretch and rest your hands. This will help prevent fatigue and keep you knitting comfortably for longer periods of time.
5. Have Patience
Knitting can be a slow and intricate process. It’s important to have patience and not rush through the steps. Take your time to ensure that each stitch is made correctly and that you follow the pattern accurately. Remember, knitting is meant to be a relaxing and rewarding activity, so embrace the process and enjoy the journey.
By keeping these tips in mind, you can improve your knitting skills and create beautiful projects that you will be proud of. Happy knitting!
Ideas for variations and customization
If you’re looking to add a personal touch to your knitted Christmas tree stocking, there are plenty of ways to customize and modify the pattern to make it unique. Here are some ideas to inspire you:
- Add personalized initials or names: Embroider or knit the recipient’s initials or name onto the stocking for a personalized touch. You can use different colors of yarn or even use contrasting embroidery thread for a pop of color.
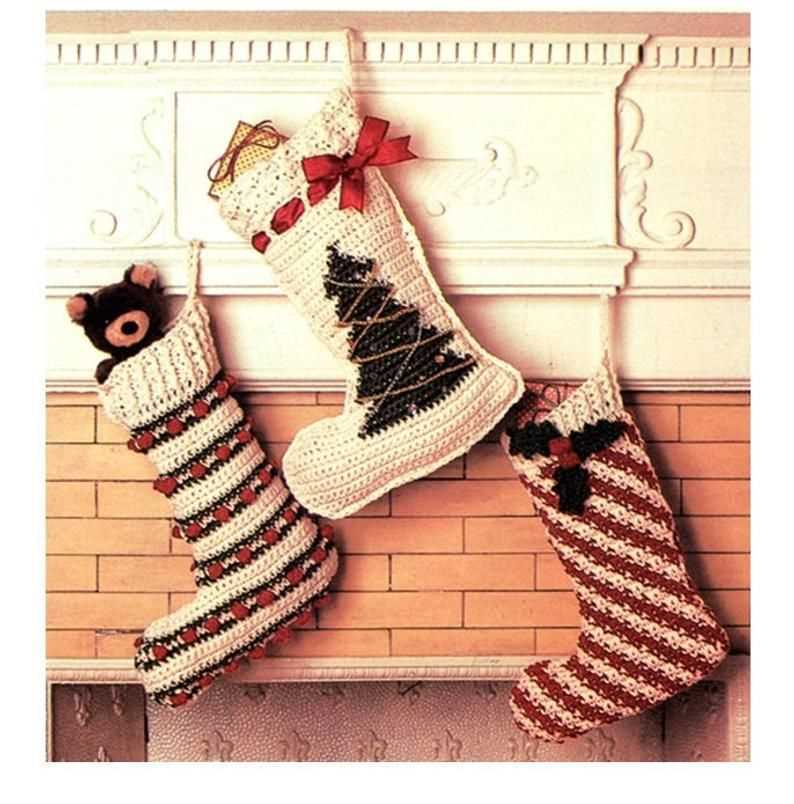
- Choose different color combinations: Instead of sticking to traditional Christmas colors, consider using a unique color palette that matches your home decor or the recipient’s favorite colors. Experiment with different yarn shades and combinations to create a one-of-a-kind stocking.
- Add embellishments: Get creative with embellishments like buttons, bows, sequins, or small pompoms. These can be sewn or glued onto the stocking to add texture and visual interest.
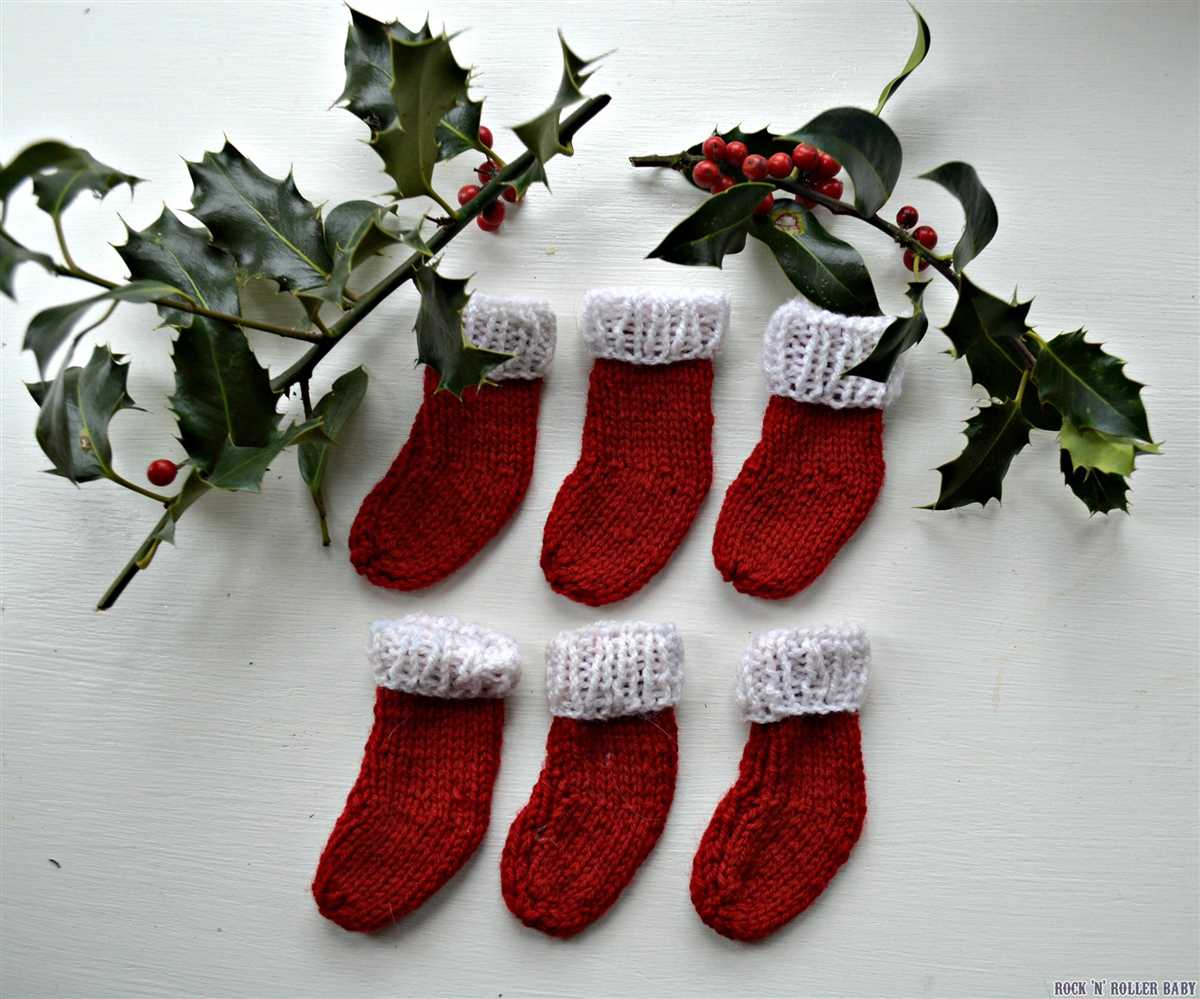
- Try different knitting stitches: Instead of using a basic stocking stitch, experiment with different knitting stitches to add texture and pattern. You could try a cable stitch, lace stitch, or even a slip stitch pattern to create a more intricate design.
- Resize the pattern: If you prefer a smaller or larger stocking, you can easily resize the pattern to fit your desired dimensions. Just make sure to adjust your yarn and needle size accordingly to achieve the desired gauge.
- Add a lining: To give your stocking a polished look and extra durability, consider adding a fabric lining. This can be sewn by hand or machine and will help prevent small gifts or treats from poking through the knit stitches.
- Experiment with different yarn types: Instead of using traditional acrylic or wool yarn, consider trying different types of yarn like alpaca, mohair, or even metallic yarn to add an extra touch of luxury or sparkle.
Remember, the possibilities for customizing your knitted Christmas tree stocking are endless. Don’t be afraid to get creative and have fun with different ideas. Whether you choose to personalize it with names, experiment with colors, or add embellishments, your handmade stocking is sure to become a cherished part of your holiday traditions.
Inspiration and Examples for Using the Finished Stocking
Once you have completed knitting your Christmas tree stocking, there are so many ways you can use it to add festive charm to your holiday decorations. Here are some ideas to inspire you:
Hanging on the Fireplace Mantel

The traditional way to display your knitted Christmas stocking is by hanging it on the fireplace mantel. Use a festive stocking holder or simply attach a ribbon to hang it securely. This will create a cozy and inviting atmosphere in your living room, and Santa will surely appreciate having a designated spot for all the goodies he brings.
As an Advent Calendar
Why not turn your knitted stocking into an advent calendar? Fill each day with a small surprise or treat leading up to Christmas. This is a fun way to count down the days and anticipate the holiday season. Hang the stocking in a visible area and enjoy the excitement of opening a new surprise each day.
As a Table Centerpiece
If you have a large dining table, consider using your finished stocking as a centerpiece. Fill it with artificial greenery, pinecones, or ornaments to create a festive holiday arrangement. You can also place small gifts inside the stocking for your guests to discover during the meal, adding an element of surprise and delight to your holiday gatherings.
As a Gift Wrap Alternative
Instead of using traditional gift wrap, use your knitted stocking to wrap small presents. This adds a personal touch and creates a unique presentation for your gifts. Simply place the gift inside the stocking and tie a ribbon or yarn around the top to secure it. It’s a great way to make your presents stand out under the Christmas tree.
As a Decorative Pillow Cover

If you have a plain throw pillow, consider using your knitted stocking as a decorative pillow cover. Slip the pillow inside the stocking and fold down the top to create a cozy and festive look. This is a creative way to incorporate the stocking into your everyday home decor and add a touch of Christmas spirit to any room.
As a Wall Hanging
Showcase your knitting skills by turning your knitted stocking into a beautiful wall hanging. Attach a dowel or rod to the top of the stocking and hang it on the wall using a decorative hook or nail. This creates a unique and eye-catching piece of art that will surely be a conversation starter during your holiday gatherings.
These are just a few examples of how you can use your finished knitted Christmas tree stocking. Feel free to get creative and think outside the box. The possibilities are endless, and the joy and warmth it brings to your home will make all the time and effort you put into knitting it worthwhile.