
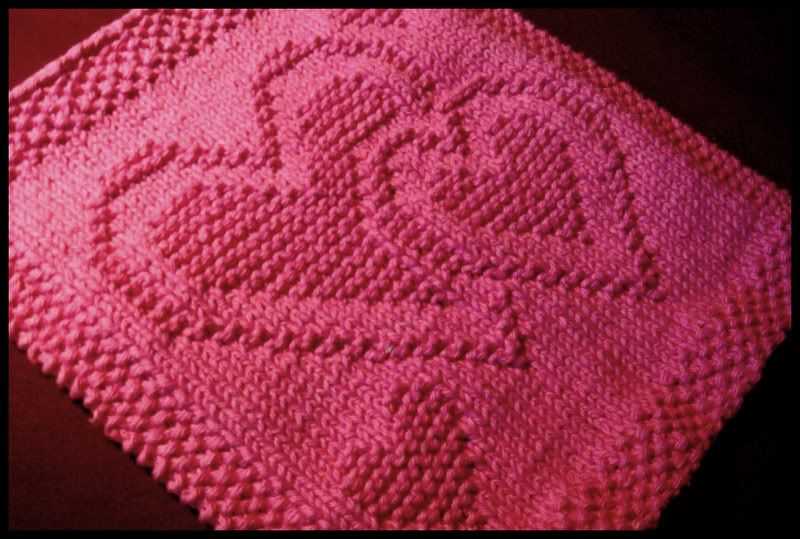
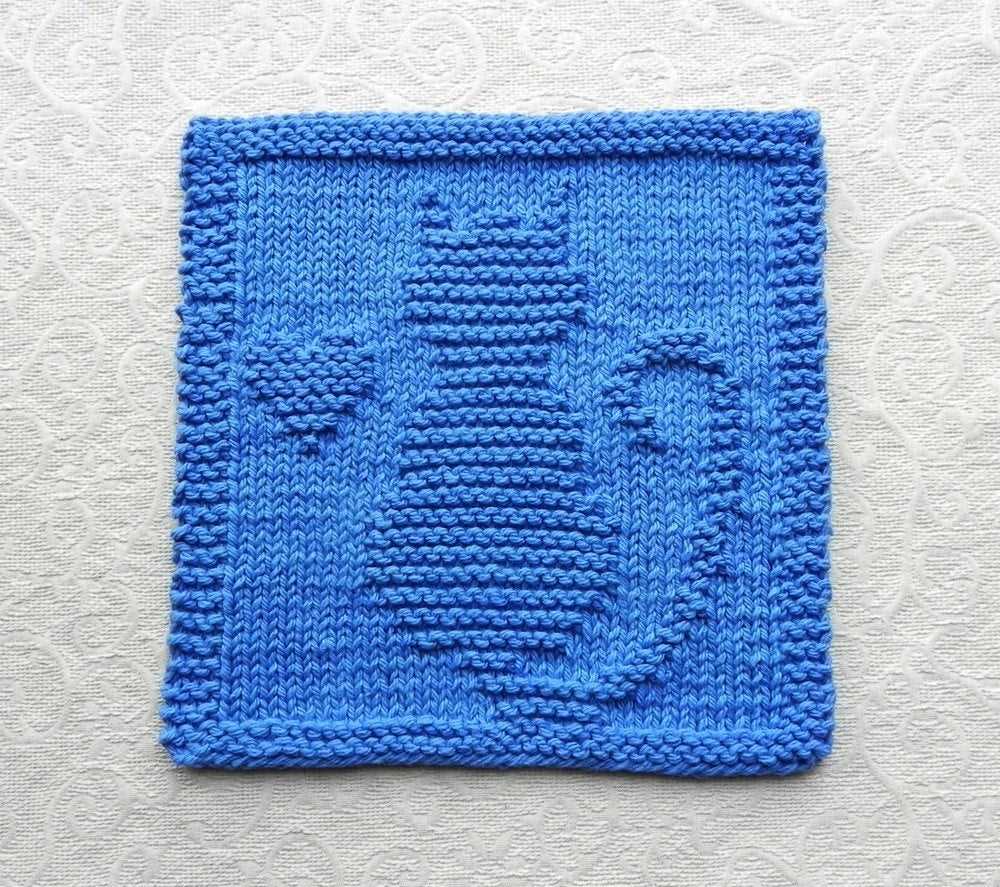
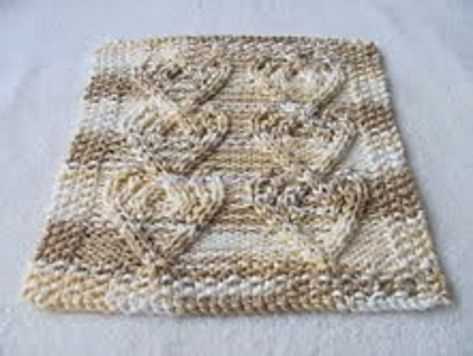
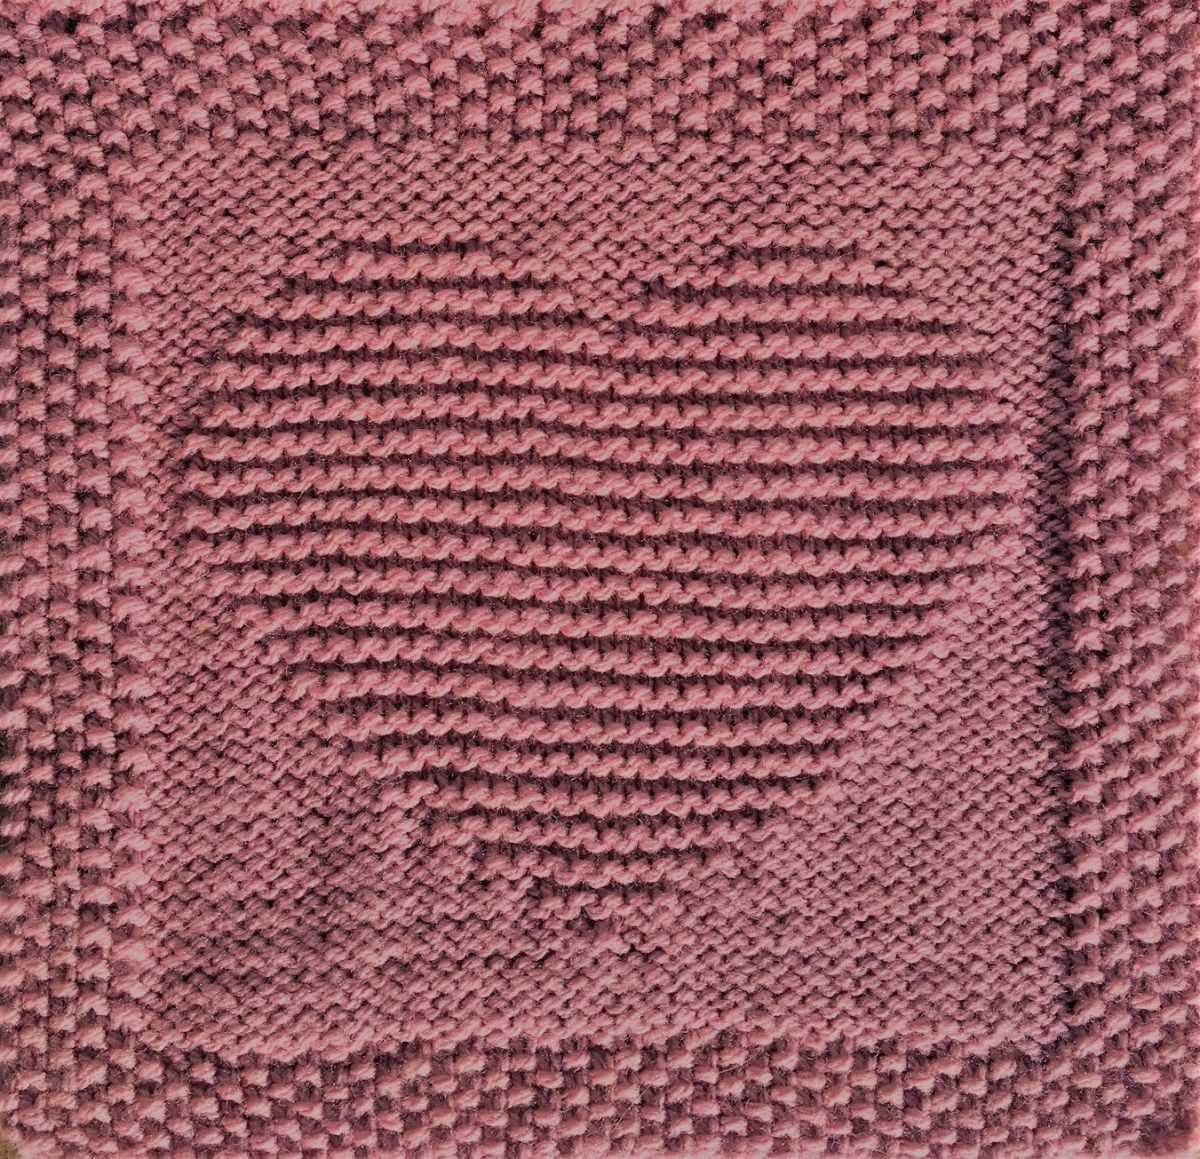
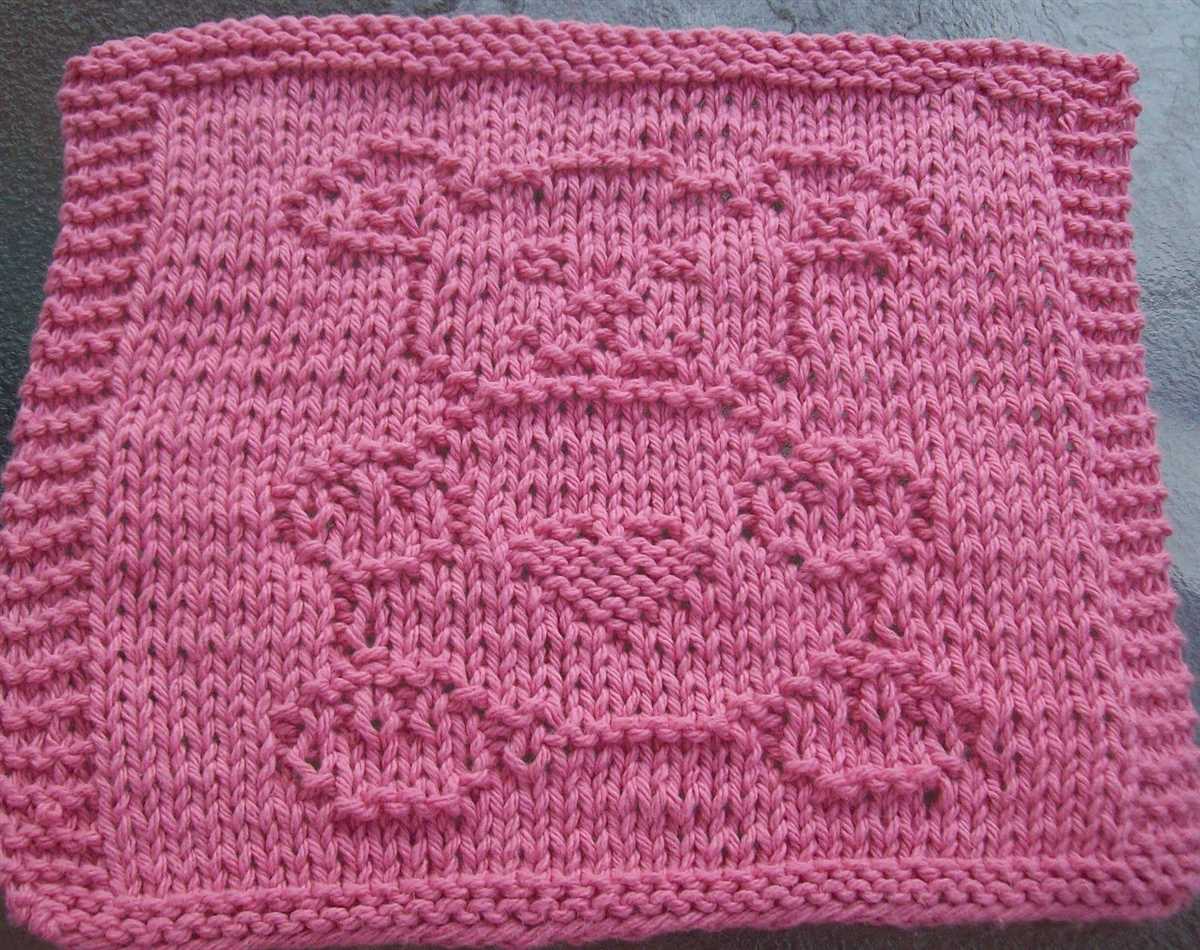
Knitting dishcloths can be a fun and practical way to express your creativity while adding a touch of beauty to your daily chores. One popular motif for dishcloths is the heart pattern, which not only looks adorable but also reminds us of love and warmth in the kitchen.
If you’re looking for a new knitting project or want to create a thoughtful and personalized gift for someone special, this heart dishcloth knitting pattern is just what you need. Whether you’re a beginner or an experienced knitter, this pattern is suitable for all skill levels and can be completed in no time.
This pattern uses basic knitting techniques and stitches, making it a great project for beginner knitters who want to practice their skills. The pattern includes step-by-step instructions and a helpful chart to guide you through the process, ensuring that you create a perfect heart dishcloth every time.
So grab your knitting needles, choose your favorite yarn, and get ready to create a heart dishcloth that will add a touch of love to your kitchen or make a thoughtful gift for someone special.
Heart Dishcloth Knitting Pattern

Looking for a fun and practical knitting project? Try making a heart dishcloth! This heart-shaped pattern is not only adorable but also functional. Whether you want to add some charm to your kitchen or give a heartfelt gift to a loved one, this dishcloth is a great choice.
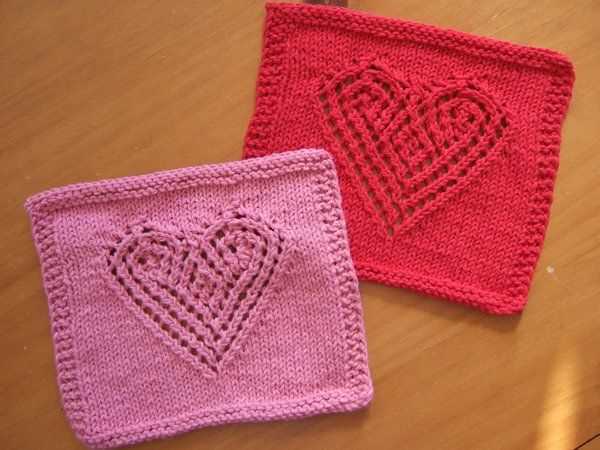
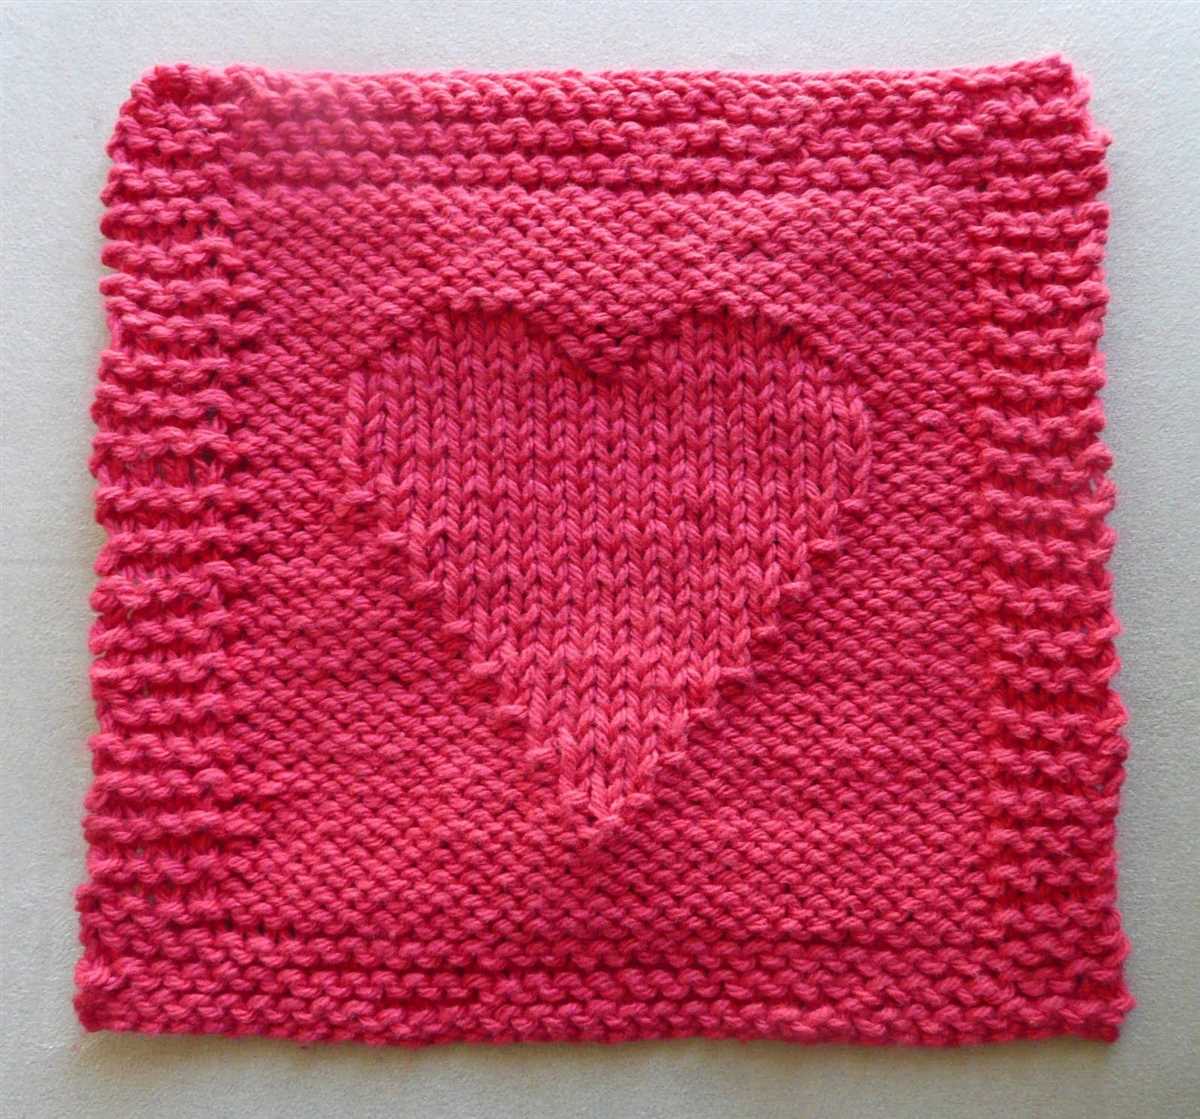
To create this heart dishcloth, you will need basic knitting skills and some cotton yarn. The pattern uses simple stitches like knit and purl, making it suitable for beginners. The finished dishcloth will measure approximately 8 inches in width and length, making it a perfect size for everyday use in the kitchen.
To start, cast on 37 stitches and follow the instructions row by row. The pattern includes both written instructions and a chart, so you can choose the format that works best for you. Knit the dishcloth in the primary color and add a contrasting border or create a colorful ombre effect by using multiple shades of yarn.
Not only is this heart dishcloth practical, but it also adds a touch of love and warmth to your kitchen. It can also be a thoughtful gift for Valentine’s Day, Mother’s Day, or any other occasion. So grab your knitting needles and get started on this lovely heart dishcloth knitting pattern!
Materials Needed
In order to knit the heart dishcloth, you will need a few materials. Make sure you have the following items on hand before starting the project:
- Yarn: Choose a cotton or acrylic yarn in a color of your choice. For this pattern, you will only need a small amount of yarn.
- Knitting Needles: Use a pair of US size 7 (4.5mm) knitting needles. These needles are commonly used for dishcloth knitting.
- Tapestry Needle: You will need a tapestry needle to weave in the ends of your yarn and complete the dishcloth.
- Scissors: Keep a pair of scissors nearby to cut the yarn as needed.
- Stitch Marker: A stitch marker can be helpful to keep track of your stitches, especially if you are new to knitting.
Once you have gathered all of the necessary materials, you will be ready to start knitting your heart dishcloth. Remember to choose a yarn color that you love and enjoy the process of creating your own handmade dishcloth.
Casting On
When beginning a knitting project, the first step is to cast on. This is the process of creating the foundation row of stitches on your knitting needle. There are several different methods for casting on, but for the heart dishcloth knitting pattern, we will be using the long tail cast on method.
The long tail cast on is a versatile technique that creates a neat and stretchy edge. To begin, you will need to estimate the amount of yarn you will need for your cast on stitches. You will need a length of yarn approximately three times the width of your knitting project.
To start, make a slipknot by forming a loop with the yarn, and then inserting your needle through the loop. Pull the yarn to tighten the loop onto the needle, making sure that you leave a long tail of yarn hanging down from the slipknot.
Next, hold the needle with the slipknot in your right hand, and use your left hand to hold the long tail of yarn and the working yarn (the end of the yarn attached to the ball). With your right hand, insert the needle from left to right into the slipknot, creating a new loop on the needle.
Continue this process of inserting the needle into the previous loop and creating new loops until you have cast on the required number of stitches for your project. Remember to keep the tension of your stitches even, neither too loose nor too tight.
Once you have finished casting on, you are ready to begin knitting your heart dishcloth. The cast on edge will be the starting point for your knitting, so make sure it is secure and even. Happy knitting!
Knitting the Body
Once you have finished casting on and knitting the border of your heart dishcloth, it’s time to move on to knitting the body. The body of the dishcloth is where you will create the heart shape by increasing and decreasing stitches.
To start, you will need to follow the pattern to determine where and how many stitches to increase or decrease. Typically, you will increase stitches in the center of the heart to create the rounded top, and then decrease stitches on either side to form the pointed bottom of the heart. The pattern will provide instructions on how to do this.
When increasing stitches, you can use techniques such as knitting into the front and back of a stitch, or using yarn overs to create new stitches. These techniques will help create the desired shape of the heart. Make sure to follow the pattern closely to ensure you are increasing in the correct places.
Once you have completed the increases and formed the rounded top of the heart, you will then need to decrease stitches to create the pointed bottom. This is typically done using techniques such as knitting two stitches together or slipping stitches. Again, follow the pattern carefully to ensure you are decreasing in the correct places.
As you knit the body of the heart dishcloth, make sure to keep count of your stitches to ensure accuracy. Markers can be used to help keep track of the beginning and end of each section of the heart. Remember to take your time and enjoy the process of creating a beautiful heart dishcloth.
Shaping the Heart
In order to create the heart shape for your dishcloth, you will need to follow a specific pattern of increases and decreases. These shaping techniques will give your dishcloth its distinctive heart design.
1. Increasing stitches for the top of the heart
To begin shaping the heart, you will need to increase stitches to create the rounded top. This can be done by knitting into the front and back of certain stitches, or by using the make one (M1) increase method. The number of stitches you increase will depend on your chosen pattern and desired size of the heart.
2. Decreasing stitches for the bottom of the heart
Once you have reached the desired width of the heart, you will need to decrease stitches to form the point at the bottom. This can be done by knitting two stitches together, or by using the slip, slip, knit (SSK) decrease method. Again, the number of stitches you decrease will depend on your pattern.
By following these shaping techniques, you can create a beautiful heart shape for your dishcloth. Remember to follow your chosen pattern carefully and make any adjustments as needed to achieve the desired shape. Happy knitting!
Knitting the Border
Once you have completed the heart pattern in the center of the dishcloth, it’s time to move on to knitting the border. The border adds the finishing touch to your dishcloth and helps to give it a polished look.
To start the border, you will need to pick up stitches along the edges of the heart pattern. This can be done by inserting your knitting needle into the edge stitches of the heart and then knitting or purling the stitches onto your needle. Make sure to space your picked up stitches evenly along the edges to create a smooth and balanced border.
Tip: To ensure that your border is symmetrical, it can be helpful to count the number of stitches you pick up along each side of the heart pattern. This will allow you to make any necessary adjustments to keep the border even.
Once you have picked up all the stitches, you can begin knitting the border using your desired stitch pattern. You can choose to continue with the same stitch pattern as the heart, or you can switch to a different pattern for contrast. Some popular options for border stitch patterns include garter stitch, seed stitch, or a simple ribbed pattern.
Tip: When knitting the border, make sure to keep your tension consistent with the rest of the dishcloth. This will help to ensure that the border lays flat and does not pucker or curl.
After completing the border, you can bind off your stitches and weave in any loose ends. Your heart dishcloth is now ready to be used or gifted to someone special!
Binding Off

Binding off is the final step in knitting a heart dishcloth. It is the process of closing the stitches and securing the edge of the cloth. To bind off, simply knit two stitches, then pass the first stitch over the second stitch and let it fall off the needle. Continue knitting one stitch and passing the previous stitch over until only one stitch remains. Cut the yarn, leaving a tail, and pull it through the last stitch to secure it.
When binding off a heart dishcloth, it is important to maintain a loose tension to ensure that the edge does not become too tight. This also helps to create a neat and even edge. If the tension is too tight, the edge may curl or pucker. If the tension is too loose, the edge may be floppy or uneven. It may be helpful to use a larger size needle when binding off to achieve a looser tension.
After binding off, the heart dishcloth is complete and ready to be used or gifted. It is a versatile and practical item that can be used in the kitchen for washing dishes or cleaning surfaces. The heart shape adds a touch of charm and makes it a great gift for loved ones or as a decorative element in the home. With its simple and repetitive pattern, the heart dishcloth is a fun and quick project for knitters of all skill levels.
Adding a Hanging Loop
One useful addition to a heart dishcloth is a hanging loop, allowing you to easily hang it up to dry or display in your kitchen. Adding a hanging loop is a simple and practical way to enhance your dishcloth.
To add a hanging loop, you will need a small amount of matching yarn and a crochet hook. Start by selecting a corner of the heart dishcloth where you would like the loop to be placed. Attach the yarn to the corner stitch by making a slipknot and inserting the crochet hook through the stitch. Pull the loop from the slipknot through the stitch to secure it.
Next, chain a desired number of stitches to create the length of the loop. Typically, 10-15 chains should be sufficient. Once you have chained the desired number of stitches, slipstitch into the same corner stitch to create a loop. This slipstitch will secure the chain and create a sturdy hanging loop.
Once you have completed the slipstitch, cut the yarn, leaving a tail for weaving in later. Use a needle or your crochet hook to pass the tail through the last slipstitch to secure it. Trim any excess yarn if necessary.
With the hanging loop in place, your heart dishcloth is now ready to be used and displayed in your kitchen. The loop allows for easy storage and quick drying, ensuring that your dishcloth remains in good condition for longer.
Finishing Touches
Once you have finished knitting your heart dishcloth, it’s time for some finishing touches to make it look even more beautiful. Here are a few options you can try:
Blocking: Blocking is a process where you gently shape your knit piece to even out the stitches and make it lay flat. You can wet your dishcloth and pin it down on a blocking surface or use a steam iron to lightly steam it without directly touching the cloth. This will help to open up the stitch pattern and give your heart dishcloth a professional finish.
Edging: You can add a decorative edge to your heart dishcloth by picking up stitches along the edges and knitting a few rows of a contrasting color or a different stitch pattern. This will give your dishcloth a nice finished look and make it stand out.
Embroidery: If you want to add some extra flair to your heart dishcloth, you can try embroidering a design or a message on it. Use colorful embroidery floss and simple stitches like satin stitch or backstitch to create your desired pattern. This will not only make your dishcloth unique but also add a personal touch.
Hanging loop: To make your heart dishcloth functional and easy to hang, you can add a small loop at the top. Knit a few rows of garter stitch or a cord using a contrasting color yarn and attach it to the back of the dishcloth. This will make it convenient to hang and adds a practical element to your finished project.
With these finishing touches, your heart dishcloth will be ready to use or give as a gift. Enjoy the process of knitting and creating something handmade with love!