
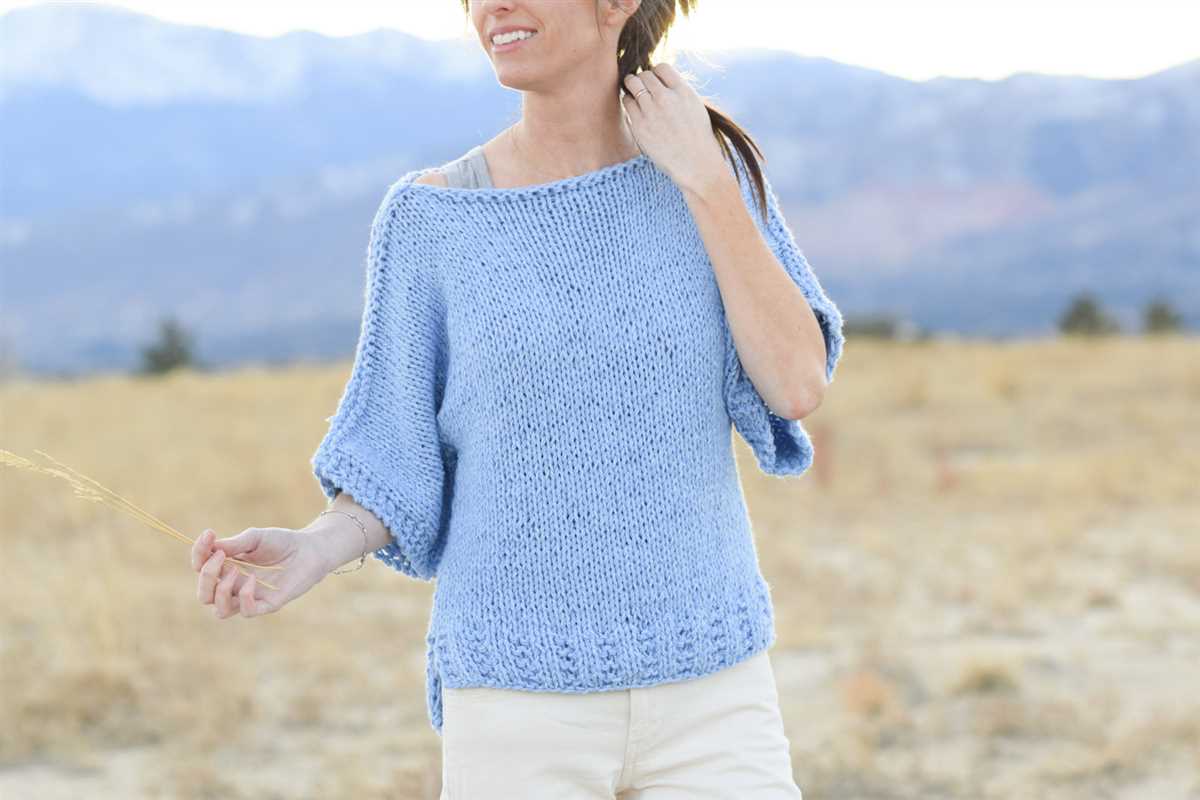
Knitting a sweater is a rewarding and enjoyable project for any knitting enthusiast. Whether you’re a beginner or an experienced knitter, this easy knit sweater pattern is perfect for you. With its simple design and straightforward instructions, you’ll be able to create a beautiful sweater in no time.
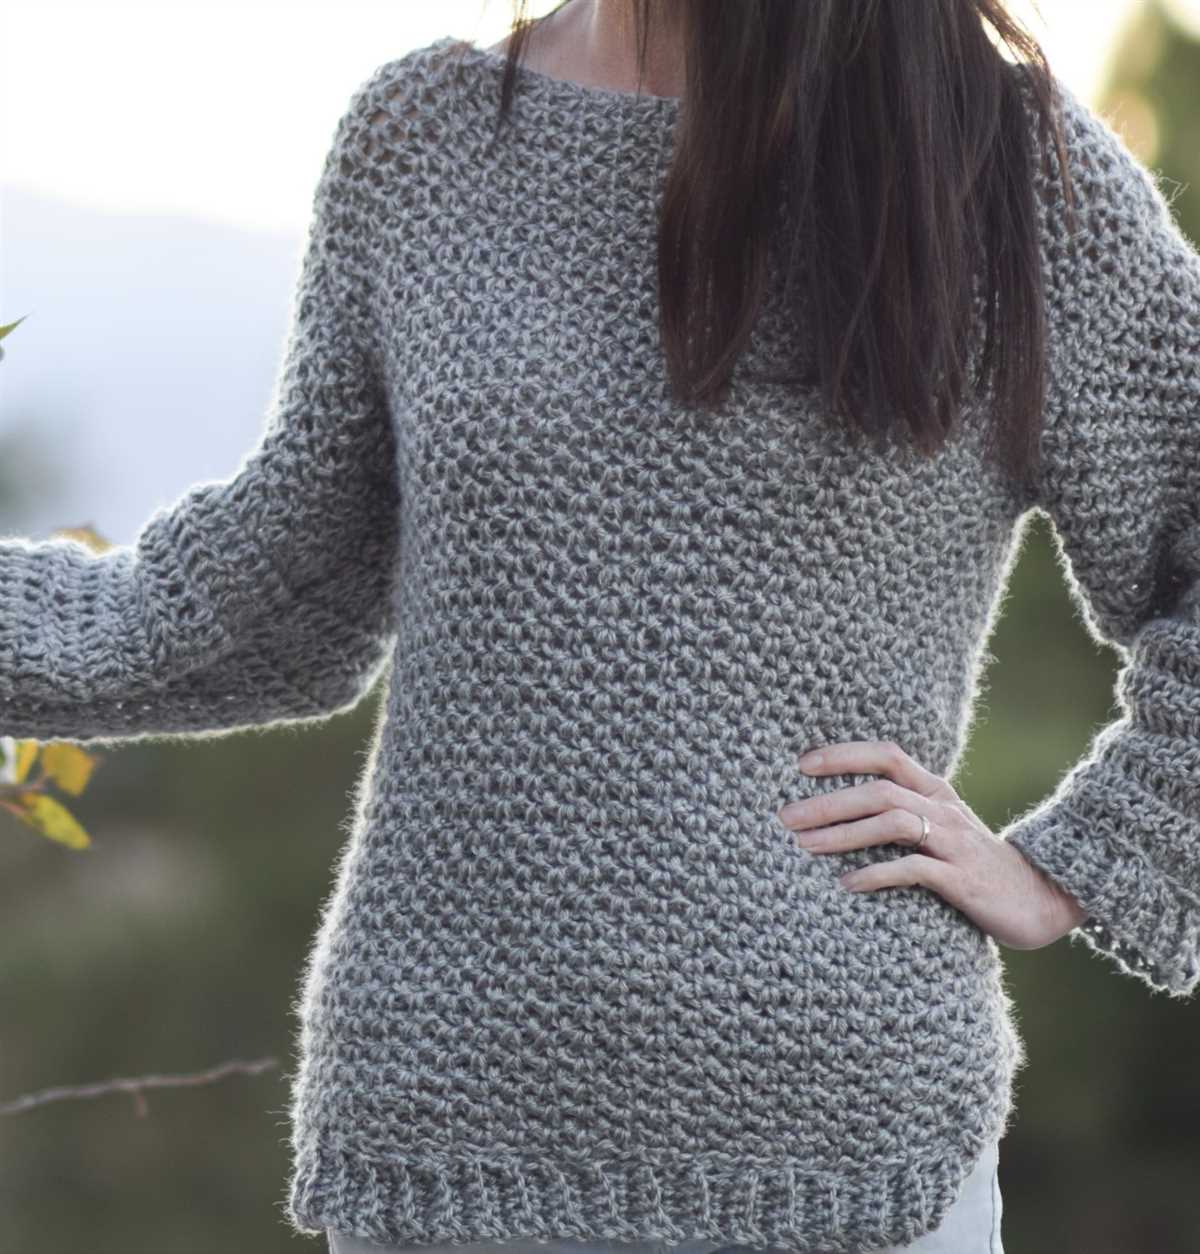
This easy knit sweater pattern features a classic crew neck design and a relaxed fit, making it a versatile and timeless piece that can be worn all year round. The pattern is written for sizes small, medium, and large, so you can easily customize the fit to suit your body shape.
Knitting this sweater is a breeze with basic stitches like knit and purl. The pattern also includes detailed instructions for the techniques used, making it beginner-friendly. Even if you’re new to knitting sweaters, you’ll be able to confidently complete this project and show off your handiwork.
Knit Sweater Pattern Easy
Are you new to knitting and looking for an easy sweater pattern to try? Look no further! This knit sweater pattern is perfect for beginners and will have you cozy and stylish in no time.
Materials:
- Size 7 knitting needles
- Medium weight yarn in your chosen color
- Tapestry needle
- Scissors
- Stitch markers
Instructions:
- Cast on 100 stitches.
- Knit 2, purl 2 for a ribbed border.
- Continue in stockinette stitch (knit one row, purl one row) for 20 inches.
- Start shaping the neckline: knit 40 stitches, place a stitch marker, knit 20 stitches, place another stitch marker, knit the remaining 40 stitches.
- On the next row, knit to the first stitch marker, slip marker, knit 2 together, knit until 2 stitches before the next marker, knit 2 together, knit to the end of the row.
- Continue decreasing 1 stitch on each side of the markers every other row until you have 60 stitches remaining.
- Knit in stockinette stitch for another 10 inches.
- Switch back to the ribbed border (knit 2, purl 2) and work for 2 inches.
- Bind off all stitches.
- Sew the sides and sleeves of the sweater together using the tapestry needle.
This easy knit sweater pattern is a great starting point for beginners. Once you’ve mastered this pattern, you can start experimenting with different stitch patterns and designs. Happy knitting!
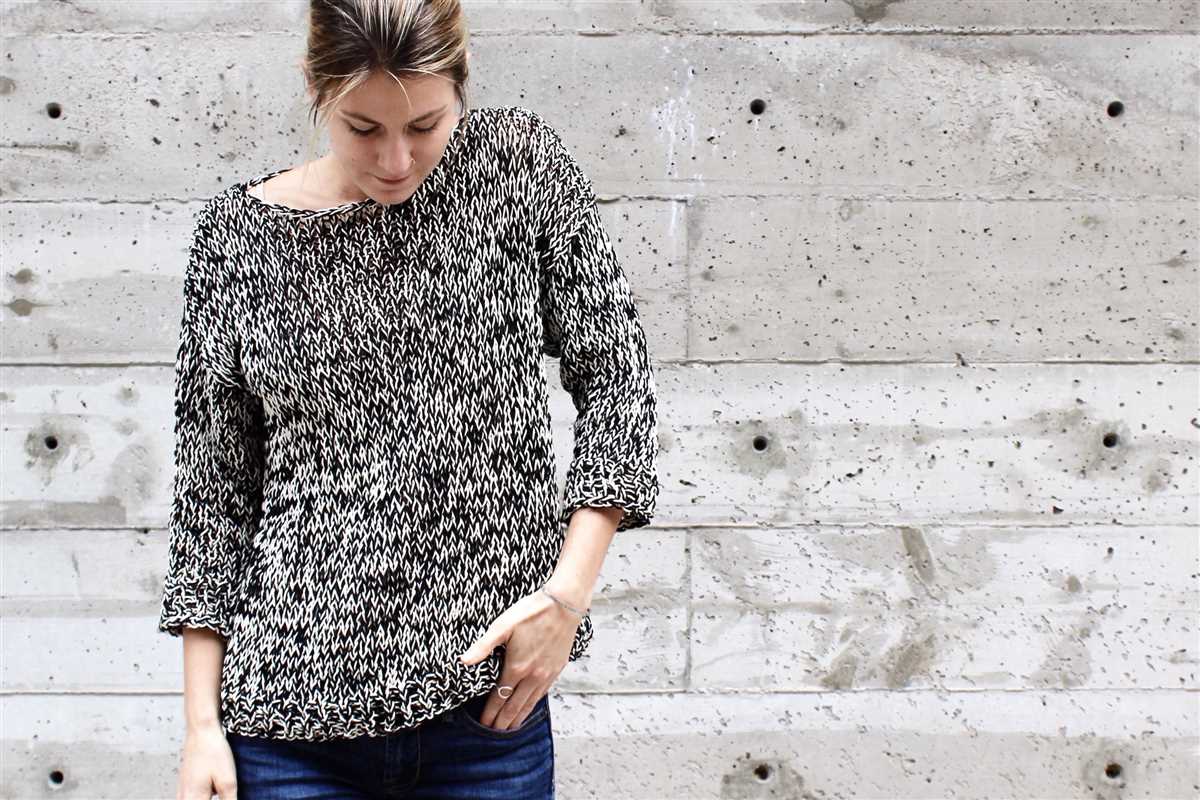
Choosing the Right Yarn
When it comes to knitting a sweater, choosing the right yarn is essential. The yarn you select can greatly affect the outcome of your project, including the drape, stitch definition, and overall look of the finished garment. Here are some important factors to consider when choosing yarn for your knit sweater pattern:
Fiber Content

The fiber content of the yarn will play a big role in the characteristics of your finished sweater. Some common fiber options include wool, cotton, acrylic, and blends. Wool is a popular choice due to its warmth and elasticity, while cotton is known for its durability and breathability. Acrylic yarns are often more affordable and come in a wide range of colors, but they may not have the same softness as natural fibers. Blended yarns can offer a combination of desirable properties, such as the warmth of wool with the easy care of acrylic.
Weight
The weight of the yarn refers to its thickness, which will determine how warm and bulky the finished sweater will be. Common yarn weights include lace, fingering, sport, worsted, and bulky. Lace and fingering weight yarns are very thin and are often used for delicate, lightweight sweaters. Sport and worsted weight yarns are more versatile and can be used for a range of sweater styles. Bulky yarns will create a chunkier, heavier sweater that is perfect for colder climates.
Gauge
Another important consideration when choosing yarn is the recommended gauge for the sweater pattern. Gauge refers to the number of stitches and rows per inch, and it is crucial for ensuring that your finished sweater will fit correctly. Using a yarn that matches the recommended gauge will help you achieve the desired size and fit. Be sure to check the yarn label for the recommended gauge and compare it to the gauge specified in your pattern.
Color
The color of the yarn will also impact the overall look of your knit sweater. Consider the style and design of the sweater pattern, as well as your personal preferences, when choosing a color. Solid colors can showcase the stitch pattern and design details, while variegated or self-striping yarns can add visual interest and texture. Keep in mind that the color may look different once knitted up, so it can be helpful to swatch with a small sample before committing to a larger project.
By carefully considering the fiber content, weight, gauge, and color of the yarn, you can ensure that you choose the right yarn for your knit sweater pattern. Taking the time to find the perfect yarn will result in a beautiful and well-fitting sweater that you will be proud to wear.
Selecting the Appropriate Needle Size
When it comes to knitting a sweater, selecting the appropriate needle size is crucial. The needle size directly affects the gauge of the stitches, which in turn determines the overall size and fit of the sweater. It is vital to choose the correct needle size to achieve the desired results.
Before starting a project, it is important to check the pattern specifications. The pattern will typically provide a recommended needle size and gauge. The gauge refers to the number of stitches and rows per inch of knitted fabric. By using the recommended needle size, you can ensure that your stitches match the gauge provided in the pattern, resulting in the correct size and fit of the sweater.
Factors to consider when selecting the appropriate needle size:
- Yarn weight: Different yarn weights require different needle sizes. Thicker yarns, such as bulky or chunky, typically require larger needles, while thinner yarns, such as lace or fingering weight, require smaller needles.
- Tension: Some knitters naturally knit tightly, while others knit more loosely. If you tend to knit tightly, you may need to use larger needles to achieve the desired gauge. Conversely, if you knit more loosely, you may need to use smaller needles.
- Desired fabric drape: The needle size can also affect the drape of the knitted fabric. For a more fluid and drapey fabric, larger needles may be preferred, while smaller needles can result in a firmer and more structured fabric.
- Personal preference: Ultimately, the needle size choice may also come down to personal preference. Some knitters prefer the look and feel of certain needle sizes, and it can also depend on the specific design and style of the sweater.
Regardless of the factors involved, it is always recommended to create a gauge swatch before starting the actual sweater. This allows you to test the needle size and ensure that your gauge matches the pattern specifications. Making adjustments to the needle size can help you achieve the desired fit and ensure that your knitted sweater turns out just as you envisioned.
Casting On Stitches
Casting on stitches is the first step in knitting a sweater. It is the process of creating loops on the knitting needle to form the foundation for your sweater. There are several methods you can use to cast on stitches, but the most common ones are the long-tail cast on and the knit cast on.
Long-tail cast on: To cast on stitches using the long-tail method, you will need a length of yarn that is approximately three times the width of your sweater. Hold the yarn in your left hand, with the end of the yarn between your thumb and index finger. Place the needle in your right hand behind the yarn, and bring it up over the yarn to create a loop. Insert the needle through the loop, and use your right hand to tighten the loop onto the needle. Repeat this process until you have cast on the desired number of stitches.
Knit cast on: The knit cast on method is a simple and quick way to cast on stitches. Hold the yarn in your left hand, with the end of the yarn between your thumb and index finger. Insert the needle through the first stitch on your left-hand needle as if to knit. Wrap the yarn around the needle from back to front, and pull the new stitch through the old stitch. Slide the old stitch off the left-hand needle, and repeat this process until you have cast on the desired number of stitches.
Once you have cast on the stitches for your sweater, you are ready to begin the knitting process. Make sure to follow the pattern instructions and continue knitting the rest of the sweater according to the specified stitch pattern and measurements. Casting on stitches may seem daunting at first, but with practice, it will become second nature and you will be able to confidently start any knitting project.
Knitting the Ribbing
When knitting a sweater, one of the first things you’ll need to do is knit the ribbing. Ribbing is a type of stitch pattern that helps create a stretchy, elastic band at the bottom of the sweater and cuffs of the sleeves. It also adds a nice decorative touch to the garment. Knitting ribbing is relatively simple and can be accomplished by even beginner knitters.
Choosing the Right Needles and Yarn
Before you start knitting the ribbing, you’ll need to choose the right needles and yarn. For ribbing, it’s best to use a smaller needle size than what is recommended for the main body of the sweater. This will help create a tighter, more defined ribbing. As for the yarn, a smooth and elastic yarn, such as wool or a wool blend, is ideal for ribbing as it adds to the stretchiness of the stitch pattern.
Understanding the Ribbing Stitch
The most common ribbing stitch pattern is the knit 1, purl 1 pattern, also known as the 1×1 ribbing. In this pattern, you alternate between knitting one stitch and purling one stitch across the row. This creates a pattern of raised vertical columns that are bordered by horizontal purl stitches. The knit stitches create the stretch and the purl stitches add texture to the ribbing.
Knitting the Ribbing
To start knitting the ribbing, cast on an even number of stitches. If you’re following a pattern, it will specify the number of stitches needed for the ribbing. Once you have cast on, you’ll begin the 1×1 ribbing pattern by knitting the first stitch, then purling the next stitch. Continue this pattern until you reach the end of the row.
For subsequent rows, you’ll need to maintain the same pattern. This means that if you see a knit stitch, you’ll knit it, and if you see a purl stitch, you’ll purl it. Repeat this pattern for the desired length of ribbing as indicated in your pattern.
Continuing with the Body
Now that you have completed the ribbing and the initial rows of the body, it’s time to continue knitting the rest of the sweater. The body of the sweater will be worked in a simple stockinette stitch, which means you will alternate between knitting and purling rows.
To start, knit across the first row of the body, making sure to maintain the stitch pattern established in the ribbing section. This will create a smooth and even transition from the ribbing to the main body of the sweater. Once you have completed the first row, continue working in stockinette stitch by knitting each stitch on the right side rows and purling each stitch on the wrong side rows.
- Continue working in stockinette stitch for the specified number of rows indicated in the pattern. This will depend on the desired length of the sweater.
- Take regular measurements of the sweater to ensure that you are knitting to the correct length. You can do this by laying the sweater flat and measuring from the top edge to the desired length.
- If the pattern calls for any shaping or increases, make sure to follow the instructions provided. This may involve increasing stitches evenly across the row or working specific increase stitches at designated intervals.
- Remember to always keep track of your stitch count and any shaping instructions to ensure that your sweater turns out as intended.
By following these instructions, you will be able to continue knitting the body of your sweater with ease. The stockinette stitch provides a smooth and classic look, allowing the focus to be on the overall shape and fit of the sweater. Keep in mind any additional instructions or details provided in the pattern, and don’t hesitate to seek clarification if needed. Happy knitting!
Creating the Sleeves
Once you have finished knitting the body of your sweater, it’s time to move on to the sleeves. The sleeves are typically worked separately and then attached to the body during the finishing process. Follow these steps to create the sleeves for your knit sweater.
Casting on
Begin by casting on the required number of stitches for the sleeve. This number will vary depending on the size of your sweater and the desired fit. Refer to your pattern for the specific instructions. Make sure to use the same type and size of needles that you used for the body of the sweater.
For a seamless sleeve, you can use the magic loop method or double-pointed needles. Alternatively, you can knit the sleeves flat and seam them later. Choose the method that you are most comfortable with.
Knitting the sleeve
Follow the instructions in your pattern to knit the sleeve. This may involve working a certain number of rows in a specific stitch pattern, increasing or decreasing stitches, or shaping the sleeve in a particular way. Be sure to keep track of your stitches and rows as you go.
Continue knitting the sleeve until you reach the desired length, again referring to your pattern for guidance. It is important to check your gauge throughout the process to ensure that your sleeve will fit correctly.
Finishing
Once you have completed the sleeve, bind off all the stitches. Repeat the process to create the second sleeve. Next, block your sleeves to even out the stitches and shape them properly.
Finally, sew or seam the sleeves to the body of the sweater according to your pattern’s instructions. This may involve attaching them at the armhole edges or picking up stitches to create a seamless transition. Take care to match the stitches and seams as closely as possible for a professional finish.
With the sleeves attached, your knit sweater is almost complete. All that’s left to do is finish any remaining details, such as adding ribbing to the neckline or sewing on buttons. Then you can proudly wear your handmade sweater!
Joining the Sleeves to the Body
A crucial step in knitting a sweater is joining the sleeves to the body. This is where all your hard work starts to come together and you can see the shape of the garment taking form. While it may seem intimidating, with some basic knowledge and careful attention to detail, you can easily accomplish this step.
First, lay out your knitted body and sleeves flat on a table or any other flat surface. Make sure the right sides are facing up. Align the edges of the sleeves with the armholes of the body, making sure the front of the sleeve lines up with the front of the body and the back of the sleeve lines up with the back of the body.
Next, using a tapestry needle and your chosen yarn, start by seaming the sleeve to the body using the mattress stitch. Insert the needle under the first bar or stitch on the edge of the sleeve and then under the corresponding stitch on the body. Pull the yarn through, leaving a small tail. Repeat this process, alternating between the sleeve and the body, until the entire seam is complete.
It’s important to maintain an even tension and make sure your stitches are aligned as you seam the sleeve to the body. This will ensure that the finished seam looks neat and professional. Take your time and check your work frequently to catch any mistakes and fix them before moving on.
After seaming the first sleeve, repeat the process with the second sleeve, ensuring that it is aligned properly with the body. Once both sleeves are joined to the body, you can continue with the rest of the sweater pattern, following the instructions for the neckline, hem, and any other finishing touches.
Remember, practice makes perfect when it comes to knitting. Don’t be discouraged if your first attempt at joining sleeves to the body doesn’t turn out exactly as planned. With experience, you’ll improve your skills and be able to create beautiful, seamless sweaters.
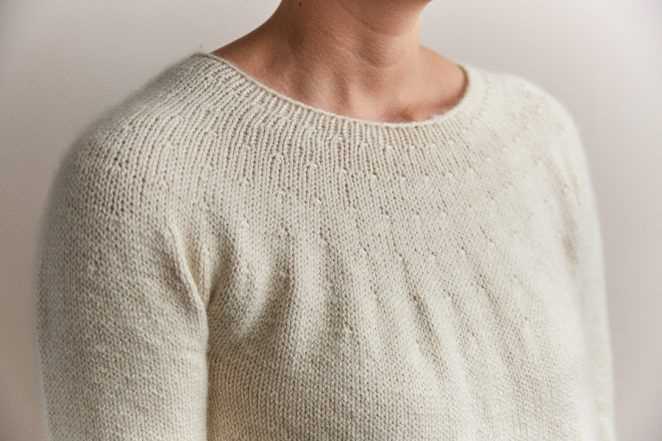
Shaping the Neckline
Shaping the neckline of your knit sweater can add style and sophistication to your finished garment. There are several techniques that you can use to achieve different necklines, depending on your desired look and level of difficulty. Here are some common methods to consider when shaping the neckline of your sweater.
1. Crew Neck: The crew neck is a classic and versatile neckline that is relatively easy to knit. To shape a crew neck, you will typically divide the neckline stitches and work each side separately, decreasing gradually towards the center front. This creates a rounded and seamless neckline that sits comfortably on the neck.
2. V-Neck: The V-neck is a popular choice for sweaters and adds a touch of elegance to your design. To shape a V-neck, you will start by dividing the neckline stitches and work each side separately. Then, you will gradually decrease along the neckline edge to create the V shape. The depth of the V can be adjusted to your preference, creating a subtle or dramatic neckline.
3. Boat Neck: The boat neck is a wide and shallow neckline that sits horizontally across the collarbone, creating a flattering and feminine look. To shape a boat neck, you will typically increase stitches evenly along the neckline edge to create the desired width. This neckline is a great option for showcasing your collarbone and can be paired with different sleeve lengths for a versatile style.
4. Scoop Neck: The scoop neck is a rounded and deeper neckline that adds a touch of femininity to your sweater. To shape a scoop neck, you will typically divide the neckline stitches and work each side separately, gradually increasing along the neckline edge. This creates a gentle curve that accentuates the décolletage and adds visual interest to your design.
Whether you prefer a classic crew neck or a trendy boat neck, shaping the neckline of your knit sweater allows you to customize the look and fit of your garment. Experiment with different techniques and designs to create a neckline that complements your style and adds a unique touch to your knitting projects.
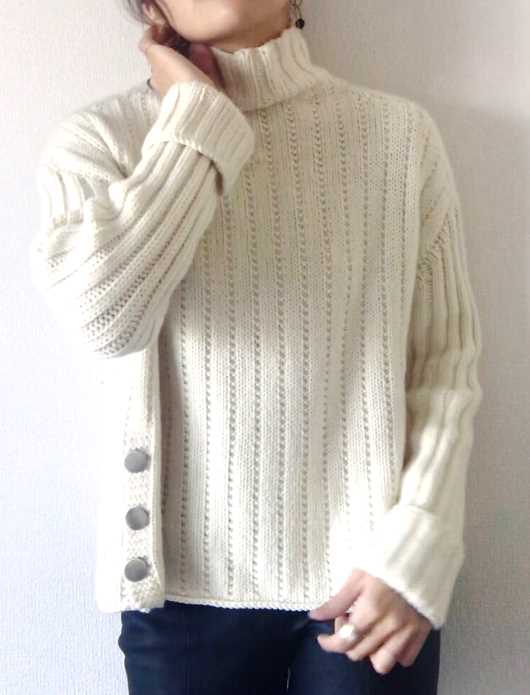
Knitting the Collar
When knitting a sweater, the collar is an important detail that can greatly affect the overall look and fit of the garment. The collar is typically knitted last, after completing the body and sleeves of the sweater. It is attached to the neckline and can be knitted in different styles and techniques to achieve various looks.
The most common collar style is the ribbed collar, which is knitted using a combination of knit and purl stitches. This creates a stretchy and snug fit around the neck. To knit a ribbed collar, you can start with fewer stitches and gradually increase them until the desired width is reached. Alternatively, you can also pick up stitches along the neckline and knit the collar directly onto the sweater.
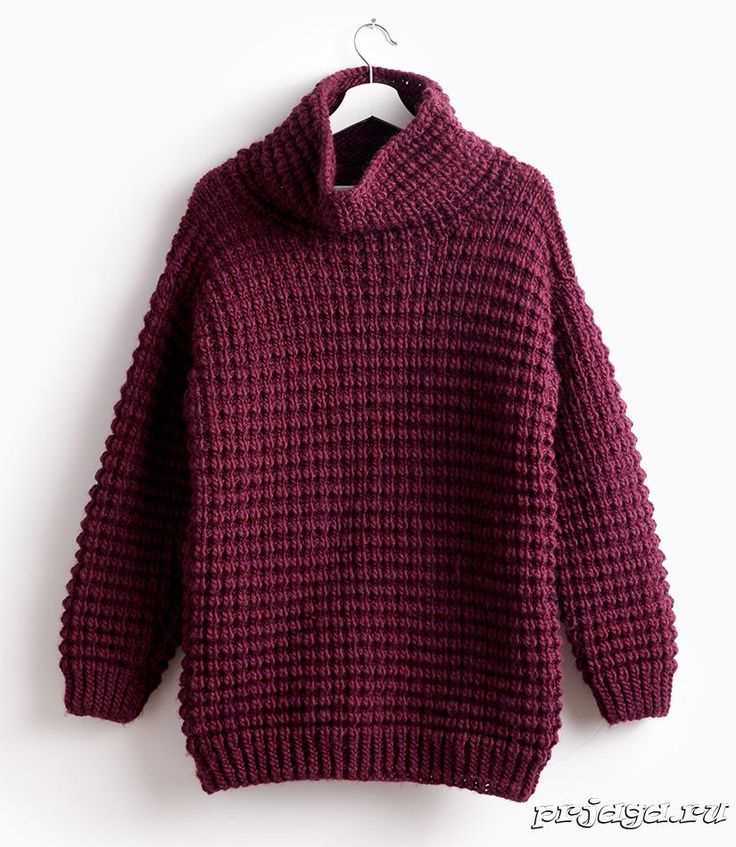
Another popular collar style is the cowl neck, which is knitted in a circular or tubular shape. This creates a folded or gathered effect around the neck, providing extra warmth and cosiness. To knit a cowl neck, you can use a larger needle size and a chunky yarn to create a looser and more relaxed fit. You can also experiment with different stitch patterns, such as cables or lace, to add texture and visual interest to the collar.
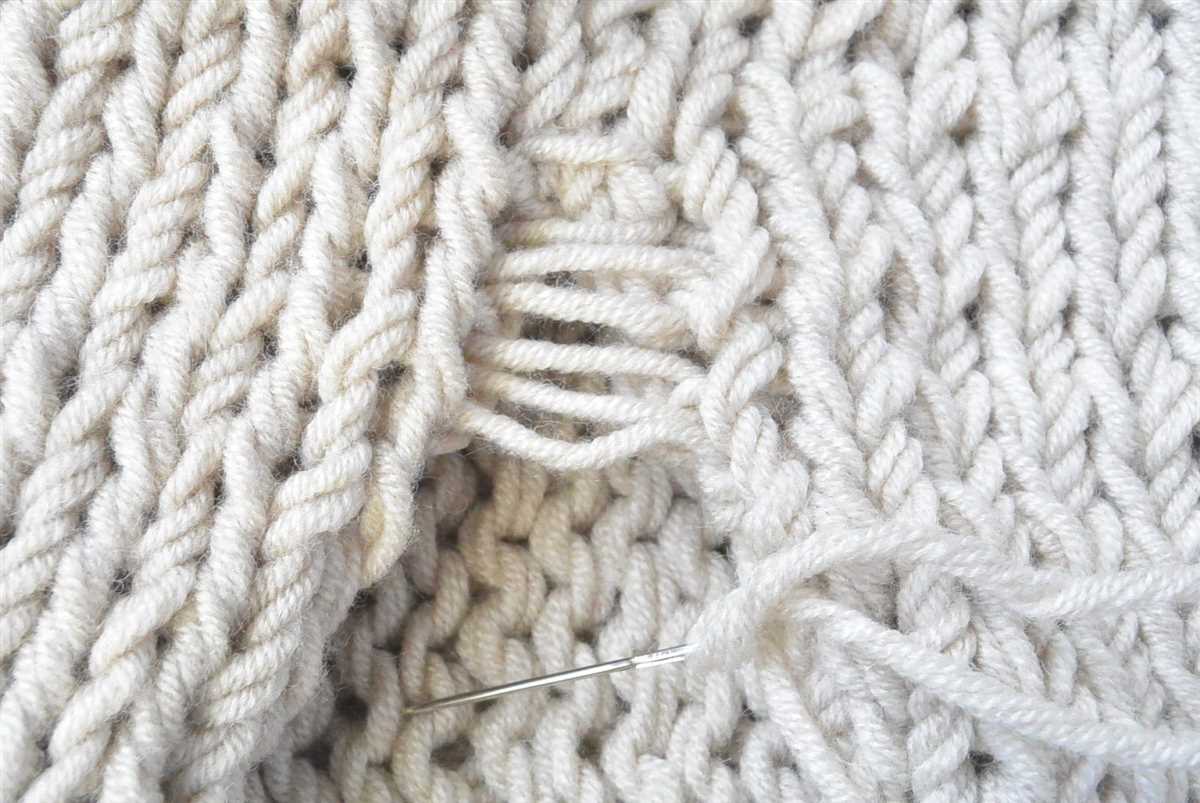
Finishing Touches: Weaving in Ends

After completing your knit sweater pattern, it’s important to take the time to finish it off properly by weaving in all the loose ends. Weaving in ends is a crucial step in knitting as it ensures that your garment looks neat and professional.
Tools Needed:
- Tapestry needle
- Scissors
Weaving in the Ends:

1. Thread your tapestry needle with one of the loose yarn ends. Starting from the back side of your work, insert the needle under a few stitches to secure the end.
2. carefully weave the needle in and out of the stitches on the wrong side of the fabric, following the grain of the knitted fabric. Take care not to pull too tightly, as this can distort the stitches.
3. After weaving in the end for a few inches, cut the remaining yarn close to the fabric. The end will be securely hidden within the fabric.
4. Repeat the process with all remaining loose ends, always starting from the back side of the work and weaving in the yarn along the wrong side of the fabric.
5. Once all the ends are woven in, give the sweater a gentle tug to even out any stitches that may have been pulled tight during the weaving process.
Weaving in the ends is an essential step in knitting that adds the finishing touches to your garment. By taking the time to complete this step, you can ensure that your knit sweater looks professional and polished. Now your sweater is ready to be enjoyed or gifted to someone special!
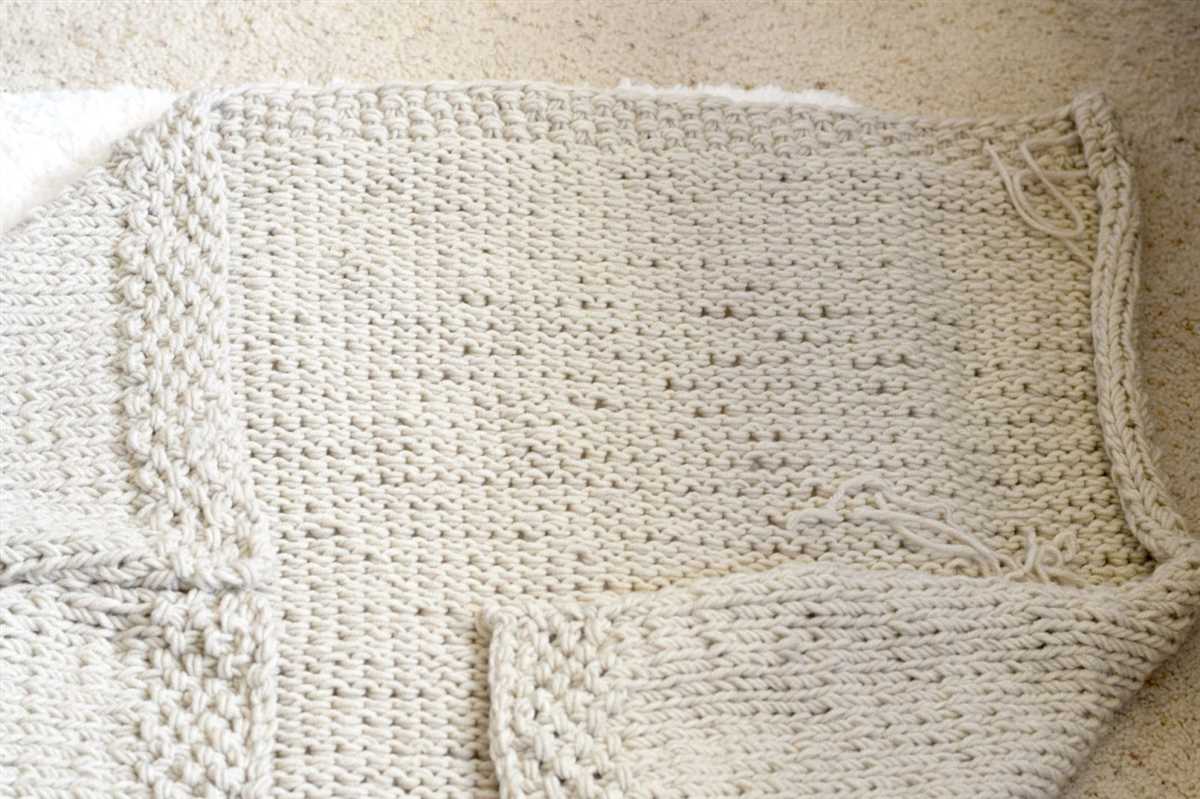
Blocking the Sweater
Blocking is an essential step in knitting a sweater to ensure that it fits properly and has a neat and professional finish. It involves stretching and shaping the knitted piece to the desired measurements and then allowing it to dry in that shape. This process helps to even out the stitches, eliminate any uneven tension, and give the sweater a polished look.
Before blocking, it is important to read the pattern instructions carefully to determine the appropriate measurements and blocking method for your specific sweater. Some patterns may recommend wet blocking, where the sweater is soaked in water before shaping, while others may suggest steam blocking, where steam is applied to the garment. It is also important to consider the fiber content of the yarn used, as different fibers require different blocking techniques.
To block a sweater, follow these steps:
- Fill a basin or sink with lukewarm water and add a small amount of gentle wool wash or shampoo. Submerge the sweater in the water and gently squeeze it to ensure that it is fully soaked.
- Remove the sweater from the water and gently squeeze out any excess water, being careful not to wring or twist the fabric.
- Lay out a clean towel on a flat surface and place the sweater on top. Gently roll up the towel, pressing down to remove more excess water.
- Unroll the towel and carefully transfer the sweater to a blocking mat or another clean, flat surface.
- Using blocking pins or rust-proof T-pins, start by aligning the shoulder seams and pinning them in place. Then, stretch and shape the sweater to the desired measurements, pinning it in place as you go.
- If steam blocking, hold a steam iron a short distance away from the fabric and apply steam, moving the iron slowly across the surface without touching the fabric.
- Leave the sweater to dry completely in its pinned shape. This may take a day or two, depending on the yarn and the humidity of the environment.
- Once the sweater is fully dry, carefully remove the pins and assess the blocked size and shape. Make any necessary adjustments before wearing or storing the sweater.
Blocking can transform a knitted sweater, giving it the perfect fit and a professional look. Taking the time to block your sweater will ensure that your hard work pays off and that you can proudly wear your handmade creation with confidence.
Tips and Tricks for a Professional Finish

When it comes to knitting a sweater, achieving a professional finish can make all the difference in the final result. Here are some tips and tricks to help you achieve a polished and professional look:
1. Gauge swatch: Always start your sweater project with a gauge swatch to ensure the correct tension and fit. This will help you achieve the desired measurements and prevent any surprises at the end.
2. Blocking: Blocking your finished sweater is essential to even out the stitches, improve drape, and allow the fibers to relax. Follow the blocking instructions provided by the yarn manufacturer or refer to general blocking techniques.
- 3. Seaming: Take your time and use a neat and sturdy seaming technique to join different sweater pieces together. This will ensure that your seams are strong, flat, and barely noticeable.
- 4. Finishing techniques: Pay attention to finishing details such as neckline, cuffs, and bottom edges. Use techniques like ribbing, crochet edging, or applied i-cord to create a clean and professional finish.
- 5. Weaving in ends: Take care of weaving in your ends neatly and securely. Use a tapestry needle to weave the ends into the stitches of the fabric, ensuring they are not visible from the right side.
- 6. Blocking while assembling: Consider blocking your sweater pieces while they are still flat before seaming them together. This can help you achieve a more uniform and professional look.
- 7. Finishing touches: Add any desired embellishments or buttons carefully and in a way that complements the overall design of the sweater. Pay attention to their placement and ensure they are securely attached.
- 8. Finishing details: Don’t forget about the small details like adding labels, washing instructions, or personalized tags. These final touches can give your sweater a truly professional finish.
Remember, knitting a sweater requires both skill and attention to detail. By incorporating these tips and tricks into your knitting process, you can create a beautiful and professional-looking sweater that you can be proud of!