
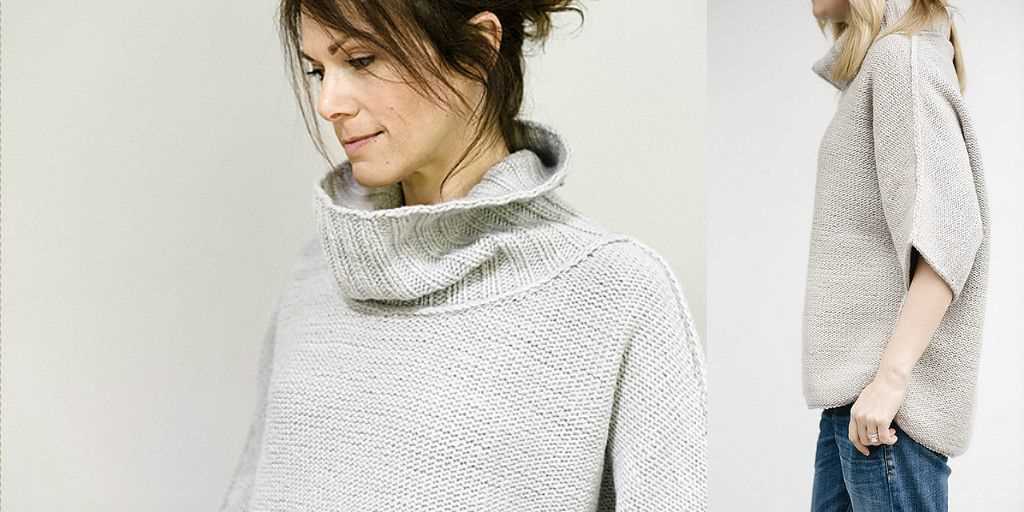
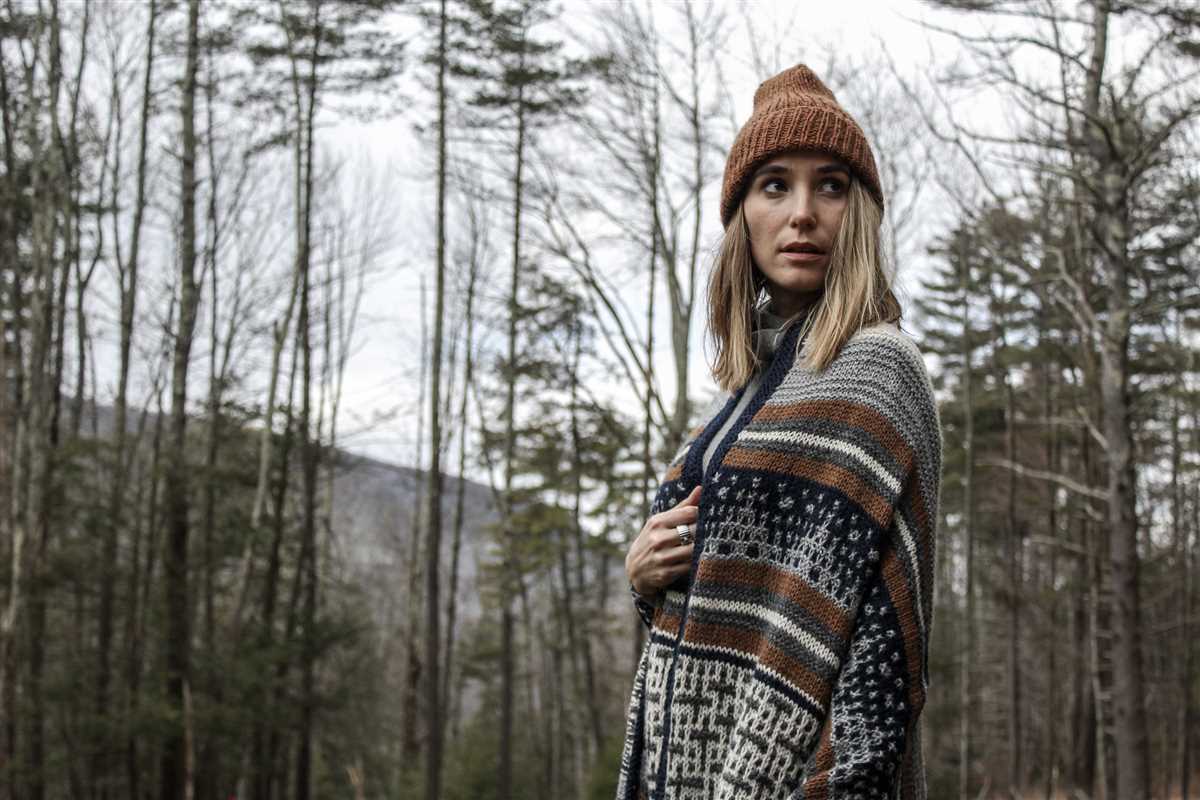
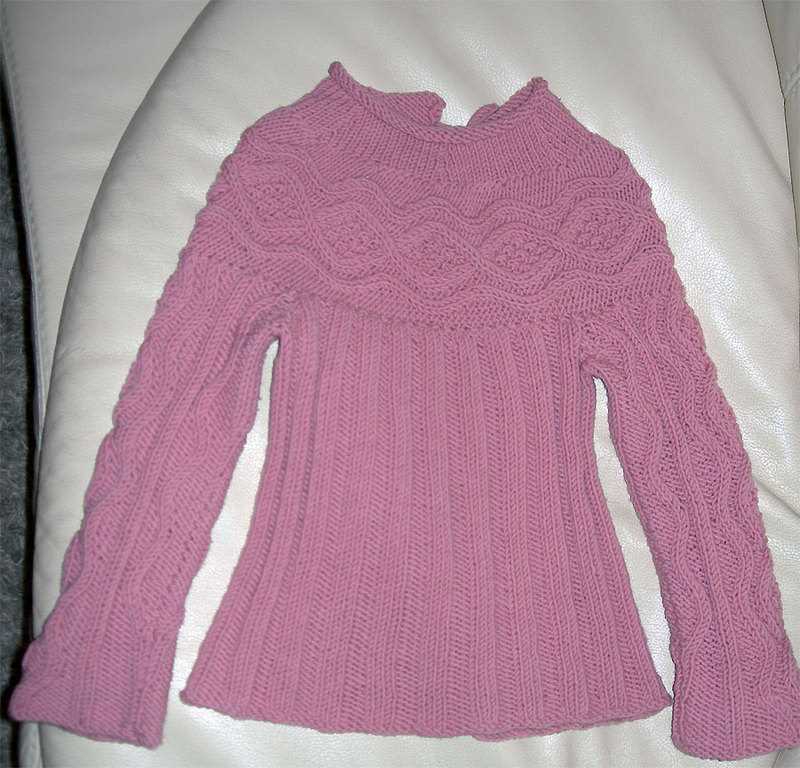
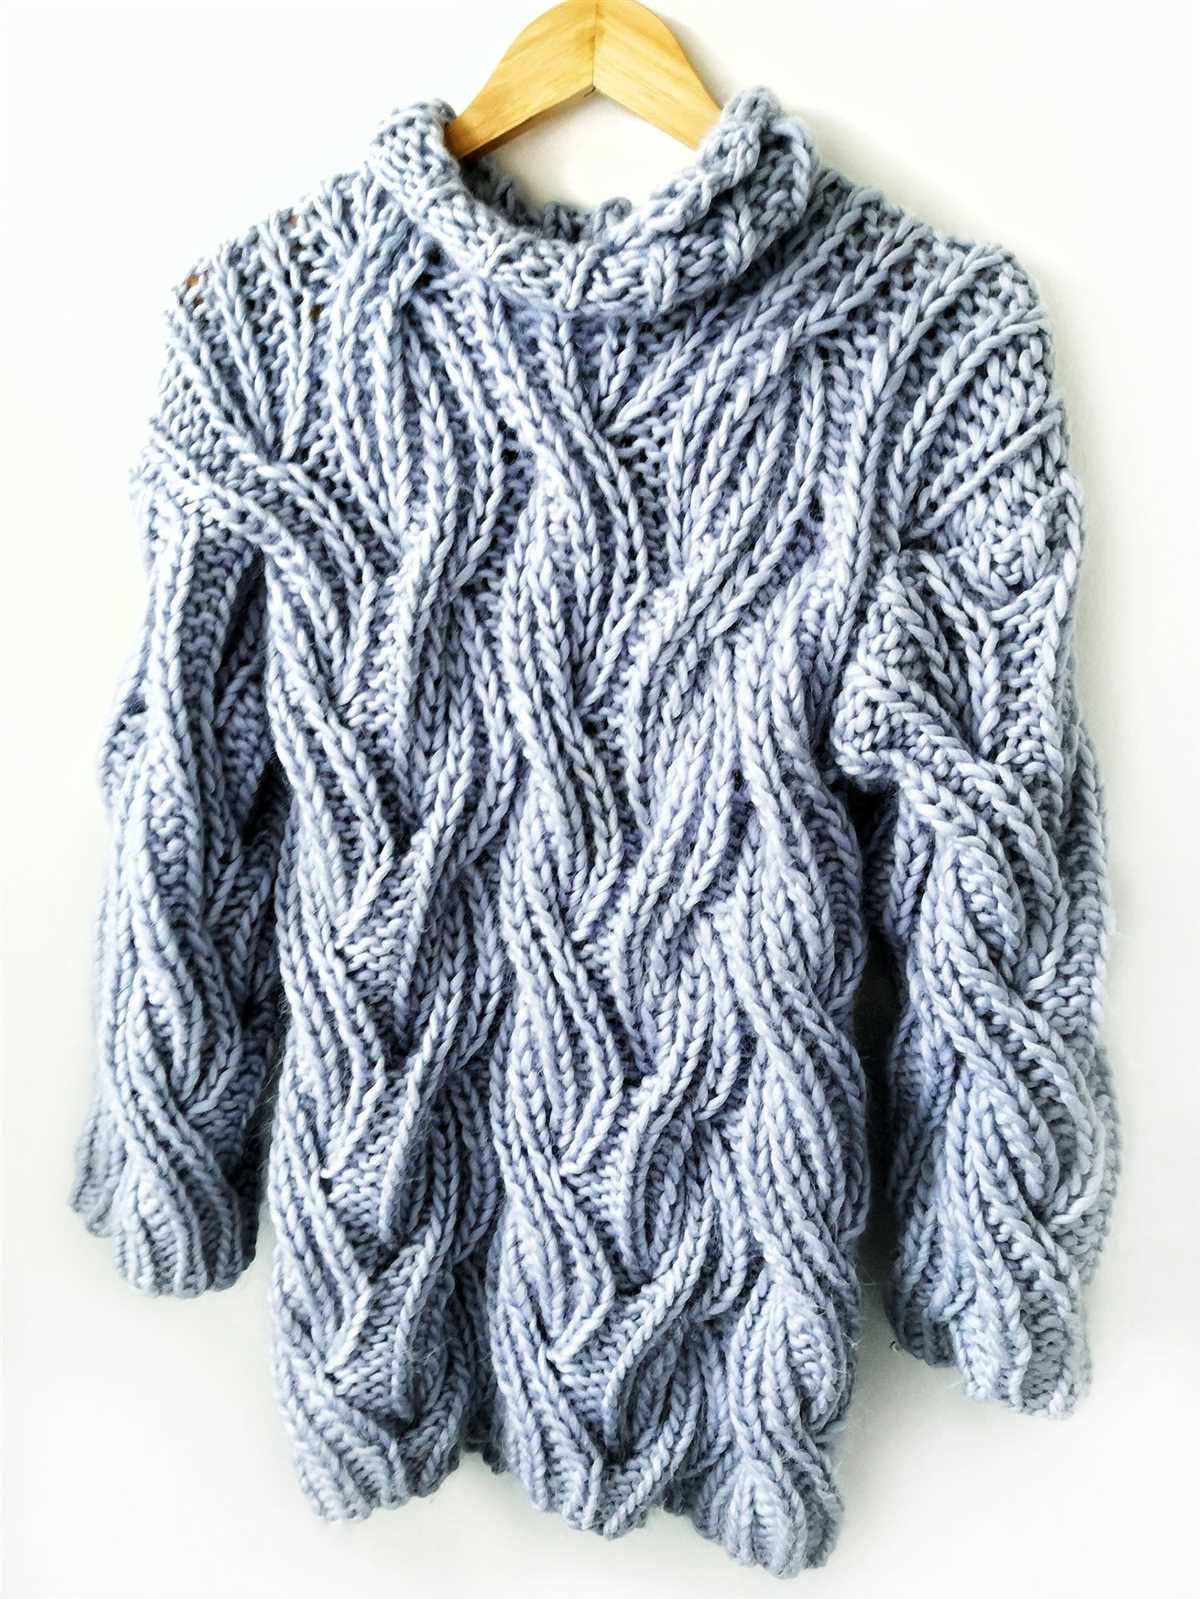
The knitting pattern wrap sweater is a versatile and stylish piece of clothing that can be worn in various ways. It is a perfect addition to any wardrobe and can be easily customized to suit individual preferences. Whether you are a seasoned knitter or just starting out, this pattern is a great choice for your next project.
The wrap sweater is characterized by its open front and the ability to be wrapped and tied at the waist. This design allows for a comfortable and adjustable fit, making it suitable for all body types. The wrap style also adds an elegant touch to the sweater, making it a classy choice for any occasion.
This knitting pattern offers a wide range of possibilities for customization. You can choose different yarns and colors to create a unique and personalized look. You can also experiment with different stitch patterns to add texture and interest to your sweater. The pattern can be easily adjusted to fit different sizes, making it suitable for everyone from petite to plus-size.
Whether you are knitting this wrap sweater for yourself or as a gift for a loved one, the end result will be a cozy and stylish garment that will quickly become a favorite. So grab your knitting needles and get started on this exciting project today!
About Knitting
Knitting is a popular craft that involves creating fabric from yarn or thread using two or more needles. It is a versatile and creative hobby that allows individuals to make a wide range of items, from clothing and accessories to home decor and gifts.
One of the great things about knitting is that it can be enjoyed by people of all ages and skill levels. Whether you are a beginner or an experienced knitter, there are countless patterns and projects to suit your interests and abilities. Knitting can provide a sense of relaxation and accomplishment, as well as an opportunity for self-expression and creativity.
Benefits of Knitting
There are numerous benefits to practicing the art of knitting. First and foremost, knitting is a great way to relax and reduce stress. The repetitive motions and focus required for knitting can help calm the mind and promote mindfulness. It can also serve as a form of meditation, allowing knitters to enter a state of flow and temporarily escape from the pressures of daily life.
In addition to its therapeutic benefits, knitting also offers a sense of accomplishment. Seeing a project come together, whether it’s a cozy sweater or a delicate lace shawl, can bring a feeling of pride and satisfaction. Knitting also provides an opportunity for personalization and self-expression. By choosing different yarns, colors, and patterns, knitters can create unique and one-of-a-kind pieces that reflect their individual style and taste.
Furthermore, knitting is a social activity that can bring people together. Joining a knitting group or attending knitting classes or workshops can provide an opportunity to meet like-minded individuals, share tips and techniques, and forge new friendships. Knitting can also be a way to connect with family and friends, as handmade knitted items make thoughtful and personalized gifts.
Overall, knitting is a rewarding and enjoyable hobby that offers numerous benefits, both for the individual knitter and for the wider community. Whether you are seeking relaxation, creativity, or social connection, knitting is a wonderful craft to explore and master.
Choosing the Right Yarn
When it comes to knitting a wrap sweater, choosing the right yarn is crucial. The yarn you choose will not only affect the overall look and feel of the sweater, but it will also determine the level of warmth and comfort it provides. Here are some important factors to consider when selecting yarn for your wrap sweater.
Type of Yarn
There are various types of yarn available, each with its own unique characteristics. For a wrap sweater, you can consider using natural fibers such as wool, alpaca, or cashmere, as they offer great insulation and softness. These fibers also have good drape, which is important for a garment like a wrap sweater. Synthetic yarns like acrylic or nylon may be more affordable and easier to care for, but they might not provide the same level of warmth or luxurious feel.
Weight of Yarn
The weight of the yarn refers to its thickness, which can range from super fine to super bulky. It’s important to choose the right weight of yarn that matches the pattern instructions for your wrap sweater. Using a different weight of yarn can significantly alter the size and fit of the finished garment. If the pattern doesn’t specify a recommended yarn weight, you can consider the season and climate in which you’ll be wearing the sweater. Lighter weight yarns like fingering or sport weight are great for spring or summer sweaters, while bulky or chunky yarns provide more warmth for colder weather.
Color and Texture
The color and texture of the yarn can also play a role in the overall look of your wrap sweater. Solid colors are versatile and easy to match with other pieces in your wardrobe, while variegated or self-striping yarns can add interest and dimension to your sweater. You can also consider the texture of the yarn, such as smooth, plush, or textured, to achieve the desired effect. A smooth yarn will give a clean and classic look, while a textured or boucle yarn can create a more unique and cozy texture.
Quantity and Price
Lastly, consider the quantity and price of the yarn you’ll need for your wrap sweater. The pattern should provide an estimate of the yardage required for the size you’ll be knitting. Make sure to buy enough yarn to complete your project, as buying extra skeins from the same dye lot can be challenging. Additionally, consider your budget and choose yarn that fits within your price range. Keep in mind that natural fibers tend to be more expensive, while synthetic yarns are generally more affordable.
Essential Knitting Tools
When it comes to knitting, having the right tools is essential for a successful and enjoyable experience. Whether you are a beginner or an experienced knitter, there are a few key items that every knitter should have in their toolkit.
Knitting Needles: One of the most important tools for knitting, a good set of knitting needles is a must-have. They come in various sizes and materials, such as bamboo, metal, or plastic. The size of your knitting needles will depend on the specific project you are working on and the type of yarn you are using.
Yarn: Choosing the right yarn for your project is crucial. There are many different types of yarn available, each with different textures, weights, and colors. It’s important to consider the pattern and the desired outcome when selecting your yarn.
Tape measure: A tape measure is essential for taking accurate measurements of your knitting projects. It helps determine the correct size and fit, especially when working on garments like sweaters or hats. Having a tape measure handy will save you from making costly mistakes.
Stitch markers: Stitch markers are small, removable markers that help you keep track of specific stitches or pattern repeats. They are especially useful when working on complex patterns, as they can prevent confusion and help you stay organized.
Scissors: A good pair of scissors is a must-have for any knitter. You’ll need them for cutting yarn, trimming loose ends, and making adjustments to your project. Choose a pair of sharp, durable scissors that are comfortable to hold.
Row counter: A row counter is a handy tool that helps you keep track of the number of rows you have knitted. It’s particularly useful when working on projects with multiple pattern repeats or when following a complex chart.
In addition to these essential tools, there are many other knitting accessories that can enhance your knitting experience, such as stitch holders, cable needles, and yarn bobbins. Having a well-stocked knitting toolkit will not only make your projects easier, but also more enjoyable.
Understanding the Pattern
When it comes to knitting a wrap sweater, it’s important to have a good understanding of the pattern before you begin. The pattern will provide you with all the instructions you need to create the sweater, including the type of yarn to use, the needle size, and the specific stitches and techniques required.
Reading the pattern: Before you start, take the time to carefully read through the entire pattern. Look for any unfamiliar terms or abbreviations and make sure you understand what they mean. Pay attention to any special instructions or notes that are included, as they can provide important guidance.
Materials needed: The pattern will specify the type and amount of yarn required, as well as the recommended needle size. It’s important to use the suggested materials to ensure your sweater turns out the right size and has the desired drape. Additionally, you may need other materials such as stitch markers, a tapestry needle, or buttons, so make sure to check the pattern for any additional requirements.
Gauge swatch: Most patterns will include a gauge swatch, which is a small sample of the knitting done in the specified stitch pattern. This is important because everyone knits with slightly different tension, and by making a gauge swatch, you can ensure that your sweater will turn out the correct size. Follow the pattern’s instructions for creating the gauge swatch and measure it to ensure it matches the gauge specified in the pattern.
Following the instructions: Once you have a good understanding of the pattern and have gathered all the necessary materials, it’s time to start knitting. Follow the instructions step by step, referring back to the pattern as needed. It can be helpful to use a row counter or place markers to keep track of your progress. If you come across any difficulties, don’t hesitate to consult online resources or ask for help from more experienced knitters.
Starting the Sweater
Before you start knitting the sweater, it’s important to gather all the necessary materials and familiarize yourself with the knitting pattern. Make sure you have the appropriate yarn, needles, and any other tools required. Take the time to read through the pattern and understand the instructions before beginning.
Once you have everything organized, it’s time to cast on and start working on the sweater. The pattern may specify a particular cast on method, so be sure to follow those instructions. It’s also a good idea to place stitch markers at the beginning and end of each section, as indicated in the pattern, to help keep track of your progress.
As you begin knitting, pay close attention to your tension and gauge. This will ensure that the finished sweater fits correctly. If necessary, adjust your needle size to achieve the correct gauge. It’s also helpful to periodically measure your work as you go along to make sure you are on track.
A wrap sweater typically involves knitting different sections, such as the front, back, and sleeves, separately and then seaming them together. Follow the pattern instructions for each section, working any required stitch patterns or shaping as indicated. Take your time and enjoy the process of creating a beautiful and cozy sweater.
Remember, the most important thing is to have fun while knitting your sweater. Take breaks when needed, and don’t be afraid to ask for help if you encounter any difficulties. With patience and practice, you’ll soon have a gorgeous wrap sweater to keep you warm and stylish.
Knitting the Sleeves
Once you have completed the body of the wrap sweater, it is time to move on to knitting the sleeves. This is an important step in the construction of the garment, as the sleeves will determine the overall fit and comfort of the sweater.
First, you will need to pick up stitches along the armhole edge. This can be done by inserting your needle into the stitch at the edge of the armhole and wrapping your yarn around the needle to create a new stitch. Repeat this process along the entire armhole edge, making sure to pick up an equal number of stitches on each side.
Next, you will work in the round to create the sleeves. This can be done using double-pointed needles or circular needles, depending on your preference. Begin by knitting a few rounds in your chosen stitch pattern, then follow the instructions provided in the knitting pattern for shaping the sleeves.
You may need to decrease or increase stitches at certain points to achieve the desired shape and fit. This can be done by working decrease or increase stitches, such as knit two together (k2tog) or make one (m1), at specified intervals. Be sure to carefully follow the pattern instructions for these shaping techniques.
Continue knitting the sleeves until they reach the desired length, as specified in the pattern. Once you have completed the sleeves, you can bind off the stitches and weave in any loose ends. Congratulations, you have now finished knitting the sleeves for your wrap sweater!
Shaping the Neckline
When knitting a wrap sweater, shaping the neckline is an important step to achieve the desired fit and style. The neckline can be shaped in various ways, depending on the design and the desired look. Here are some common techniques for shaping the neckline:
1. Raglan shaping:
Raglan shaping creates diagonal lines that extend from the neck down to the underarm, creating a seamless transition between the sleeves and the body of the sweater. This shaping technique is often used in wrap sweaters to create a flattering neckline that follows the natural curves of the body.
2. Decreasing stitches:
To shape the neckline, you can decrease stitches gradually at the center front. This creates a V-shaped neckline that is often seen in wrap sweaters. The number of decreases can vary depending on the desired depth of the neckline.
3. Short rows:
Short rows are another way to shape the neckline of a wrap sweater. This technique involves knitting partial rows to create a curved or rounded shape at the neckline. Short rows are often used to create a more relaxed and casual look.
- Tip: It’s important to carefully follow the pattern instructions when shaping the neckline. Pay attention to the stitch count and the number of decreases or short rows required. This will ensure that the neckline is properly shaped and fits well.
- Caution: If you’re modifying a pattern or creating your own design, remember to make a gauge swatch and calculate the number of stitches needed for shaping the neckline. This will help you achieve the desired fit and prevent any unexpected surprises.
Finishing the Edges
When completing a knitting pattern for a wrap sweater, finishing the edges is an important step that helps give the garment a polished and professional look. There are several techniques that can be used to finish the edges, depending on the desired outcome and the knitter’s skill level.
Binding off: One common method for finishing the edges of a wrap sweater is to bind off the stitches. This involves knitting two stitches, then passing the first stitch over the second stitch and off the needle. Repeat this process until all stitches have been bound off. This creates a clean, finished edge that helps prevent the fabric from unraveling.
Crochet edging: Another option for finishing the edges of a wrap sweater is to add a crochet edging. This can be done in a contrasting color to create a decorative border or in the same color as the main body of the sweater for a more subtle finish. A simple single crochet stitch around the edge can provide a neat and tidy edge that adds durability and structure to the garment.
I-cord: For a more unique and decorative edge, an I-cord can be used to finish the edges of a wrap sweater. An I-cord is created by knitting a tube of stitches on double-pointed needles. This tube can then be sewn onto the edge of the sweater, adding a fun and stylish detail. The I-cord can be worked in a contrasting color to create visual interest.
Bound edge: A bound edge is another method that can be used to finish the edges of a wrap sweater. This involves picking up stitches along the edge and then knitting them together with the corresponding stitch from the main body of the sweater. This creates a clean and seamless edge that blends seamlessly with the rest of the garment.
- Binding off
- Crochet edging
- I-cord
- Bound edge
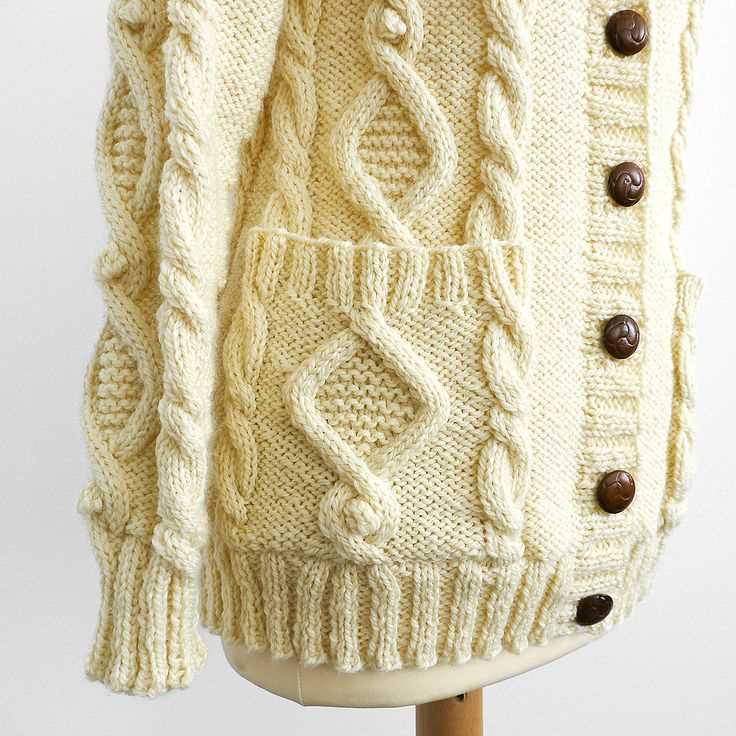
Adding Buttons

Adding buttons to your knitted wrap sweater is a simple and customizable way to finish off the garment. Whether you prefer a classic button-up style or a more decorative touch, buttons can add both functionality and aesthetic appeal to your sweater.
Choosing the Right Buttons
When selecting buttons for your wrap sweater, consider the overall style and color scheme of your garment. Look for buttons that complement or accentuate the yarn color and texture. For a more traditional look, opt for simple and understated buttons in a matching or contrasting color. If you want to add a pop of color or a unique flair to your sweater, explore buttons in different shapes, sizes, and materials such as wood, metal, or even fabric-covered buttons. Be sure to select buttons that are suitable for the weight and thickness of your knitted fabric.
Attaching the Buttons
Once you have selected your buttons, you can attach them to your wrap sweater using a sewing needle and thread. Start by determining the placement of your buttons along the front edges of the sweater. You can mark the desired positions with pins or use a fabric chalk for temporary markings. Use a strong and matching thread to securely sew each button in place, making sure to stitch through both layers of the knitted fabric for added stability. Double or reinforce the stitches if necessary to prevent the buttons from popping off over time.
Buttonhole Placement
If your wrap sweater has a button placket, it’s important to create evenly spaced buttonholes that align with the buttons. You can either knit the buttonholes directly into the fabric as you work or create them afterwards using a crochet hook or sewing technique. Make sure to test the size of each buttonhole with the corresponding button to ensure a snug and secure fit. For a professional finish, you can reinforce the edges of the buttonholes with a row of slip stitches or a blanket stitch.
By adding buttons to your knitted wrap sweater, you can personalize the design and make it truly your own. Experiment with different button styles and techniques to achieve the desired look and feel for your garment. Whether you prefer a classic or contemporary approach, buttons are a versatile and stylish addition to any knitted project. Take your time to carefully sew on each button and enjoy the process of transforming your wrap sweater into a finished masterpiece.
Blocking and Finishing Touches
Once you have finished knitting your wrap sweater, it is important to block it to give it a polished look and ensure that it retains its shape. Blocking involves wetting the knitted fabric and then gently stretching and shaping it to the desired dimensions. This process helps to even out any tension inconsistencies and create a professional finish.
Before blocking, it is advisable to weave in any loose ends and sew on any buttons or other embellishments. This will prevent them from getting tangled or damaged during the blocking process. Once you have completed these finishing touches, you can move on to blocking the sweater.
To block the wrap sweater, start by filling a sink or basin with lukewarm water and adding a small amount of mild detergent. Submerge the sweater in the water, gently pressing it down to ensure it is fully saturated. Leave it to soak for about 15 minutes, then drain the water and gently squeeze out the excess moisture. Avoid wringing or twisting the sweater, as this can damage the fibers.
Next, lay the sweater flat on a clean towel or blocking board. Use rustproof pins to pin the edges of the sweater to the desired dimensions, making sure to shape the neckline, sleeves, and body as desired. You can refer to the knitting pattern for specific blocking measurements. Leave the sweater to dry completely, usually overnight or until it is no longer damp to the touch.
Once the sweater is dry, remove the pins and give it a final inspection. Check for any loose threads or areas that may need further securing. Trim any stray threads and make any necessary repairs or adjustments. The wrap sweater is now complete and ready to be worn or gifted to someone special. Remember to follow any specific care instructions for the yarn you used to ensure the longevity of your knitted creation.
Tips for Beginners
Learning to knit can be both rewarding and challenging. Here are some tips to help beginners get started on their knitting journey:
1. Start with Simple Projects
If you’re new to knitting, it’s best to start with simple projects that involve basic stitches and techniques. This will help you build your skills and confidence before moving on to more complex patterns.
2. Choose the Right Yarn and Needles
When selecting yarn and needles for your project, make sure to follow the recommendations in the knitting pattern. Different patterns require different yarn weights and needle sizes, so it’s important to choose the right materials to achieve the desired outcome.
3. Practice Basic Stitches
Mastering the basic stitches is essential for knitting. Take the time to practice knitting, purling, and basic increase and decrease techniques. As you become more comfortable with these stitches, you can start exploring more advanced stitch patterns.
4. Watch Online Tutorials
There are countless knitting tutorials available online that can help beginners learn new techniques and troubleshoot common knitting problems. Take advantage of these resources to enhance your knitting skills and expand your knowledge.
5. Take it One Step at a Time
Knitting can be a complex craft, but it’s important to take it one step at a time. Don’t be discouraged if you make mistakes or struggle with certain techniques. With practice and patience, you’ll improve and develop your own knitting style.
6. Join a Knitting Group or Class
Consider joining a knitting group or taking a knitting class in your community. This will provide you with an opportunity to learn from experienced knitters, ask questions, and share your progress. It’s also a great way to meet like-minded individuals who share your passion for knitting.
Remember, knitting is a skill that takes time and practice to master. Don’t be afraid to make mistakes and learn from them. With patience and dedication, you’ll be able to create beautiful knitted garments and accessories.