
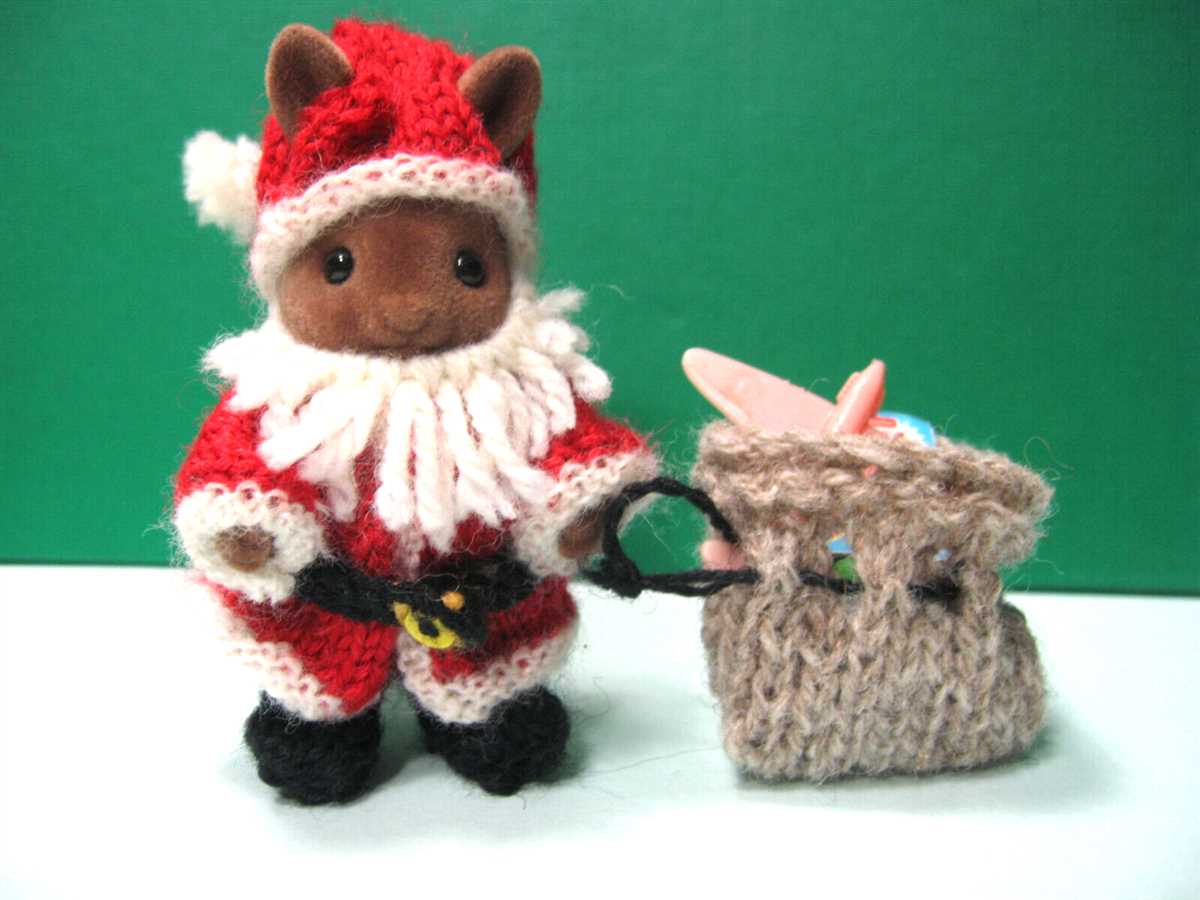
The holiday season is the perfect time to indulge in festive knitting projects. If you’re looking for a fun and quick project, why not try knitting a mini Santa sack? This adorable pattern is perfect for holding small gifts or treats and is sure to bring a touch of Christmas cheer to your home.
Knitting your own mini Santa sack is a great way to add a personal and unique touch to your holiday decorations. Not only is it a fun project to work on, but it also makes for a delightful gift. You can fill it with small candies or trinkets and give it to a loved one as a surprise. Plus, you can use whatever colors you like to customize your Santa sack to match your holiday decor.
This knitting pattern is suitable for knitters of all skill levels. Whether you’re a seasoned knitter or just starting out, you’ll find this project both enjoyable and rewarding. The pattern includes detailed instructions and helpful tips to guide you through each step, making it easy to create your very own mini Santa sack.
Mini Santa Sack Knitting Pattern
Looking to add a festive touch to your holiday decor? Why not try knitting your own mini Santa sacks! These adorable little bags are perfect for filling with small treats or gifts and can be used as ornaments or as part of your holiday table centerpiece. Plus, they’re quick and easy to make with this knitting pattern.
Materials:
- DK weight yarn in red
- Double-pointed knitting needles size 4mm
- Tapestry needle
- Scissors
Instructions:
- Cast on 24 stitches.
- Knit every row until the piece measures 4 inches.
- Shape the bottom of the sack by decreasing 2 stitches at the beginning and end of every row for 6 rows.
- Knit 8 more rows without decreasing.
- Place the stitches on a holder and repeat steps 1-4 to create the back of the sack.
- Once both pieces are complete, join them together by knitting across the front stitches and back stitches simultaneously.
- Continue knitting until the sack measures 8 inches.
- Bind off all stitches and weave in any loose ends.
- Add a small drawstring handle by knitting an I-cord approximately 8 inches long and attaching it to the sides of the sack.
Now you’re ready to fill your mini Santa sacks with goodies and spread some festive cheer! These little knitted treasures are sure to be a hit with your family and friends.
Overview

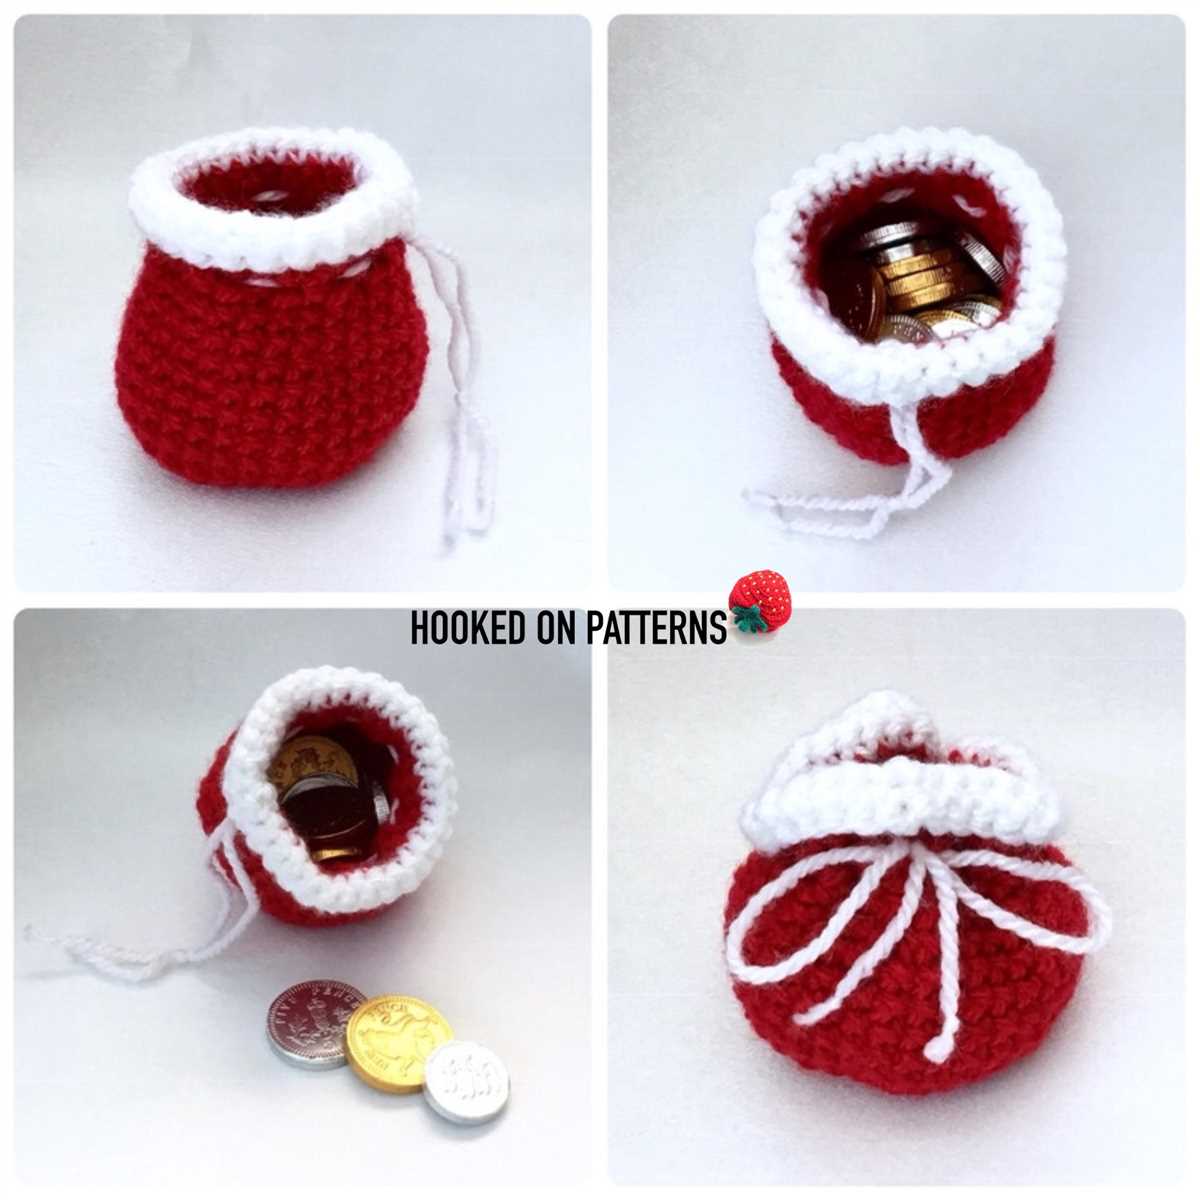
Knitting miniature Christmas decorations can be a fun and rewarding project, especially during the holiday season. One popular item to create is a mini Santa sack. This knitting pattern allows you to make your own small knitted sack that can be used as a festive ornament or as a unique gift wrap for small presents. With its classic red and white color scheme and charming design, the mini Santa sack adds a touch of Christmas magic to any setting.
The mini Santa sack knitting pattern is relatively simple and suitable for knitters of all levels. It requires basic knitting skills such as casting on, knitting in the round, and decreasing. The pattern provides step-by-step instructions and includes a detailed list of materials needed. It also offers tips and suggestions for customization, allowing you to add your own personal touch to the finished sack.
What You’ll Need
1. Yarn: To make the mini Santa sack, you will need a small amount of red and white yarn. You can choose any brand or type of yarn as long as it is suitable for knitting.
2. Knitting Needles: You will need a pair of knitting needles in a size that is appropriate for the yarn you are using. The recommended size for this project is US Size 6 (4 mm).
3. Stitch Marker: It’s helpful to have a stitch marker to mark the beginning of each round when knitting in the round.
4. Tapestry Needle: A tapestry needle, also known as a yarn needle, is necessary for weaving in the loose ends of yarn and finishing the project.
5. Scissors: You will need a pair of scissors to cut the yarn during the knitting process.
6. Toy Stuffing: To fill the mini Santa sack and give it a plush look, you will need some toy stuffing. This can be purchased at craft stores or online.
7. Embellishments (optional): If you want to add some decorative elements to your mini Santa sack, you can gather small bells, pom-poms, or ribbons to attach to the finished sack.
Step-by-Step Instructions
In this mini Santa sack knitting pattern, you will learn how to make a small, festive bag to hold small gifts or treats. The pattern includes detailed instructions to guide you through the process of knitting and assembling the sack.
Materials:
- Double-pointed knitting needles in size 4mm
- Red worsted weight yarn
- White worsted weight yarn
- Tapestry needle
- Scissors
Instructions:
- Begin by casting on 40 stitches with the red yarn. Divide the stitches evenly onto 4 double-pointed needles, with 10 stitches on each needle.
- Join the round, being careful not to twist the stitches. Place a marker to indicate the beginning of the round.
- Work in a rib stitch pattern (knit 2, purl 2) for the first 4 rounds.
- Continue knitting in stockinette stitch (knit every round) for the next 10 rounds.
- Switch to the white yarn and knit in stockinette stitch for another 10 rounds. This will create the white cuff of the sack.
- Switch back to the red yarn and knit in stockinette stitch for the remaining rounds until the sack measures approximately 12cm in length from the cast-on edge.
- Bind off all stitches and cut the yarn, leaving a long tail for sewing.
- Using the tapestry needle, sew the bottom of the sack closed by weaving the yarn through the live stitches and pulling tight. Fasten off the yarn securely.
- Attach a small loop of white yarn to the top of the sack to serve as a drawstring. Thread the yarn through the stitches of the white cuff and tie a knot to secure.
- Your mini Santa sack is now complete! Fill it with small gifts or treats and enjoy spreading some holiday cheer.
Tips and Tricks
When it comes to knitting mini Santa sacks, there are a few tips and tricks that can help make the process easier and more enjoyable.
Choose the Right Yarn
One of the key considerations when knitting mini Santa sacks is choosing the right yarn. Opt for a yarn that is both soft and durable, as the sacks will likely be handled and filled with small items. Acrylic or cotton yarns are good options that can provide both comfort and durability.
Pay Attention to Gauge
Gauge is important when knitting any project, and mini Santa sacks are no exception. Be sure to check your gauge before starting the project and adjust your needle size if necessary. This will help ensure that your mini Santa sacks turn out the right size and shape.
Use a Stitch Marker

A stitch marker can be a helpful tool when knitting mini Santa sacks. It can help you keep track of the beginning and end of a round, especially if you are knitting in the round. This can prevent mistakes and make it easier to follow the pattern.
Try Different Techniques for Ribbing
Ribbing is a commonly used technique in knitting, and it can add a nice touch to your mini Santa sacks. Consider trying different ribbing techniques, such as k2, p2 or k1, p1, to create different textures and designs. This can make your mini Santa sacks more visually appealing.
Add Embellishments
To add a festive touch to your mini Santa sacks, consider adding embellishments such as pom-poms, ribbons, or small bells. These small details can make your mini Santa sacks stand out and add a touch of holiday cheer.
Blocking
Blocking your completed mini Santa sacks can help give them a more polished and finished look. Blocking smooths out any uneven stitches and can make the sacks look more professional. Follow the recommended blocking instructions for the type of yarn you are using.
By following these tips and tricks, you can create beautiful and festive mini Santa sacks that are perfect for gifting or decorating during the holiday season.
Customization Ideas
Adding a personal touch to your mini Santa sacks can make them even more special. Here are some ideas for customizing your knitted Santa sacks:
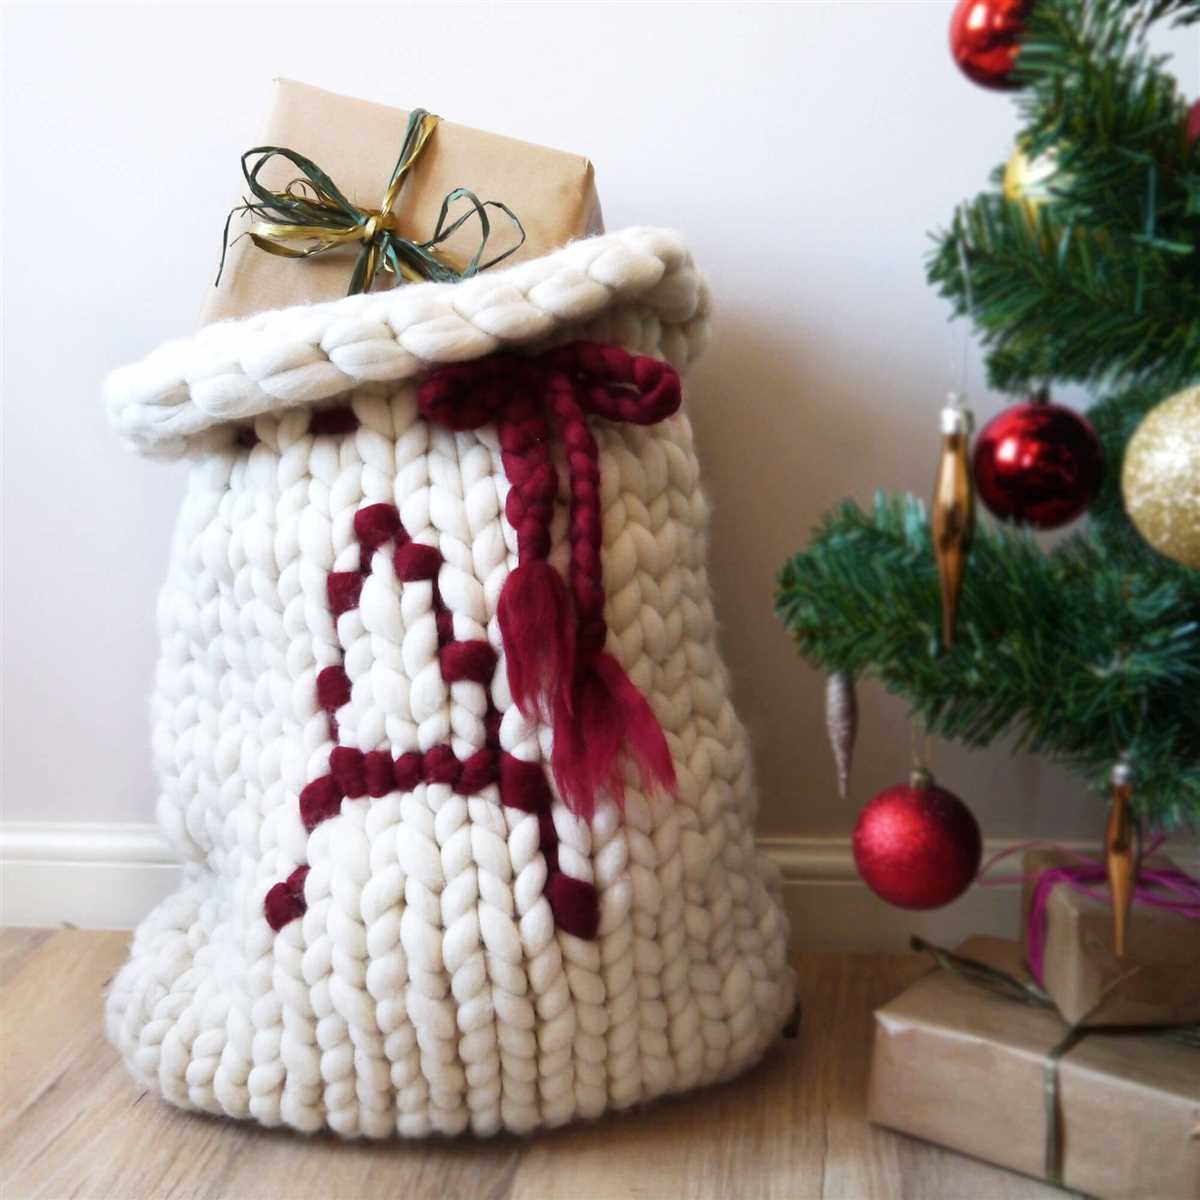
Add a Name or Initials
Embroidering or cross-stitching the recipient’s name or initials on the front of the sack adds a personal touch and makes it unique to the individual. You can use contrasting colors for the letters to make them stand out.
Choose Different Colors
While the classic red and white combination is iconic, you can choose different colors to suit your personal style or the recipient’s preferences. Consider using the recipient’s favorite color or matching the colors of their Christmas decorations. This will make the sack truly one-of-a-kind.
Add Festive Embellishments
- Fabric Appliques: Attach fabric appliques in the shape of Christmas trees, snowflakes, or reindeer to the front of the sack to make it extra festive.
- Ribbons and Bows: Attach festive ribbons or bows to the top of the sack to add a touch of elegance and charm.
- Jingle Bells: Sew small jingle bells onto the sack to give it a cheerful sound when it’s moved or shaken.
Add Personalized Tags
Create personalized tags using cardstock or fabric and attach them to the sack with decorative string or ribbon. You can write a special message, the recipient’s name, or the year to commemorate the occasion.
With these customization ideas, you can create mini Santa sacks that are not only practical but also visually appealing and meaningful. Let your creativity flow and make each sack a unique holiday keepsake.
Recommended Materials
When it comes to knitting the perfect mini santa sacks, having the right materials is essential. Here are some recommended materials that will help you create adorable and festive sacks:
Yarn
1. Worsted weight yarn: Choose a high-quality, soft yarn in festive colors such as red, green, or white. Worsted weight yarn will provide the sturdiness and durability needed to hold small gifts or treats.
2. Sparkly yarn: Add a touch of sparkle and holiday cheer to your mini santa sacks with a glitter or metallic yarn. This will give your sacks an extra festive touch and make them truly stand out.
Knitting Needles
1. Double-pointed needles: To knit small projects like mini santa sacks, it’s best to use double-pointed needles. They come in various sizes, so choose ones that are appropriate for the yarn you’re using.
2. Circular needles: If you prefer using circular needles, you can also use them for knitting the mini santa sacks. Just make sure to choose a length that is suitable for the circumference of the sacks.
Other Materials
1. Stitch markers: Stitch markers are useful for keeping track of your stitches, especially when knitting in the round. Use them to mark the beginning of each round or any special stitch patterns.
2. Yarn needle: A yarn needle with a large eye is essential for weaving in loose ends and finishing off your mini santa sacks. Make sure to choose one that is sturdy and long enough to accommodate the thickness of your yarn.
3. Embellishments: To add a personalized touch to your mini santa sacks, consider adding embellishments such as mini pom poms, bells, or ribbons. These small details can make your sacks even more festive and unique.
With these recommended materials, you’ll be well-equipped to create beautiful and charming mini santa sacks. Get your knitting needles ready and enjoy the process of turning yarn into festive holiday decorations!
Care Instructions
Proper care and maintenance of your mini Santa sack is essential to ensure its longevity and continued enjoyment. Follow these care instructions to keep your mini Santa sack looking its best:
Hand-Washing
To clean your mini Santa sack, hand-washing is recommended. Fill a basin with lukewarm water and add a small amount of mild detergent. Gently agitate the sack in the water, making sure to thoroughly clean both the inside and outside. Rinse with clean water until all soap residue is removed.
After washing, gently squeeze out excess water. Do not wring or twist the sack, as this can damage the fibers. Lay the sack flat on a clean towel and roll it up to absorb any remaining moisture. Then, reshape the sack and allow it to air dry away from direct heat or sunlight.
Storage
When not in use, store your mini Santa sack in a cool, dry place. Avoid exposing it to excessive humidity or extreme temperatures, as this can cause the fibers to weaken or warp. To prevent any damage from dust or insects, it is recommended to store the sack in a sealed plastic bag or container.
Avoiding Rough Surfaces
Avoid placing your mini Santa sack on rough or abrasive surfaces, as this can cause pilling or snagging of the fabric. Place a soft cloth or protective barrier underneath the sack when displaying or using it on rough surfaces to prevent any damage.
Spot Cleaning
In case of small stains or spills, spot cleaning is recommended. Use a mild detergent or stain remover and gently dab the affected area with a clean cloth or sponge. Avoid rubbing or scrubbing, as this can spread the stain or damage the fibers. After spot cleaning, rinse with clean water and allow the sack to air dry.
Follow these care instructions to ensure your mini Santa sack stays in excellent condition for many holiday seasons to come. Taking proper care of your sack will not only maintain its appearance, but also extend its lifespan, ensuring you can continue to enjoy its festive charm year after year.
Final Thoughts
If you’re looking to add some festive charm to your holiday decorations or seeking a unique gift idea, the Mini Santa Sack knitting pattern is a perfect choice. This pattern allows you to create adorable mini sacks that can be filled with small gifts or candies for your loved ones. Whether you’re an experienced knitter or a beginner, this pattern is suitable for all skill levels.
The Mini Santa Sack knitting pattern offers versatility in terms of customization. You can choose different colors of yarn to make sacks that match your holiday decor or the recipient’s preferences. Additionally, you can add embellishments such as pom-poms or ribbons to make the sacks even more festive. The pattern also includes instructions for different sizes, allowing you to create sacks of various dimensions according to your needs.
- The pattern is easy to follow, with clear instructions and detailed diagrams.
- It provides an enjoyable knitting experience, allowing you to create something charming and unique.
- The finished mini Santa sacks make delightful decorations or gifts that will be cherished for years to come.
- Knitting this pattern can be a great way to destress and relax during the busy holiday season.
In conclusion, the Mini Santa Sack knitting pattern is a fantastic choice for anyone looking to add a touch of handmade charm to their holiday celebrations. Whether you’re knitting them for yourself or as gifts for others, these mini sacks are sure to bring joy and festive cheer. So gather your knitting needles and get ready to create something special this holiday season!
More Holiday Knitting Patterns
If you enjoy knitting and want to add a handmade touch to your holiday decorations or gifts, here are some more holiday knitting patterns to inspire you:
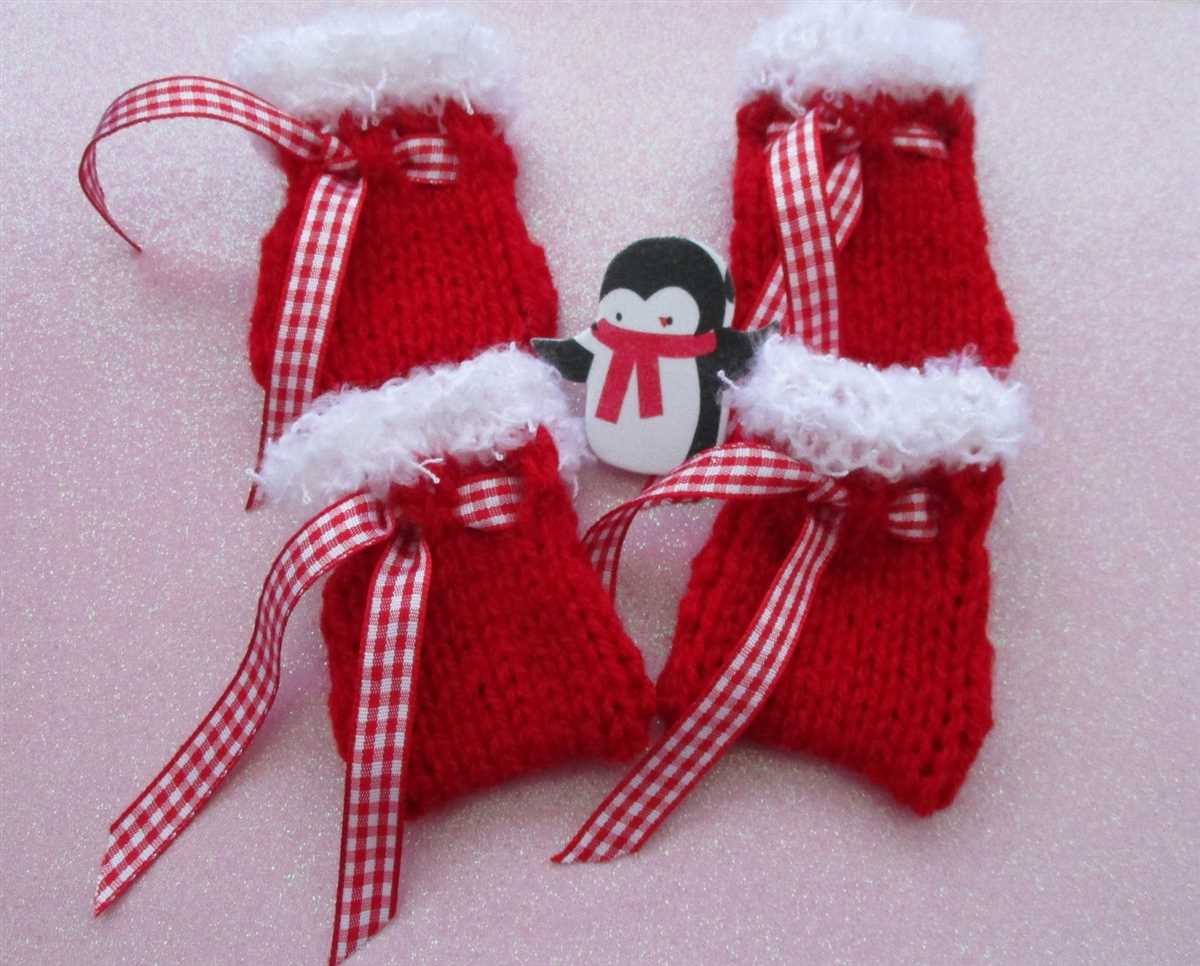
1. Knitted Christmas Stockings
Add a personal touch to your fireplace mantel with knitted Christmas stockings. Choose festive colors like red, green, and white, and decorate them with simple patterns or motifs like snowflakes or reindeer.
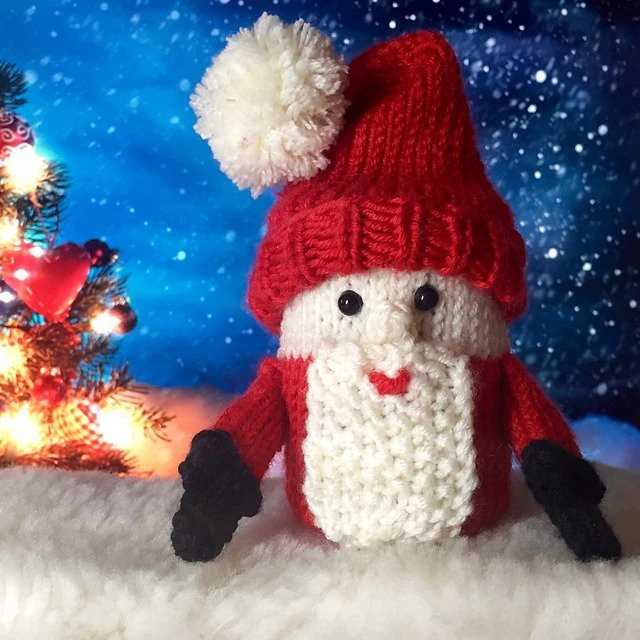
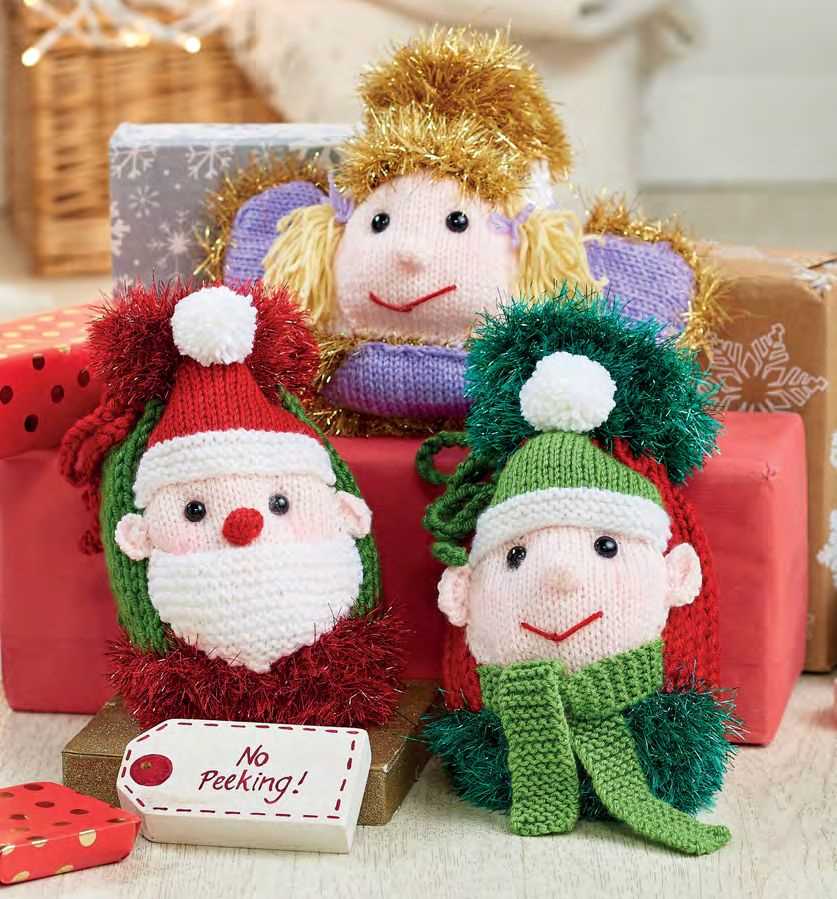
2. Knitted Ornaments
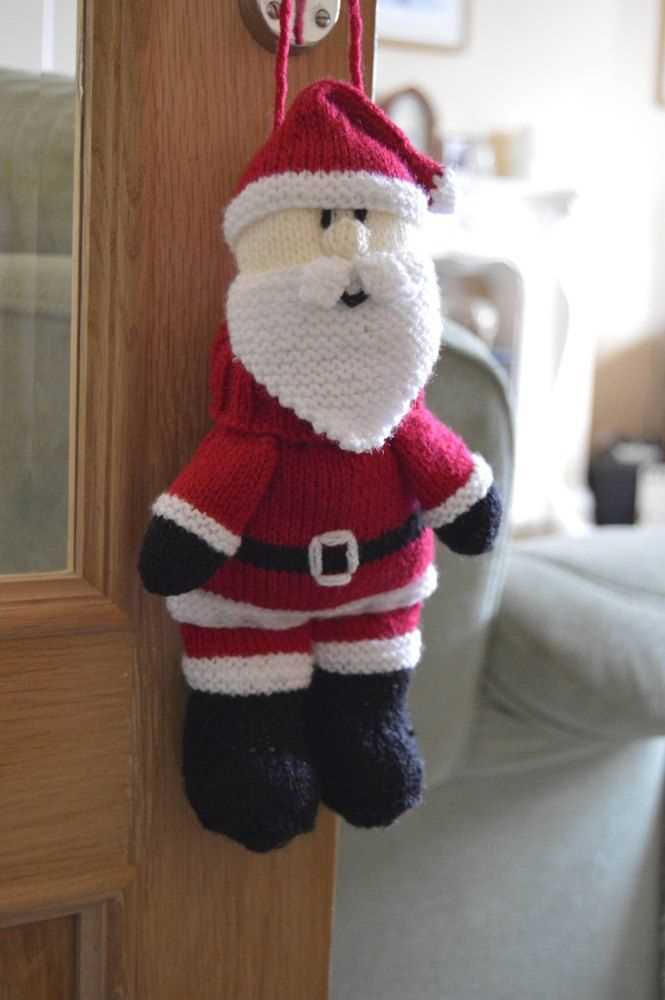
Add some charm to your Christmas tree with knitted ornaments. You can knit miniature sweaters, mittens, or even tiny Santa Claus hats. These ornaments make great gifts or can be used as decorative accents around your home.
3. Knitted Scarves
Keep yourself warm and stylish during the winter season with a knitted scarf. You can use festive colors or choose a pattern with a holiday theme like snowflakes or Christmas trees. Scarves also make great gifts for your loved ones.
4. Knitted Mug Cozies
Enjoy your hot cocoa or tea in style with a knitted mug cozy. These cozies help keep your drink warm while adding a festive touch to your mug. You can choose to knit them in traditional Christmas colors or select patterns with holiday motifs.
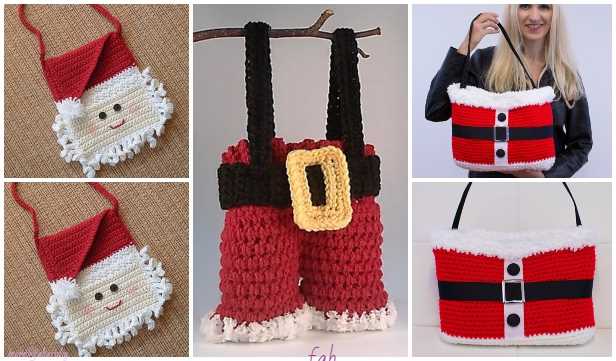
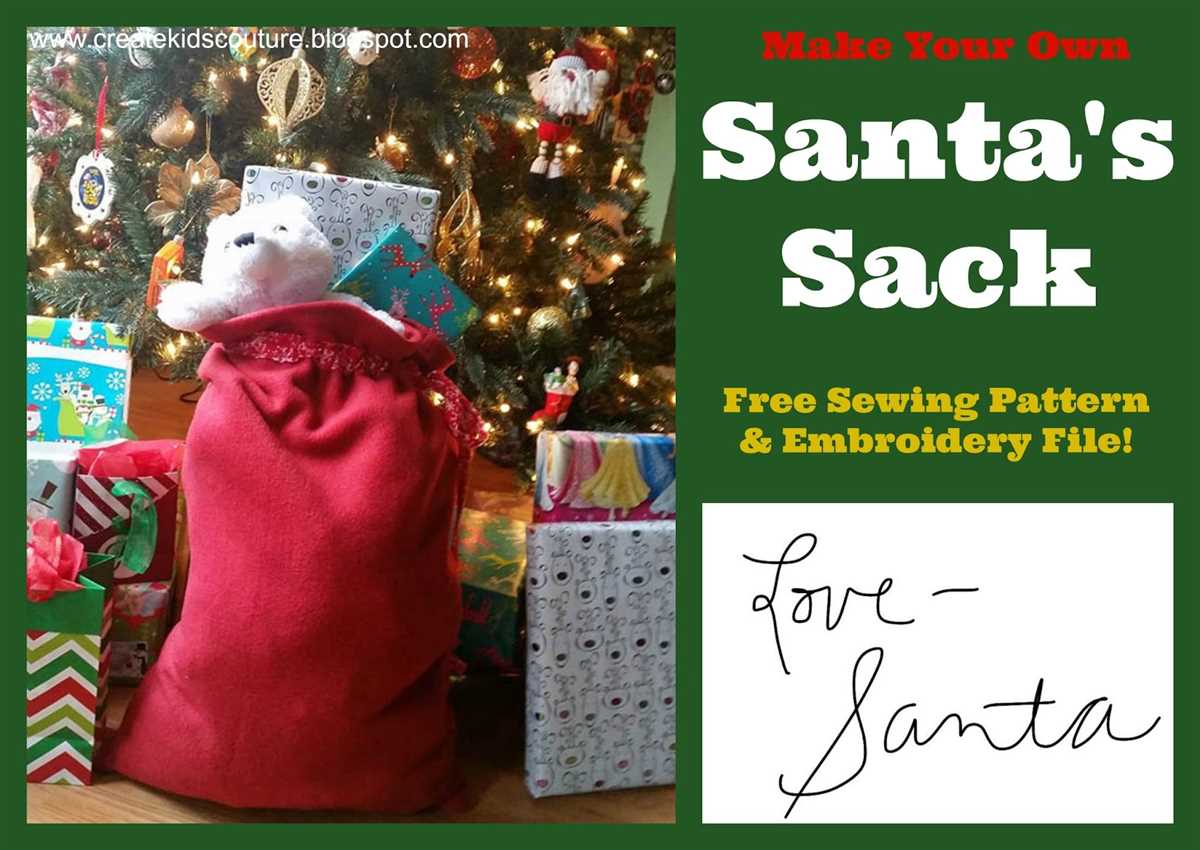
5. Knitted Gift Bags
Instead of using paper gift bags, opt for knitted gift bags to add a special touch to your presents. These bags can be reused year after year and make the gift-giving experience even more special. You can personalize them with different colors and decorative elements.
Knitting your own holiday decorations and gifts allows you to personalize them and create unique pieces that will be cherished for years to come. Get creative and have fun with these holiday knitting patterns!
Share Your Finished Sack
Now that you have completed your mini Santa sack, we would love to see your finished creation! Share your work and inspire others by posting pictures of your finished sack on social media using the hashtag #MiniSantaSackKnit. You can also join our online knitting community and showcase your work in our dedicated forum.
Don’t forget to tag us in your posts so that we can admire your handiwork and cheer you on! We love seeing all the unique variations and colors that knitters choose for their Santa sacks. Whether you stick to the classic red and white or get creative with different yarns and patterns, every sack is a one-of-a-kind masterpiece.
If you had any difficulties or came up with your own modifications while knitting the sack, feel free to share your tips and tricks with others. The knitting community is a great place for learning and exchanging ideas.
Join our online knitting community today and share your finished mini Santa sack!