
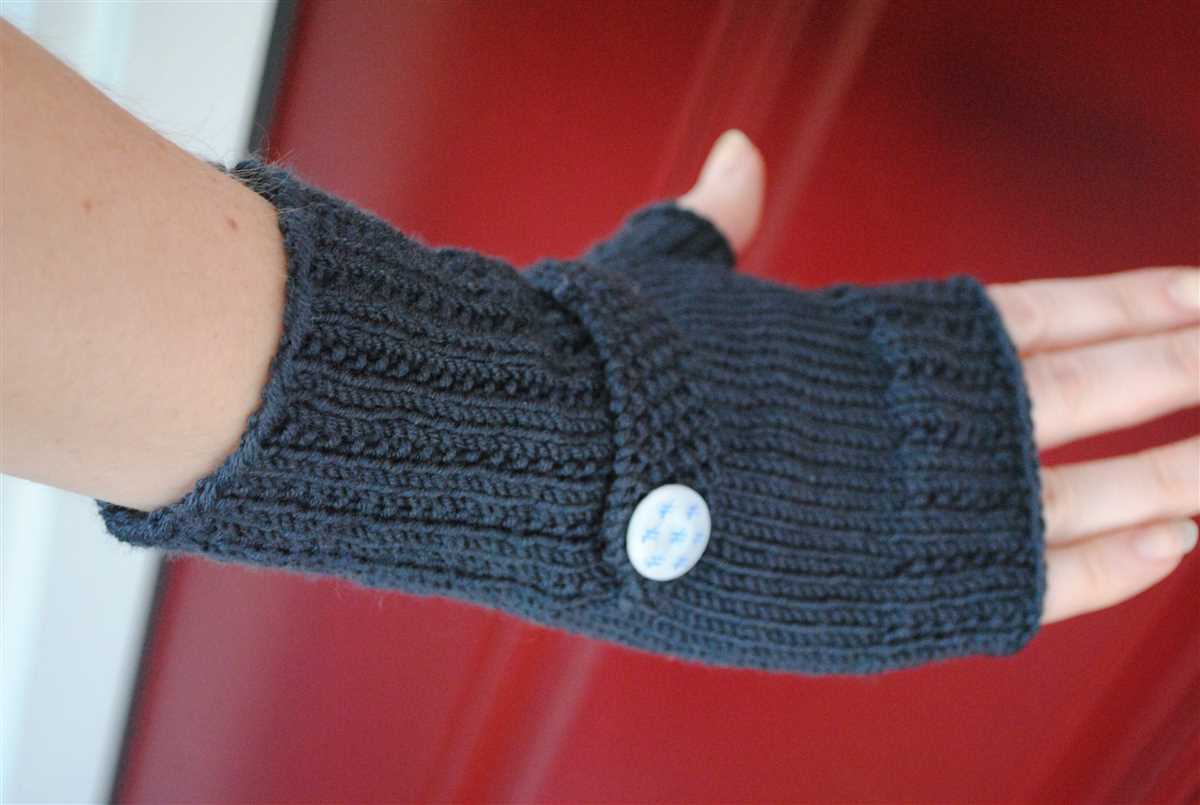
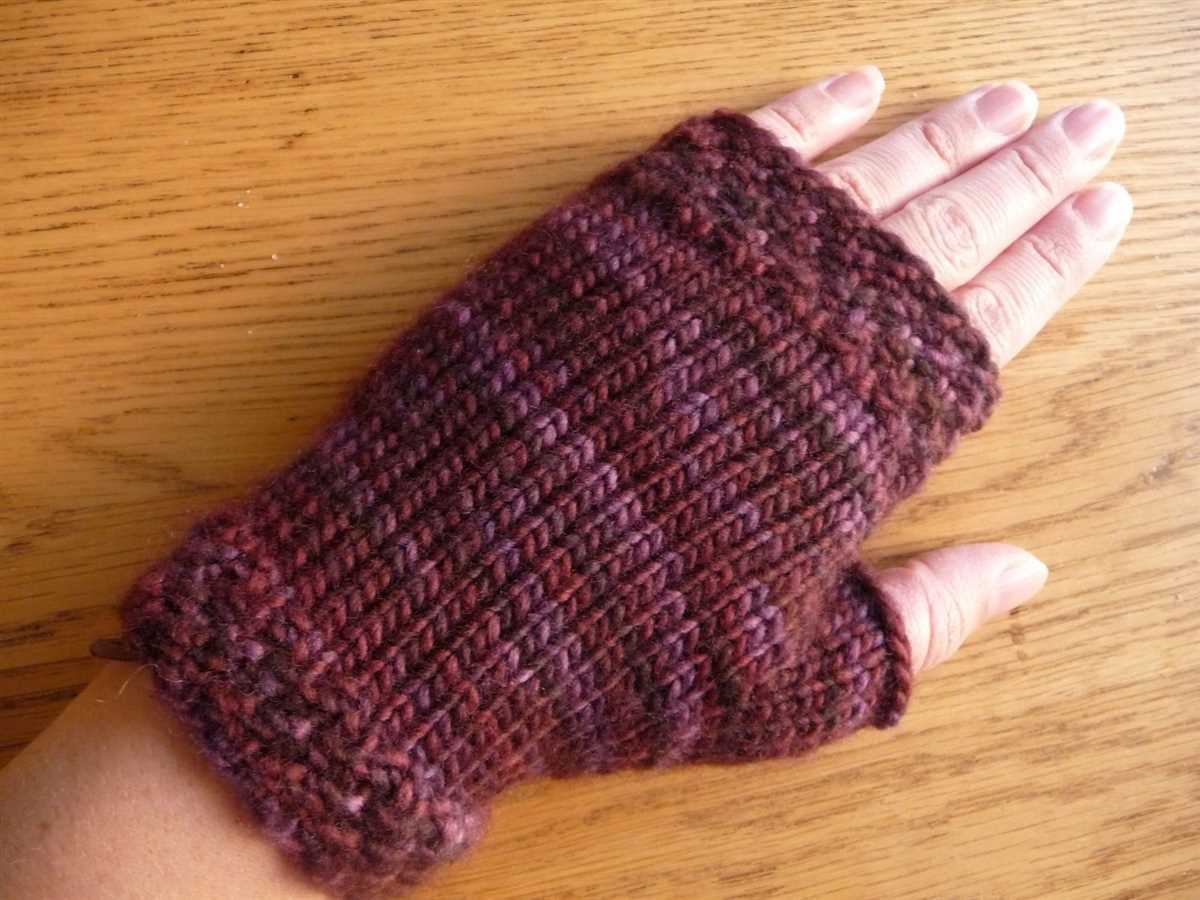
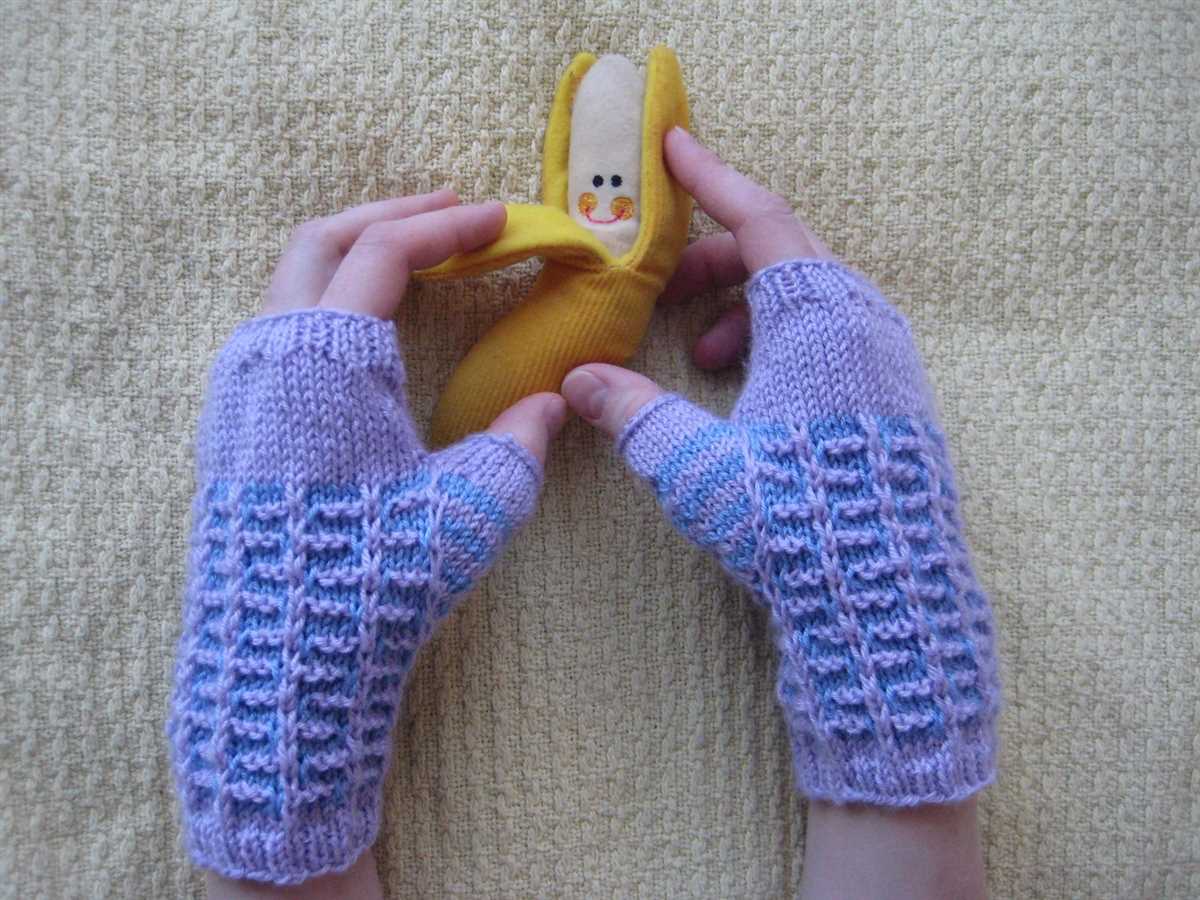
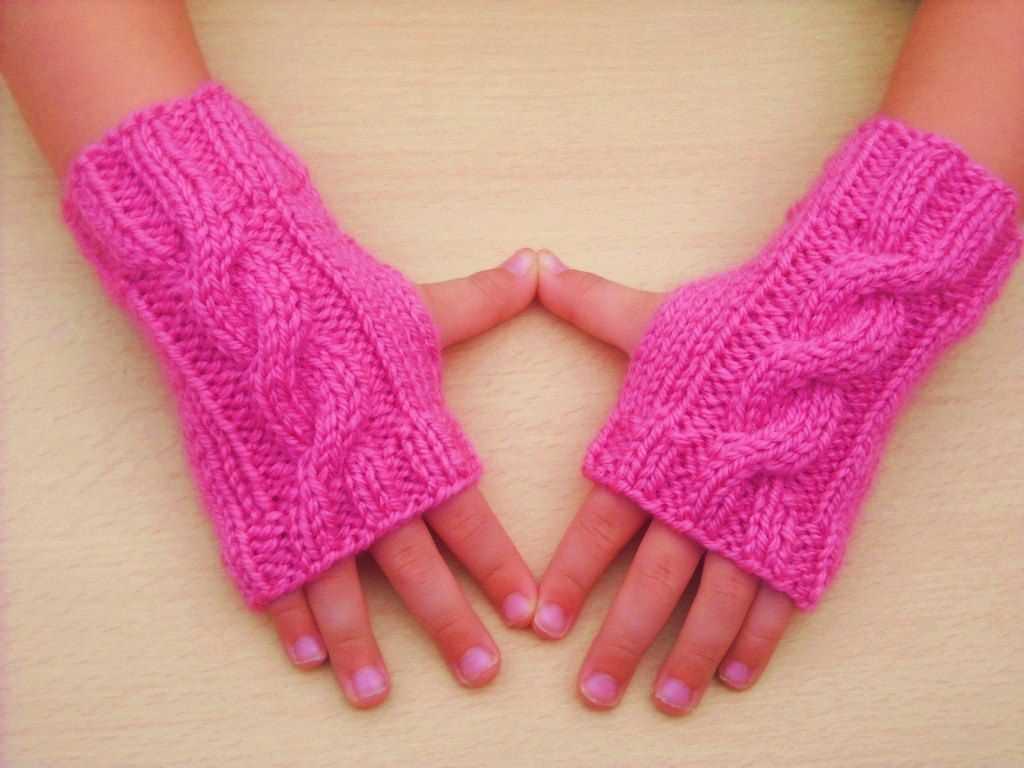
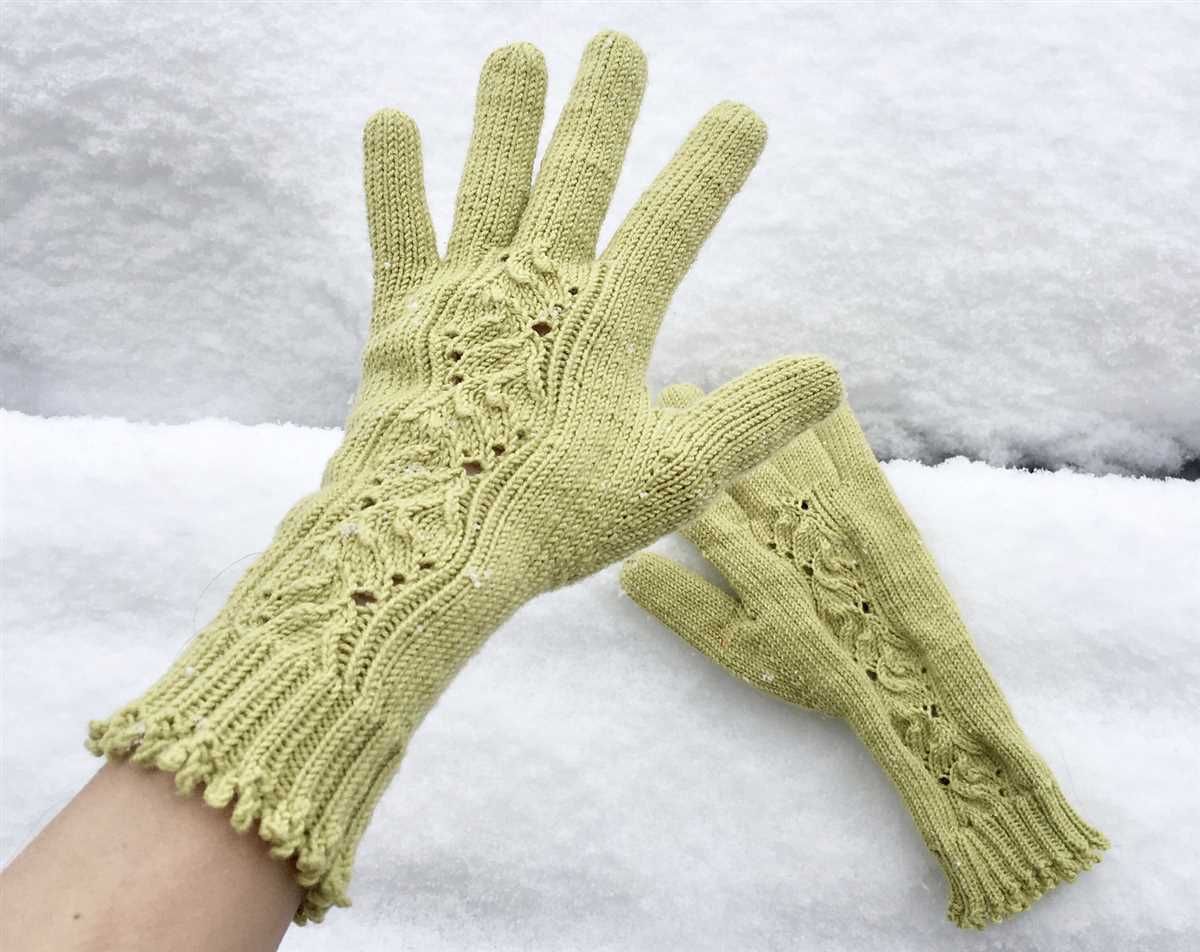
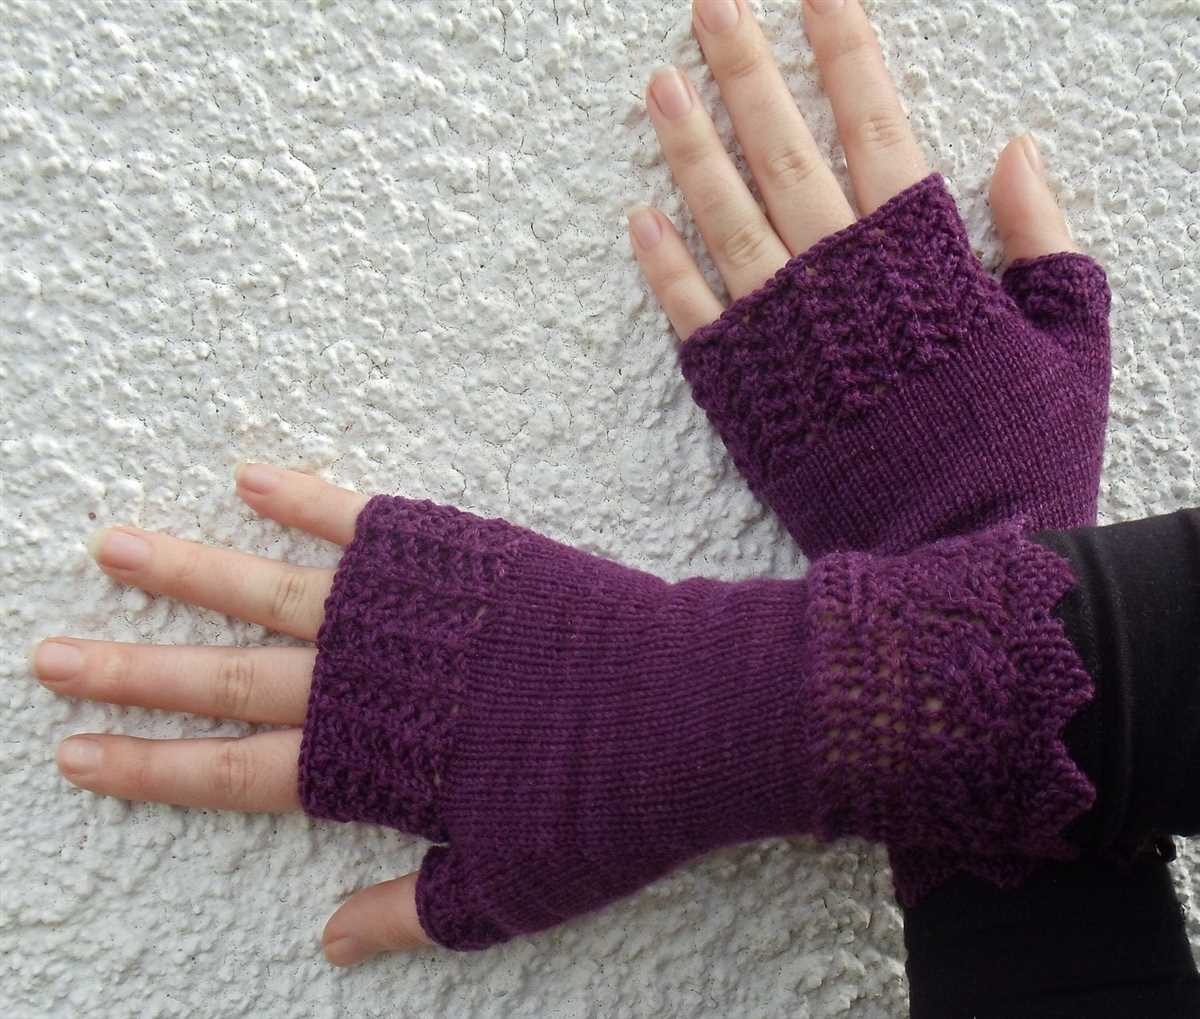
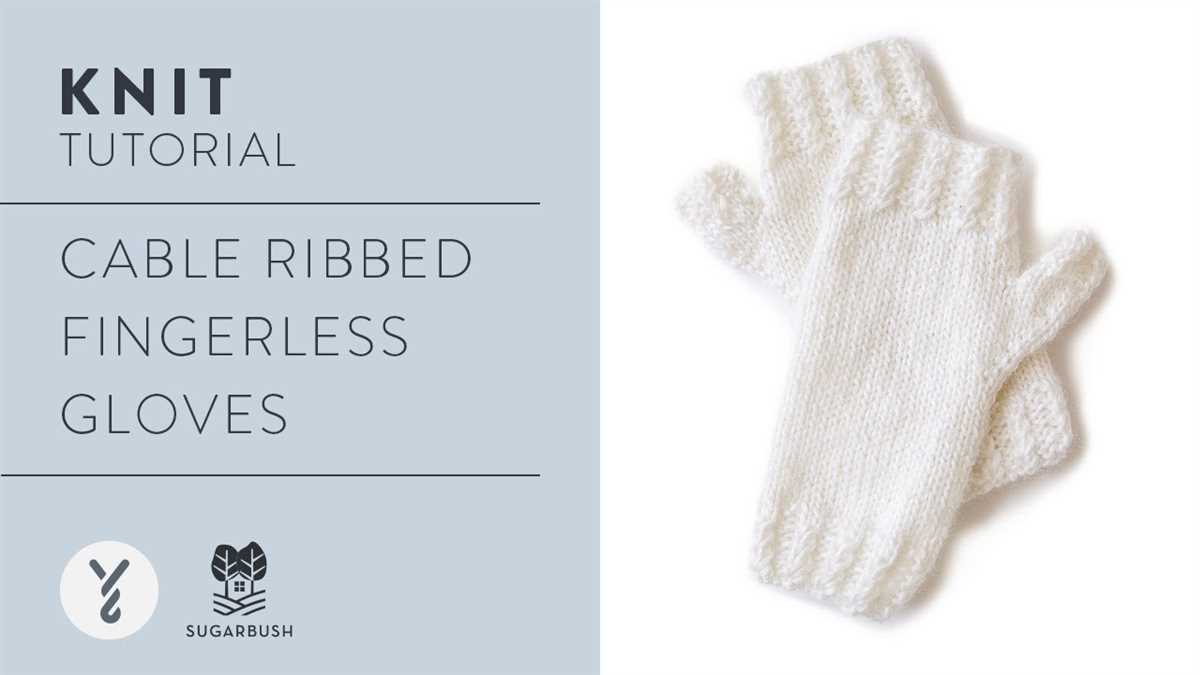
Do you love knitting? Are you looking for a new project that is both fun and practical? Look no further than this free fingerless glove knitting pattern! Fingerless gloves are a popular accessory, perfect for keeping your hands warm while still allowing you to use your fingers for everyday tasks. Plus, they make great gifts for friends and family!
This knitting pattern is suitable for knitters of all skill levels. Whether you’re a beginner looking to improve your skills or an experienced knitter looking for a quick and easy project, you’ll find this pattern enjoyable and rewarding. The pattern includes clear instructions and helpful tips, making it easy to follow along and complete the project.
With this pattern, you can create your own stylish fingerless gloves in no time. You can choose your favorite colors and yarns to personalize your gloves and make them truly unique. These gloves are perfect for wearing during the colder months or when you’re out and about in chilly locations. They’re not only practical but also fashionable, adding a touch of style to any outfit.
Overview of fingerless gloves
Fingerless gloves are a popular accessory that provide warmth and comfort while allowing your fingers to remain free to perform tasks that require dexterity. They are designed to cover the hands and wrists, leaving the fingers exposed. This makes them perfect for activities such as texting, typing, knitting, and playing musical instruments.
Fingerless gloves can be made from a variety of materials, including wool, acrylic, and cotton. These materials offer different levels of warmth and breathability, allowing you to choose the best option for your needs and preferences. Some fingerless gloves also feature special fingertips that allow you to use touchscreen devices without removing your gloves.
Benefits of fingerless gloves
- Warmth and comfort: Fingerless gloves provide warmth to your hands and wrists, while still allowing your fingers to freely move and perform tasks.
- Dexterity: By leaving the fingers exposed, fingerless gloves allow you to maintain your full range of motion and easily perform tasks that require precision and fine motor skills.
- Style and fashion: Fingerless gloves come in a variety of styles and designs, allowing you to express your personal style and add a fashionable touch to your outfit.
- Ease of use: With fingerless gloves, you don’t have to constantly remove and put on gloves when performing tasks that require finger dexterity. This makes them convenient and efficient to use.
- Versatility: Fingerless gloves can be worn in various settings and for different activities, whether it’s for outdoor activities, office work, or simply adding an extra layer of warmth indoors.
In conclusion, fingerless gloves are a practical and versatile accessory that offer warmth, comfort, and the freedom to use your fingers. Whether you need them for work, hobbies, or fashion, fingerless gloves provide the perfect solution to keep your hands cozy while maintaining dexterity.
Benefits of Fingerless Gloves
Fingerless gloves are a practical and fashionable accessory that offer several benefits. Whether you’re knitting your own fingerless gloves using a free pattern or purchasing a pair, here are some advantages of owning a pair of these versatile gloves:
1. Enhanced Hand Mobility
One of the main benefits of fingerless gloves is the enhanced hand mobility they provide. With your fingers exposed, you can easily perform tasks that require dexterity, such as typing on a keyboard, using touch screens, or handling small objects. This makes fingerless gloves ideal for office work, outdoor activities, and even playing musical instruments.
2. Warmth without Sacrificing Functionality
Fingerless gloves provide warmth to your hands while allowing you to maintain full control and tactile sensitivity. Whether you’re walking the dog, running errands, or working outdoors, fingerless gloves keep your hands cozy without sacrificing functionality. This is particularly useful in cold weather conditions where flexibility and grip are essential.
3. Fashionable and Versatile
Another advantage of fingerless gloves is their fashion-forward appeal. They can add a stylish touch to your outfit while keeping your hands warm. Fingerless gloves come in various styles, colors, and materials, allowing you to find the perfect pair to complement your wardrobe. They can be worn with casual or formal attire, making them a versatile accessory for any occasion.
4. Relief from Arthritis and Joint Pain
Fingerless gloves can provide relief for individuals suffering from arthritis and joint pain. The compression and warmth that fingerless gloves offer can help reduce inflammation and stiffness in the hands and fingers. Wearing fingerless gloves can also help improve circulation and provide gentle support to the joints, making them a beneficial option for those with arthritis or other hand conditions.
In conclusion, fingerless gloves offer a range of benefits, from enhanced hand mobility to fashion versatility. Consider adding a pair of fingerless gloves to your accessory collection or try knitting your own using a free pattern.
Choosing the right yarn for your fingerless gloves
When it comes to creating fingerless gloves, choosing the right yarn is essential. Not only does it affect the comfort and fit of the finished product, but it also plays a crucial role in the overall style and functionality of the gloves. Here are some factors to consider when selecting the perfect yarn.
1. Fiber content:

The fiber content of the yarn will determine the properties of your fingerless gloves. If you’re looking for warmth, go for wool or alpaca yarn, as they have excellent insulation properties. For a lightweight and breathable option, consider cotton or bamboo yarn. Acrylic yarn is a versatile choice that offers durability, easy care, and affordability.
2. Weight:
The weight of the yarn refers to its thickness and determines the size of the stitches. For fingerless gloves, a medium or worsted weight yarn is usually the most suitable, as it provides enough warmth without being too bulky. However, if you want a lacy or delicate look, consider using a lightweight or fingering weight yarn.
3. Texture:
The texture of the yarn can add interest and style to your fingerless gloves. Smooth yarns are great for showcasing intricate stitch patterns, while textured yarns, like boucle or chenille, can add a cozy and eye-catching effect. Experiment with different textures to achieve the desired look and feel.
4. Color:
The color of the yarn is another important consideration. Think about the purpose of your fingerless gloves and how you want them to complement your outfits. Solid colors are versatile and timeless, while variegated or self-striping yarns can add a playful or artistic touch. Consider the season, your personal style, and the intended use of the gloves when choosing the color.
5. Budget:
Last but not least, consider your budget. Yarn prices can vary significantly depending on the fiber content, brand, and quality. Determine how much you’re willing to spend and explore different options within your price range. Remember, it’s possible to create beautiful fingerless gloves with affordable yarns.
In conclusion, choosing the right yarn for your fingerless gloves involves considering the fiber content, weight, texture, color, and budget. Take your time to explore different options, and don’t be afraid to experiment and get creative. With the right yarn, you can create fingerless gloves that are both stylish and functional.
Considerations for selecting yarn
When choosing yarn for your fingerless gloves, it is important to consider several factors that will ultimately affect the outcome of your project. These factors include the fiber content, yarn weight, and texture.
Fiber Content
The fiber content of your yarn will determine the characteristics of your fingerless gloves. Common fiber options include wool, acrylic, cotton, and blends of different fibers. Wool is known for its warmth and durability, making it a popular choice for colder climates. Acrylic yarns are often chosen for their affordability and easy care. Cotton is a lightweight option that is breathable and comfortable to wear in warmer weather. Consider your specific needs and preferences when selecting a fiber content for your fingerless gloves.
Yarn Weight
The weight of the yarn refers to its thickness. The yarn weight you choose will impact the size, drape, and warmth of your fingerless gloves. Common yarn weights include lace, fingering, sport, worsted, and bulky. Lace and fingering weight yarns create lightweight and delicate gloves, while worsted and bulky weight options result in thicker and warmer gloves. Consider the intended use of your fingerless gloves and the desired level of warmth when selecting the yarn weight.
Texture
The texture of the yarn will impact the overall appearance and feel of your fingerless gloves. Yarns with smooth textures will result in a clean and polished look, while yarns with a more textured or slubby appearance can add visual interest and dimension to your gloves. Consider the overall aesthetic you wish to achieve and how the texture of the yarn will complement your desired style.
Recommended yarn types for fingerless gloves
When it comes to knitting fingerless gloves, the type of yarn chosen can make all the difference in the final product. The right yarn can enhance the comfort, warmth, and overall appearance of the gloves. Here are some recommended yarn types to consider for your fingerless glove project:
1. Wool yarn: Wool is a popular choice for fingerless gloves as it provides excellent insulation and warmth. It is also durable and has a natural elasticity that makes it a great fit for gloves. Look for a wool yarn that is soft, lightweight, and has good stitch definition for a beautiful finished look.
2. Alpaca yarn: Alpaca yarn is known for its luxurious softness and warmth. It is hypoallergenic and often blended with other fibers such as acrylic or wool to improve its durability. Alpaca yarn is great for fingerless gloves as it offers superior insulation and comfort, making them perfect for cold weather.
3. Acrylic yarn: Acrylic yarn is an affordable and widely available option for fingerless gloves. It is known for its durability, easy care, and wide range of color options. Acrylic yarn is a good choice for fingerless gloves as it provides warmth without being too heavy, and it is also suitable for individuals with wool allergies.
4. Cashmere yarn: For a touch of luxury, consider using cashmere yarn for your fingerless gloves. Cashmere is incredibly soft, lightweight, and provides excellent insulation. It is perfect for those who want to indulge in a little bit of luxury while keeping their hands warm and stylish.
Remember to choose a yarn that suits the pattern you are using and matches your personal preferences. Experiment with different yarn types to find the perfect combination of comfort, warmth, and style for your fingerless gloves project.
Selecting the appropriate knitting needles

Choosing the right knitting needles is essential to ensure a successful and enjoyable knitting experience. There are several factors to consider when selecting the appropriate needles for your project.
Material: Knitting needles are available in various materials, including metal, bamboo, wood, and plastic. Each material has its own unique characteristics and advantages. Metal needles, such as aluminum or stainless steel, are durable and smooth, allowing the yarn to slide effortlessly. Bamboo and wooden needles provide a warm and natural feel, making them a popular choice for those who prefer a more traditional knitting experience. Plastic needles are lightweight and often less expensive, making them a great option for beginners.
Size: Knitting needles come in different sizes, ranging from very thin (size 0 or smaller) to large (size 50 or higher). The size of the needles affects the gauge or tension of your knitting. It is important to match the needle size recommended in the pattern to achieve the desired results. If you knit too tightly or too loosely, your finished project may not turn out as expected.
Type: There are various types of knitting needles, including straight needles, circular needles, and double-pointed needles. Straight needles are the most commonly used and consist of two separate straight sticks with a point and a stopper at the opposite ends. Circular needles have flexible cables connecting two needle tips, allowing you to knit in the round or work on larger projects easily. Double-pointed needles have points at both ends and are used for knitting smaller tubes, such as socks or sleeves.
When selecting knitting needles, consider your personal preferences, the type of project you are working on, and the yarn you plan to use. Experimenting with different needle sizes and materials can help you find the perfect match for your knitting style.
Understanding knitting needle sizes
When it comes to knitting, one of the most important tools you will need is knitting needles. Knitting needles come in various sizes, and it’s crucial to understand the different sizing systems and how they can affect your knitting projects.
The sizing of knitting needles is determined by their diameter, measured in millimeters (mm) or US sizes. Most knitting needle sizes are indicated in both systems to accommodate knitters from different countries.
US Sizes: In the United States, knitting needles are sized using a numbering system that ranges from 0 to 50. The higher the number, the larger the diameter of the needle. For example, US size 0 needles are very thin and often used for delicate projects, while US size 50 needles are very thick and ideal for chunky yarns.
MM Sizes: In most other countries, knitting needles are sized using millimeters. The diameter of the needle is measured in millimeters and usually printed on the needle itself. For example, a 4mm needle has a diameter of 4 millimeters. MM sizes are more precise and can be used interchangeably with US sizes if you have a conversion chart.
Choosing the right size: The size of your knitting needles will affect the gauge and the overall look of your knitted fabric. Thinner needles will produce tighter stitches and a denser fabric, while larger needles will create looser stitches and a more open fabric. It’s important to match the needle size to the recommended gauge in your knitting pattern to achieve the desired results.
Understanding needle size conversion: If you come across a knitting pattern or needle size that uses a different system than what you are familiar with, it’s helpful to have a needle size conversion chart. These charts can easily be found online and will allow you to convert between US sizes and millimeter sizes.
Overall, understanding knitting needle sizes is essential for any knitter. It helps you choose the right needle for your project, achieve the desired gauge, and create beautiful and well-fitting knitted items.
Recommended knitting needle sizes for fingerless gloves
When knitting fingerless gloves, choosing the right needle size is essential to ensure a proper fit and the desired outcome. The needle size you use will depend on the type of yarn you are working with and the gauge of the pattern you are following. Generally, a smaller needle size will result in a tighter fabric, while a larger needle size will create a looser, more open fabric.
Here are some recommended knitting needle sizes for fingerless gloves:
- US size 4 (3.5mm) needles: This smaller needle size is ideal for lightweight yarns and patterns with a tighter gauge. It creates a more fitted and structured glove, perfect for cooler weather.
- US size 6 (4mm) needles: This medium-sized needle is versatile and suitable for a wide range of yarn weights. It creates a balanced fabric that is neither too tight nor too loose, making it a popular choice for fingerless gloves.
- US size 8 (5mm) needles: This larger needle size is great for creating a more relaxed and drapey fabric. It works well with bulkier yarns or when a looser gauge is desired, resulting in a cozier glove.
- US size 10 (6mm) needles: This needle size is best suited for chunky or super bulky yarns. It produces a quick and thick fabric, ideal for extra warm fingerless gloves.
Remember, these recommended needle sizes are just starting points, and you may need to adjust based on your personal knitting tension and the specific yarn you are using. It’s always a good idea to make a gauge swatch before starting your project to ensure the correct fit and adjust your needle size if necessary.
Getting started with the pattern
If you’re new to knitting or just looking for a fun and practical project, this free fingerless glove knitting pattern is a great choice. Fingerless gloves are not only fashionable but also great for keeping your hands warm while still being able to use your fingers freely. This pattern is beginner-friendly and can be completed with just basic knitting skills.
To get started, you will need a few supplies. You will need a set of double-pointed knitting needles in the appropriate size for your yarn. The pattern recommends using a medium weight yarn for warmth and durability. You will also need a yarn needle for weaving in ends, and stitch markers to help keep track of your stitches.
Before you begin knitting, make sure to take accurate measurements of your hand to ensure a proper fit. The pattern includes sizes for small, medium, and large hands, so you can choose the size that best matches your measurements. You can easily adjust the length of the gloves by adding or subtracting rows, depending on your preference.
Once you have gathered your supplies and taken your measurements, it’s time to cast on. The pattern provides step-by-step instructions for casting on, as well as how to work the ribbing for the cuff. The ribbing adds not only a decorative element but also helps the gloves stay snug on your wrists.
As you work through the pattern, make sure to pay attention to the shaping instructions for the thumb hole. This is a key feature of fingerless gloves and allows you to easily move your thumb without compromising the fit of the gloves. The pattern provides clear instructions for creating the thumb hole and closing it off once you have completed the finger portion of the gloves.
Overall, this free fingerless glove knitting pattern is a fun and accessible project for knitters of all skill levels. Whether you’re looking to keep your hands warm during chilly days or want to add a stylish accessory to your outfit, these fingerless gloves are a practical and fashionable choice. Follow the pattern instructions carefully, and soon you’ll have a cozy pair of fingerless gloves to show off.
Understanding the basic pattern structure

When it comes to knitting fingerless gloves, it’s important to understand the basic pattern structure. This will help you successfully create a pair of gloves that fit well and have the desired design. A typical fingerless glove pattern consists of several key components:
1. Gauge
Before beginning any knitting project, it’s crucial to determine your gauge. The gauge refers to the number of stitches and rows per inch in your knitting. This information is essential because it ensures that your finished gloves will be the correct size. To find your gauge, use the recommended needle size and yarn specified in the pattern, and knit a swatch. Measure the number of stitches and rows per inch and adjust your needle size if necessary.
2. Cast on and ribbing
To start the fingerless glove pattern, you’ll usually begin by casting on a specific number of stitches. The cast-on edge forms the cuff of the gloves. Many patterns include a ribbing section at the cuff, which provides elasticity and helps the gloves stay in place on your wrists. Common ribbing patterns include 1×1 ribbing (alternating knit and purl stitches) or 2×2 ribbing (alternating two knit and two purl stitches).
3. Body and thumb gusset
After the ribbing, the pattern will instruct you to knit the body of the gloves. This section usually involves knitting in the round, using either double-pointed needles or circular needles, depending on your preference. As you progress, the pattern may include instructions for adding a thumb gusset. This is an additional section of stitches that will create space for your thumb, ensuring a comfortable fit.
4. Shaping and bind off
Once the body and thumb gusset are complete, the pattern will guide you through any necessary shaping. This may involve decreasing or increasing stitches to achieve the desired fit. Finally, the pattern will provide instructions for binding off, which completes the gloves. Depending on the design, this may be a simple bind off or a decorative edge.
By understanding the basic structure of fingerless glove patterns, you’ll be better equipped to follow the instructions, make any necessary adjustments, and create a pair of gloves that you’re proud to wear.
Key stitches and techniques used
In order to create a pair of fingerless gloves using this free knitting pattern, you will need to be familiar with several key stitches and techniques. These include:
- Knit stitch: The knit stitch is the most basic stitch in knitting. It is created by inserting the needle through the front of the loop, wrapping the yarn around the needle, and pulling the loop through.
- Purl stitch: The purl stitch is created by inserting the needle through the back of the loop, wrapping the yarn around the needle, and pulling the loop through.
- Rib stitch: The rib stitch is a combination of knit and purl stitches, alternating between the two to create a ribbed pattern. It is commonly used for cuffs and borders.
- Stockinette stitch: This stitch is created by knitting one row and purling the next, creating a smooth and flat surface on one side and a bumpy texture on the other.
In addition to these stitches, this fingerless glove pattern may also include techniques such as:
- Increase stitches: Increasing stitches involves adding extra stitches to your piece. This can be done by knitting or purling into the front and back of a stitch or using other specific increase methods.
- Decrease stitches: Decreasing stitches involves reducing the number of stitches in your piece. This can be done by knitting or purling two stitches together or using other specific decrease methods.
- Working in the round: If the pattern calls for working in the round, you will need to use double-pointed needles or circular needles to create a seamless tube. This eliminates the need for sewing seams later on.
Overall, with these key stitches and techniques, you will be able to create a pair of fingerless gloves using the free knitting pattern. Whether you are a beginner or an experienced knitter, this pattern is a great opportunity to practice and enhance your skills.
Step-by-step instructions for knitting the fingerless gloves
Knitting fingerless gloves is a great project for both beginners and experienced knitters. With this step-by-step guide, you’ll be able to create a cozy and stylish accessory in no time.
Materials and measurements:
- Yarn: Choose a soft and warm yarn in the color of your choice. Worsted weight yarn is recommended for this pattern.
- Needles: Use a pair of US size 7 (4.5mm) double-pointed needles. Adjust the needle size if necessary to obtain the correct gauge.
- Gauge: The gauge for this pattern is 20 stitches and 28 rows = 4 inches in stockinette stitch.
- Size: The pattern is designed to fit an average adult hand. The finished gloves will have a circumference of approximately 7-8 inches.
Instructions:
- Cast on 36 stitches using the long-tail cast-on method.
- Divide the stitches evenly onto 3 double-pointed needles (12 stitches on each needle).
- Join the round, making sure not to twist the stitches.
- Work in a ribbed pattern (knit 2, purl 2) for 1 inch.
- Switch to stockinette stitch (knit every round) and continue until the piece measures 6 inches from the cast-on edge.
- At this point, you can add any desired patterns or motifs using different stitch patterns.
- When the piece measures 7 inches, begin shaping the thumb hole.
- Knit the first 17 stitches, slip the next 2 stitches onto a stitch holder or waste yarn, and continue knitting to the end of the round.
- On the next round, knit to the first stitch on the stitch holder, pick up 2 stitches from the stitch holder, and knit to the end of the round.
- Continue knitting in stockinette stitch for another inch.
- Switch back to the ribbed pattern (knit 2, purl 2) and work for 1 inch.
- Bind off all stitches in the ribbed pattern.
- Weave in any loose ends and block the gloves if desired.
Congratulations! You have successfully knitted a pair of fingerless gloves. Enjoy wearing them to keep your hands warm while still being able to use your fingers freely.
Casting on
Before you begin knitting your fingerless gloves, you need to cast on stitches onto your knitting needle to start your project. Casting on creates the foundation row of stitches that you will be working with. There are several different methods for casting on, but the most common method used for fingerless gloves is the long-tail cast on.
To cast on using the long-tail method, you will need to estimate the amount of yarn needed for the desired number of stitches. This method creates a neat and stretchy edge. Once you have determined the length of the tail, follow these steps:
- Make a slipknot about 6 inches from the end of your yarn.
- Hold the slipknot in your right hand, with the tail end hanging down and the working yarn (the yarn attached to the ball) coming from the left.
- Insert your left needle into the slipknot from front to back, placing it over the right-hand needle.
- Take the working yarn in your left hand and bring it clockwise around the back of the right needle.
- With your right hand, bring the needle under the yarn from back to front, catching the yarn on the point of the needle.
- Slip the stitch off the left needle, keeping the loop around the right needle.
- Repeat steps 3-6 for the desired number of stitches, keeping the tension even.
Once you have cast on the required number of stitches, you are ready to start knitting your fingerless gloves! Now you can follow the pattern instructions for the rest of your project.