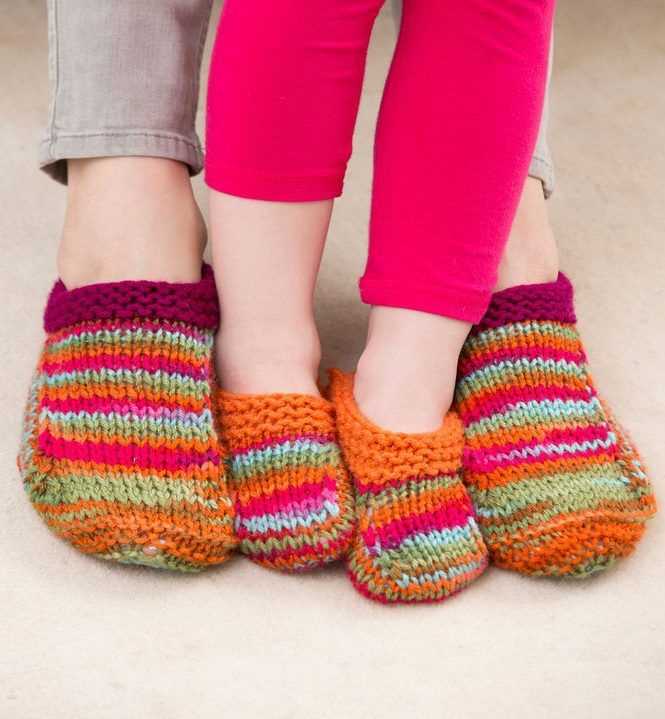
If you are a knitting enthusiast and you love to make cozy and comfortable accessories, then knitting slippers may be the perfect project for you. Knit slippers are not only a practical and useful item, but they also make a great gift for friends and family. Whether you are a beginner or an experienced knitter, there are plenty of free and easy patterns available to help you create beautiful and stylish slippers.
When it comes to choosing a knitting pattern for slippers, there are many options to consider. You can choose from simple garter stitch slippers, ribbed slippers, or even cable knit slippers for a more intricate design. Some patterns may require double-pointed needles or circular needles, while others can be made with straight needles.
One of the best things about knitting slippers is that they can be easily customized to fit your own style and preferences. You can experiment with different colors, yarn weights, and stitch patterns to create a unique pair of slippers that perfectly match your personality. So, grab your knitting needles, choose a pattern, and get ready to create your own cozy pair of knit slippers!
Why Knit Slippers?
Knitting slippers is not only a creative and enjoyable activity, but it also provides several practical benefits. Whether you are a beginner or an experienced knitter, making your own slippers allows you to customize the design, color, and size to perfectly suit your preferences. It gives you the freedom to experiment with different patterns, stitches, and yarns, creating unique and personalized slippers that cannot be found in stores.
Knitted slippers are also incredibly cozy and comfortable. They are perfect for keeping your feet warm during colder months or when you simply want to relax and unwind at home. The handmade nature of knitted slippers ensures that they are soft, breathable, and gentle on your skin. Additionally, the natural stretch of knitted fabric provides a snug and secure fit, making them a great choice for lounging around or padding around the house.
If you are looking for an eco-friendly and sustainable option, knitting your own slippers is an excellent choice. By using natural fibers such as wool or cotton, you can reduce your reliance on synthetic materials and decrease your carbon footprint. Knitted slippers also have a longer lifespan compared to mass-produced slippers, reducing the need for frequent replacements and contributing to a more sustainable lifestyle.
Overall, knitting slippers is a rewarding and practical hobby. Whether you knit for yourself or as a gift for a loved one, the process of creating something with your own hands is incredibly satisfying. So grab your knitting needles, find a cozy spot, and start crafting your perfect pair of slippers!
Benefits of Knitting Slippers
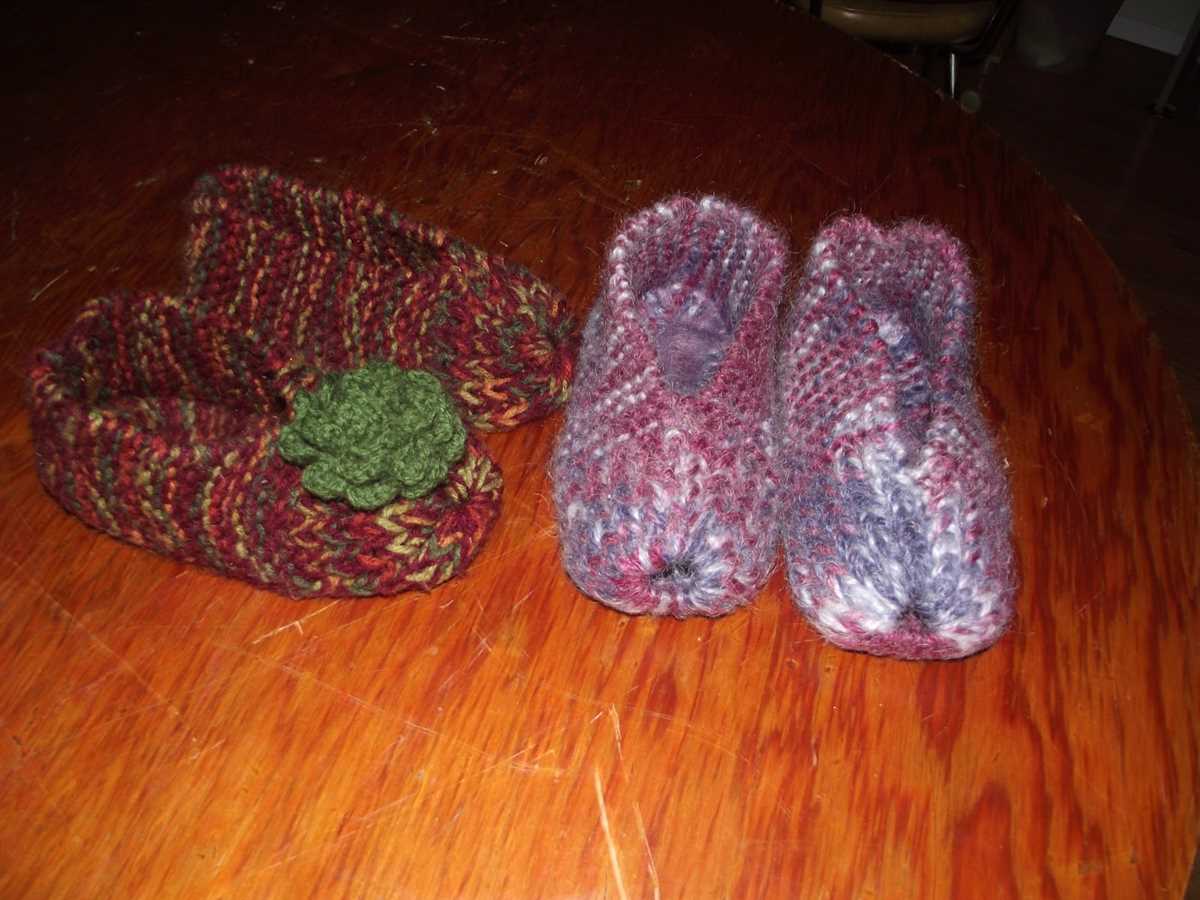
Knitting slippers can be a rewarding and enjoyable hobby that provides numerous benefits. Whether you are a beginner or an experienced knitter, creating your own pair of cozy slippers can bring a sense of satisfaction and pride. Here are some of the key benefits of knitting slippers:
1. Relaxation and Stress Relief
Knitting can be a meditative and calming activity that helps to reduce stress and anxiety. The repetitive motions and focus required can promote relaxation and mindfulness, allowing you to unwind and take a break from the pressures of everyday life. It can also be a form of self-care, providing a creative outlet and a way to express yourself.
2. Customization and Personalization
One of the great advantages of knitting slippers is the ability to customize and personalize them according to your preferences. You can choose the colors, patterns, and textures that you love, making each pair of slippers unique. Knitting allows you to create something that fits perfectly and reflects your own style and personality.
3. Cost-Effective and Sustainable
Knitting your own slippers can be a cost-effective alternative to buying them. Once you have the basic knitting tools and materials, you can create multiple pairs of slippers without breaking the bank. Additionally, knitting is a sustainable practice that allows you to reduce waste and make use of leftover yarn or recycled materials.
4. Warmth and Comfort
Knitted slippers are known for their warmth and comfort. The natural properties of yarn, such as its ability to insulate and regulate temperature, make knitted slippers ideal for keeping your feet cozy during colder months. Additionally, you can choose yarns with different thicknesses and textures to create slippers that provide the level of warmth and softness that you desire.
Getting Started with Knitting Slippers
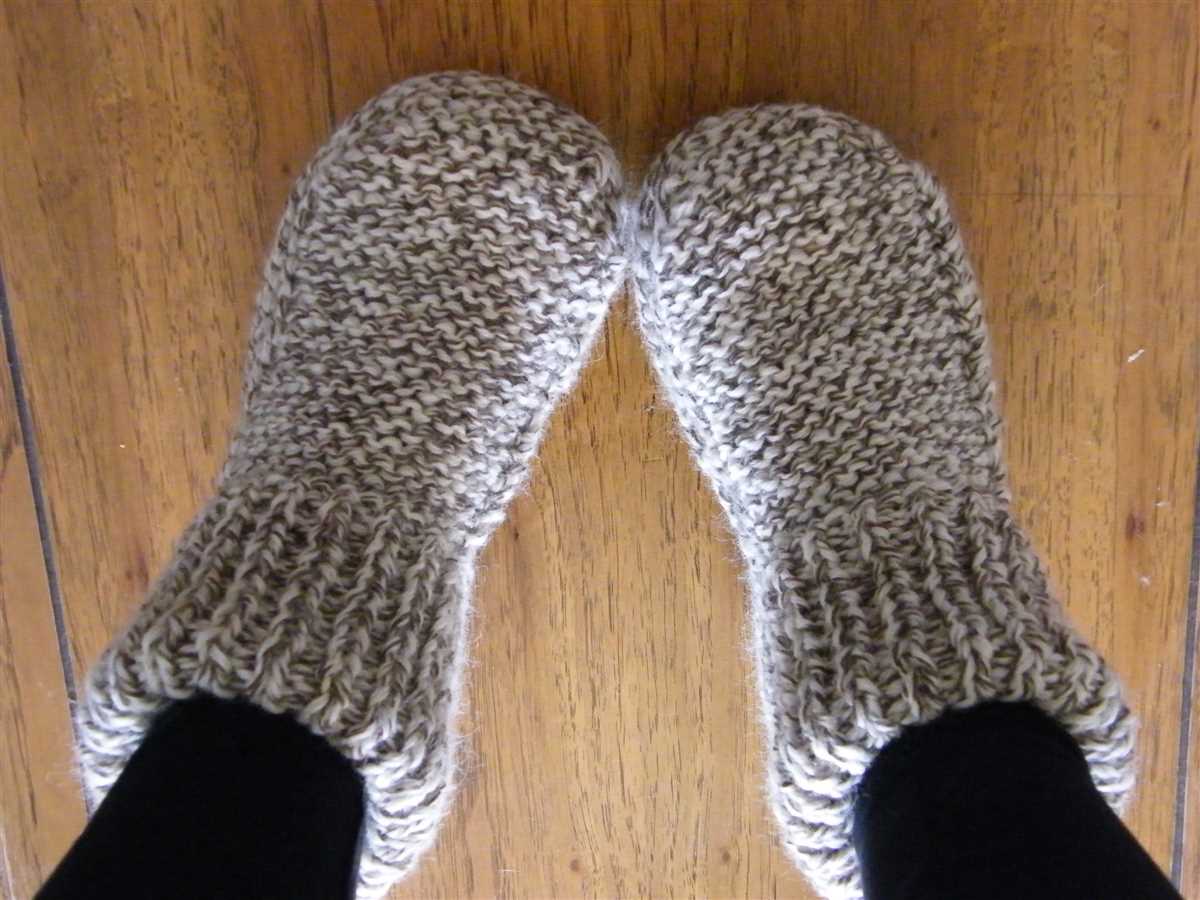
If you’re looking to make a cozy and comfortable pair of slippers, knitting them yourself is a great option. Knitting slippers allows you to customize them to fit your feet perfectly and choose the colors and patterns that suit your style. Plus, with a free and easy pattern, you can create your own pair without breaking the bank.
Choosing the Right Yarn: When knitting slippers, it’s important to choose a yarn that is warm, durable, and suitable for the intended use. A wool or acrylic blend yarn is often a good choice, as it provides both comfort and longevity. Consider the weight of the yarn as well – a worsted weight or bulky yarn will create a thicker and warmer slipper.
Getting the Right Needle Size: The needle size you use will depend on the type of yarn you choose and your personal knitting style. Be sure to check the pattern for the recommended needle size, as this will ensure the correct gauge is achieved. If you’re unsure, it’s always a good idea to make a gauge swatch before starting the project.
Next, you’ll need to familiarize yourself with basic knitting stitches, such as the knit stitch and purl stitch. These stitches will be the foundation of your slipper pattern. Once you feel comfortable with the basics, you can move on to more advanced techniques, such as knitting in the round or working cables, to add extra interest to your slippers.
Following the Pattern: With your chosen yarn, needles, and knitting skills ready, it’s time to find a free and easy slipper pattern that suits your preferences. There are many resources available online that offer a wide range of slipper patterns, from simple and beginner-friendly options to more complex designs. Choose a pattern that includes clear instructions and any necessary diagrams or charts to ensure a smooth knitting process.
Now that you have the basics down, it’s time to cast on and start knitting your slippers. Take your time and enjoy the process – knitting slippers can be a relaxing and rewarding project. Soon enough, you’ll have a cozy pair of handmade slippers to keep your feet warm during those cold winter nights.
Basic Materials Needed
If you are looking to knit slippers and are in need of a simple and free pattern, there are a few basic materials you will need to have on hand. These materials are essential for completing the project and ensuring that your slippers turn out just right.
Yarn
Yarn is the most important material you will need when knitting slippers. Choose a soft and cosy yarn that will keep your feet warm and comfortable. Some popular options include acrylic, wool, or a blend of different fibers. Make sure to choose a color that you love, as the slippers will be a reflection of your personal style.
Knitting Needles
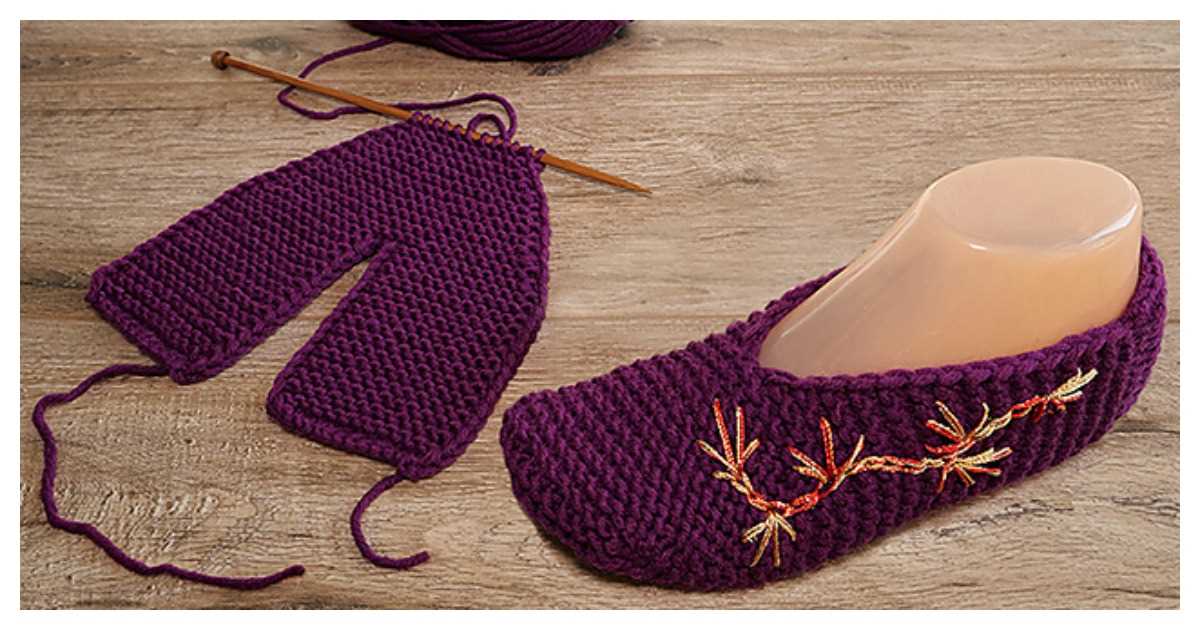
Knitting needles are the tools that will help you transform the yarn into a pair of slippers. You will need a pair of needles that are the appropriate size for the yarn you are using. The size of the needles will determine the gauge and the size of your finished slippers. It’s important to choose needles that feel comfortable in your hands and allow you to knit with ease.
Tapestry Needle
A tapestry needle is an essential tool for seaming up the slippers and weaving in loose ends. This needle has a large eye that allows you to easily thread the yarn through, making it perfect for finishing touches. Look for a tapestry needle that is made of a sturdy material, such as metal or plastic, to ensure durability.
Scissors
You will need a pair of scissors to cut the yarn when needed. It’s important to have a sharp pair of scissors that are dedicated to your knitting projects, as using dull scissors can make cutting the yarn difficult and messy. Keep your scissors within reach so that you can easily trim any excess yarn as you work on your slippers.
- Yarn
- Knitting Needles
- Tapestry Needle
- Scissors
Choosing the Right Yarn
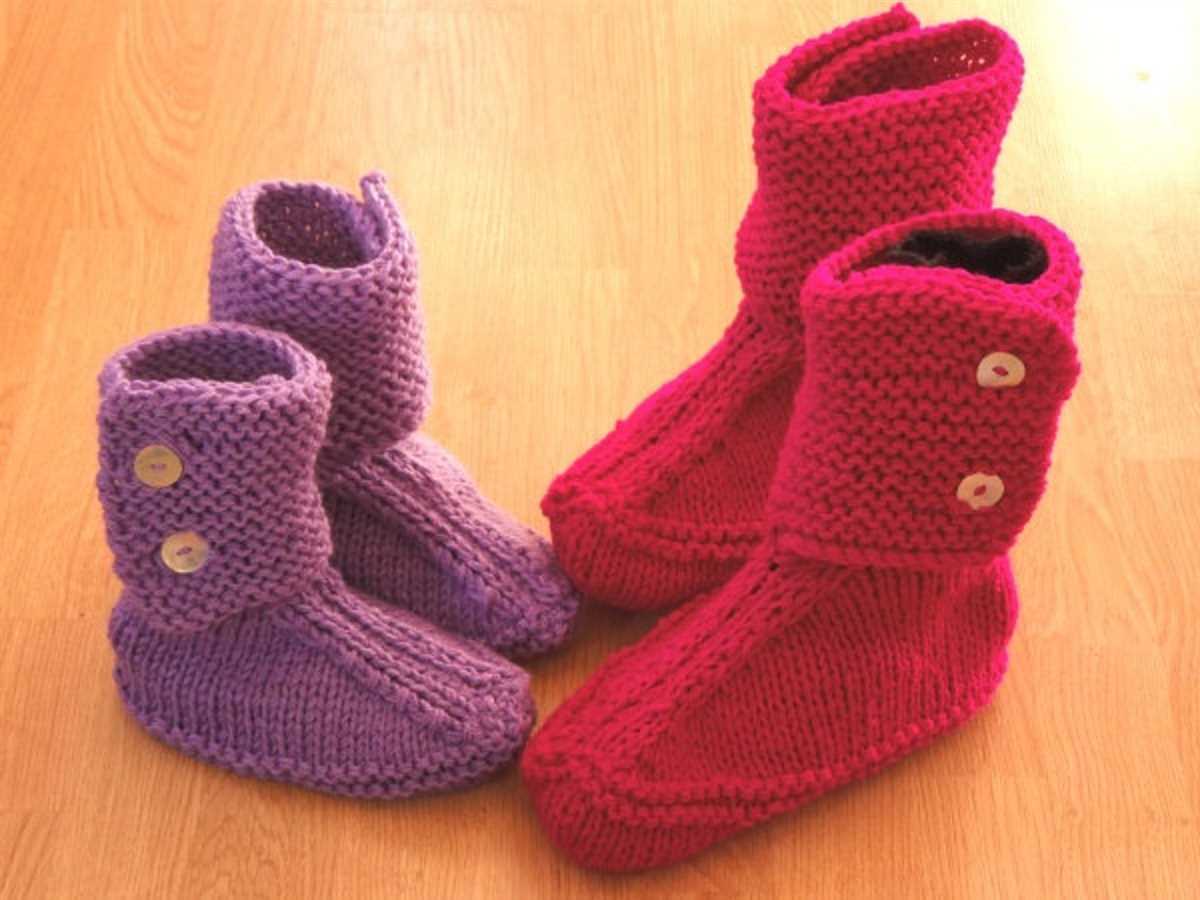
When it comes to knitting slippers, choosing the right yarn is crucial. The type of yarn you select can greatly impact the comfort, durability, and overall appearance of the finished slippers. Here are some factors to consider when choosing yarn for your project.
Fiber Content:
The first thing to consider is the fiber content of the yarn. The most popular choices for slippers are wool, acrylic, and cotton. Wool is known for its warmth and natural insulation properties, making it an excellent choice for cozy and warm slippers. Acrylic yarn is often preferred for its easy care and affordability. Cotton, on the other hand, is a more breathable option, making it suitable for slippers that will be worn in warmer climates or during the summer months.
Weight:
The weight of the yarn is another important factor to consider. The weight refers to the thickness or thinness of the yarn, and it can affect the overall feel and drape of the slippers. Bulky or chunky weight yarn is often preferred for slippers as it creates a thick and plush fabric that provides extra warmth and cushioning. However, you can also opt for lighter weight yarns such as DK or worsted weight, depending on your desired outcome and the pattern you are using.
Texture and Color:
Finally, consider the texture and color of the yarn. The texture can add interest and visual appeal to the slippers, whether it’s a smooth and sleek yarn or a textured yarn with added depth and dimension. Additionally, the color of the yarn can greatly impact the overall look of the slippers. You can choose a solid color for a classic and timeless look, or opt for variegated or self-striping yarns for a more playful and vibrant appearance.
By considering the fiber content, weight, texture, and color of the yarn, you can ensure that you choose the right yarn for your knit slippers project. Take the time to swatch and test the yarn before starting your project to ensure that you achieve the desired results. Happy knitting!
Knitting Techniques for Slippers
Knitting slippers can be a fun and rewarding project for all skill levels. Whether you’re a beginner or an experienced knitter, there are a few key techniques to keep in mind when creating your own cozy footwear.
1. Casting On: The first step in any knitting project is casting on. For slippers, it’s important to use a stretchy cast on method to ensure a comfortable fit. The long-tail cast on or the cable cast on are both good options.
2. Basic Stitches: Once you’ve cast on, you’ll need to know how to knit and purl. These two basic stitches will form the foundation of your slipper. Knit stitches create a smooth surface, while purl stitches create a textured pattern.
3. Ribbing: Ribbing is often used at the cuff of slippers to create a snug fit. This involves alternating knit and purl stitches in a specific pattern. A common ribbing pattern is *K1, P1*, which creates a stretchy and flexible fabric.
4. Decreases and Increases: To shape your slipper, you’ll need to know how to decrease and increase stitches. Decreases, such as knit two together (K2tog), are used to create a narrower toe or heel. Increases, such as yarn over (YO), are used to add width to certain areas of the slipper.
5. Seaming: Once you’ve finished knitting the main pieces of your slipper, you’ll need to seam them together. This can be done using a tapestry needle and the mattress stitch, or by using a crochet hook and slip stitch. Seaming ensures that your slipper will hold its shape and be more durable.
By mastering these knitting techniques, you’ll be able to create beautiful and comfortable slippers for yourself and your loved ones. Remember to choose a pattern that matches your skill level and have fun experimenting with different colors and yarns!
Casting On
When starting a new knitting project, the first step is to cast on. Casting on is the process of creating the initial row of stitches on the knitting needle. There are several different methods for casting on, each with its own advantages and uses.
One popular casting on method is the long-tail cast-on. To begin, make a slipknot by forming a loop with the working yarn. Insert the needle through the loop and tighten the knot. Then, hold the needle with the slipknot in your right hand and the tail of the yarn in your left hand. With your right thumb, bring the yarn over the needle from back to front, creating a loop. Insert the needle into this loop from front to back and pull the loop snug. Repeat this process until the desired number of stitches is cast on.
Another commonly used casting on method is the knitted cast on. Start by making a slipknot as before and insert the needle through the loop. Hold the needle with the slipknot in your right hand and the working yarn in your left hand. With your right needle, insert it into the slipknot loop and under the left-hand needle. Wrap the yarn around the right-hand needle counterclockwise and pull it through the loop. Slip the loop onto the left-hand needle, and repeat this process until the desired number of stitches is cast on.
There are many other casting on methods to explore, such as the cable cast on, the backward loop cast on, and the provisional cast on. Each method has its own unique qualities and uses, so it’s worth experimenting with different techniques to find the one that works best for your project. Happy casting on!
Knit and Purl Stitches
In knitting, there are two basic stitches that are commonly used: knit and purl. These stitches are the building blocks for creating various patterns and designs in your knit projects. By understanding how to work with knit and purl stitches, you can create a wide range of textures and visual effects.
The knit stitch is created by inserting the right-hand needle into the stitch on the left-hand needle from front to back. Then, wrap the yarn around the right-hand needle and pull it through the stitch, transferring it onto the right-hand needle. This stitch creates a smooth and flat texture, commonly used for the right side of the fabric.
The purl stitch, on the other hand, is created by inserting the right-hand needle into the stitch on the left-hand needle from back to front. Then, wrap the yarn around the right-hand needle and pull it through the stitch, transferring it onto the right-hand needle. This stitch creates a bump or ribbed texture, commonly used for the wrong side of the fabric or to create ribbing.
When working on a knit project, you can create different patterns by combining knit and purl stitches in various sequences. For example, a basic ribbing pattern can be created by alternating between knit and purl stitches in a row. By experimenting with different combinations of knit and purl stitches, you can add visual interest and texture to your knitted creations.
- Knit stitch: Insert right-hand needle into stitch from front to back, wrap yarn around needle, and pull yarn through.
- Purl stitch: Insert right-hand needle into stitch from back to front, wrap yarn around needle, and pull yarn through.
- Combining knit and purl stitches in different sequences can create various patterns and textures.
- Experimenting with different combinations of stitches can add visual interest to your knit projects.
Increasing and Decreasing
When knitting slippers, understanding how to increase and decrease stitches is important for achieving the correct fit and shape. Increasing stitches allows you to add width or length to your project, while decreasing stitches helps create shaping and allows your slipper to fit snugly on the foot.
Increasing stitches: To increase stitches, you can use different techniques such as knitting into the front and back of a stitch, or using yarn overs. By adding stitches, you can make the slipper wider to accommodate a larger foot or create a decorative pattern. It’s important to follow the pattern instructions carefully to ensure you increase the correct number of stitches and maintain the stitch pattern.
Decreasing stitches: Decreasing stitches is done by knitting or purling two stitches together, or by passing a stitch over another stitch. Decreasing helps shape the slipper, such as creating a narrower toe or tighter heel. Again, it’s important to follow the pattern instructions and decrease the correct number of stitches at the designated points.
Remember to keep track of your stitches and count them after each increase or decrease round to ensure you maintain the correct stitch count. Taking the time to learn and practice these techniques will help you create beautifully fitting and comfortable slippers.
Knit Slippers Pattern
Looking for a cozy and stylish pair of slippers to knit? Look no further! This knit slippers pattern is perfect for beginners and seasoned knitters alike. With its easy-to-follow instructions and simple design, you’ll have a pair of warm and comfortable slippers in no time.
The pattern uses basic knitting stitches, such as knit and purl, making it accessible for knitters of all skill levels. The instructions are clear and concise, with helpful tips along the way to ensure success. Whether you’re knitting for yourself or creating a thoughtful gift for a loved one, these slippers are sure to impress.
Materials
- Worsted weight yarn – approximately 200 yards
- Size 8 (5mm) knitting needles
- Tapestry needle
- Scissors
Instructions
- Using the long-tail cast on method, cast on 28 stitches.
- Row 1: *Knit 2, purl 2. Repeat from * to the end of the row.
- Row 2: *Purl 2, knit 2. Repeat from * to the end of the row.
- Repeat rows 1 and 2 until the work measures approximately 8 inches from the cast-on edge, ending with row 1.
- Next row: Knit 14, slip the next 16 stitches onto a stitch holder or spare needle, knit the remaining 14 stitches.
- Continue working in the established pattern on the 14 stitches for 4 more inches, ending with row 1.
- Next row: Knit 2 together, knit 10, knit 2 together. (12 stitches)
- Row 2: Purl.
- Row 3: Knit 2 together, knit 8, knit 2 together. (10 stitches)
- Row 4: Purl.
- Repeat rows 3 and 4 until 4 stitches remain.
- Bind off and weave in any loose ends.
These instructions provide a basic pattern for a pair of knit slippers. Feel free to experiment with different stitch patterns or customize the design to your liking. Once you’ve finished knitting, don’t forget to add a non-slip sole to ensure safety and durability. Now you’re ready to enjoy your cozy new slippers!
Easy Knit Slippers Pattern
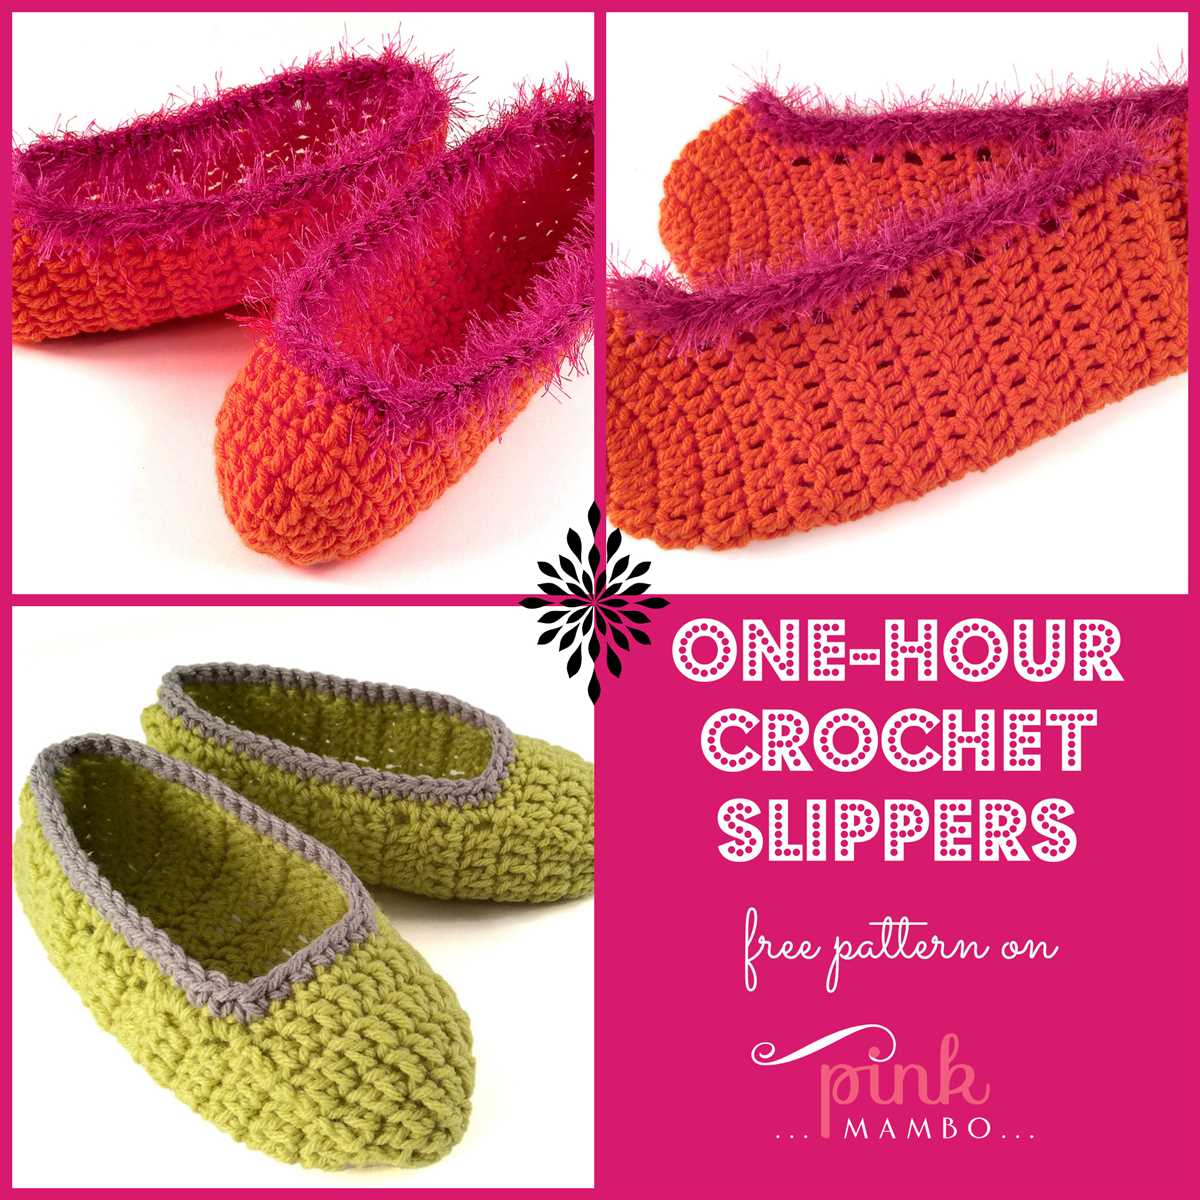
Knitting your own slippers can be a fun and rewarding project. With this easy knit slippers pattern, you’ll be able to create cozy and comfortable slippers in no time. Whether you’re a beginner or an experienced knitter, this pattern is suitable for all skill levels.
To start, you’ll need a pair of knitting needles and some bulky weight yarn. The pattern is worked in the round, so you’ll also need a set of double-pointed needles or a circular needle long enough for magic loop method. The slippers are knit from the toe up, making it easy to customize the size for a perfect fit.
Materials:
- Bulky weight yarn (approximately 200-300 yards)
- US size 10 (6 mm) knitting needles
- Set of double-pointed needles or circular needle
- Tapestry needle
Instructions:
- Cast on 20 stitches using the toe-up cast-on method.
- Divide the stitches onto your double-pointed needles or circular needle.
- Work in the round using a knit stitch for the entire foot portion, until the slipper reaches your desired length.
- Once the foot portion is complete, begin working the heel portion by turning the work and knitting back and forth.
- Continue knitting back and forth until the heel is long enough to fit comfortably on your foot.
- Finish off the slipper by binding off the stitches and weaving in any loose ends.
With this easy knit slippers pattern, you can create a cozy and customized pair of slippers for yourself or as a thoughtful gift for a loved one. Experiment with different yarn colors and stitch patterns to make each pair unique. Happy knitting!
Step-by-Step Instructions
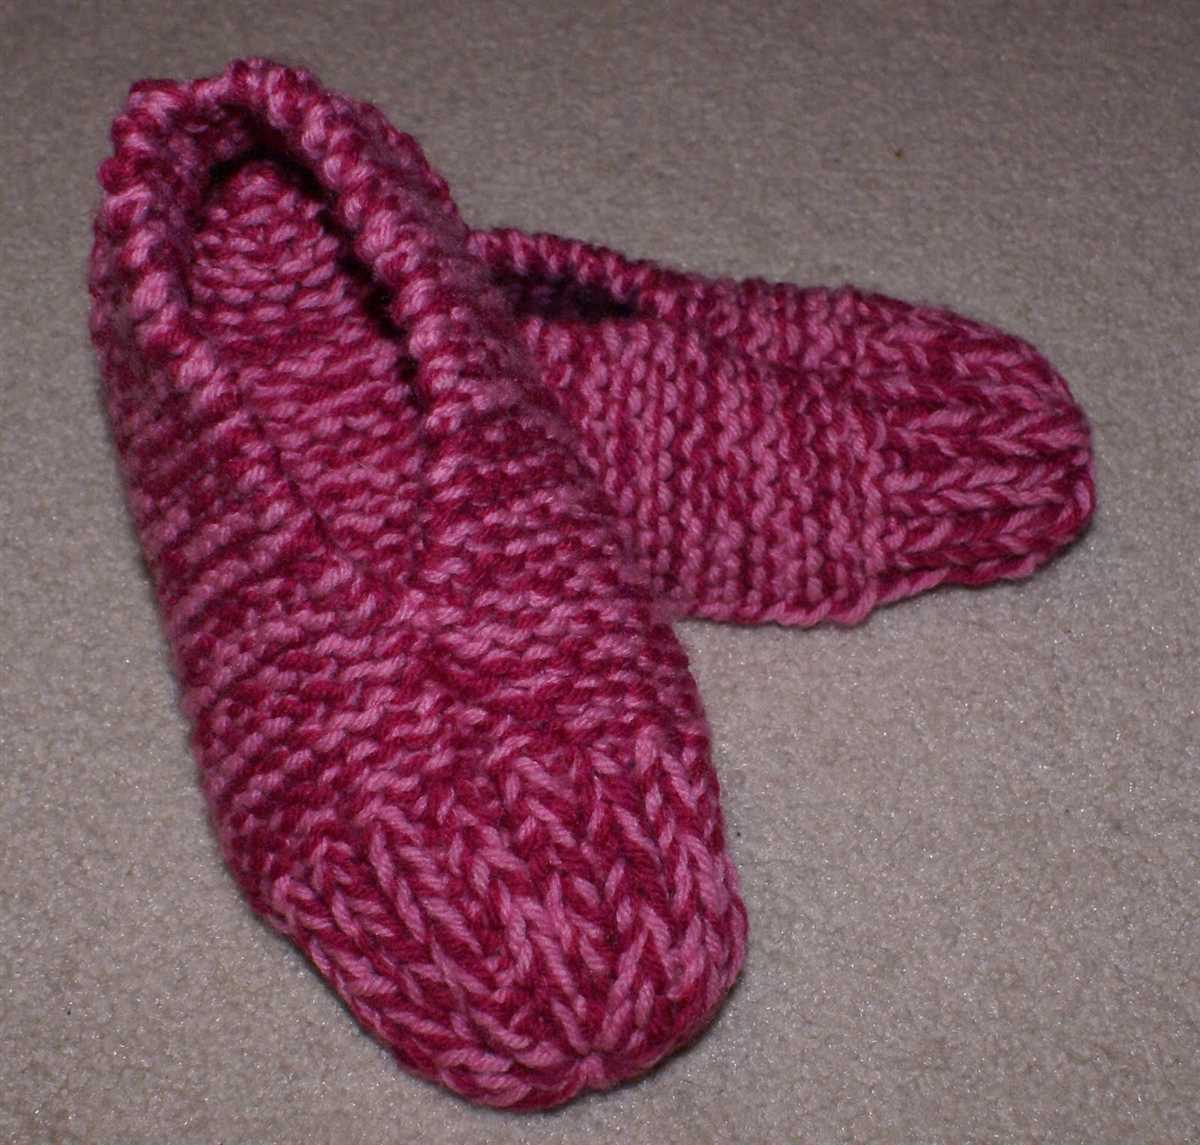
Interested in knitting your own pair of slippers? Follow these simple steps to create cozy and comfortable slippers for yourself or as a thoughtful gift!
Gather your materials:
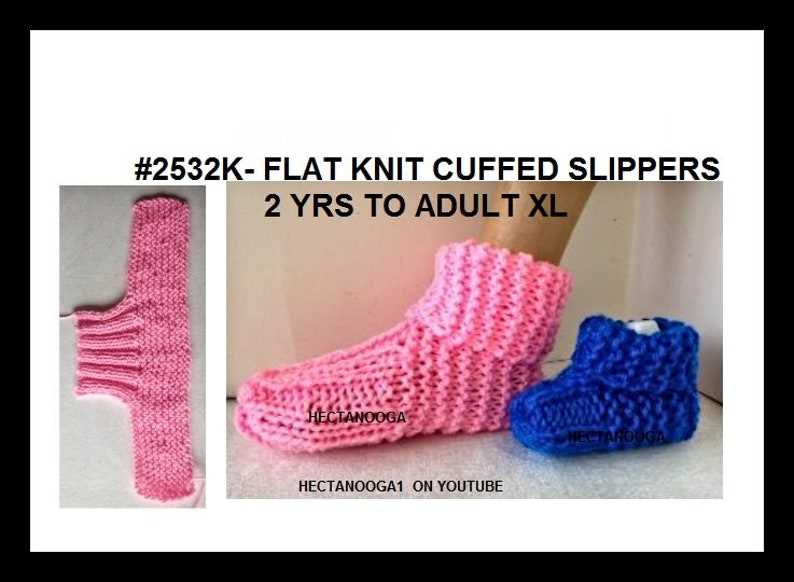
- Size 8 knitting needles
- Worsted weight yarn in your choice of color
- Tapestry needle
- Stitch markers (optional)
1. Cast on 36 stitches using the long-tail cast-on method. This will be the foundation for the sole of your slipper. Make sure to leave a long tail as you will need it later.
2. Knit the first row using the stockinette stitch. This means you will knit every stitch on the row.
3. Repeat step 2 for a total of 30 rows. This will create the sole of the slipper.
4. Once you have completed the sole, it’s time to start working on the upper part of the slipper. To do this, you will need to divide the stitches in half. Place a stitch marker or piece of scrap yarn to mark the halfway point.
5. Starting with the first half of the stitches, knit 15 rows using the stockinette stitch. This will create the front part of the slipper.
6. Bind off the first 18 stitches. This will create the opening for your foot to slip into.
7. Continue knitting the remaining 18 stitches for 15 rows to create the back part of the slipper.
8. Bind off all stitches and cut the yarn, leaving a long tail.
9. Fold the slipper in half with the right sides facing each other. Use the long tail from the cast-on and bind off to sew the side seams together using a tapestry needle. Make sure to sew securely and hide any loose ends.
10. Turn the slipper right side out and you’re done! Repeat these steps to create a matching pair of slippers.
- Size 8 knitting needles
- Worsted weight yarn in your choice of color
- Tapestry needle
- Stitch markers (optional)
1. Cast on 36 stitches using the long-tail cast-on method. This will be the foundation for the sole of your slipper. Make sure to leave a long tail as you will need it later.
2. Knit the first row using the stockinette stitch. This means you will knit every stitch on the row.
3. Repeat step 2 for a total of 30 rows. This will create the sole of the slipper.
4. Once you have completed the sole, it’s time to start working on the upper part of the slipper. To do this, you will need to divide the stitches in half. Place a stitch marker or piece of scrap yarn to mark the halfway point.
5. Starting with the first half of the stitches, knit 15 rows using the stockinette stitch. This will create the front part of the slipper.
6. Bind off the first 18 stitches. This will create the opening for your foot to slip into.
7. Continue knitting the remaining 18 stitches for 15 rows to create the back part of the slipper.
8. Bind off all stitches and cut the yarn, leaving a long tail.
9. Fold the slipper in half with the right sides facing each other. Use the long tail from the cast-on and bind off to sew the side seams together using a tapestry needle. Make sure to sew securely and hide any loose ends.
10. Turn the slipper right side out and you’re done! Repeat these steps to create a matching pair of slippers.
Tips and Tricks
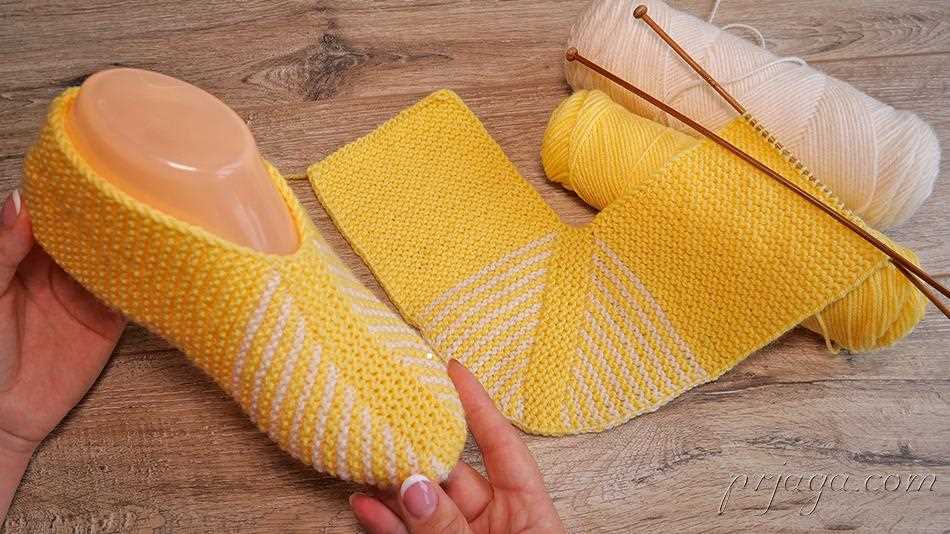
Knitting slippers can be a fun and rewarding project. With a few tips and tricks, you can ensure that your slippers turn out perfect every time.
1. Choose the Right Yarn
When knitting slippers, it’s important to choose the right yarn. Look for a soft and durable yarn that will provide warmth and comfort. It’s also a good idea to choose a yarn that is easy to care for, as slippers can get dirty quickly.
2. Pick the Correct Needle Size
Choosing the correct needle size is crucial to the success of your slipper project. Be sure to check the gauge recommended in the pattern and adjust your needle size accordingly. Using the wrong needle size can result in slippers that are too tight or too loose.
3. Use Stitch Markers
Stitch markers can be incredibly helpful when knitting slippers. They can help you keep track of your stitches and ensure that you don’t make any mistakes. Place a stitch marker at the beginning and end of each round to make it easier to keep track of your progress.
4. Add Non-Slip Soles
To make your slippers safer to wear, consider adding non-slip soles. You can purchase pre-made non-slip soles or create your own using puffy fabric paint or silicone adhesive. This will add traction to the bottom of your slippers, making them less likely to slip on smooth surfaces.
5. Block the Finished Slippers
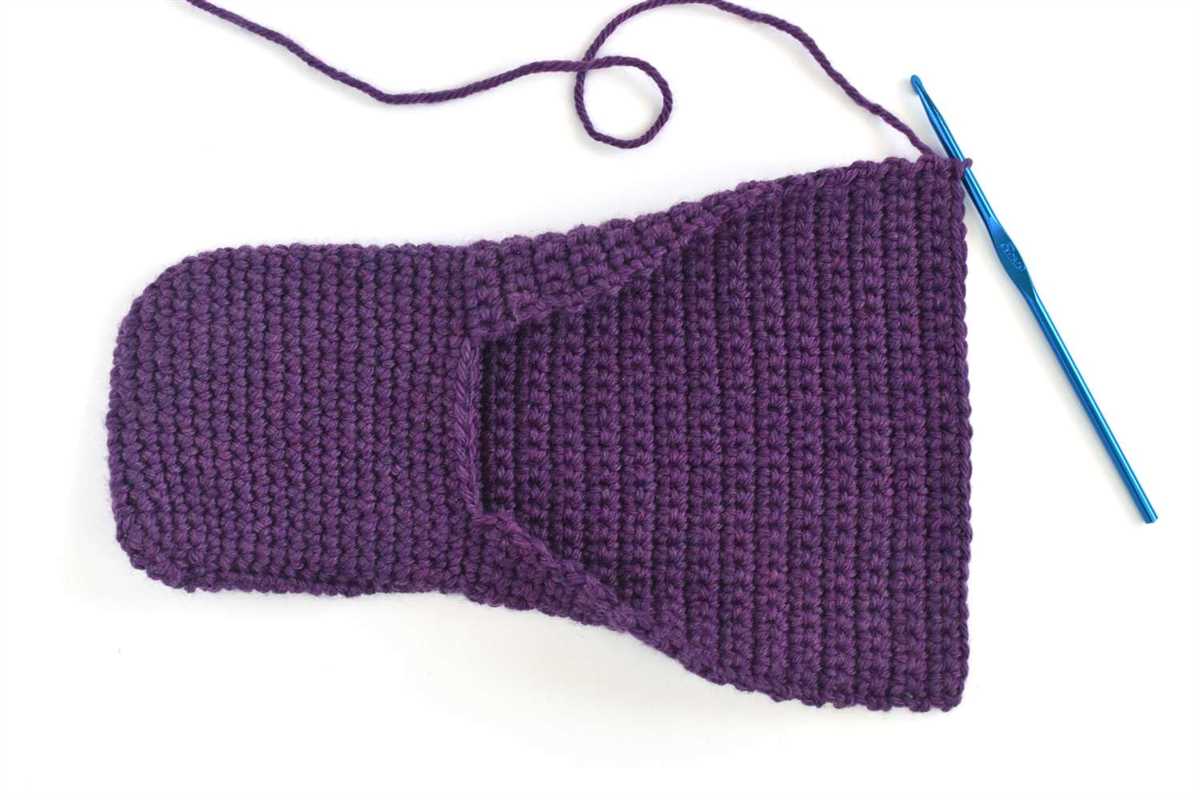
After you have completed your slippers, consider blocking them to give them a more finished look. Blocking your slippers will help even out stitches and give them a more polished appearance.
By following these tips and tricks, you can create beautiful and comfortable knitted slippers. Whether you’re making them for yourself or as a gift, these cozy accessories are sure to be a hit.